…but I don’t really have one. Basically I scribble ideas for the Mouse House on scrap paper that I immediately lose. When I do stumble across these notes, I can’t decipher them anyway. I measure as I go and change my mind constantly.

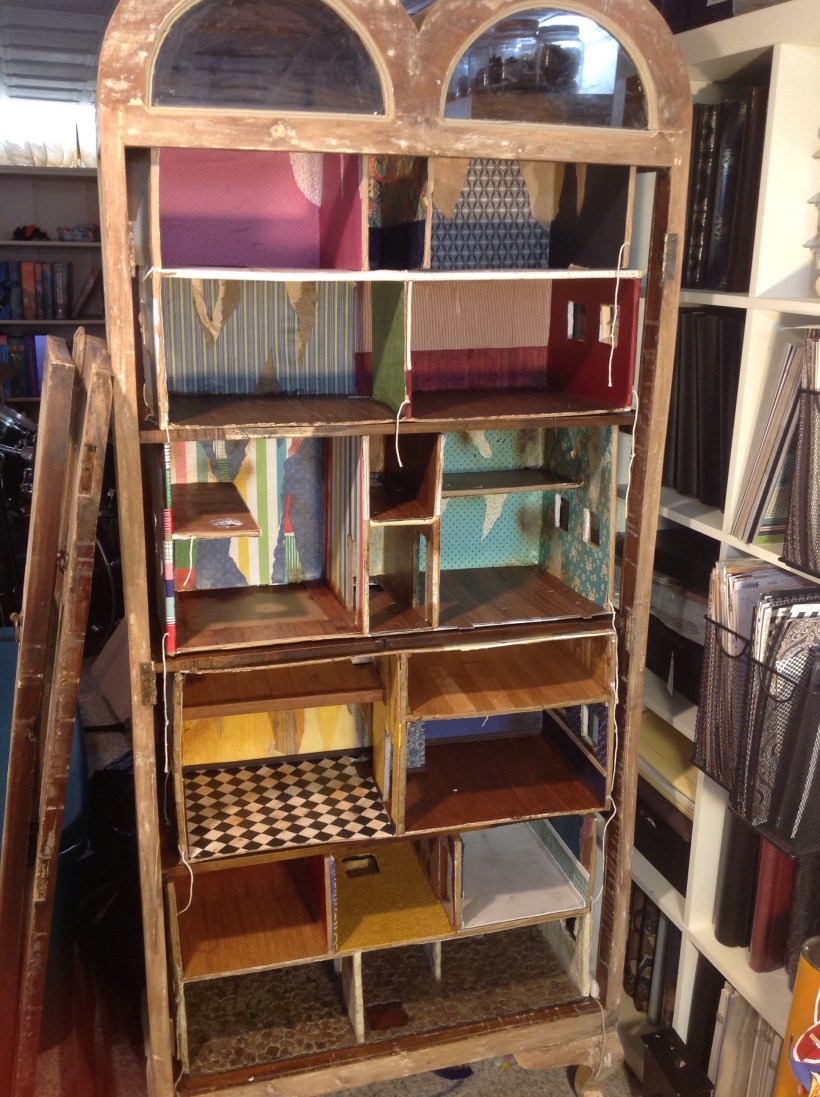
The true starting point began when I decided to build the Mouse House within a cabinet. I love the idea of turning a key and opening doors to a secret world. I also know that Andy may be amenable to having the finished project upstairs if it looks less like the reality of cardboard boxes glued together. Plus, I hate to dust.
I found the perfect cabinet the very first day I looked. (The arched windows at the top is what sealed the deal!). It was on Craigslist for a reasonable price and I bought it the next day. I stripped the charming but crumbly paint off the exterior and it now resides in our basement with the doors off.


Because I built most of the structure before I decided to blog, I don’t have photos of the step by step construction of each room, but I can share the basic idea with the units I’ve already constructed. I started by building room “boxes” that slide on to each shelf. I built them out of foam board and then glued butcher paper as paper mache to make each box quite strong. I had to plan and cut holes for the windows and doors from one room to another.

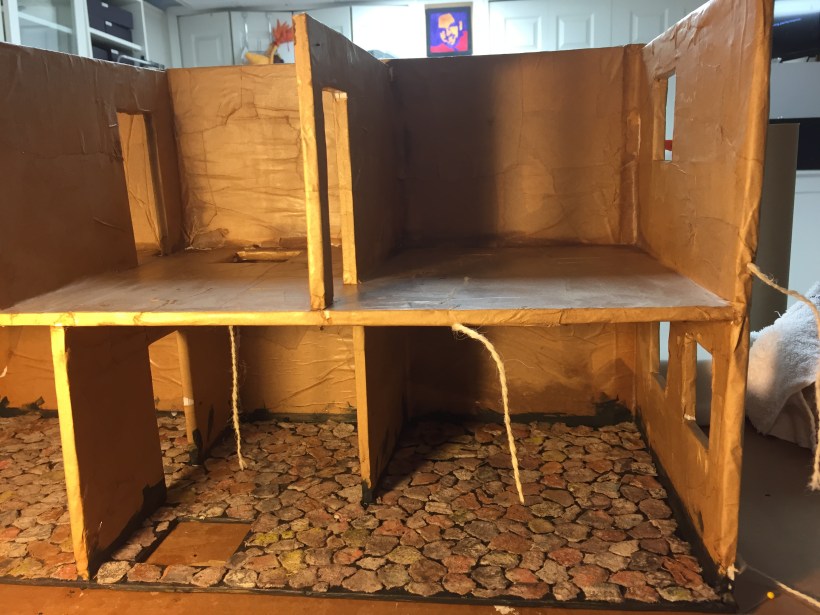
I decided to cut a hole on the floor at the back center of each room box so a ladder can be installed that will allow the mice to travel from the bottom of the house to the top. Of course this means I’m going to have to cut holes in the back center of each fixed shelf in the cabinet as well. I’m not sure how I’ll do this yet, but I’ll “think about that tomorrow.” The picture above also shows the hole for the trapdoor to the outside of the cabinet; after all, the mice need a way to get in!
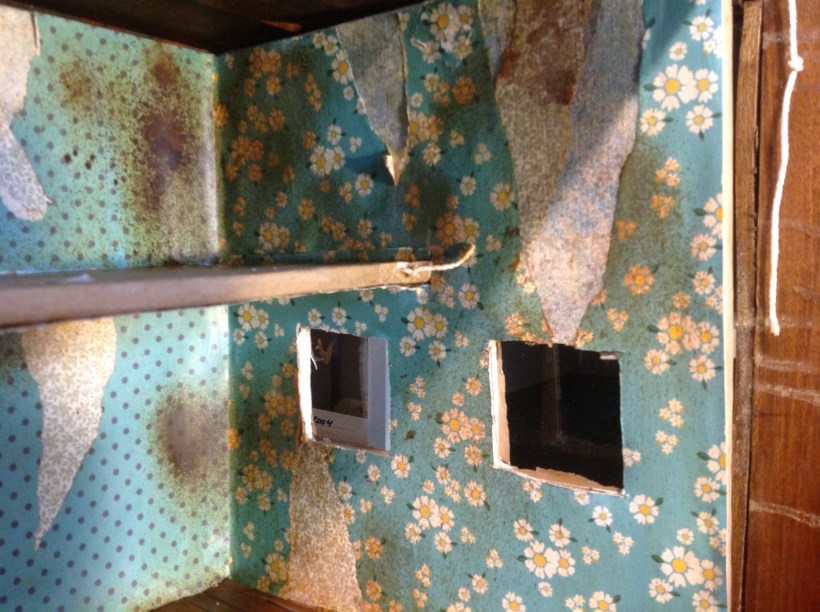
The boxes for each shelf are already almost finished. I had a great time choosing the “wallpaper” for each room. Since I want the Mouse House to look a bit ramshackle, I used layers of different papers and tried to make it look like it was water damaged and peeled.
I also tried various methods of flooring and am happy with the hodge-podge. I’ll post more about the walls and floors in a different post, but in the meantime, here’s a shot of all of the room boxes in the cabinet so far.
Joan
