

There are 23 windows in my Mouse House. I initially envisioned large, multi-paned windows in the side rooms so the inside of the Mouse House could be viewed through them, but as soon as I got out the measuring tape I realized that would not work. Because I crammed so many small rooms into the space, large windows would be completely out of proportion on the seven inch room walls. So I decided to opt for two 2 1/2 inch square windows on each outside wall.


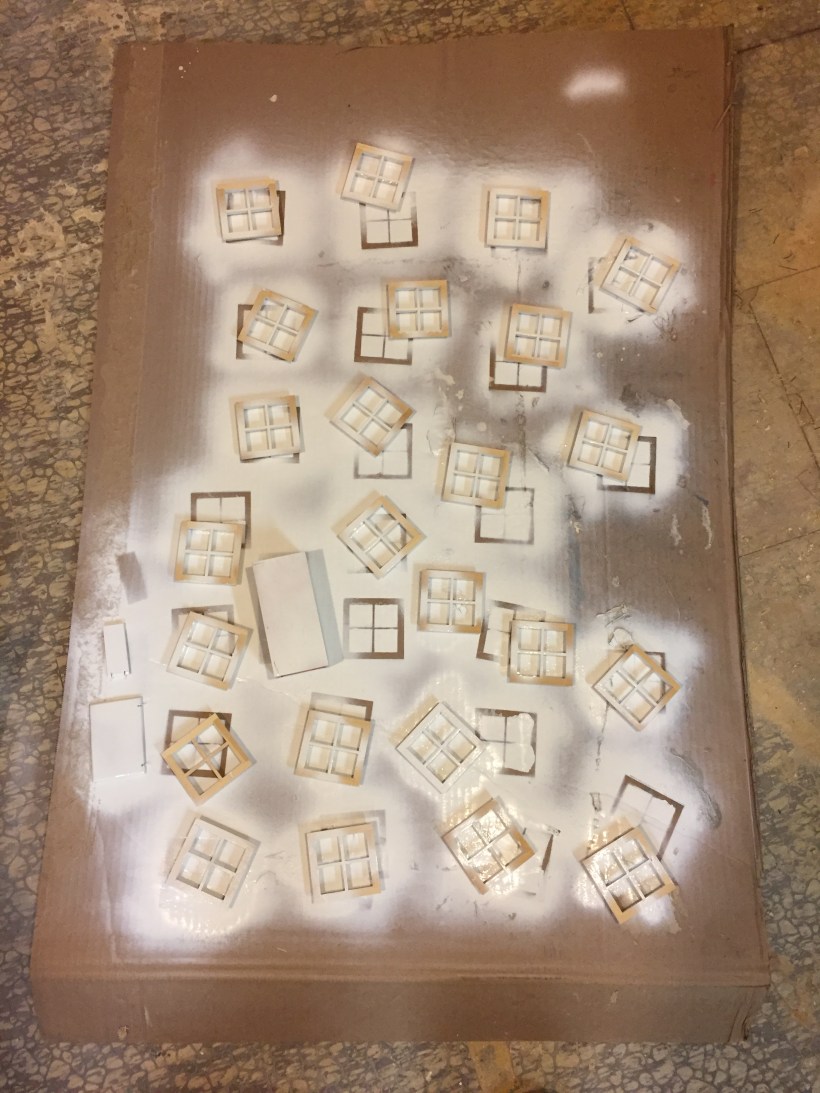
The windows were purchased over the last month from a local miniature store and from three different sellers on eBay. (I thought about making them for about 5 seconds–have I mentioned that precision work is not in my wheelhouse?!) I then spray-painted both sides of them white in Andy’s workshop where I swear clouds of the paint mist lingered in the air for days. Nasty.
My next problem was deciding which way to install them. I think they are supposed to go into a dollhouse with the trim on the outside of the building, but that would require lots of precise trim moulding on the inside of each window–again, not my cup of tea. So instead, I decided to put them in backwards, which instantly made me regret all of the white spray paint I’d just used, as no self-respecting mouse would have plain white trim around the inside of their windows.
RE-painting all of the windows with a tiny brush was tedious, but ultimately the right thing to do. I chose different colors for each room, and after “aging” them with a rubbed on wash of black paint and my go-to antiquing spray, they were ready to be installed.


I cut most of the window openings as I built the initial structure out of foam board, but I had to go back and tweak every hole before the windows would fit as they somehow got smaller as the wallpaper was applied. Thank goodness for my stash of x-acto knife blades as I went through several.


I have yet to glue them in, but I think I’m happy with the way they look. The next challenge will be how to finish them on the outside, but once again, tomorrow is another day.
