The Shop-Vac

I’m continuing to assemble the Mouse House basement with items typically found in furnace and work rooms. Yesterday I decided to build the classic red shop “wet-dry” vacuum that so many people have in their workshops and garages.

First, I examined our “real” shop-vac, noting it’s dimensions, colors, cord placement, etc.

Our shop-vac, obviously needing its own cleaning!

Then on to my favorite part of every “build”–scrounging up the bits and pieces that I think might work in the assembly of a particular item. This is where my tendency to save EVERYTHING comes in handy. It is also why I cherish my friends who give me small, seemingly meaningless things. They can always be turned into something else!

Possibilities….

The key when building these miniatures is scale. The Mouse House is based on a 1 foot to 1″ scale and I try to maintain this ratio so everything looks realistic. Our shop vac is roughly 24″ tall by about 18″ wide, so I needed a container that was 2″ x 1.5″. That eliminated most of the items pictured above, leaving me with the cardboard tube and whatever I could find that would work for a lid.

I forgot to photograph my vacuum hose making process, but it was very similar to how I made the exhaust pipe on the water heater. I made a spring out of curled wire then wrapped black duct tape around it. I’m not super happy with how it looks, but until I find some black foil-like material, this will do. I inserted this tube into the cardboard using a brad from my late mother-in-law’s sewing box.

I made the “hard” vacuum tube out of a dense wire and a plastic lid from something I used in my life.

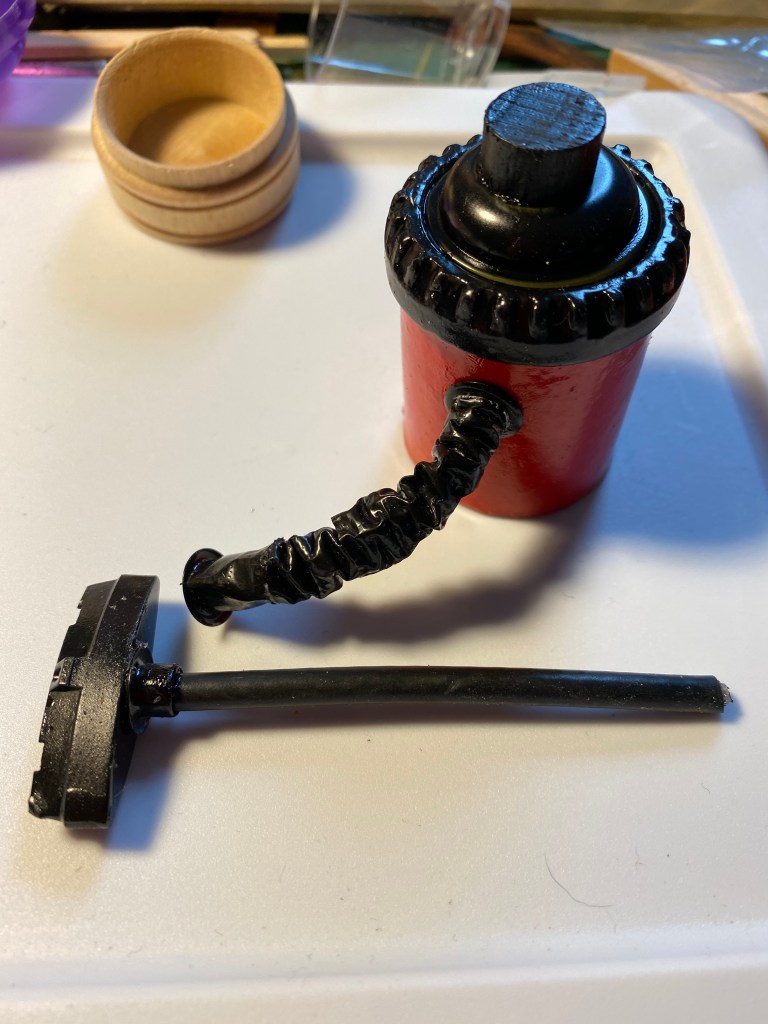
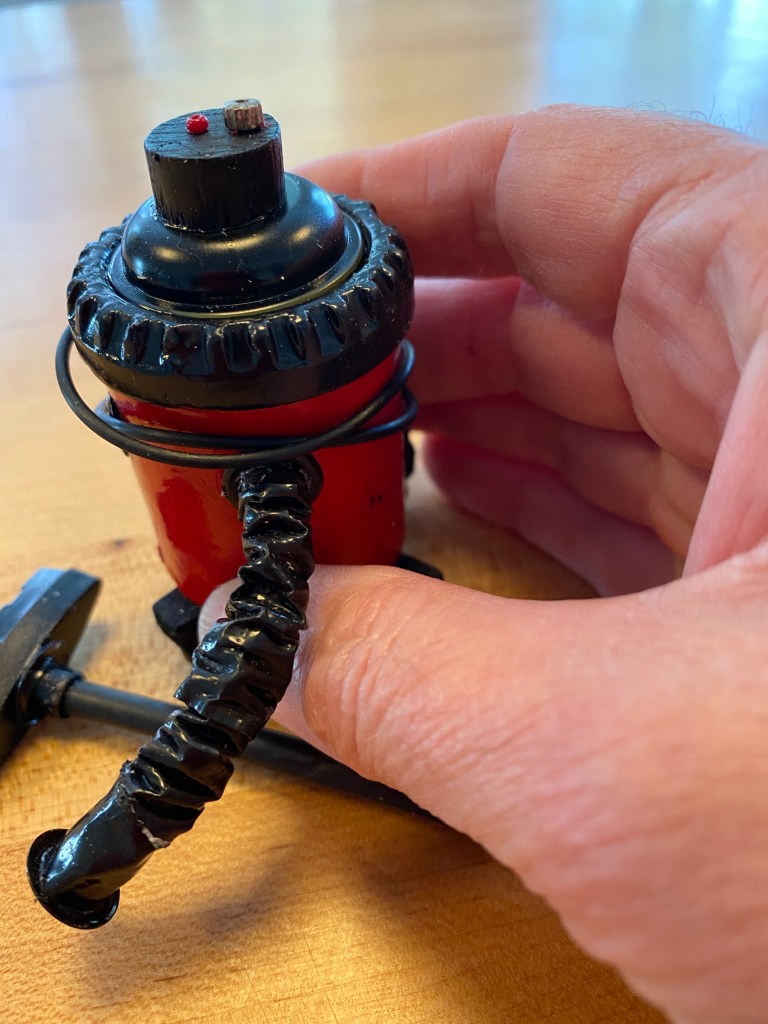
Finally, I added details like the two knobs on top, the “rolling” base for the vacuum (actually beads that give the illusion of wheels), and an electrical cord.

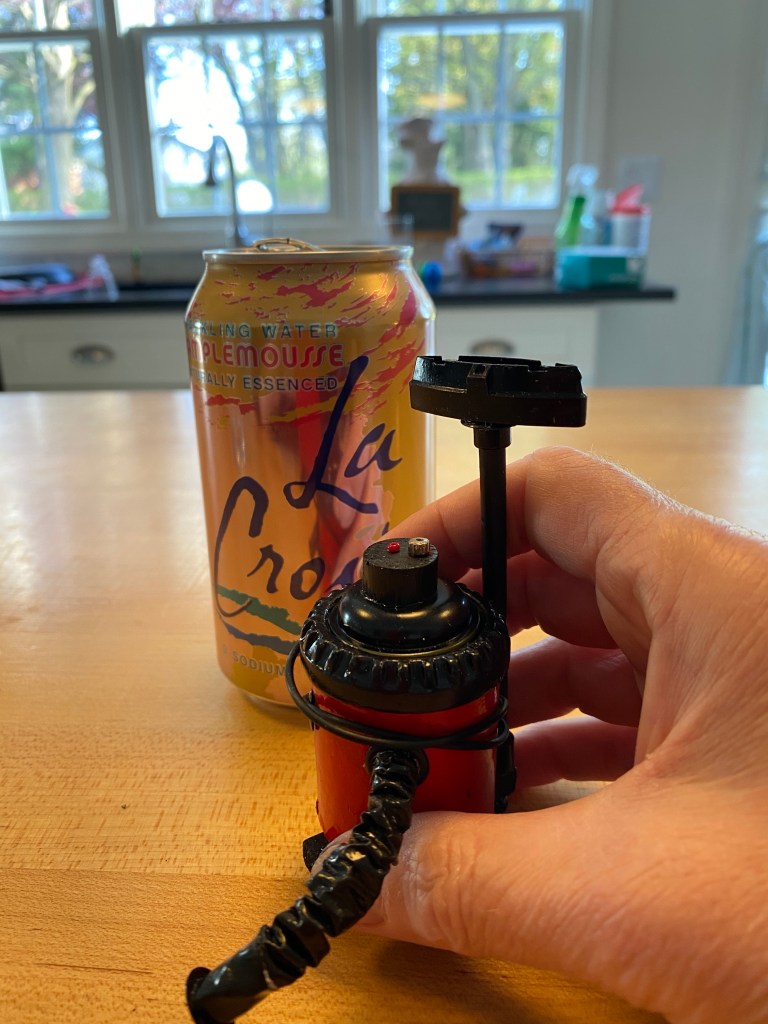
Here are a couple of pictures with my hand and a can so you can see the scale.

This will work until I come up with a better way to make the hose. As time goes on, I’ll probably rebuild so many things as I get new ideas, but I’ve got to keep moving on…..!

Hot Water

Now that the Mouse House is electrified, I’m deciding which elements of each room should be permanently affixed and which items should be removable. Since I am building the house in my basement studio, it will have to come up at least one flight of stairs when it is finished. Determining what should be glued down and what should be completed once the cabinet is moved is tough. For example, do I really want to glue down all of the books in the bookshelves? What about food in the kitchen? Do I want to have the ability to rearrange furniture over time or should I just “nail it down” now?

With that in mind, I made a list of what parts will never be moved. I then decided to complete the permanent features in the Mouse House basement. The furnace is done, but I need to add shelves and a water heater and glue those down as well.

I went into our “real” furnace room and took a good look at our water heater to get ideas as to how to design that appliance in miniature.

In particular I needed to know how the various pipes were attached and how they extended into our plumbing.

From there, I found an old upholstery fabric tube, cut it to the desired length, and searched my studio for a circle that would cover the top of the tube. I was fortunate to find just the right size in an old dollhouse tabletop that had broken off from the base.

I glued this tabletop upside down onto the tube, then sprayed it all white in Andy’s workshop. As I waited for the paint to dry, I made the top vent out of an old spring and aluminum foil. I was pleased to see how well this worked out.

Then, using plastic tubing and copper pieces I found in my stash, I glued everything together with a strong adhesive, added a little faucet that came with a miniature garden hose I found at a garage sale, and stuck it in the back corner of the Mouse House furnace room. A bowl and pail stained with paint to simulate rusty water adds to the illusion. Although this water heater will be hard to see as it’s in the rear of the very bottom shelf, I am happy to know that it looks fairly realistic.