The Laundry Room

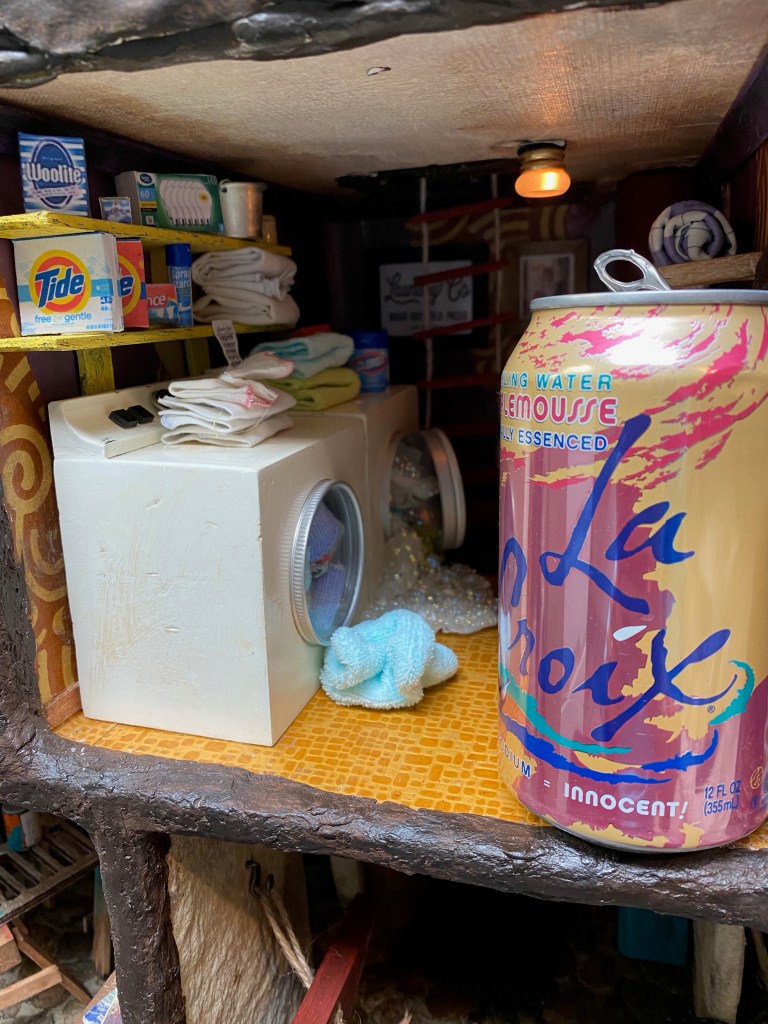
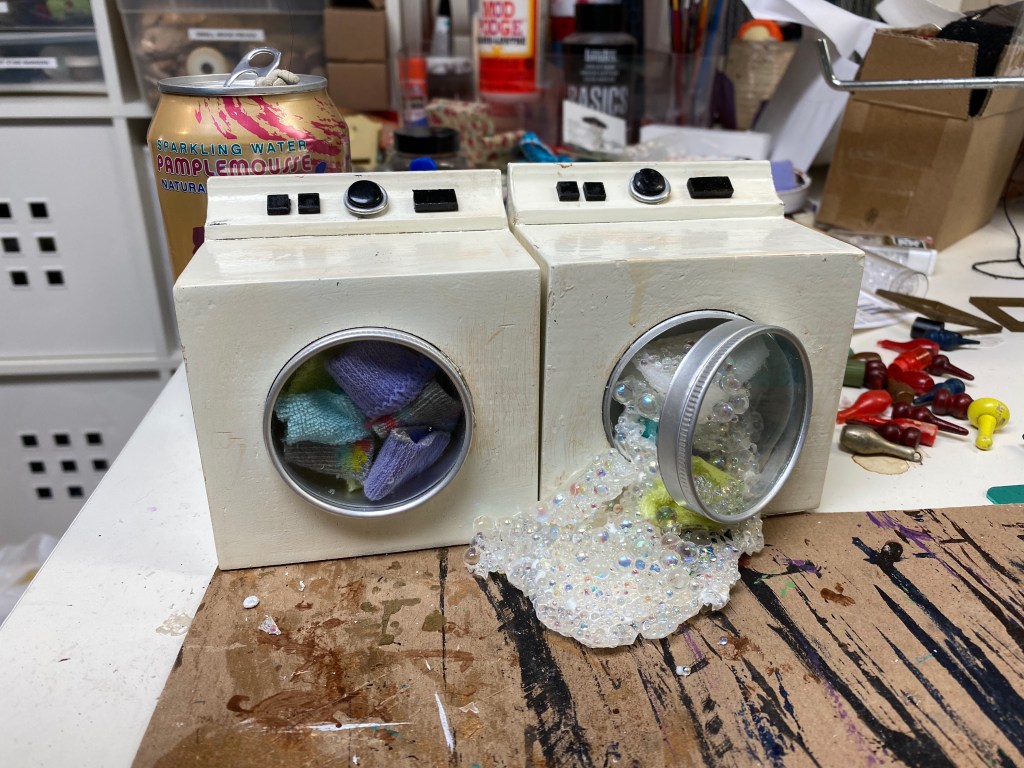
Uh oh–a little mouse opened the washing machine door before the laundry was done!

The Mouse House laundry room.
The soapy bubbles were made with resin, glass balls and bathroom caulk.
It’s hard to see in this picture, but in the back right there’s a mouse coming out head first from the laundry chute. I’m not sure I’ll keep him there, but he’s trapped for now! The laundry chute goes up five floors in the house.

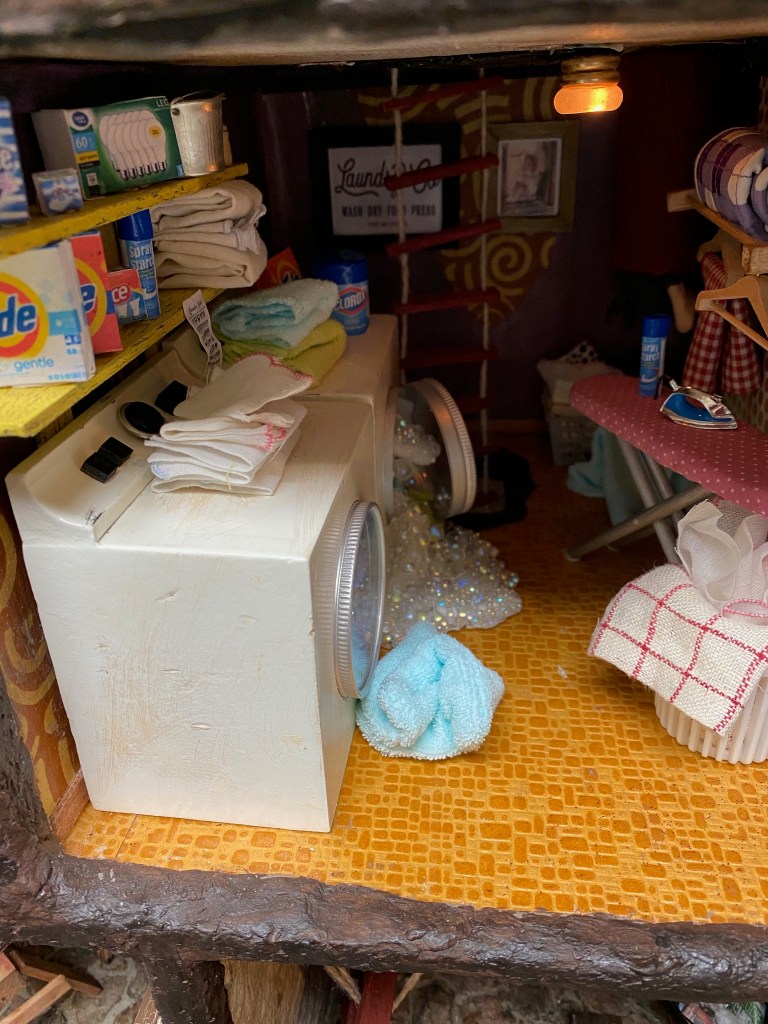
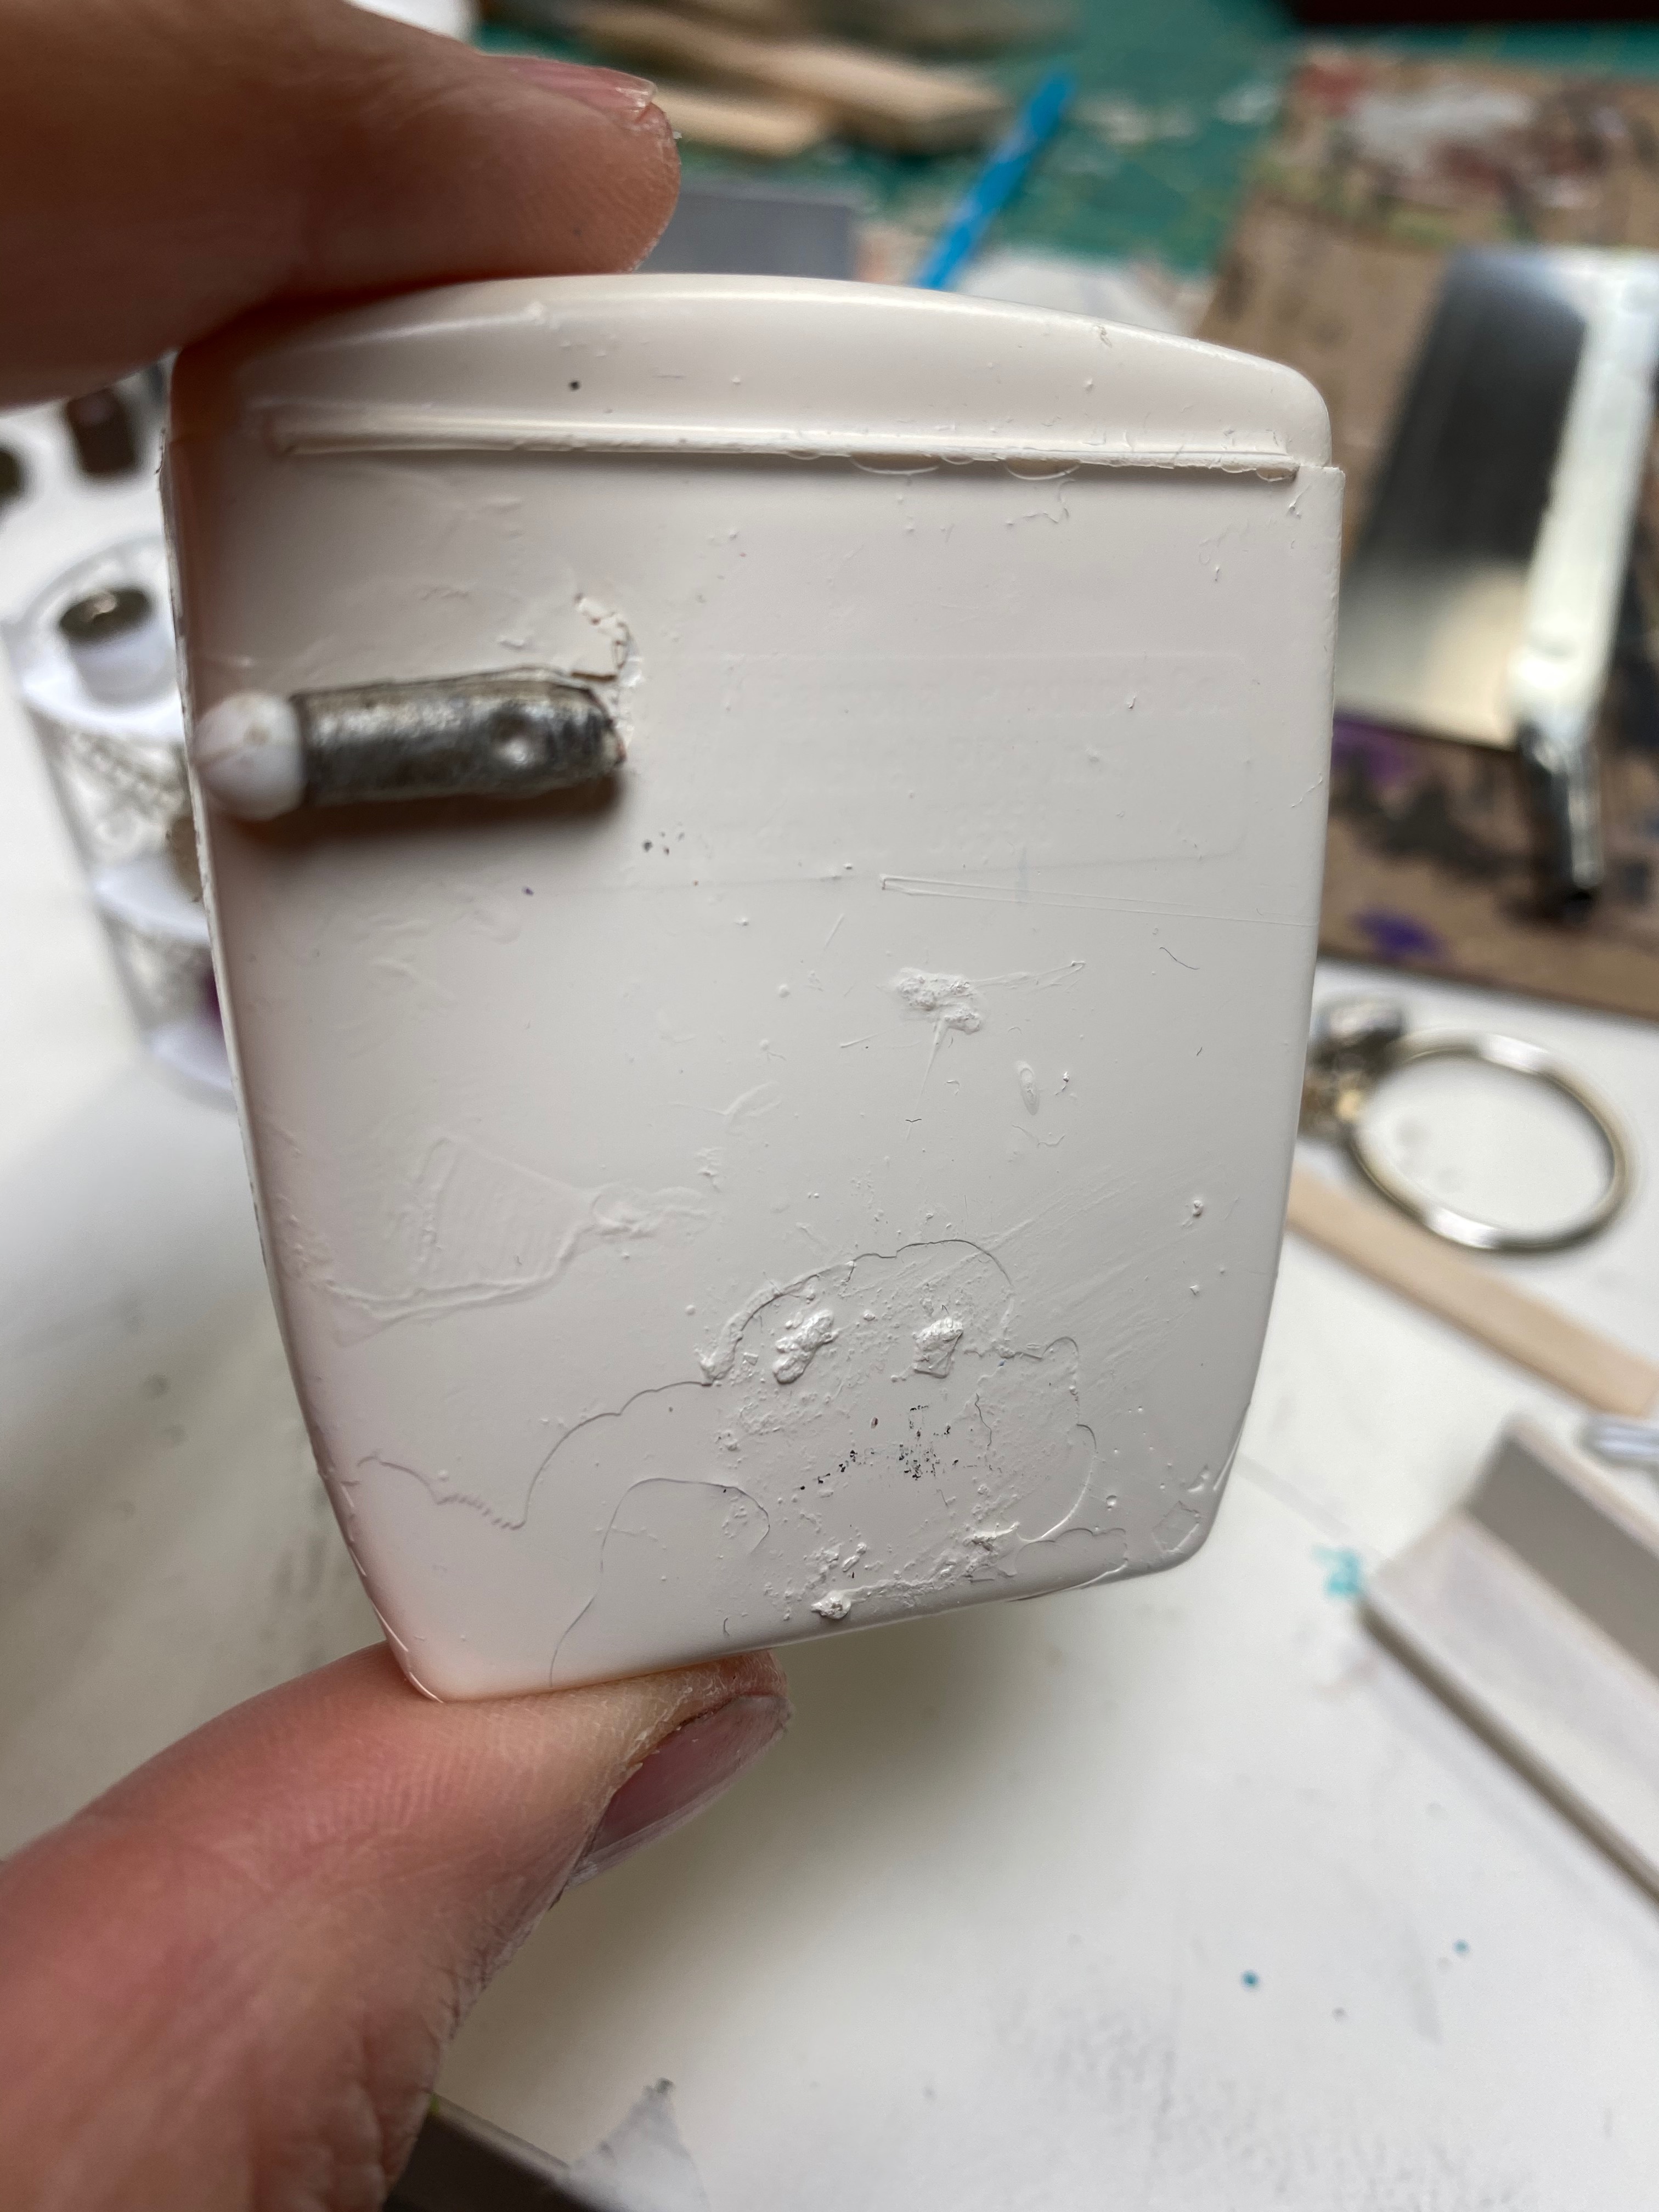
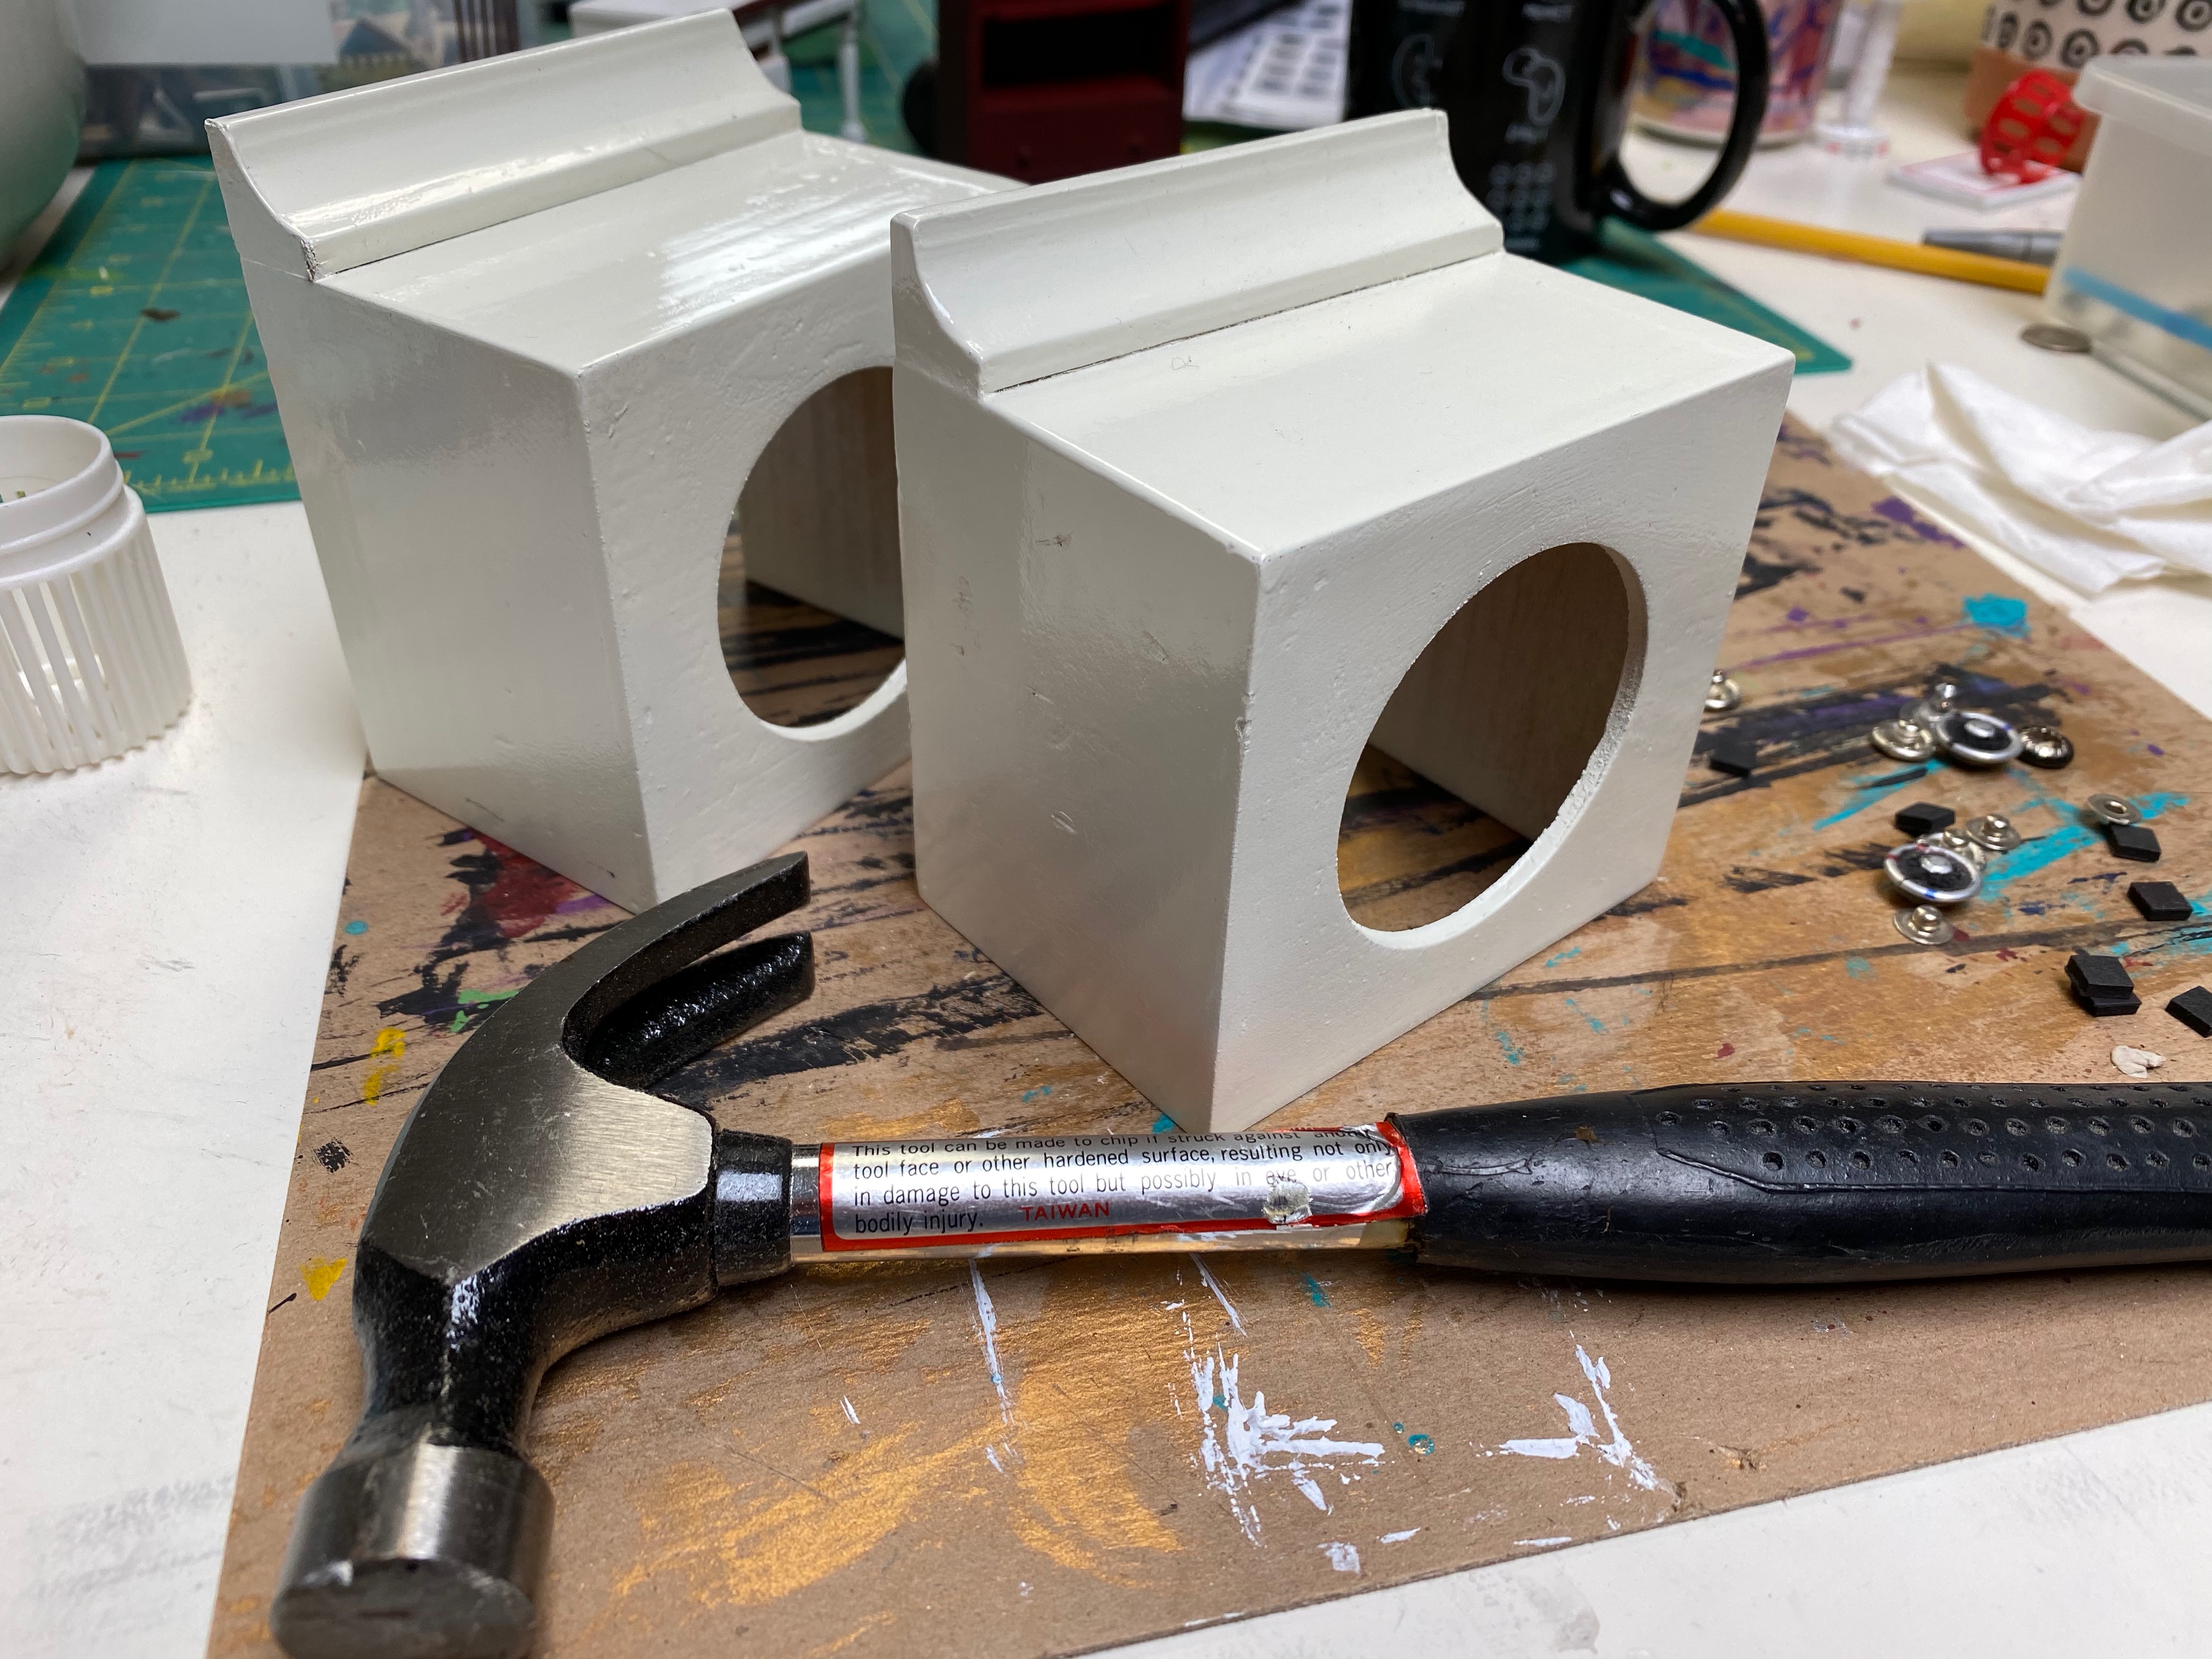
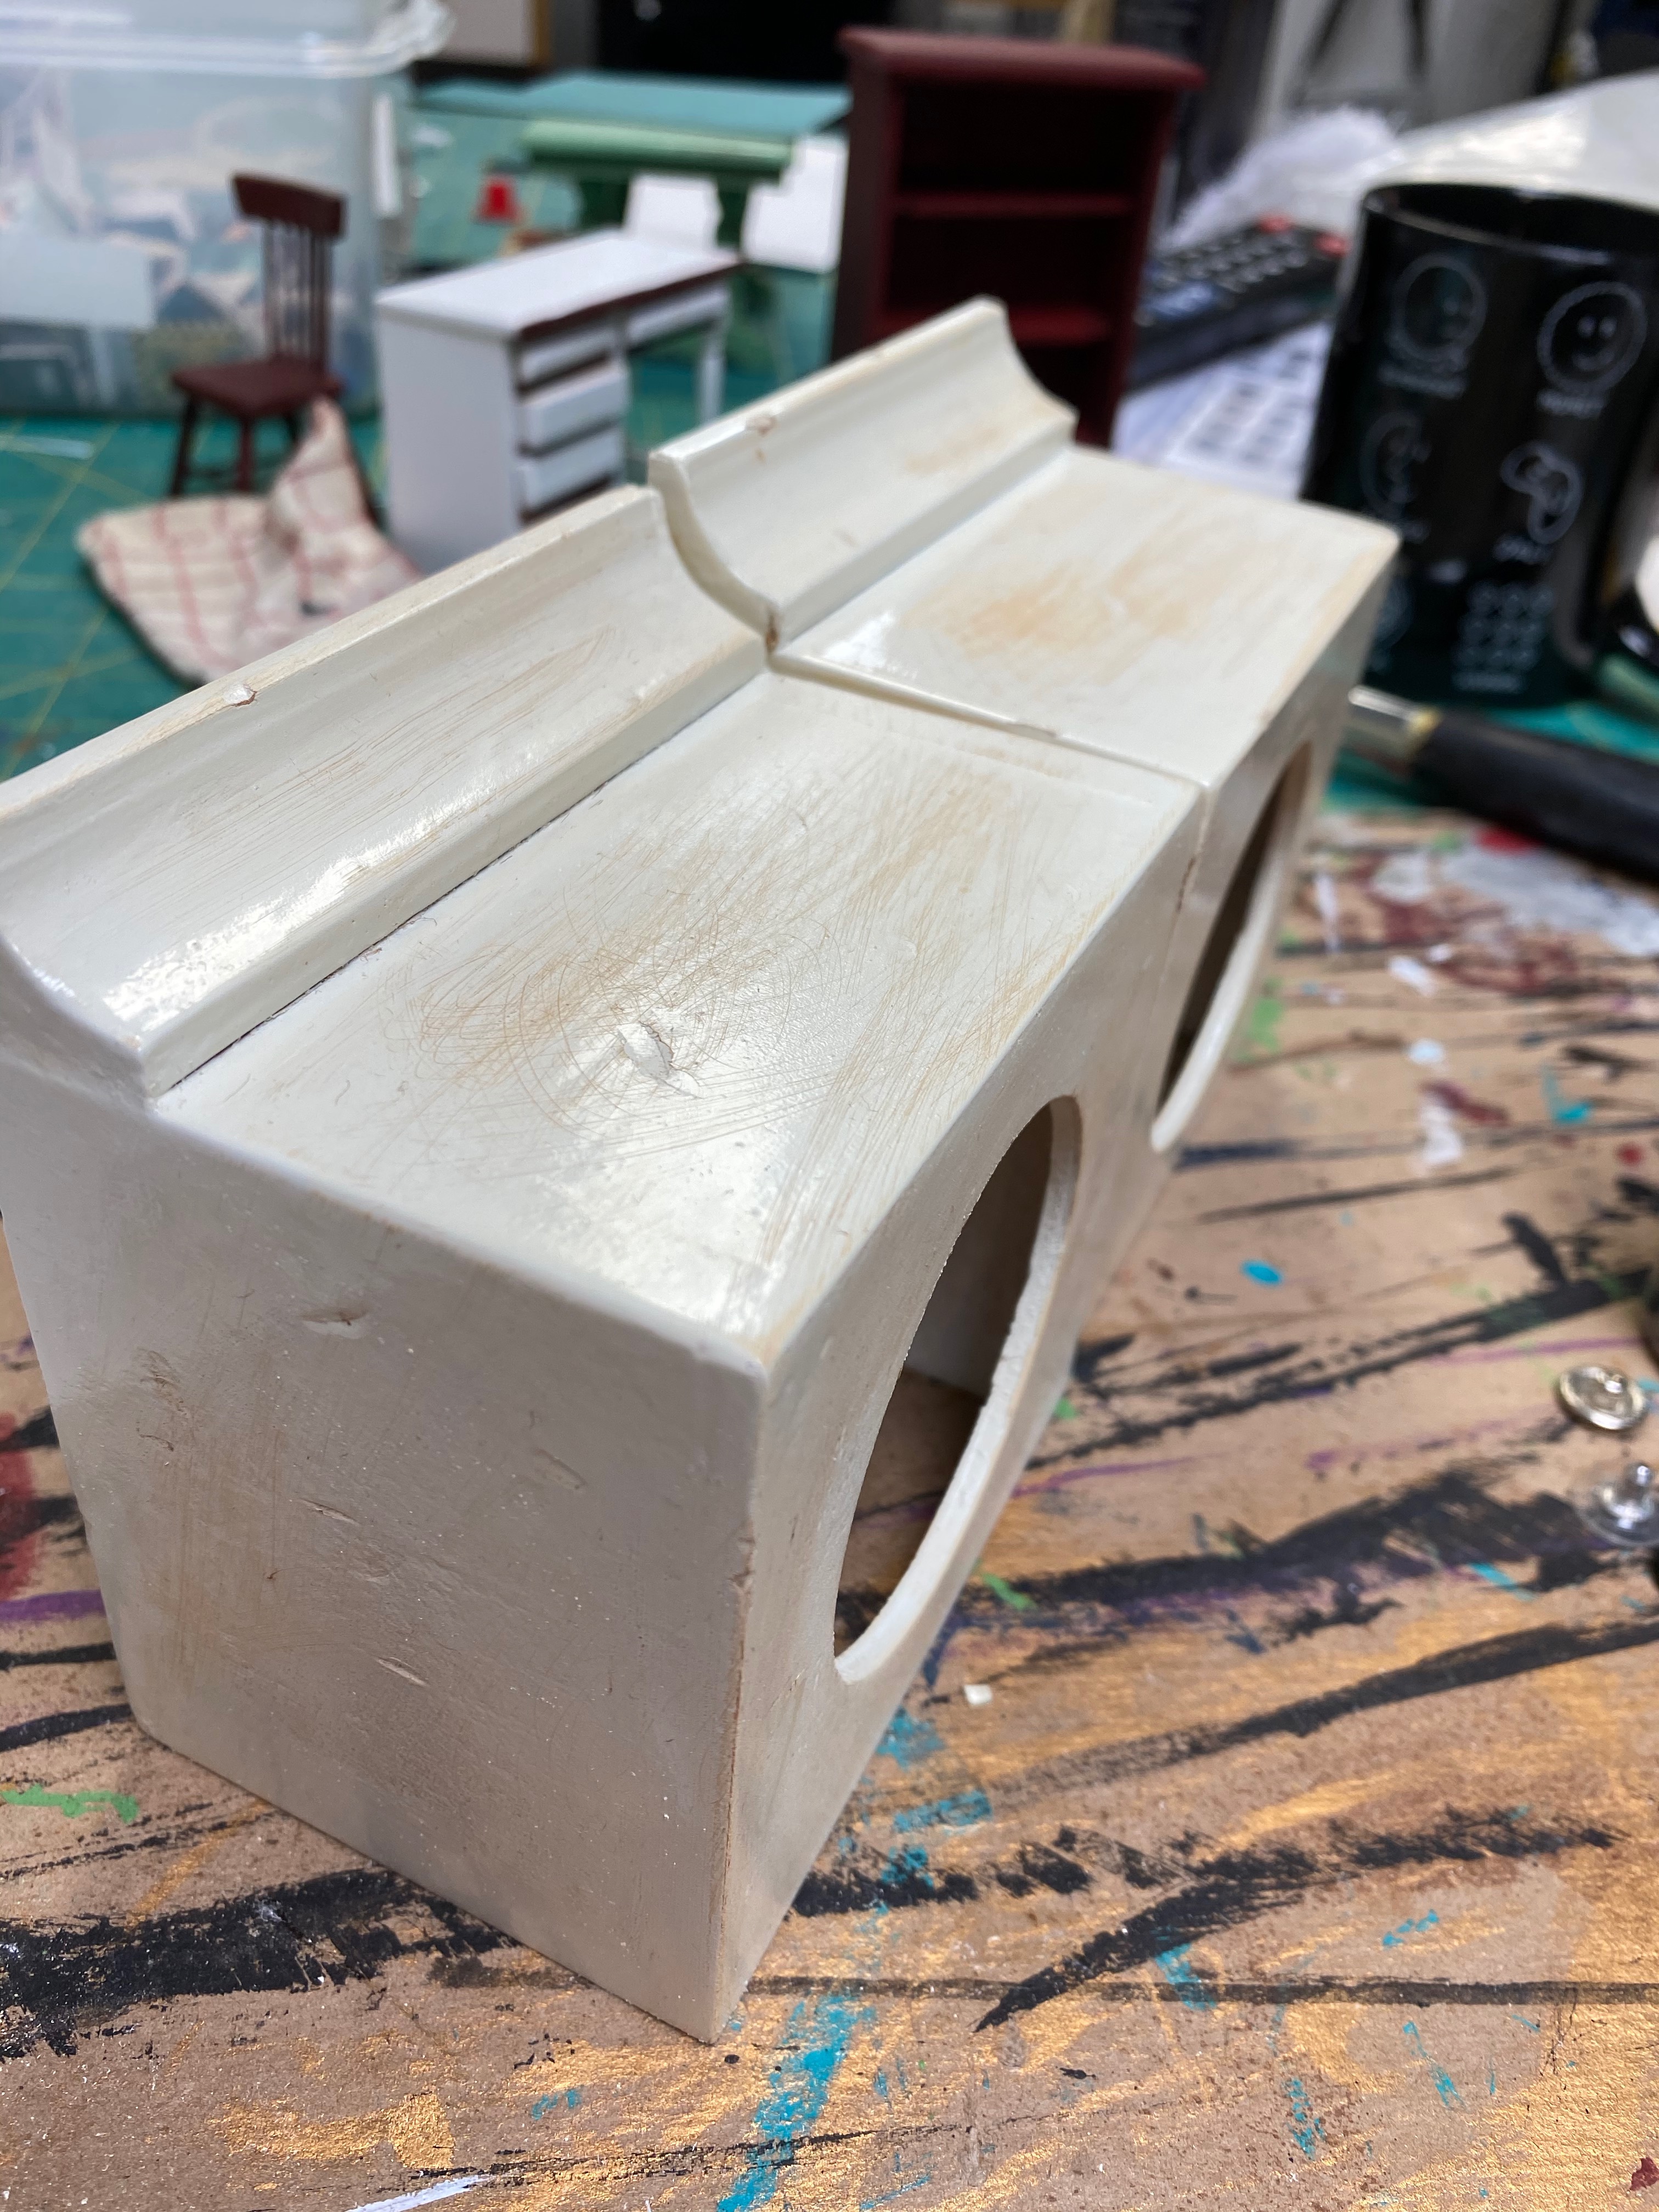
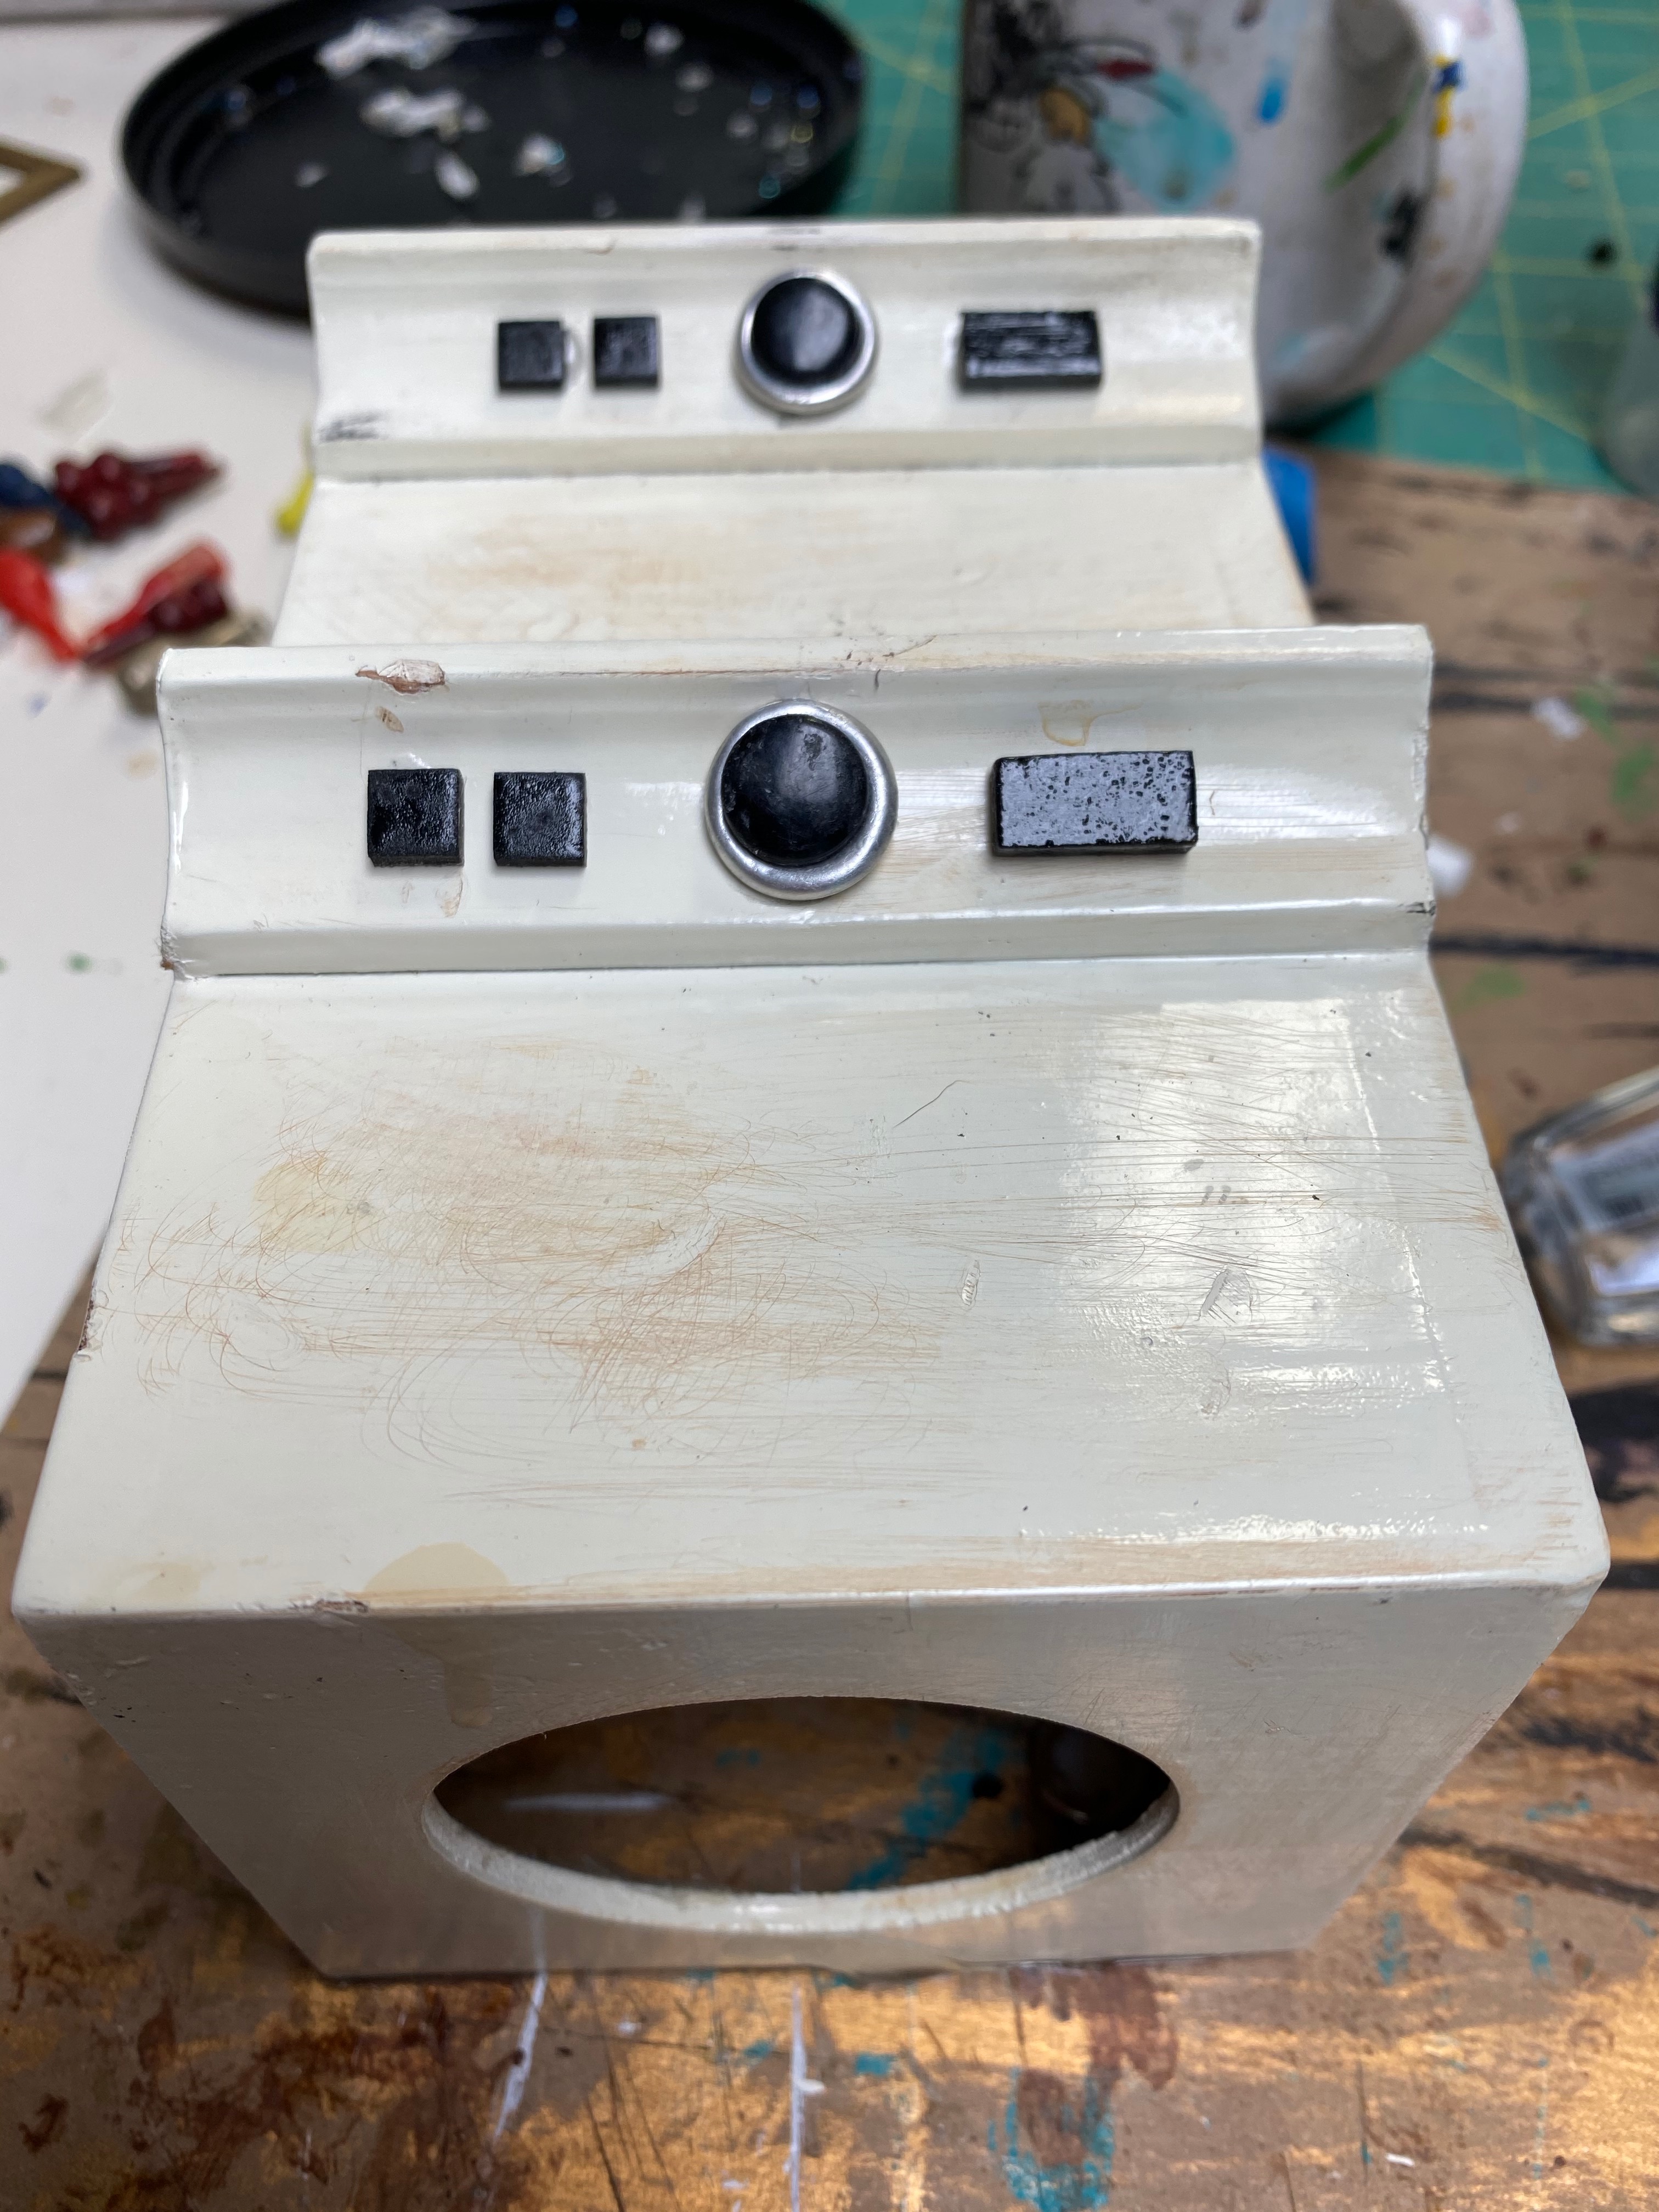
I knew I wanted to have simulated water in at least one room of the Mouse House and decided it would be fun to do it in the laundry room. I’ve never attempted this before so I wasn’t sure it would work. First, I built the washer and dryer out of wood, spray painted them with enamel and then roughed them up so they looked used. I drilled the front holes with a drill press so two bead containers would fit in them as the interiors of the appliances. I went back to my handy snap stash and made the buttons on each machine with snaps and scrap wood painted black.

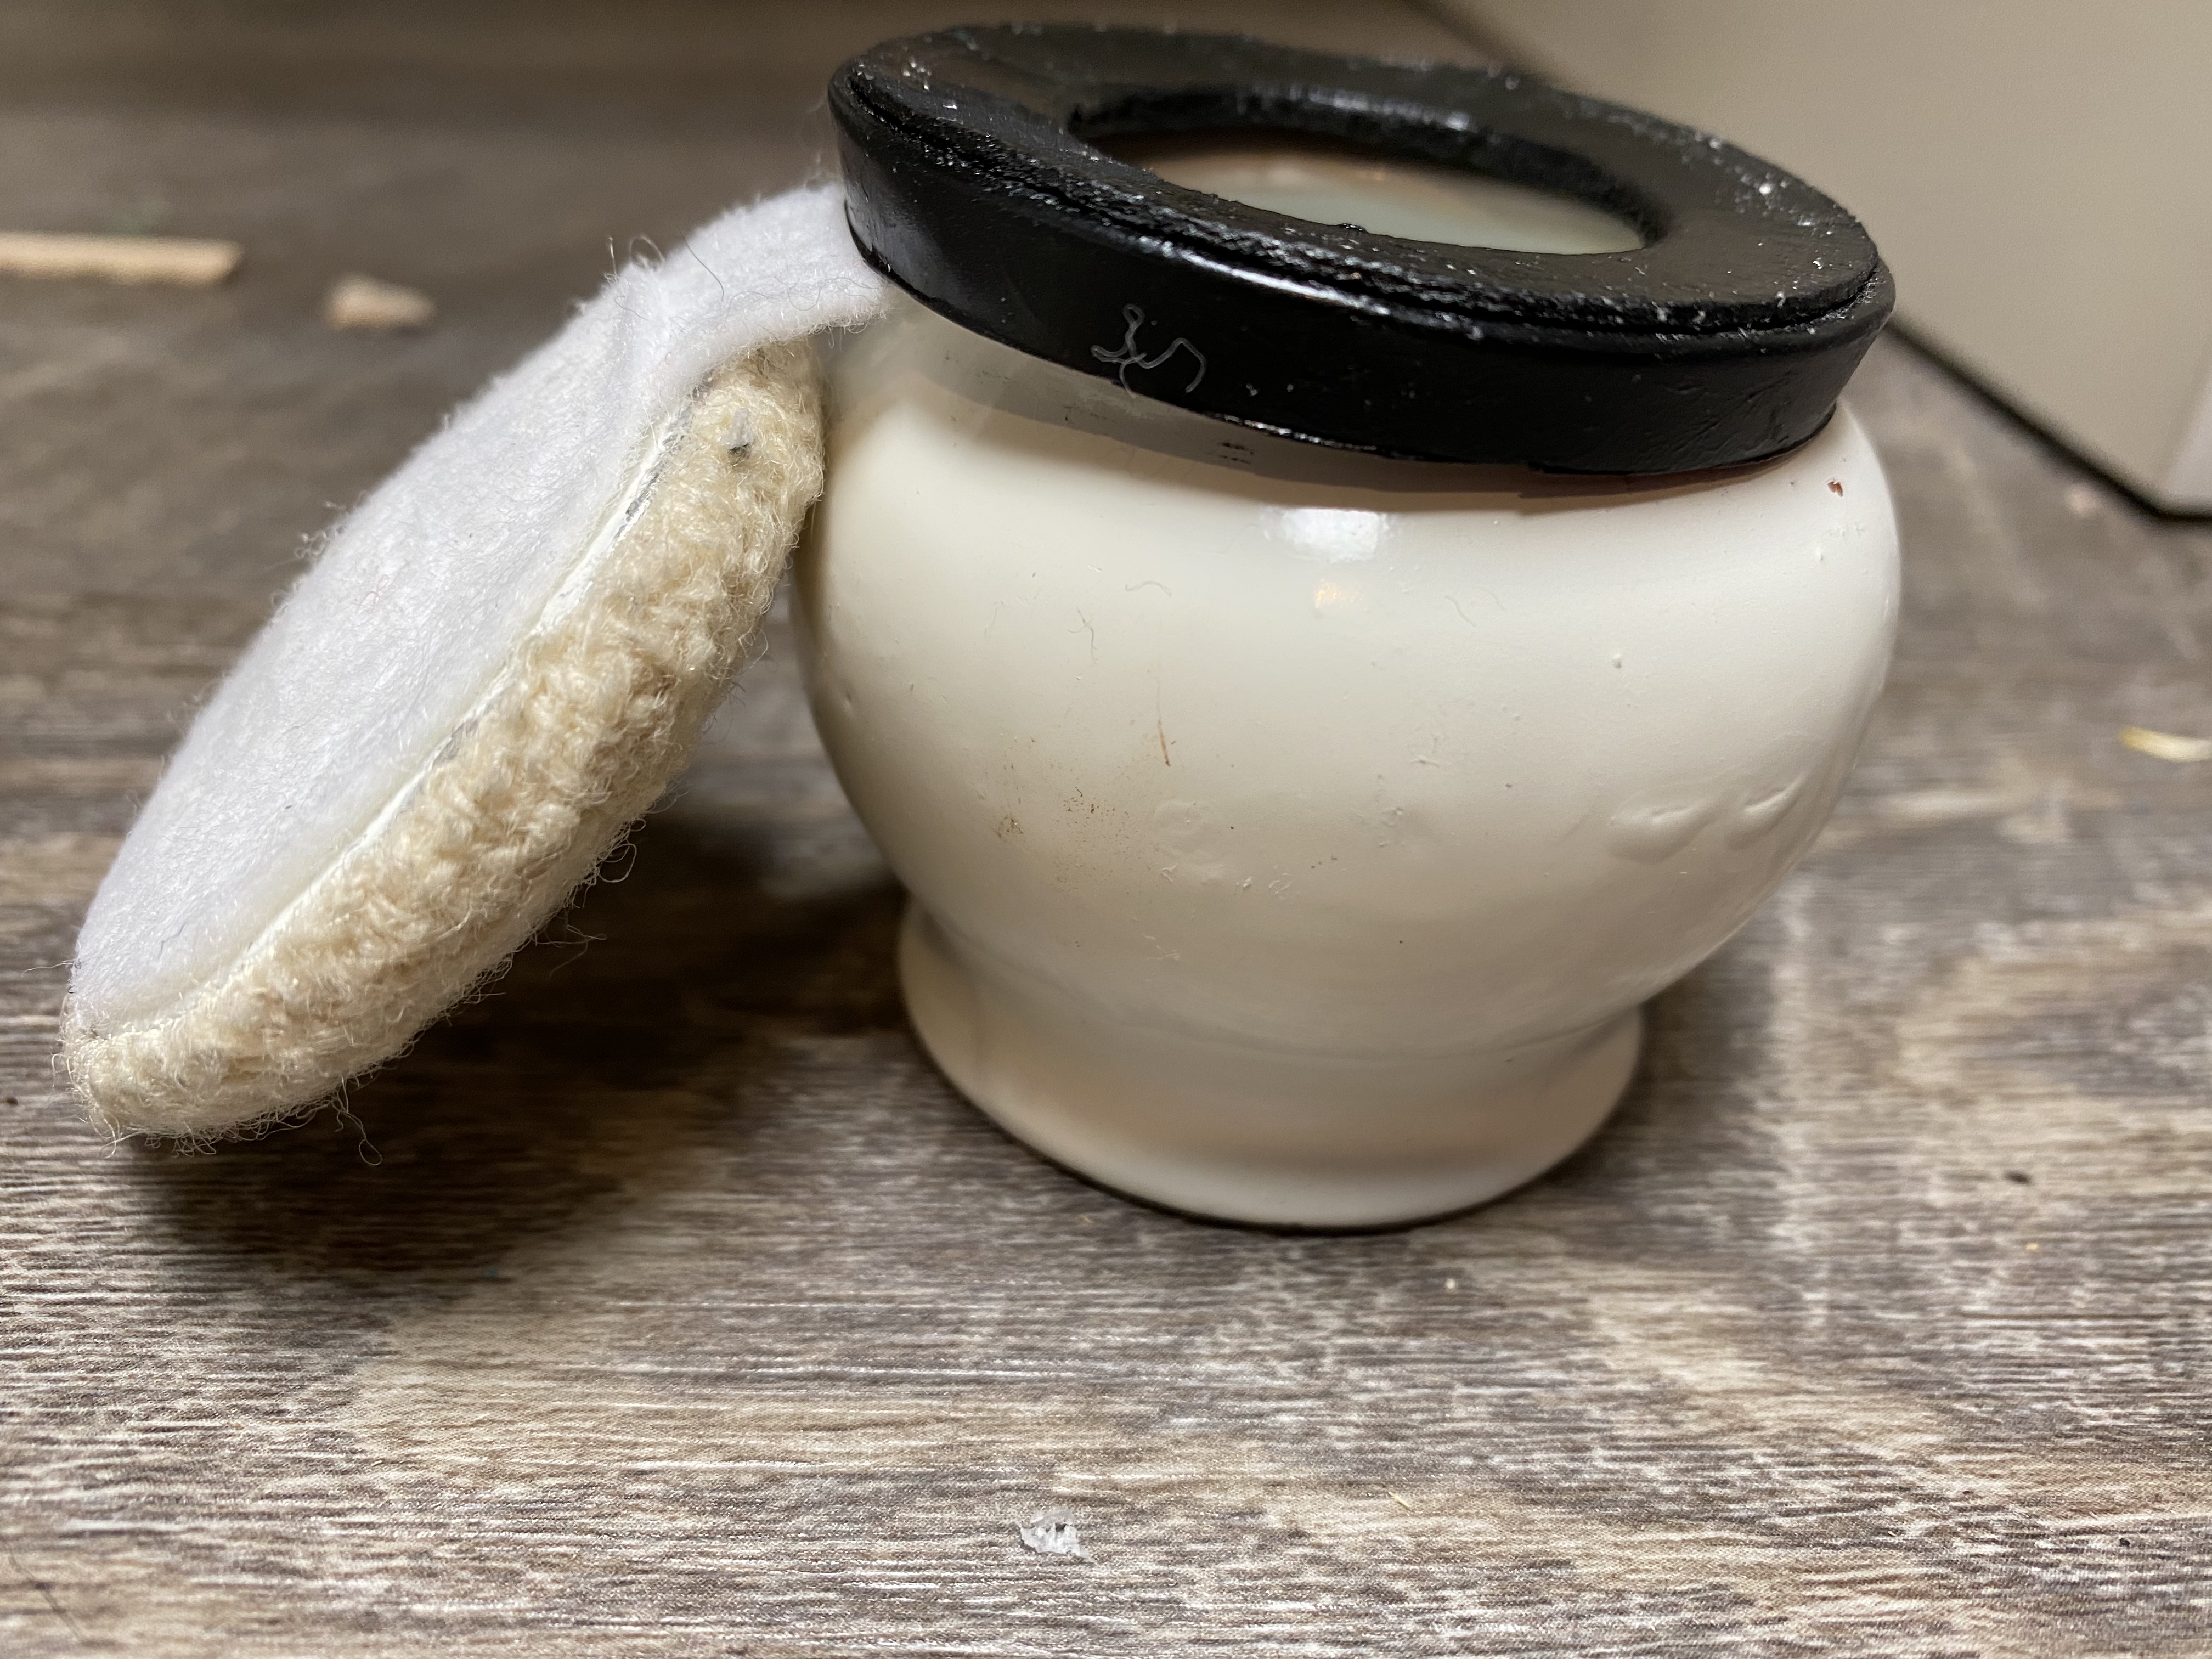
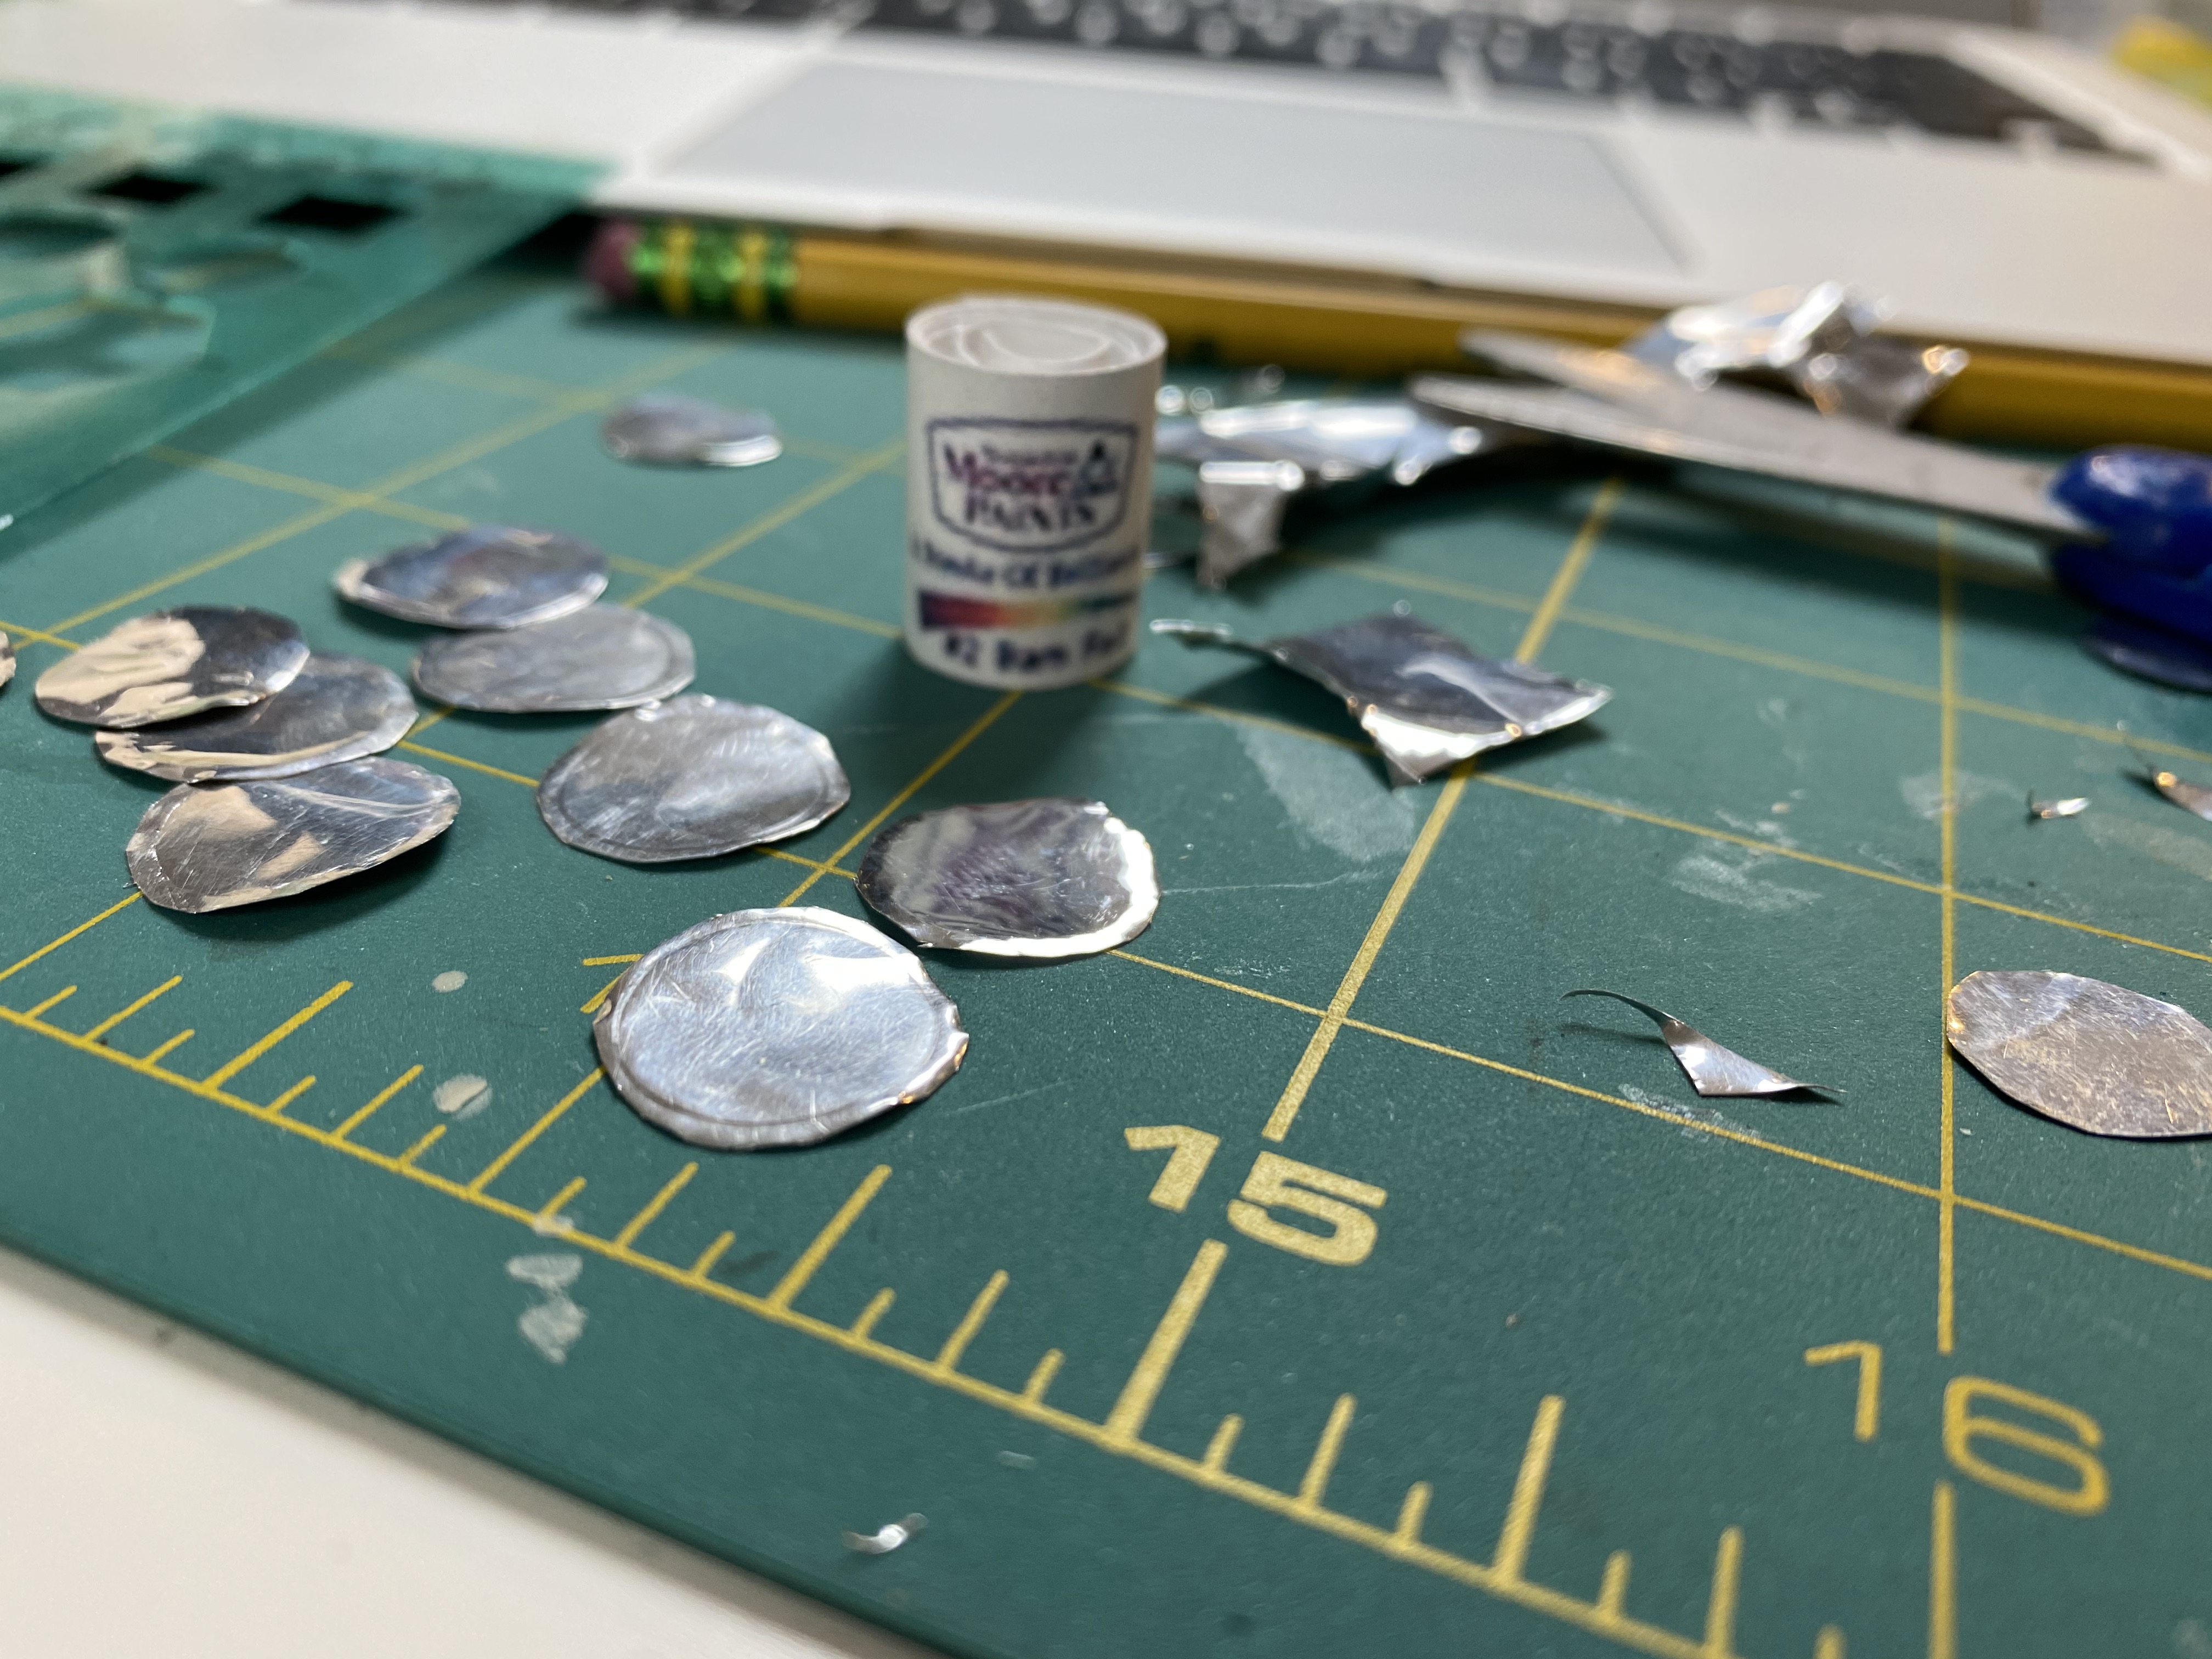
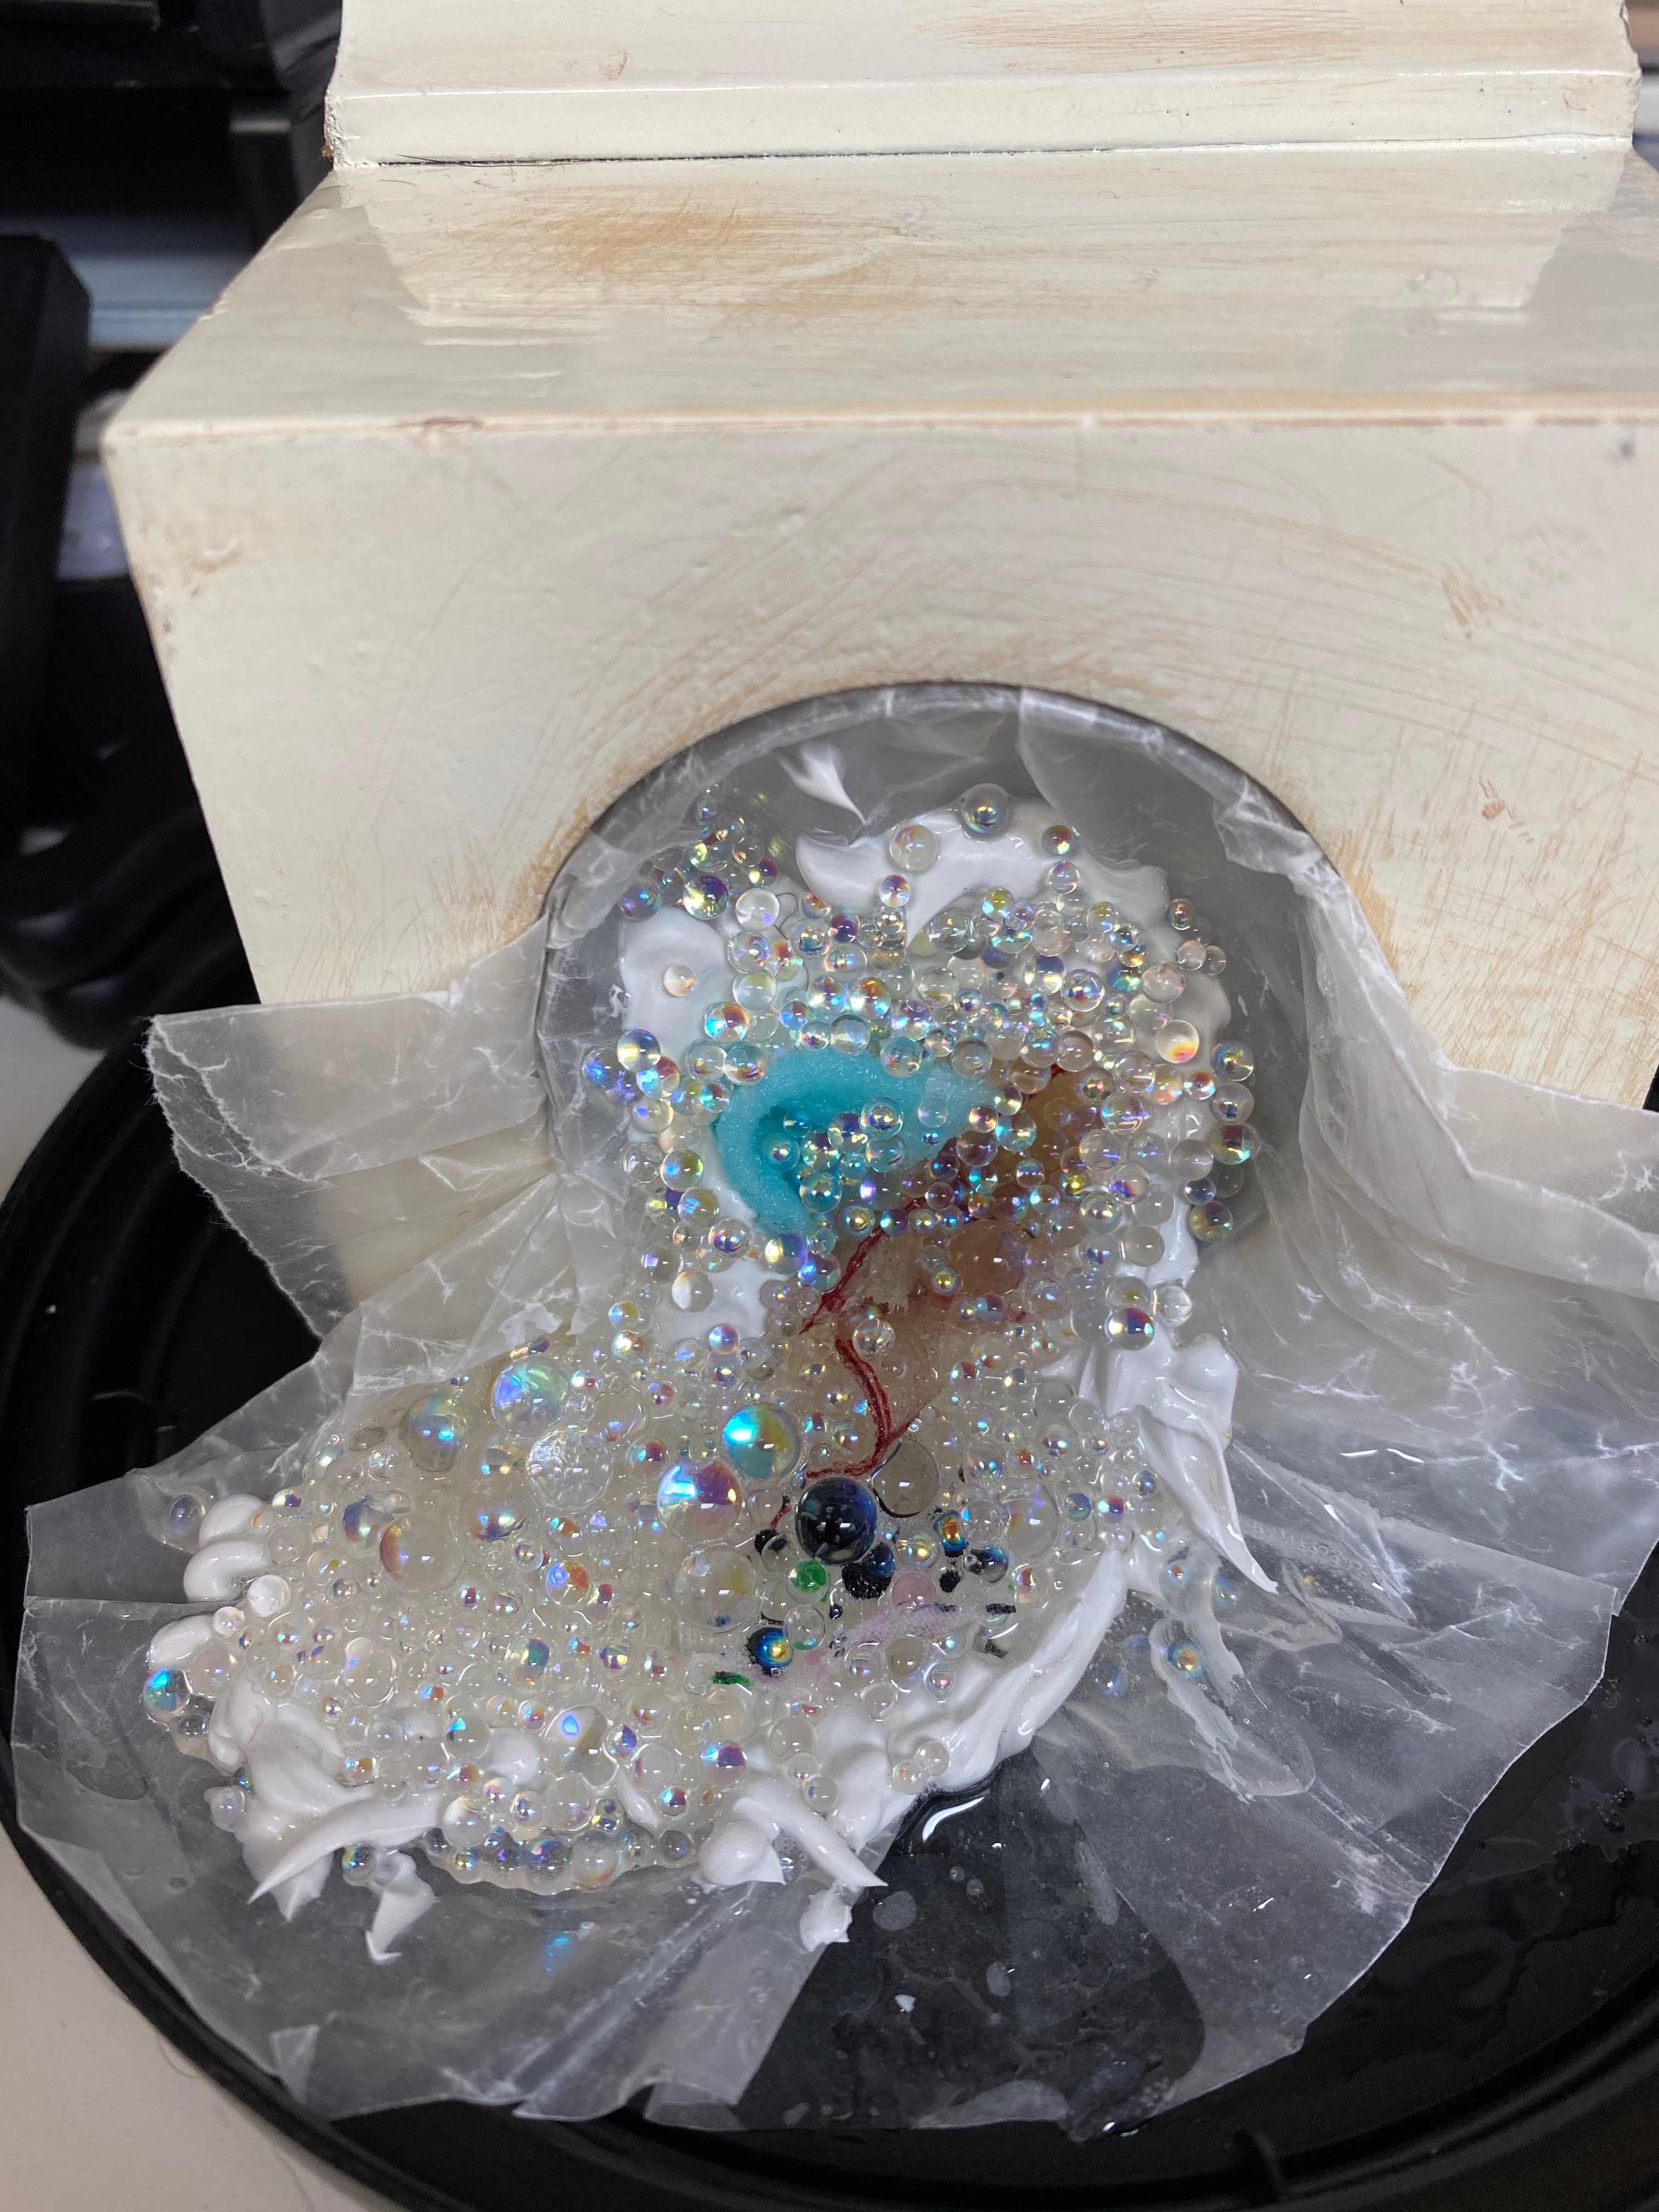
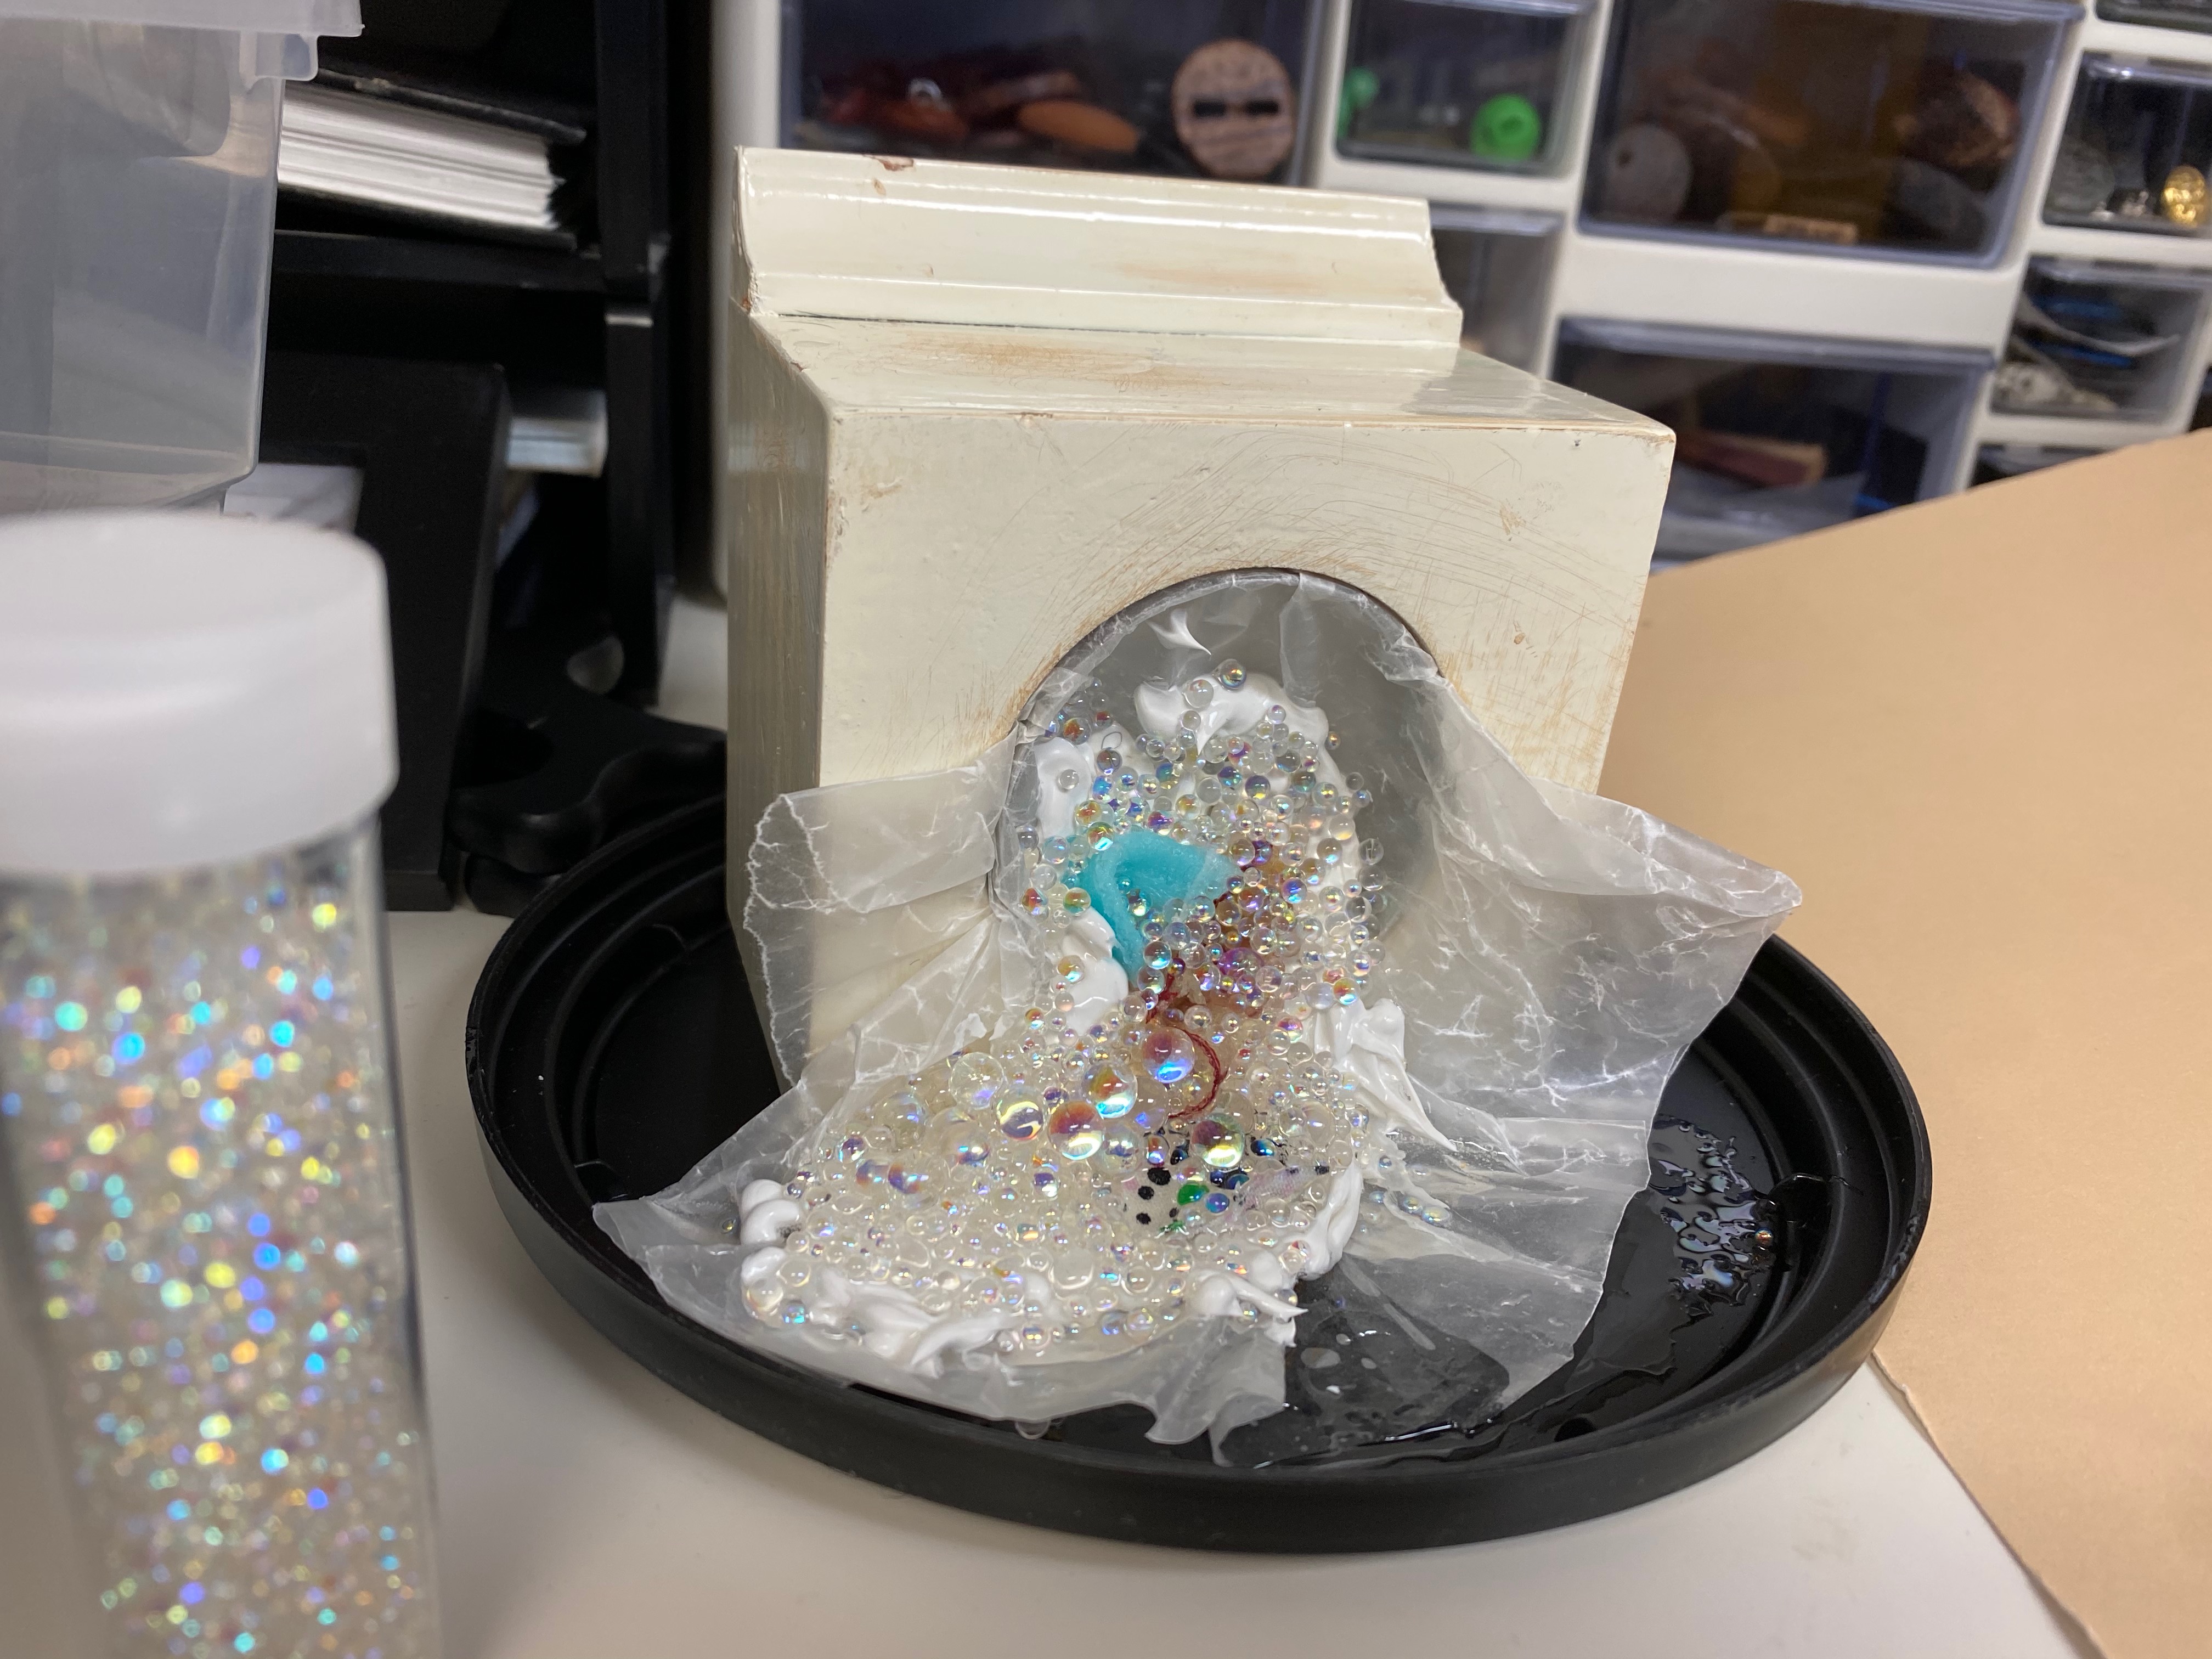
Then, I took the bottom of one of the bead containers and inserted it into the washer. I covered it with wax paper, and then used flexible caulk to cover the areas where I wanted the suds to flow. I did this because the resin I used next was clear and I was afraid the bubbles wouldn’t look soapy without the white background. I then placed glass balls of various sizes on the caulk, and carefully poured the resin over that. I also added bits of fabric to the mix so it looked like laundry.

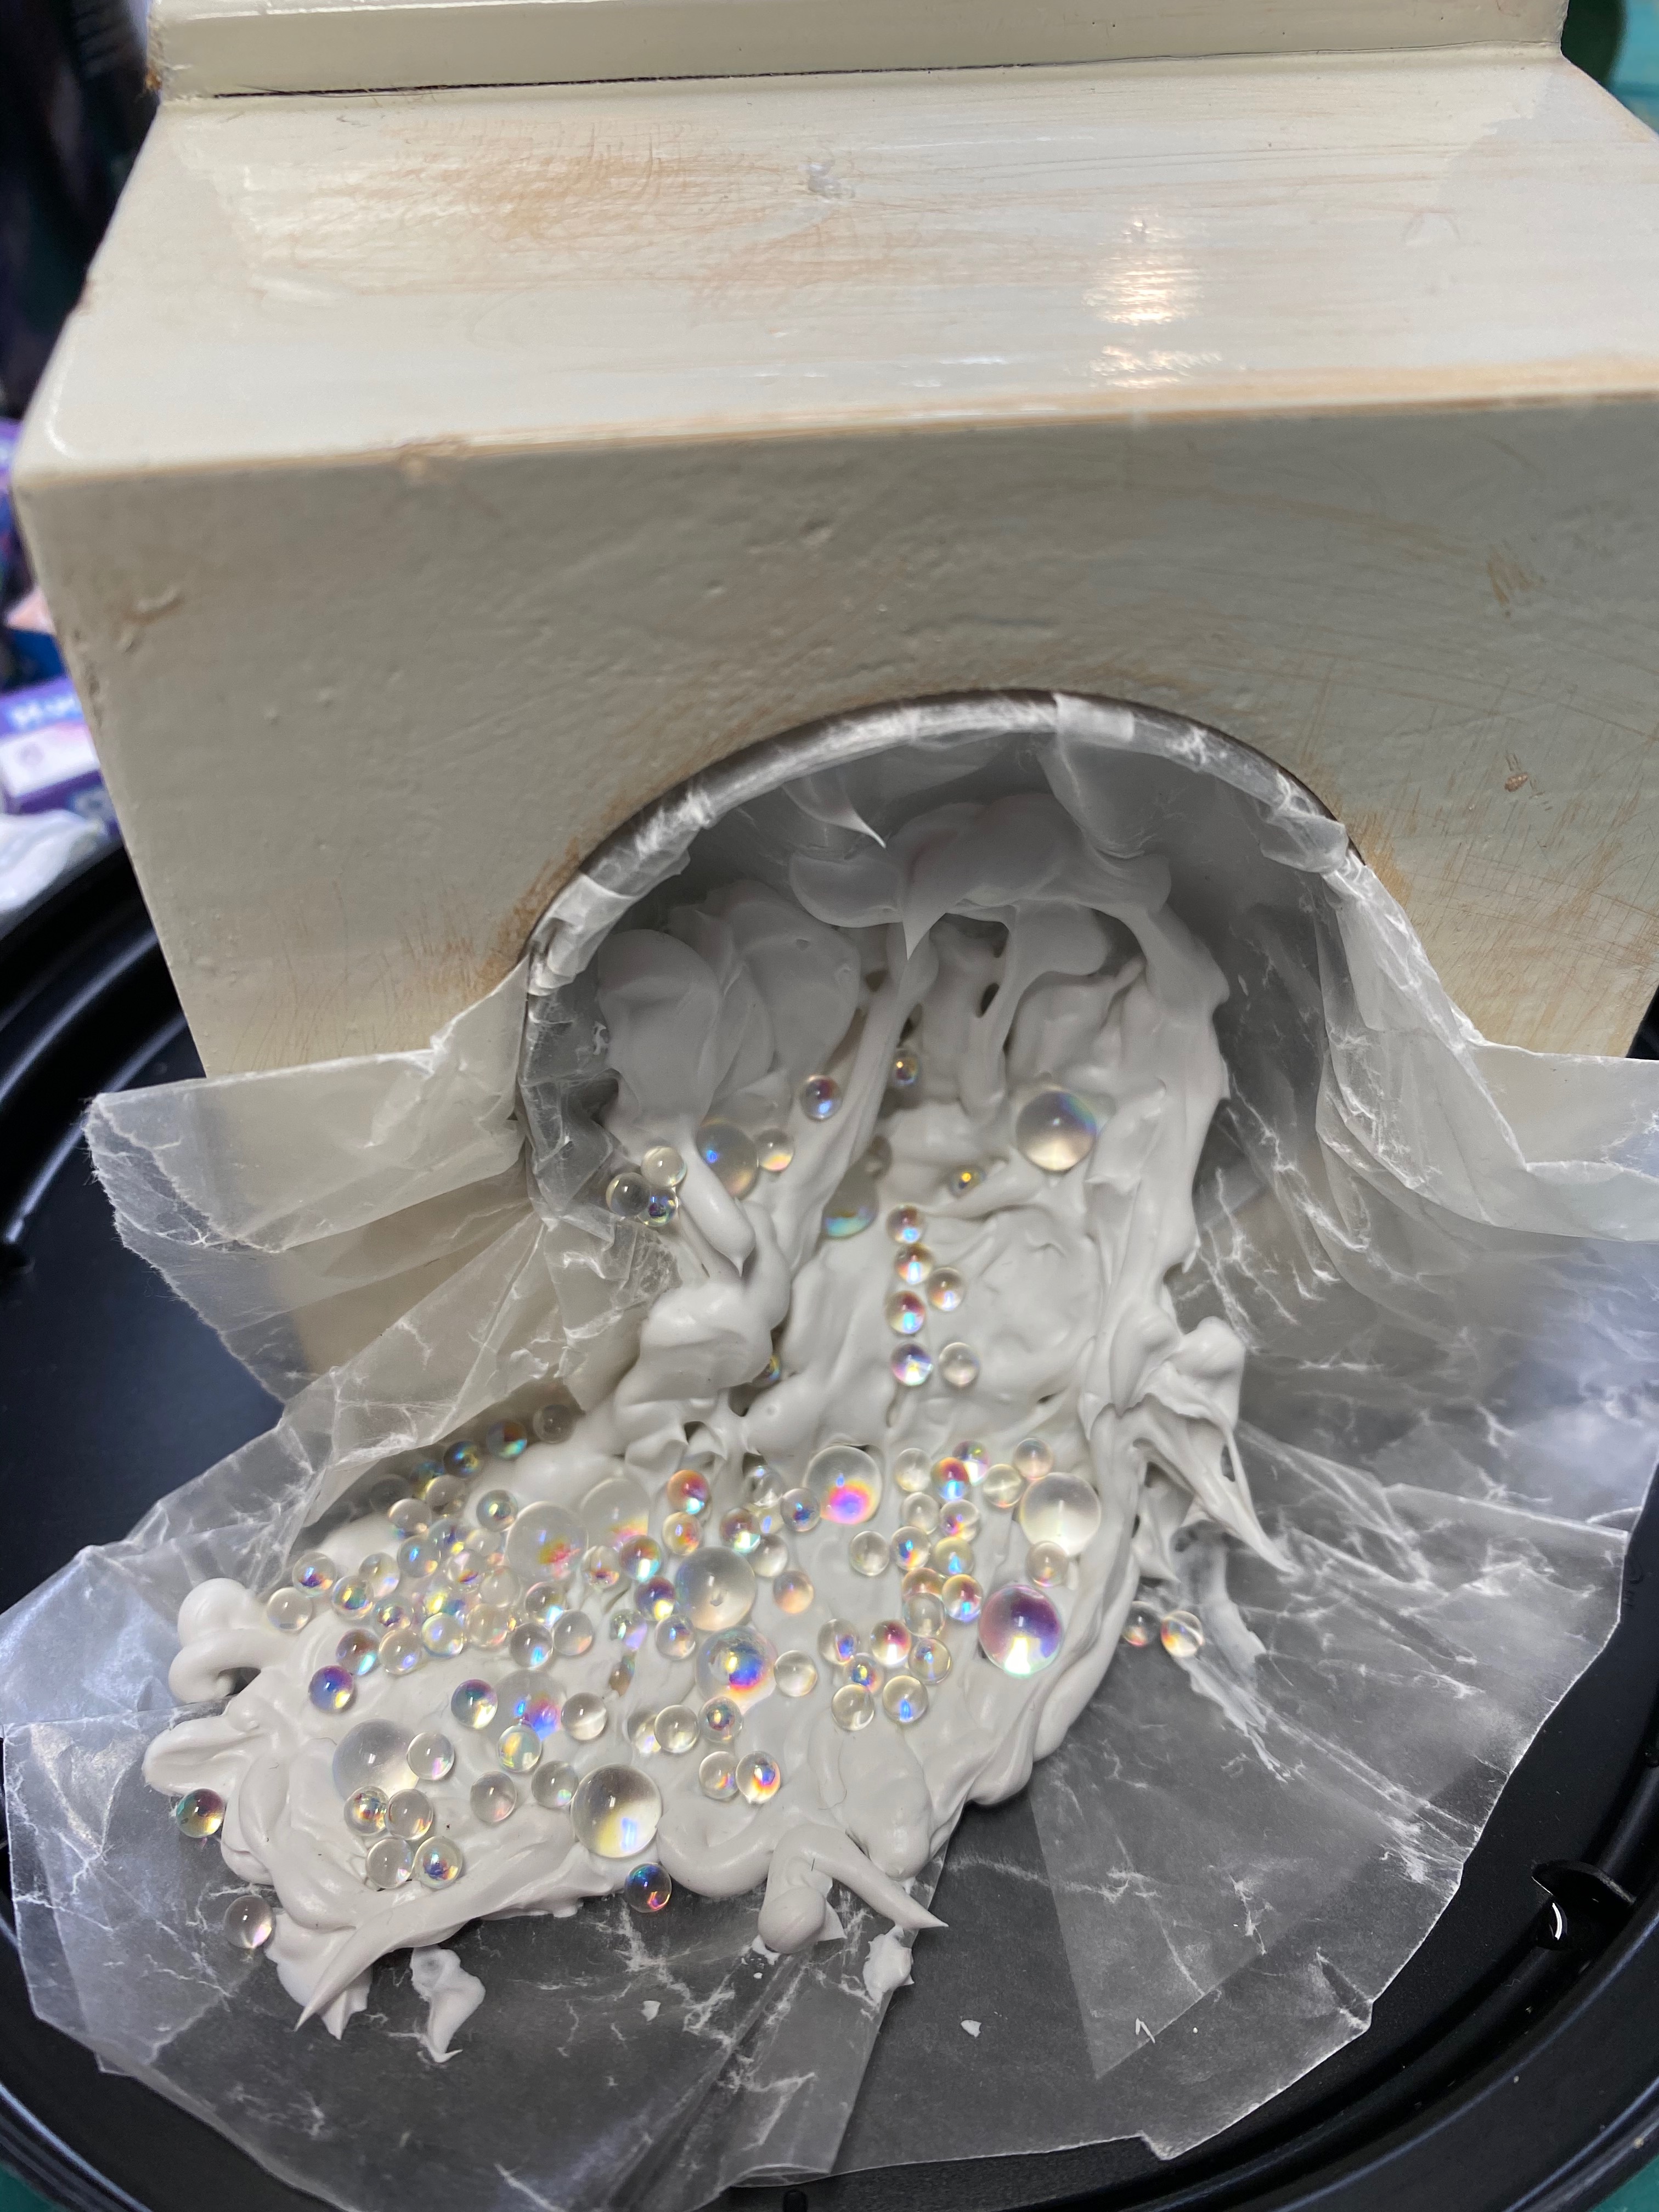
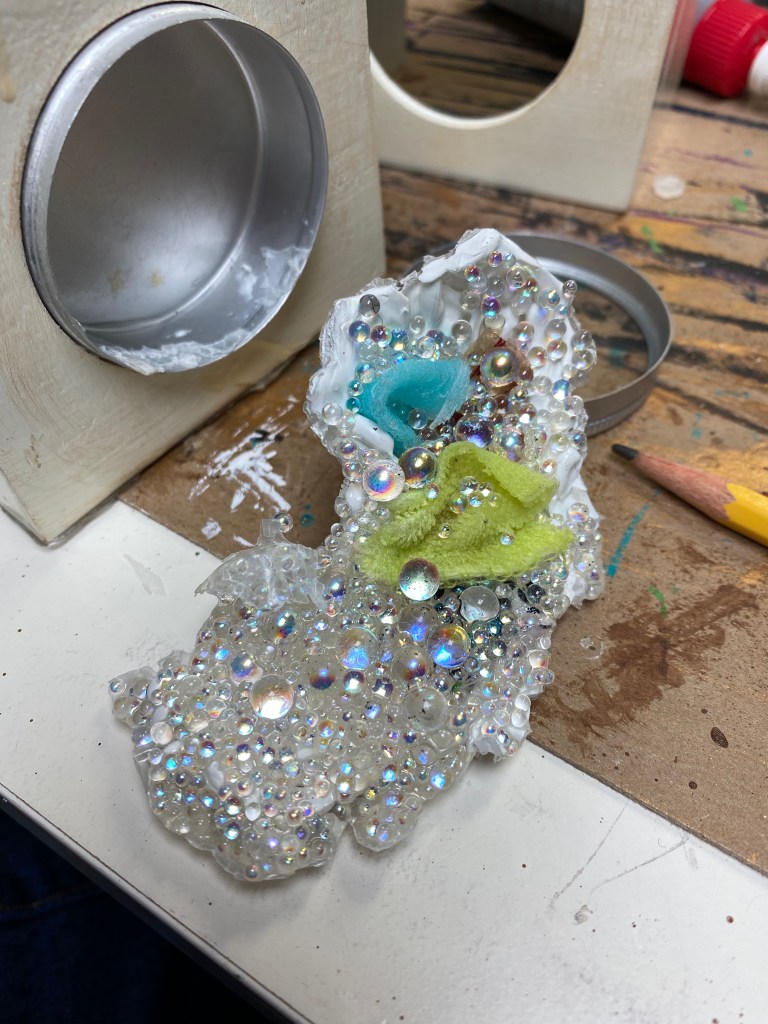
When it finally dried (a long 24 hour wait) I was able to remove the wax paper so it looked like this:

The hardened resin with glass balls and fabric.

Finally, I glued it into the washing machine and carefully used super glue to prop the door open.

The finished washer and dryer.

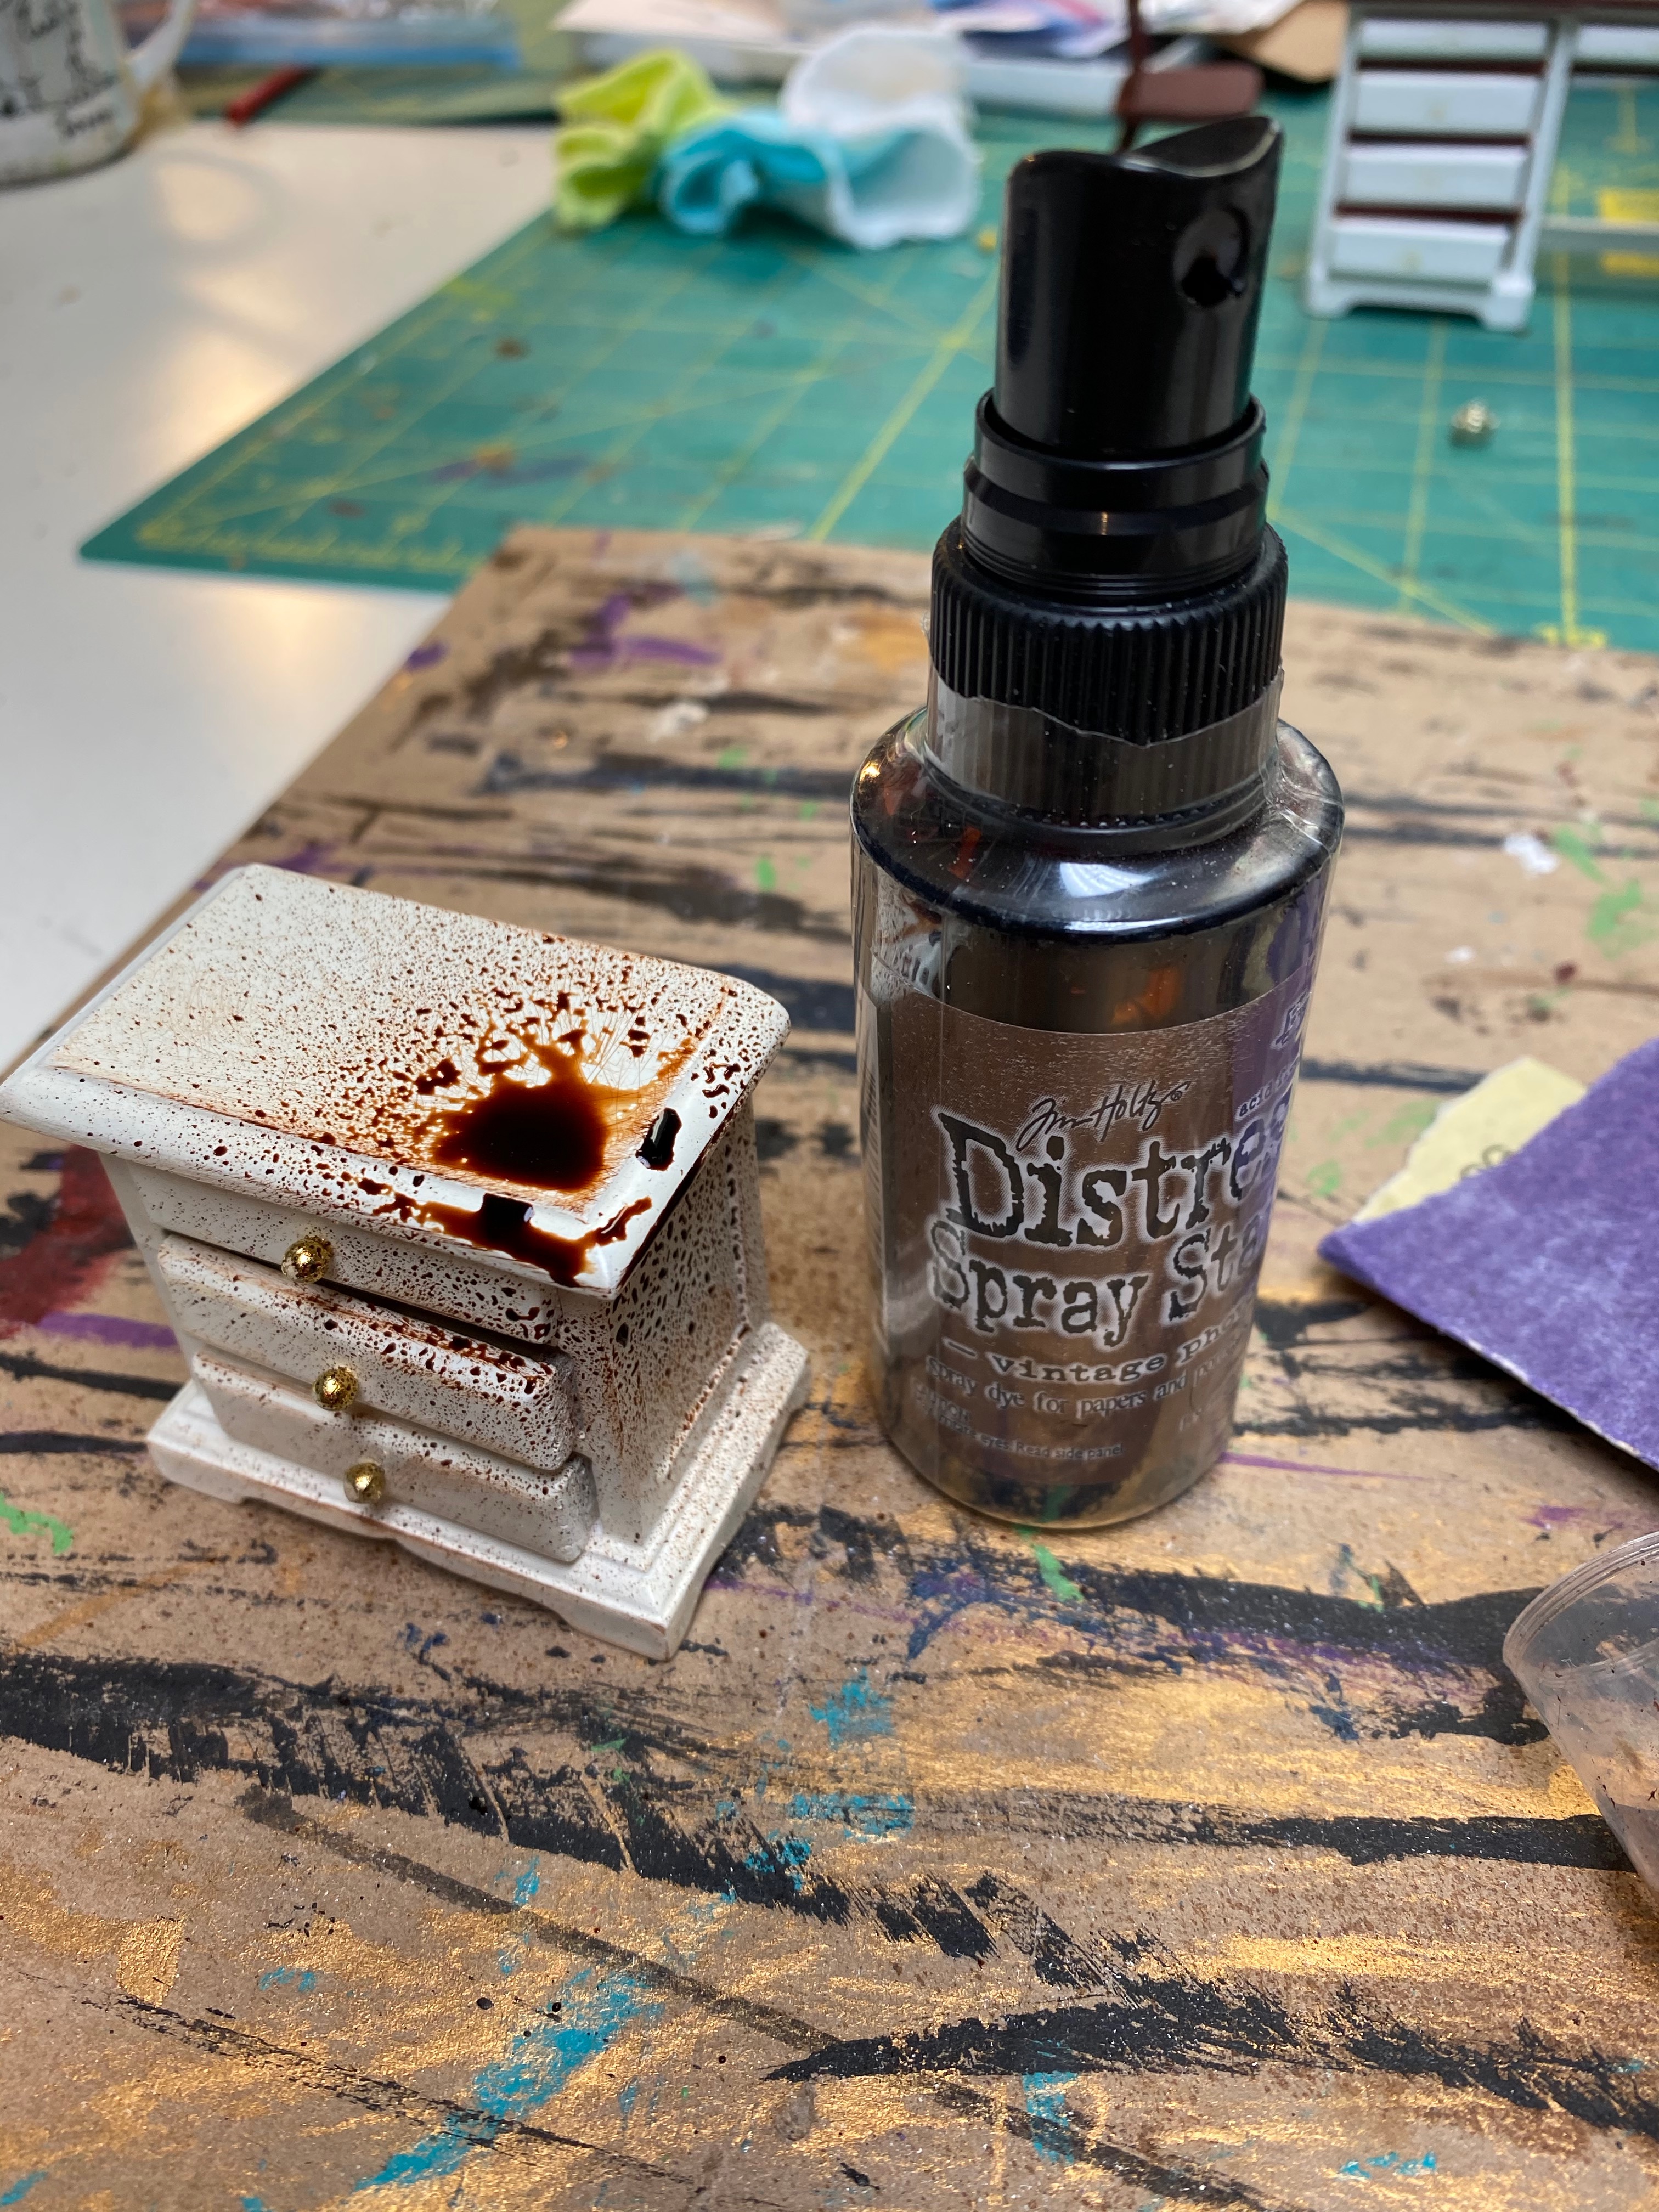
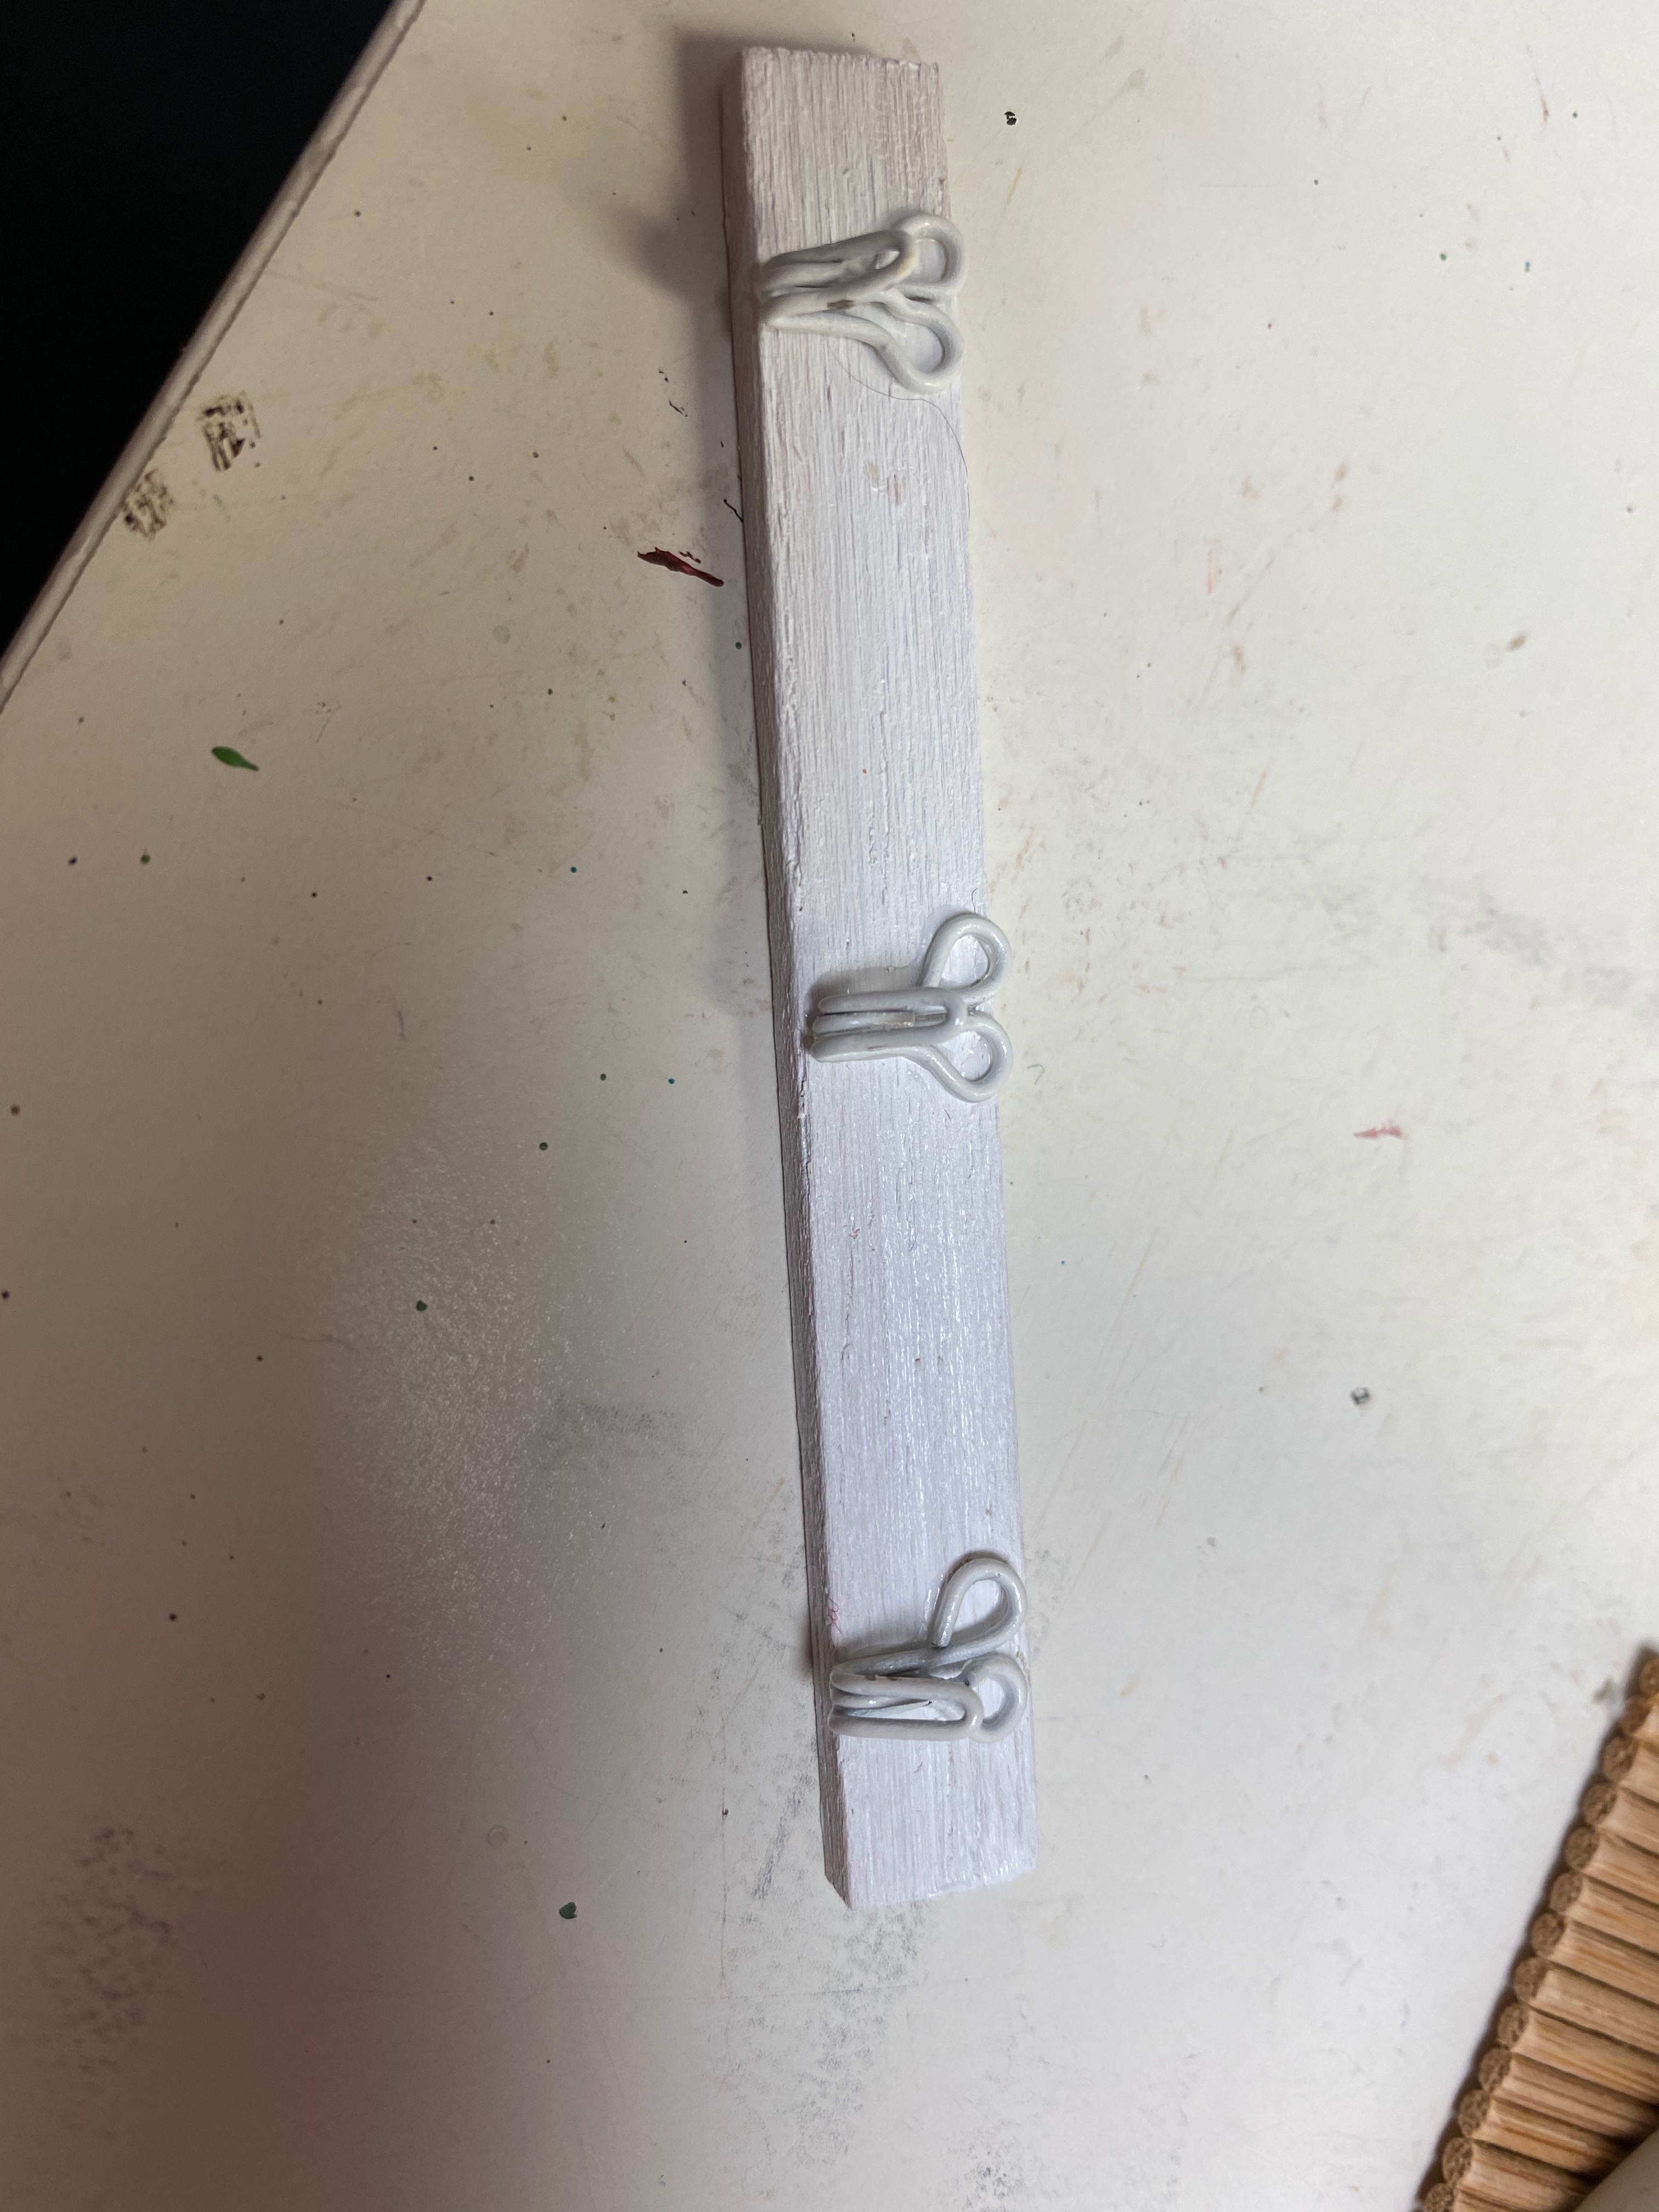
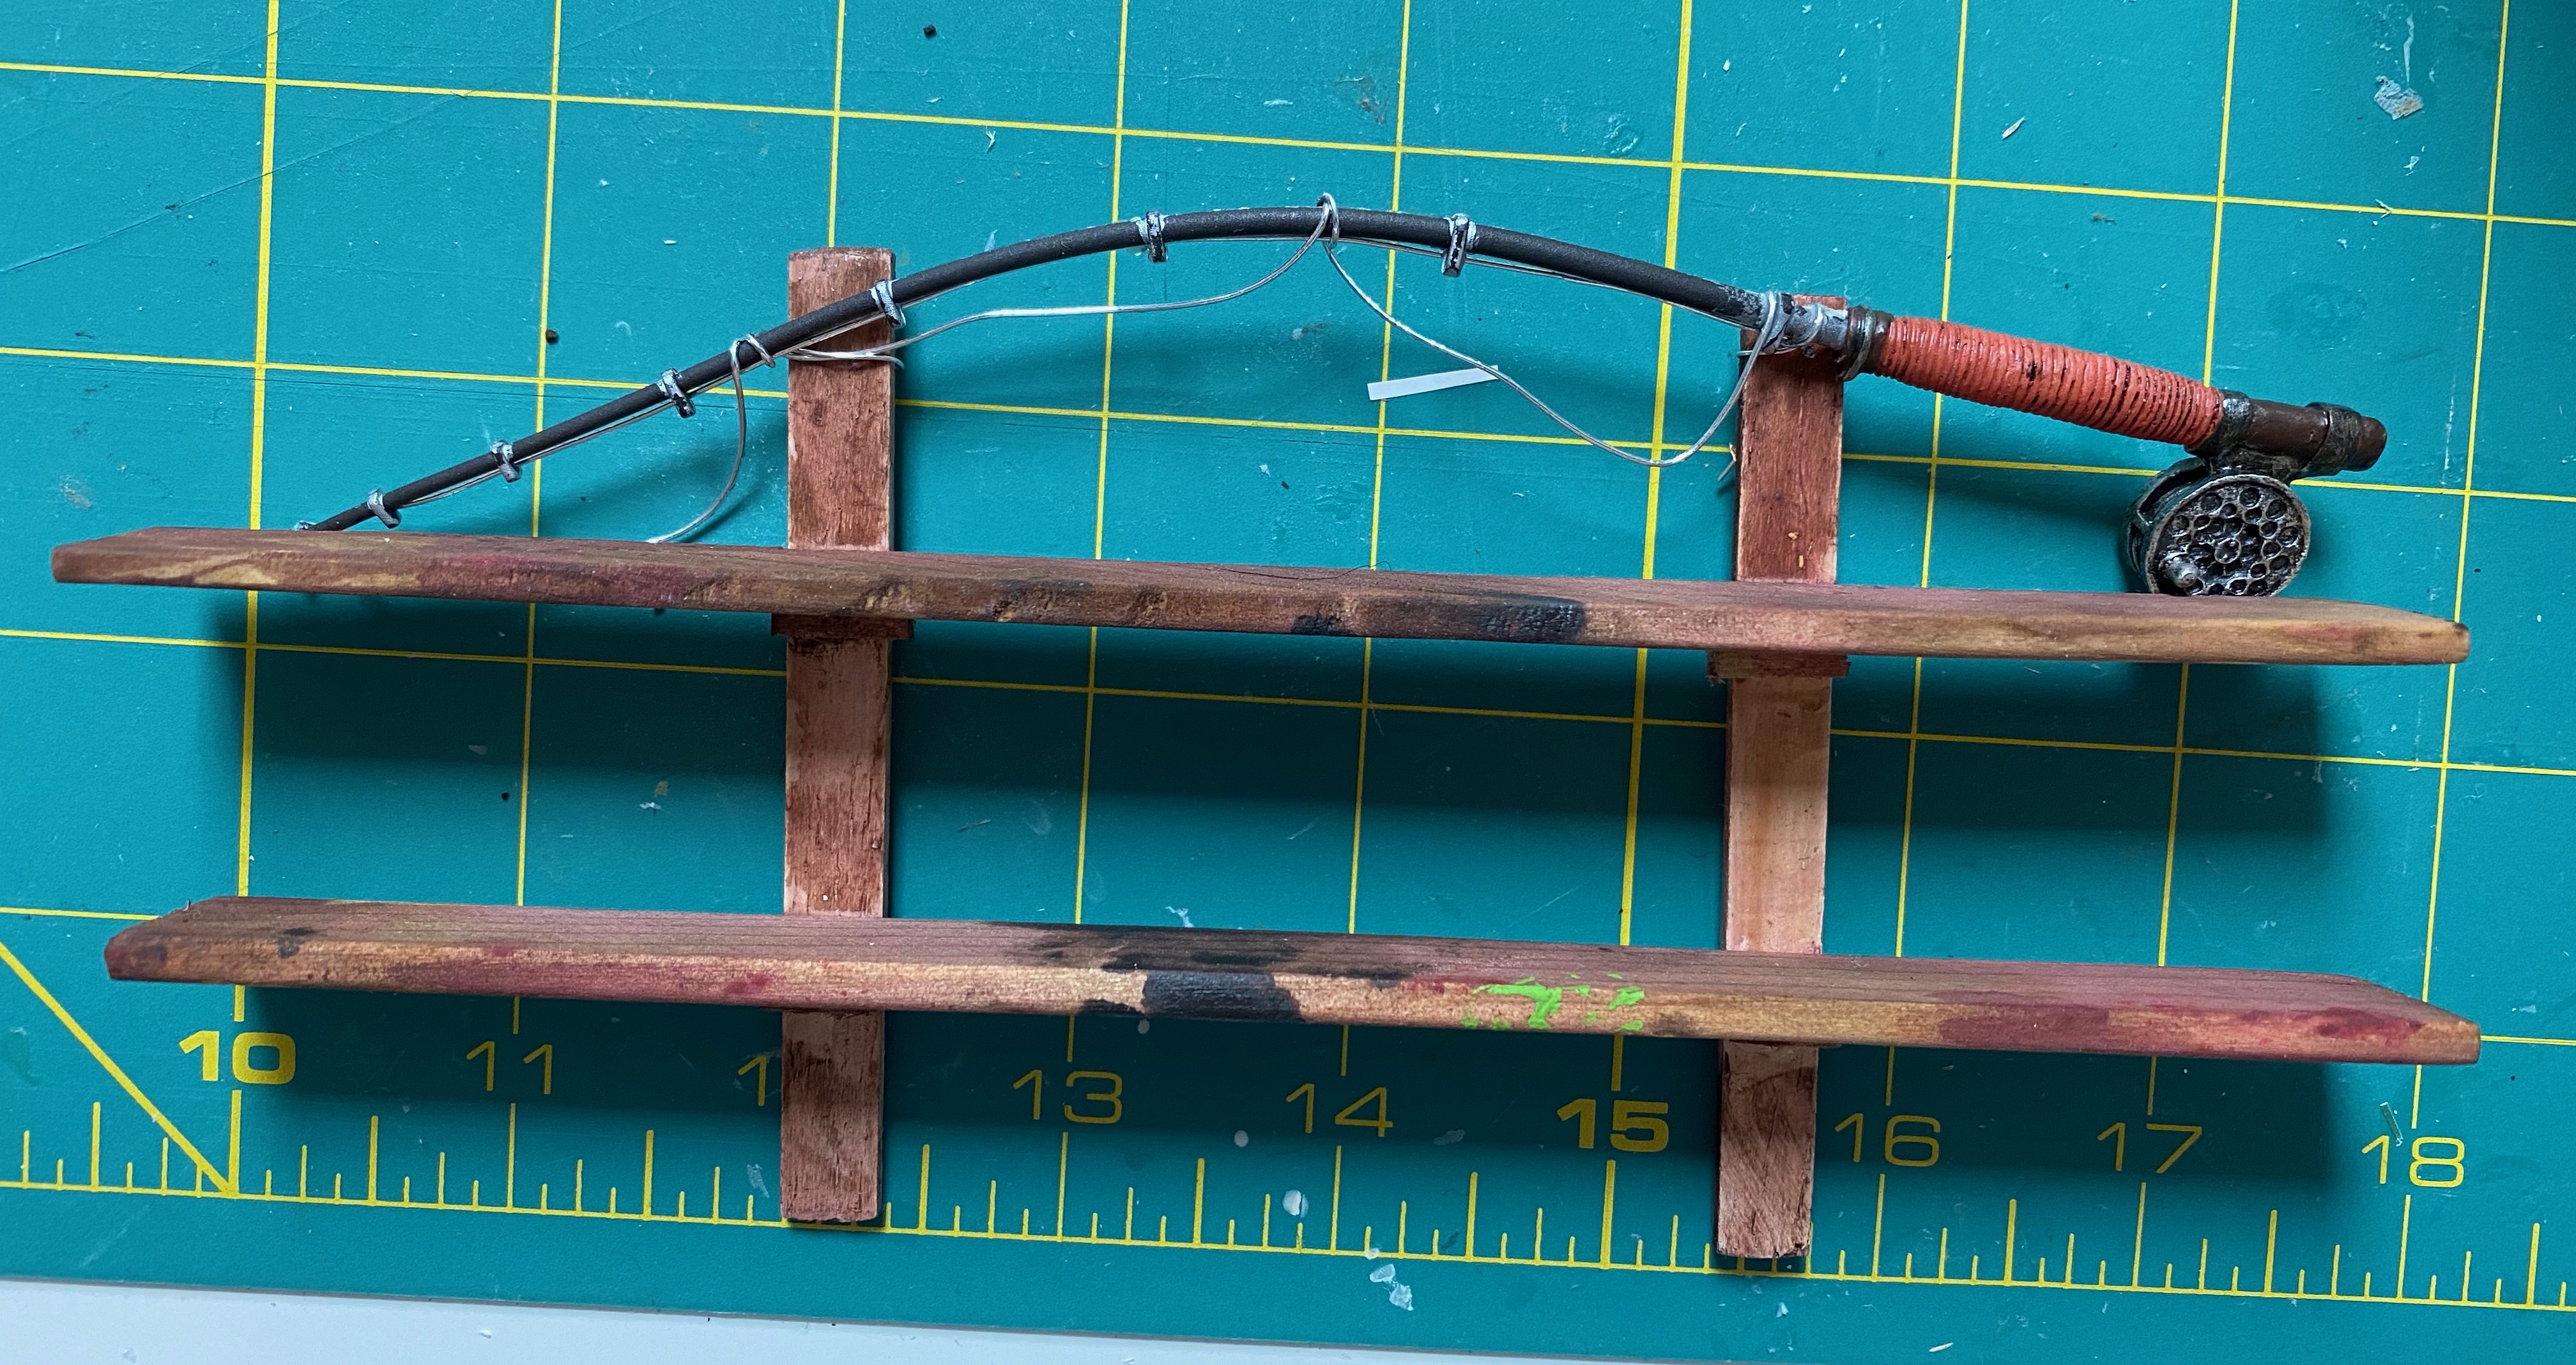
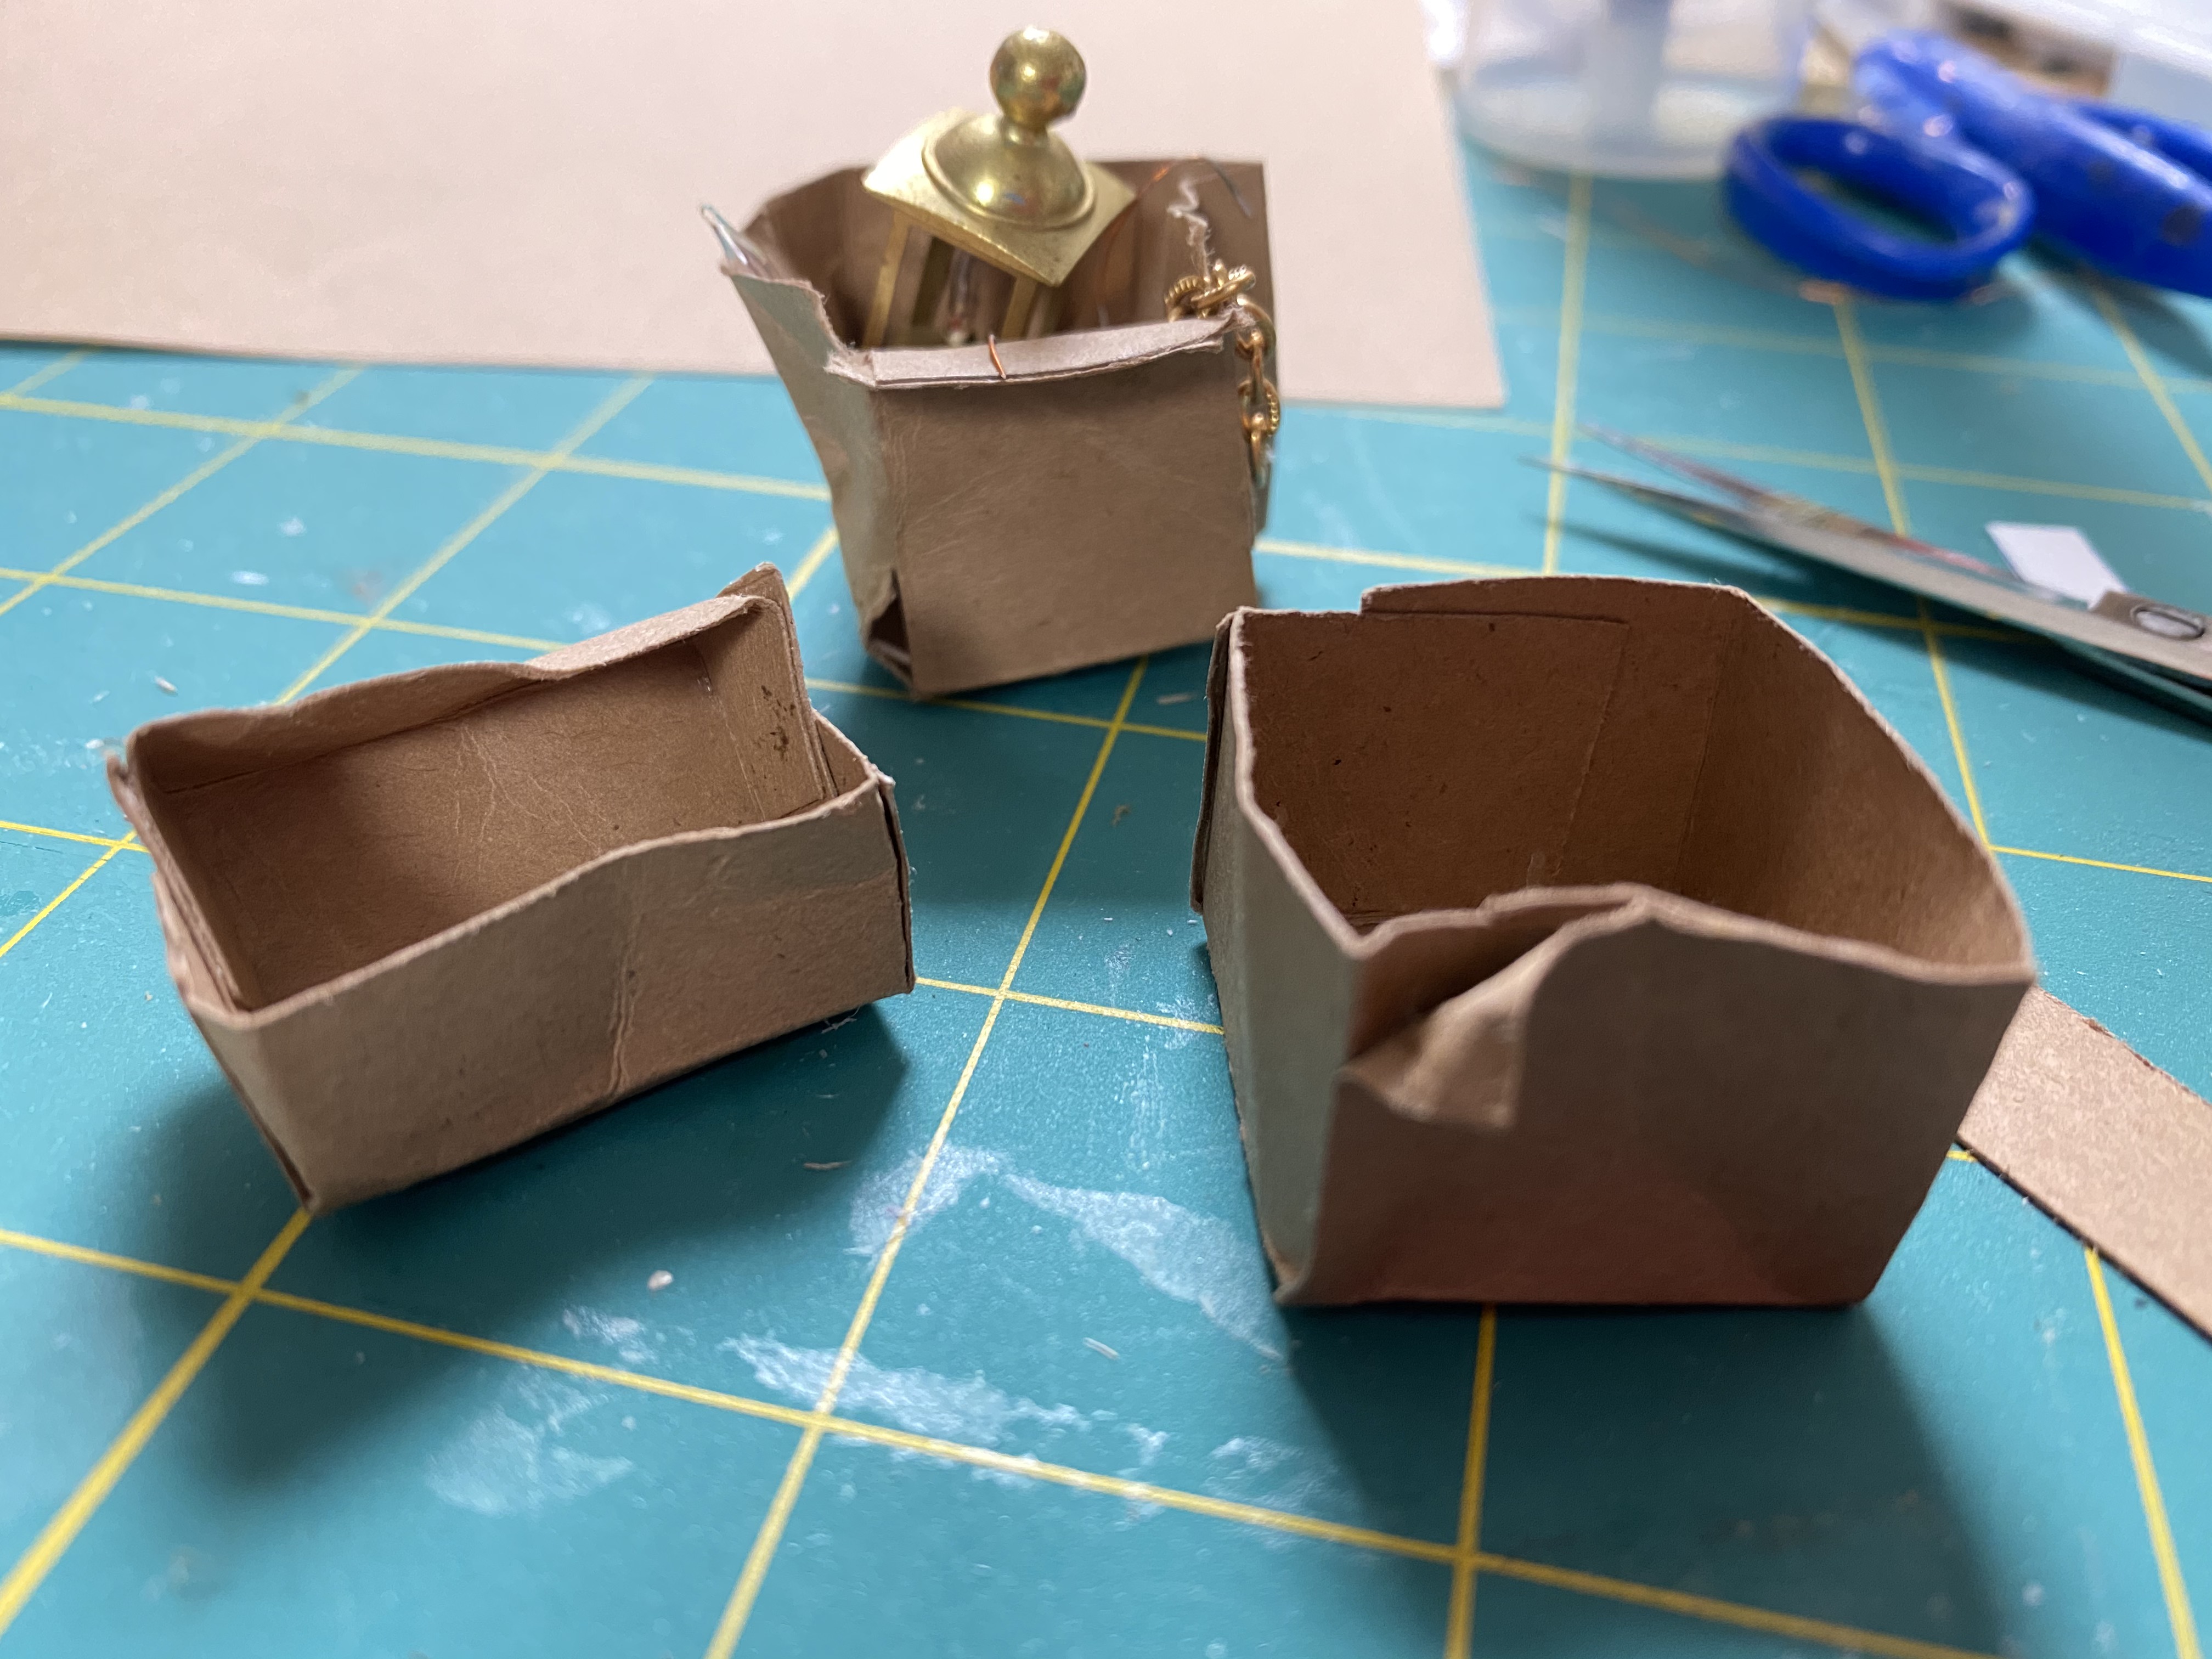
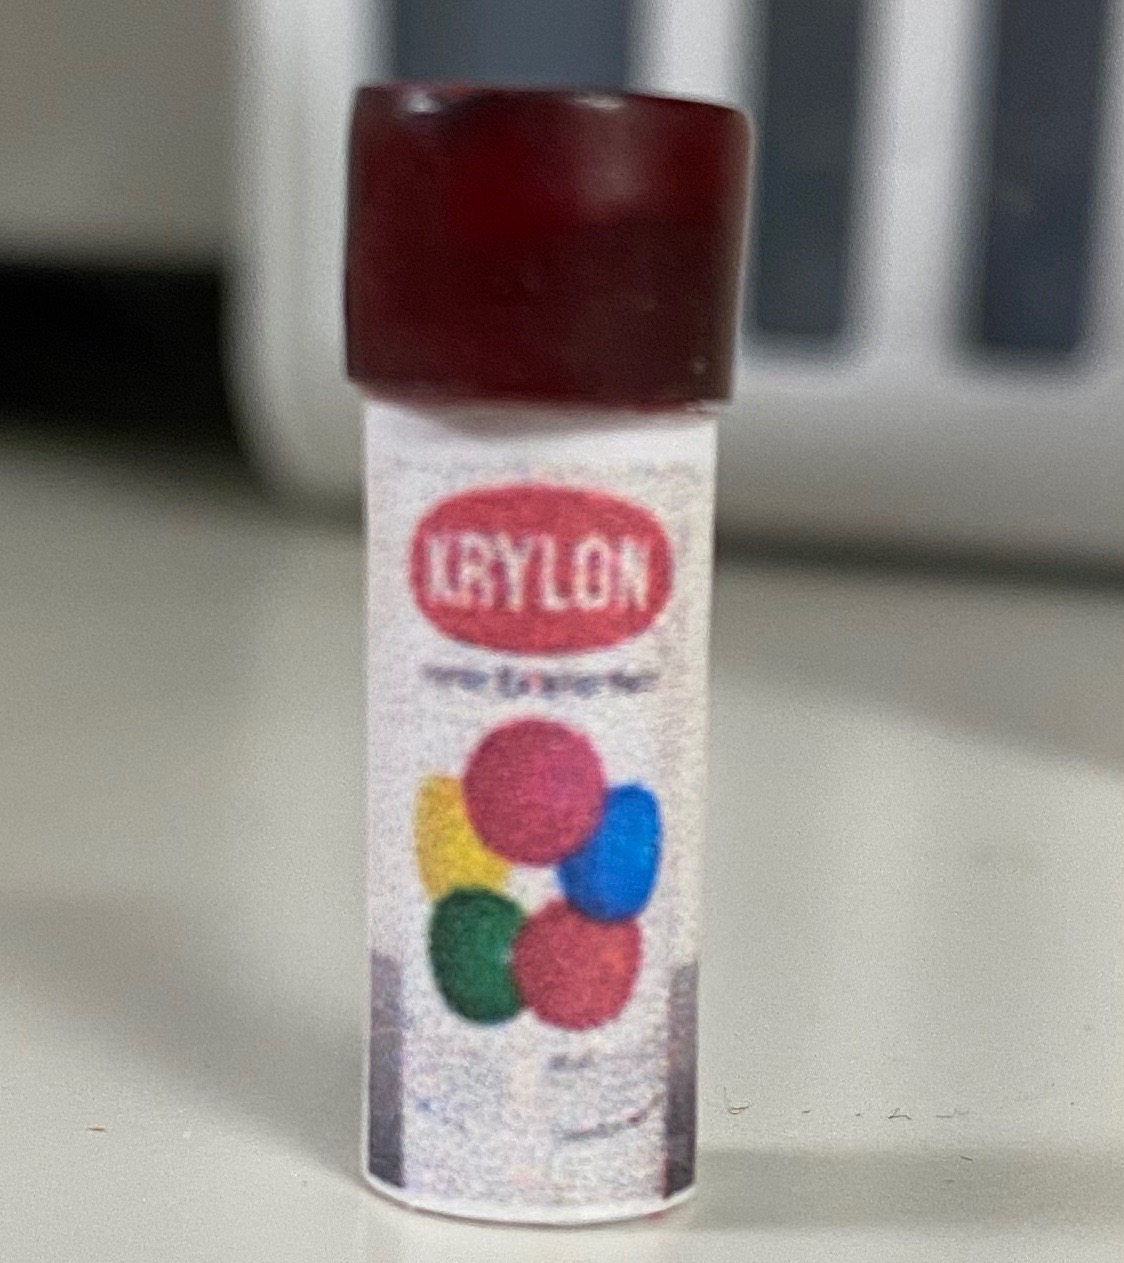
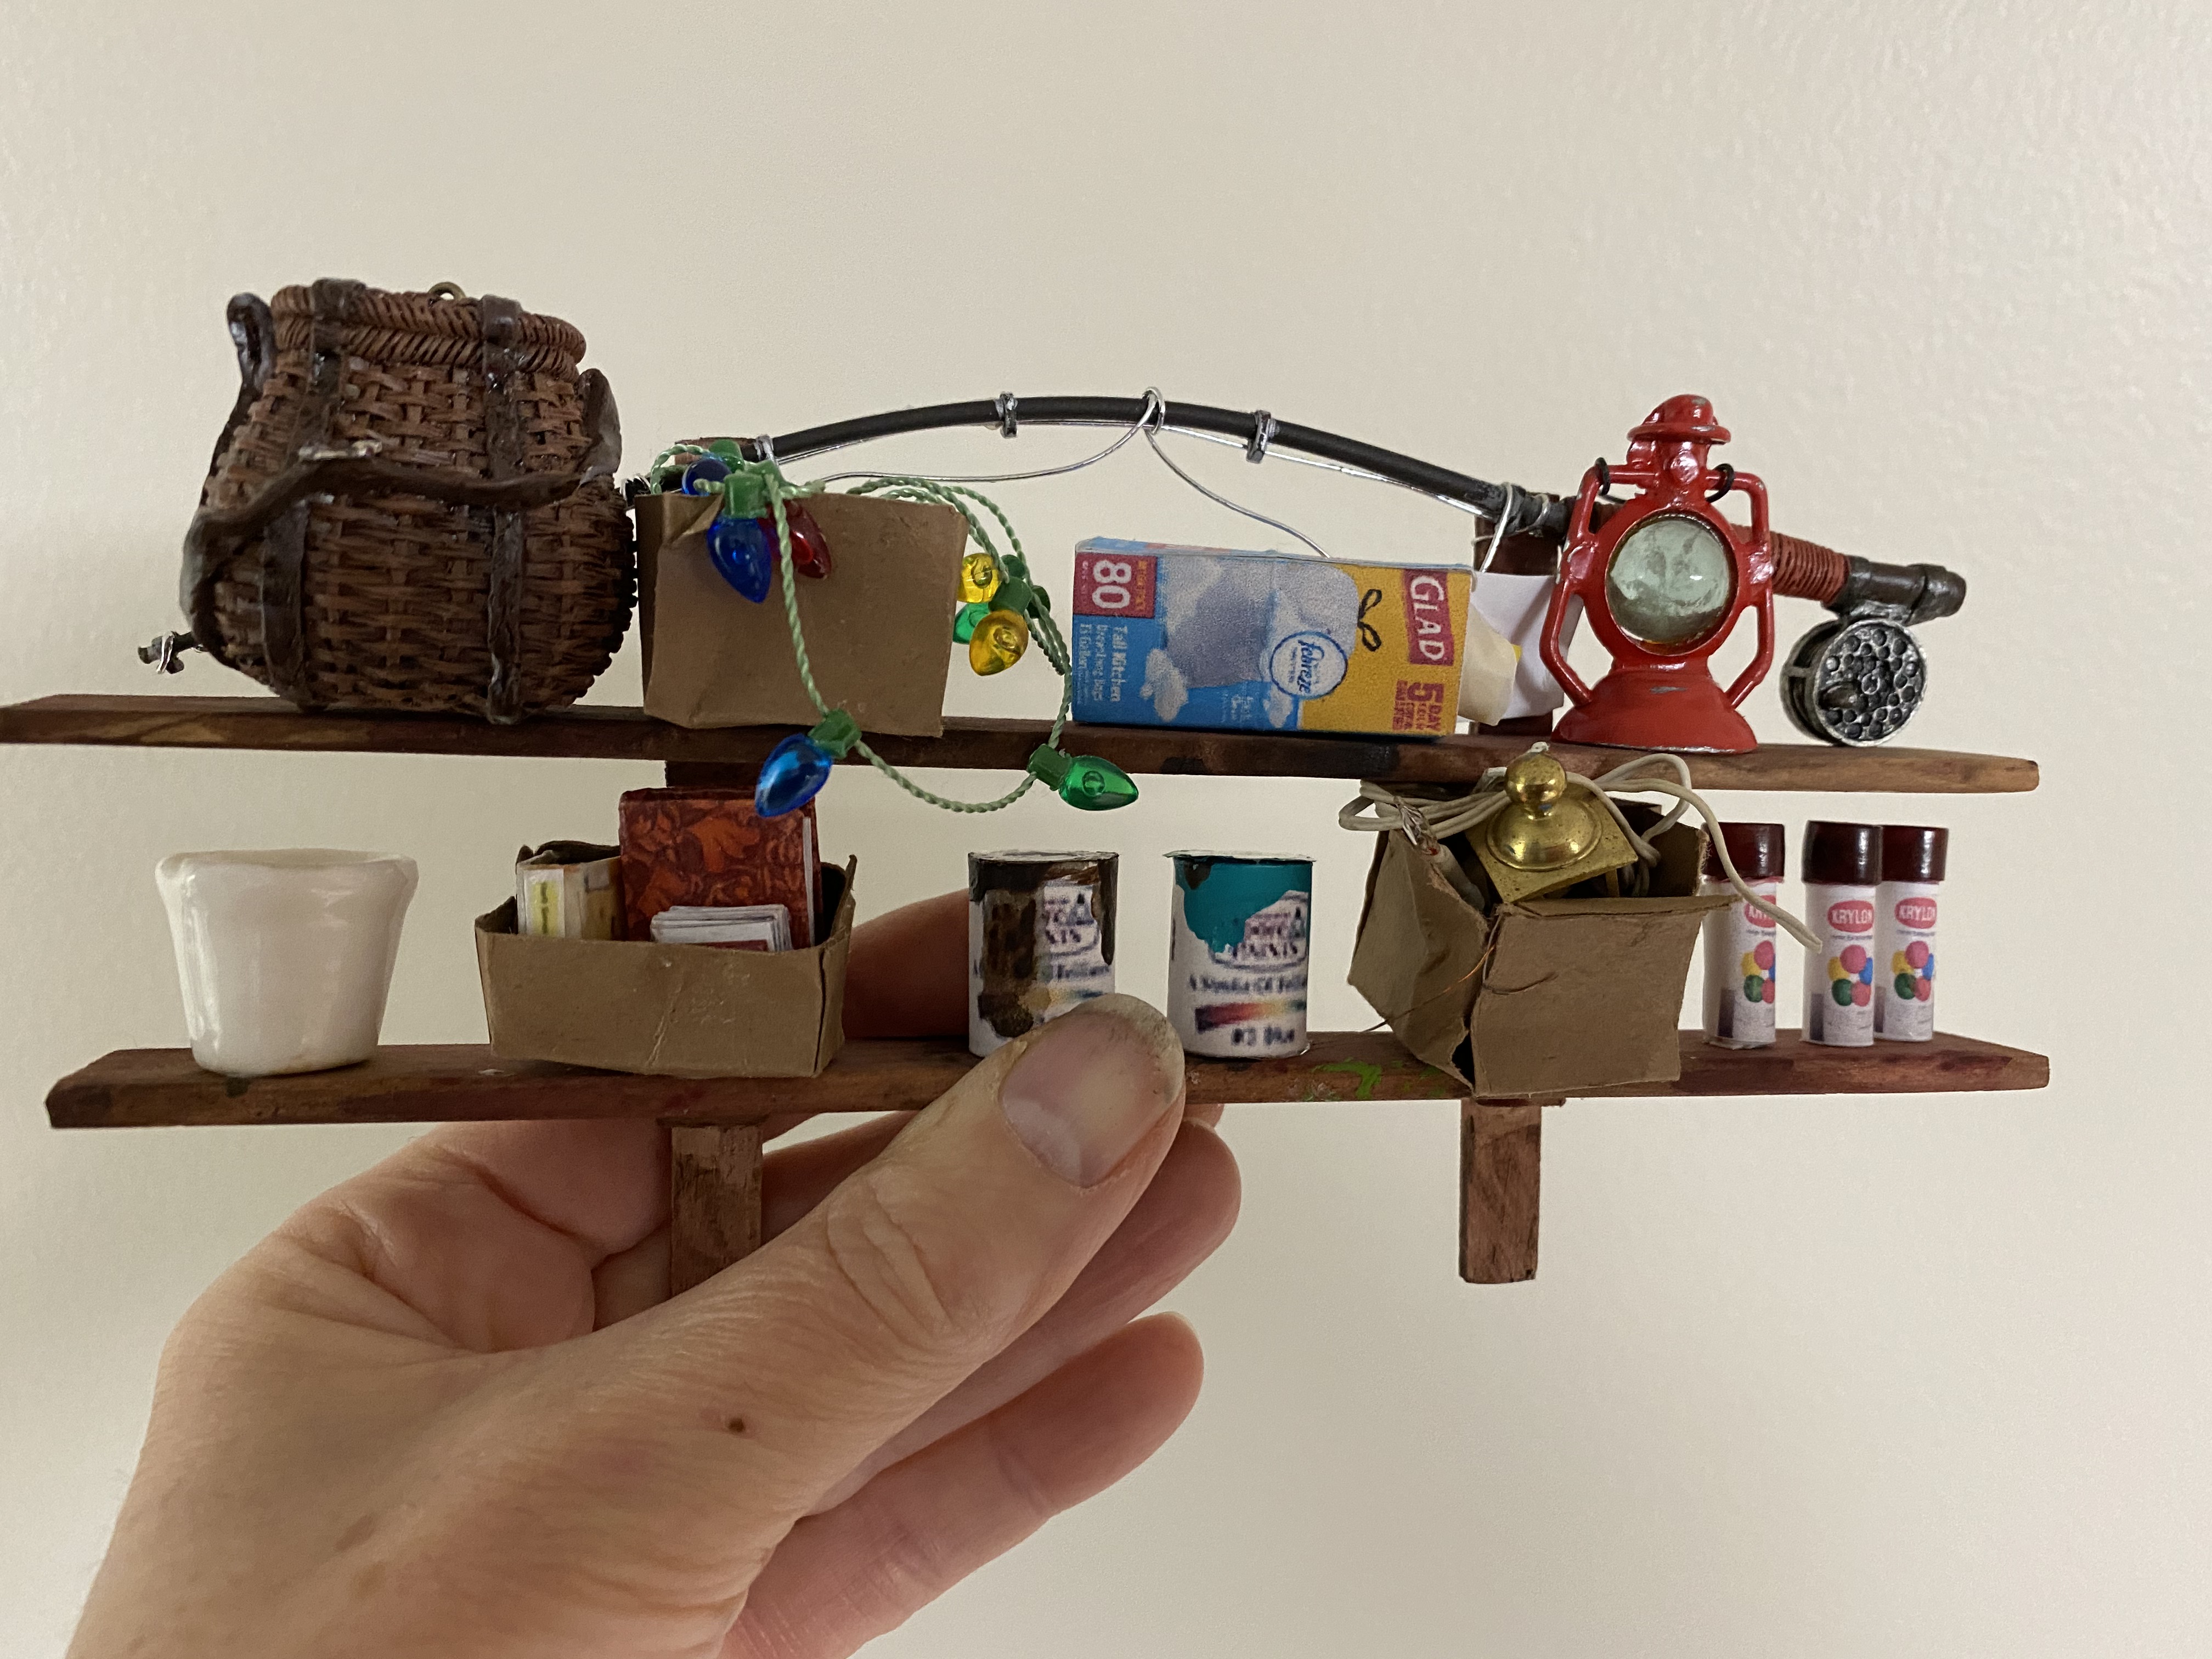
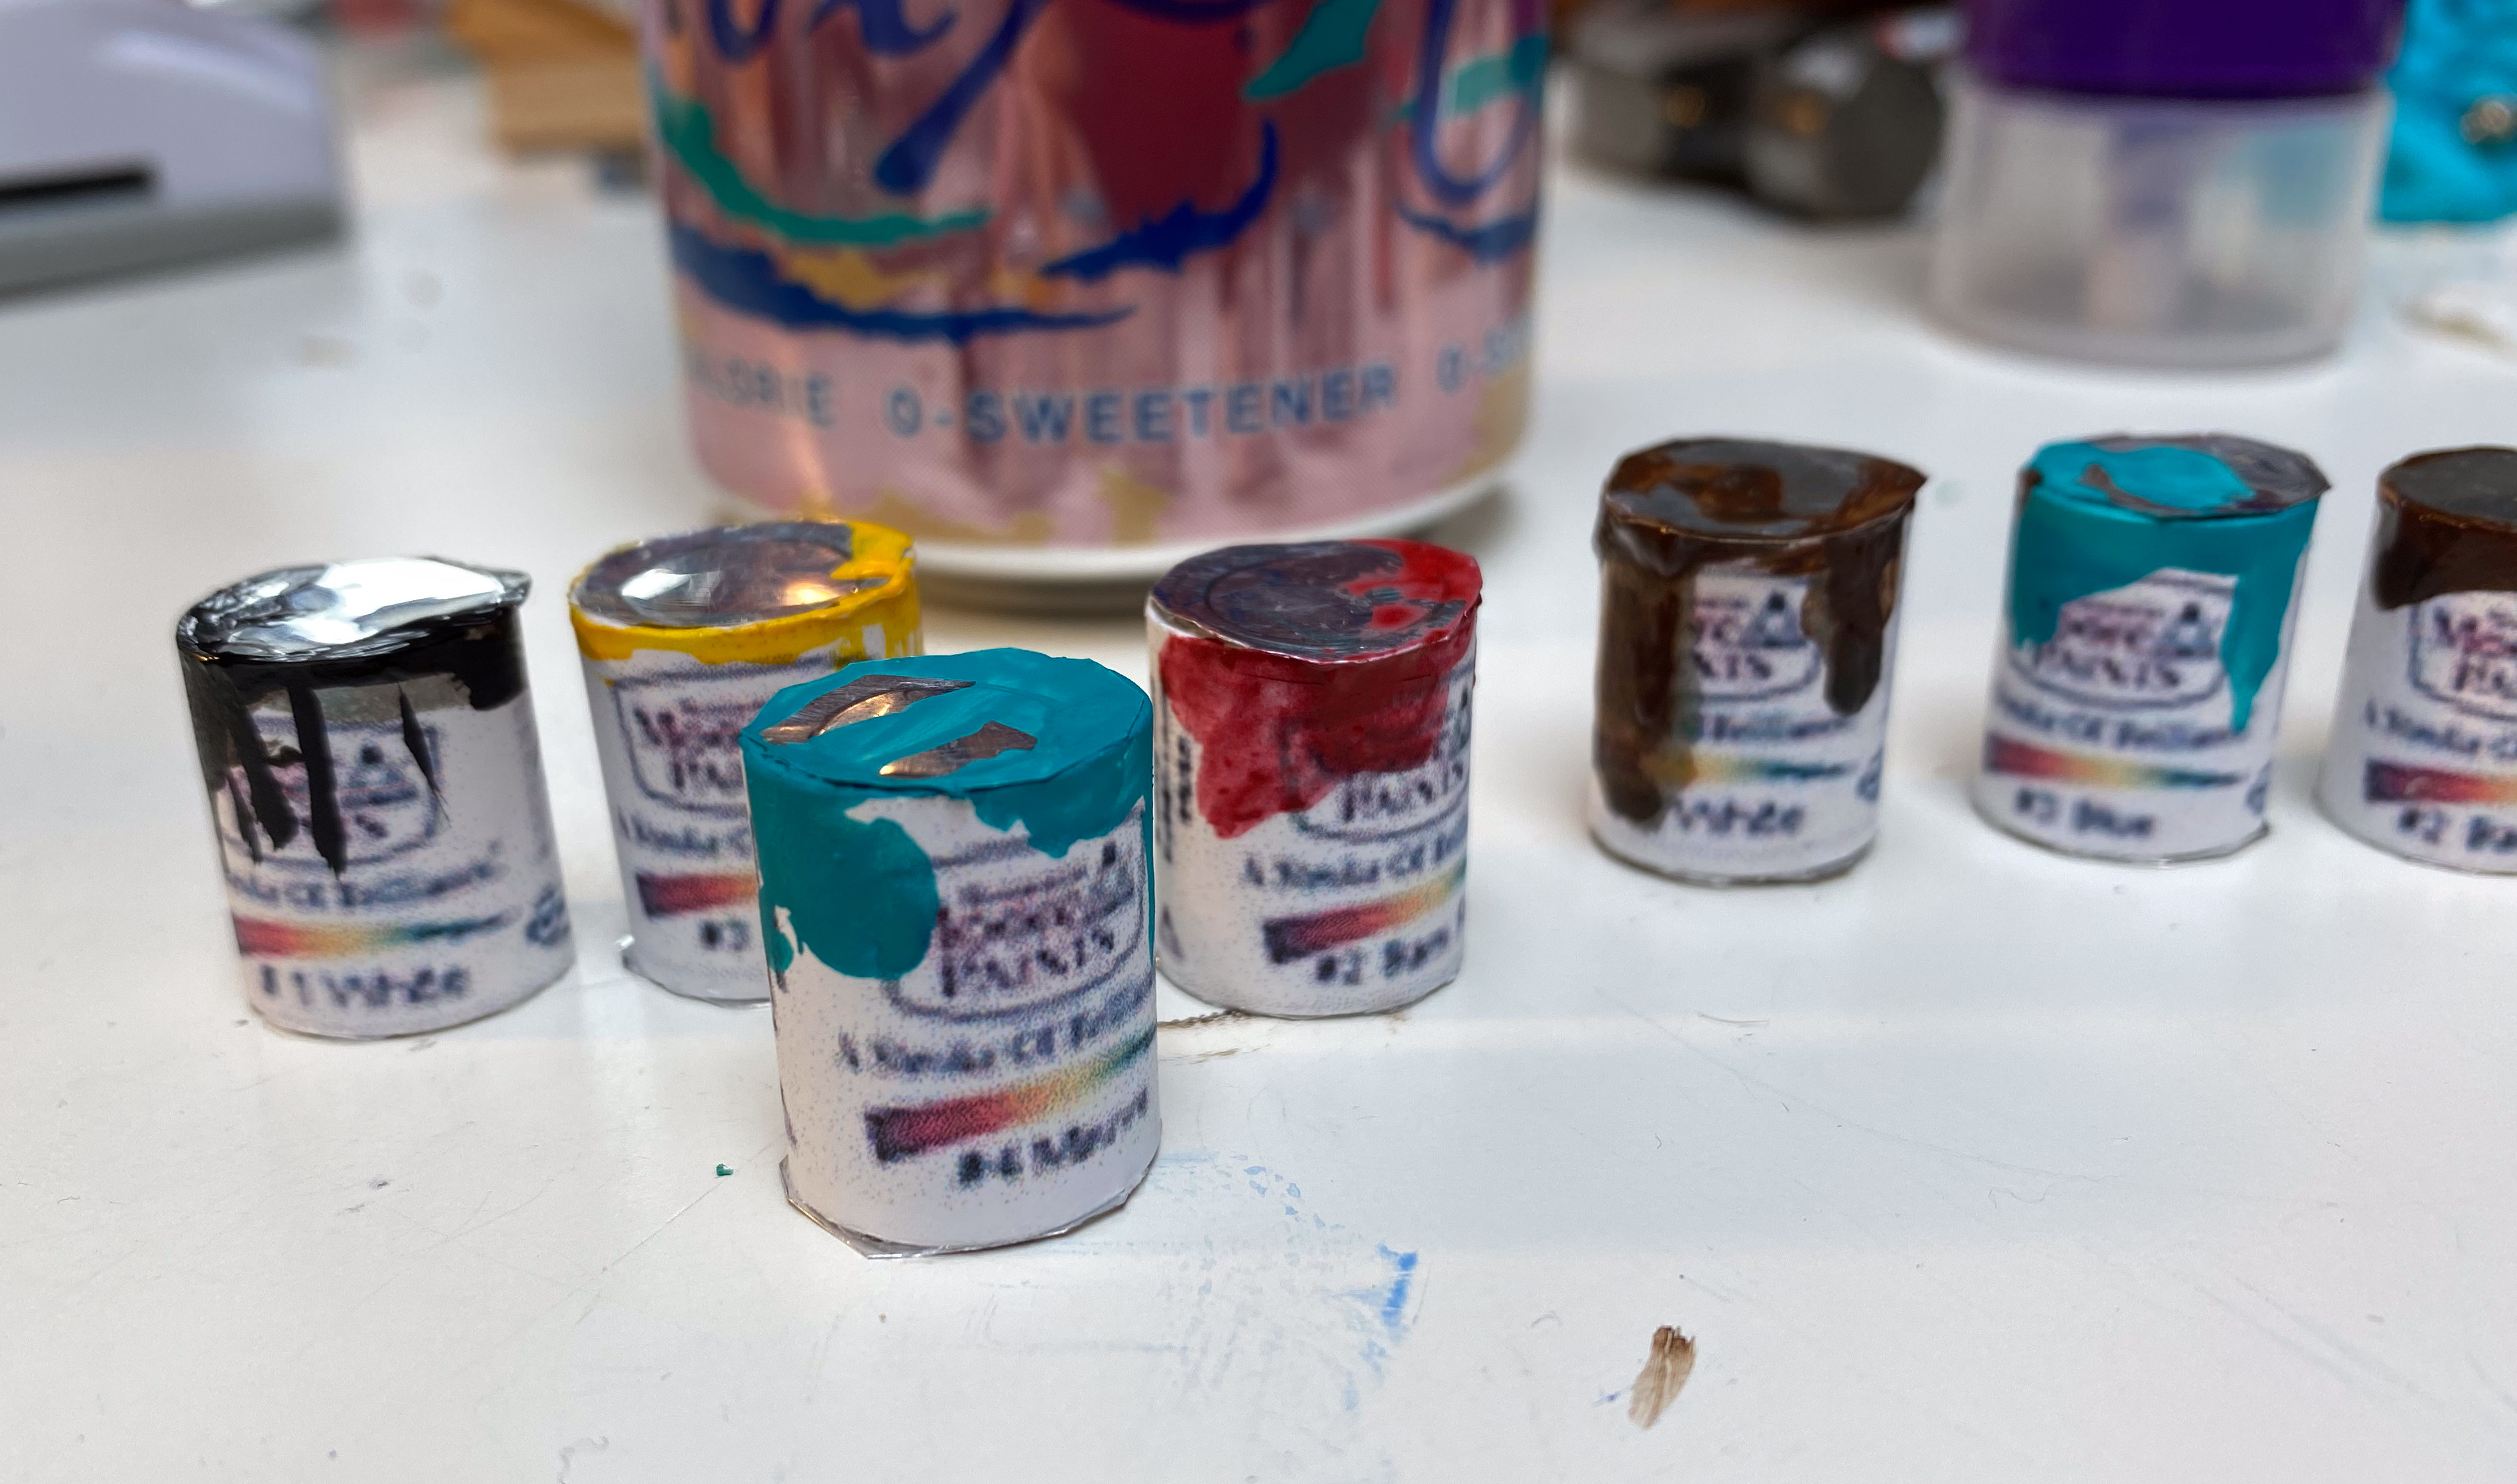
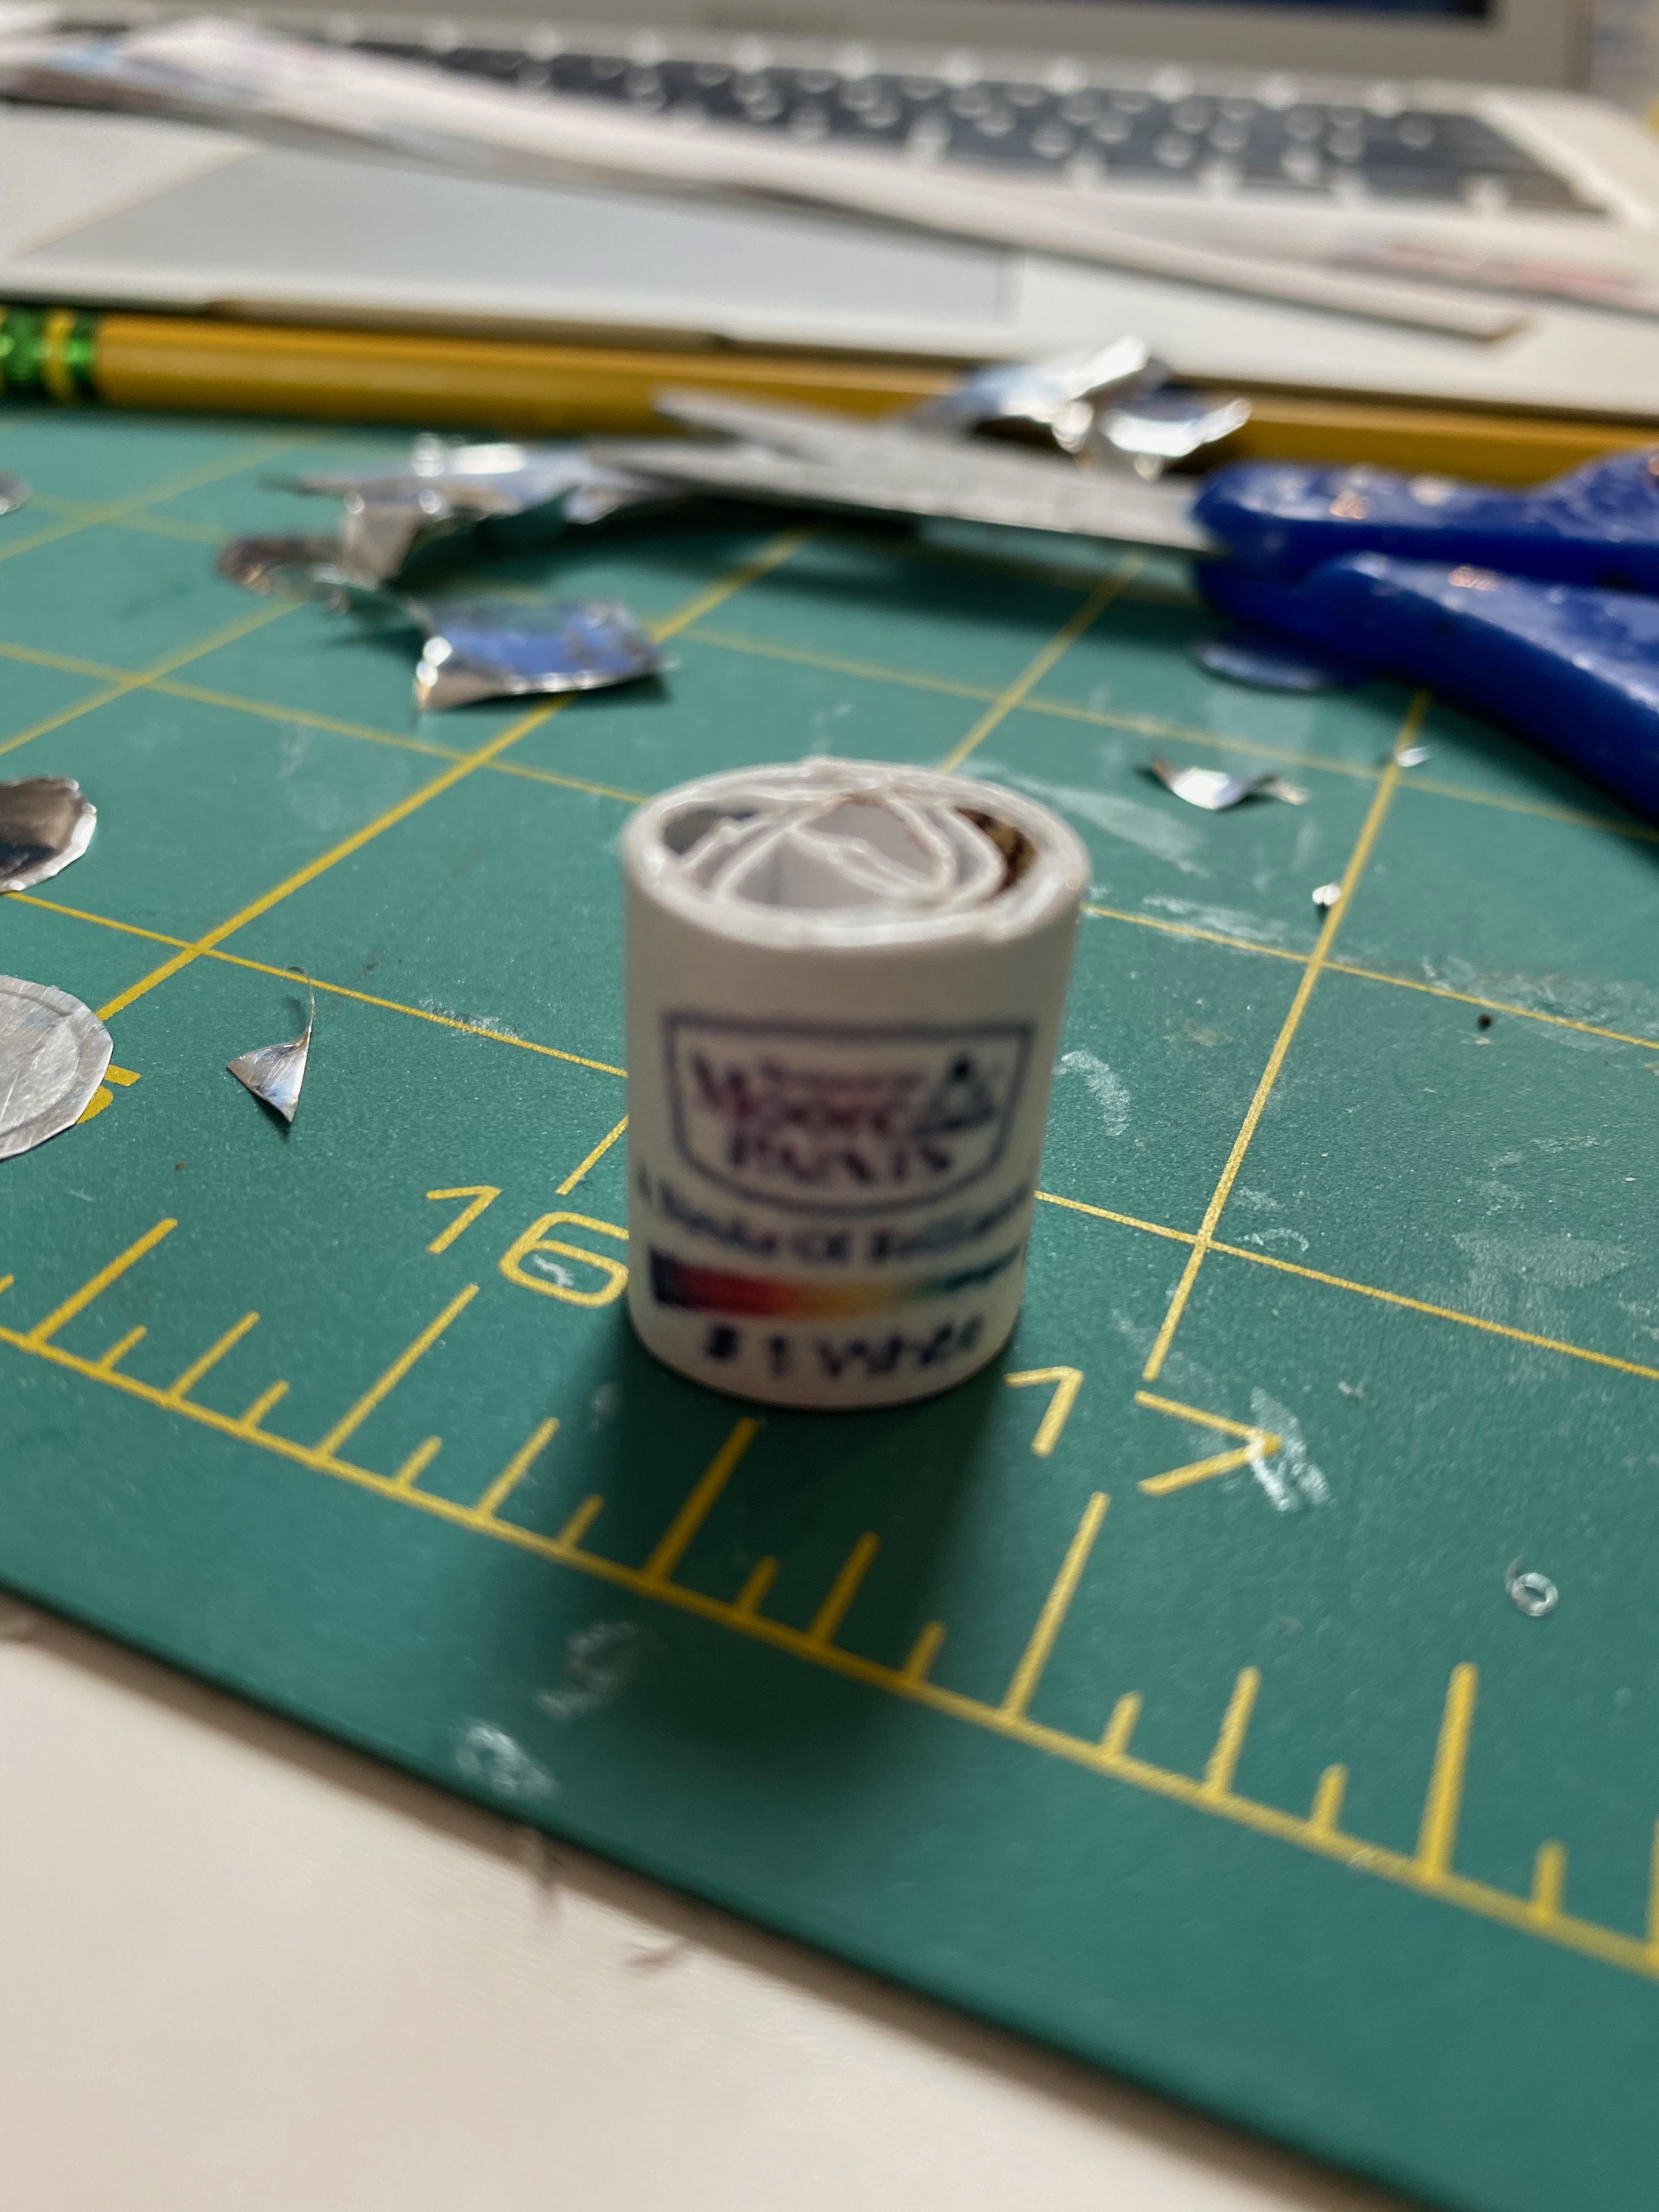
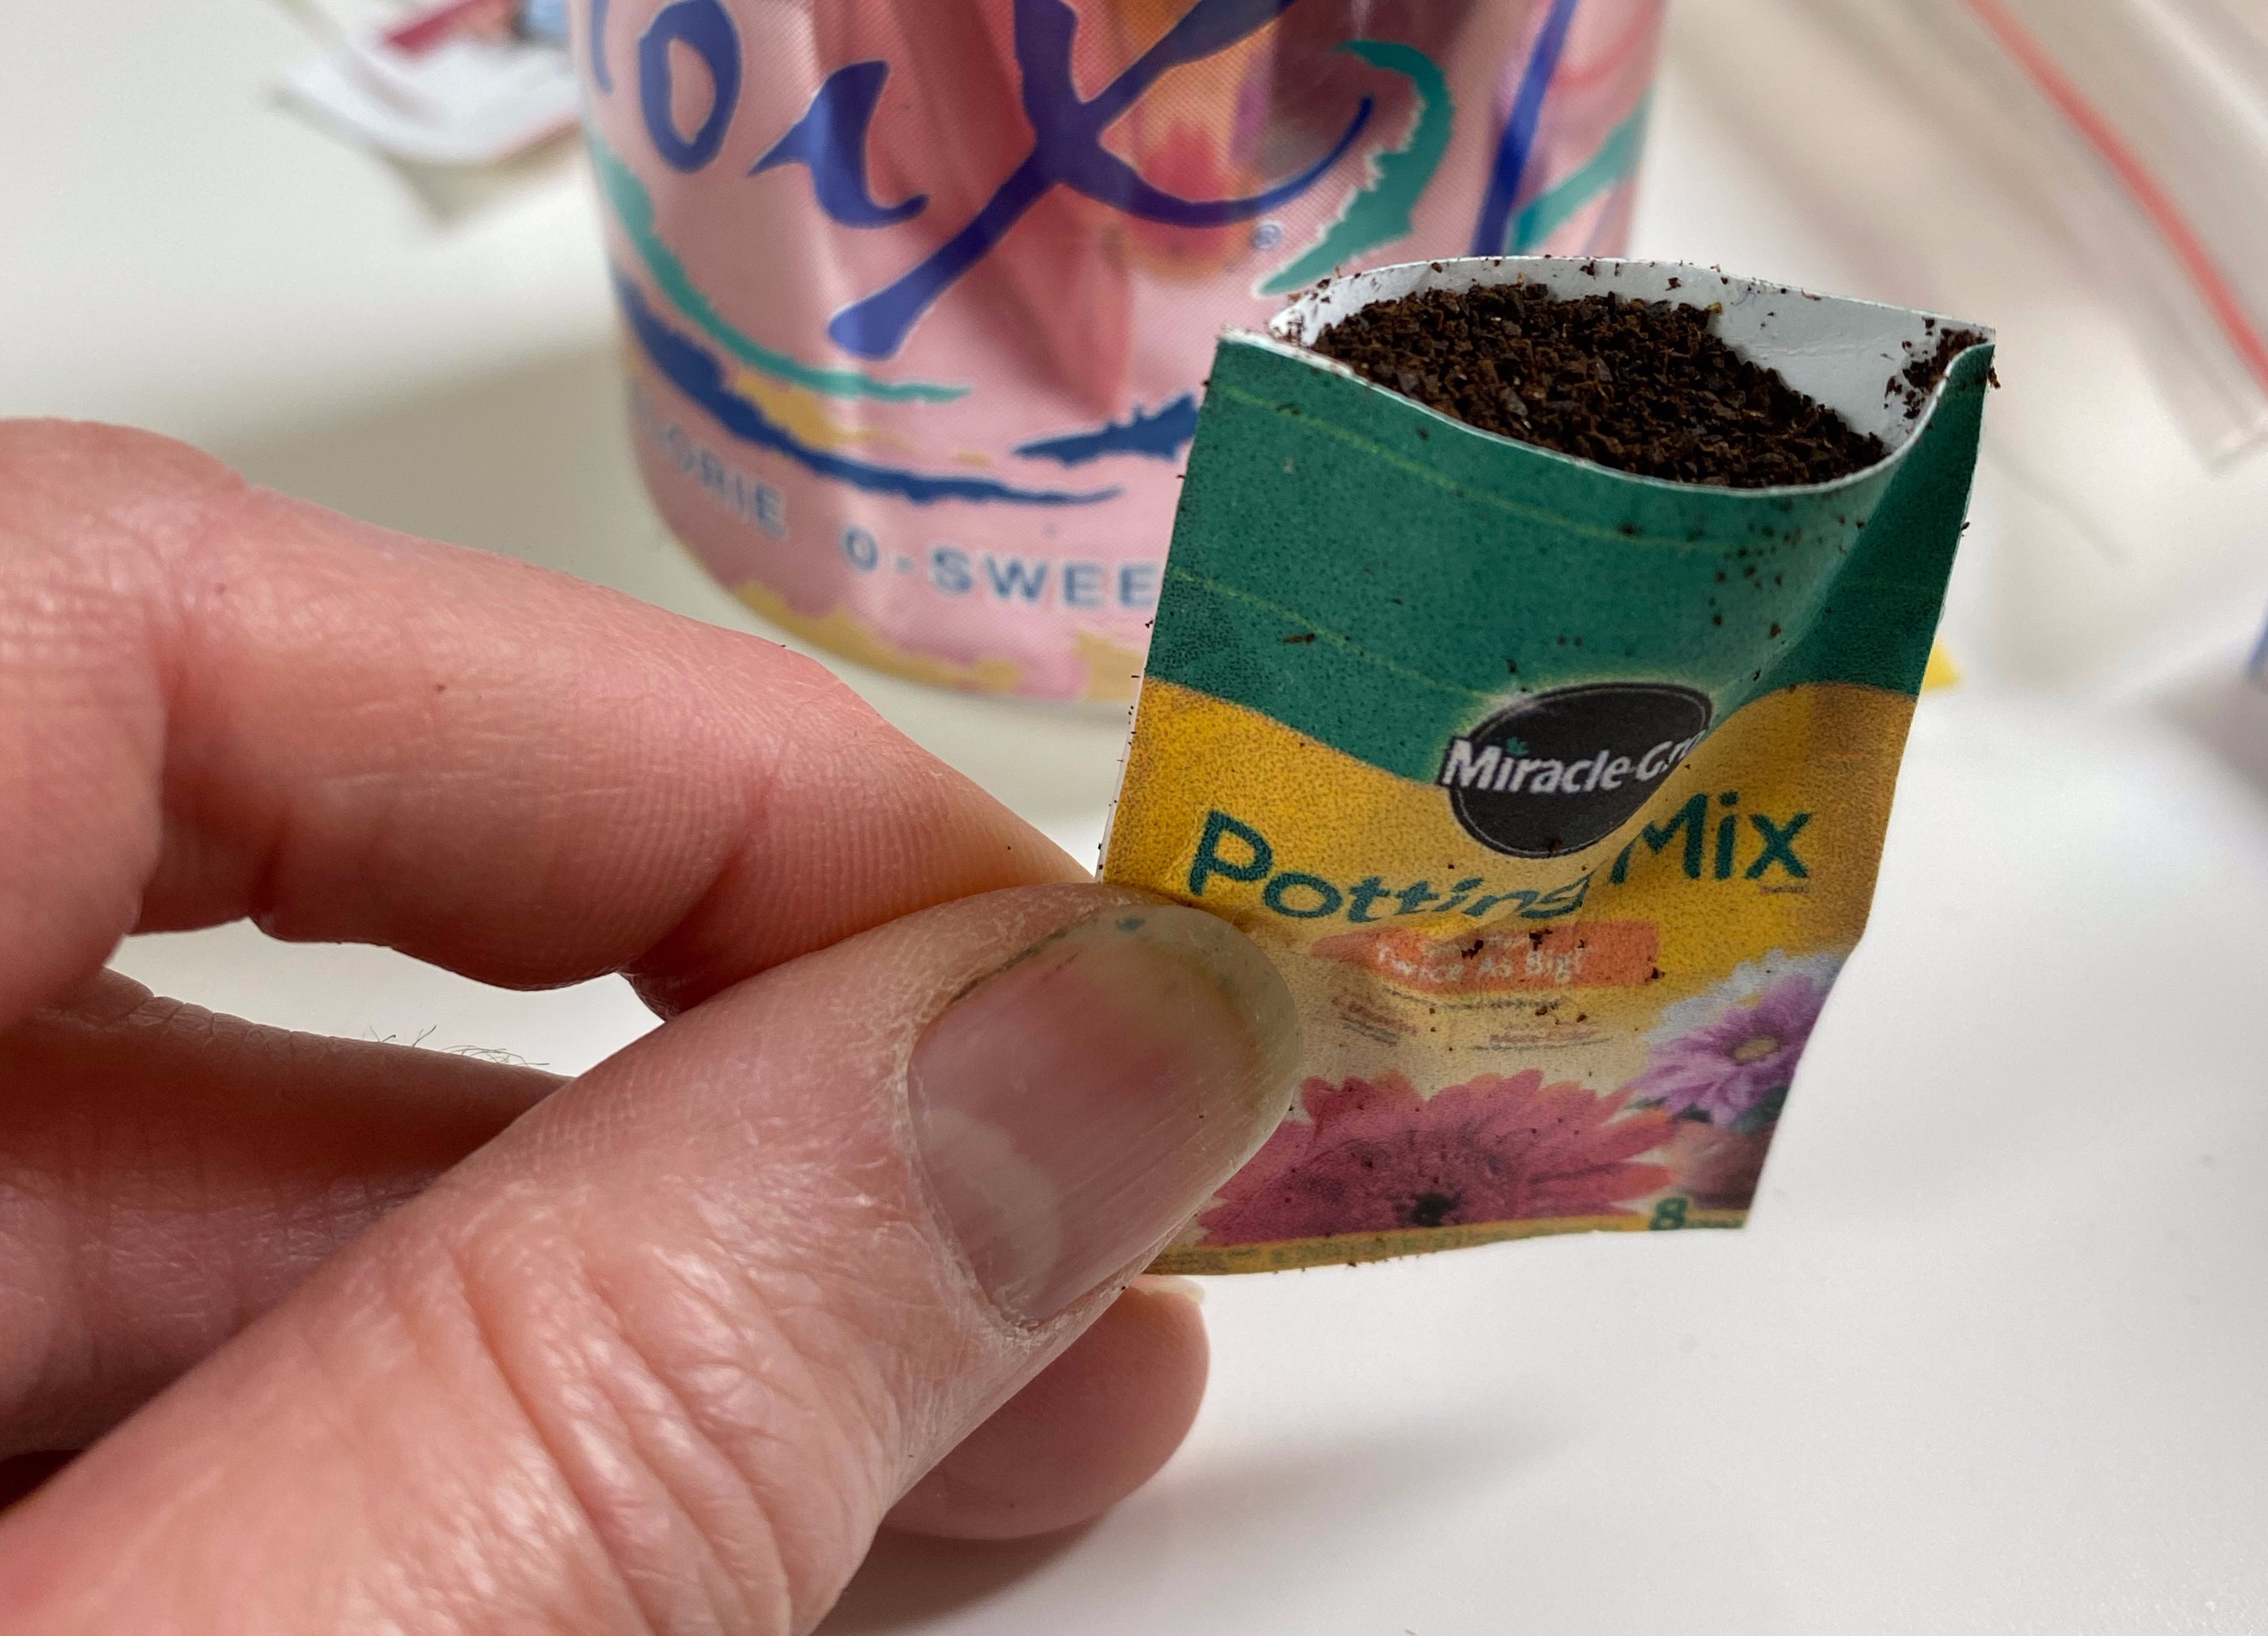
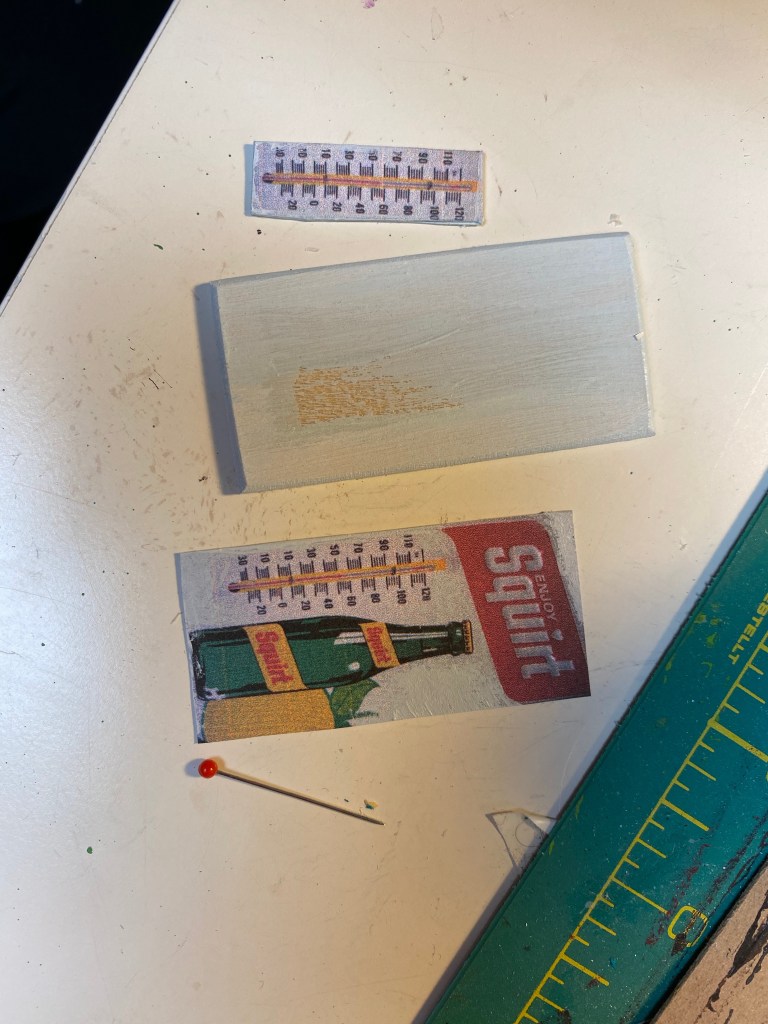
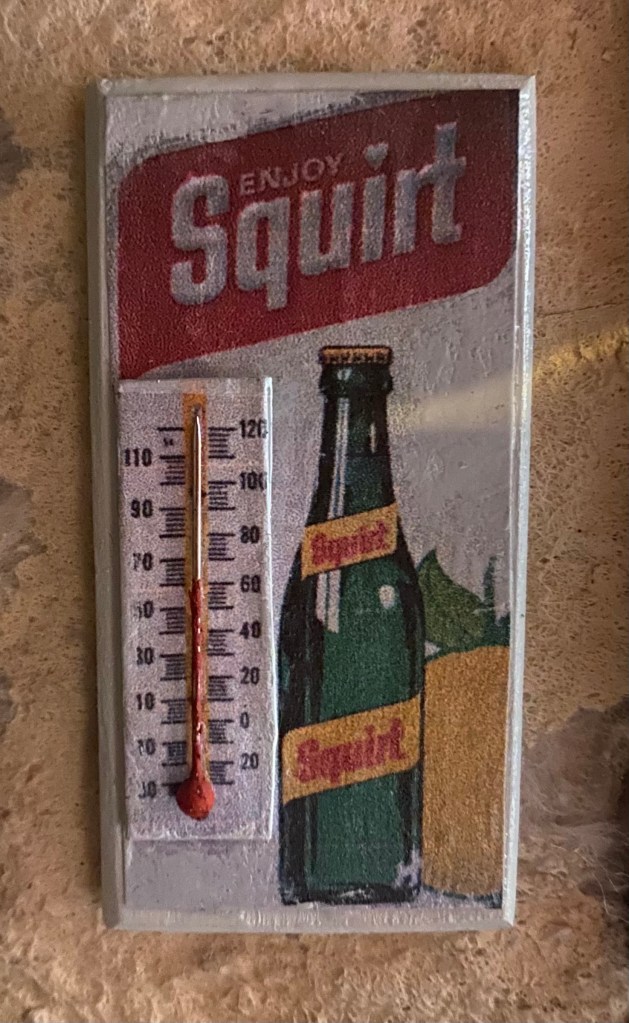
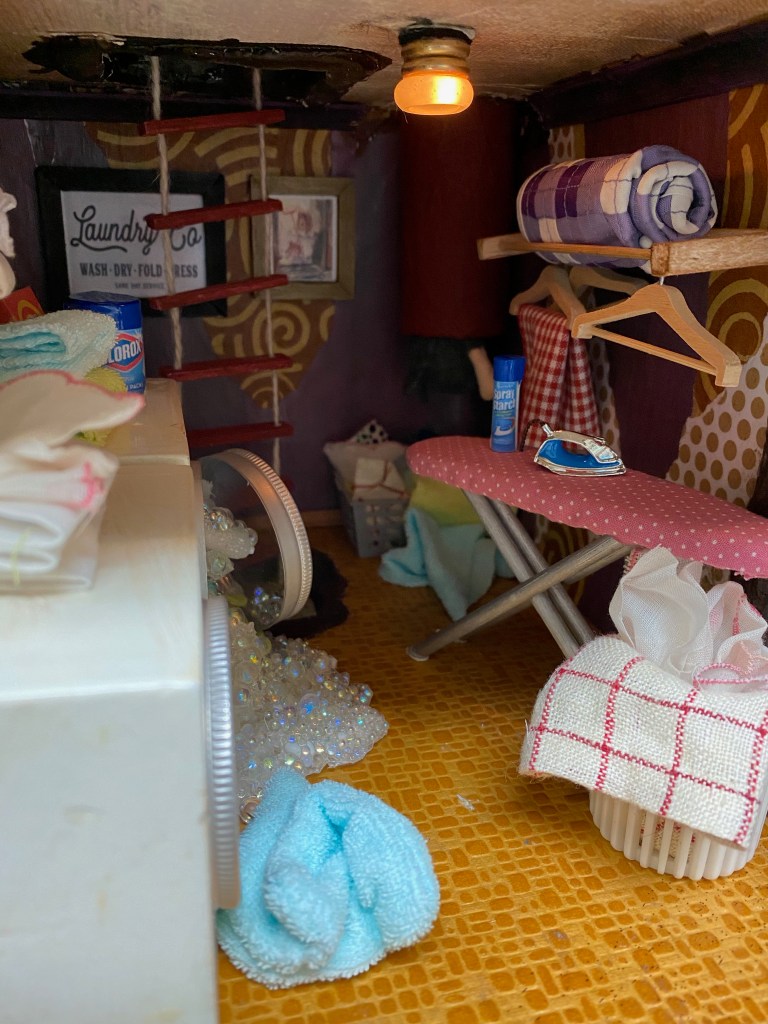
Other details in the laundry room include; an ironing board and hanging rack I made out of scraps; a miniature quilt I made that I rolled up and placed on top of the drying rack; lots of detergent, spray starch, bleach, etc. from images I printed from the internet; two pictures on the back wall I printed and framed; laundry “instructions” glued above the appliances; and a gray laundry basket (under the laundry chute) that my brother Dan made for me on his 3-D printer.

I’m not sure I’m done. I know I’ll add more laundry as I make clothes for the mice–I want there to be a lot more mess on the floor–but for now I’m going to move on.

The laundry room with the can for perspective.

The Bathroom

The empty Mouse House bathroom.
The completed Mouse House bathroom.

I’ve worked on the various components of the Mouse House bathroom over time. Almost everything in the room was a piece I constructed with stuff around my own house.

The sink was made with half of a travel toothbrush holder as the base topped with a lid from a vaseline container for the sink. The knobs are pushpins topped with beads and the faucet is a wire and sewing rivets. I carved the toothbrush from a toothpick, and made the soap dish out of a button and sanded an Altoid into a rectangle for the soap.

The Mouse House sink.

The bathtub is simply a small, ceramic bread pan I spray painted white. The drain is a snap. I made the copper plumbing from scraps I found in Andy’s workshop, and added another pushpin, bead and snap for the water handle. The shower head was a button I found at an Estate Sale. It was in a bag with lots of other buttons that I didn’t want, and the seller kindly gave me this one.

The Mouse House bathtub.
The bathtub/shower plumbing.

I made the shower curtain with wire, jewelry rings and a piece of fabric from my stash.

The shower curtain.

The toilet was made with a small ceramic pot I found at the Salvation Army, topped with a black plastic lid from something in my workshop. I found the perfect button for the lid from a stash I inherited from my mother in-law. The toilet tank is actually a floss container I painted to match. I added a bead threaded with a white headed pin for the handle.

The storage dresser is from a garage sale: I roughed it up a bit and then added some stain to make it appear old. The items on it and the shelves above it were printed from the internet and then fashioned into boxes and bottles. I made the razor with wire, the toothpaste tube with foil and a rivet, and the toothbrushes from toothpicks and felt.

Bathroom storage shelves.

Other items in the bathroom include a shelving unit made with a miniature dresser drawer. I topped this shelf with “perfume” bottles made with beads and snaps. I also constructed simple towel hooks from sewing supplies, and a pile of paper goods from images printed from the internet.

Final additions included a scale I made with wood and a snap, a pail of toys, a basket with toilet paper, books and a People magazine, a curtain, bath salts and shampoo on the window frame, a waste basket, and a toilet plunger (made with a furniture foot and a dowel.)

The Mouse House bathroom with a can for perspective.

Up next: The Laundry Room!

The Basement is Done (For Now…)

As I previously posted, I completed the Mouse House basement workshop last week. Over the weekend, I finished the other two “rooms” on the first level –the furnace room and the “entrance” to the house.

Here is a view of the furnace room with the furnace and the water heater that I built a few months ago:

The Mouse House furnace room with completed furnace and water heater.

And here is the completed room:

The completed furnace room.

A crucial part of the room are the shelves I built to hang on the back wall. I’m discovering that the house looks best to me if they are full of stuff, so I gathered lots of things to put on the shelves including more paint cans like those I made for the workshop as well as new spray paint cans I created with labels from the internet and beads. The boxes were made from scrap paper and filled with extra miniatures I have laying around but won’t use otherwise.

I also made a ladder and hooks to hang it on and fastened that to the wall below the shelves.

The ladder and one of the hooks I made with wire and a bead.
The hooks hang over the bottom shelf that I mounted to the wall.

Other homemade details include a fire extinguisher constructed with a toy bowling pin; books on the shelves I assembled by printing book covers and sewing pages inside; rickety saw horses I made with thin wood and lots of drippy paint; and a vegetable planting guide on the wall.

The bookshelf with books I made by printing covers from the internet and sewing blank pages inside.
The red cylinder used to be a doll sized bowling pin, but I thought it looked like a fire extinguisher!

To complete the room I added a toy wagon full of sports equipment, a great metal folding chair, a fly swatter and a dart board–complete with darts!

For a size reference, here’s a picture of the room with my can propped against it:

The furnace room with the can for a scale reference.

The entry to the Mouse House is between the workshop and furnace room. There’s a trap door that can close and a ladder that can be extended down to the floor so the “mice” can get inside. At the rear of the entry is another rope ladder that extends all way to the attic of the house. I also added a bench, coat rack, bell to ring upon arrival, mirror (made out of a make-up compact), umbrella stand and, of course, the garbage which is waiting to be taken out.

The entry to the Mouse House. The trap door can be lowered and locked, but in this picture it is up and the rope ladder is extended to the floor of the room.
Here you can see the rope ladder extended outside of the house.

The next level of the house includes the bathroom and laundry room so I will be experimenting with how to make water and bubbles. I can’t wait!

Workin’ in the Workshop

Exciting progress has been made on the Mouse House and I am happy to document the finished workshop. (“Finished” is just a turn of phrase–this thing will NEVER be done!)

Here is the empty workshop:

And here is the completed “first draft”:

The Mouse House Workshop

I’ve explained how I made the shop-vac in a previous post. Details about most of the other pieces in the workshop are in the captions of the following photographs:

The completed workbench. I built the table and the pegboard and added miniature tools I purchased at a garage sale as well as items I made myself, including the vice, the sandpaper storage, and the paint can. The stickers on the upper left of the pegboard are an homage to my dad, who always had interesting art and stickers in his workshop.

The vise attached to the workbench is built from items I found in my studio, including a shelf support from IKEA, a snap, scrap wire and beads.

The sandpaper storage unit is the top of a scrapbook tape dispenser.

I filled a tiny jar with snips of wire to simulate nails and glued it to the workbench.

Final additions to the workbench included scraps of wood, a dollhouse kit,
an old paint can and a mug of coffee.

The paint cans were made with images pulled from the internet, cut into strips, and rolled with the label on the outside. I topped each of these paper rolls with foil lids and added paint to drip down each can.

Tool storage made with an old mesh tube with a button added at the bottom to form a container. The tools are from a garage sale.

The potting soil is used, dried coffee grounds glued into a pocket I made from a Potting Mix advertisement on the Target website.

The seed packets are also from internet images. They are tiny–1/4″ in width.

I thought the workshop was the perfect place to mount a fish!

The calendar hung to the left of the workbench was made for my husband. He loves ships and is fascinated by the Titanic.

The thermometer on the right wall, between the windows, was made in honor of my late father-in-law who loved Squirt. I found a vintage image online and resized it to scale. I then mounted the photo onto painted wood and made a 3-d thermometer to paste on top with layers of paper and with a pin for the mercury.
A bad picture of the finished thermometer.

Soooo…I’m moving on to another room tomorrow. I am having so much fun I completely lose track of time. Last night at 7:30 Andy came downstairs to ask about dinner plans. I was shocked as I thought it was only around 5:00!

To close, here’s a final photo with my beloved LaCroix can as a size reference:

A New Year

2020: The Year That Kept on Giving!

The year 2020 was a tough one for all. I had hoped to just hunker down in my studio and work on the Mouse House until the quarantine was over–you know, make lemonade from lemons. However, the cosmic forces had other plans and immediately after my last post, the pipe UNDER THE CEMENT FLOOR OF MY BASEMENT STUDIO burst, causing a flood which turned into a complete remodel of our basement. Everything (EVERYTHING!) had to be put into storage so the floor, wall, furniture, etc. could be replaced.

In September, when the basement clean-up was finished, my volleyball coaching job was in full swing and then that was quickly followed by the holidays. Now, I finally have time and space, so I am back in my happy place trying hard to keep squeezing the lemon into some sugar.

Last week I focused on finishing trim: the baseboards, chair rails and moulding against the ceiling. I used my little miter box and saw and did a pretty good job, but I forgot that carefully cut trim only fits in square corners–angles which are not “true” in the Mouse House. I reminded myself that precision isn’t necessarily my goal and did the best I could, deciding that the corner gaps add charm.

With that completed, I’m now ready to focus on the details of this thing and plan to show the things I’m making room by room in the next posts.