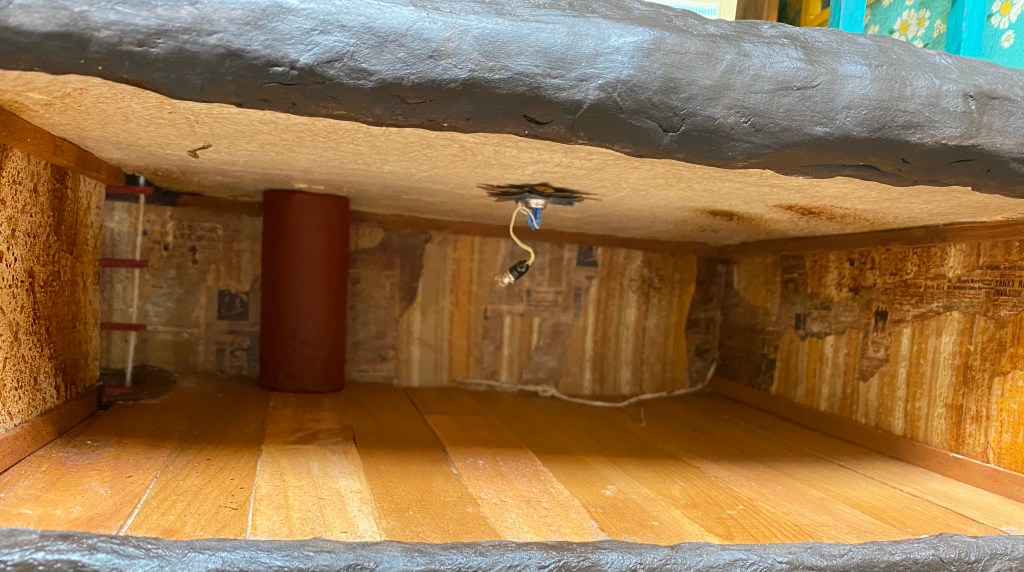
Here is a picture I took quite a while ago of the space for the master bedroom and the nursery in the Mouse House cabinet:

This area has been challenging. Initially I planned on putting the nursery in the loft that extends from the back wall. I pictured three cribs lined up in a row with cute Beatrix Potter prints on the walls. That would have left lots of room below for the master bedroom and all the items that might require (large bed, wardrobe, nightstands, etc.) However, after thinking about the reality of mice (and humans!), I realized I needed more space for the nursery and the “parents” would just have to make do!
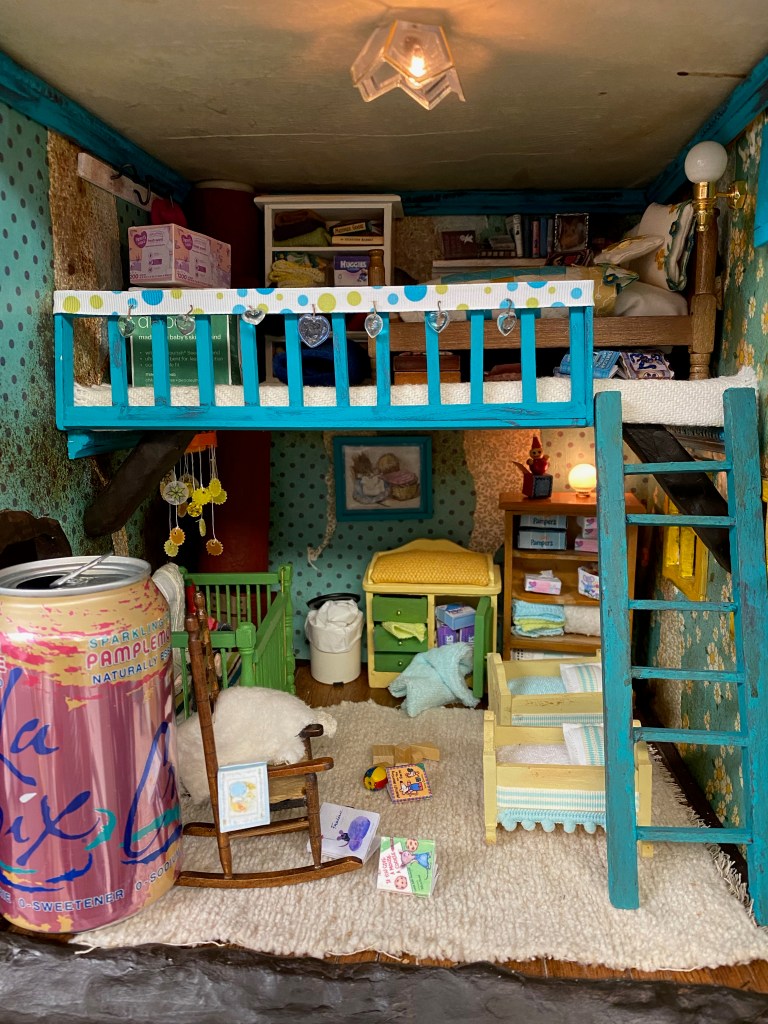
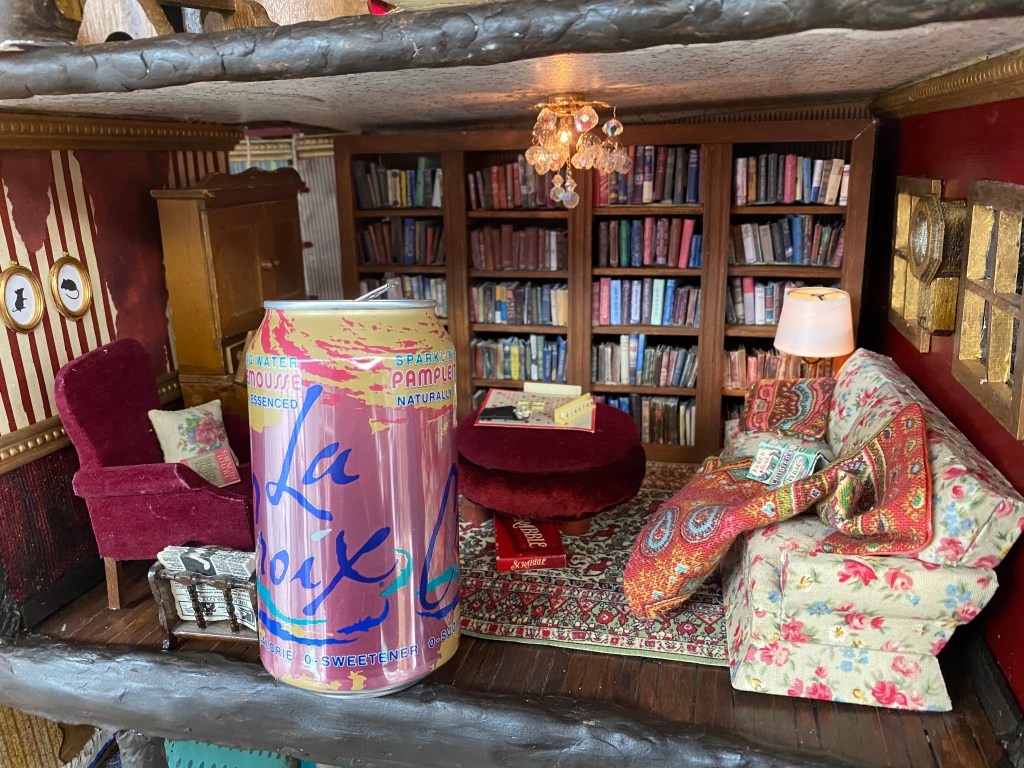
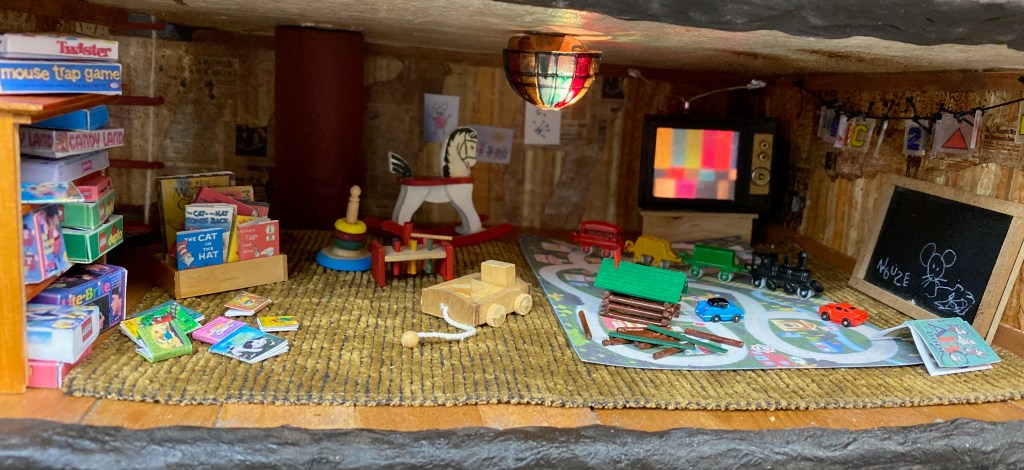
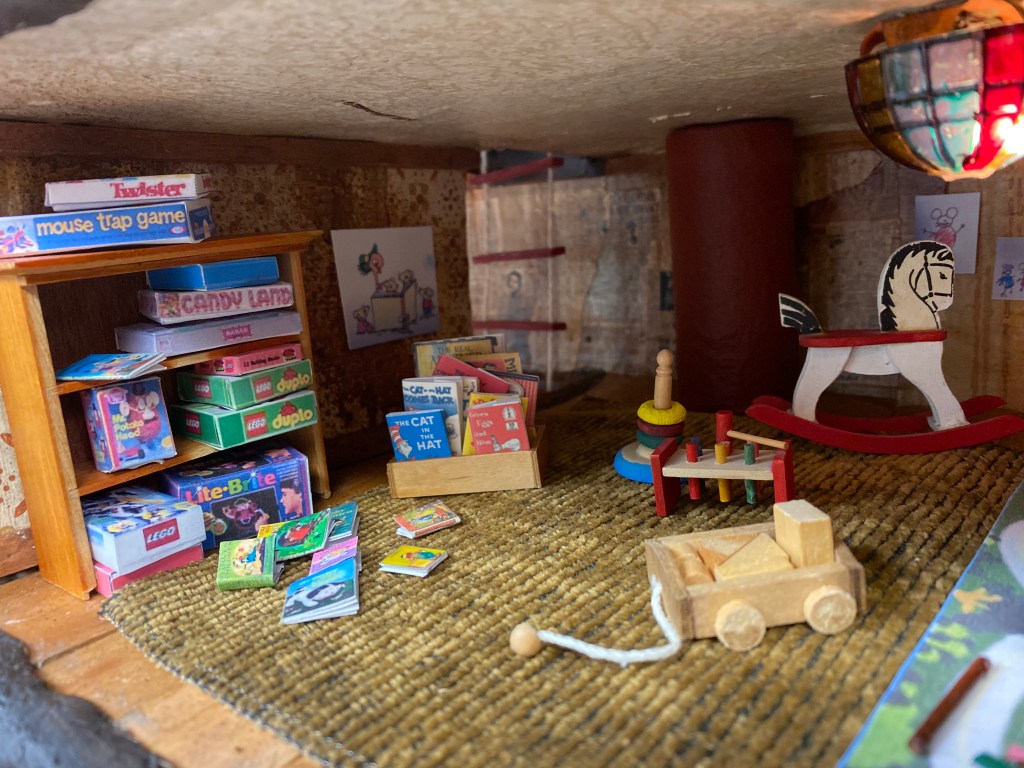
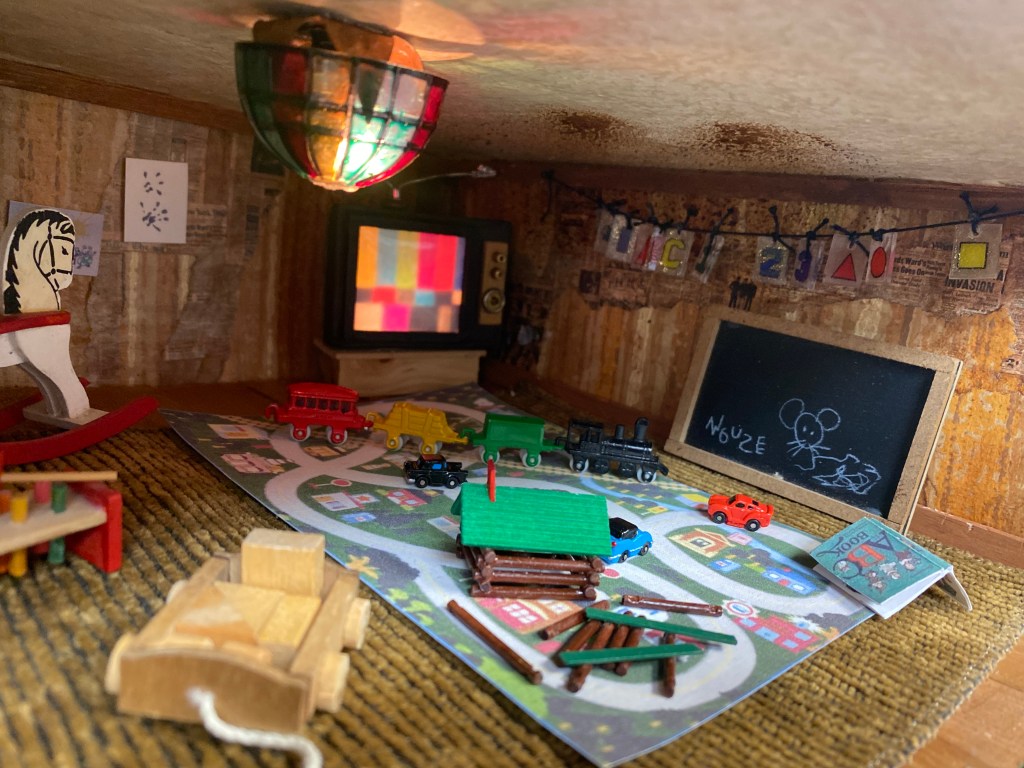
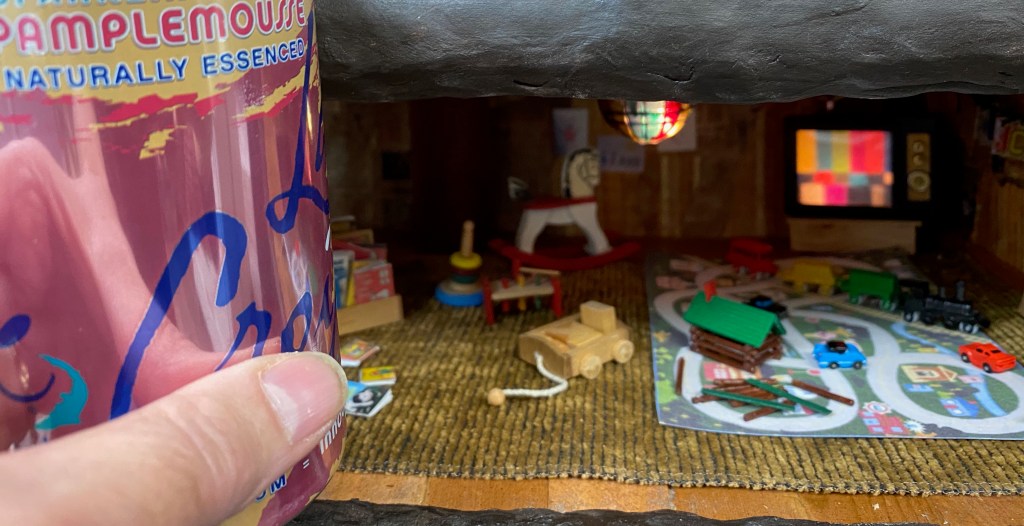
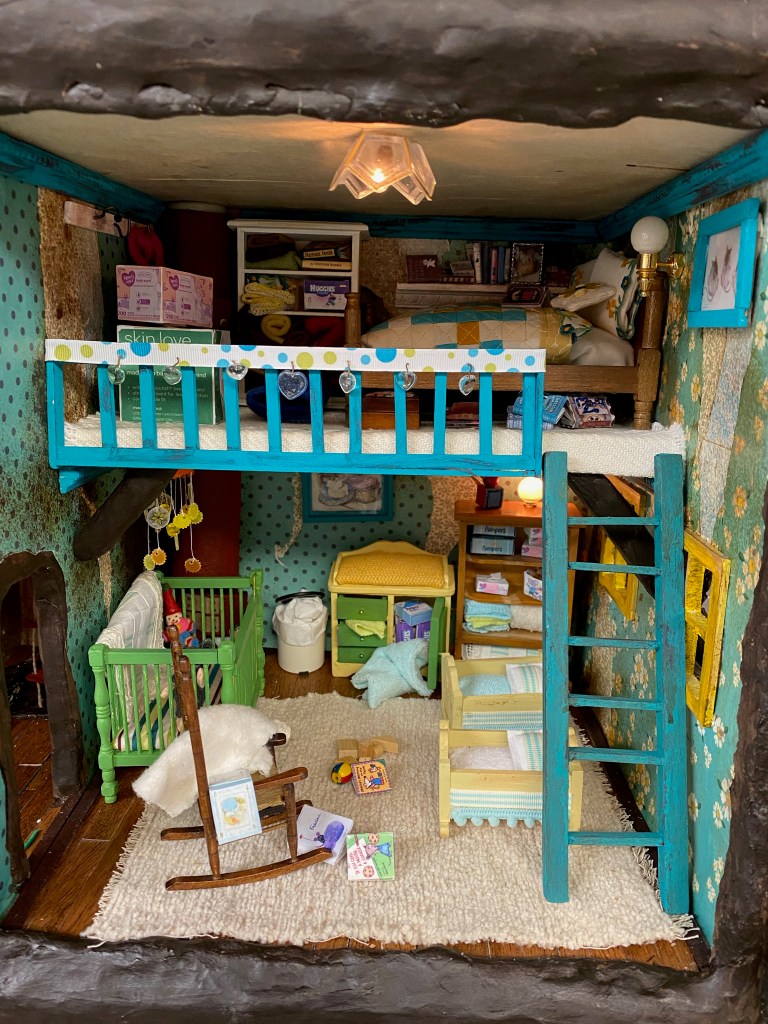
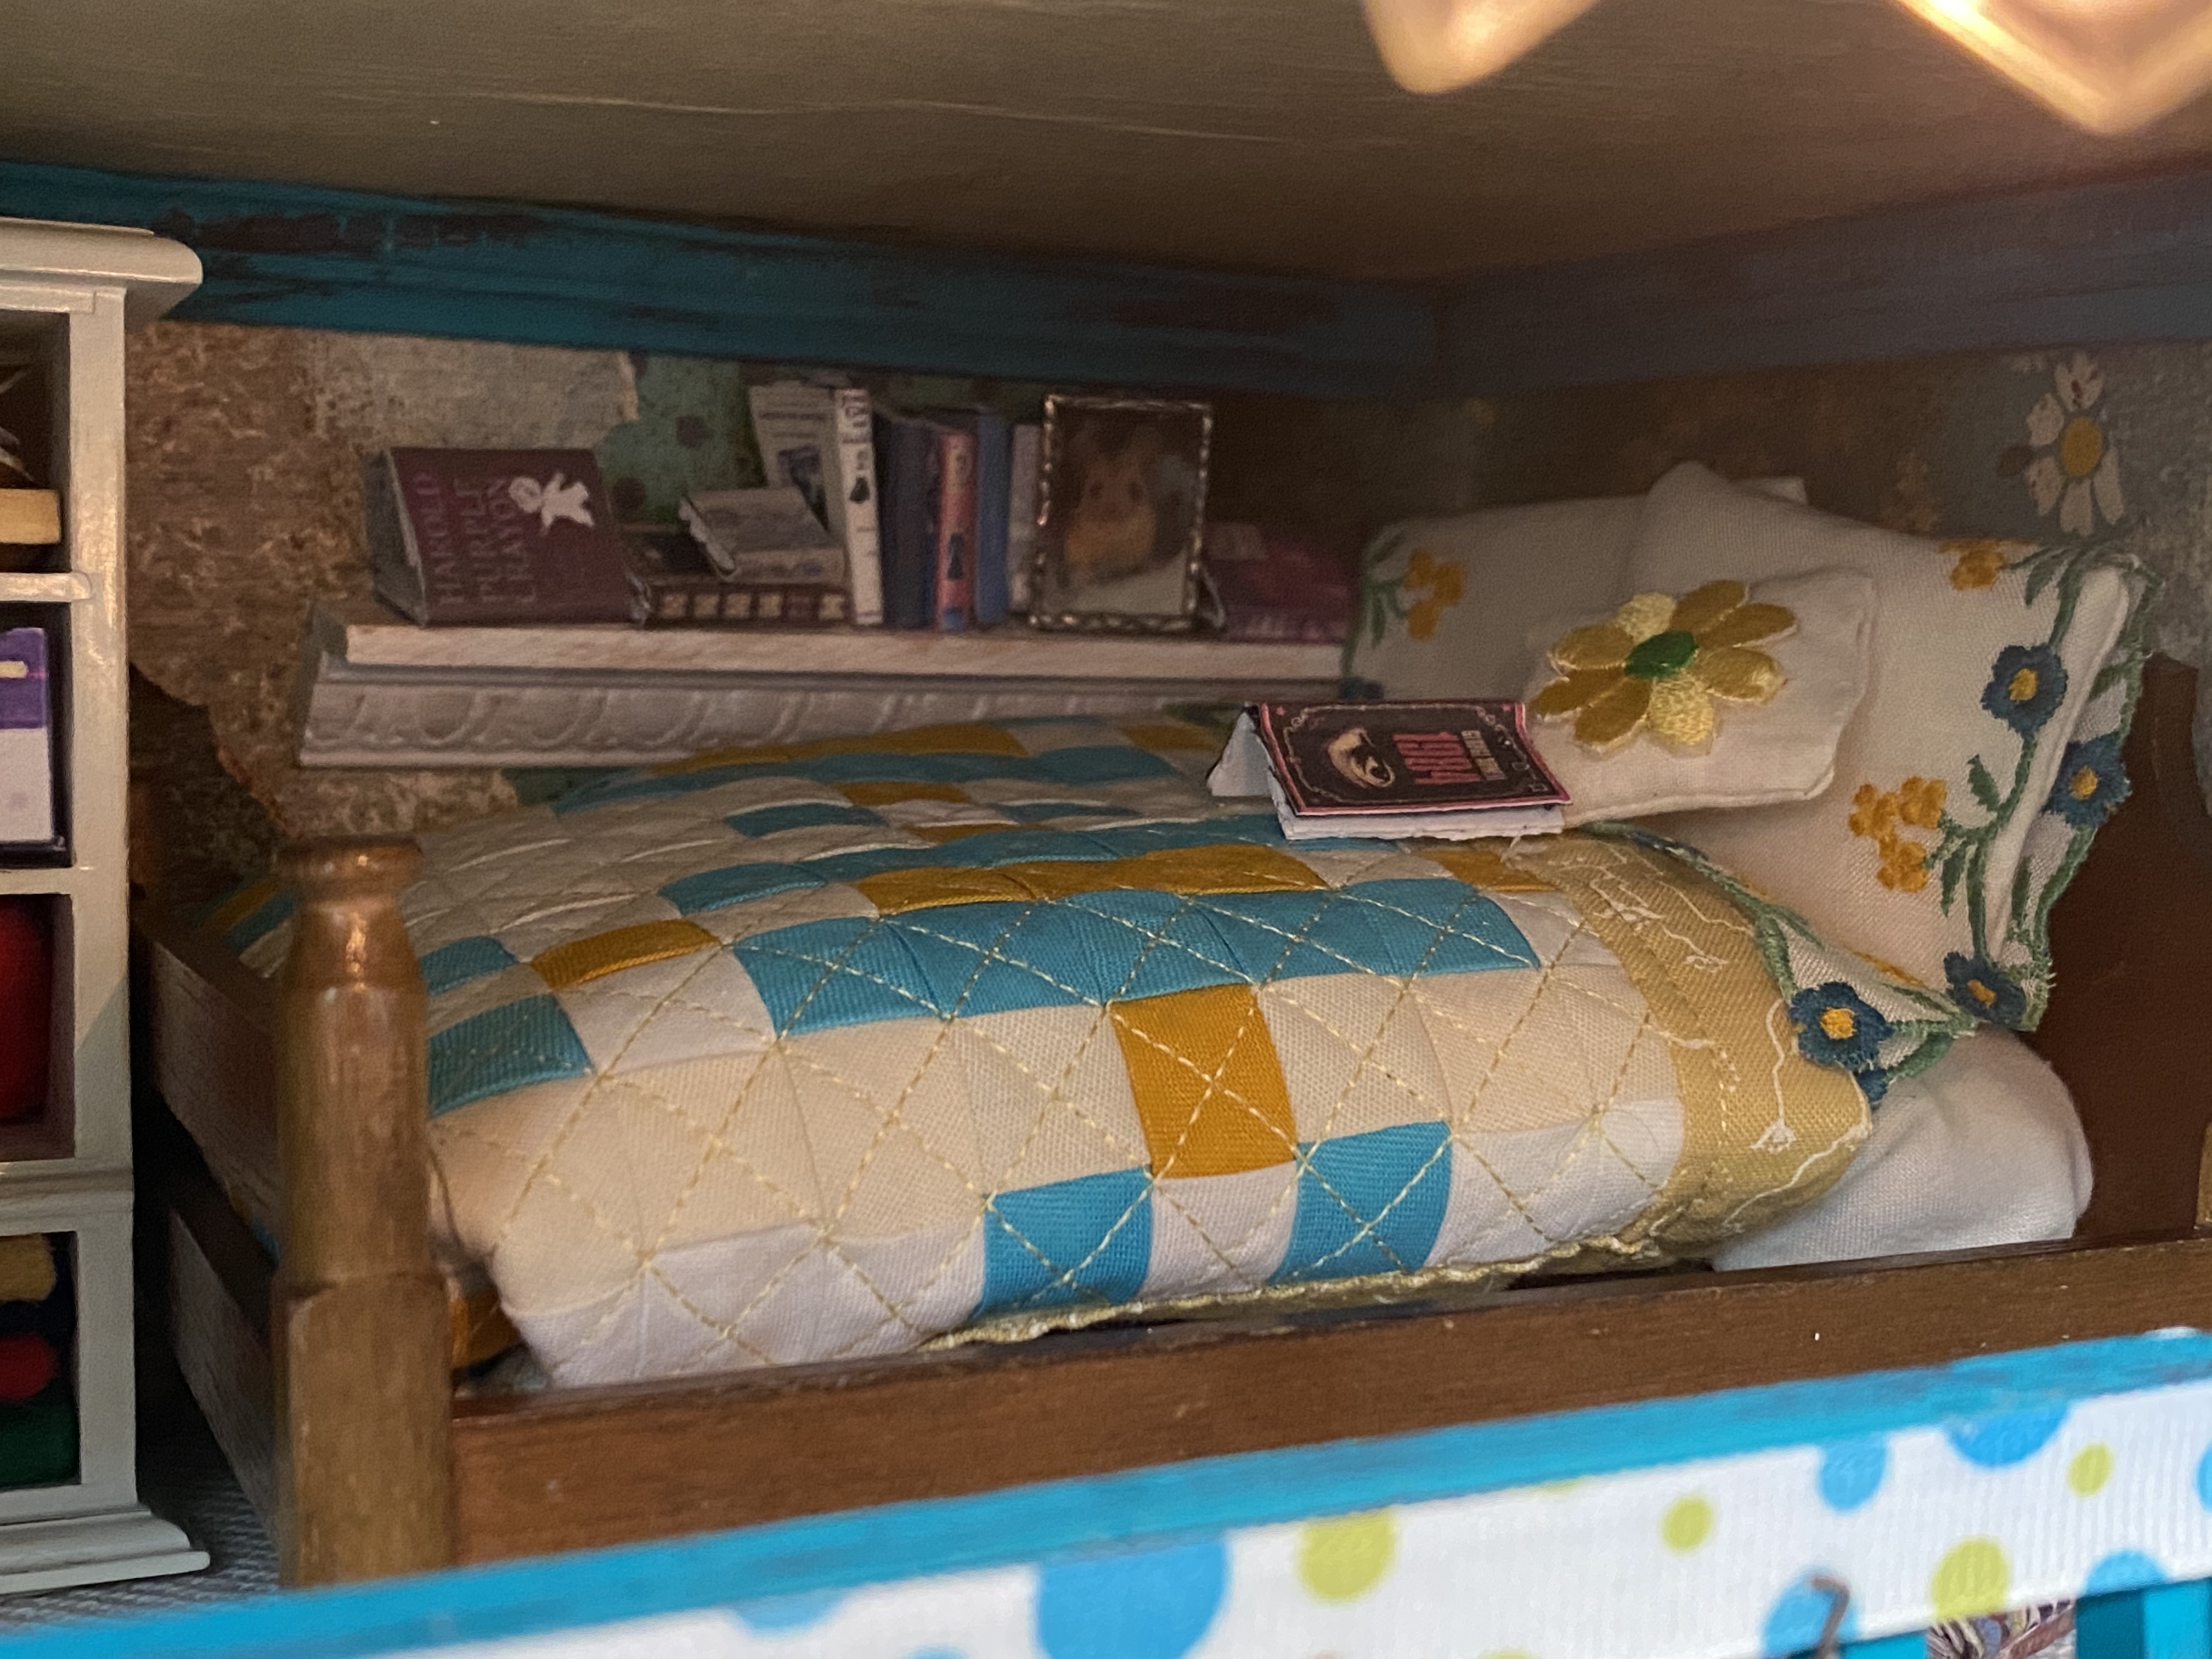
After months of work deciding what to make and where it should go, here are photos of the space now:

As I’ve noted before, most of the wallpaper I’ve used throughout the house is scrapbook paper. That was my default choice, as dollhouse wallpaper sold in stores is limited and generally too traditional for me. Instead, I planned to print the wallpaper myself from patterns I found and liked on the internet, resizing it to scale, but after reading more about how to do it, I was wary of the quality of my printer ink and didn’t want to risk having it yellow or fade too prematurely. So, shopping I went, mostly to Scrappy Chic, a wonderful store near me. Of course, this was pre-pandemic!
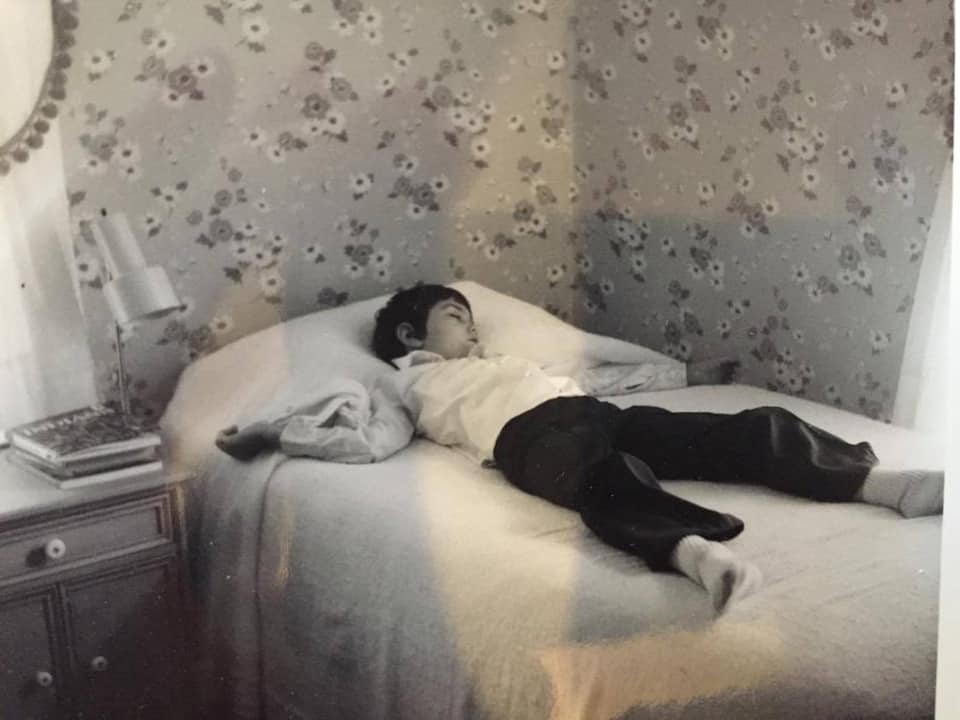
The flowered paper I found for the master bedroom takes me right back to my childhood: here is a picture of my bedroom a few (!!) years ago and me taking one of the millions of naps I’ve had so far in my life:
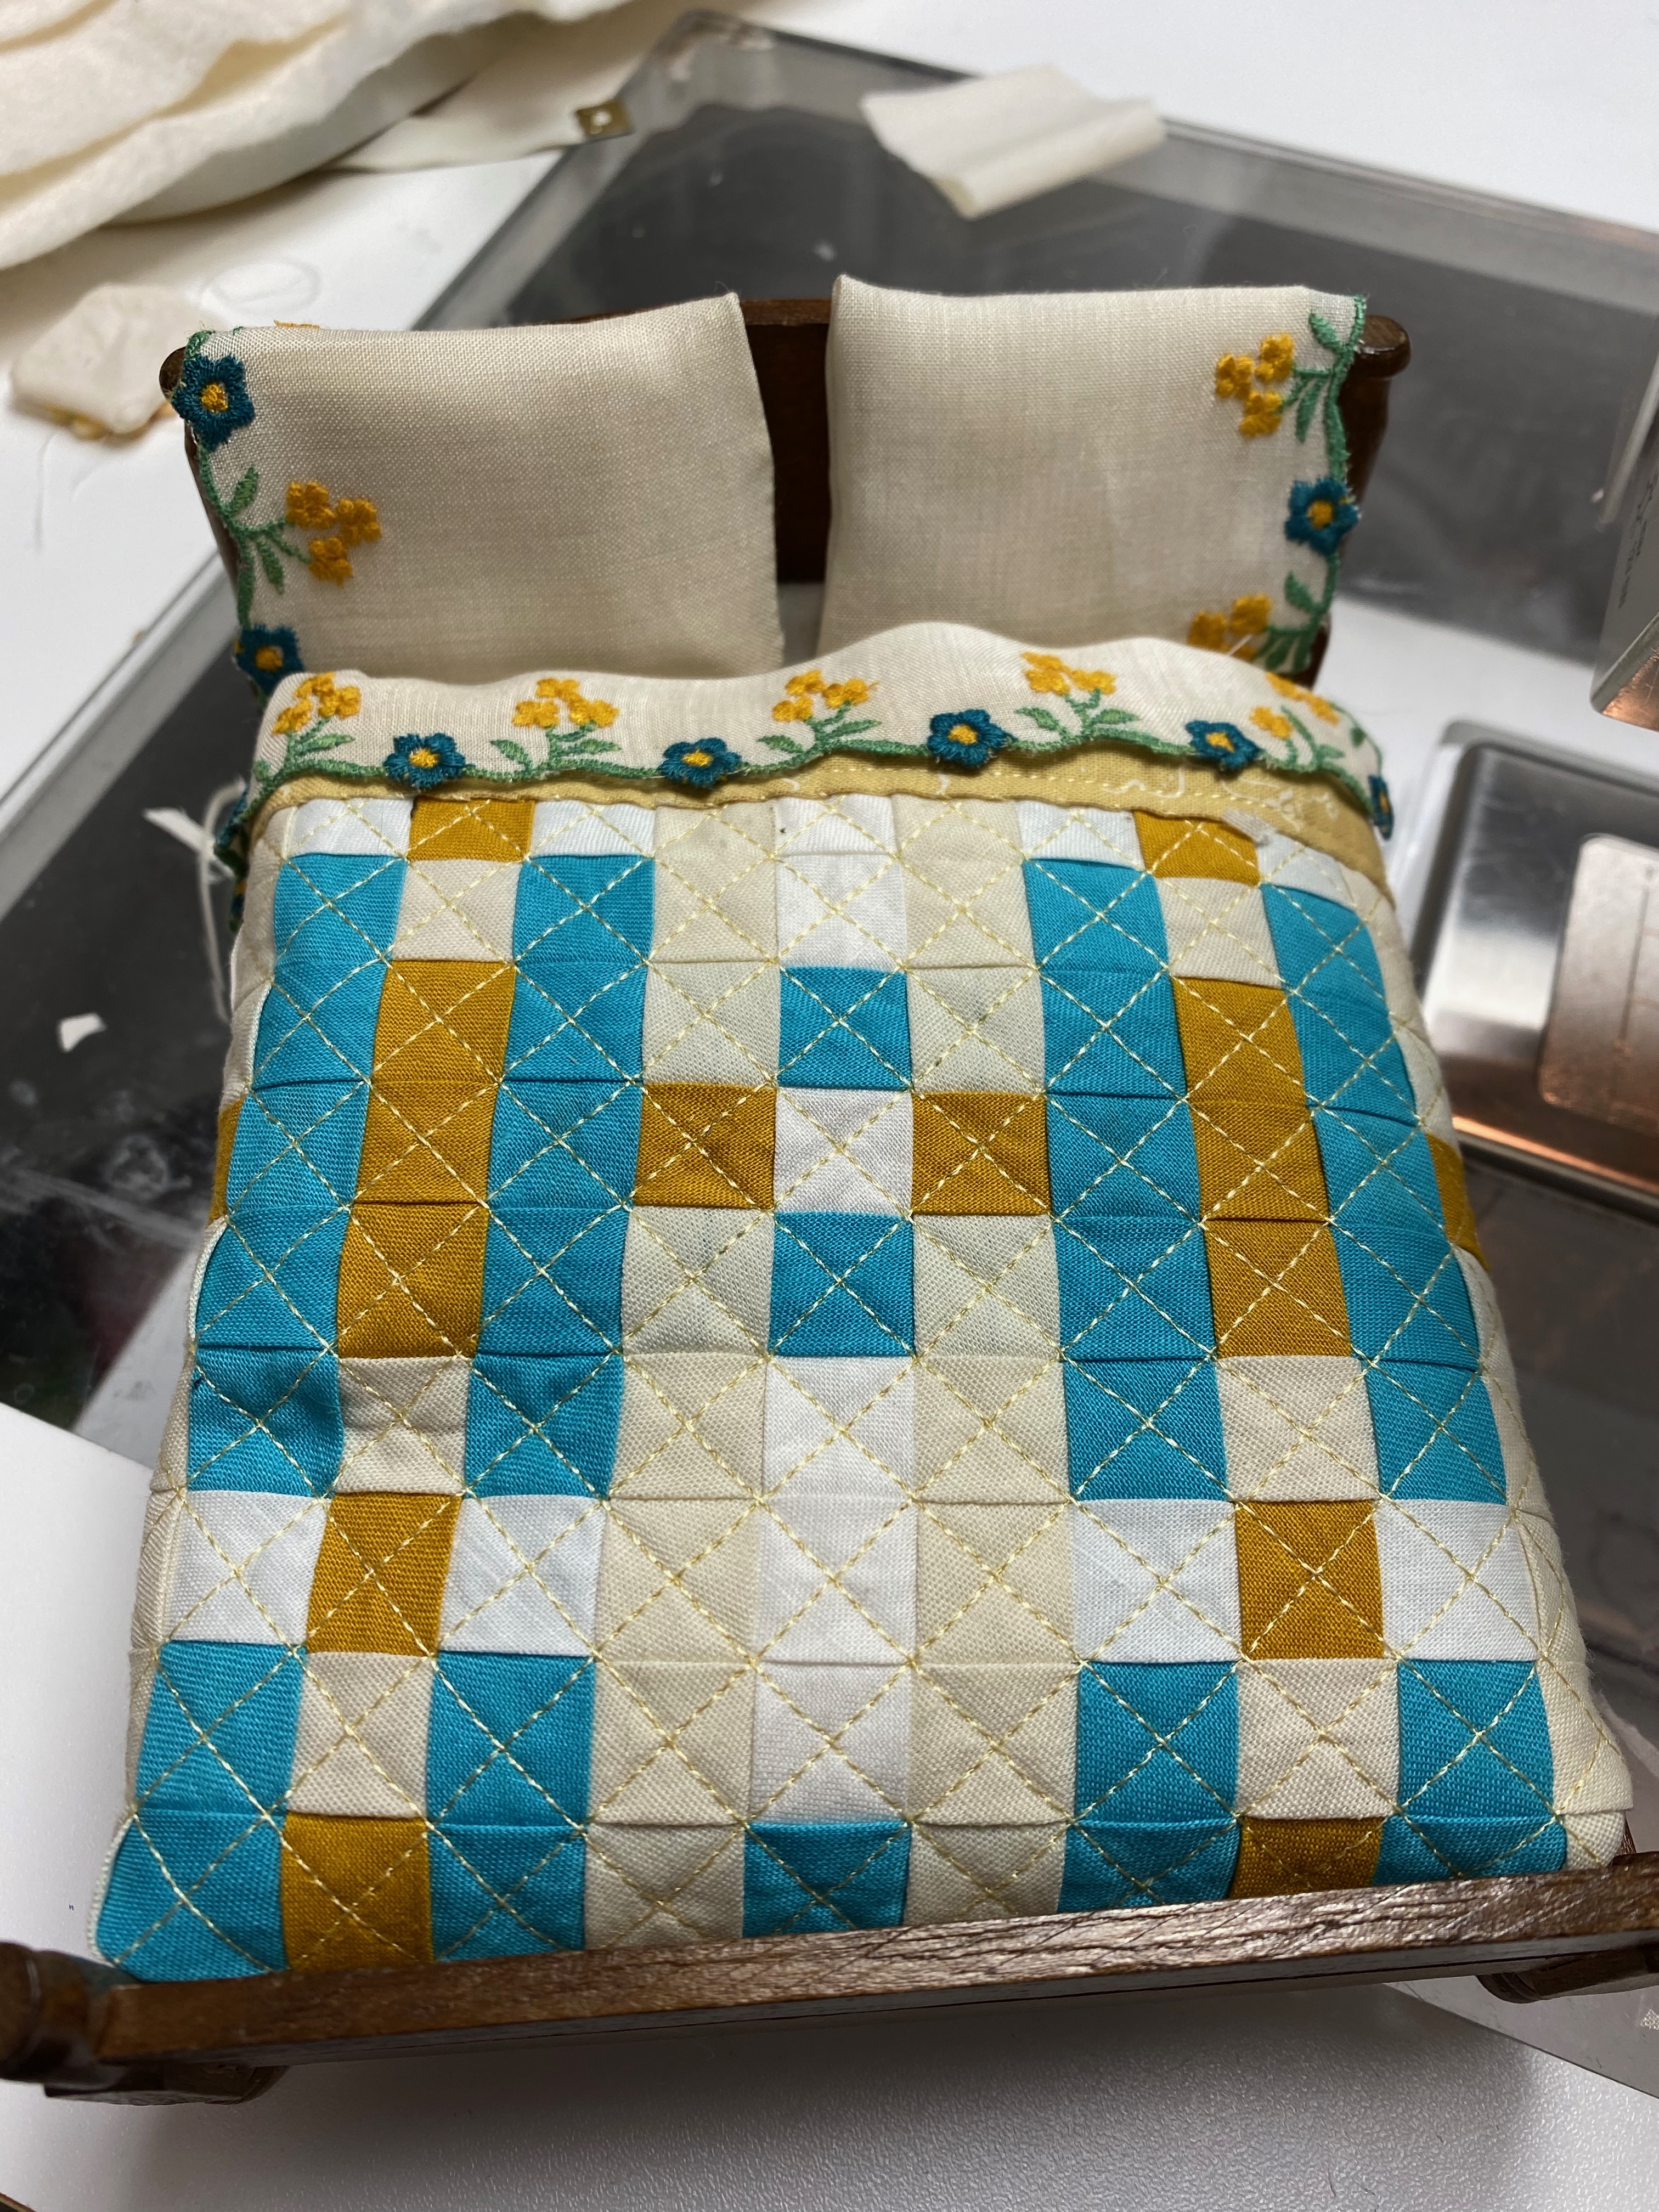
There are several items to document in this blog. First of all, the bedding. I made all of it, including the quilts on the large bed as well as the one hanging over the crib (using bias tape and ribbon for the fabric strips) and the sheets and pillowcases (I used a vintage handkerchief for those).

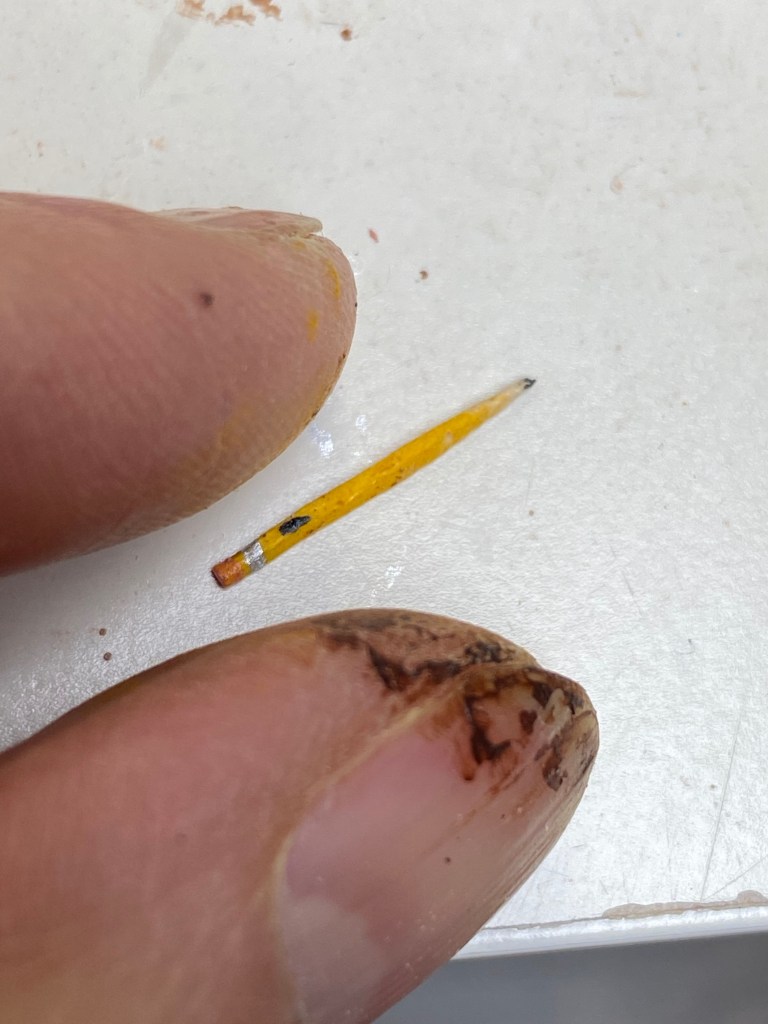
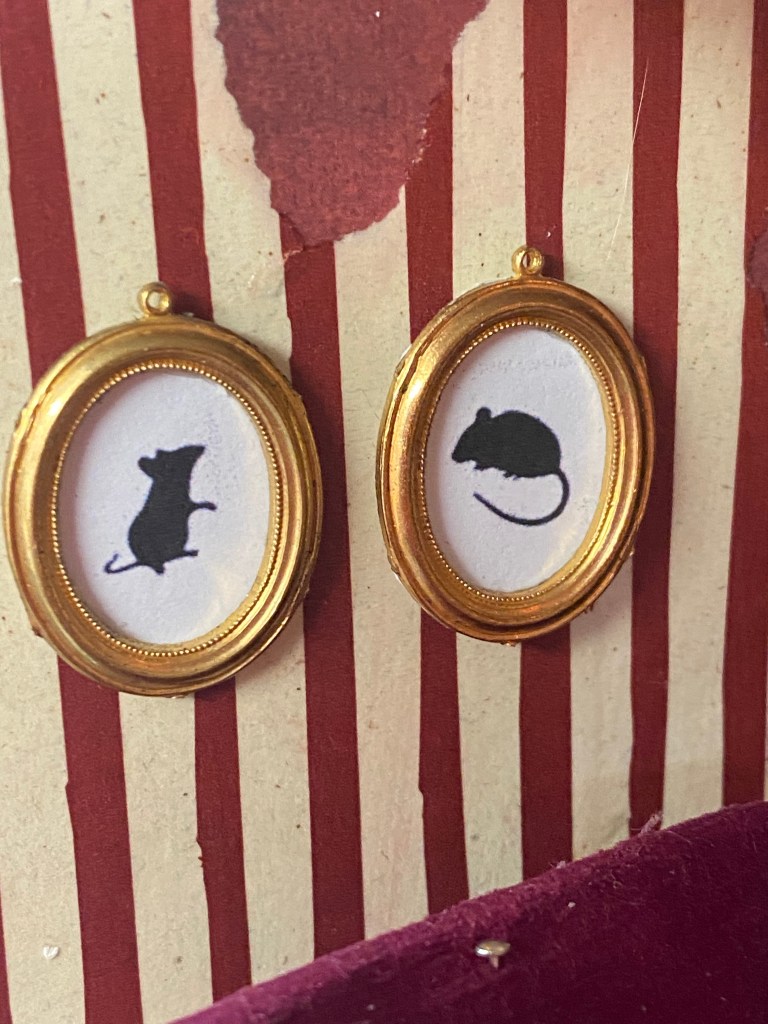
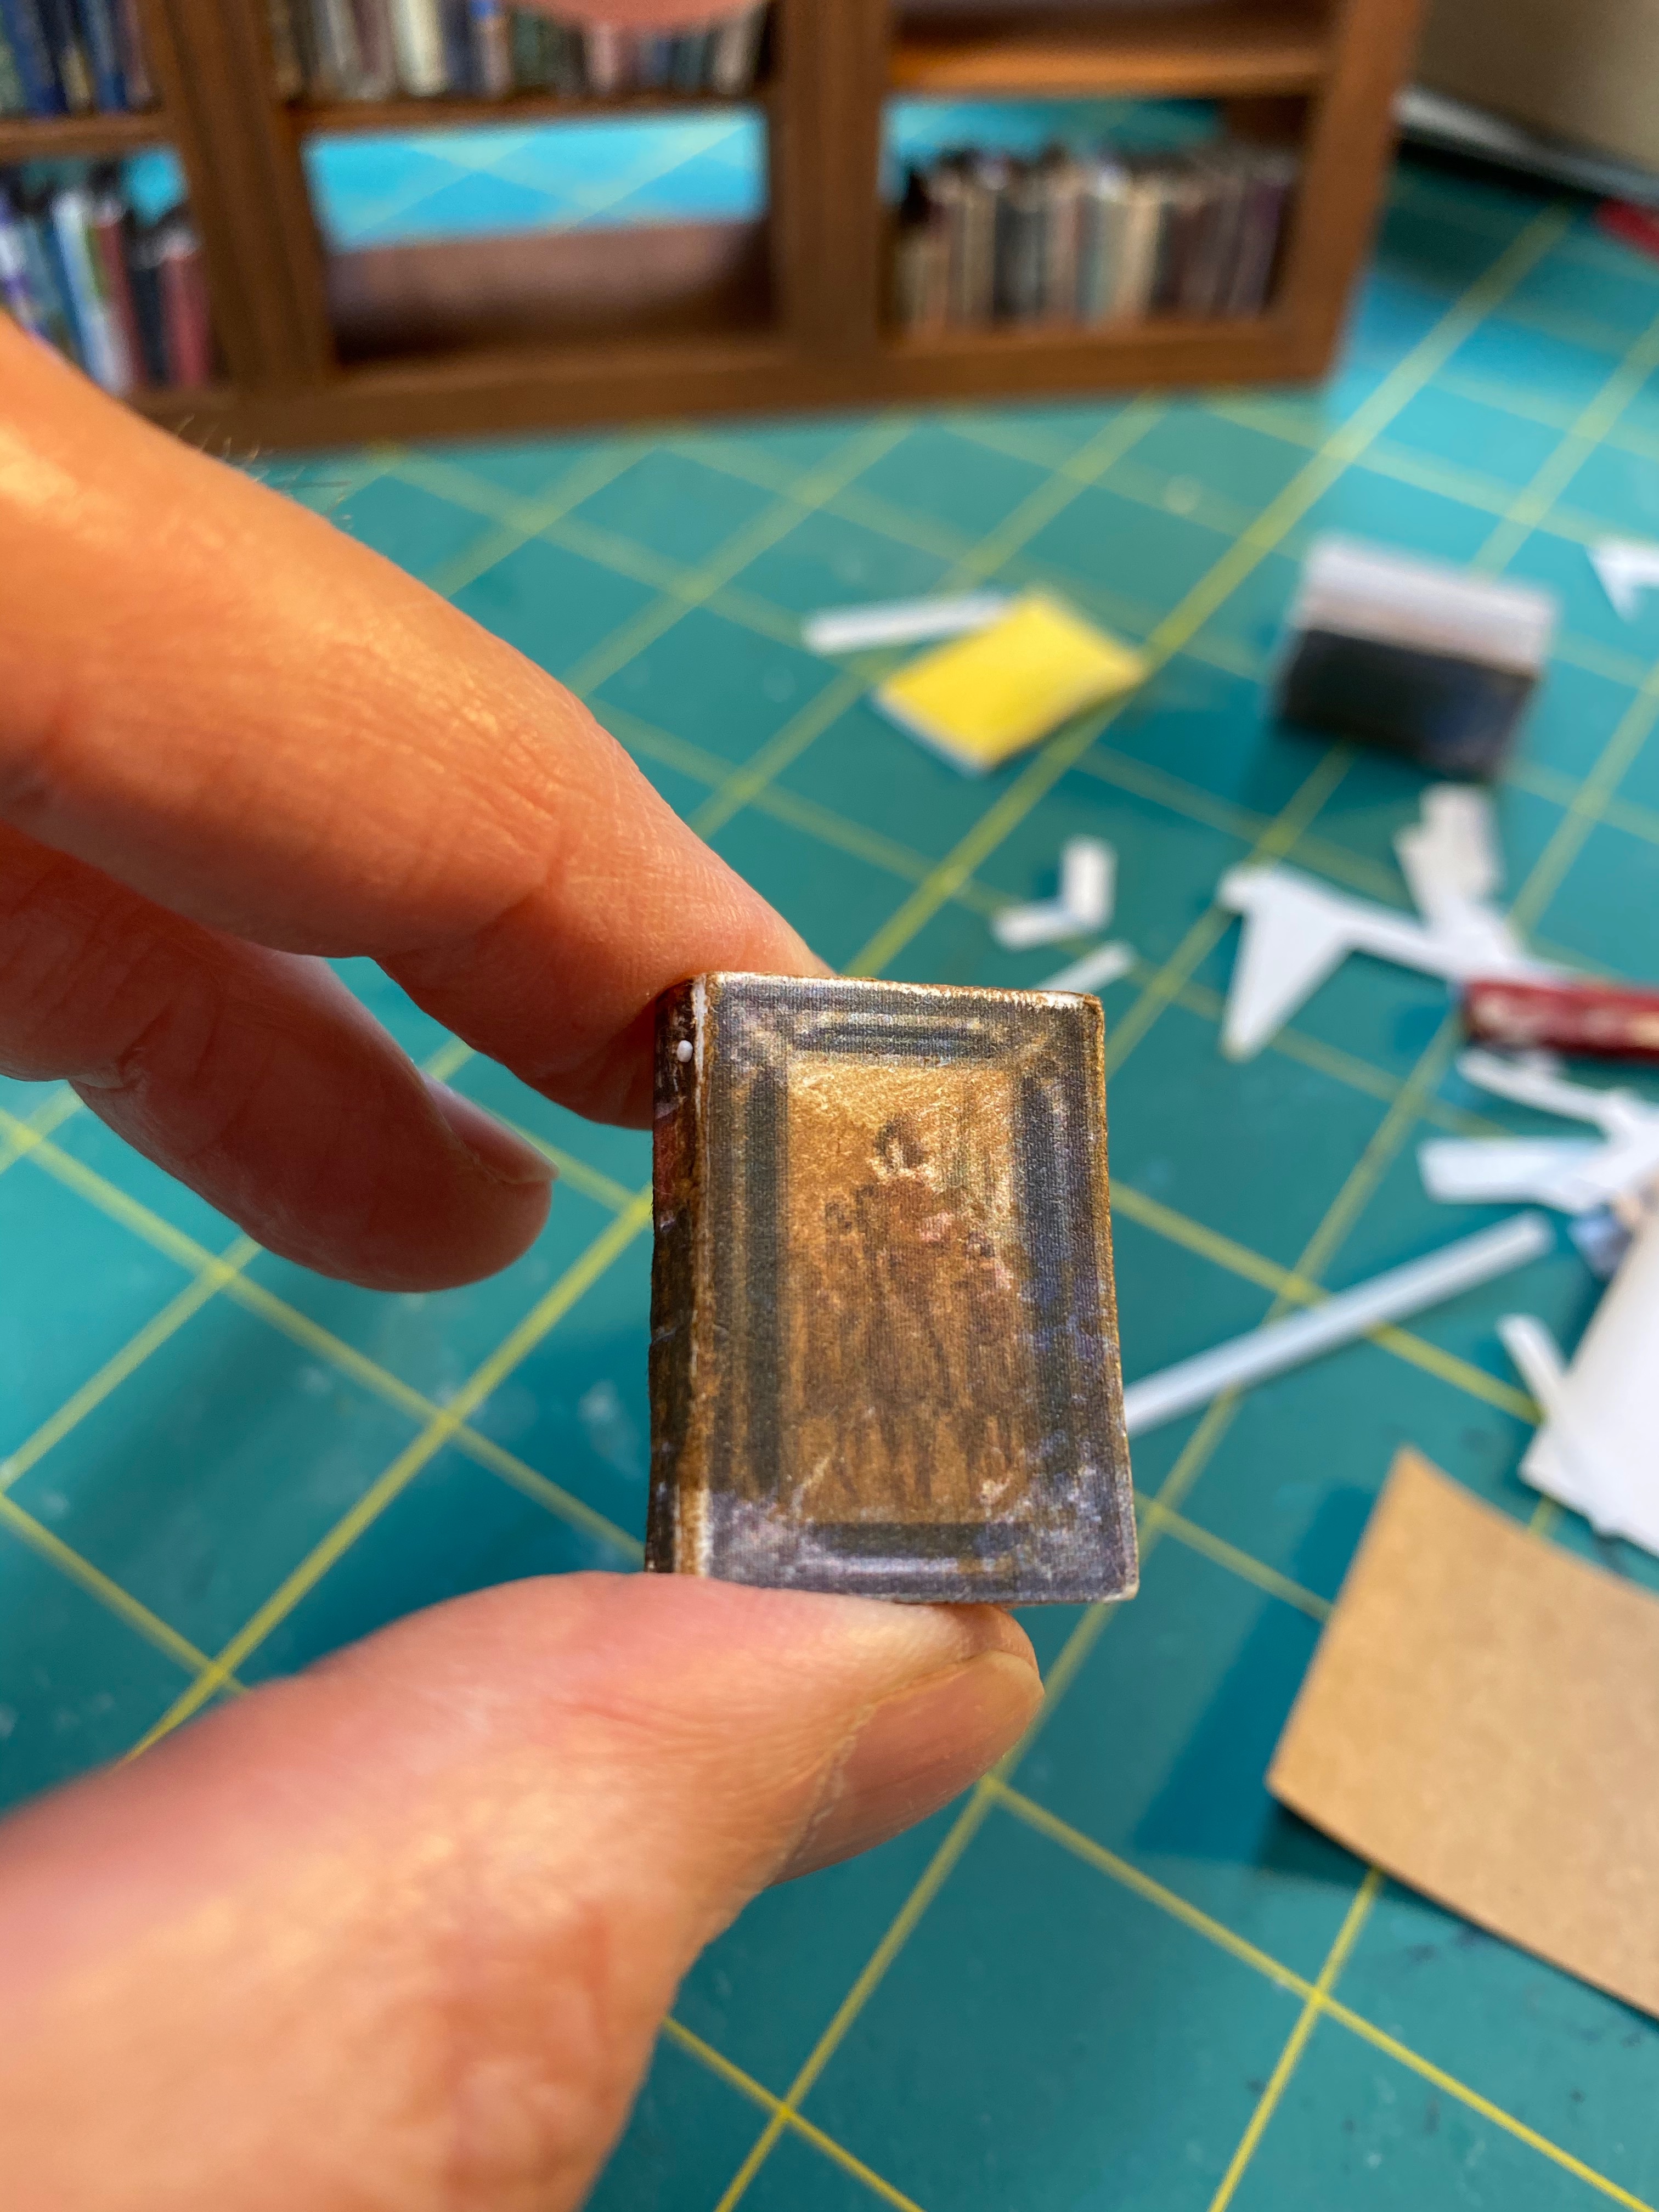
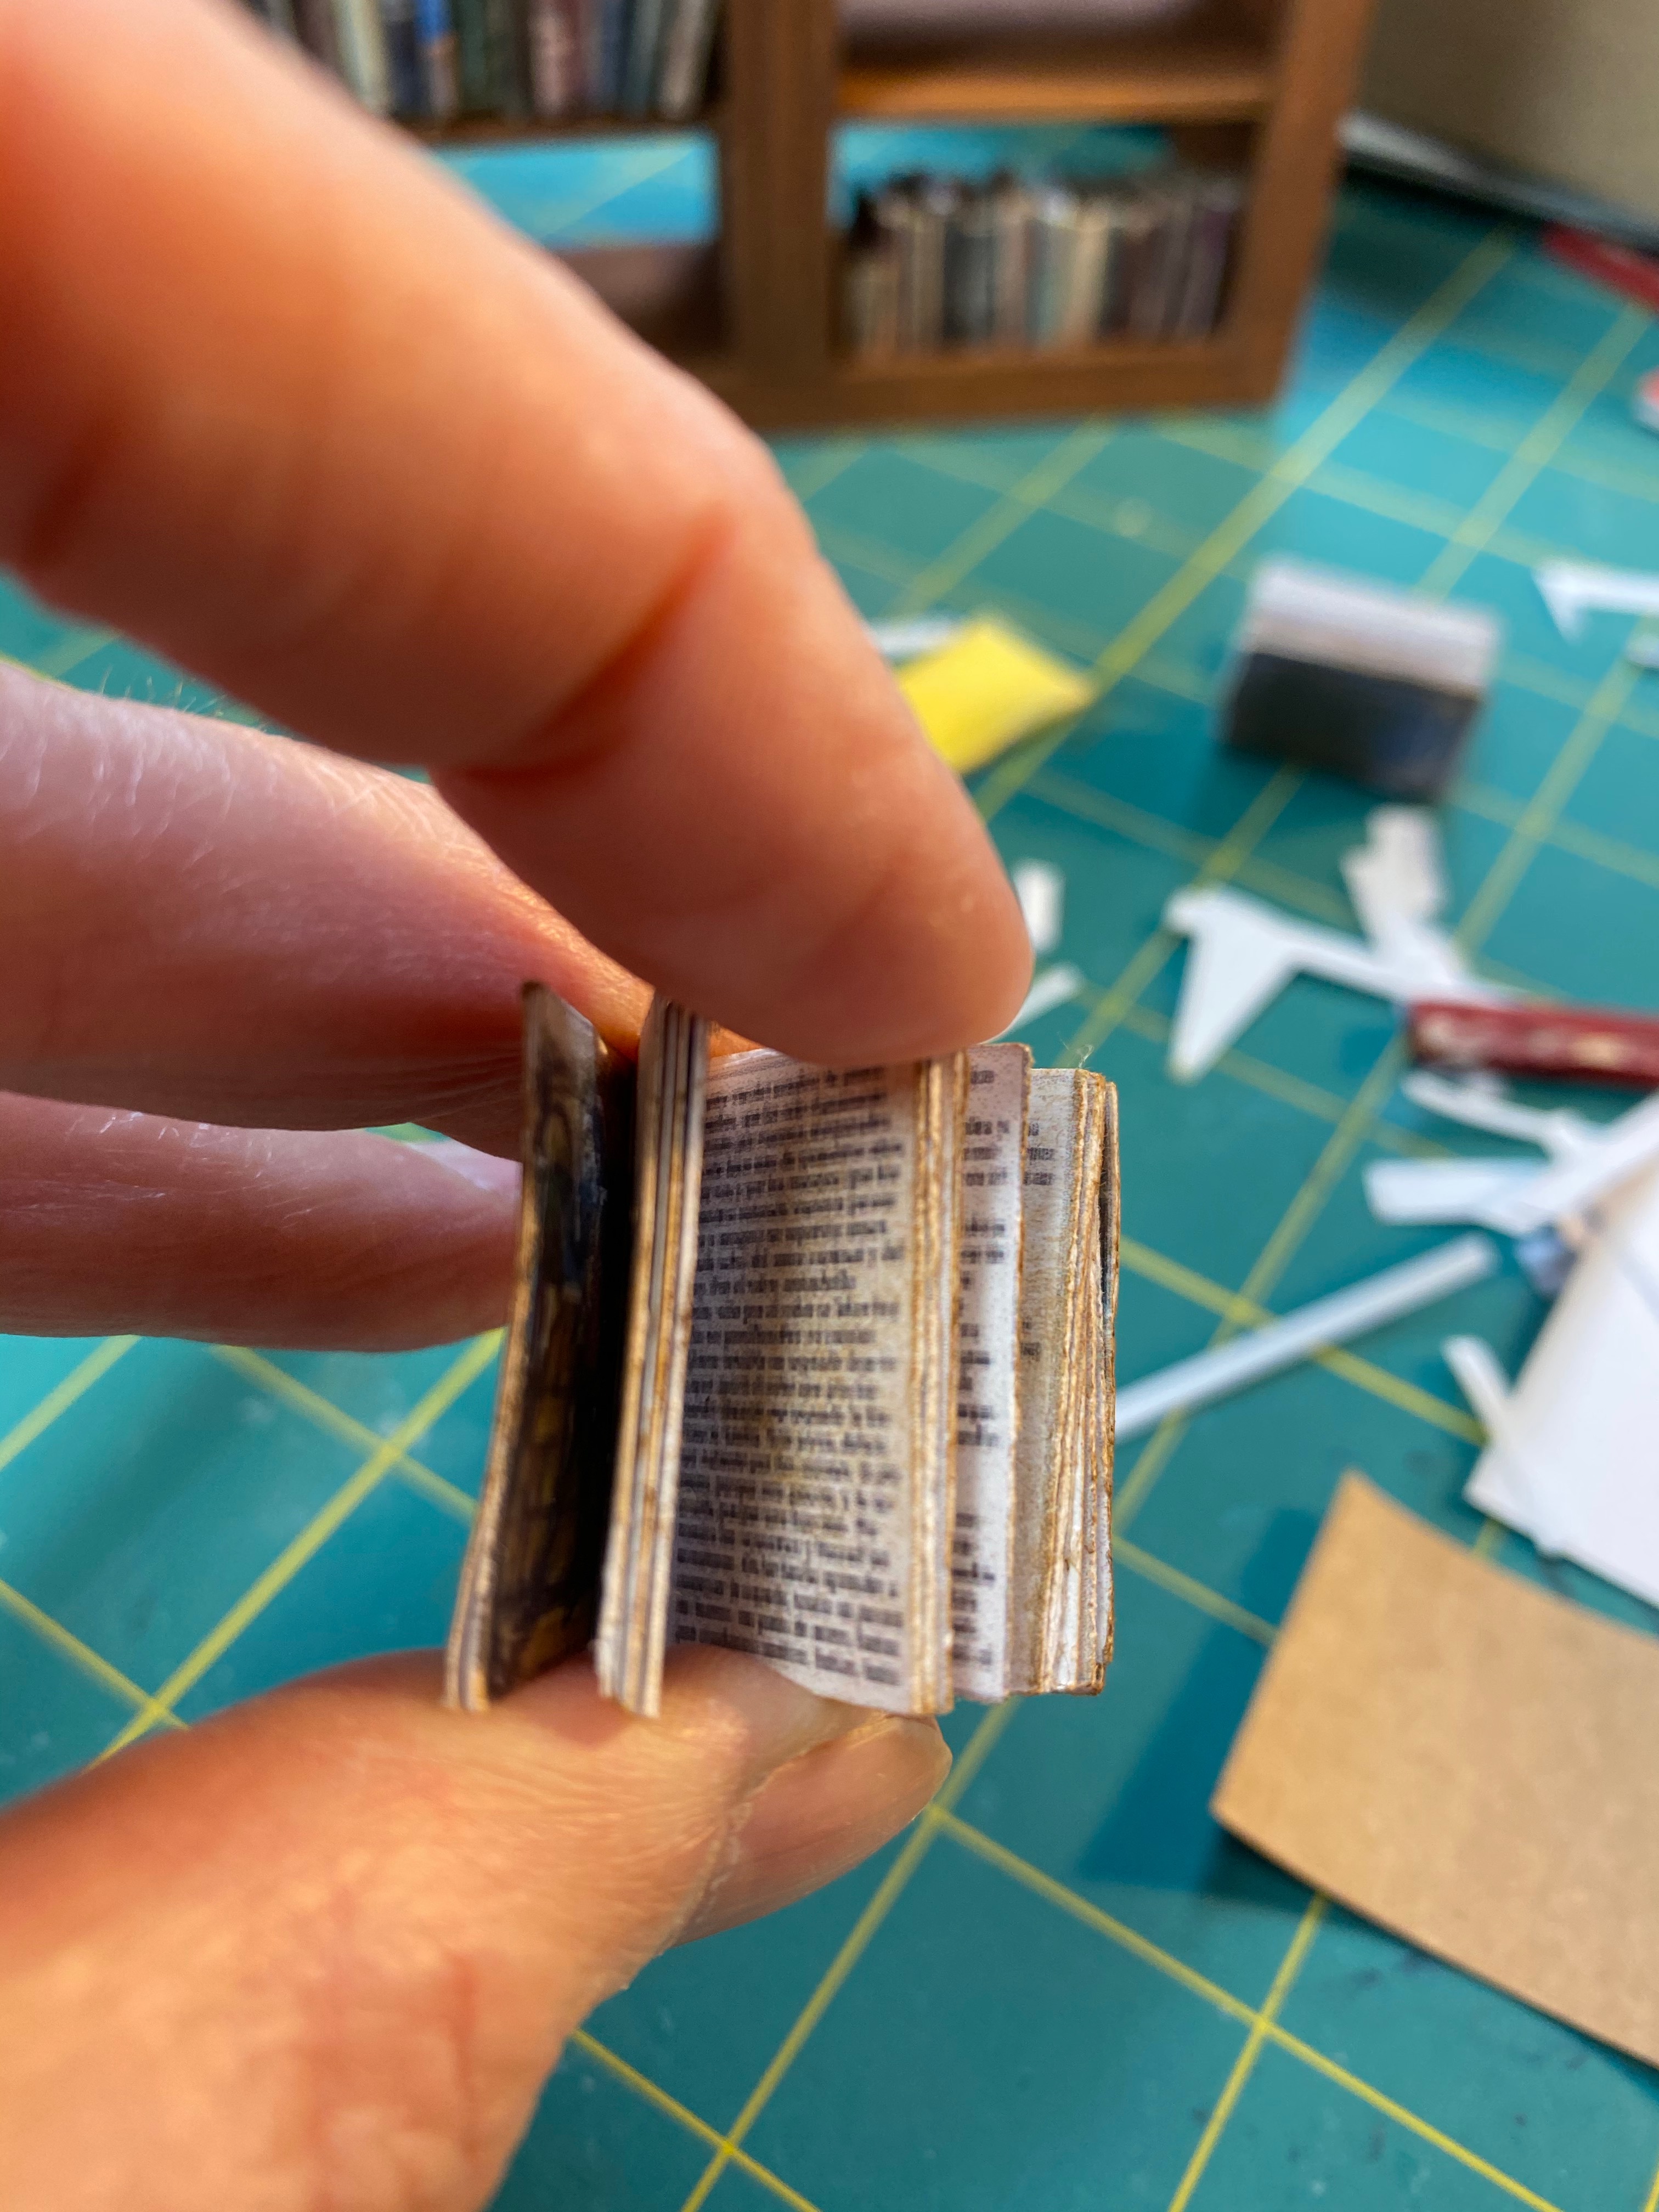
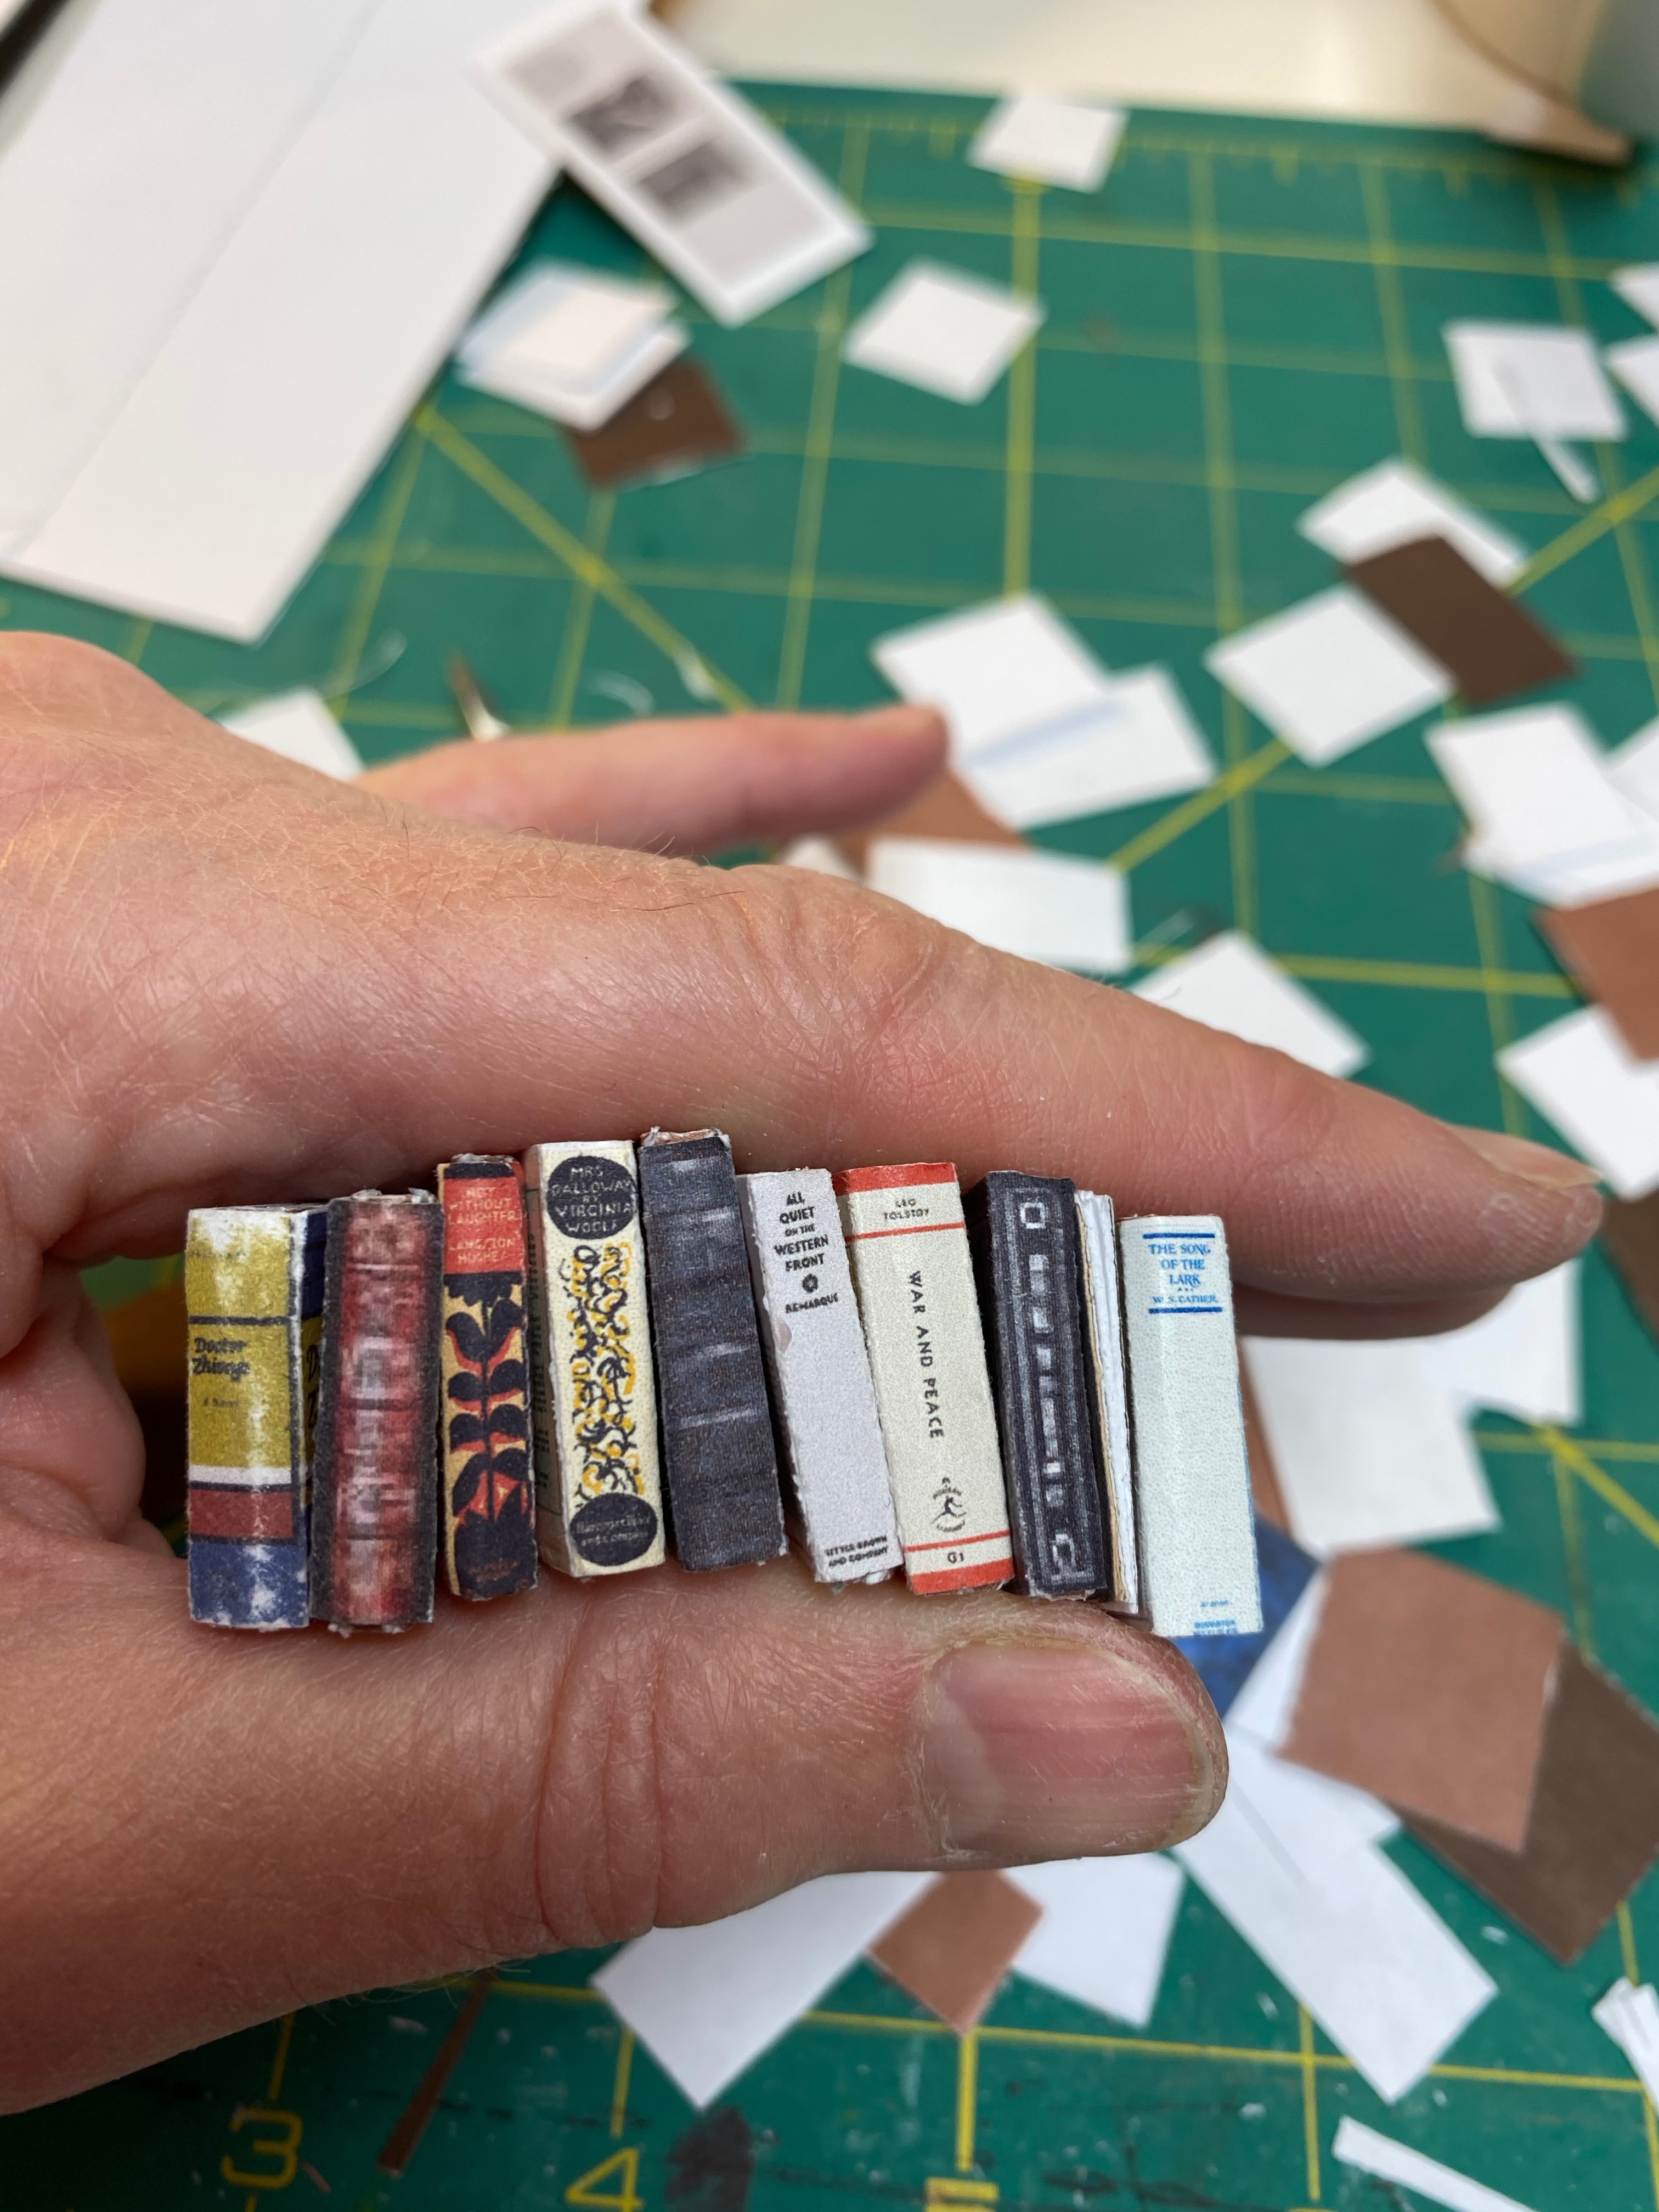
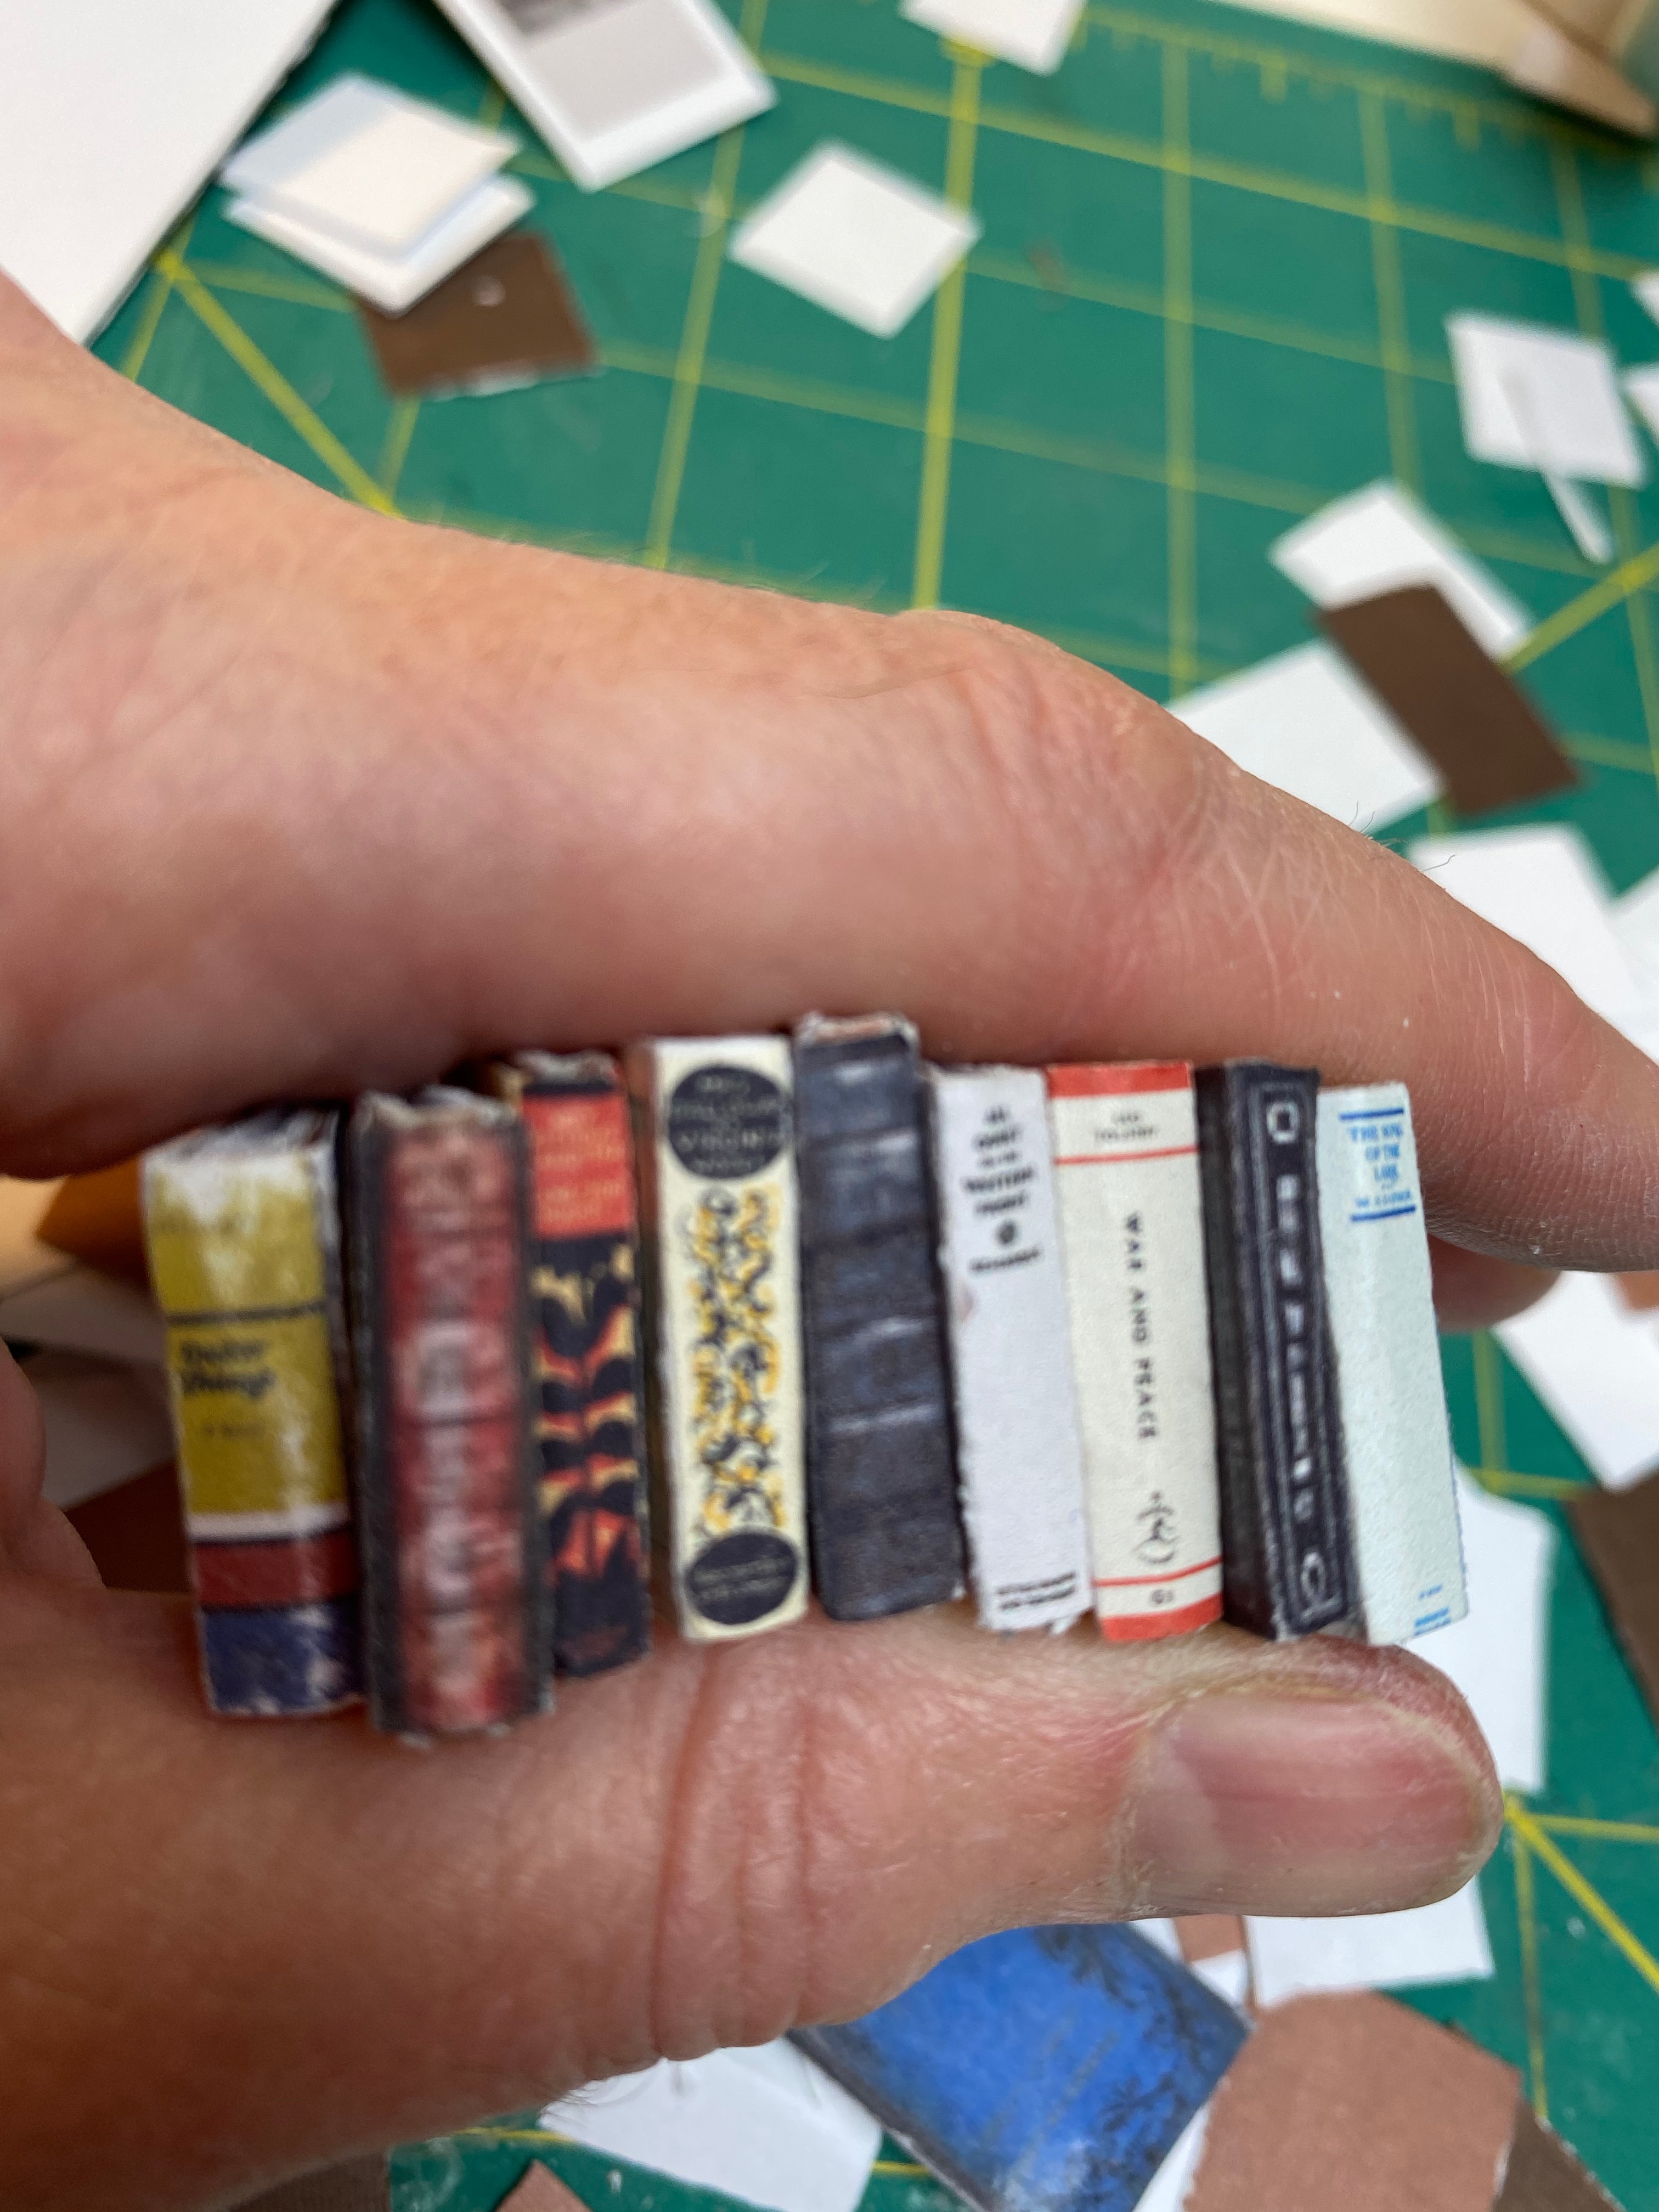
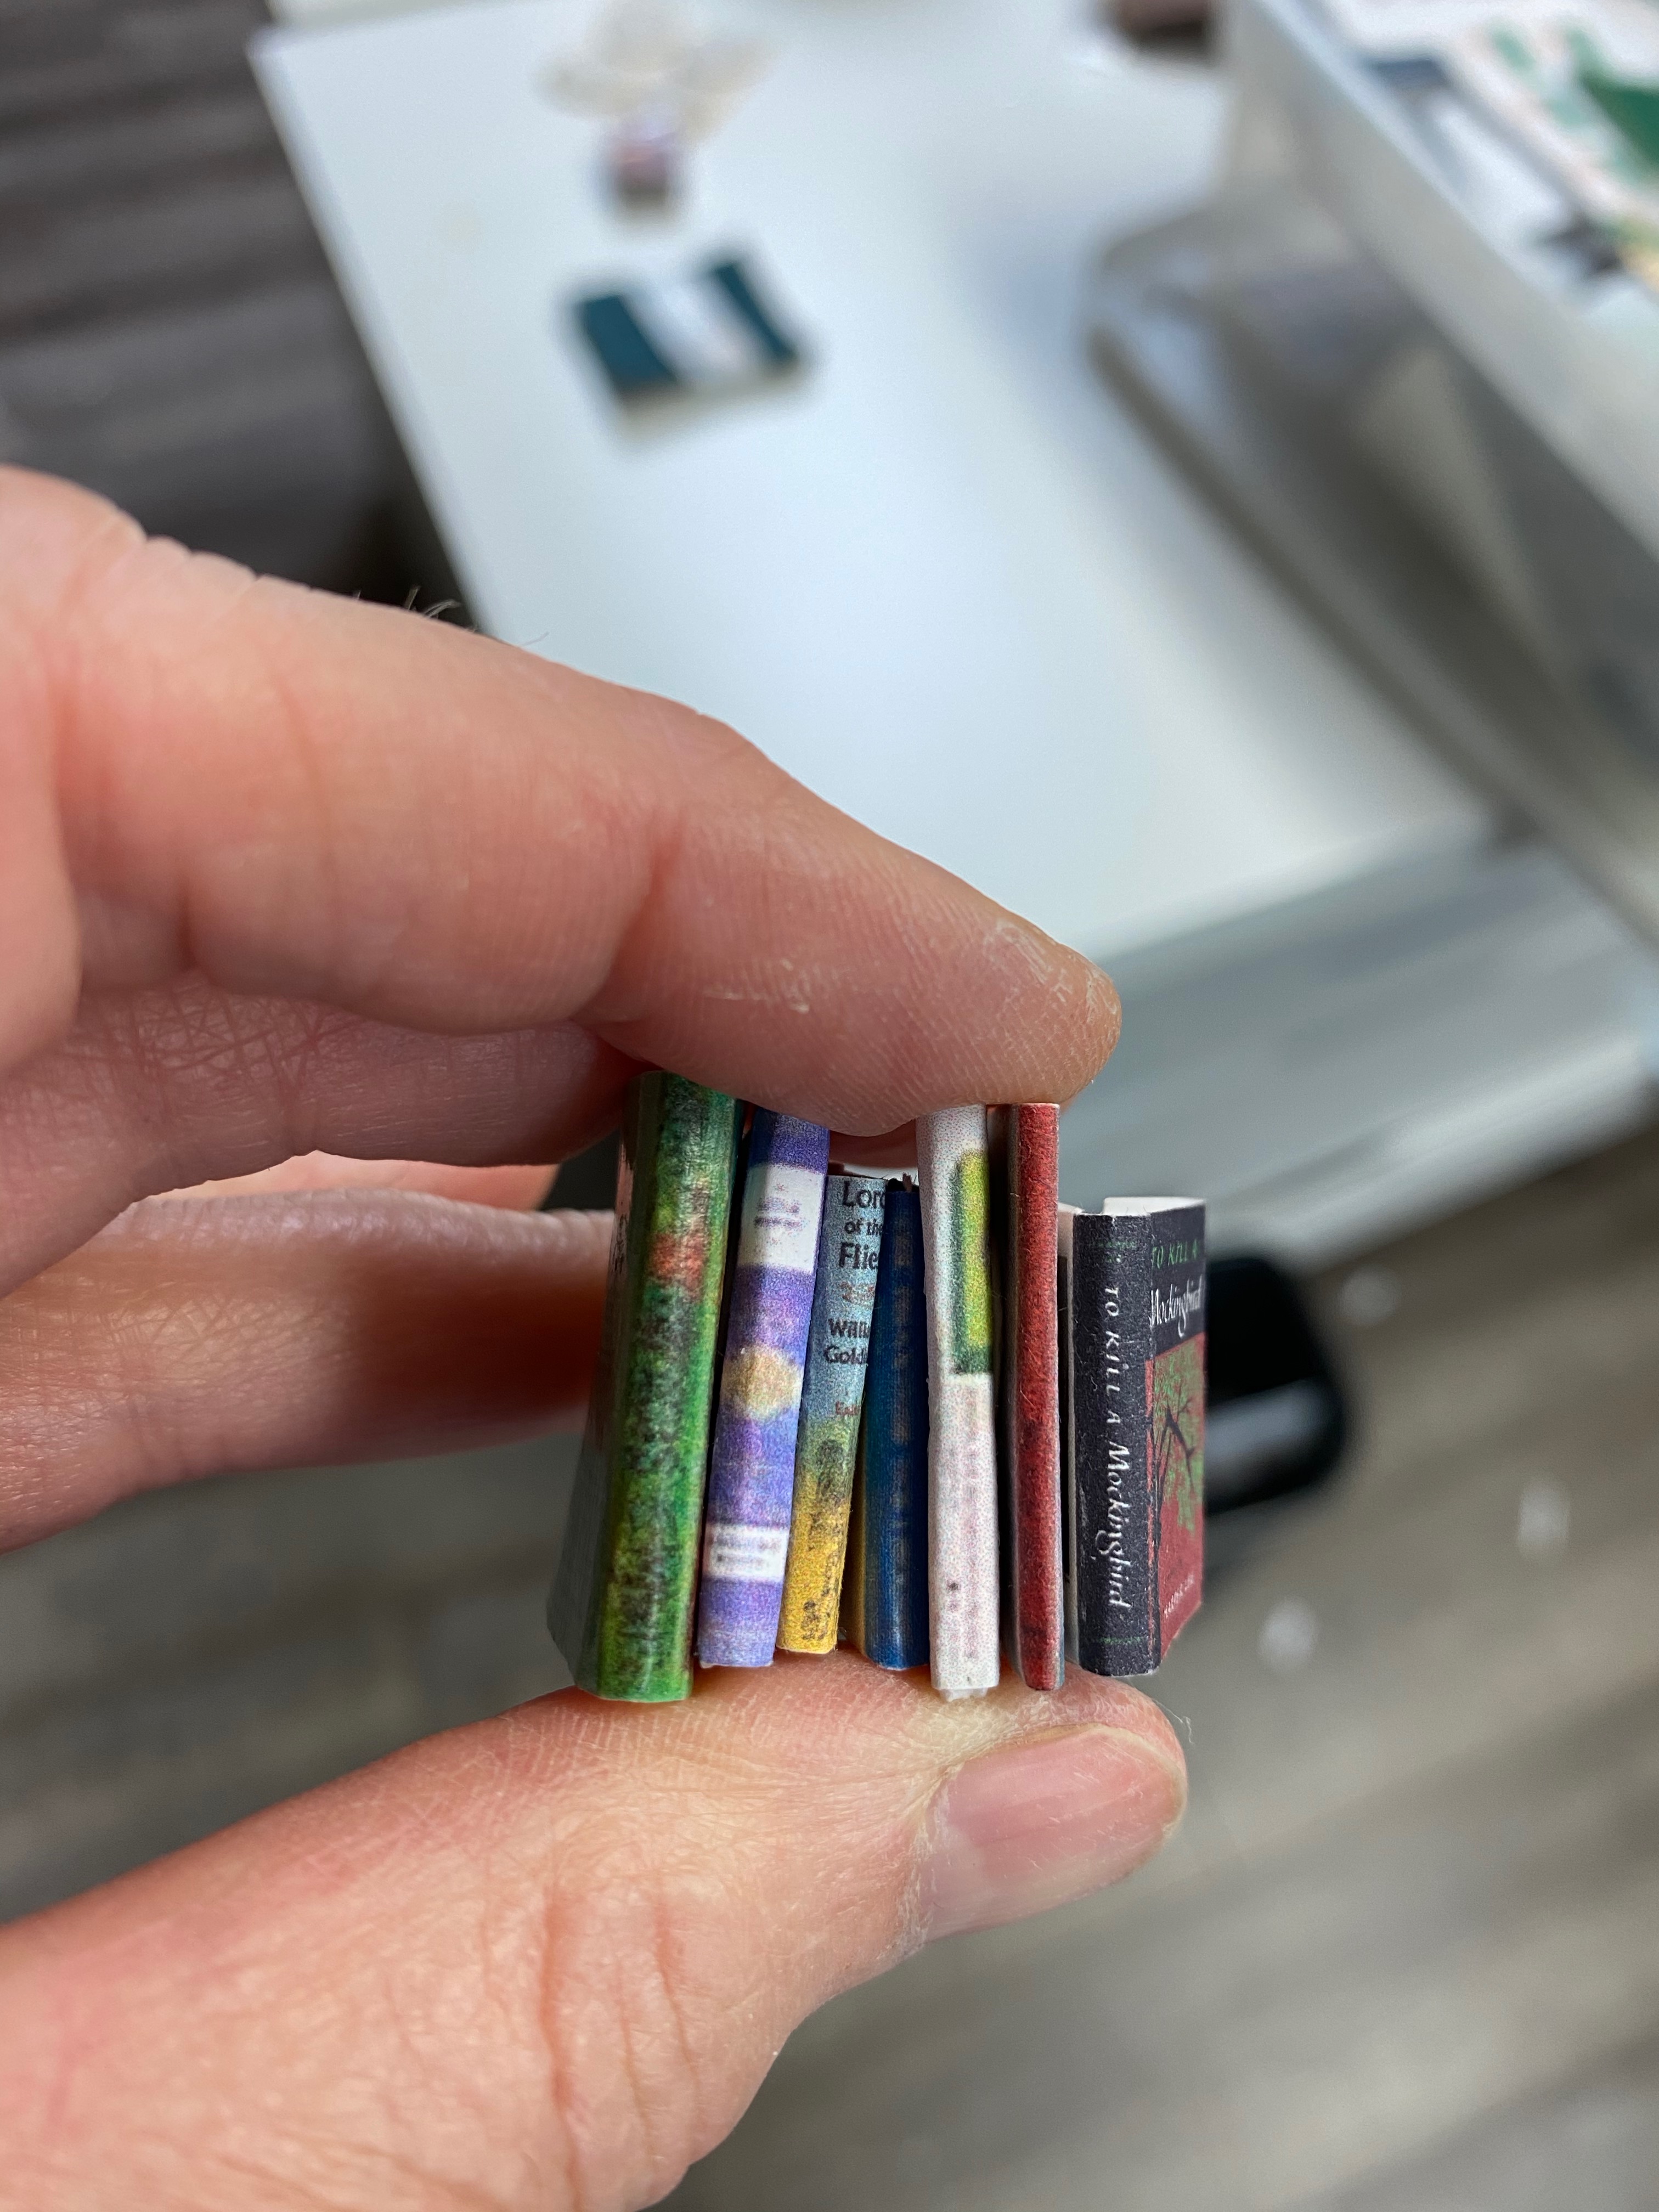
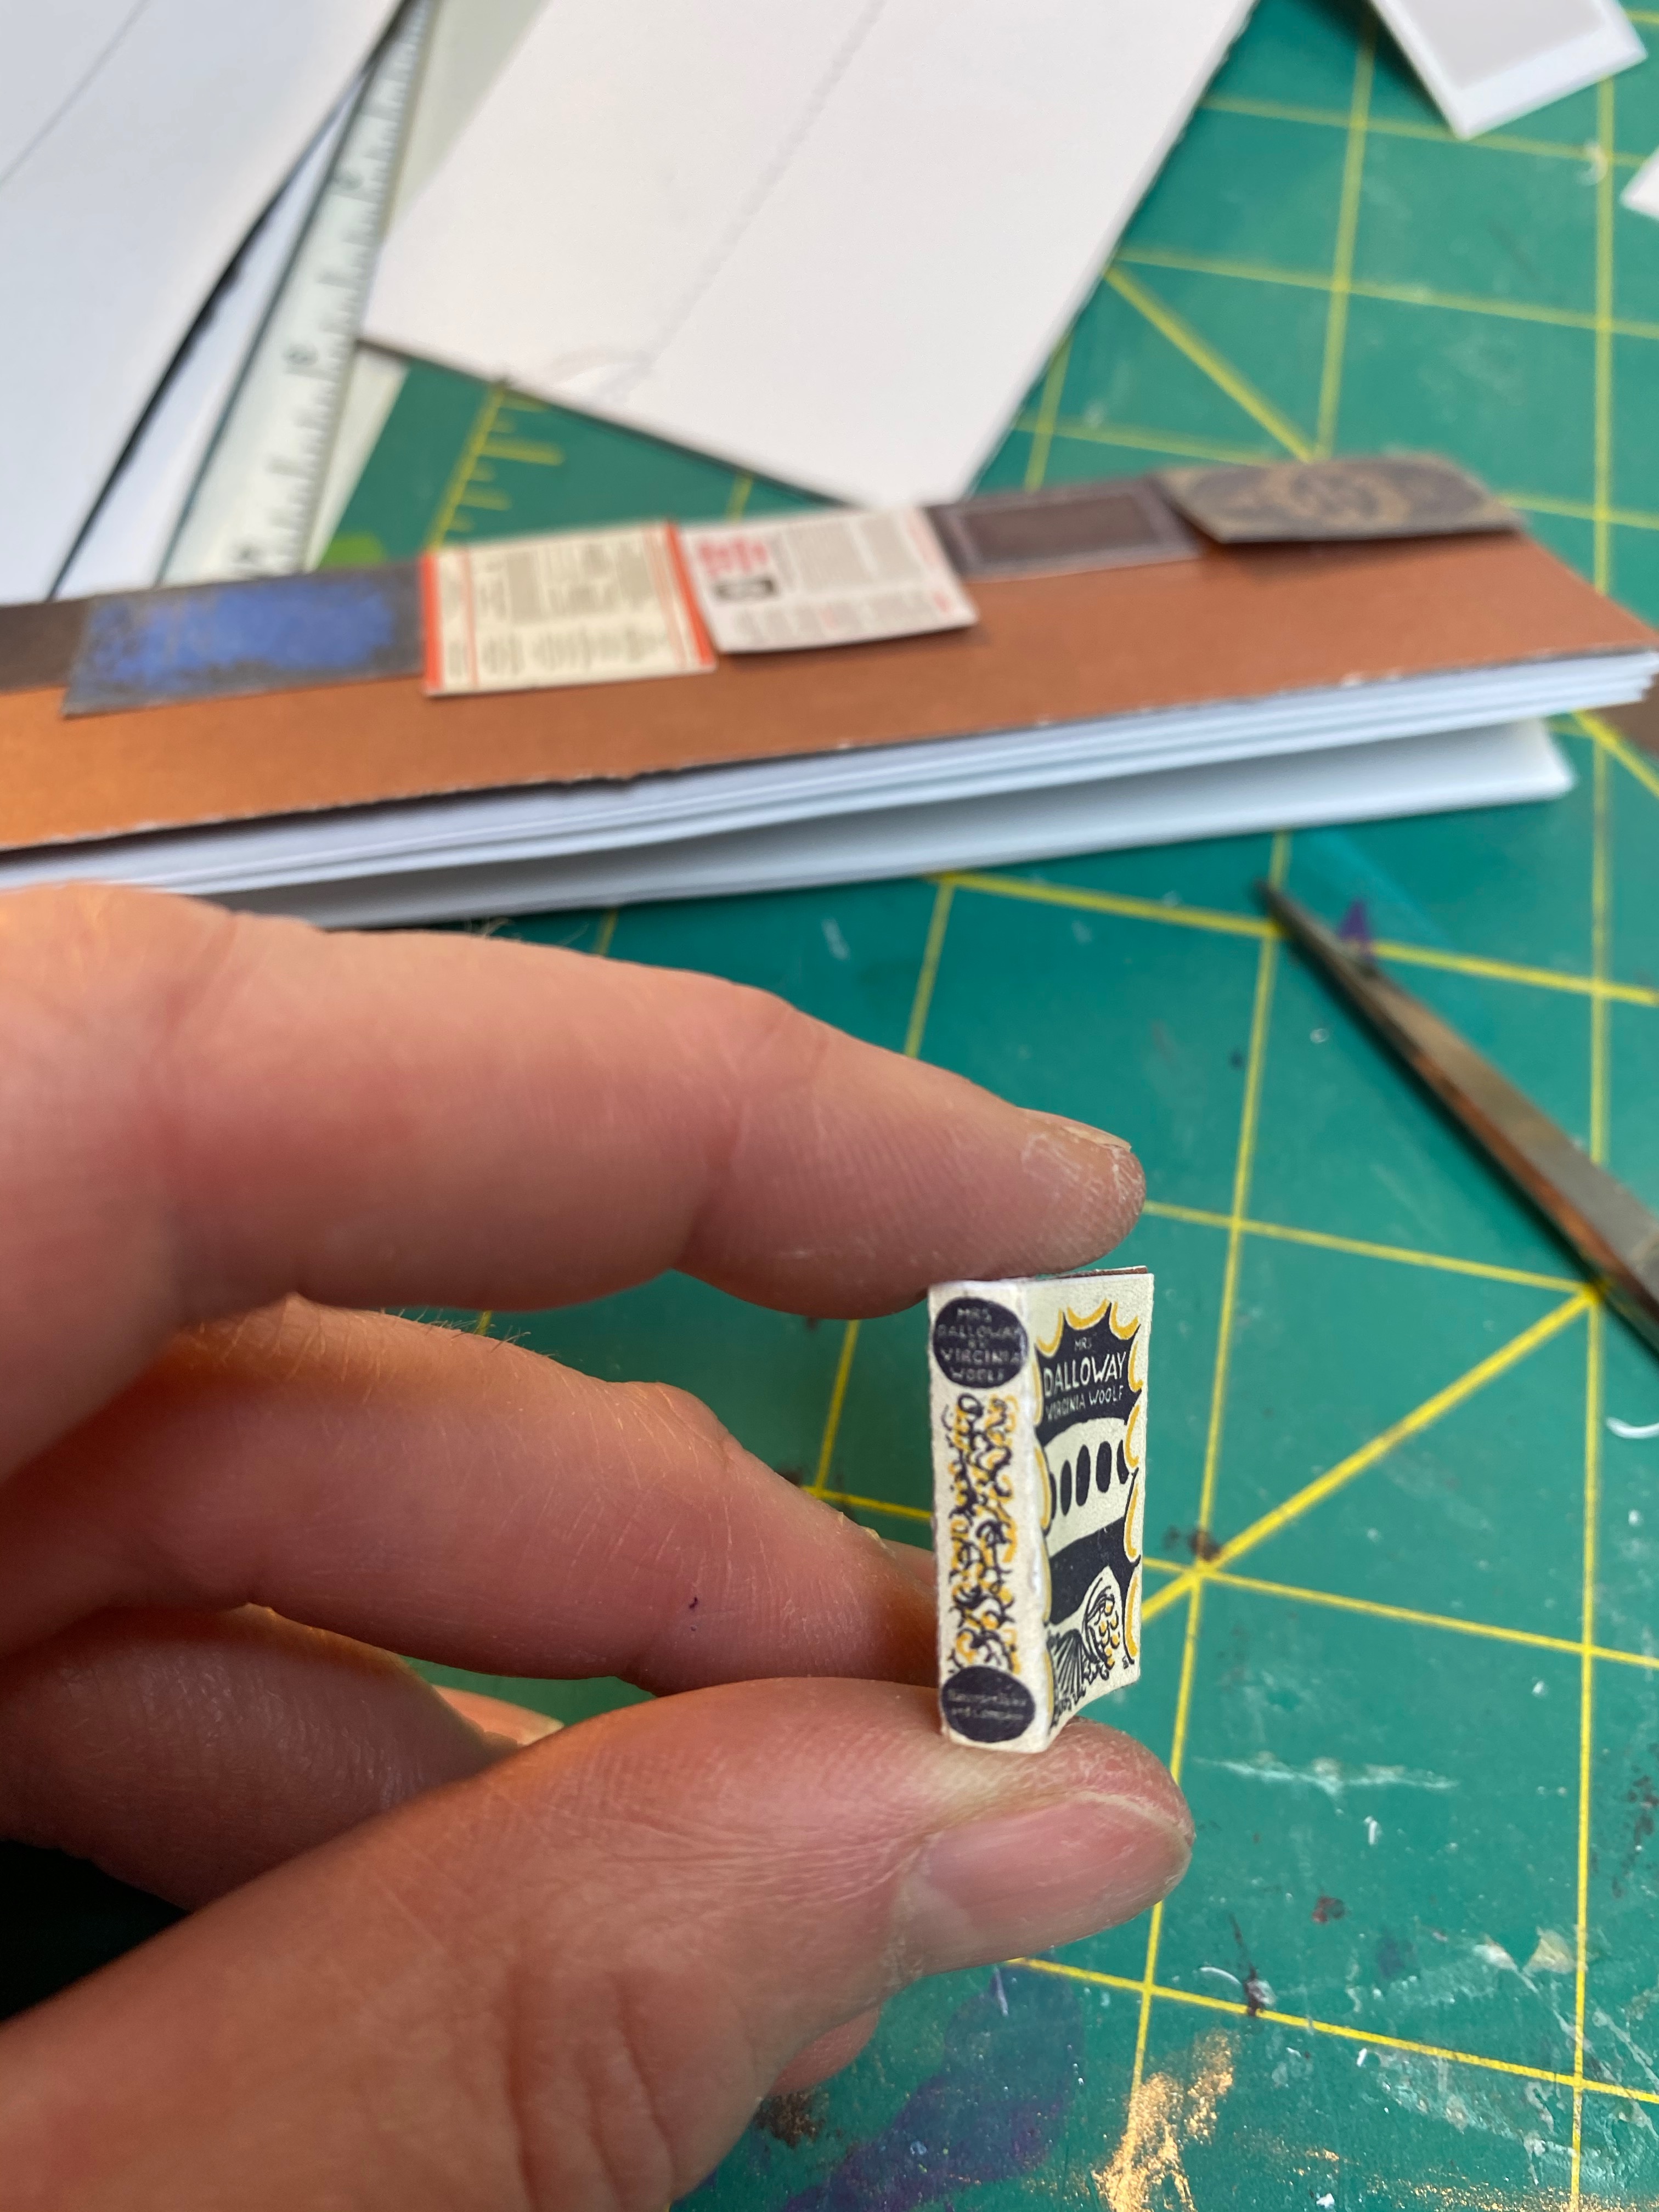
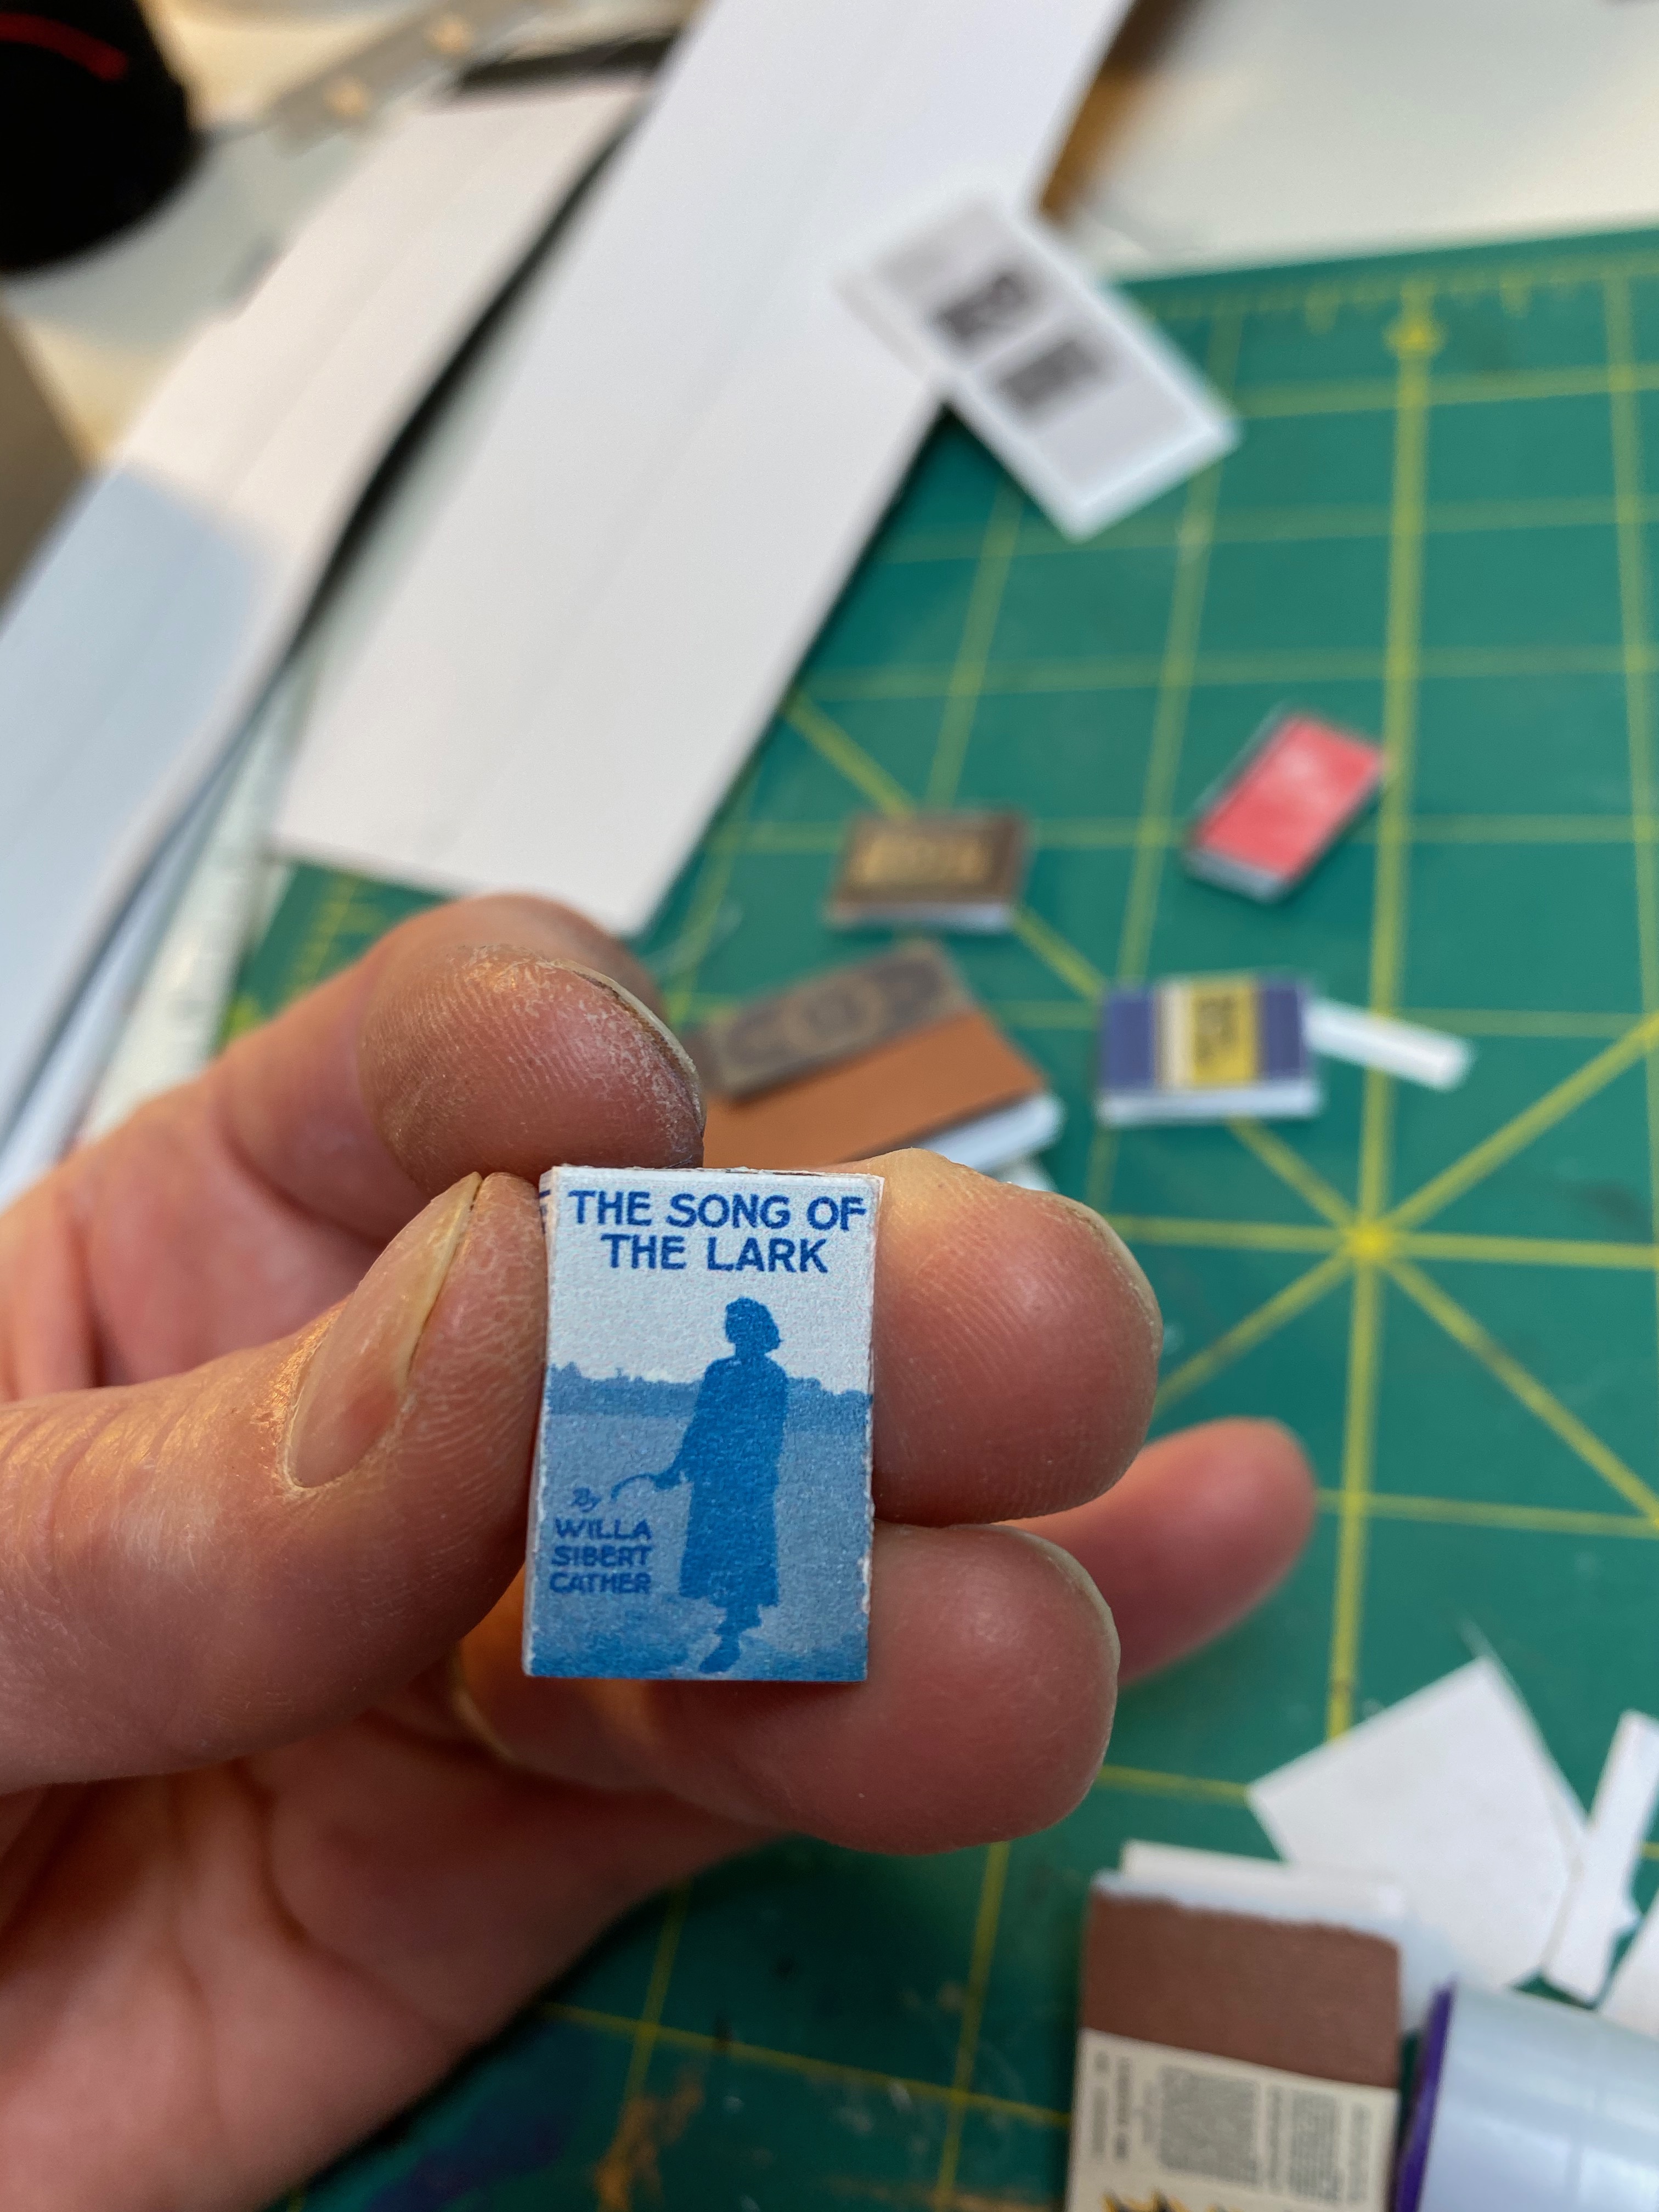
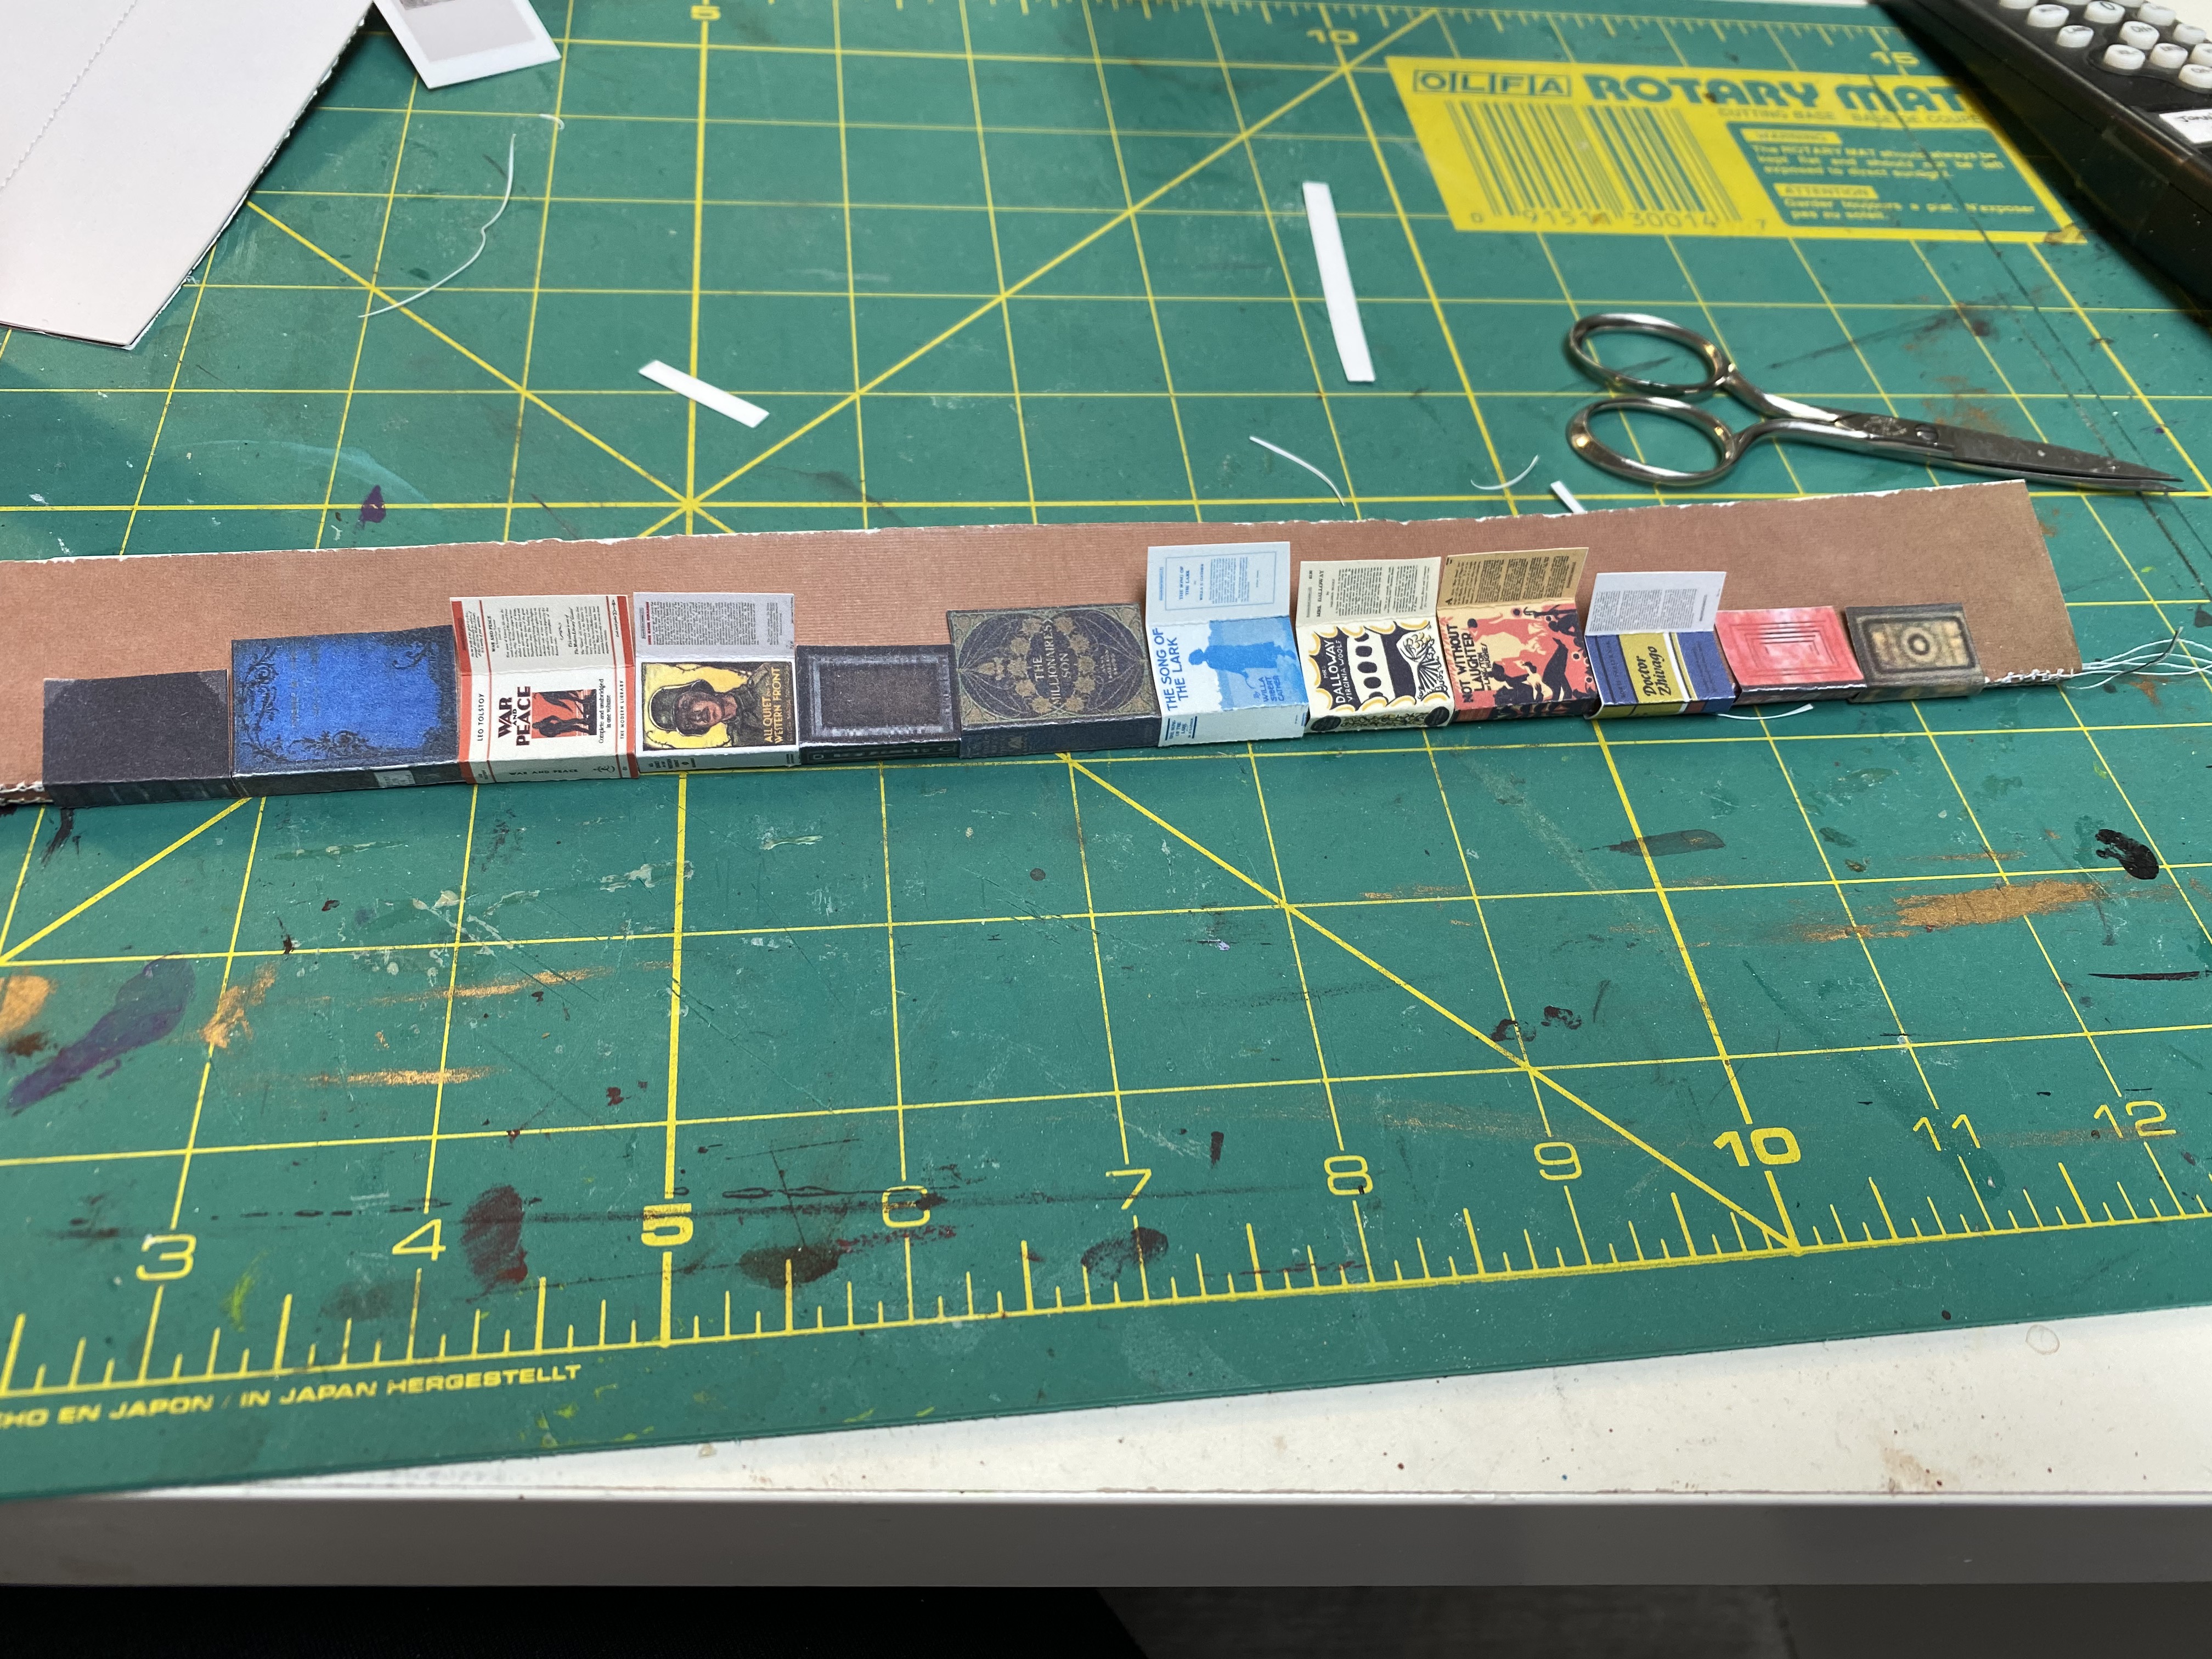
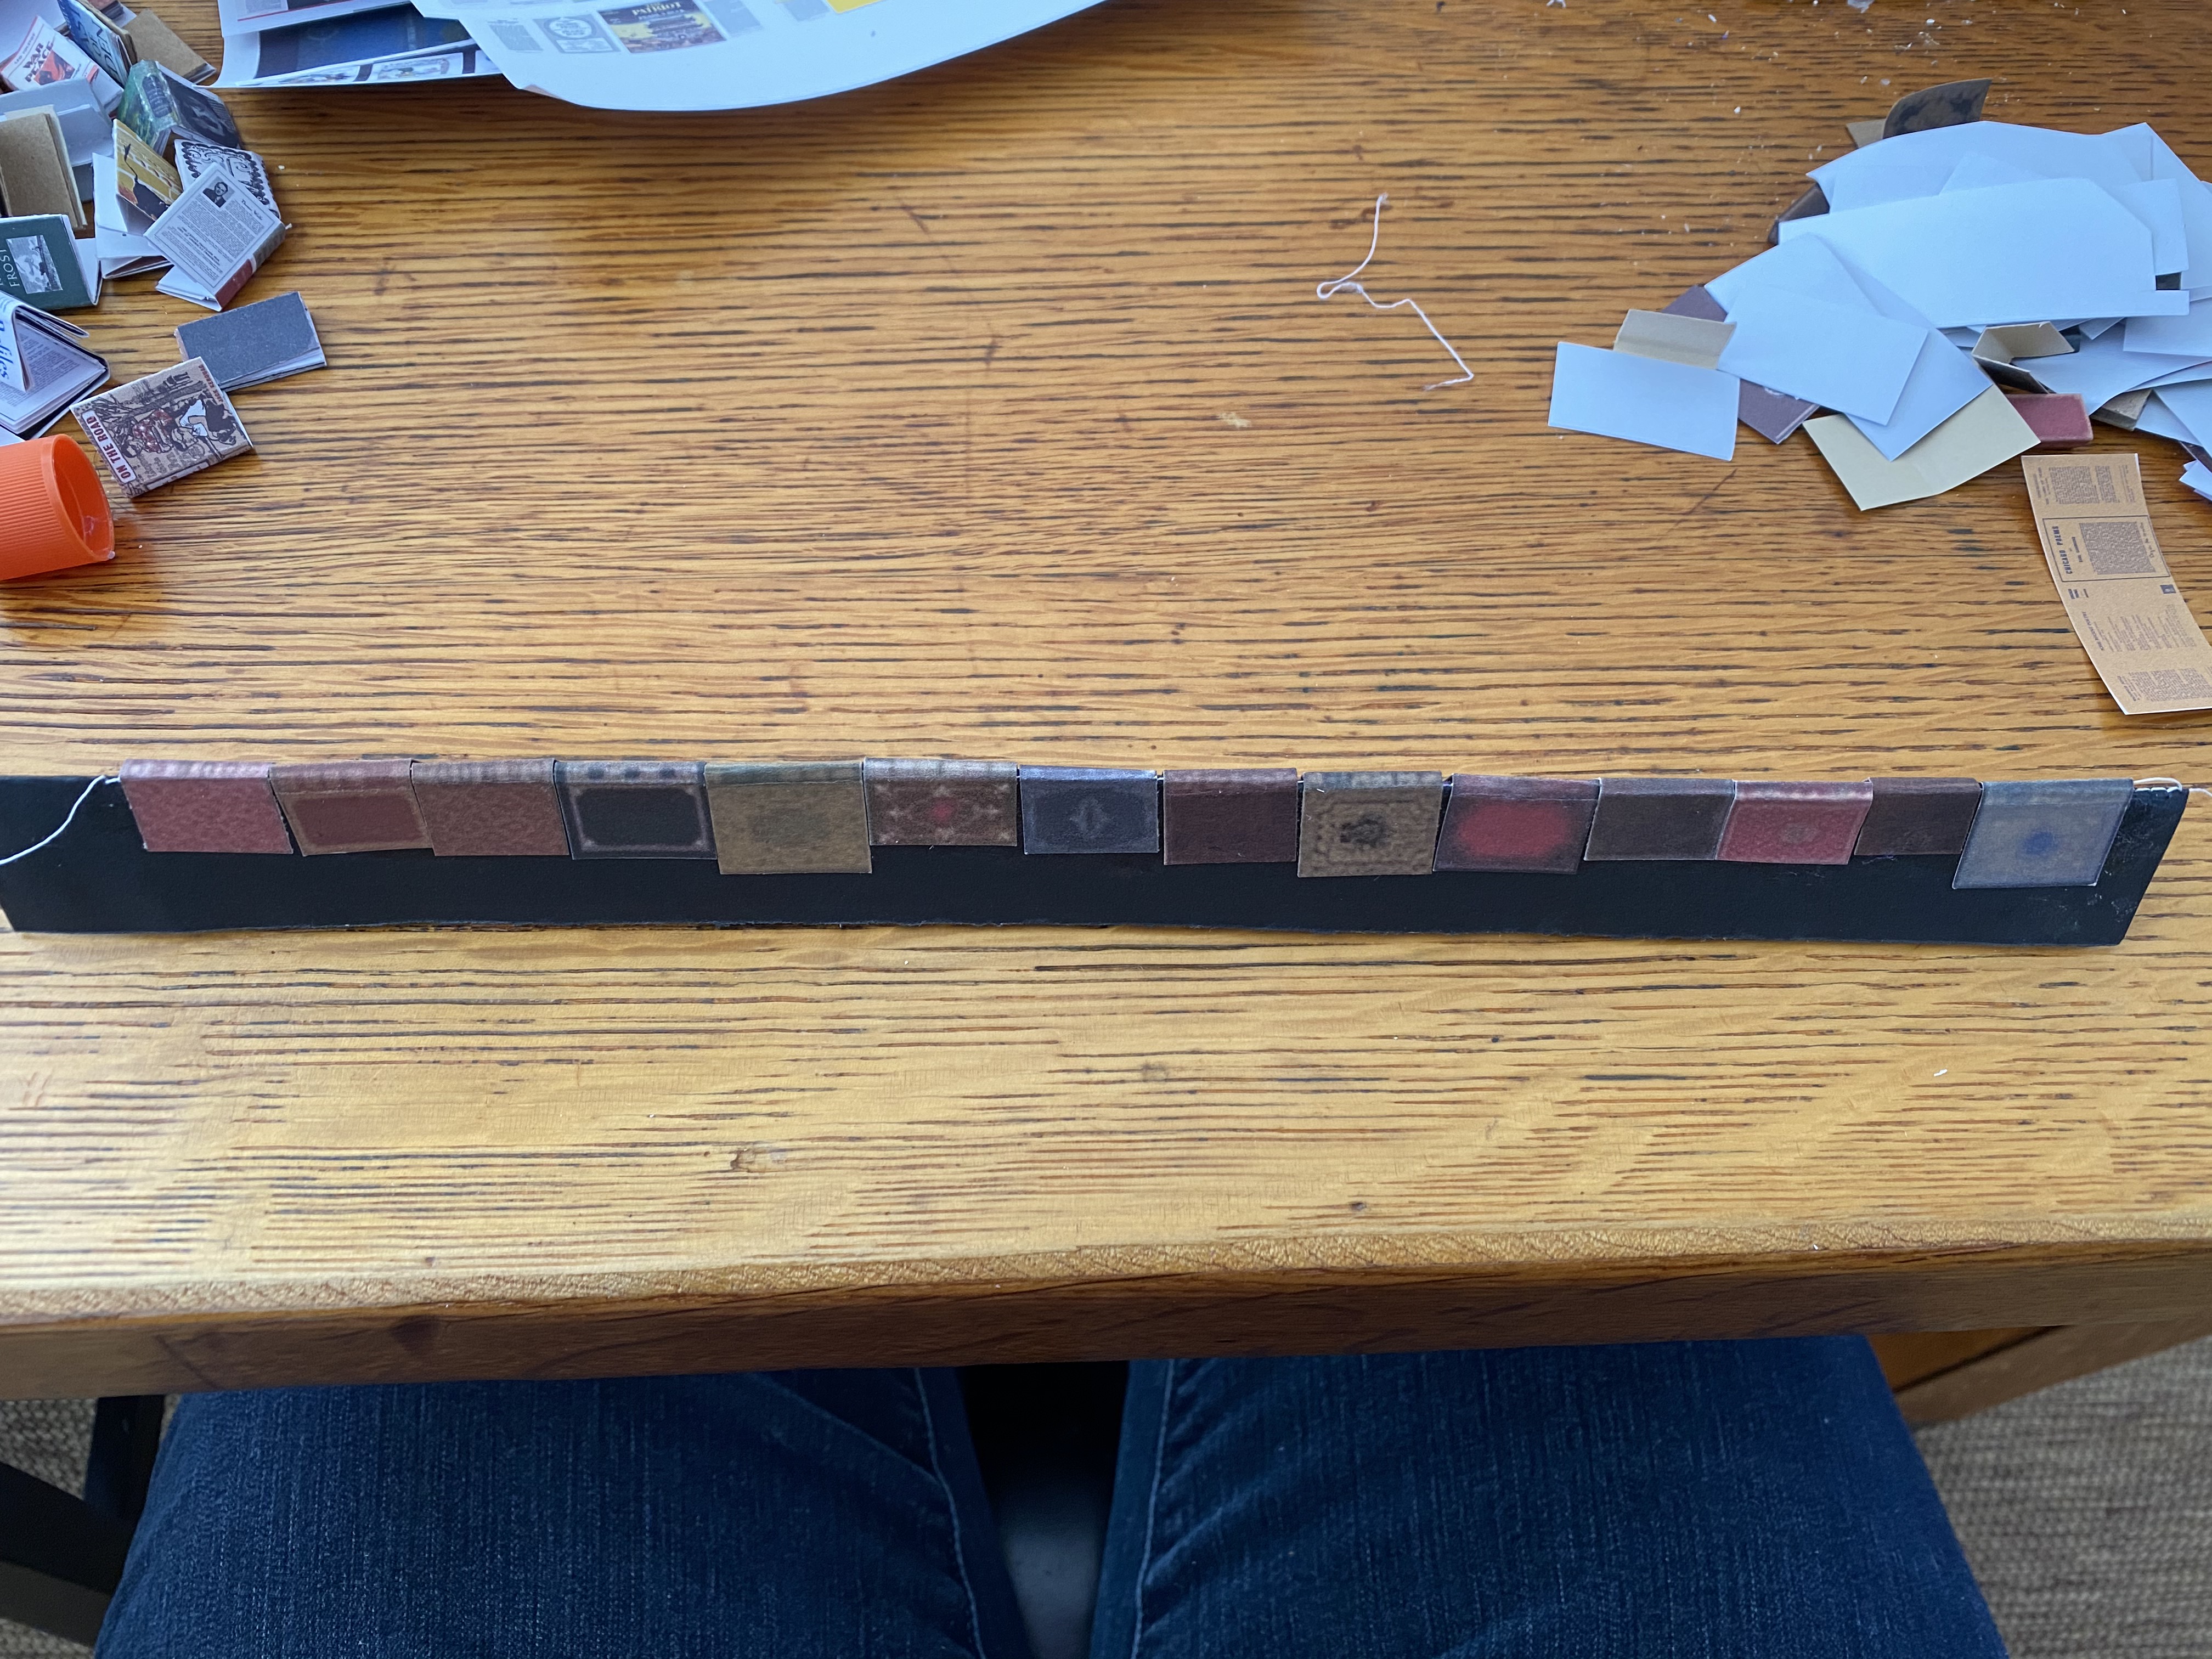
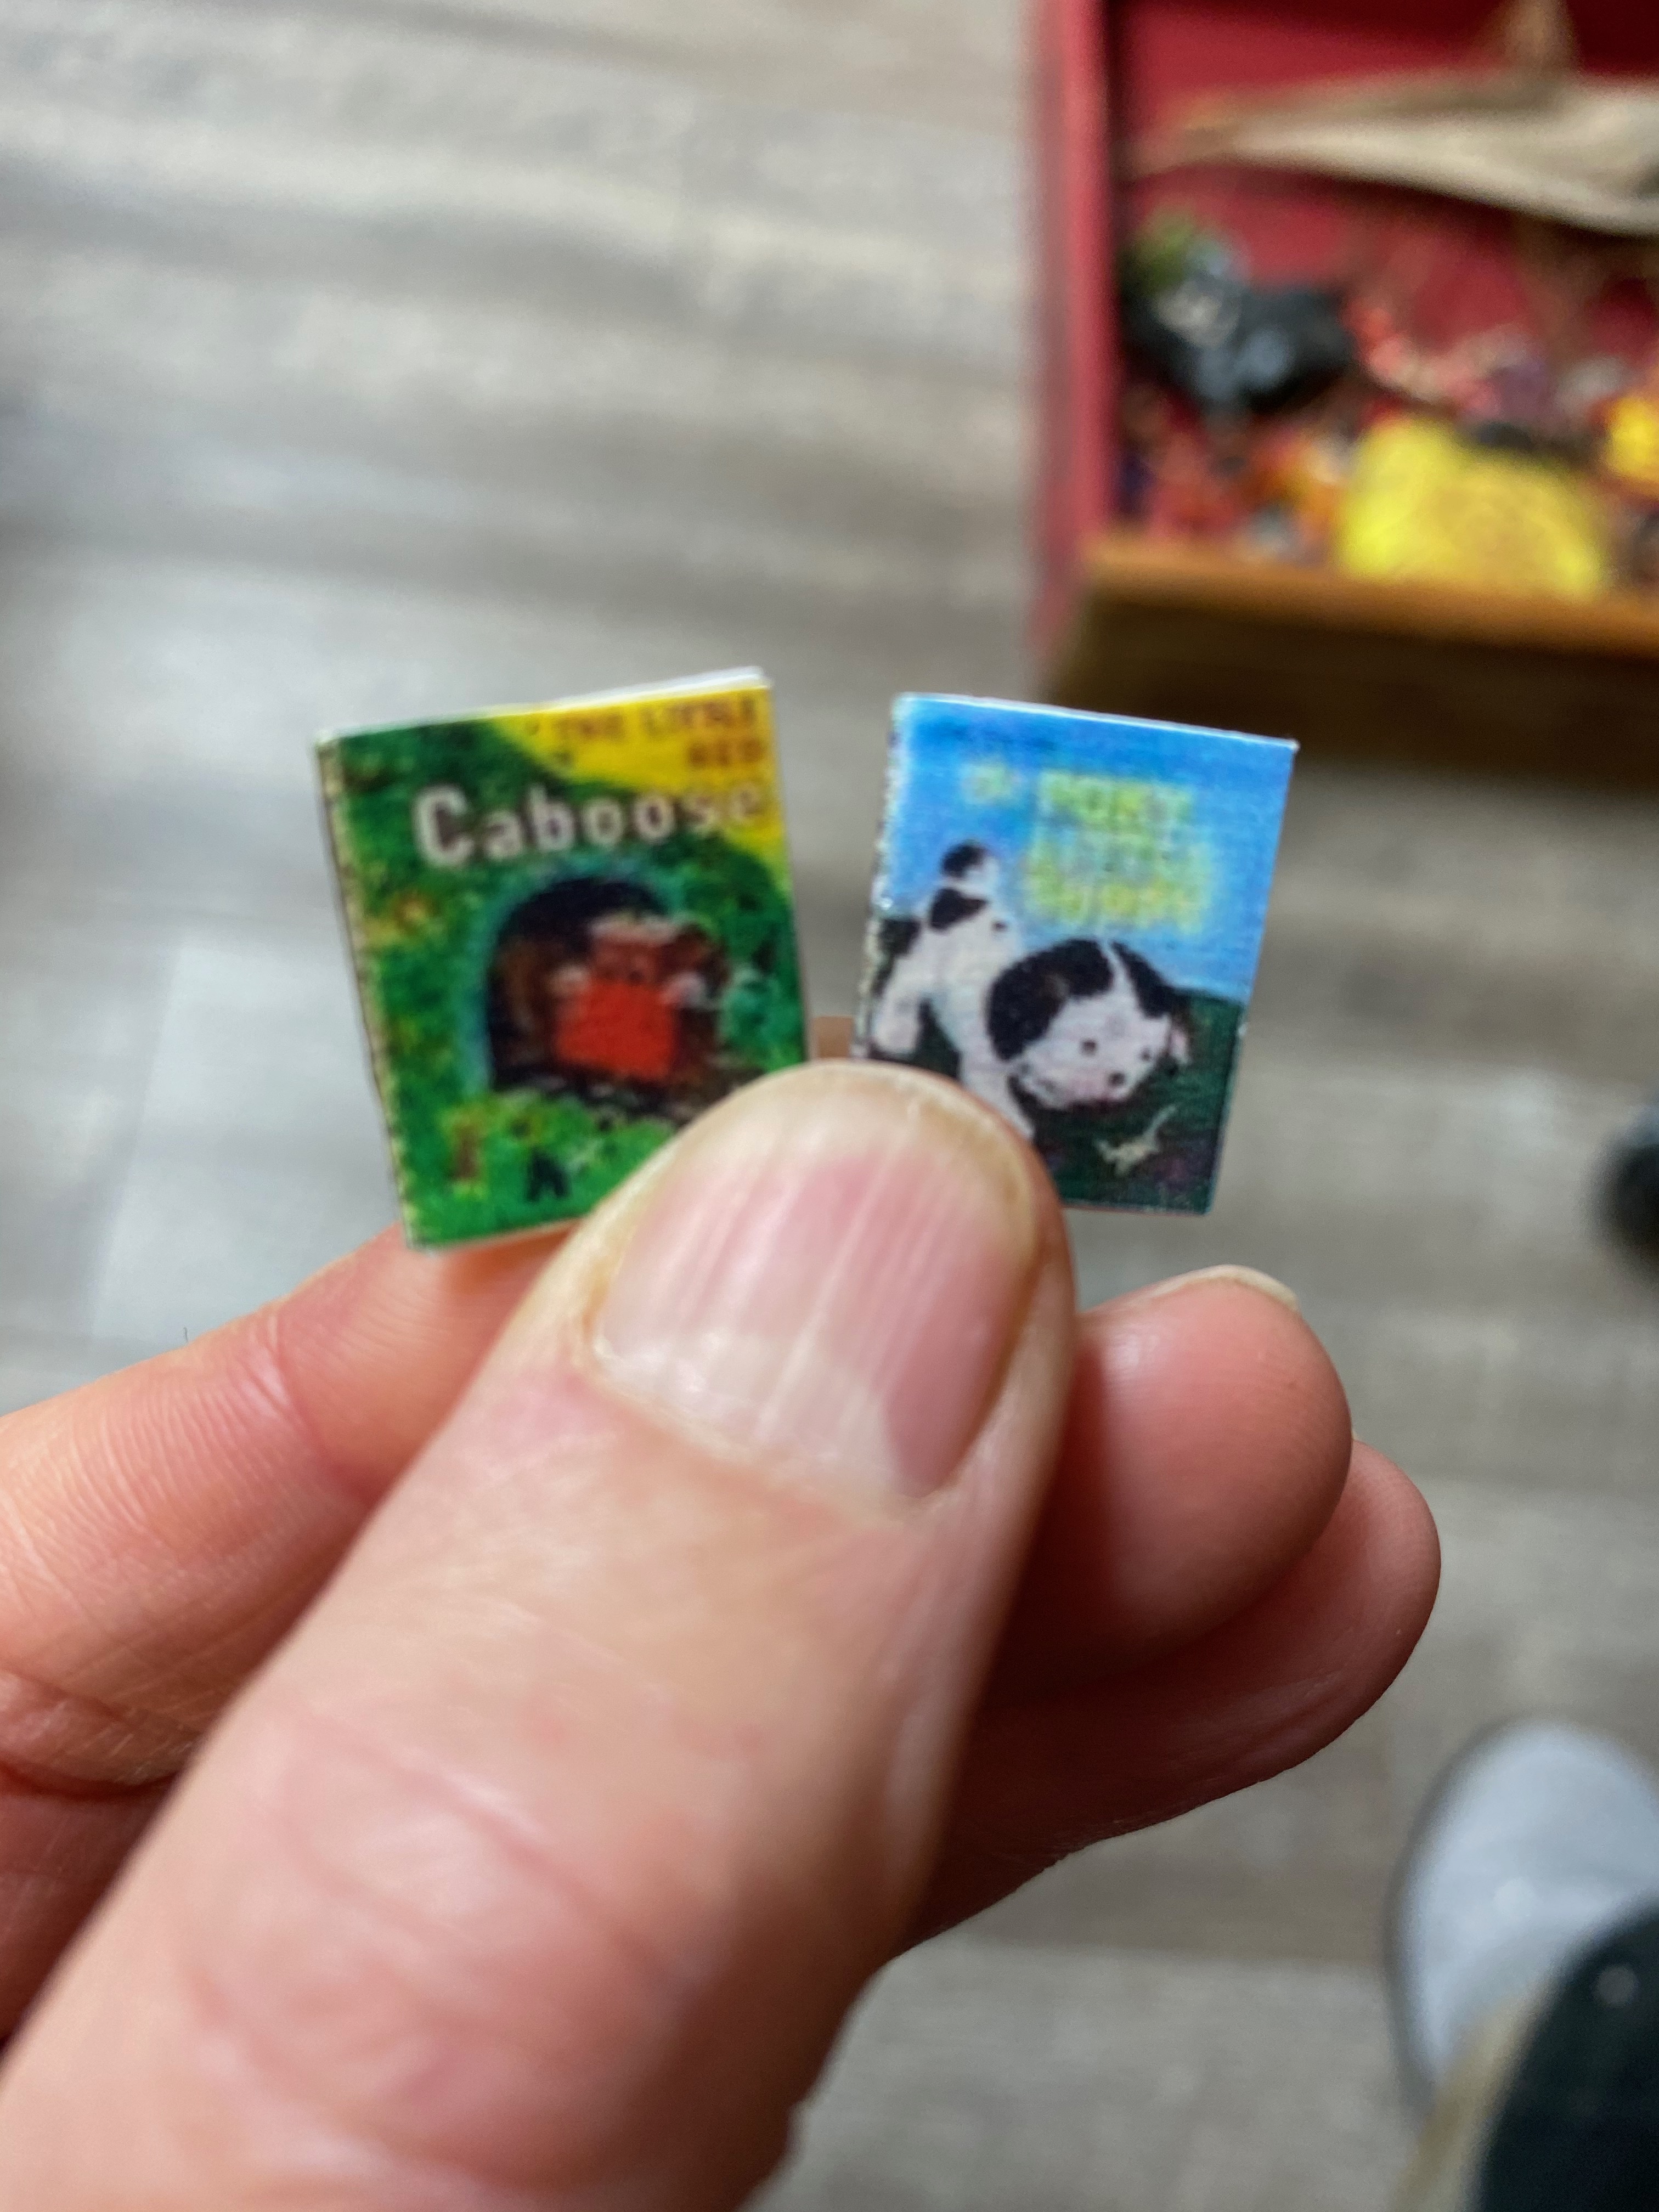
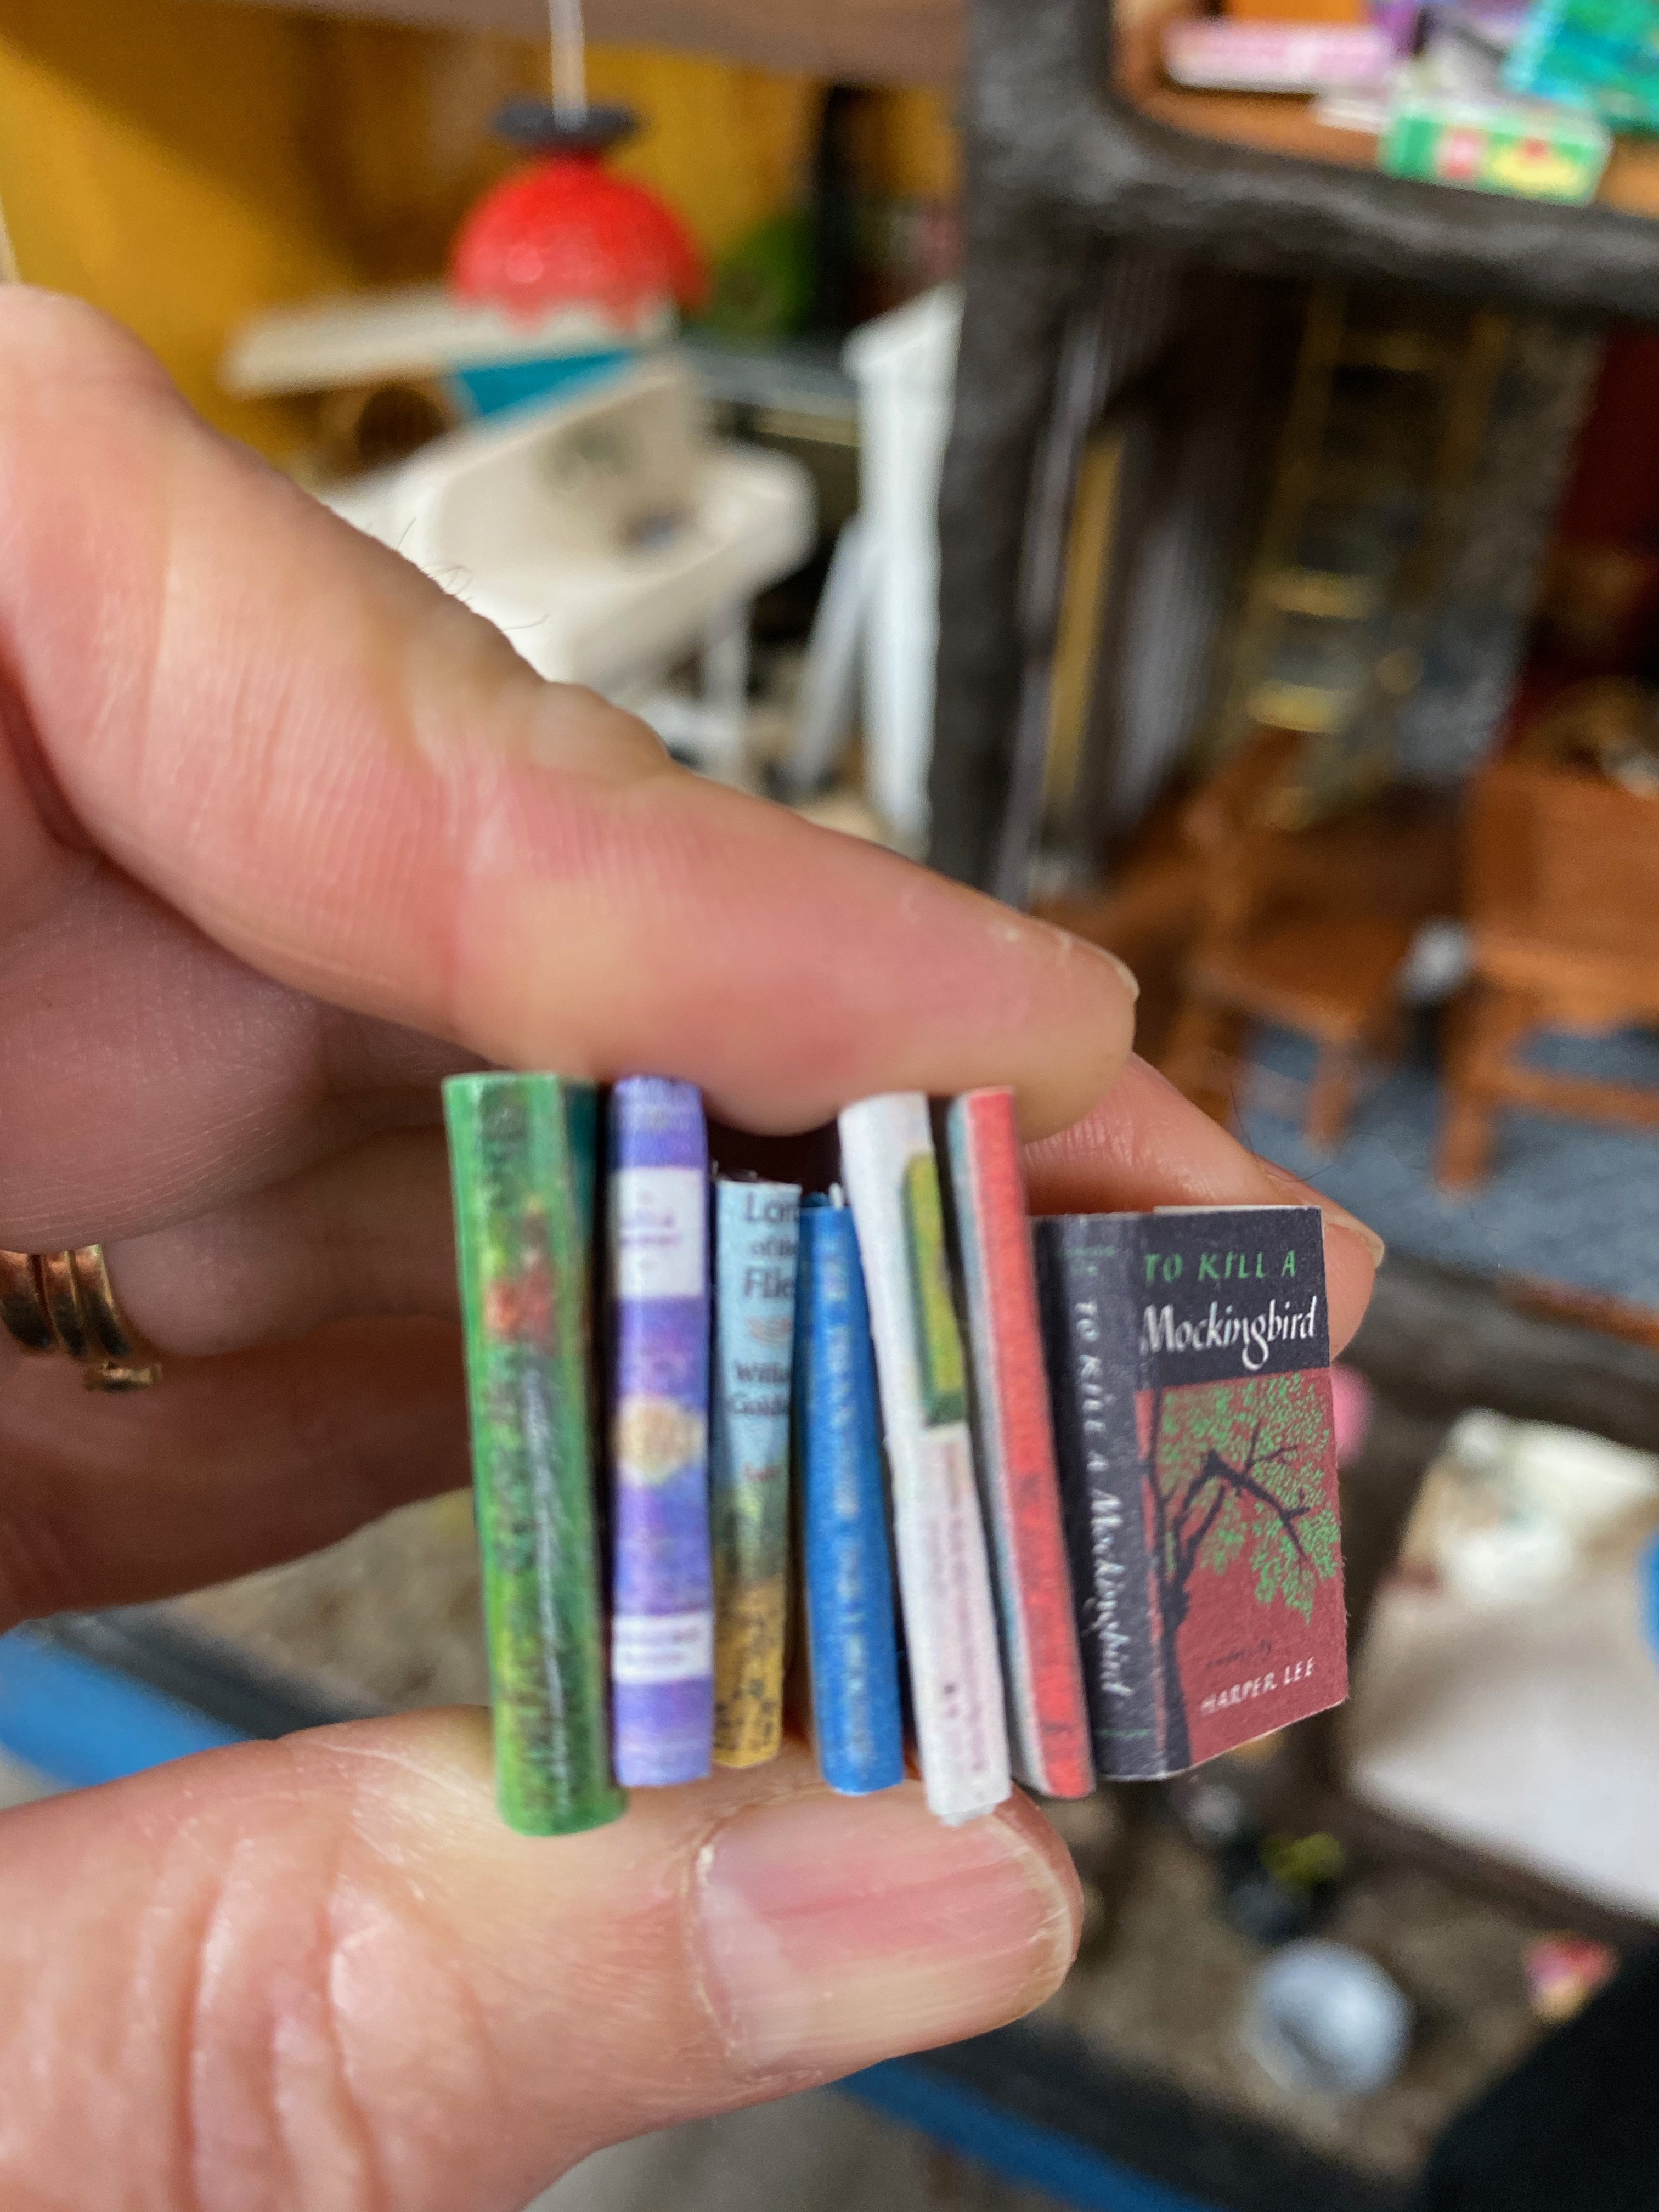
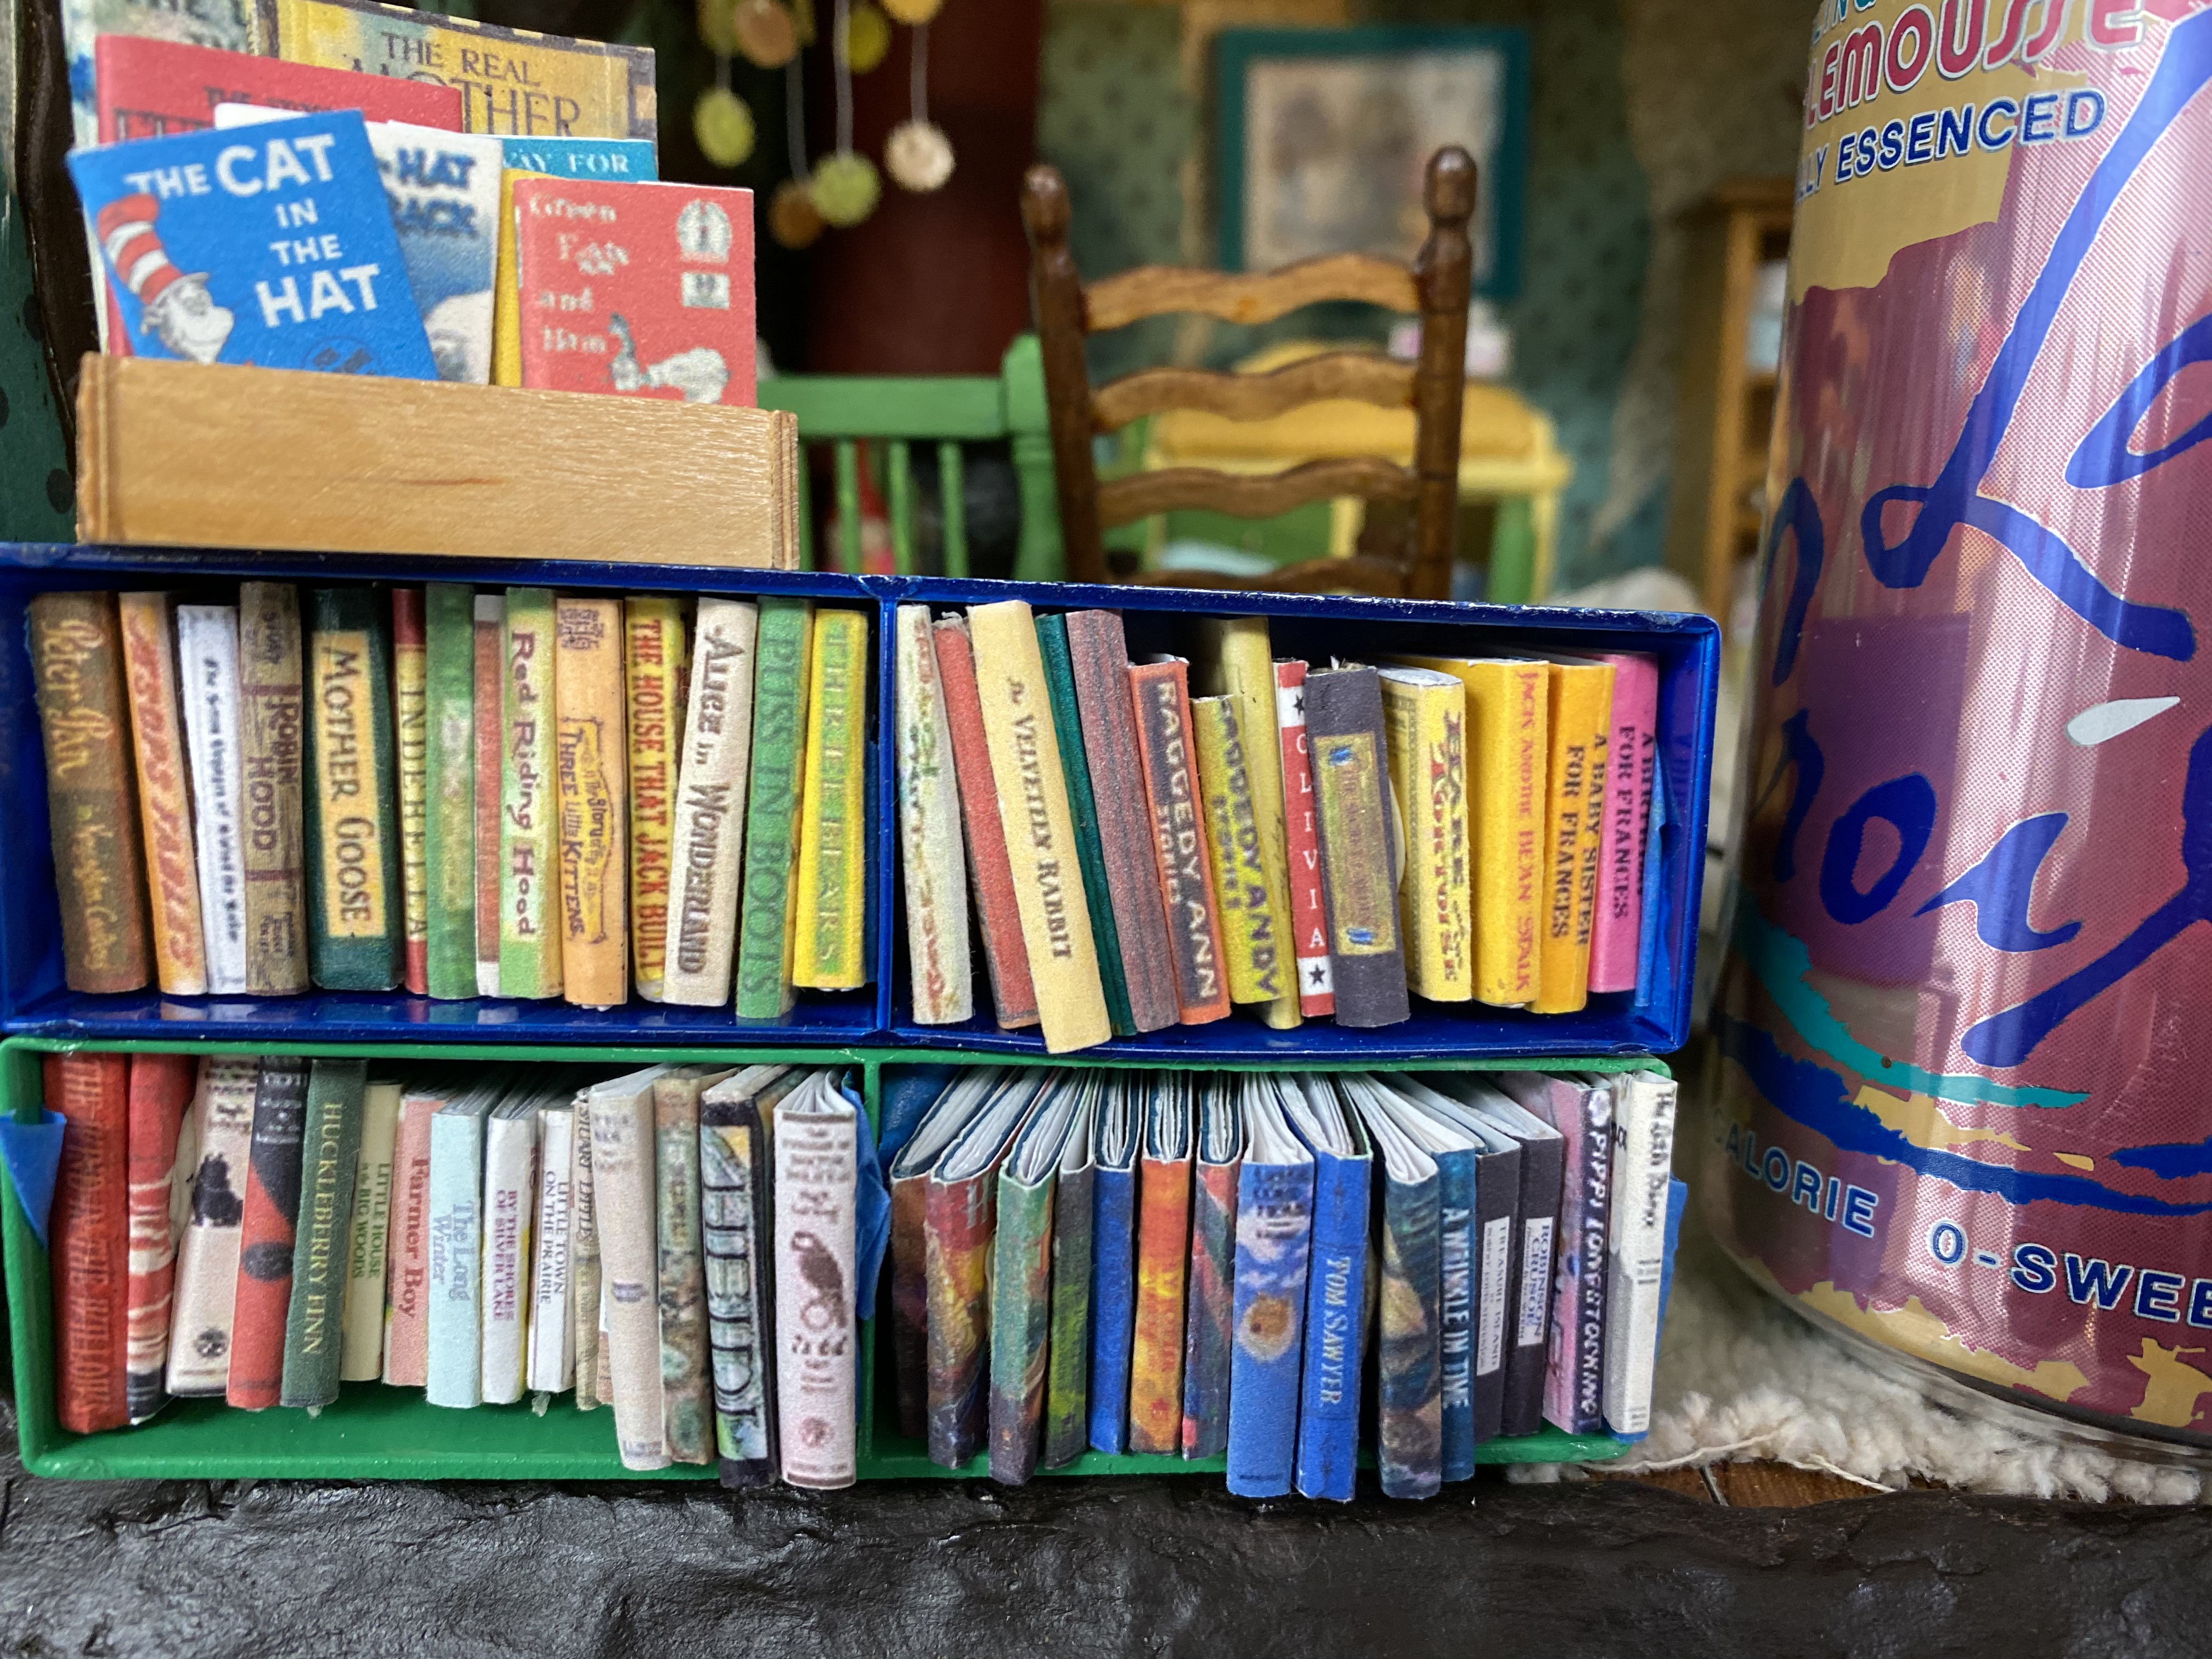
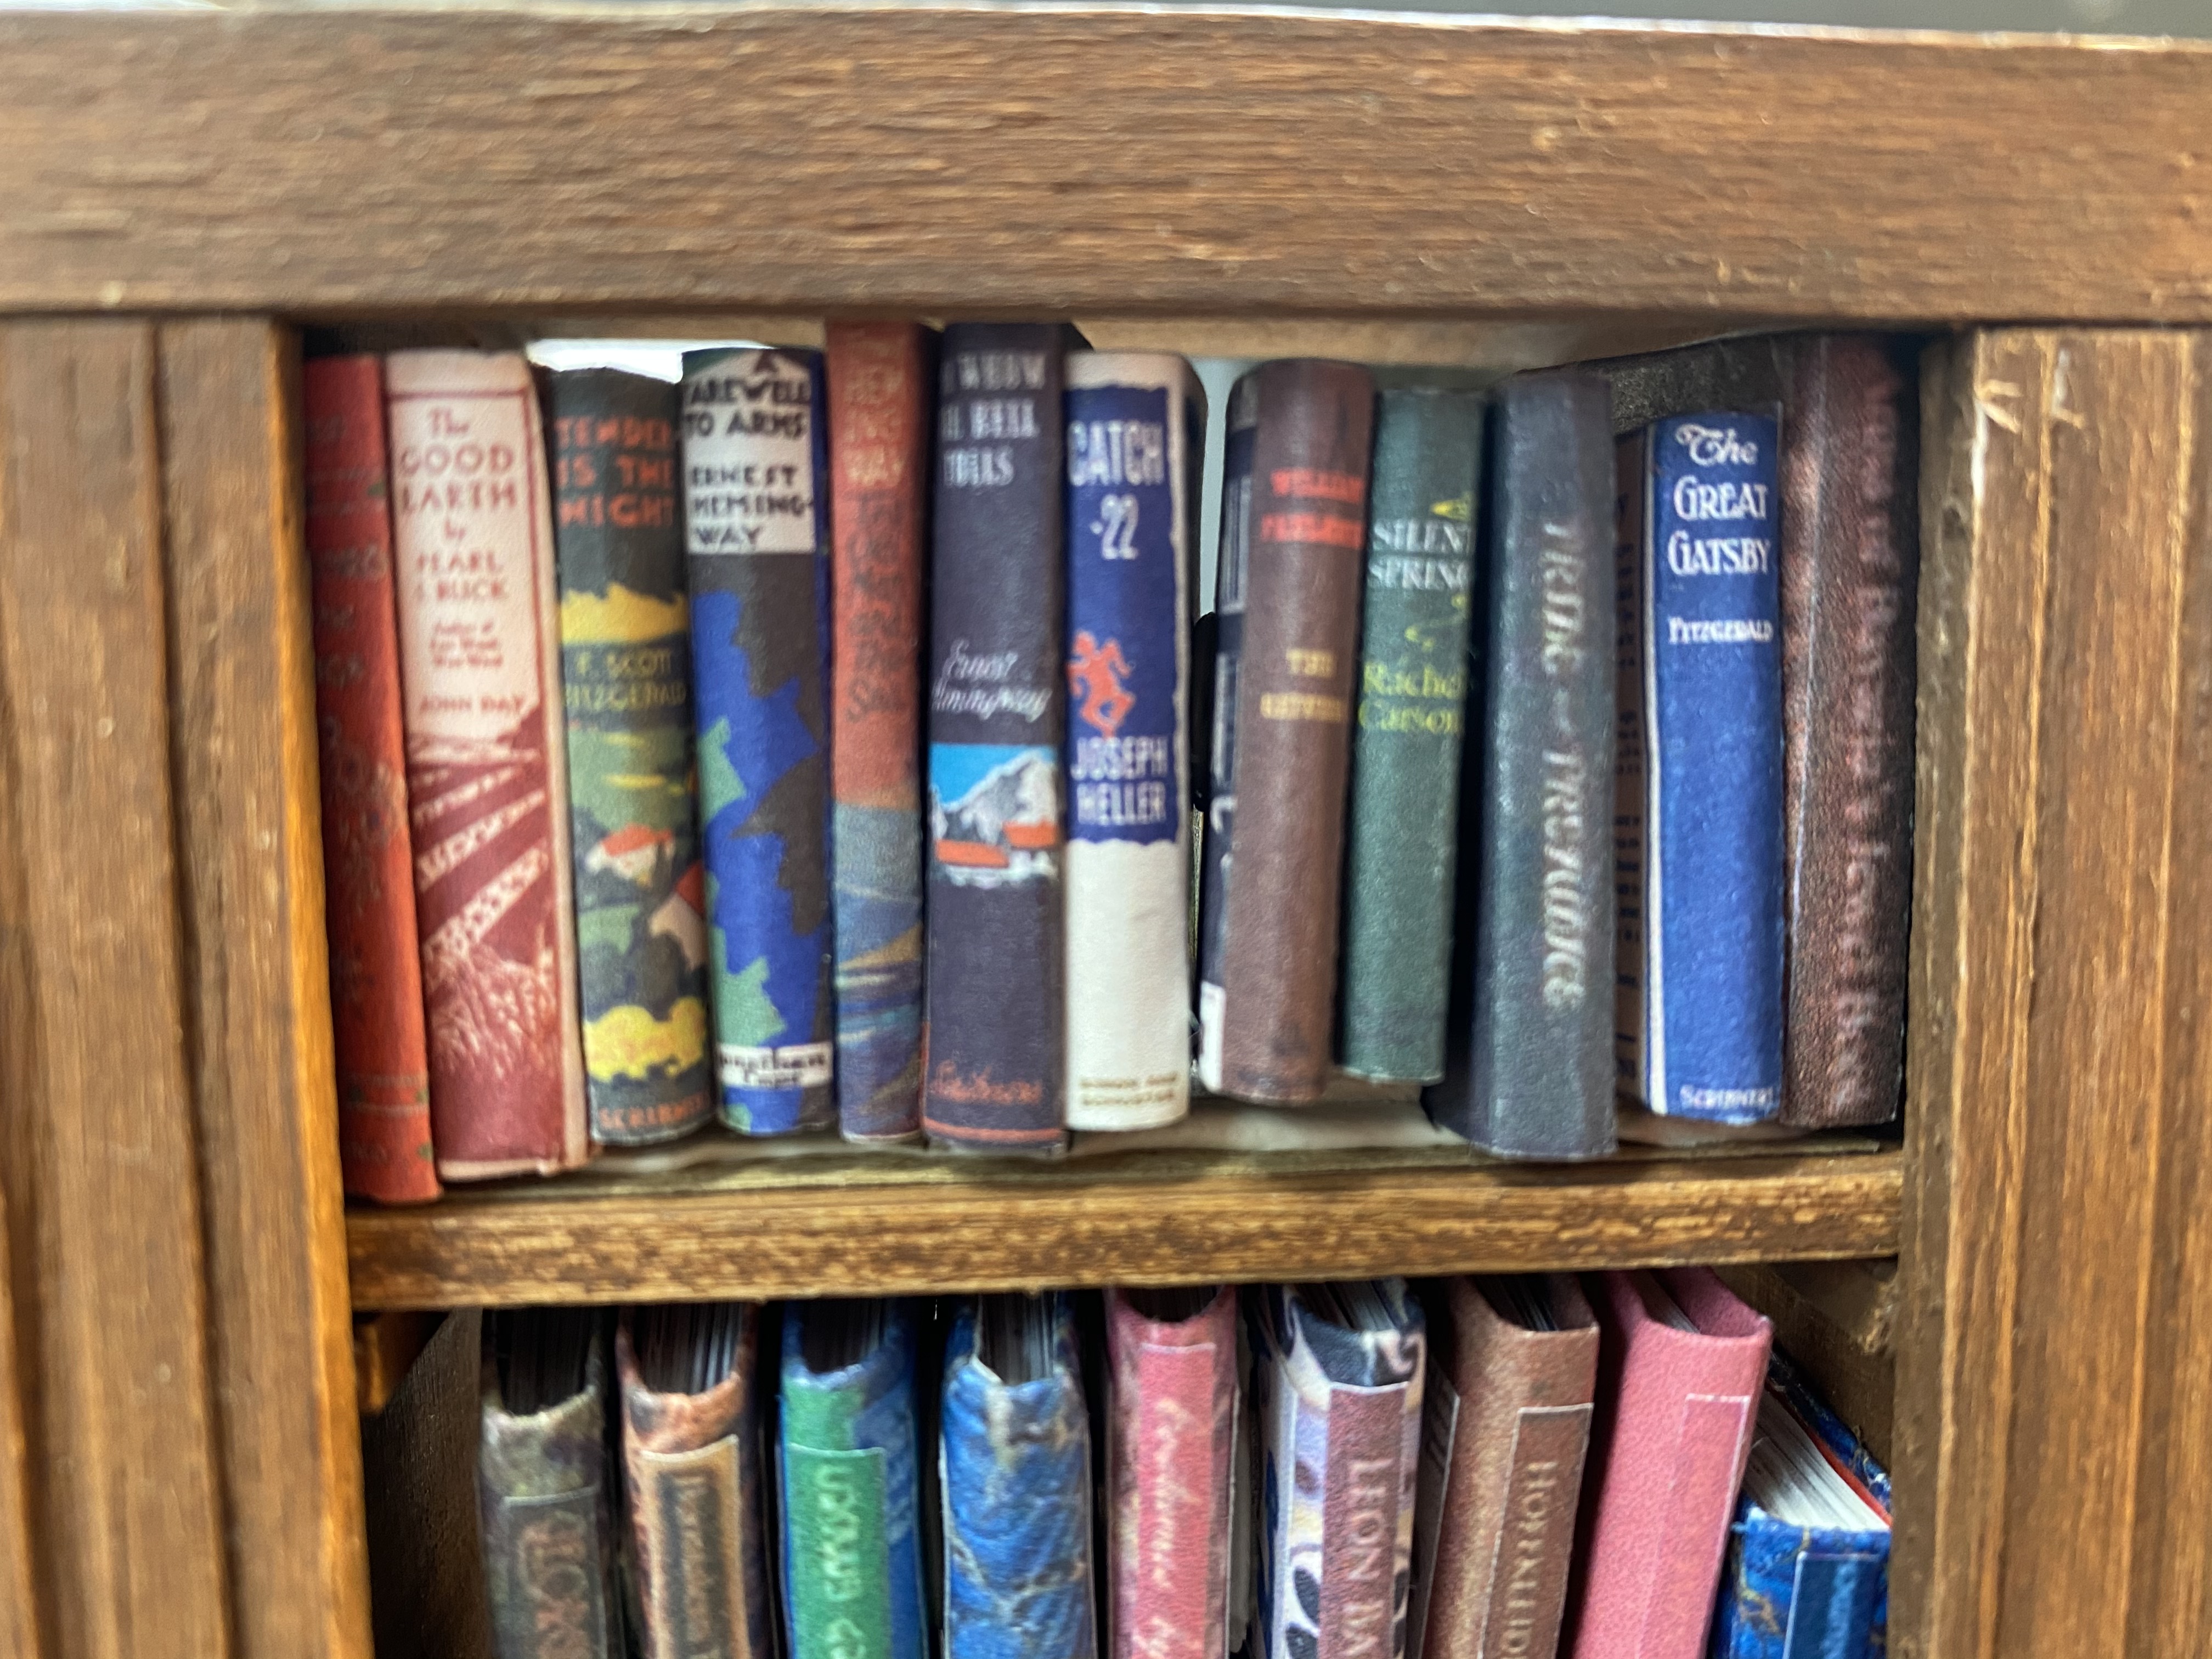
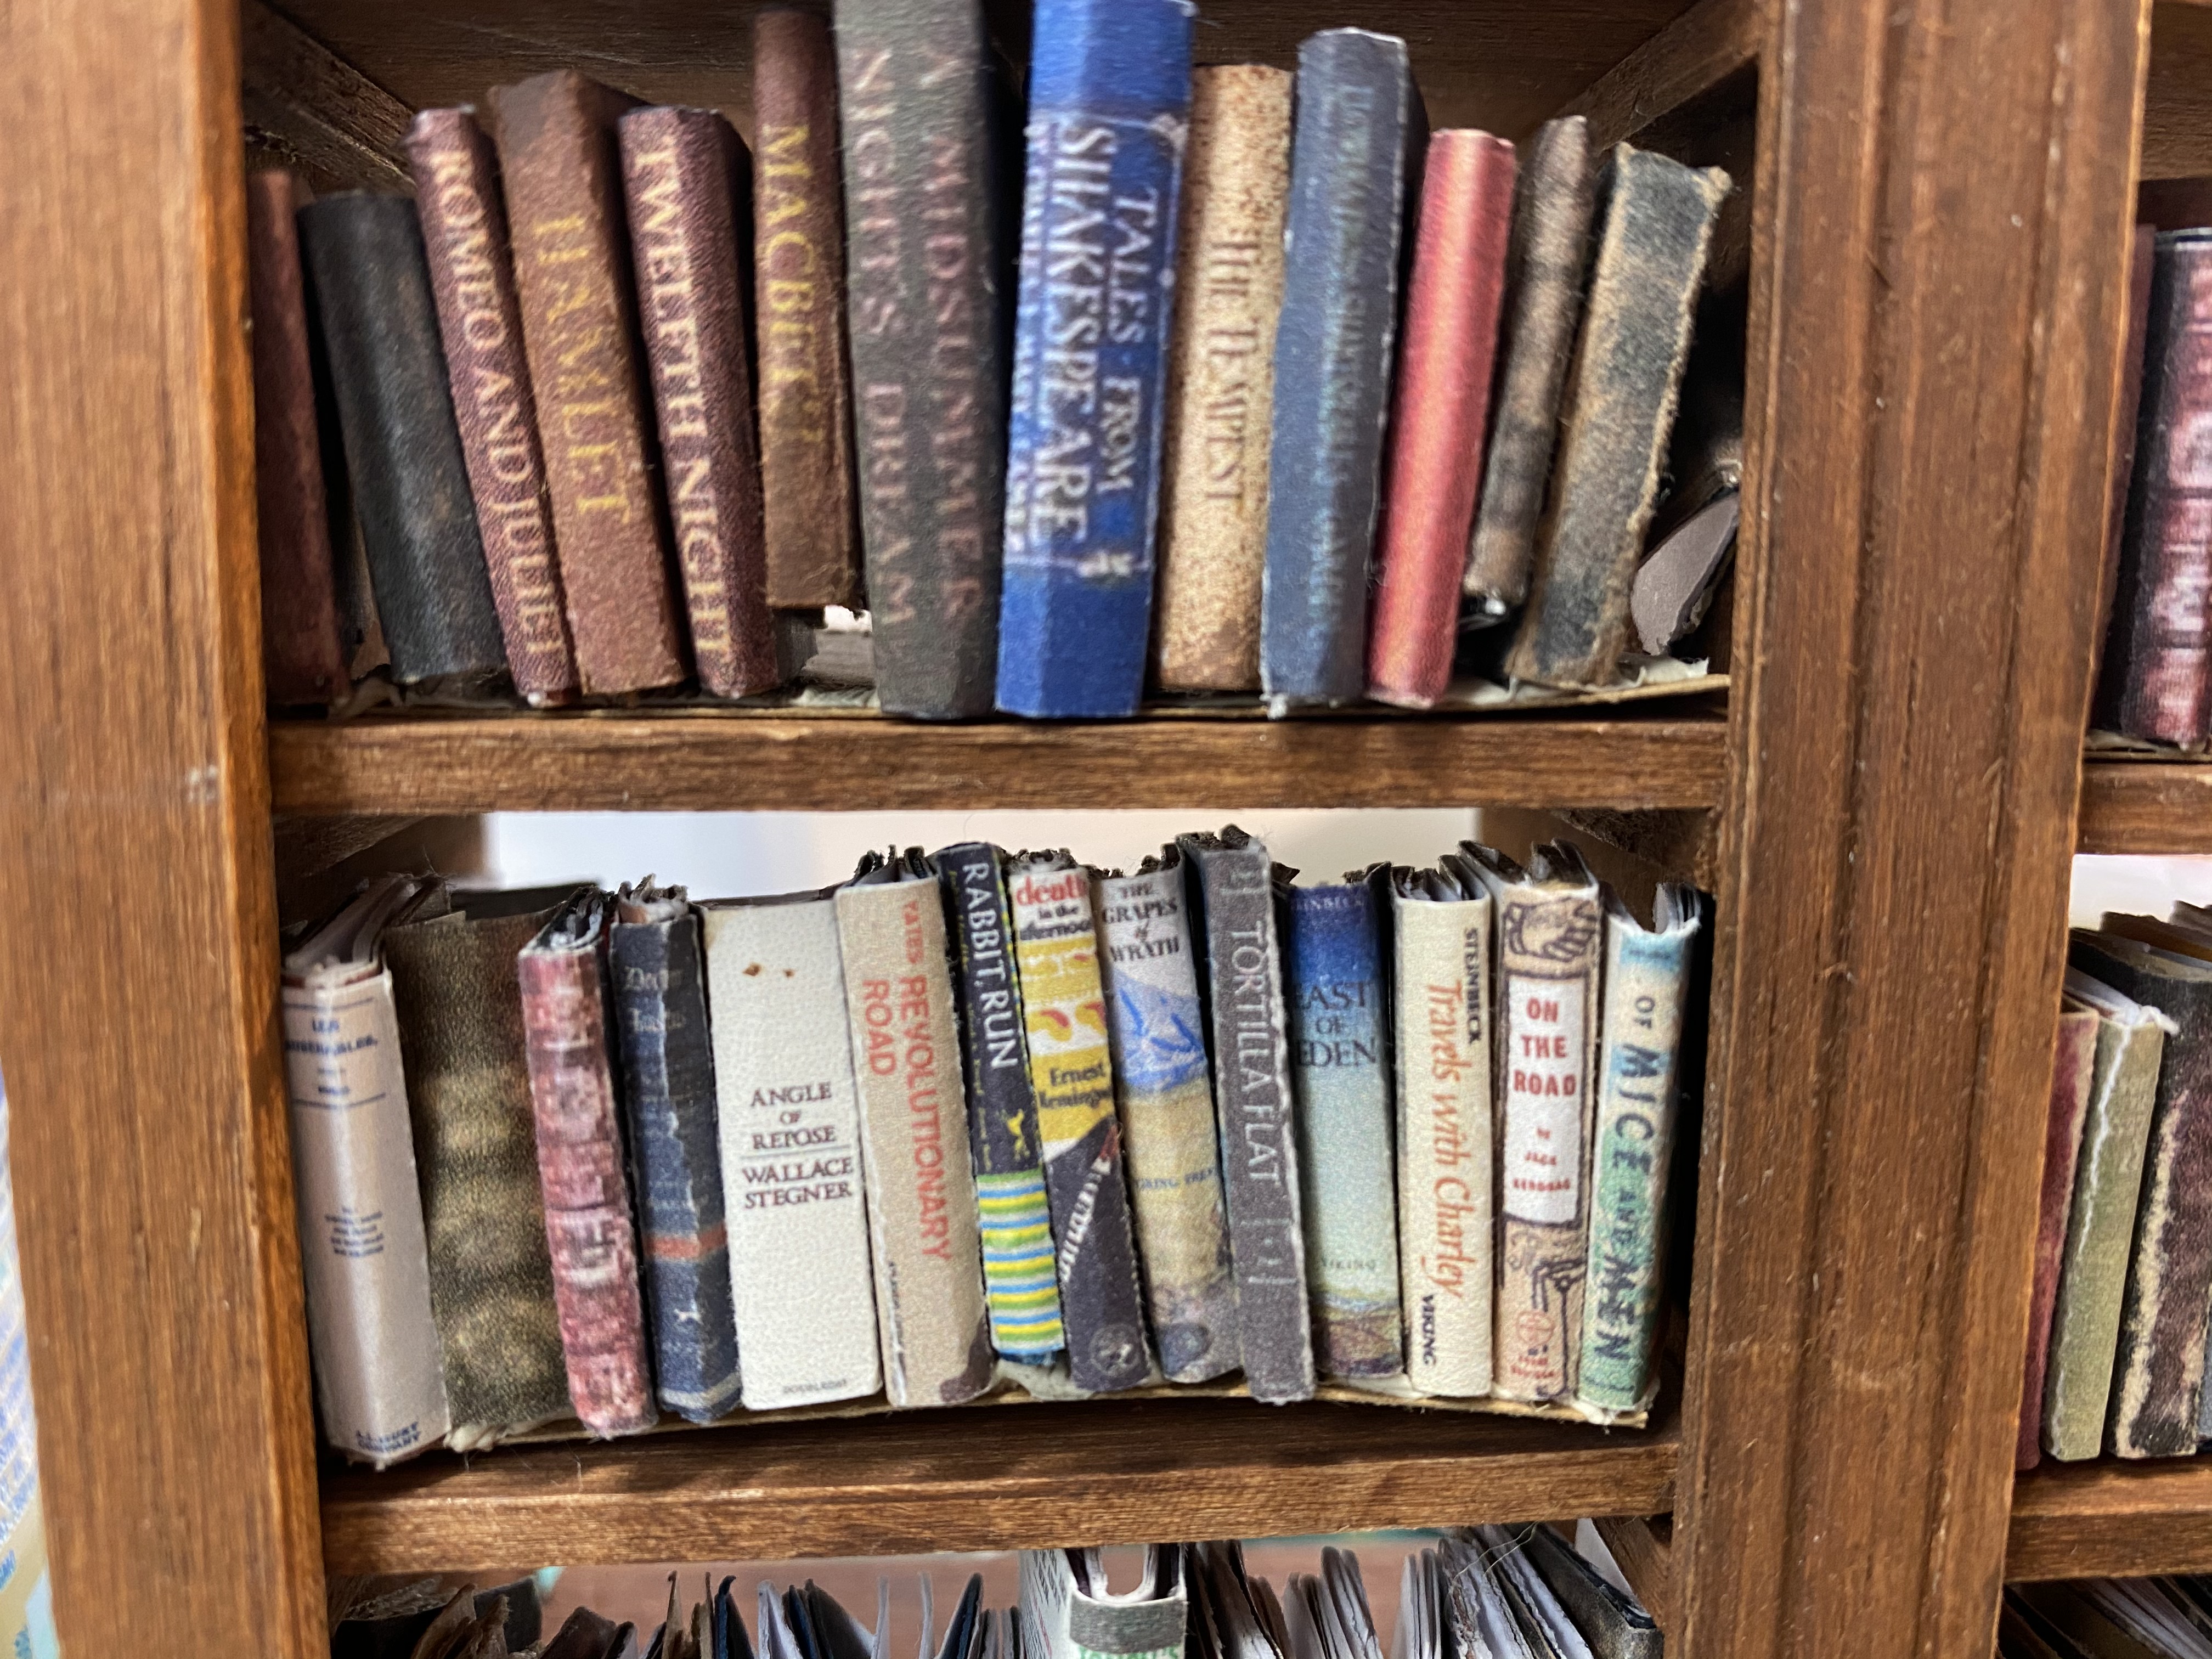
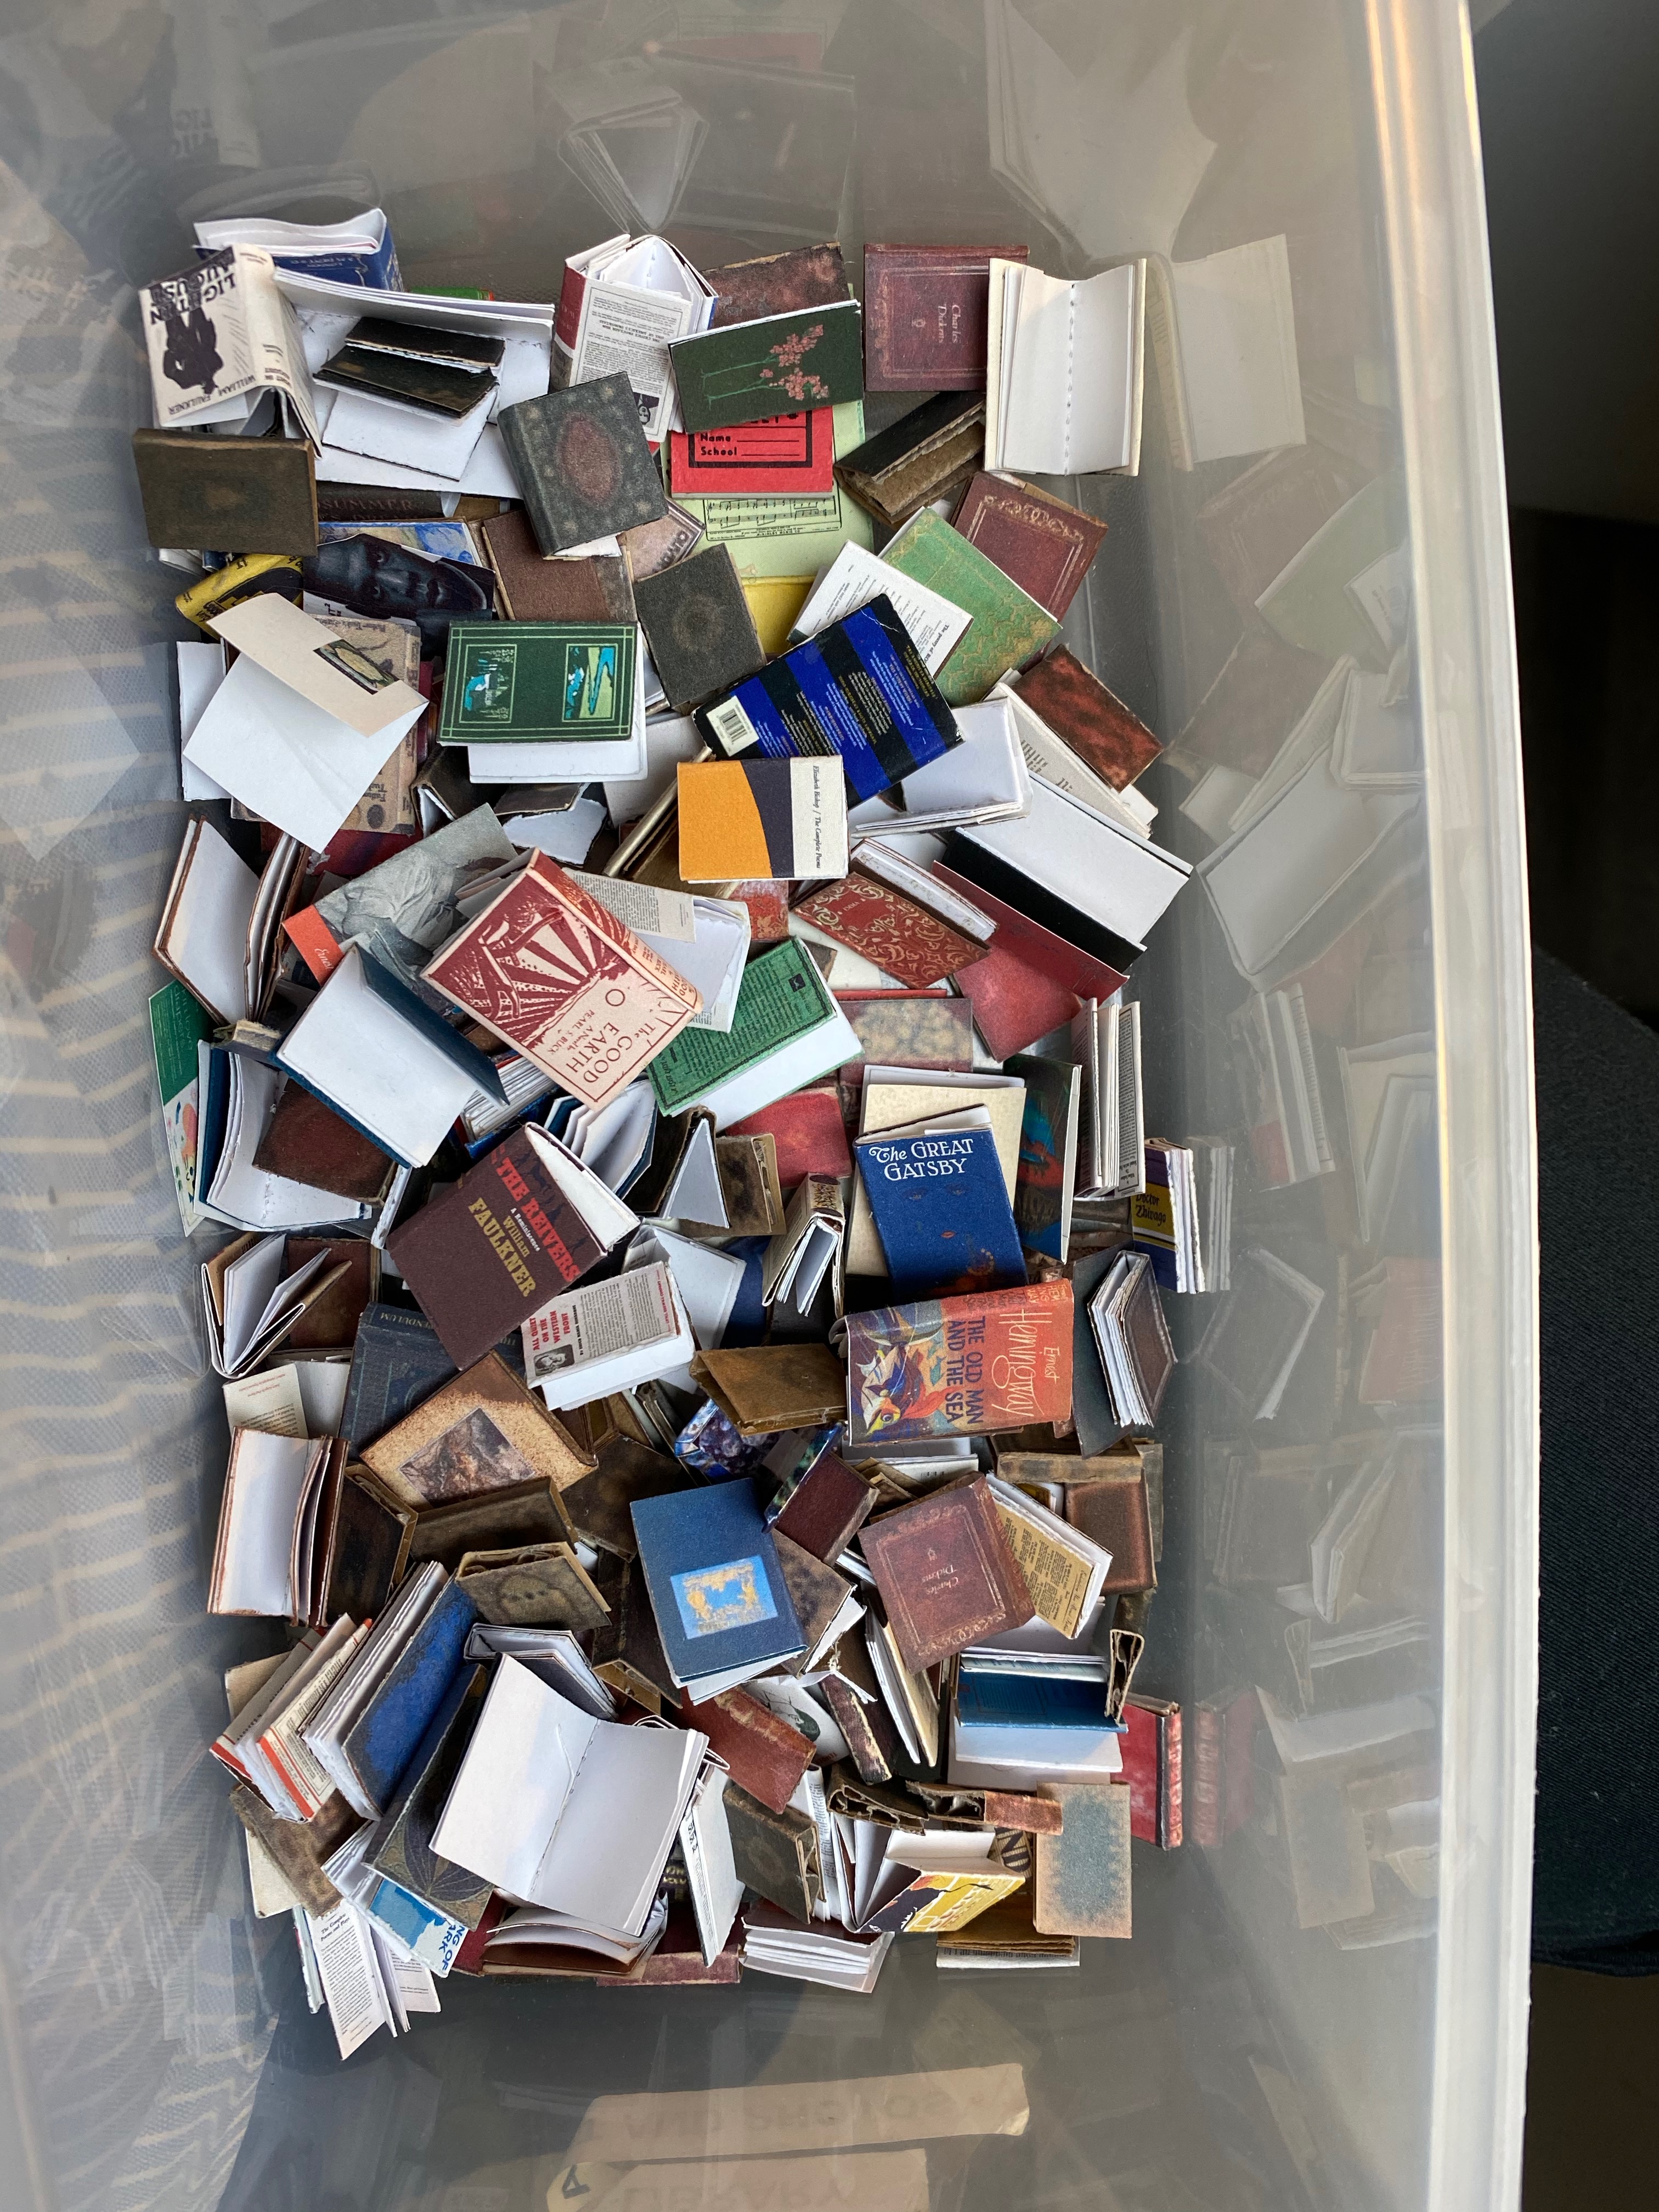
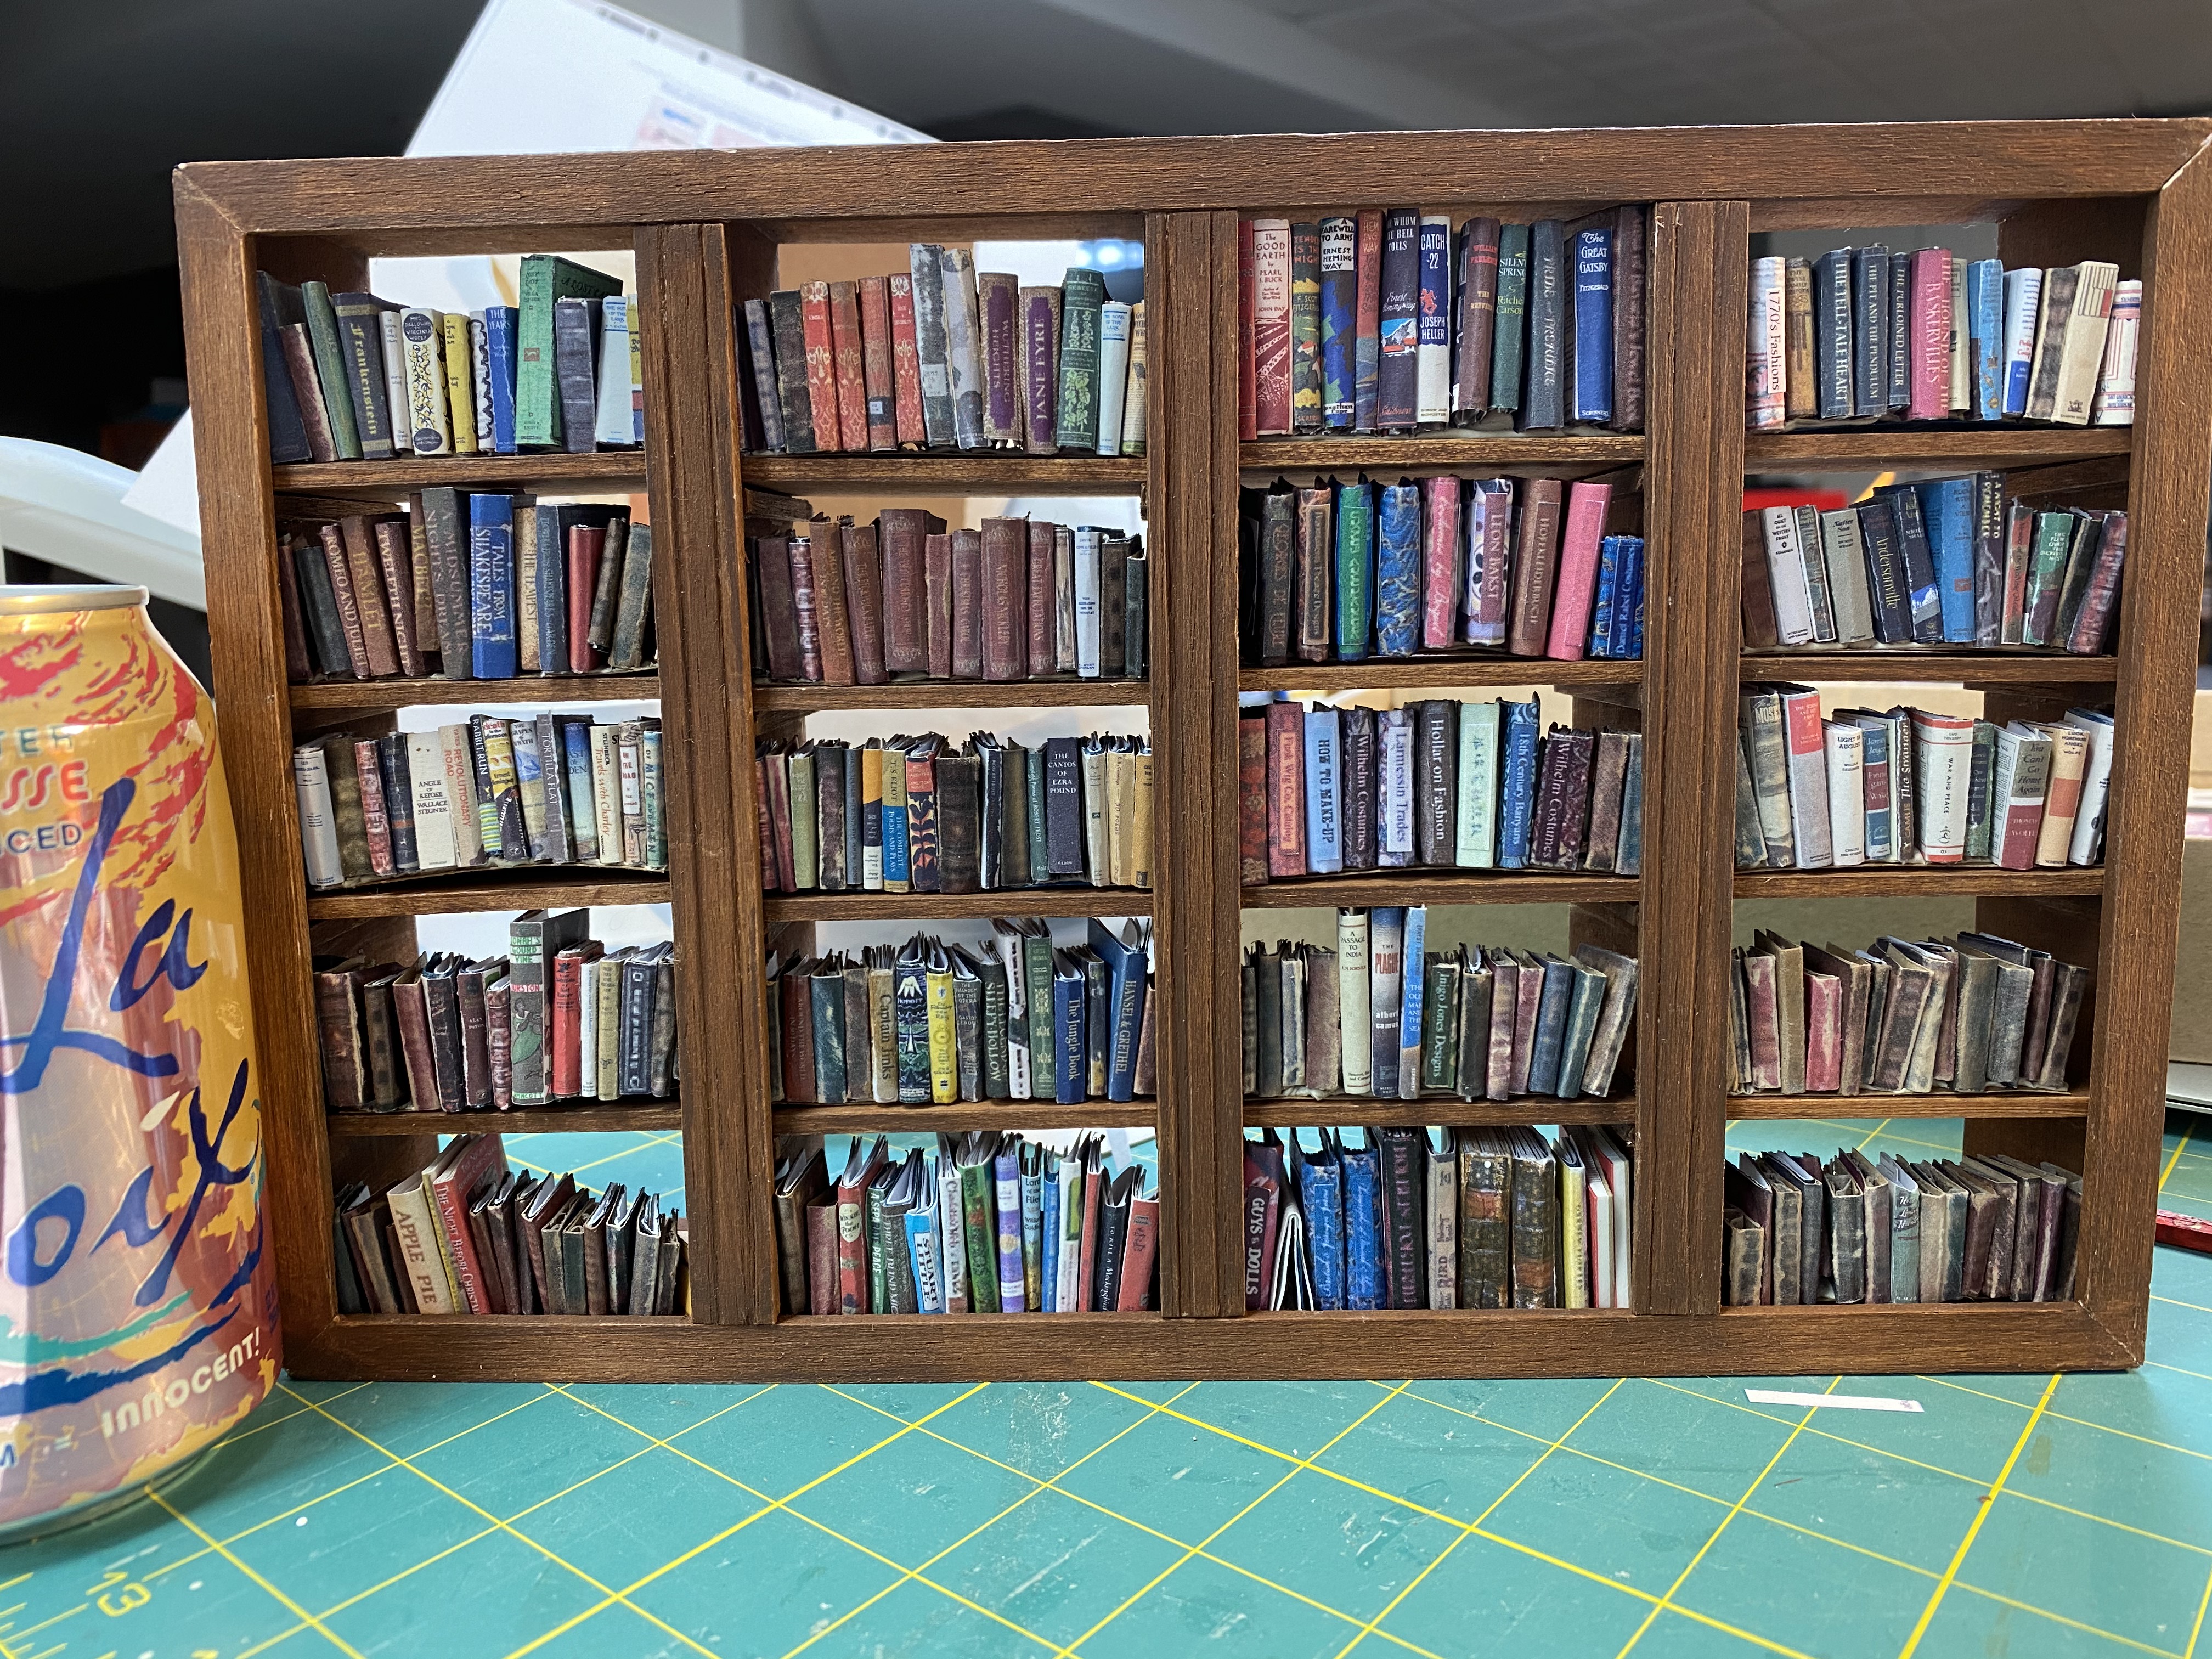
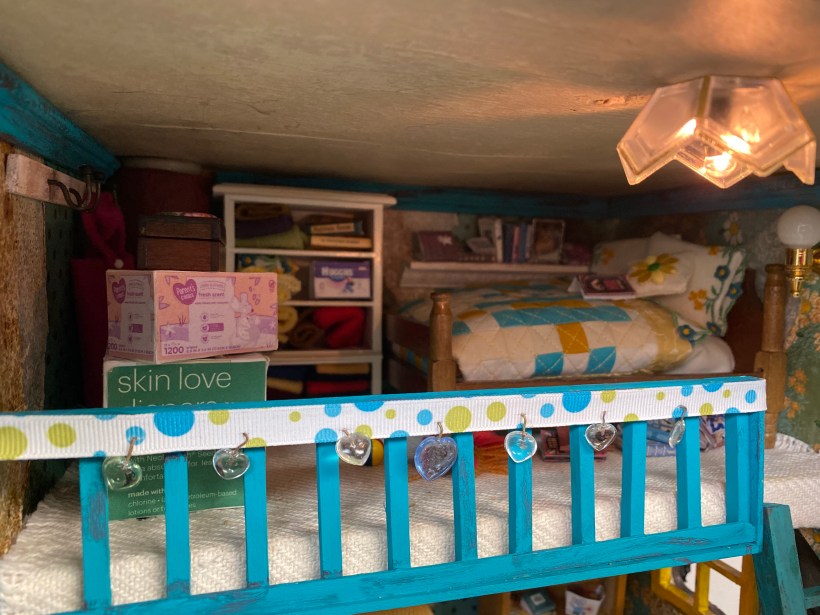
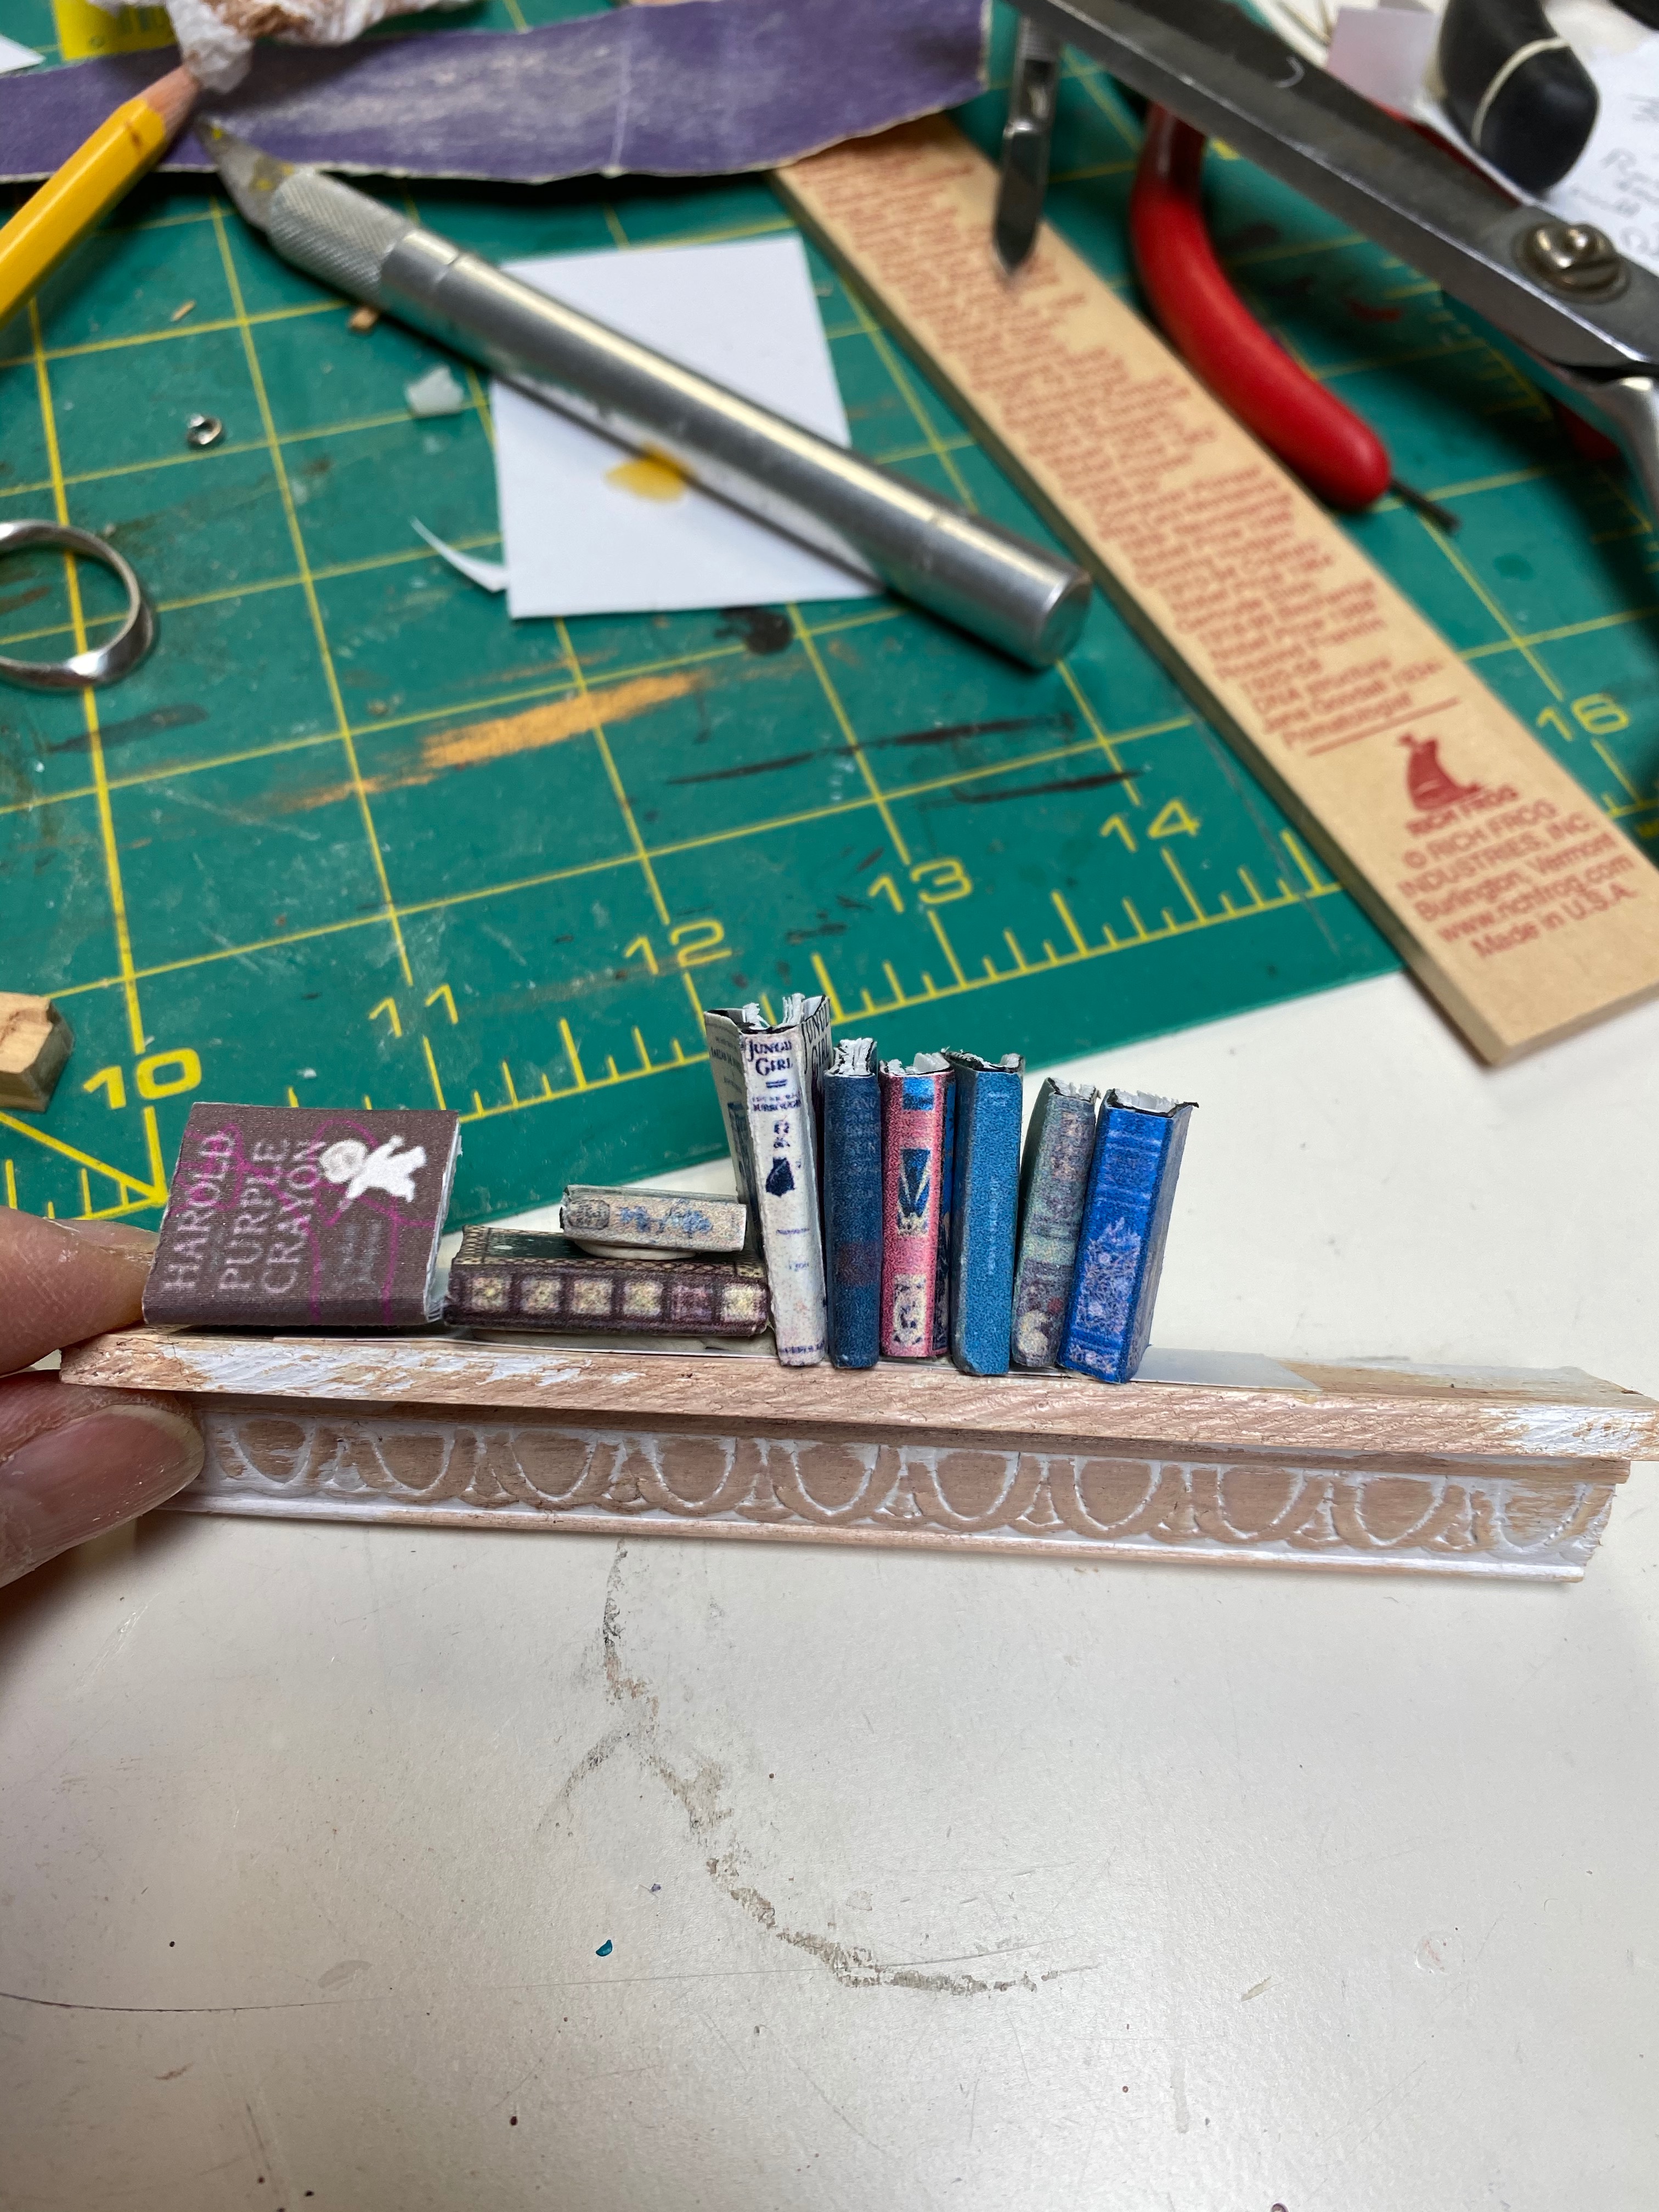
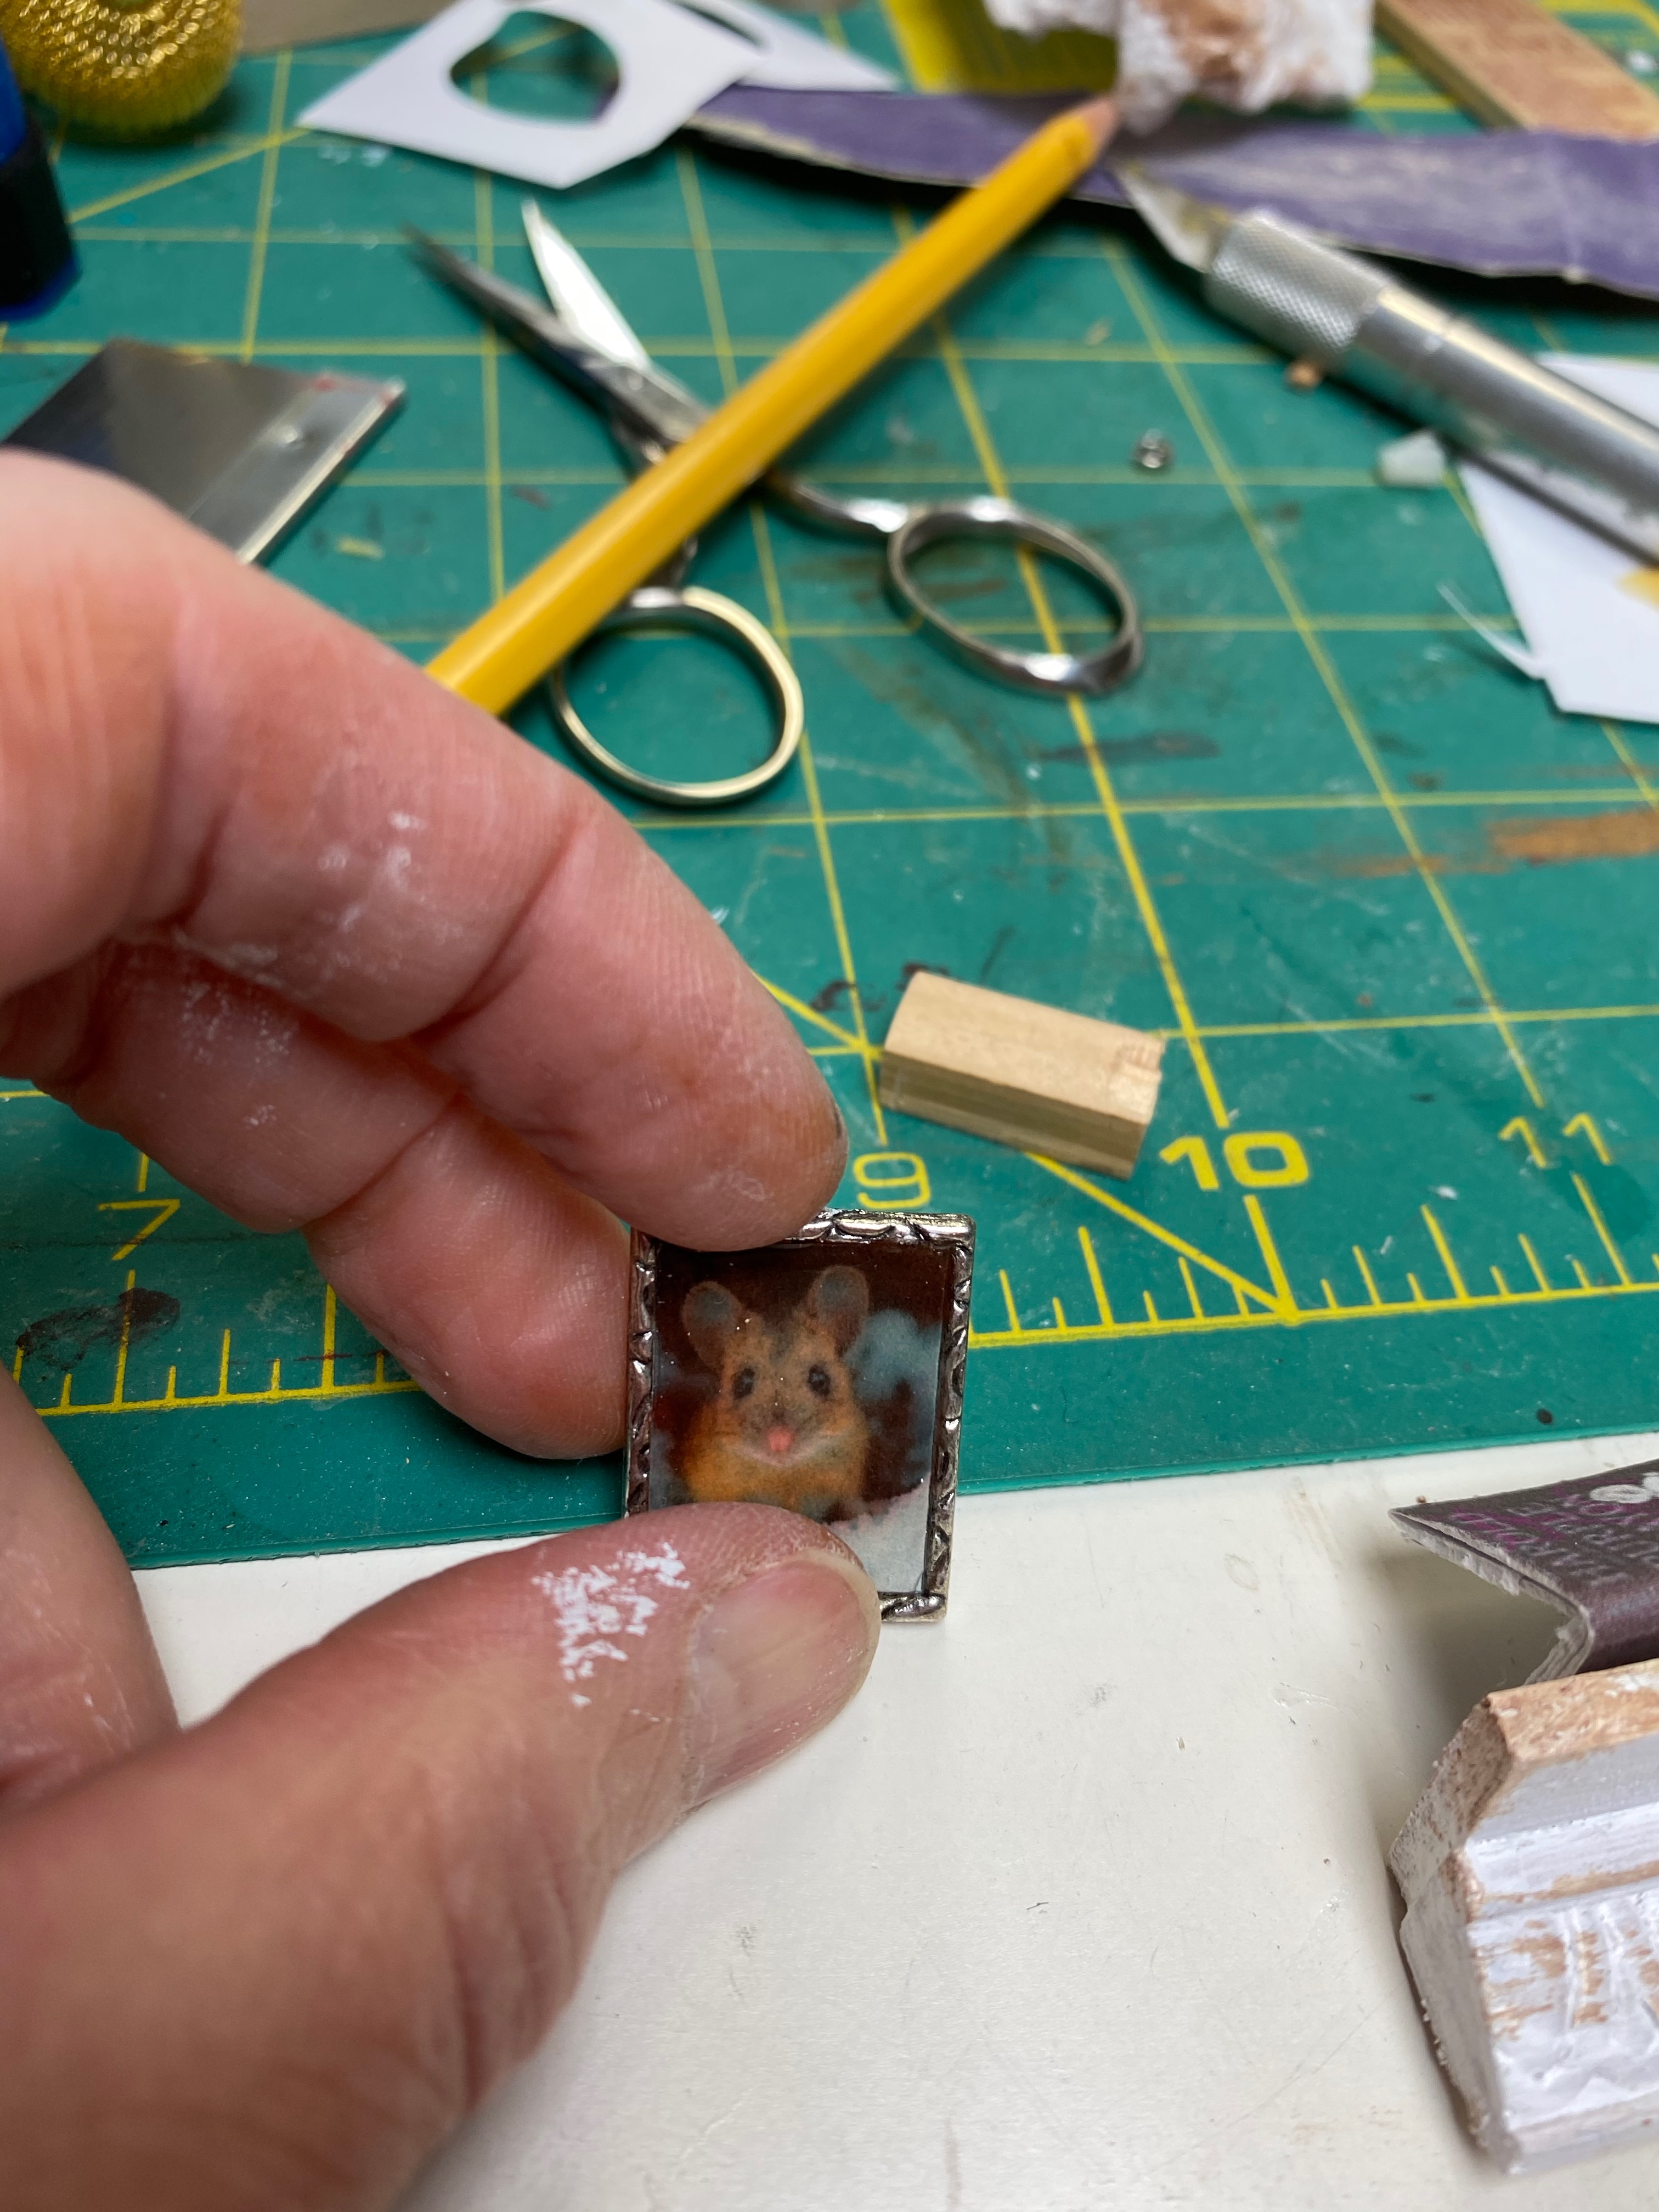
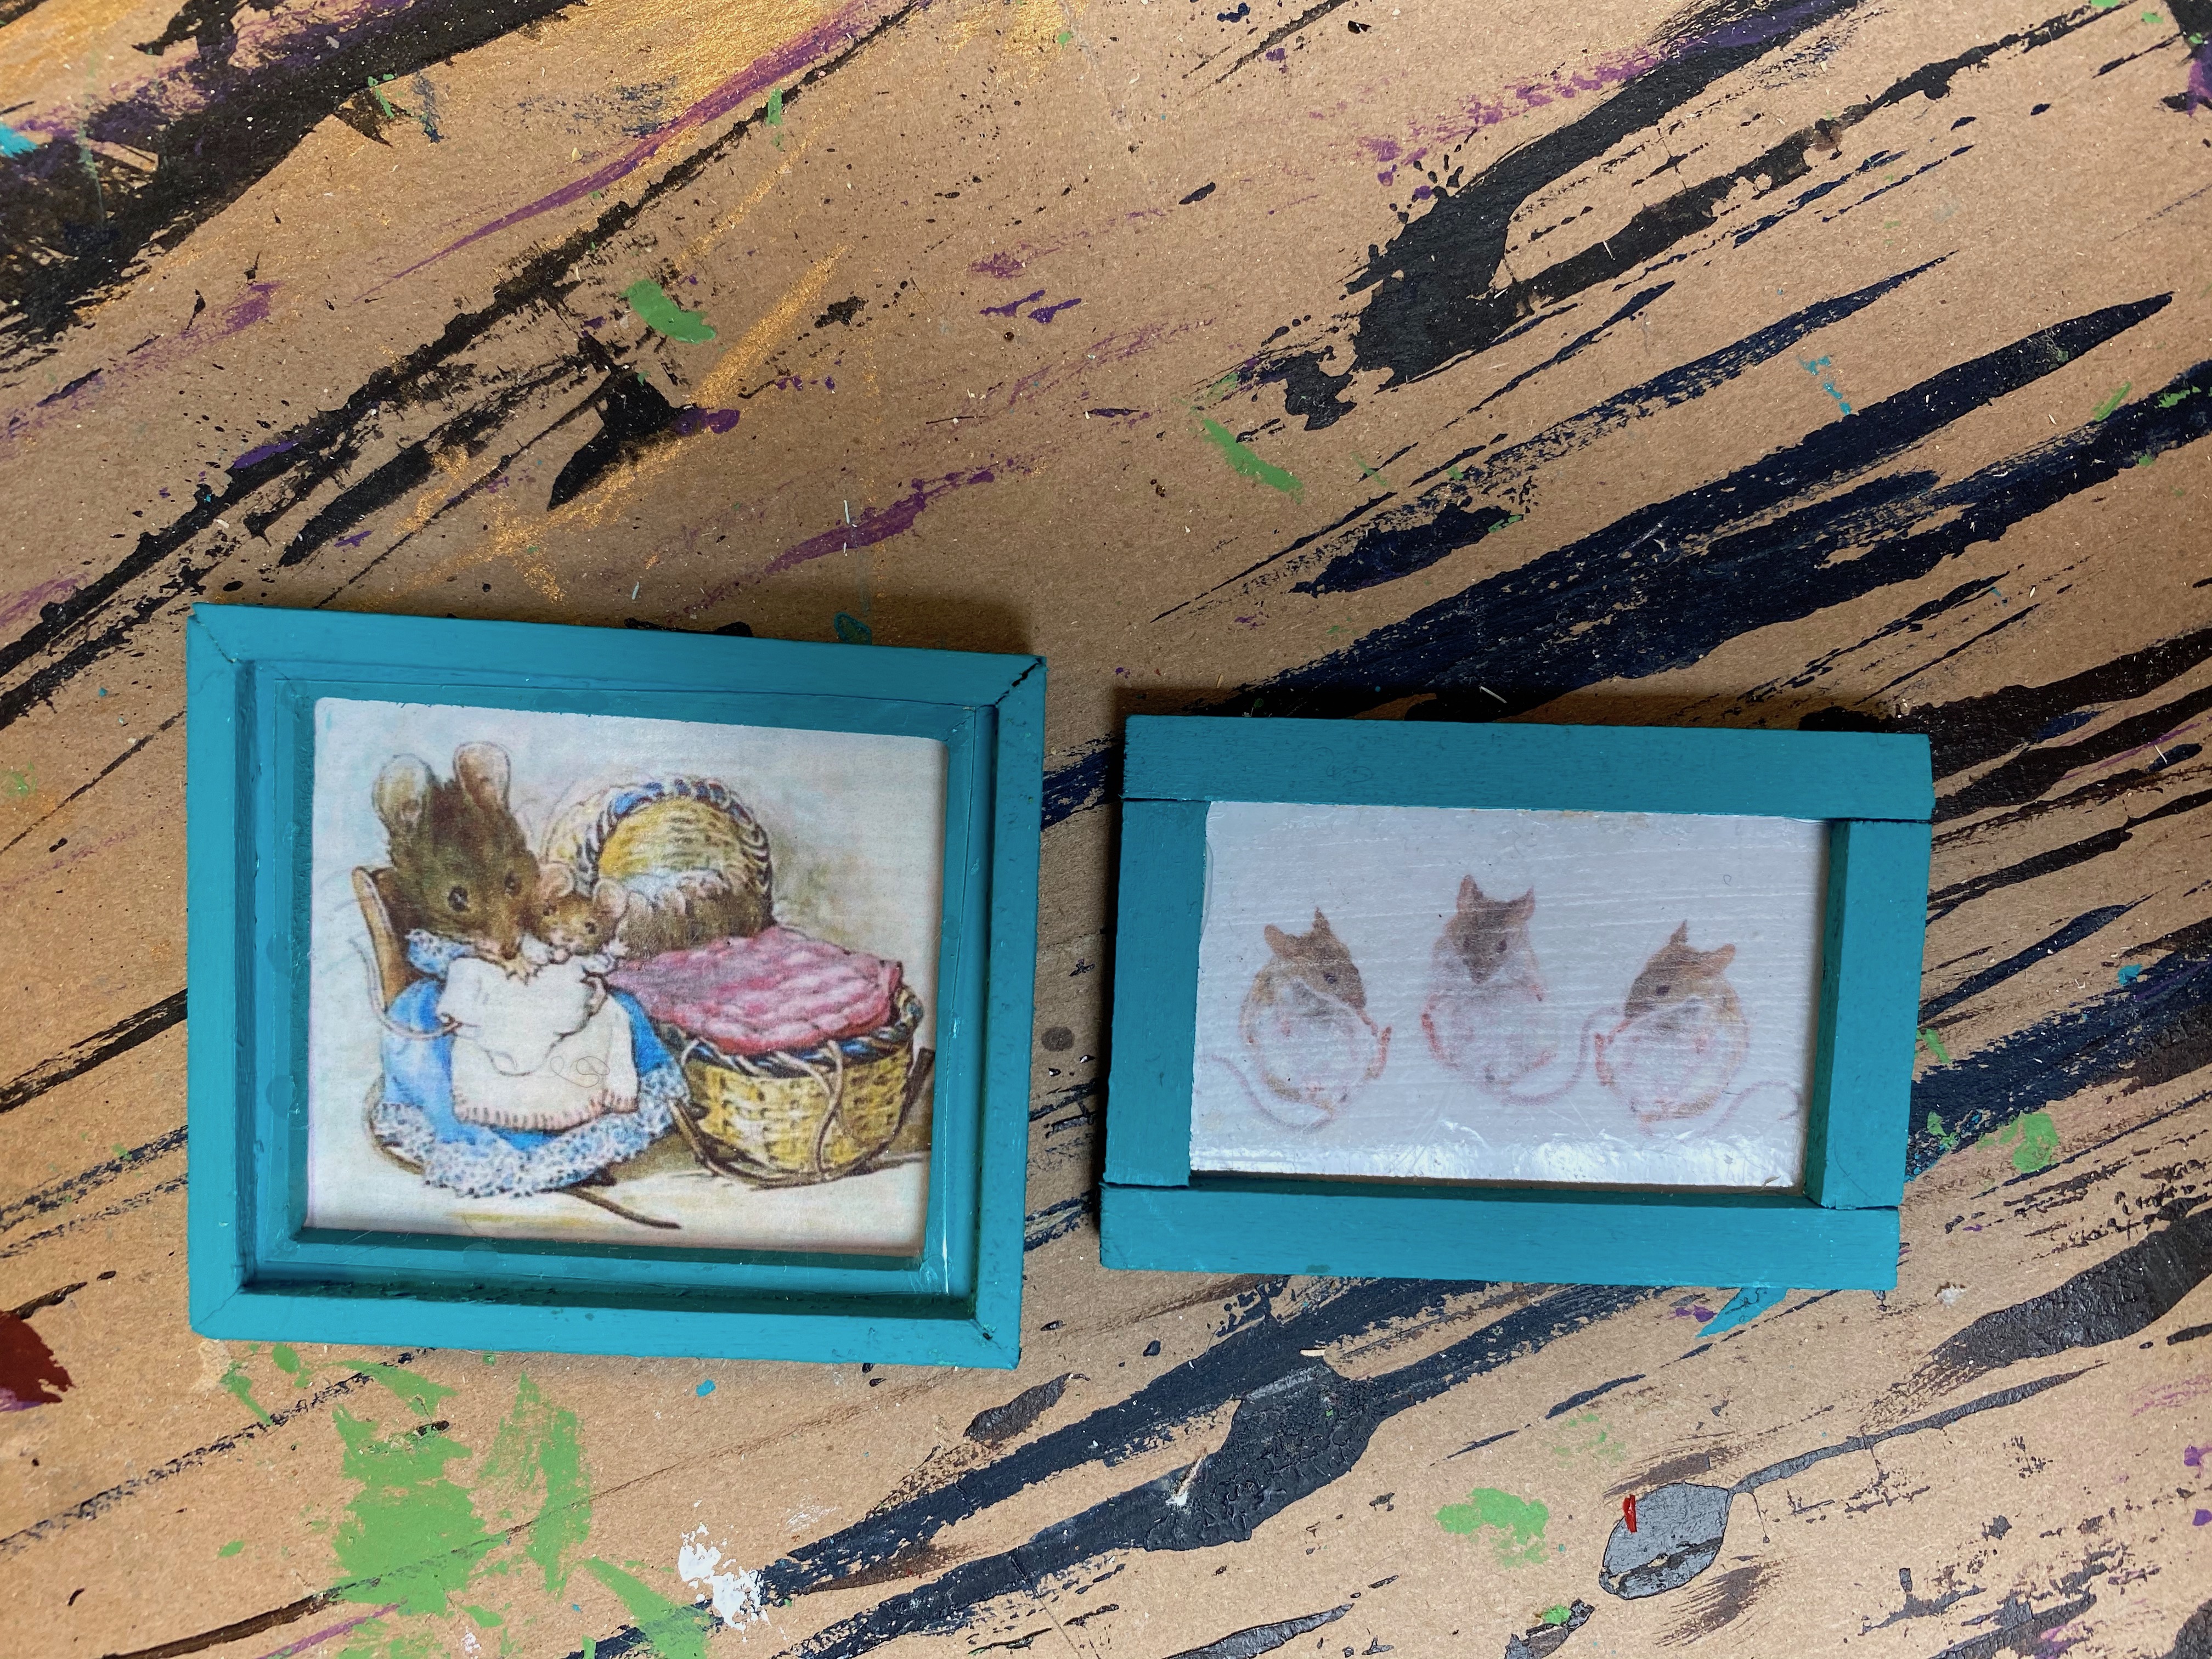
I also made a shelf for the master bedroom loft out of a piece of molding and added books as well as a photograph of a mouse from the internet that I framed and covered in resin.
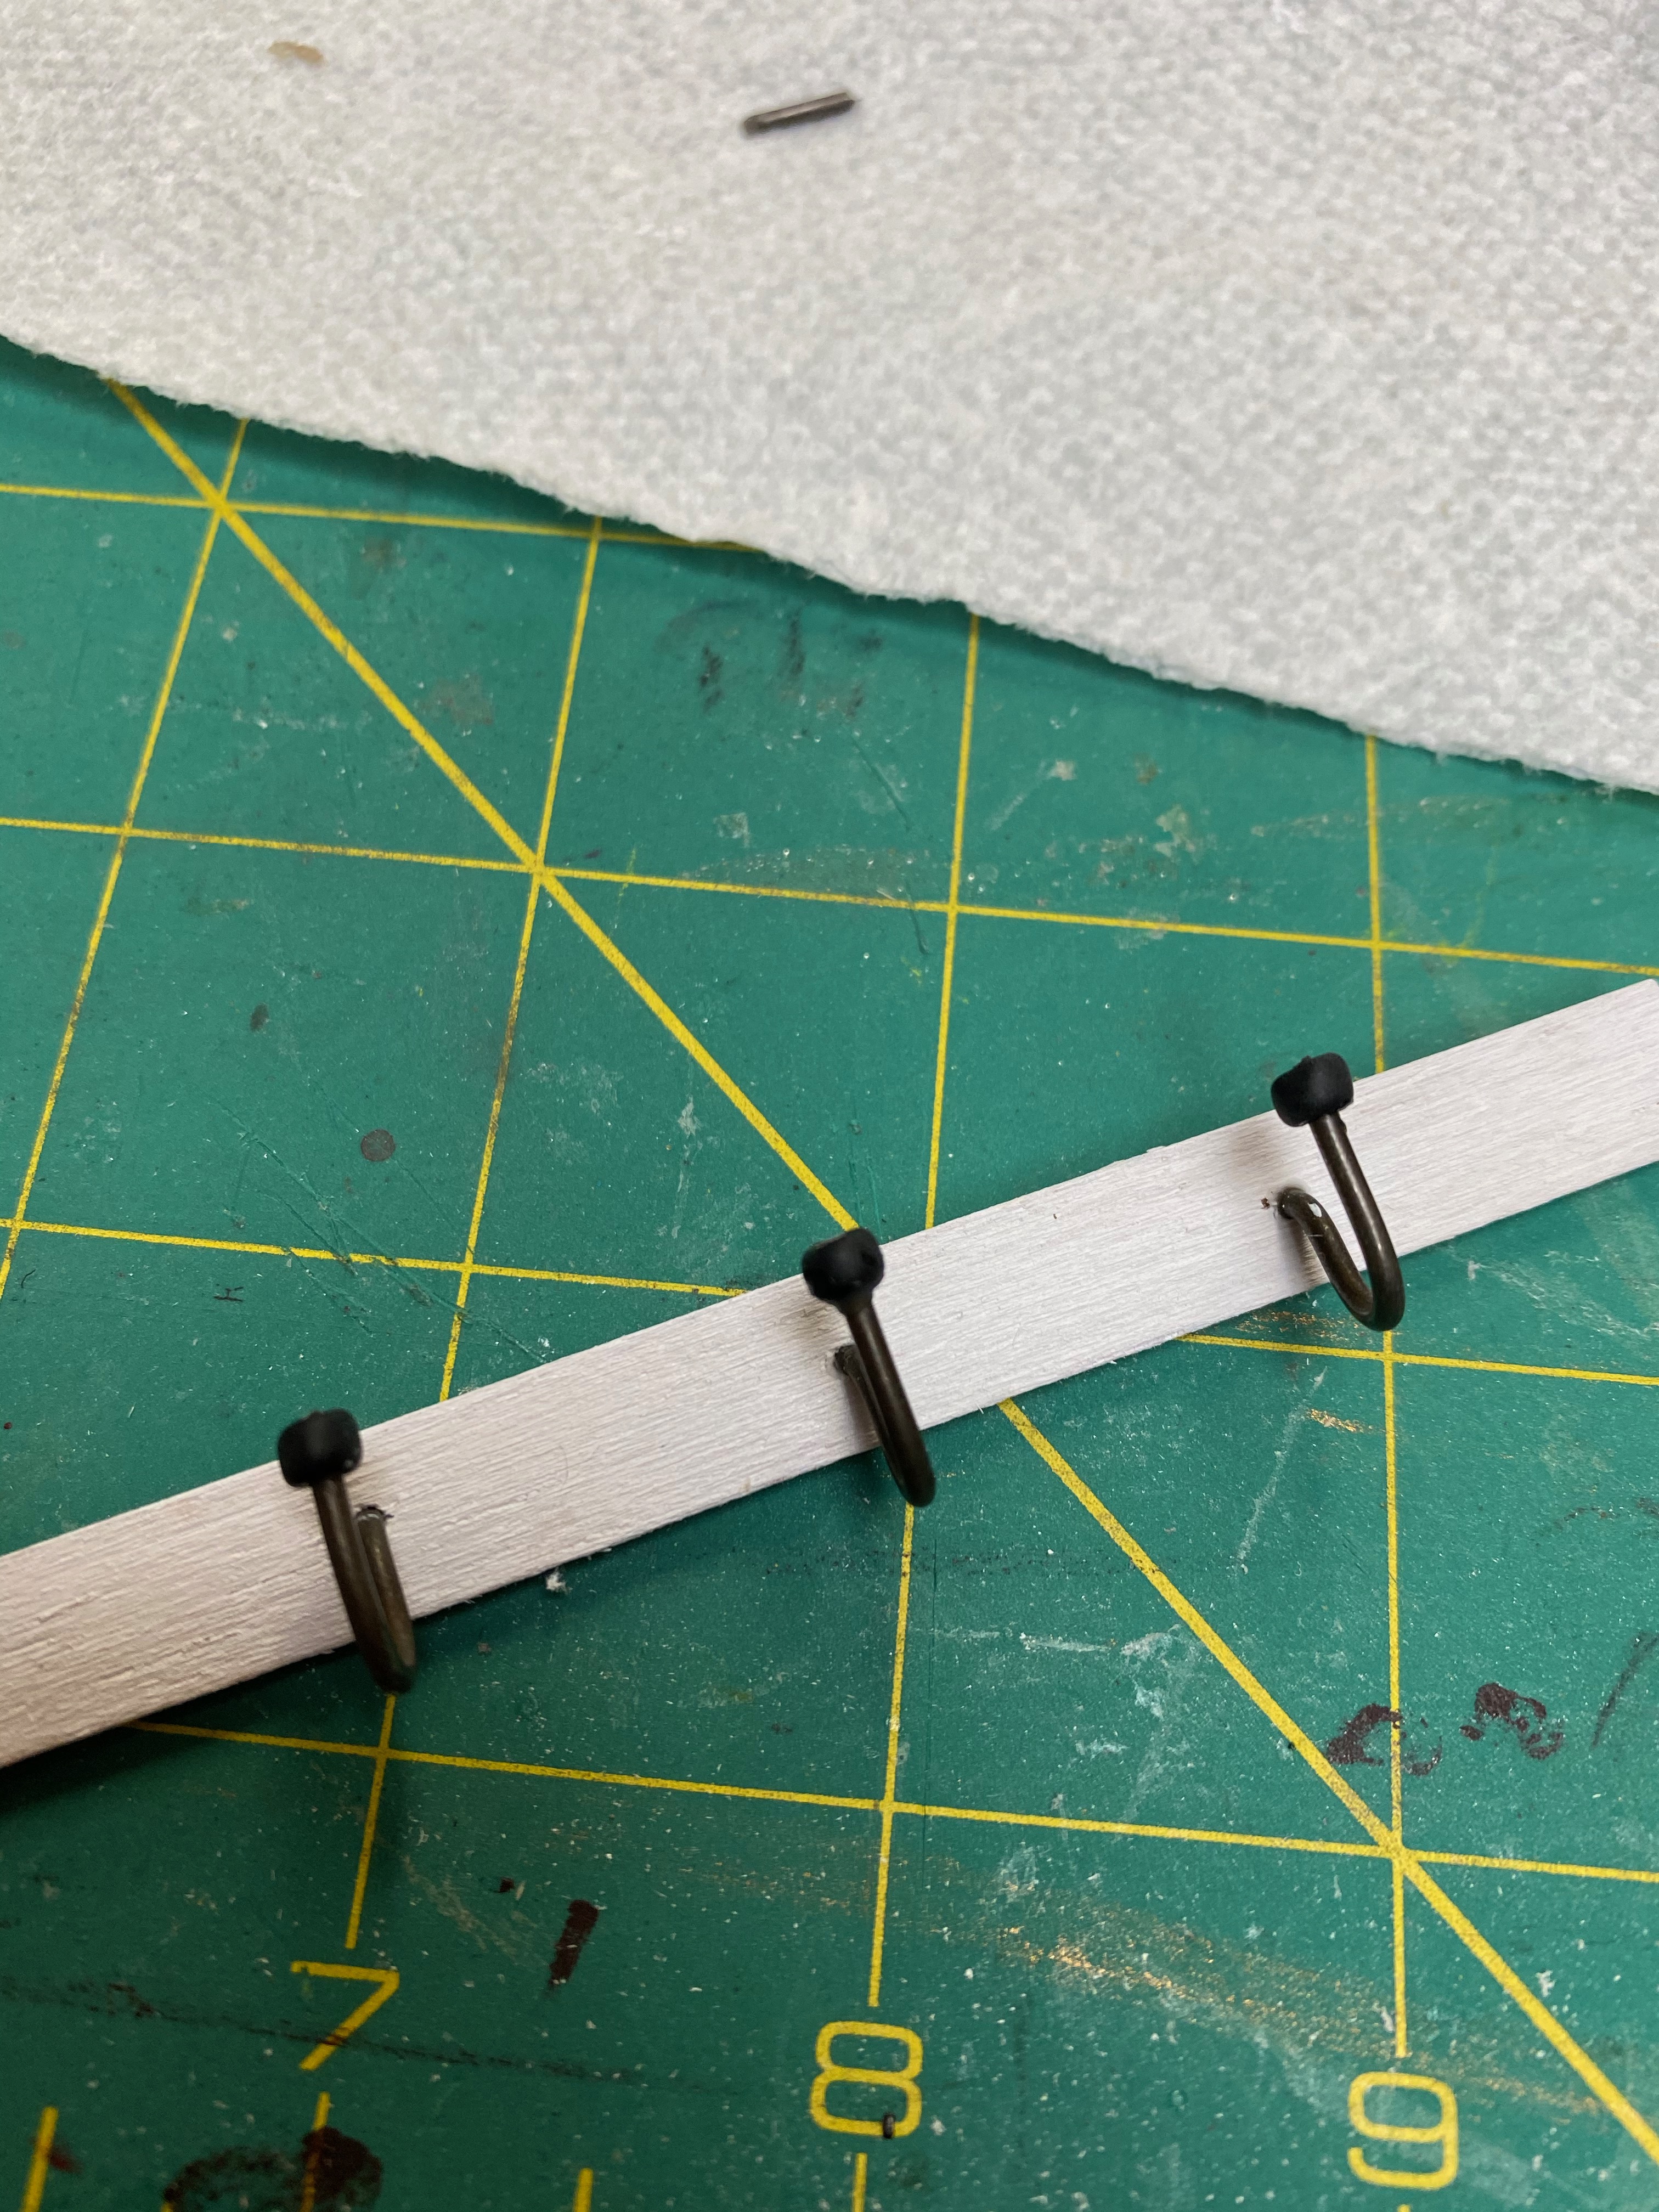
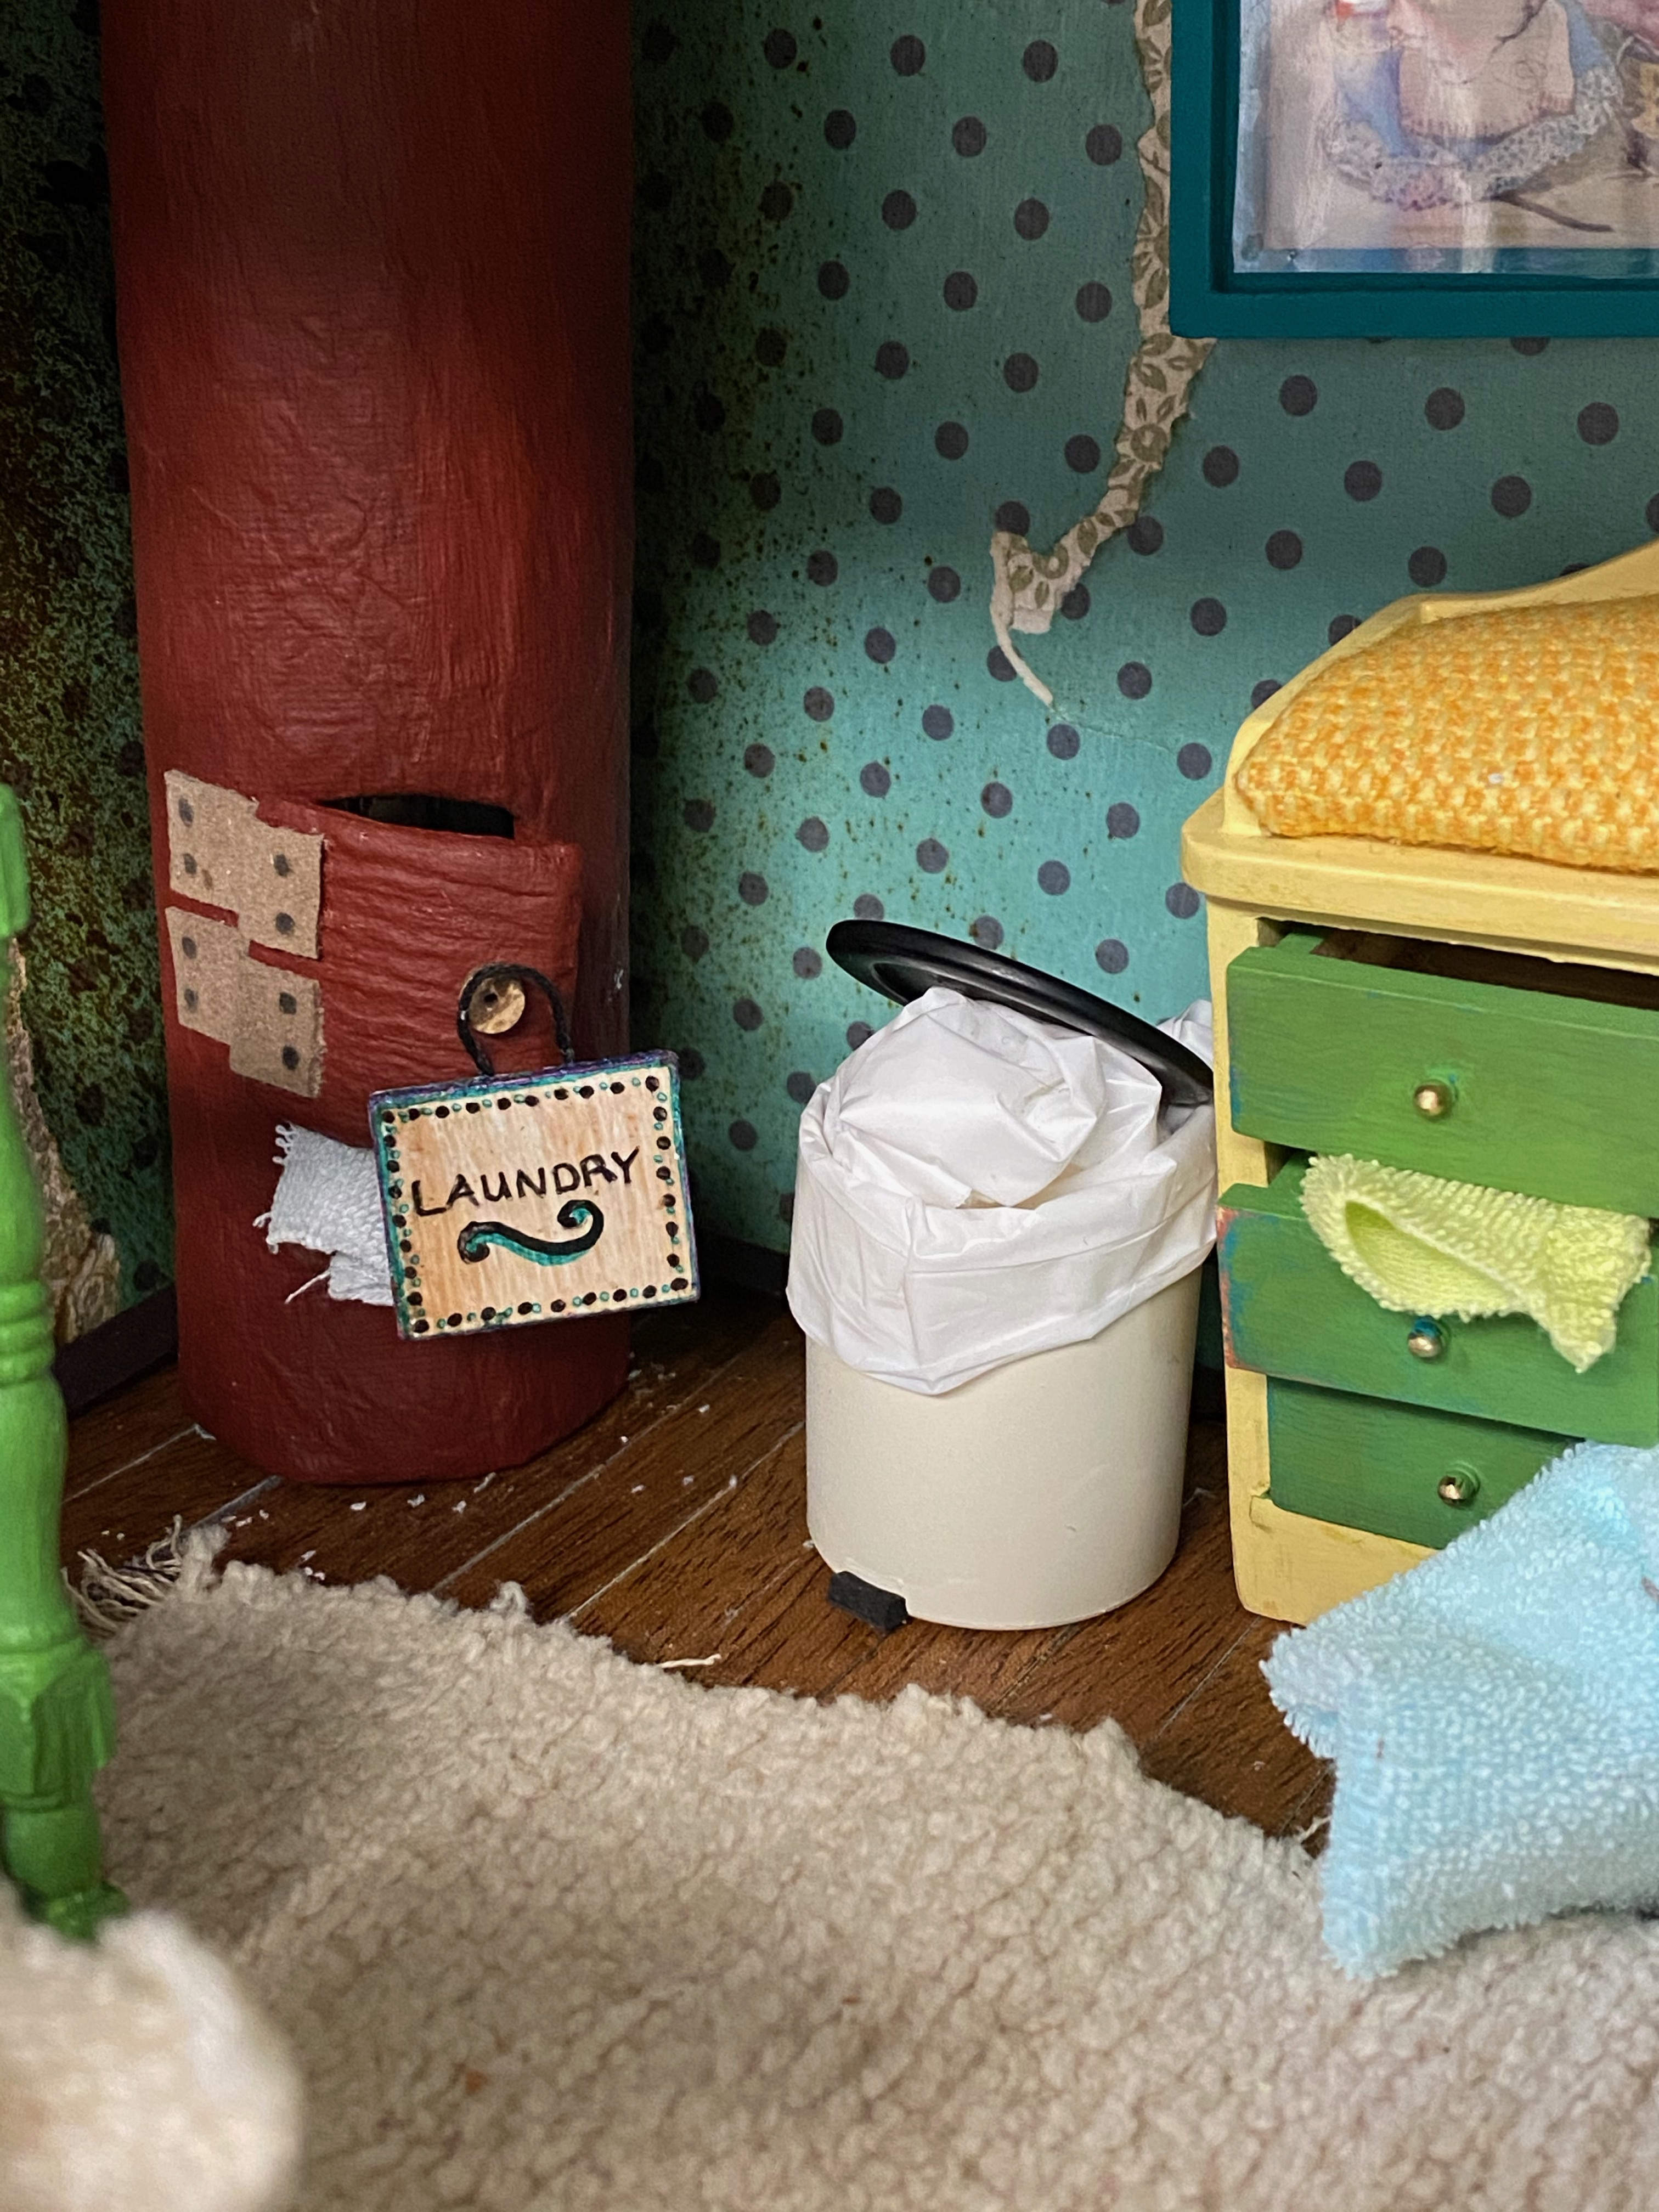
I formed hooks with wire and beads and installed it on the wall behind the boxes in front of the red laundry chute in the corner.
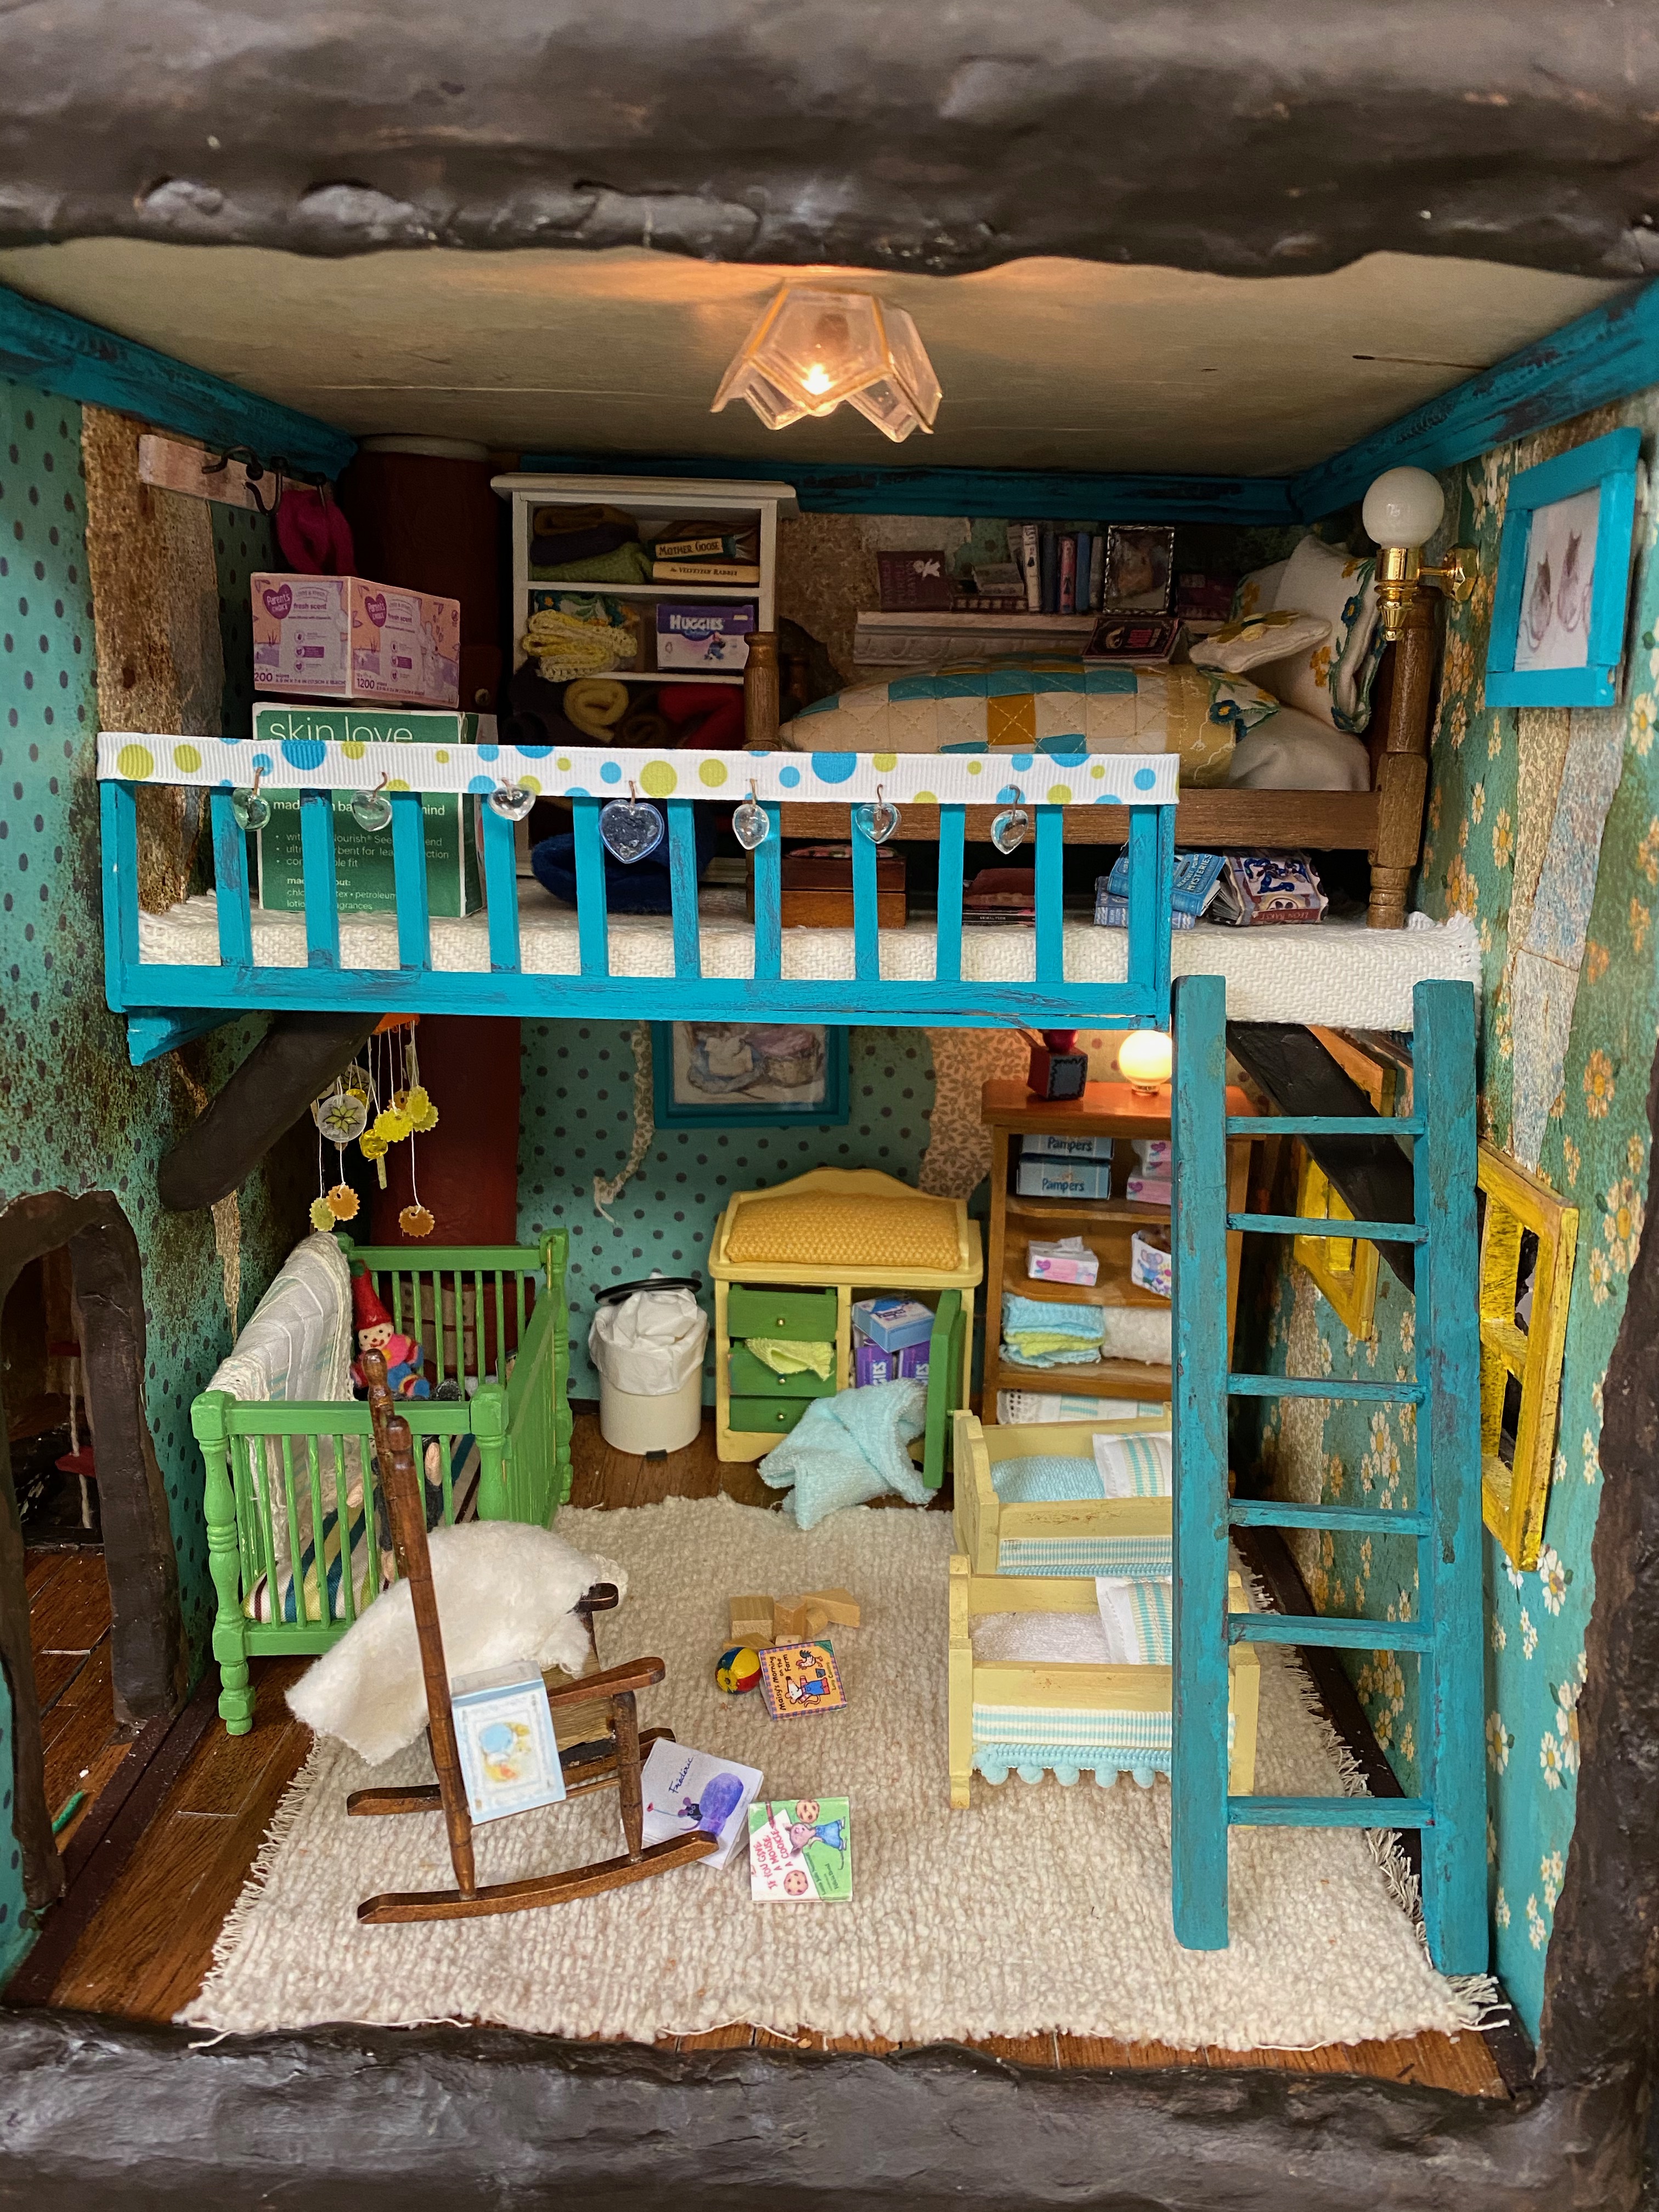
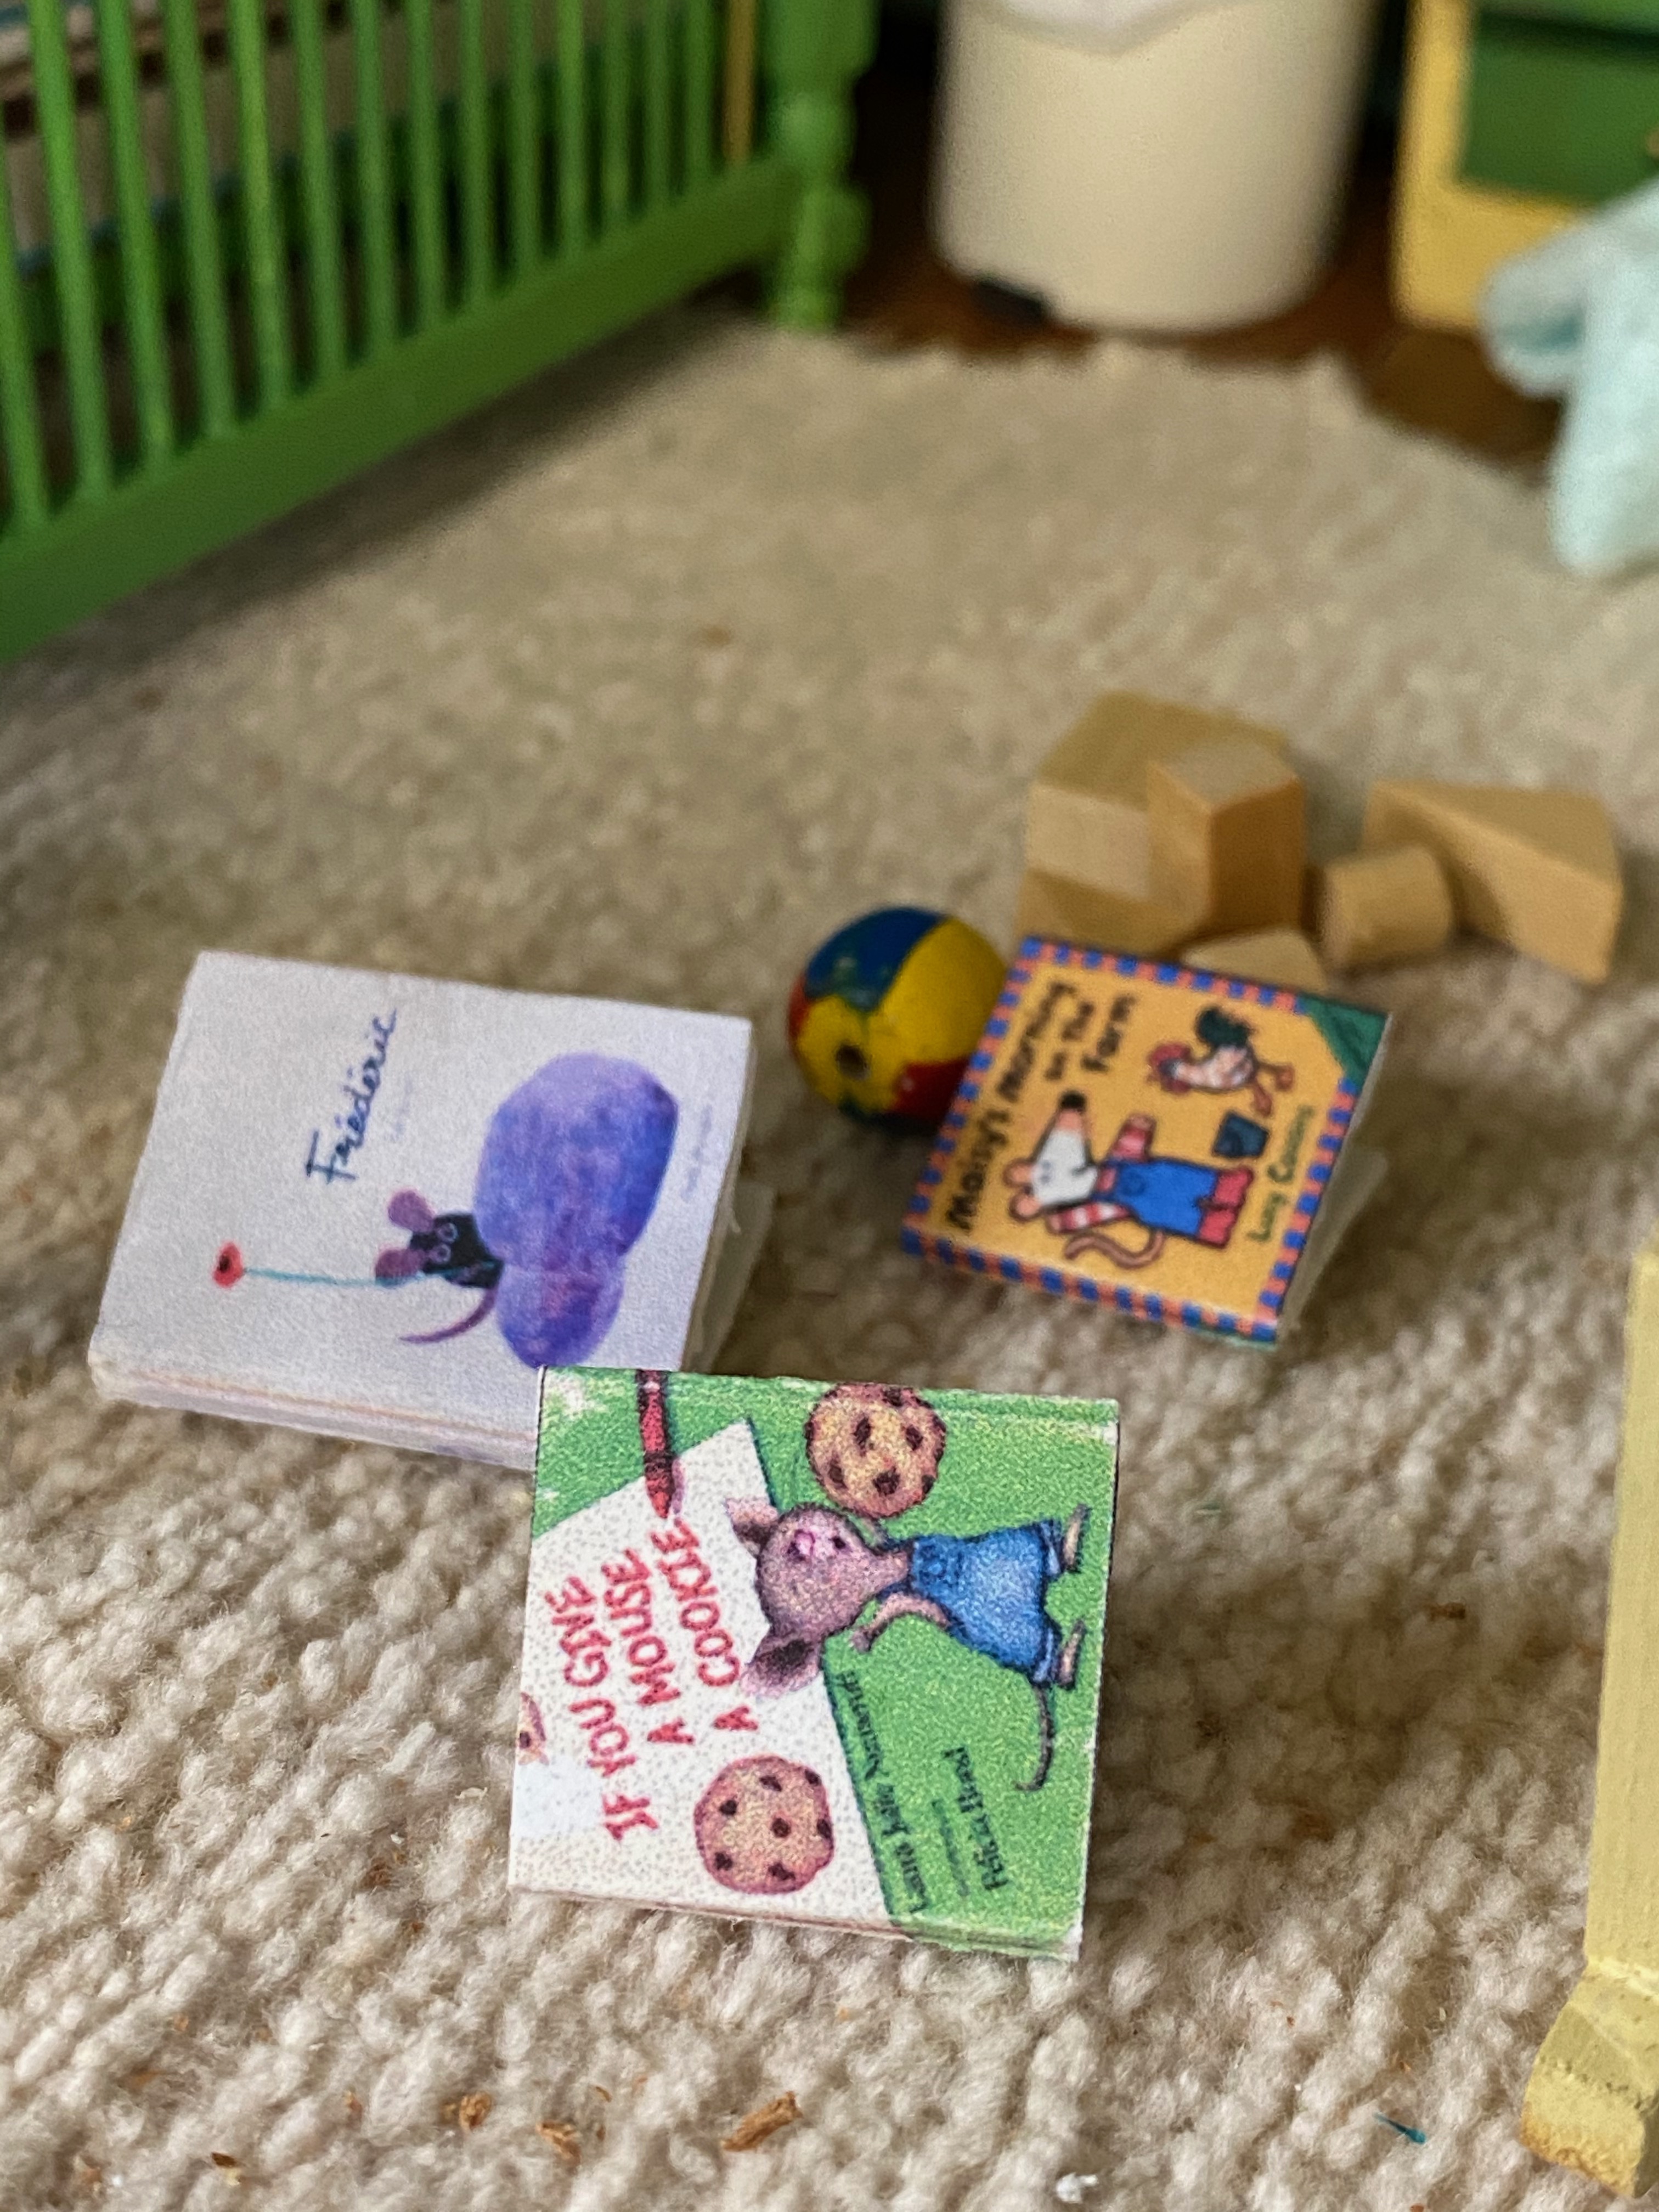
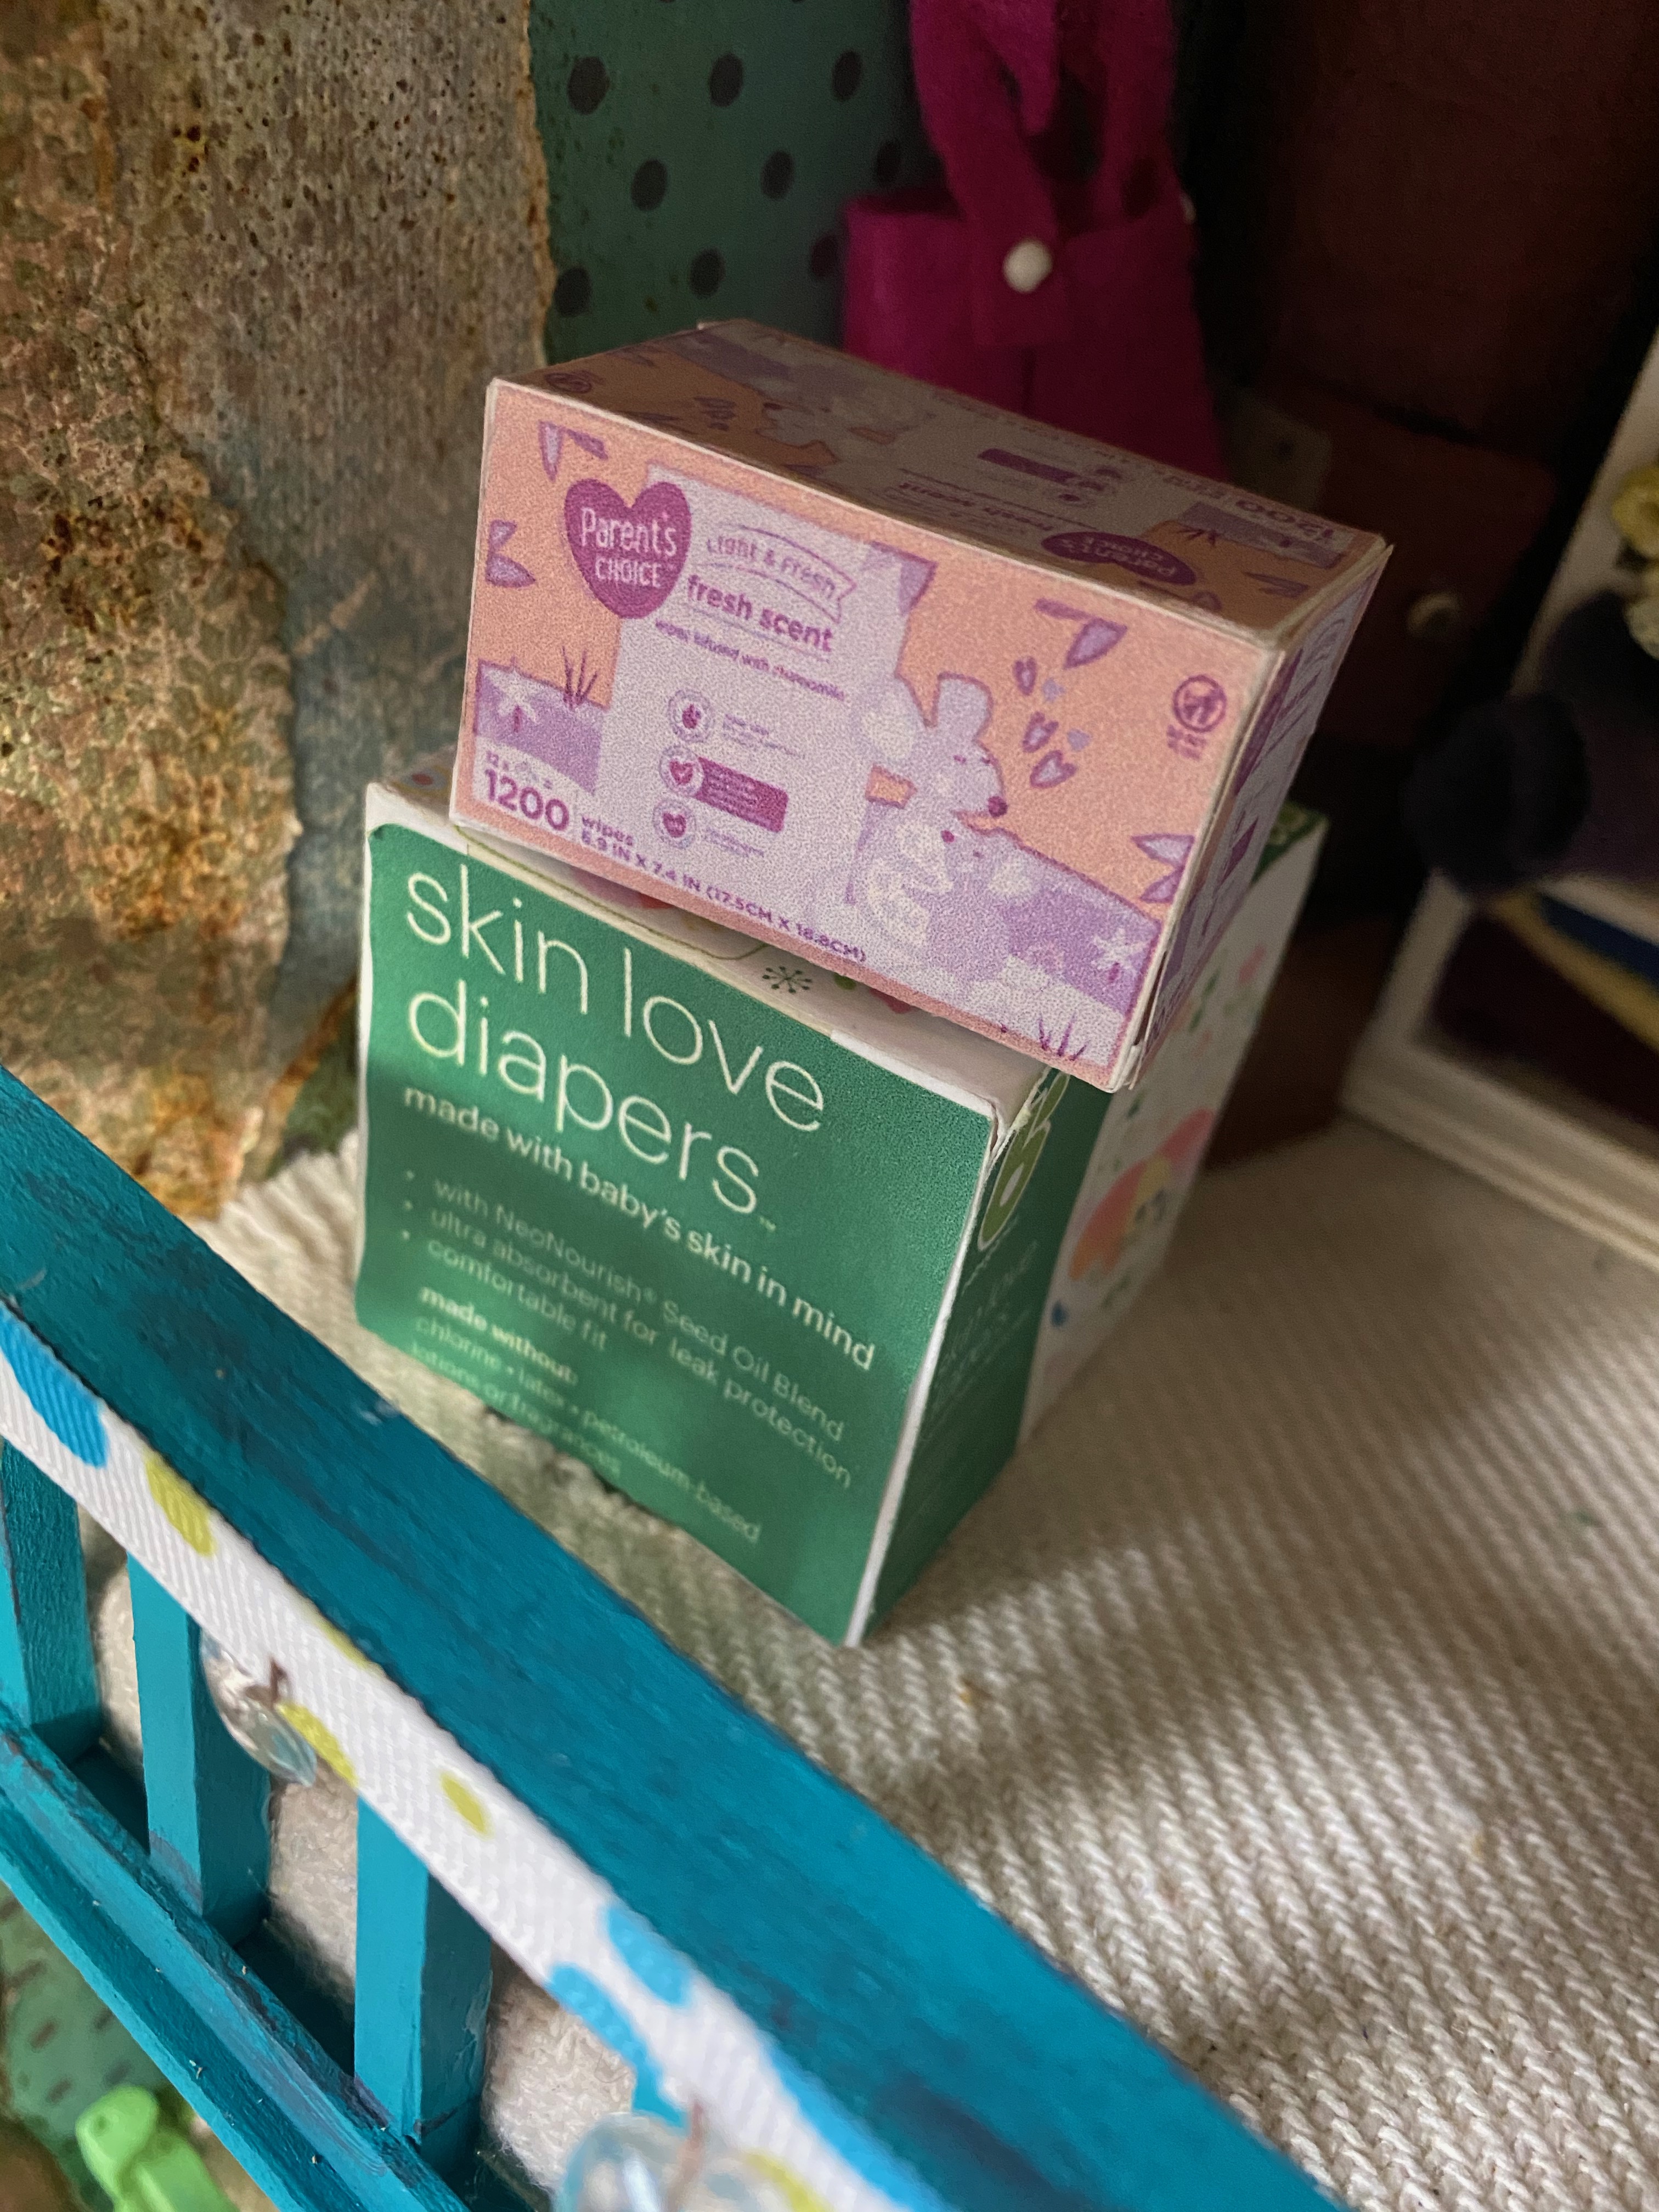
There are smaller boxes of diapers and more books stored on the bookcase shelves with folded clothes and bedding. There are also books and toys under the bed.
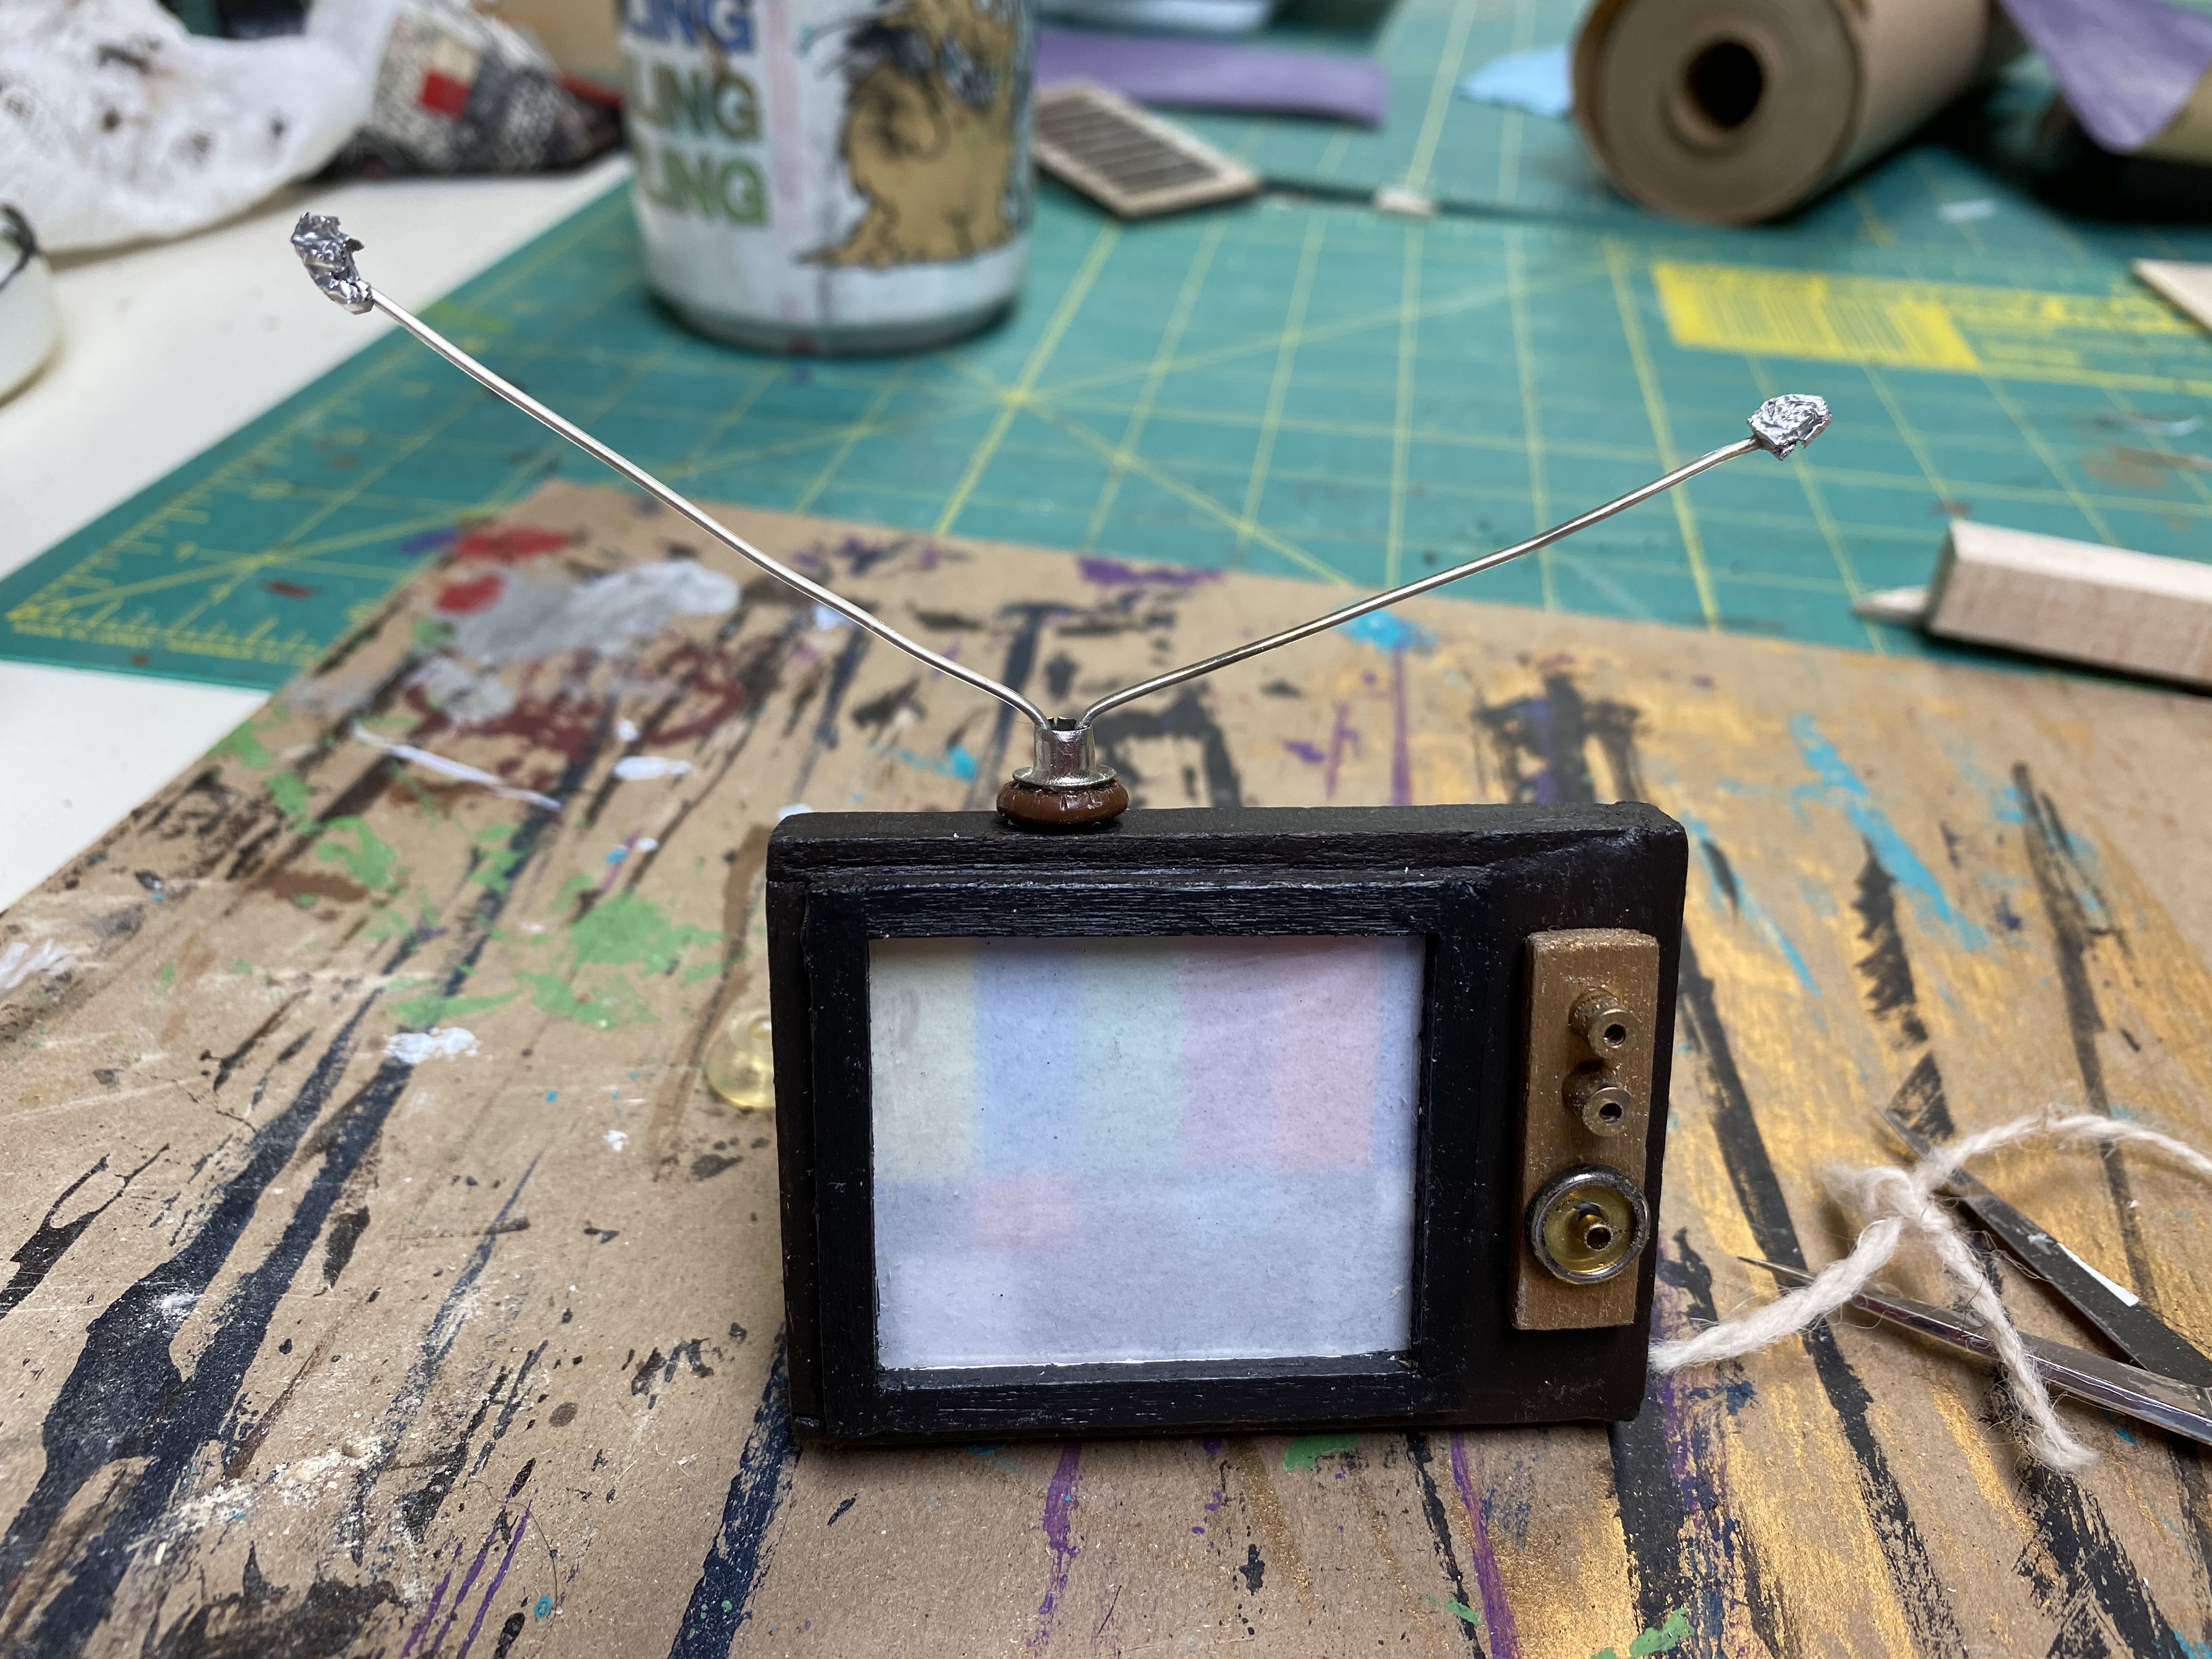
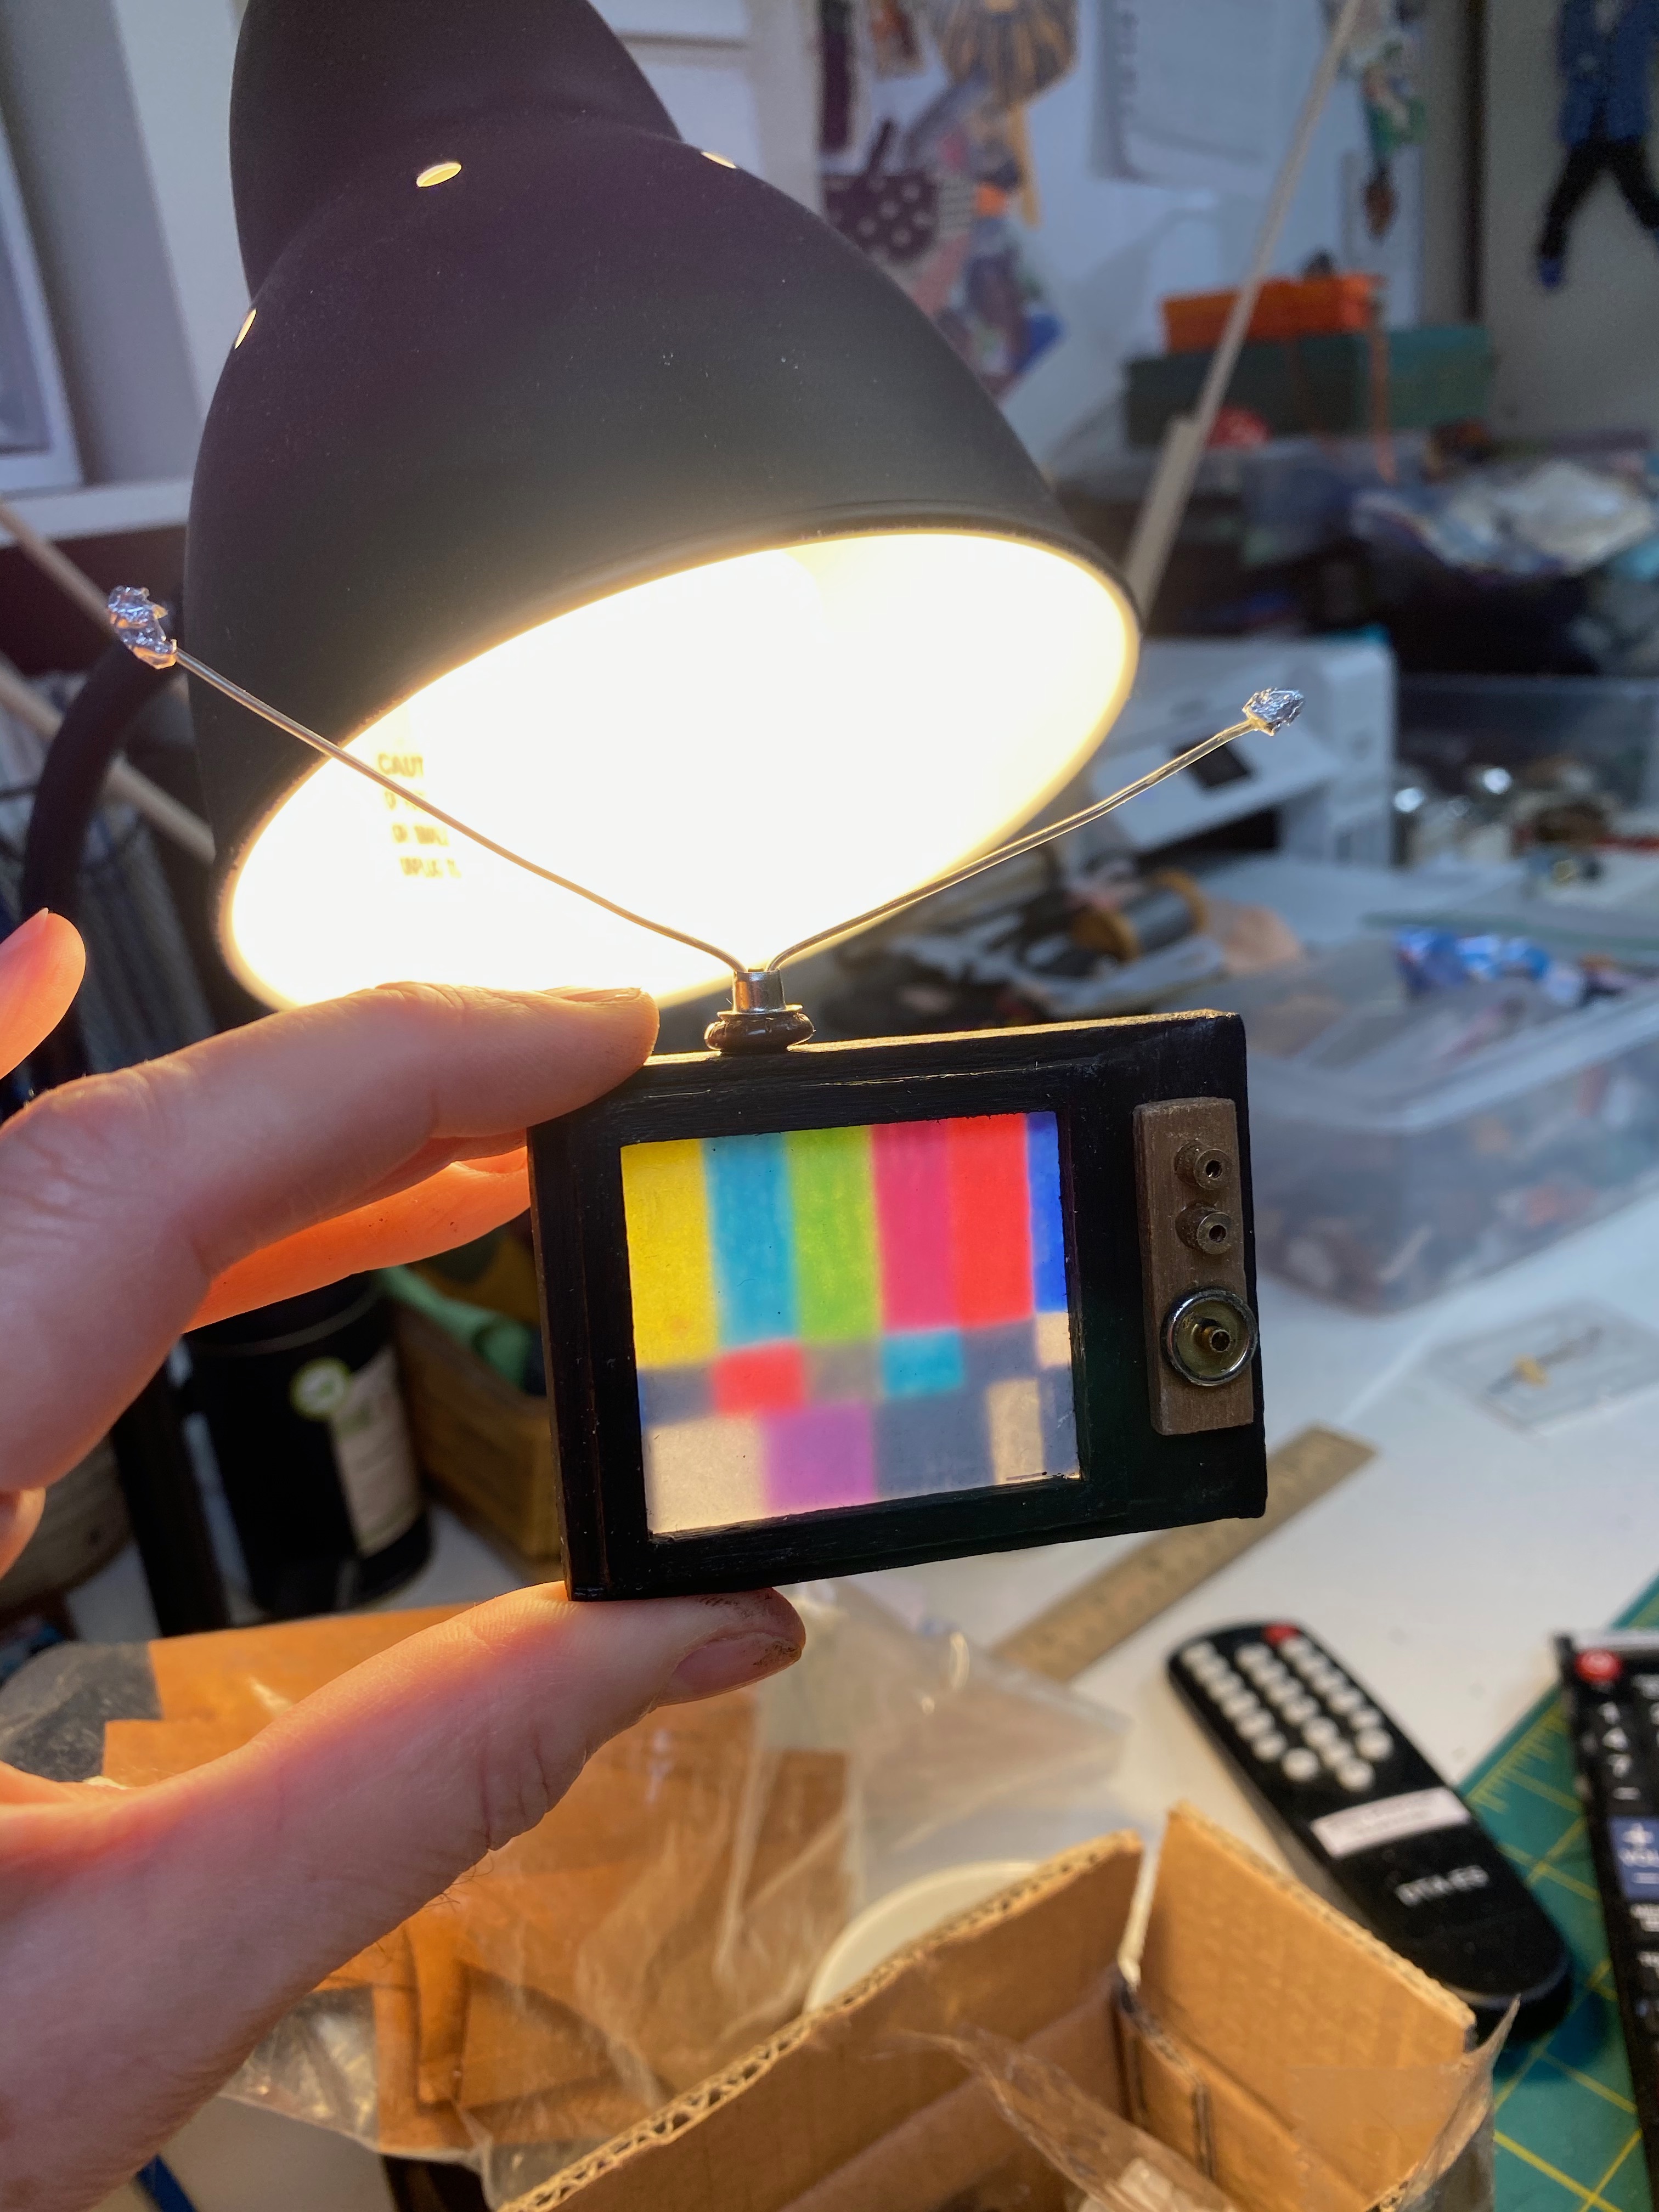
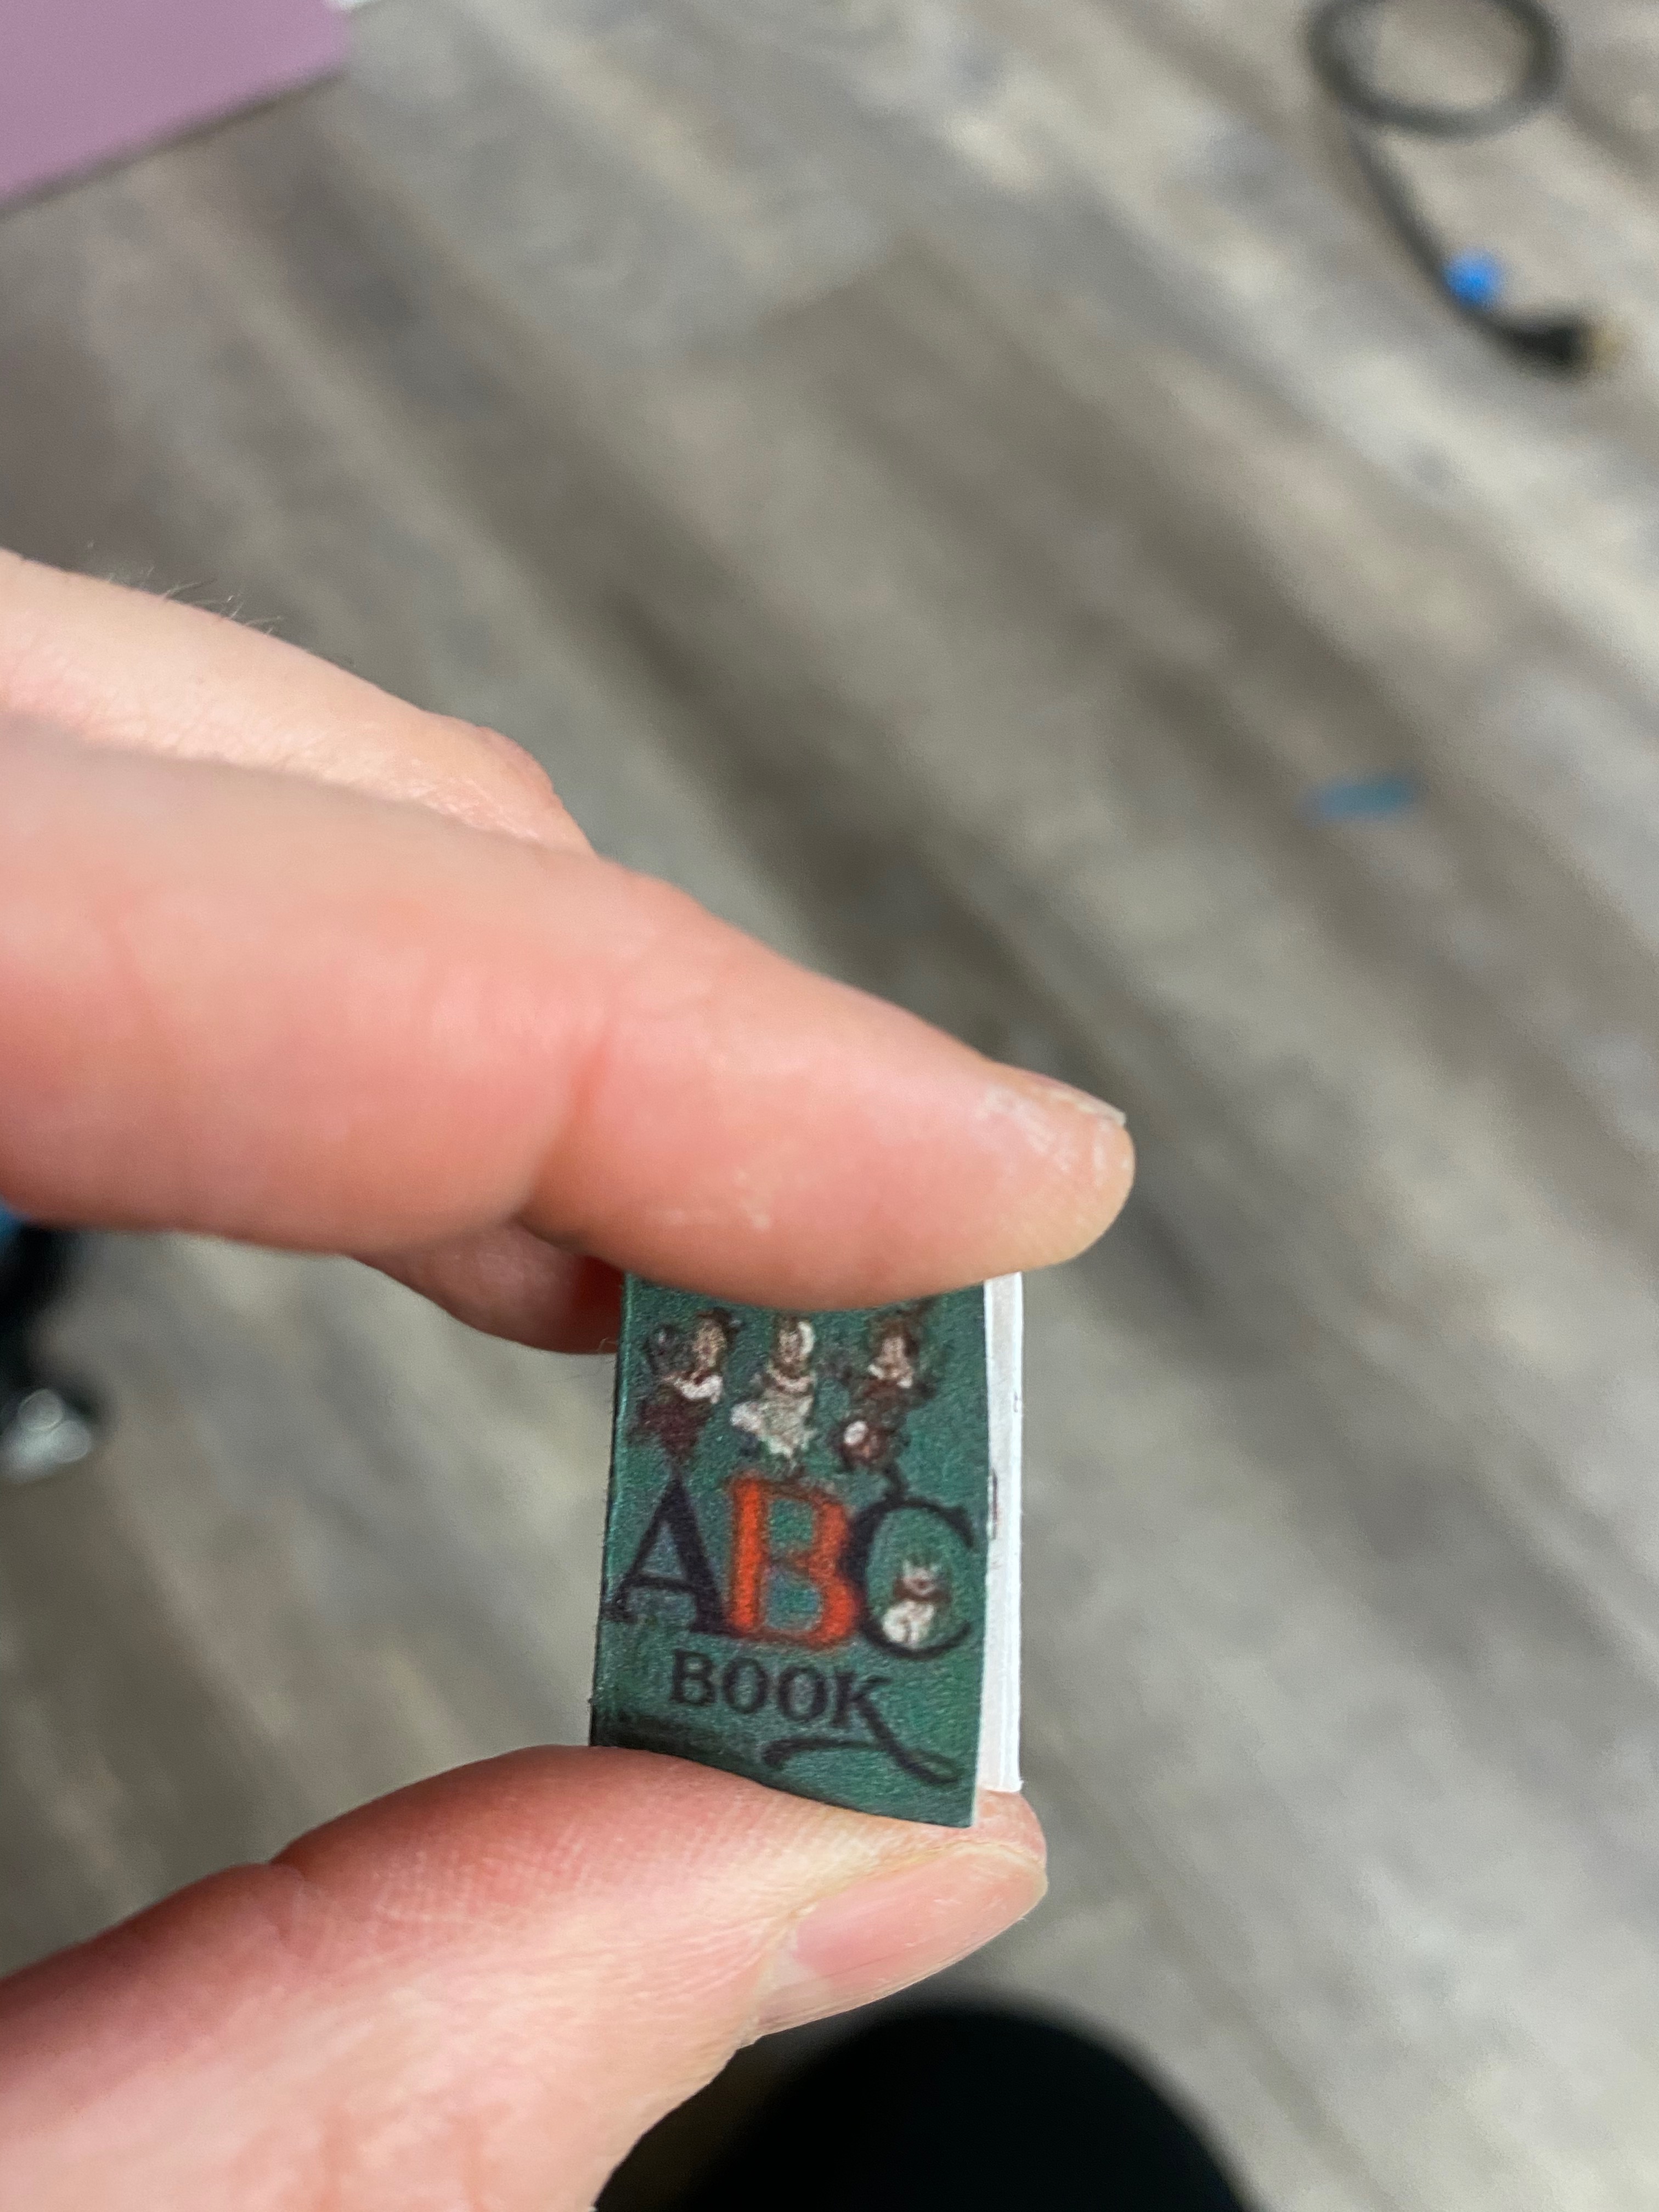
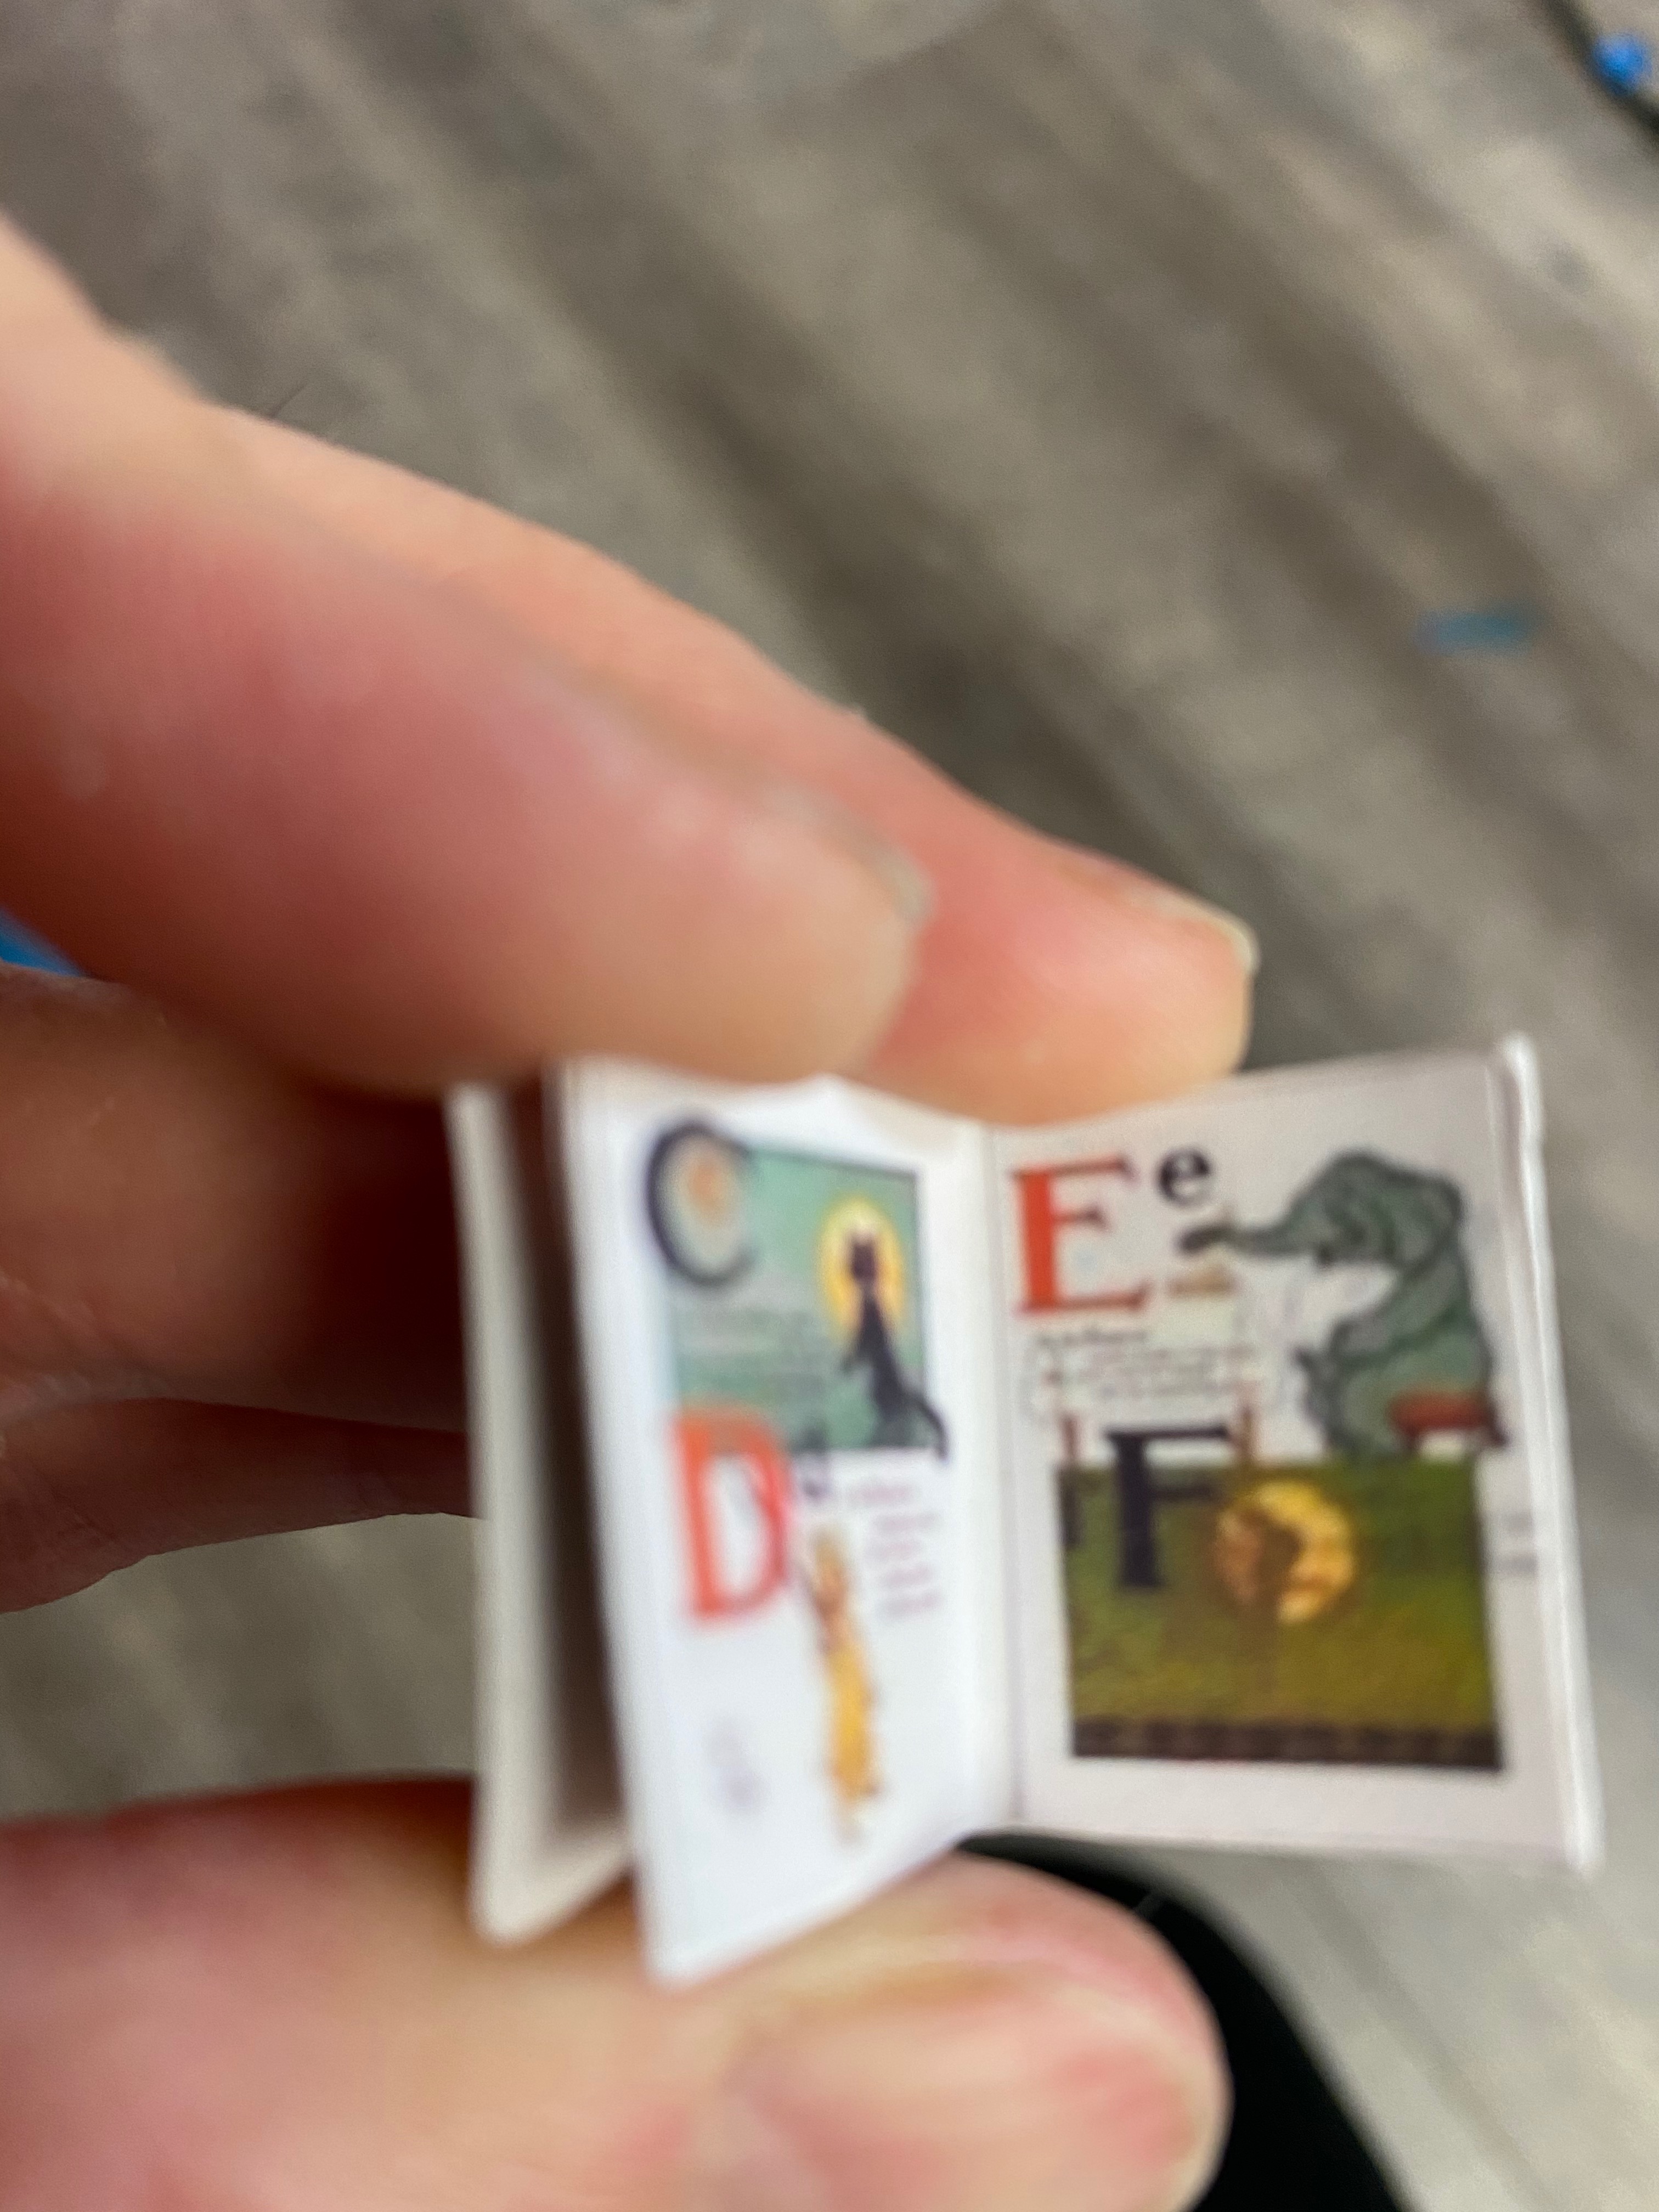
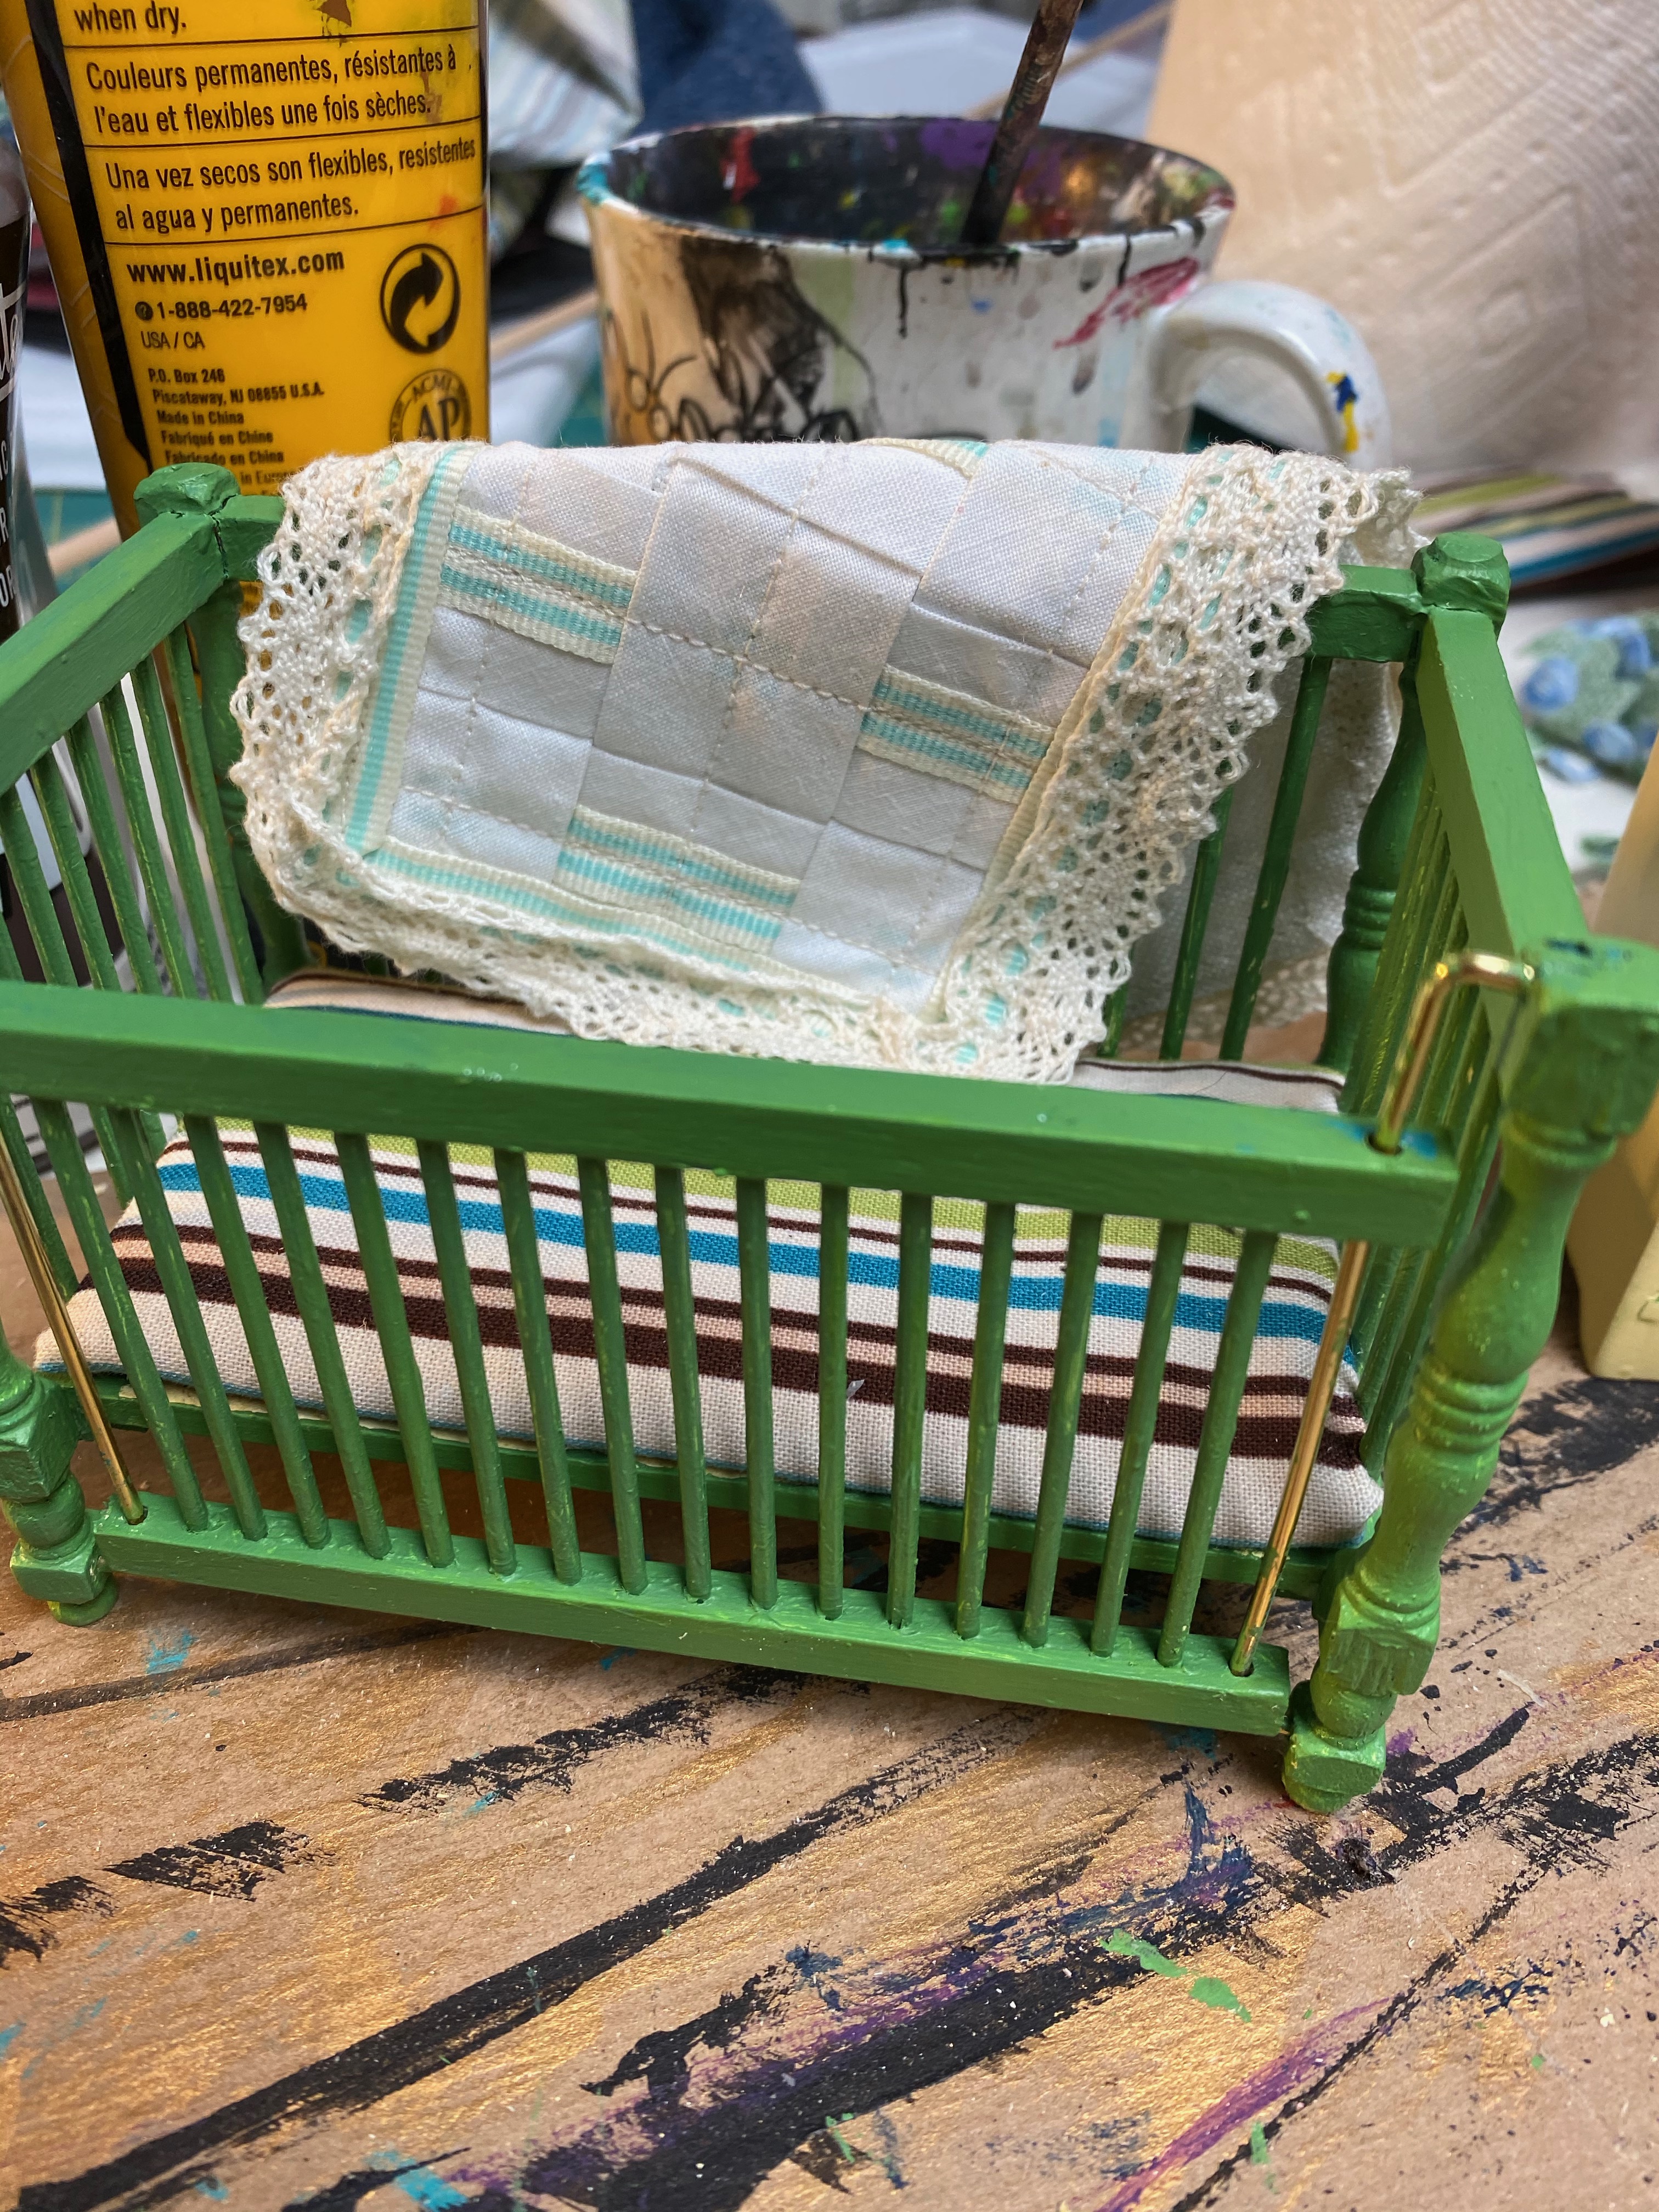
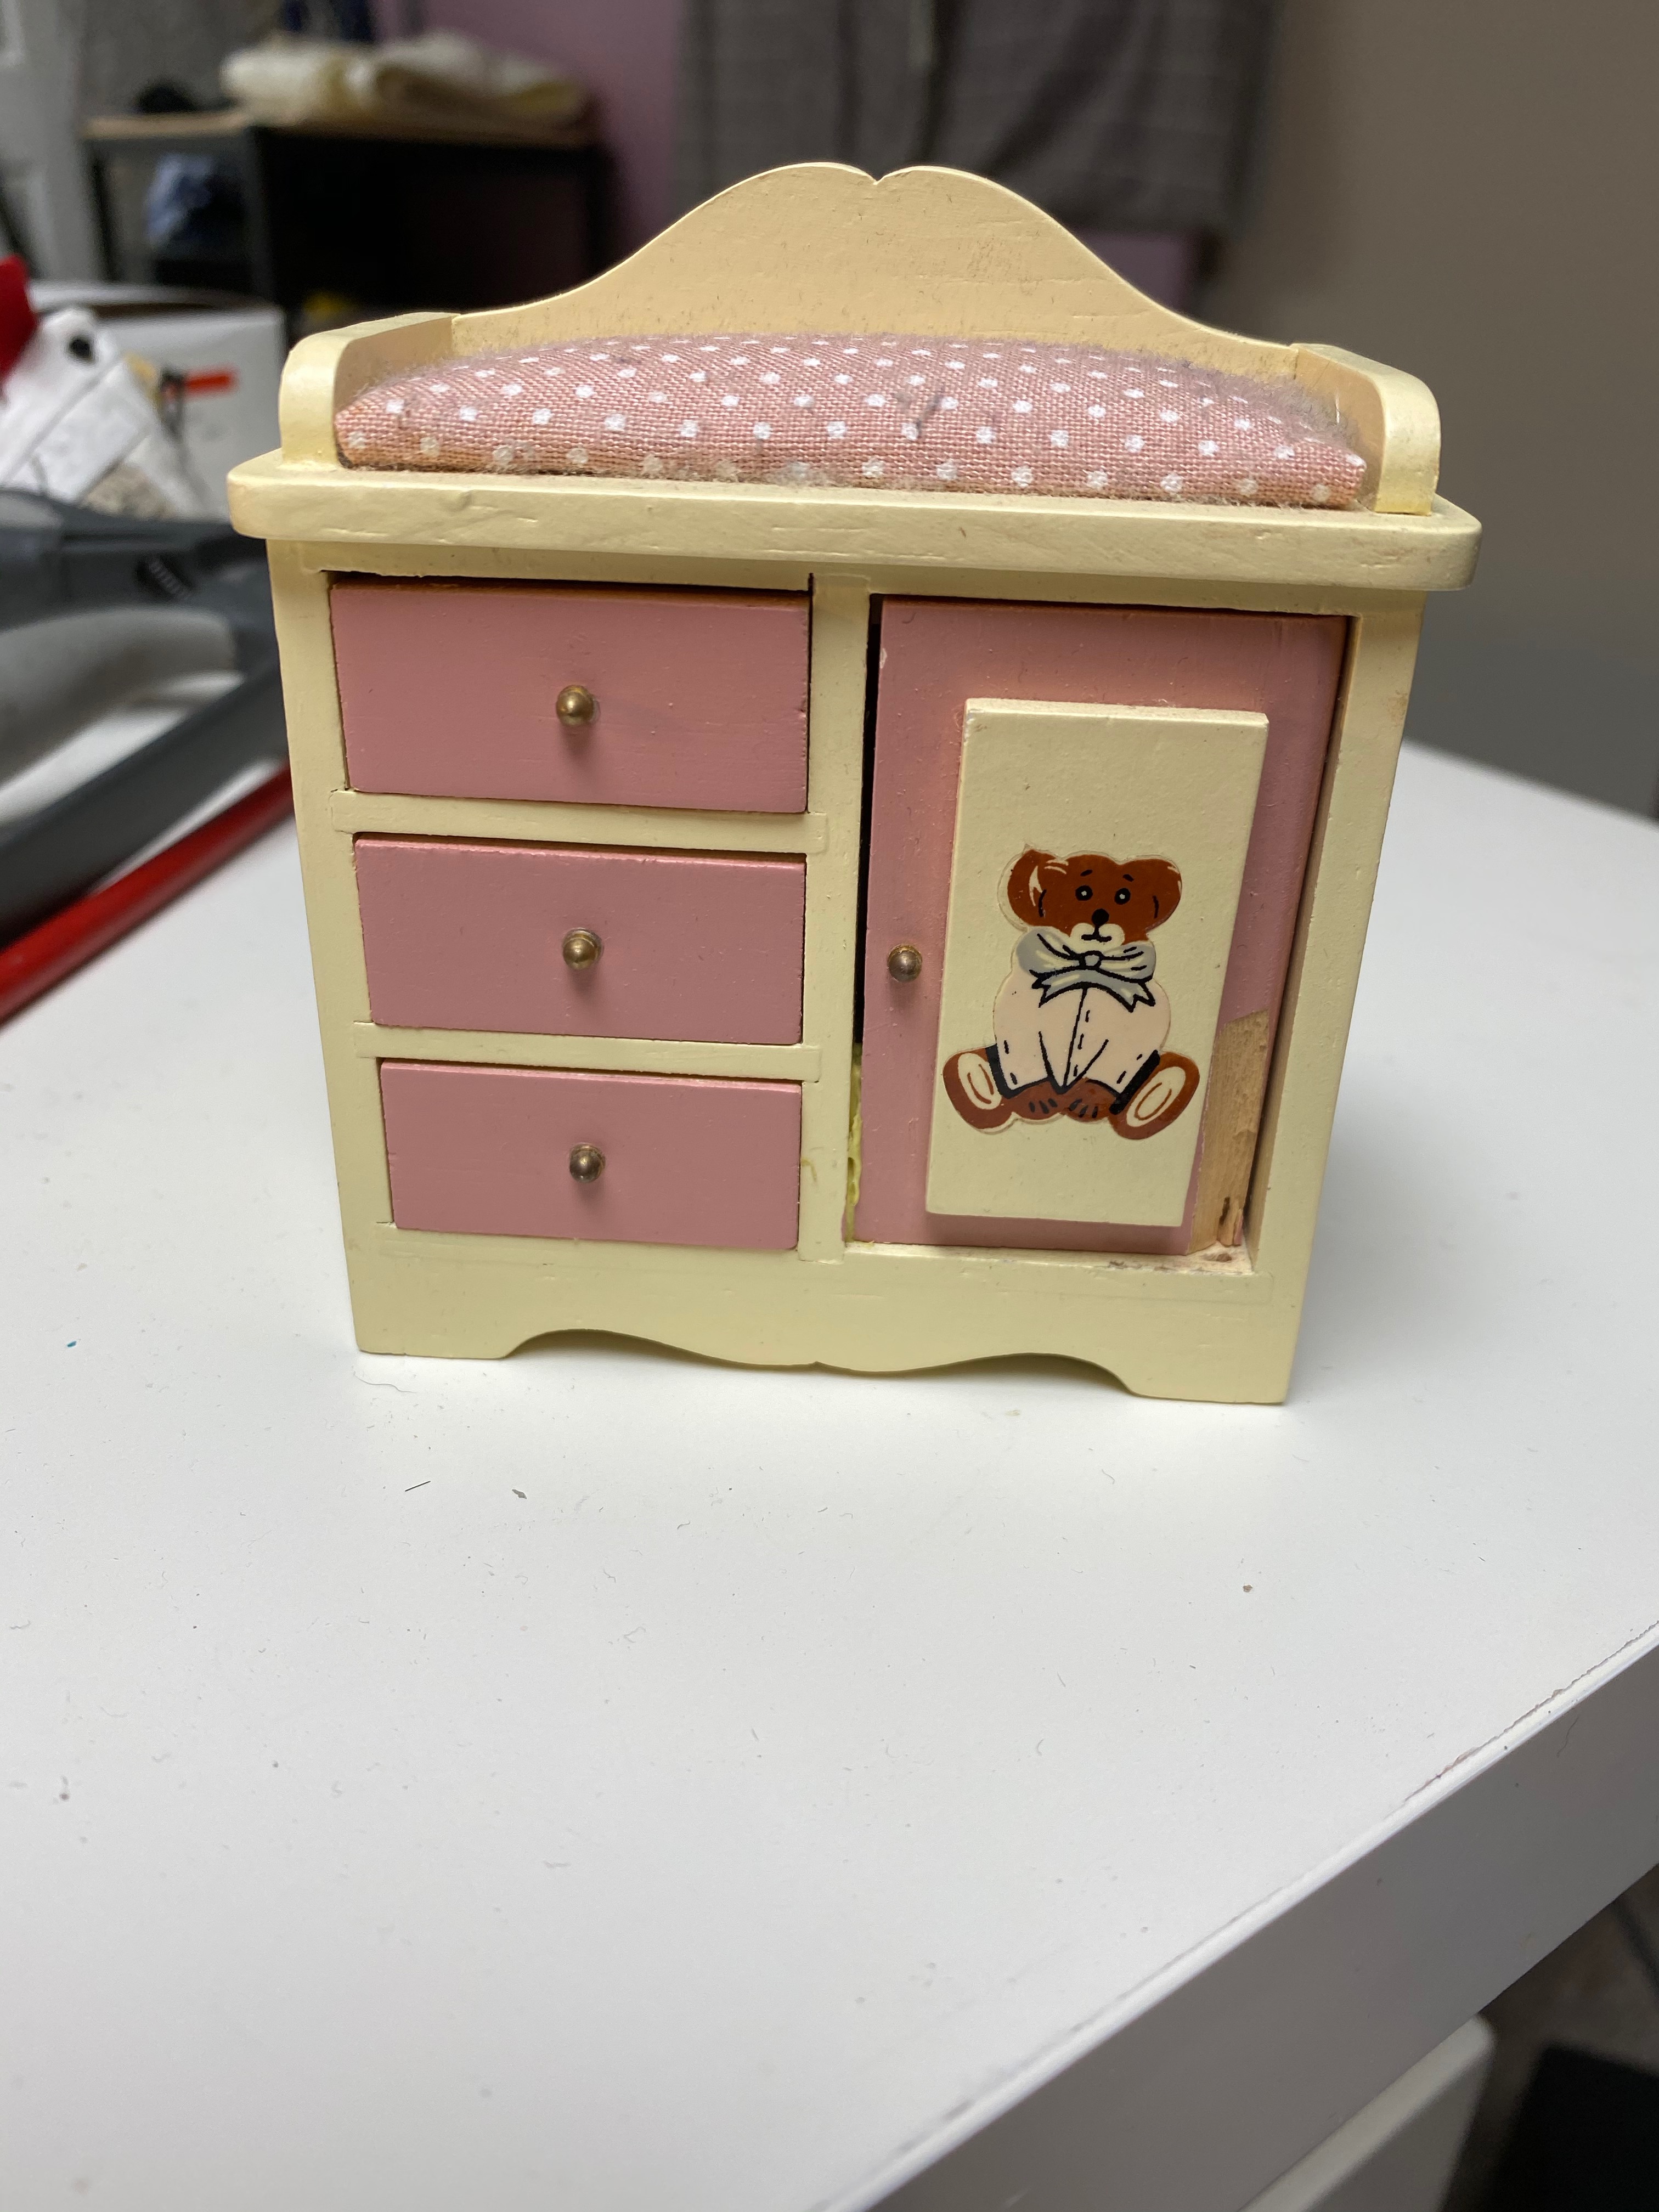
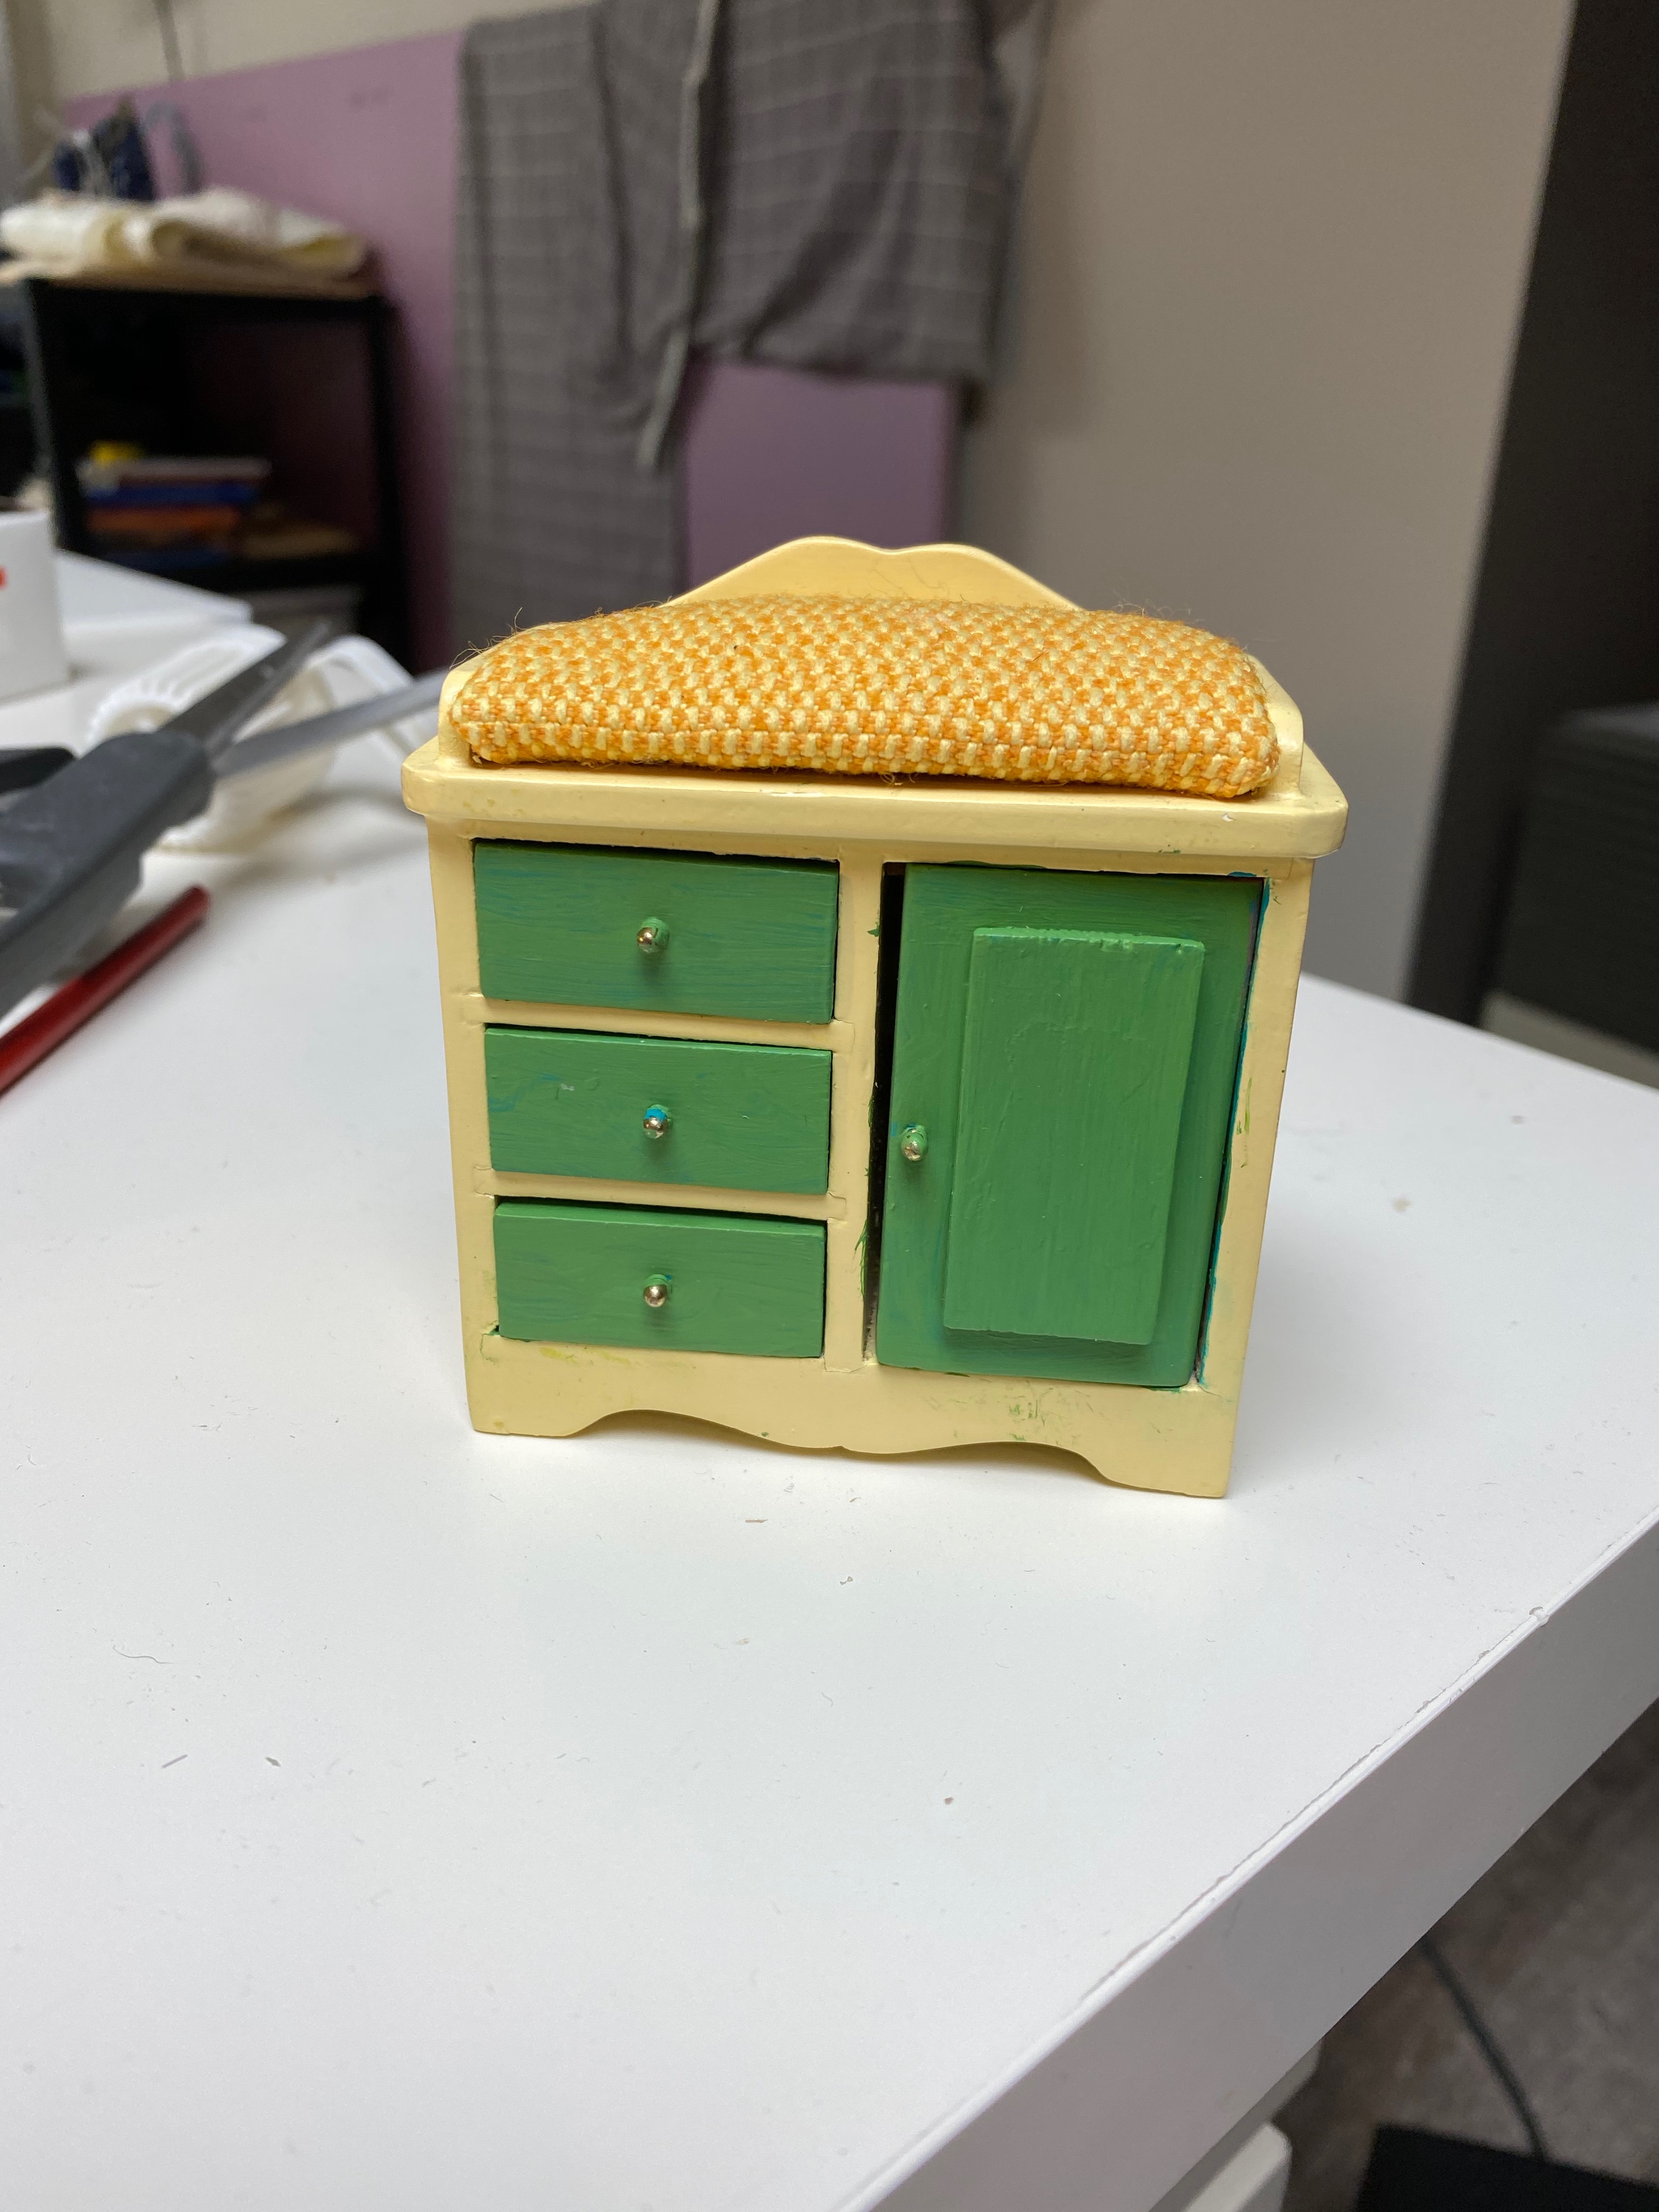
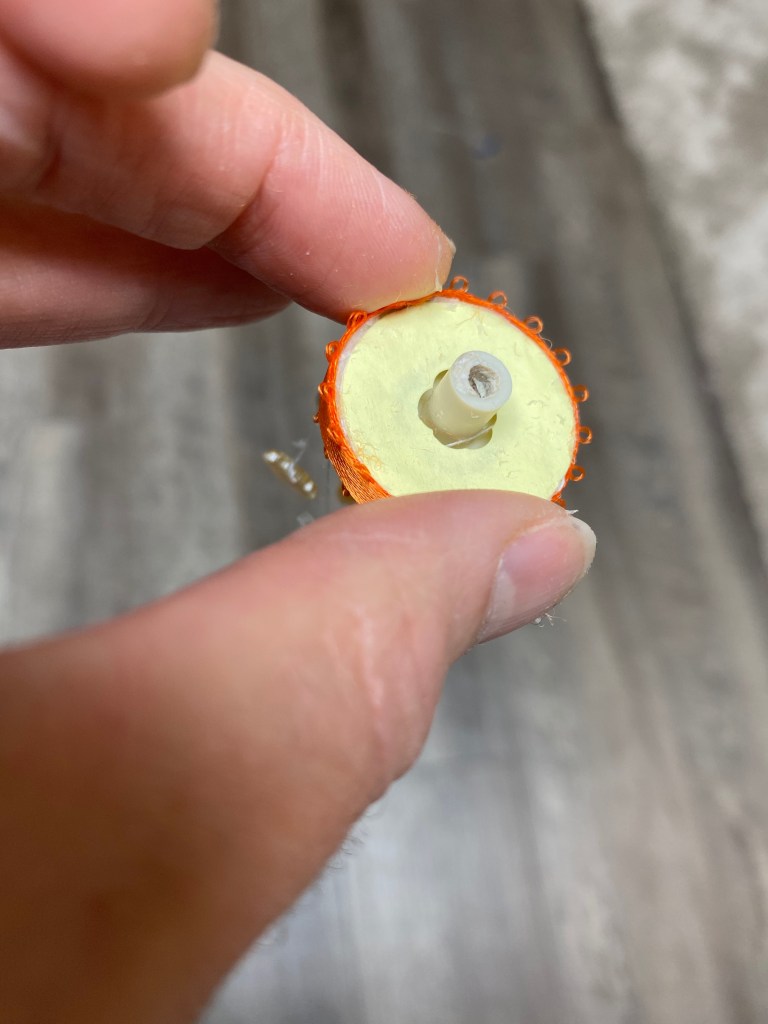
Moving “downstairs” I painted the crib and changing table, and constructed the diaper pail/trash can with a lid from a can of hairspray painted white with a black button lid and a tiny wood foot pedal. I made the nightlight with a broken globe that was just the right size to fit in a miniature lightbulb–with the broken part turned to the wall, no one will know that it’s missing a fragment of plastic! I also made the books and the prints with images on the web, sewed the mattresses and bedding for the cribs, and made a tiny sign for the laundry chute door..
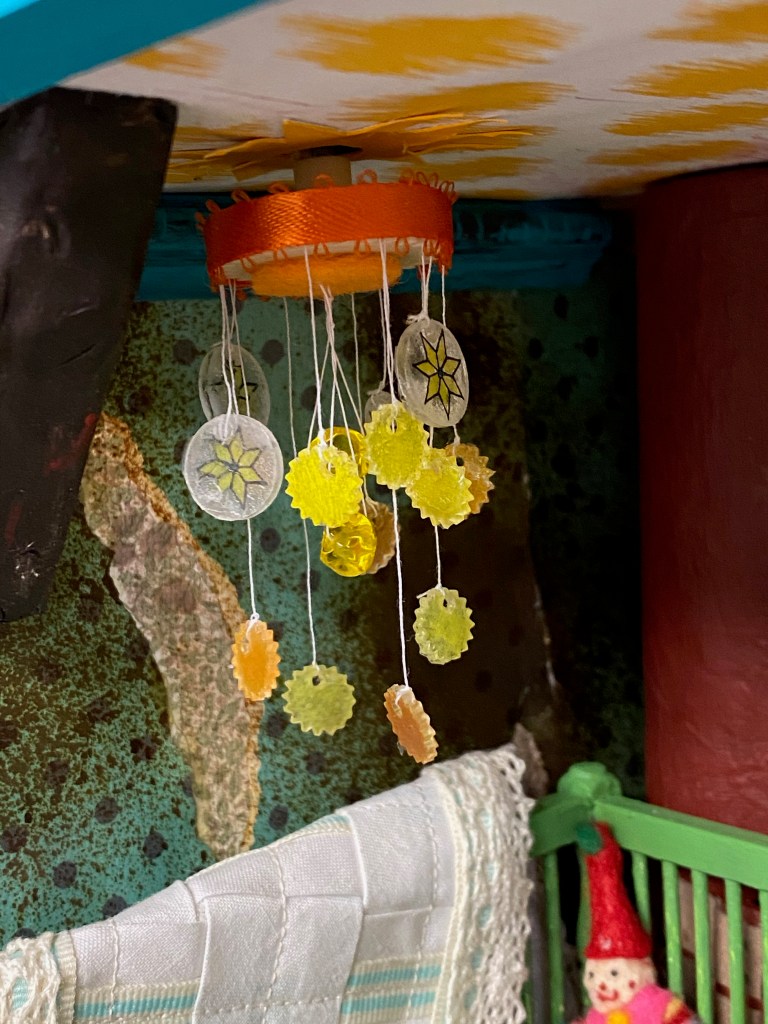
And now for the surprise! I made the mobile above the crib with Shrinky Dink plastic, drawing stars and suns on the plastic and shrinking them in the oven. I then attached these little charms to a gear that fit perfectly on to a wind-up music box I had in my stash.

I cut a hole in the floor of the loft and inserted the music box, attached the gear on the ceiling side of the nursery, and hid the entire contraption with the large diaper and wipe boxes in the master bedroom.
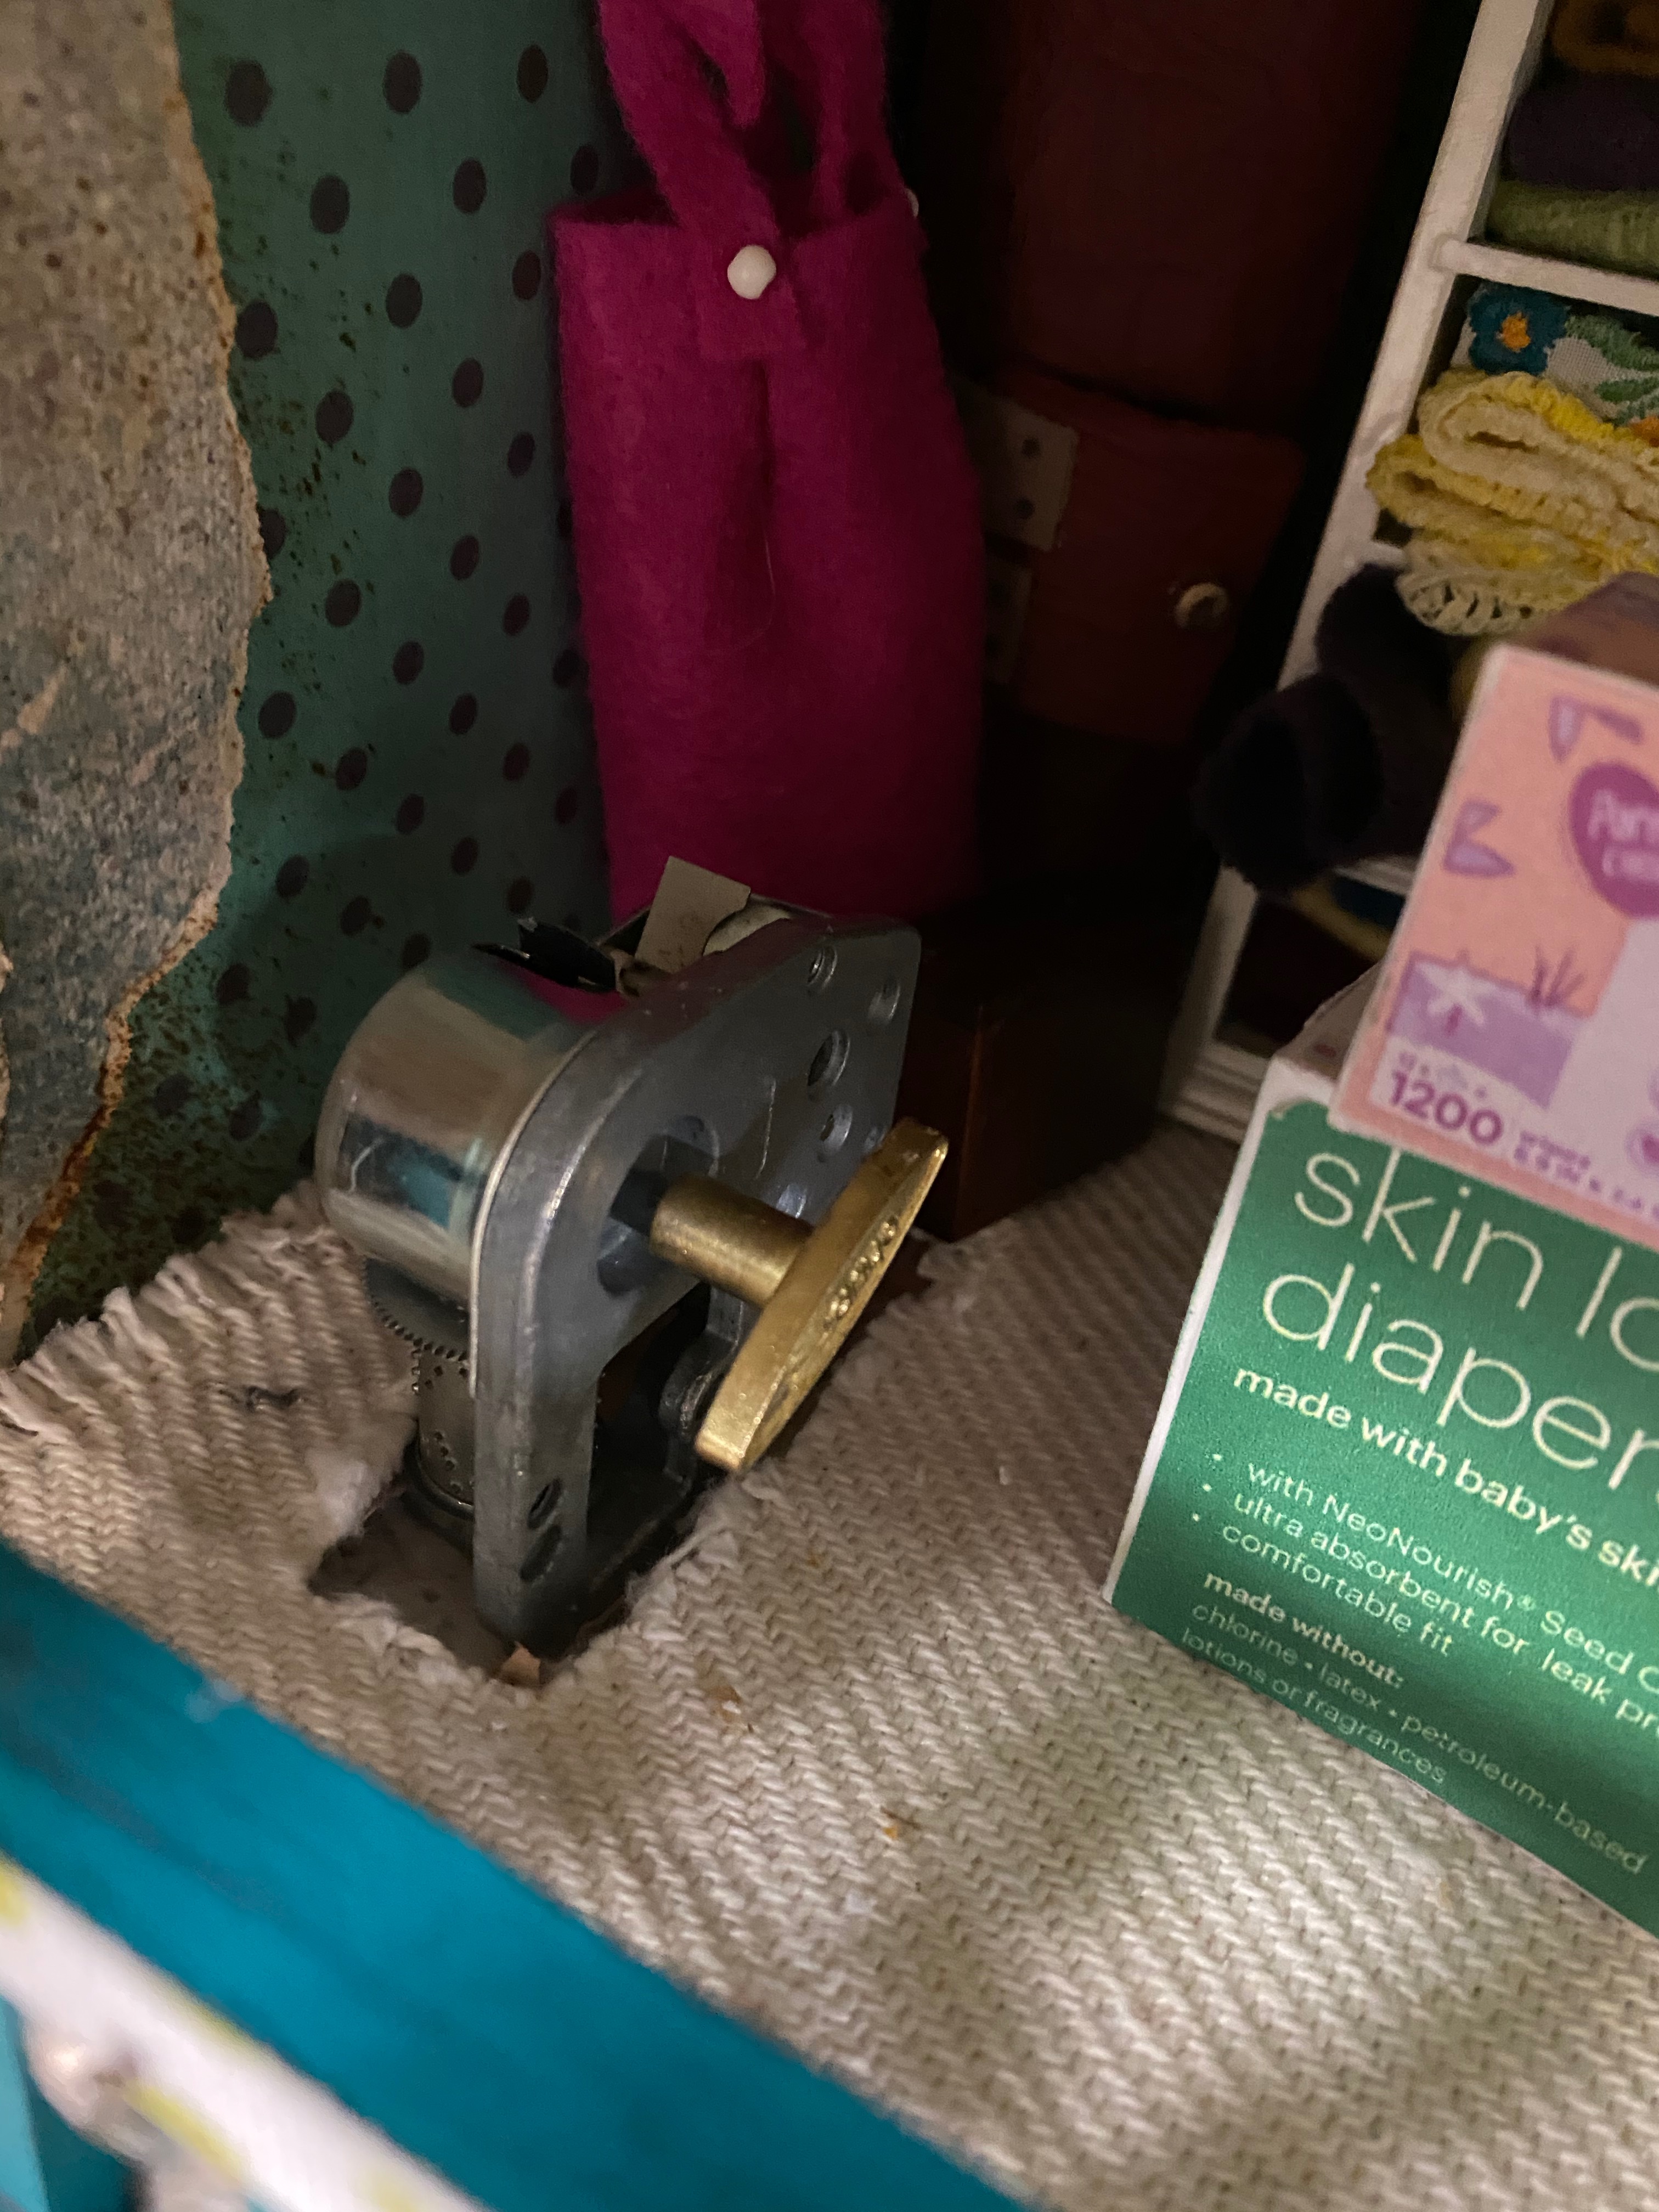
SURPRISE!! I can lift the boxes, wind-up the music box, and the gear rotates the charms on the mobile as it plays “You Are My Sunshine”!
NOTE: I so want to include a video of this here, but I guess I have to “upgrade” my plan to put a video on this blog. Just sing as you read this and imagine the mobile turning slowly above the crib.
If we were not in the middle of this Covid-19 pandemic, I would try to figure out how to motorize this mobile electronically. I think it would be fairly easy, but I don’t want to go to the hobby/model stores and spend a lot of time with others learning how to do it. Maybe I’ll motorize my next house (!?!!)