The area I just tackled in the Mouse House was the “children’s” bedroom. Here’s a shot of the basic room after I finished the electrical wiring. I added a loft to increase the space just like I did in the Master Bedroom/Nursery.
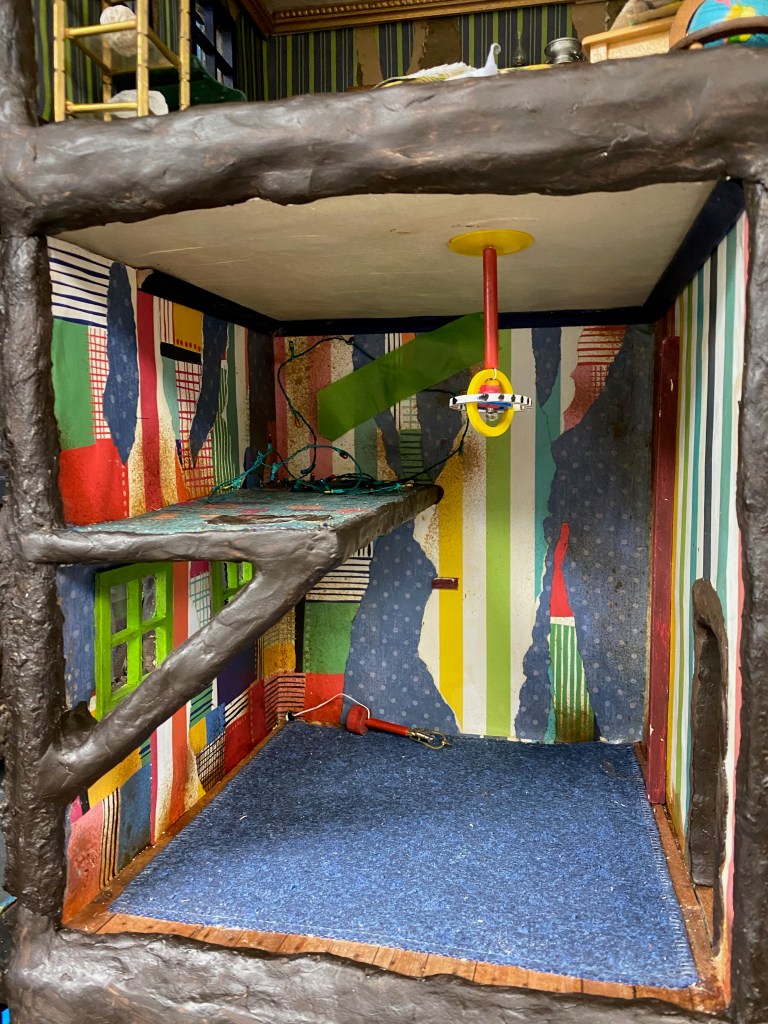
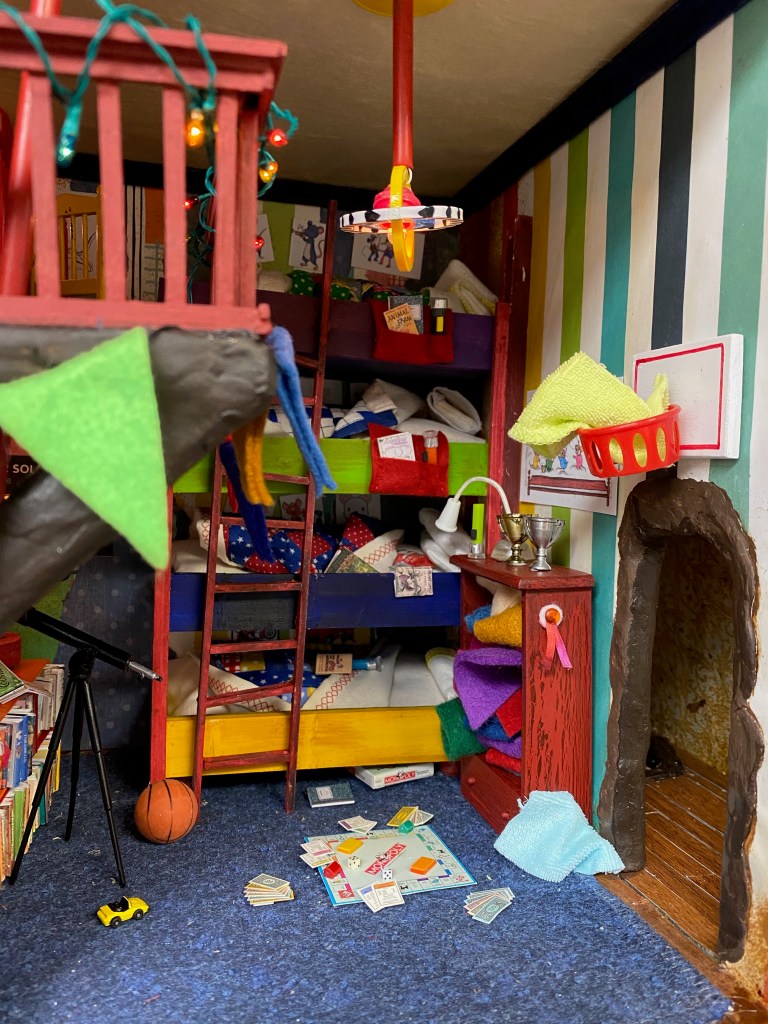
And here is a photo of the completed room:
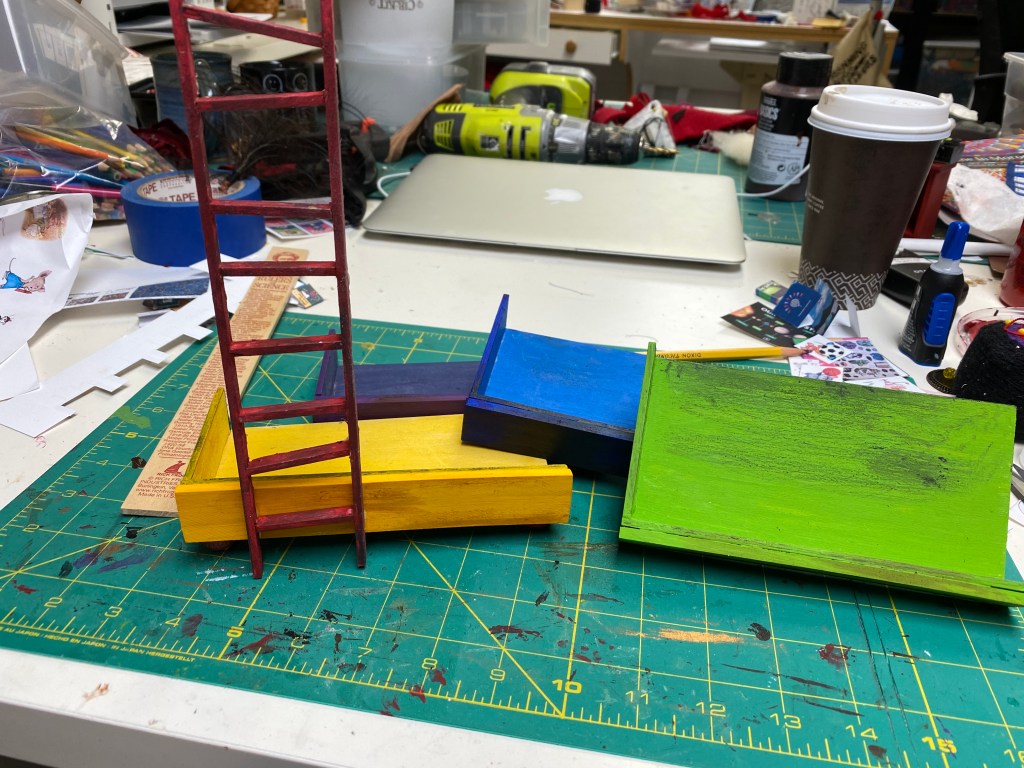
I started by building the bunk beds. I knew I’d need a lot of sleeping areas (they are “prolific” mice, after all!) so I decided to build four beds on the back wall. I built four frames then attached them to a primitive ladder I constructed out of balsa wood.
I then tackled the mattresses. I know it is ridiculous to make things that aren’t even visible in the Mouse House, but for some reason I wanted the bedding to be completely authentic. While the sheets, pillowcases, pillows and quilts were actually pretty straightforward, making the mattresses was a true war.
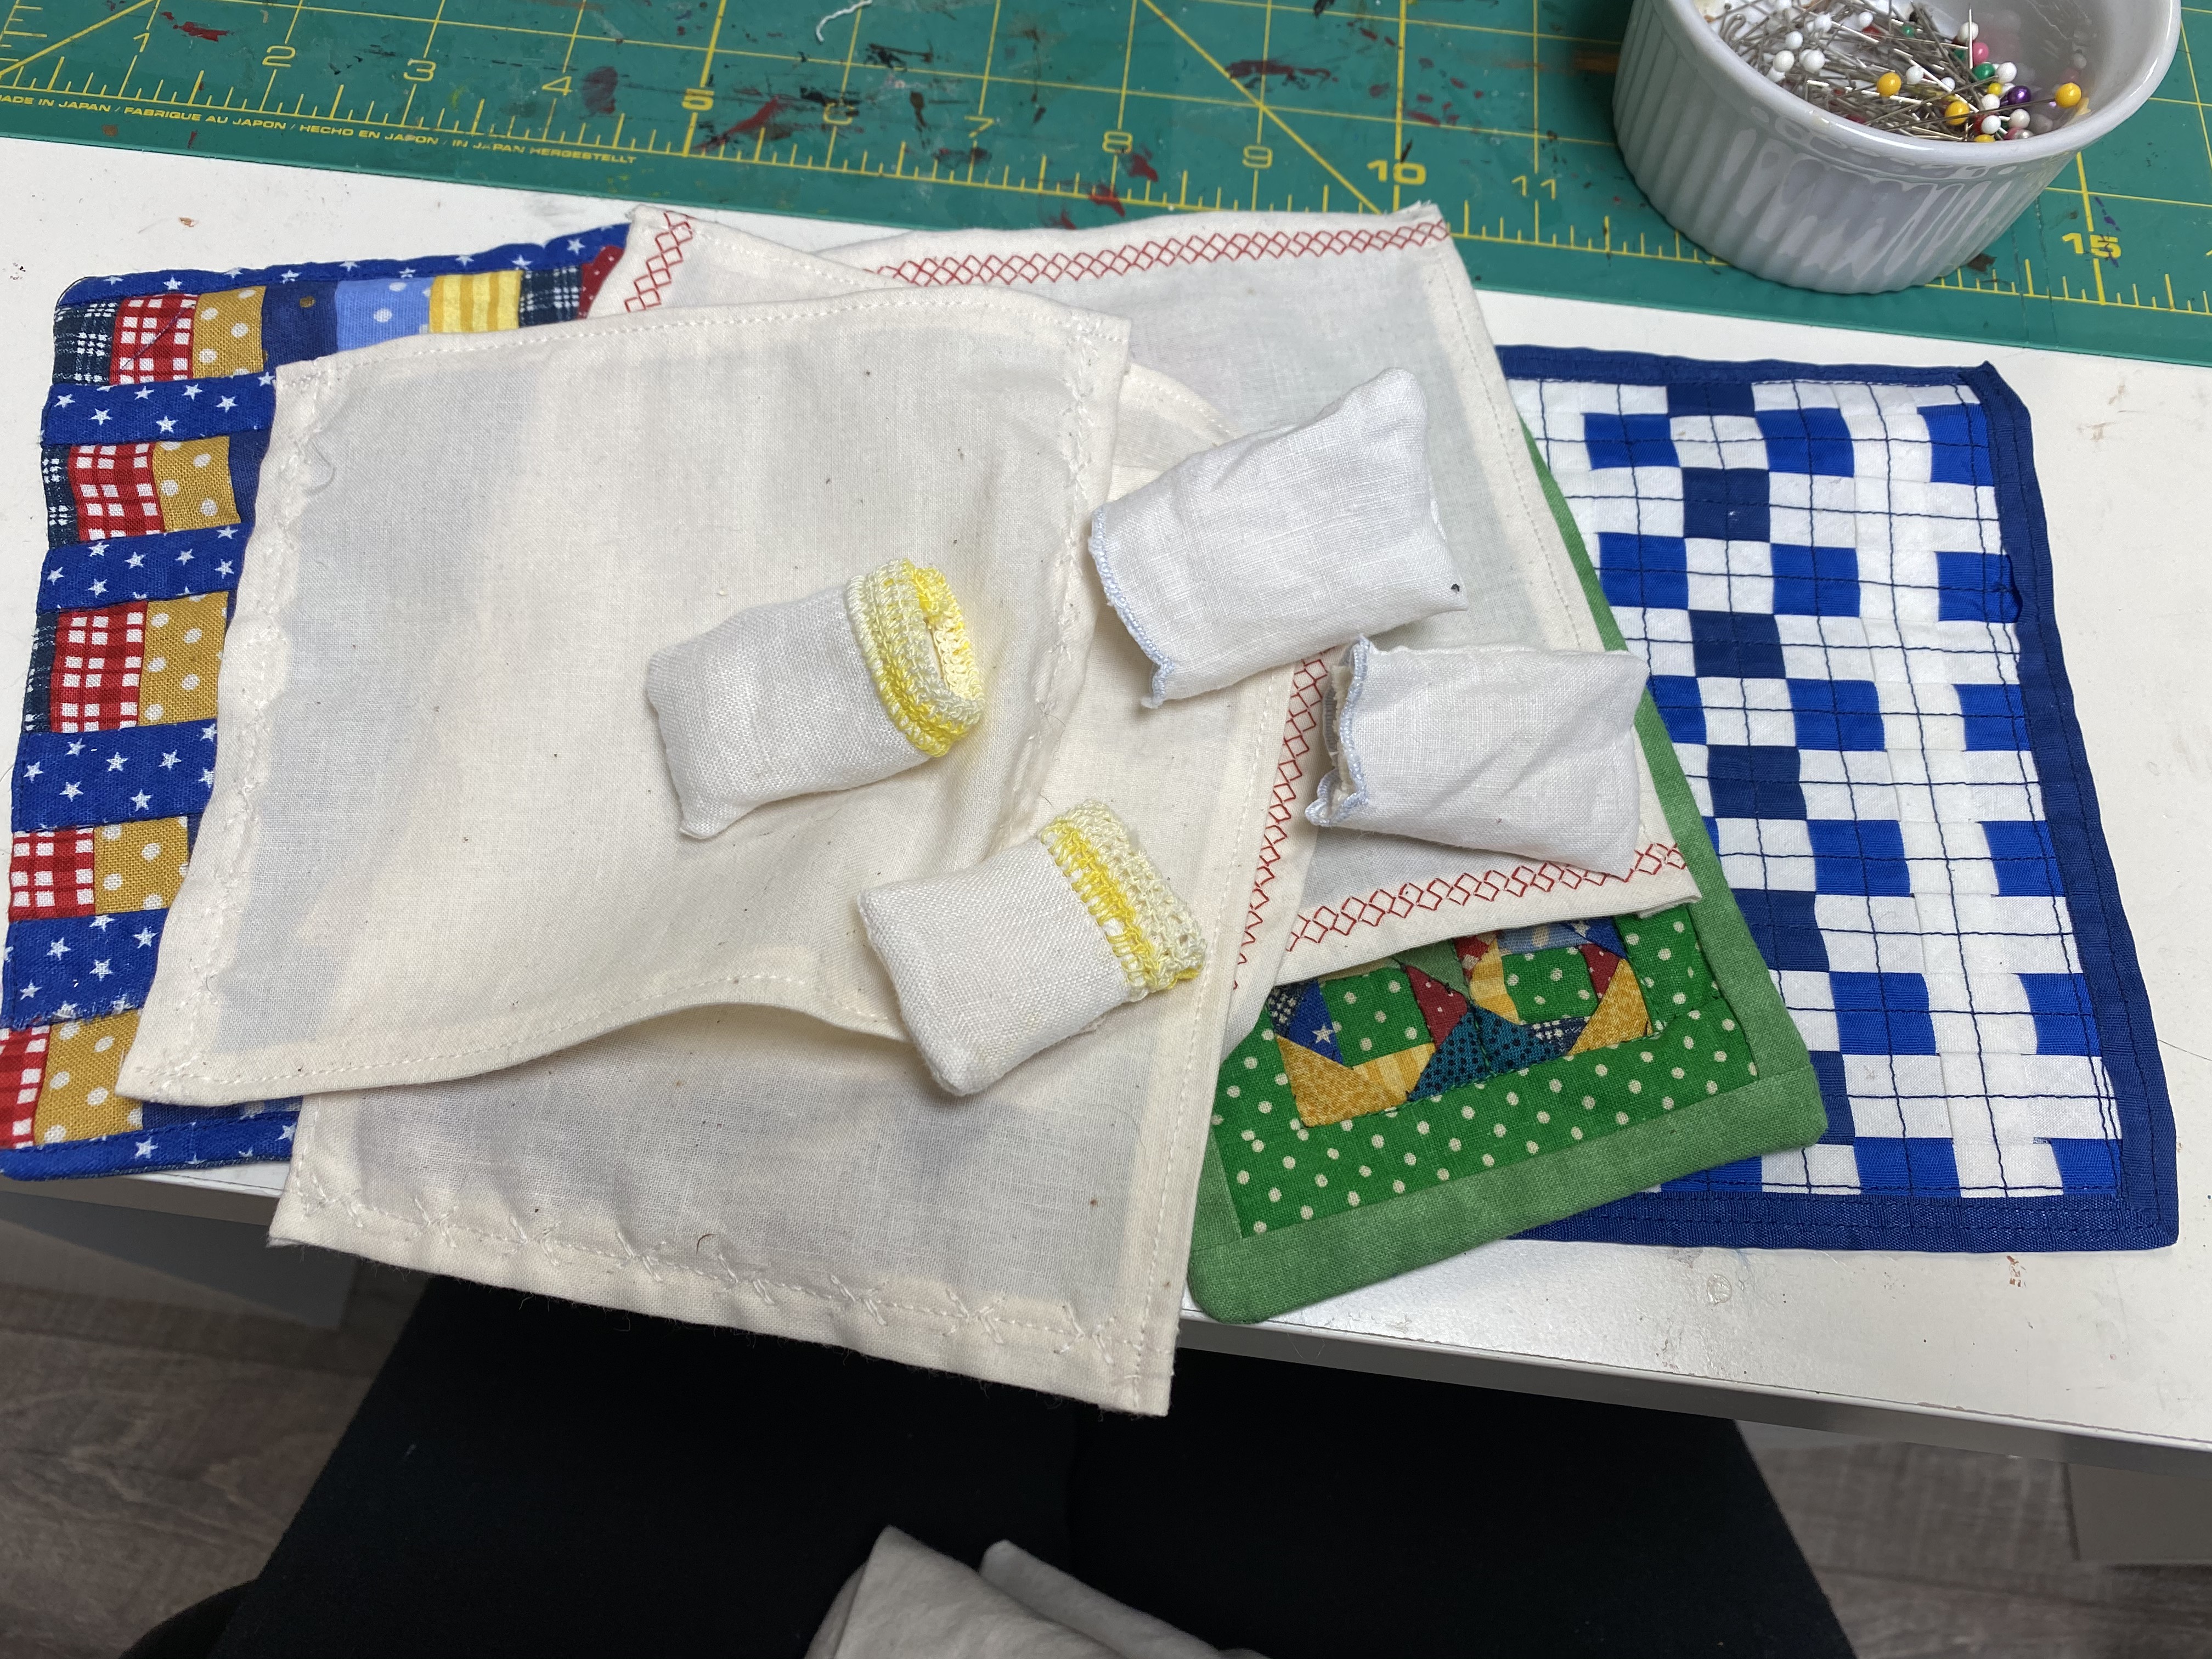

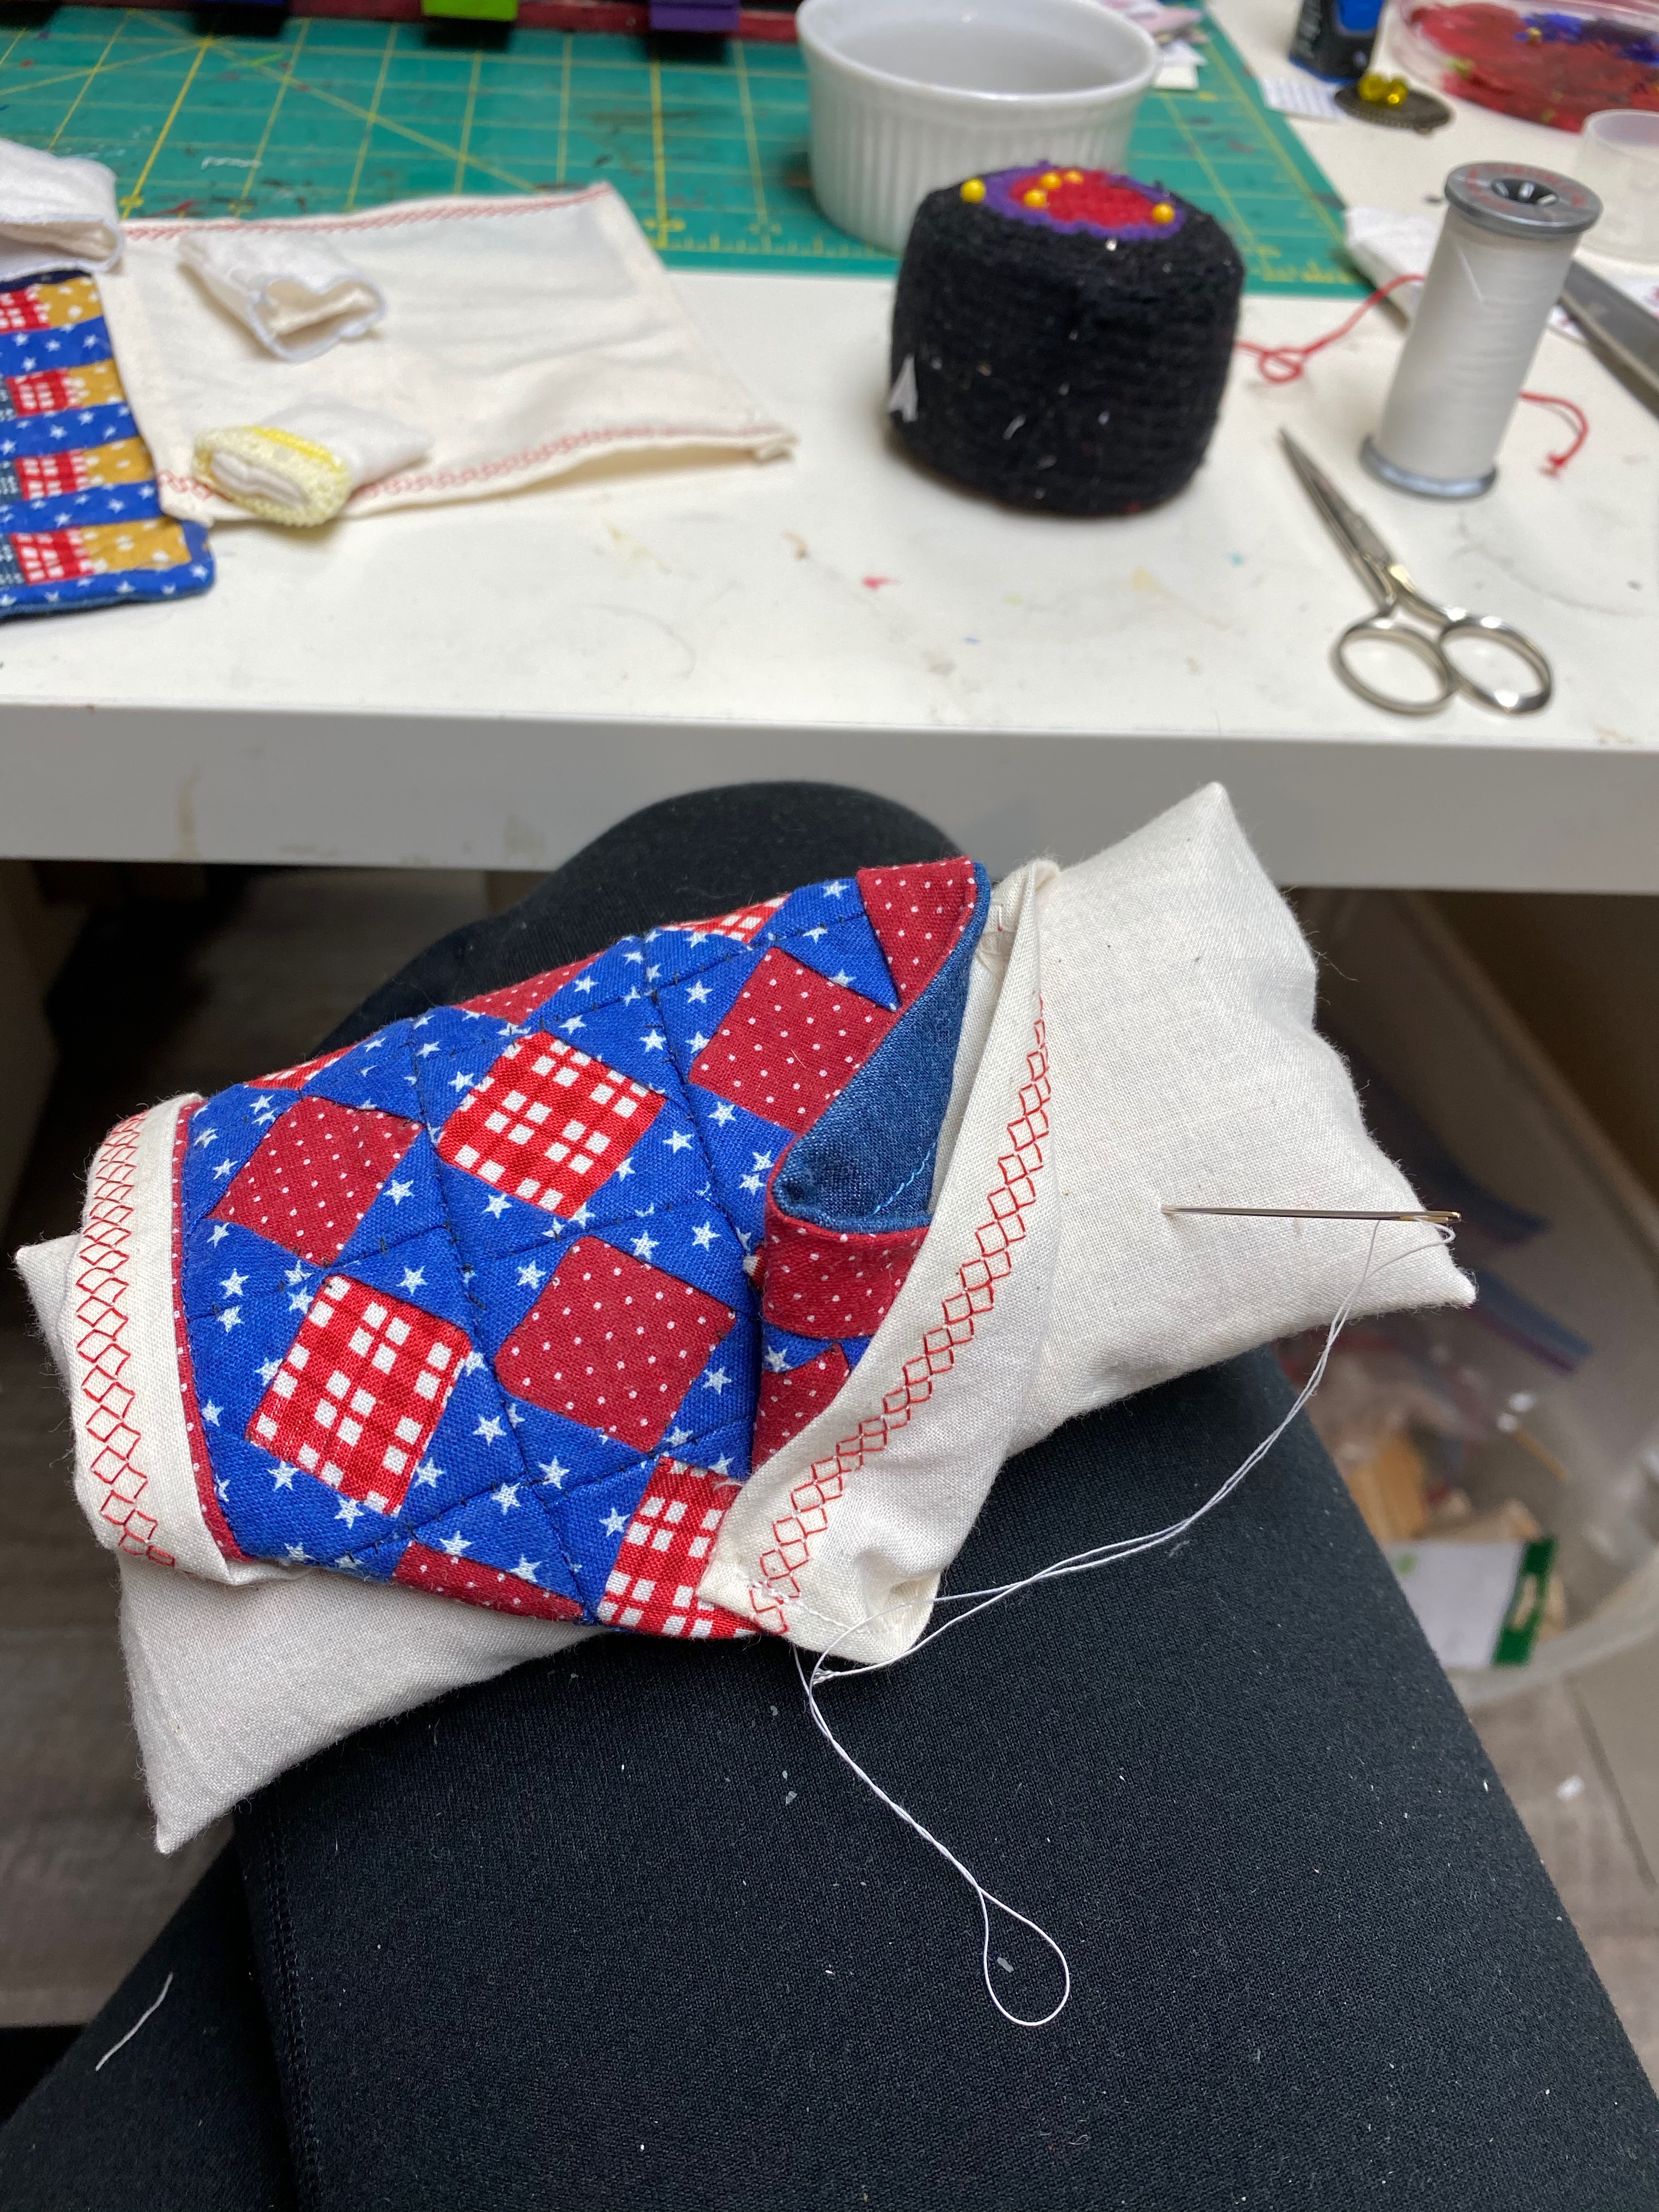
The complication was the mattress “filling”. Once again I didn’t want to head to the store for foam padding, a decision that in retrospect would have been much easier. Instead, I decided to fill them with the teeny tiny styrofoam-like micro beads I found in the bean bag pillow in my son’s room. (He’s gone–grown up and with his own place. Slicing open his pillow seems justified to me!) Anyway–those little balls went EVERYWHERE! And the stuck to EVERYTHING! It was quite the mess.

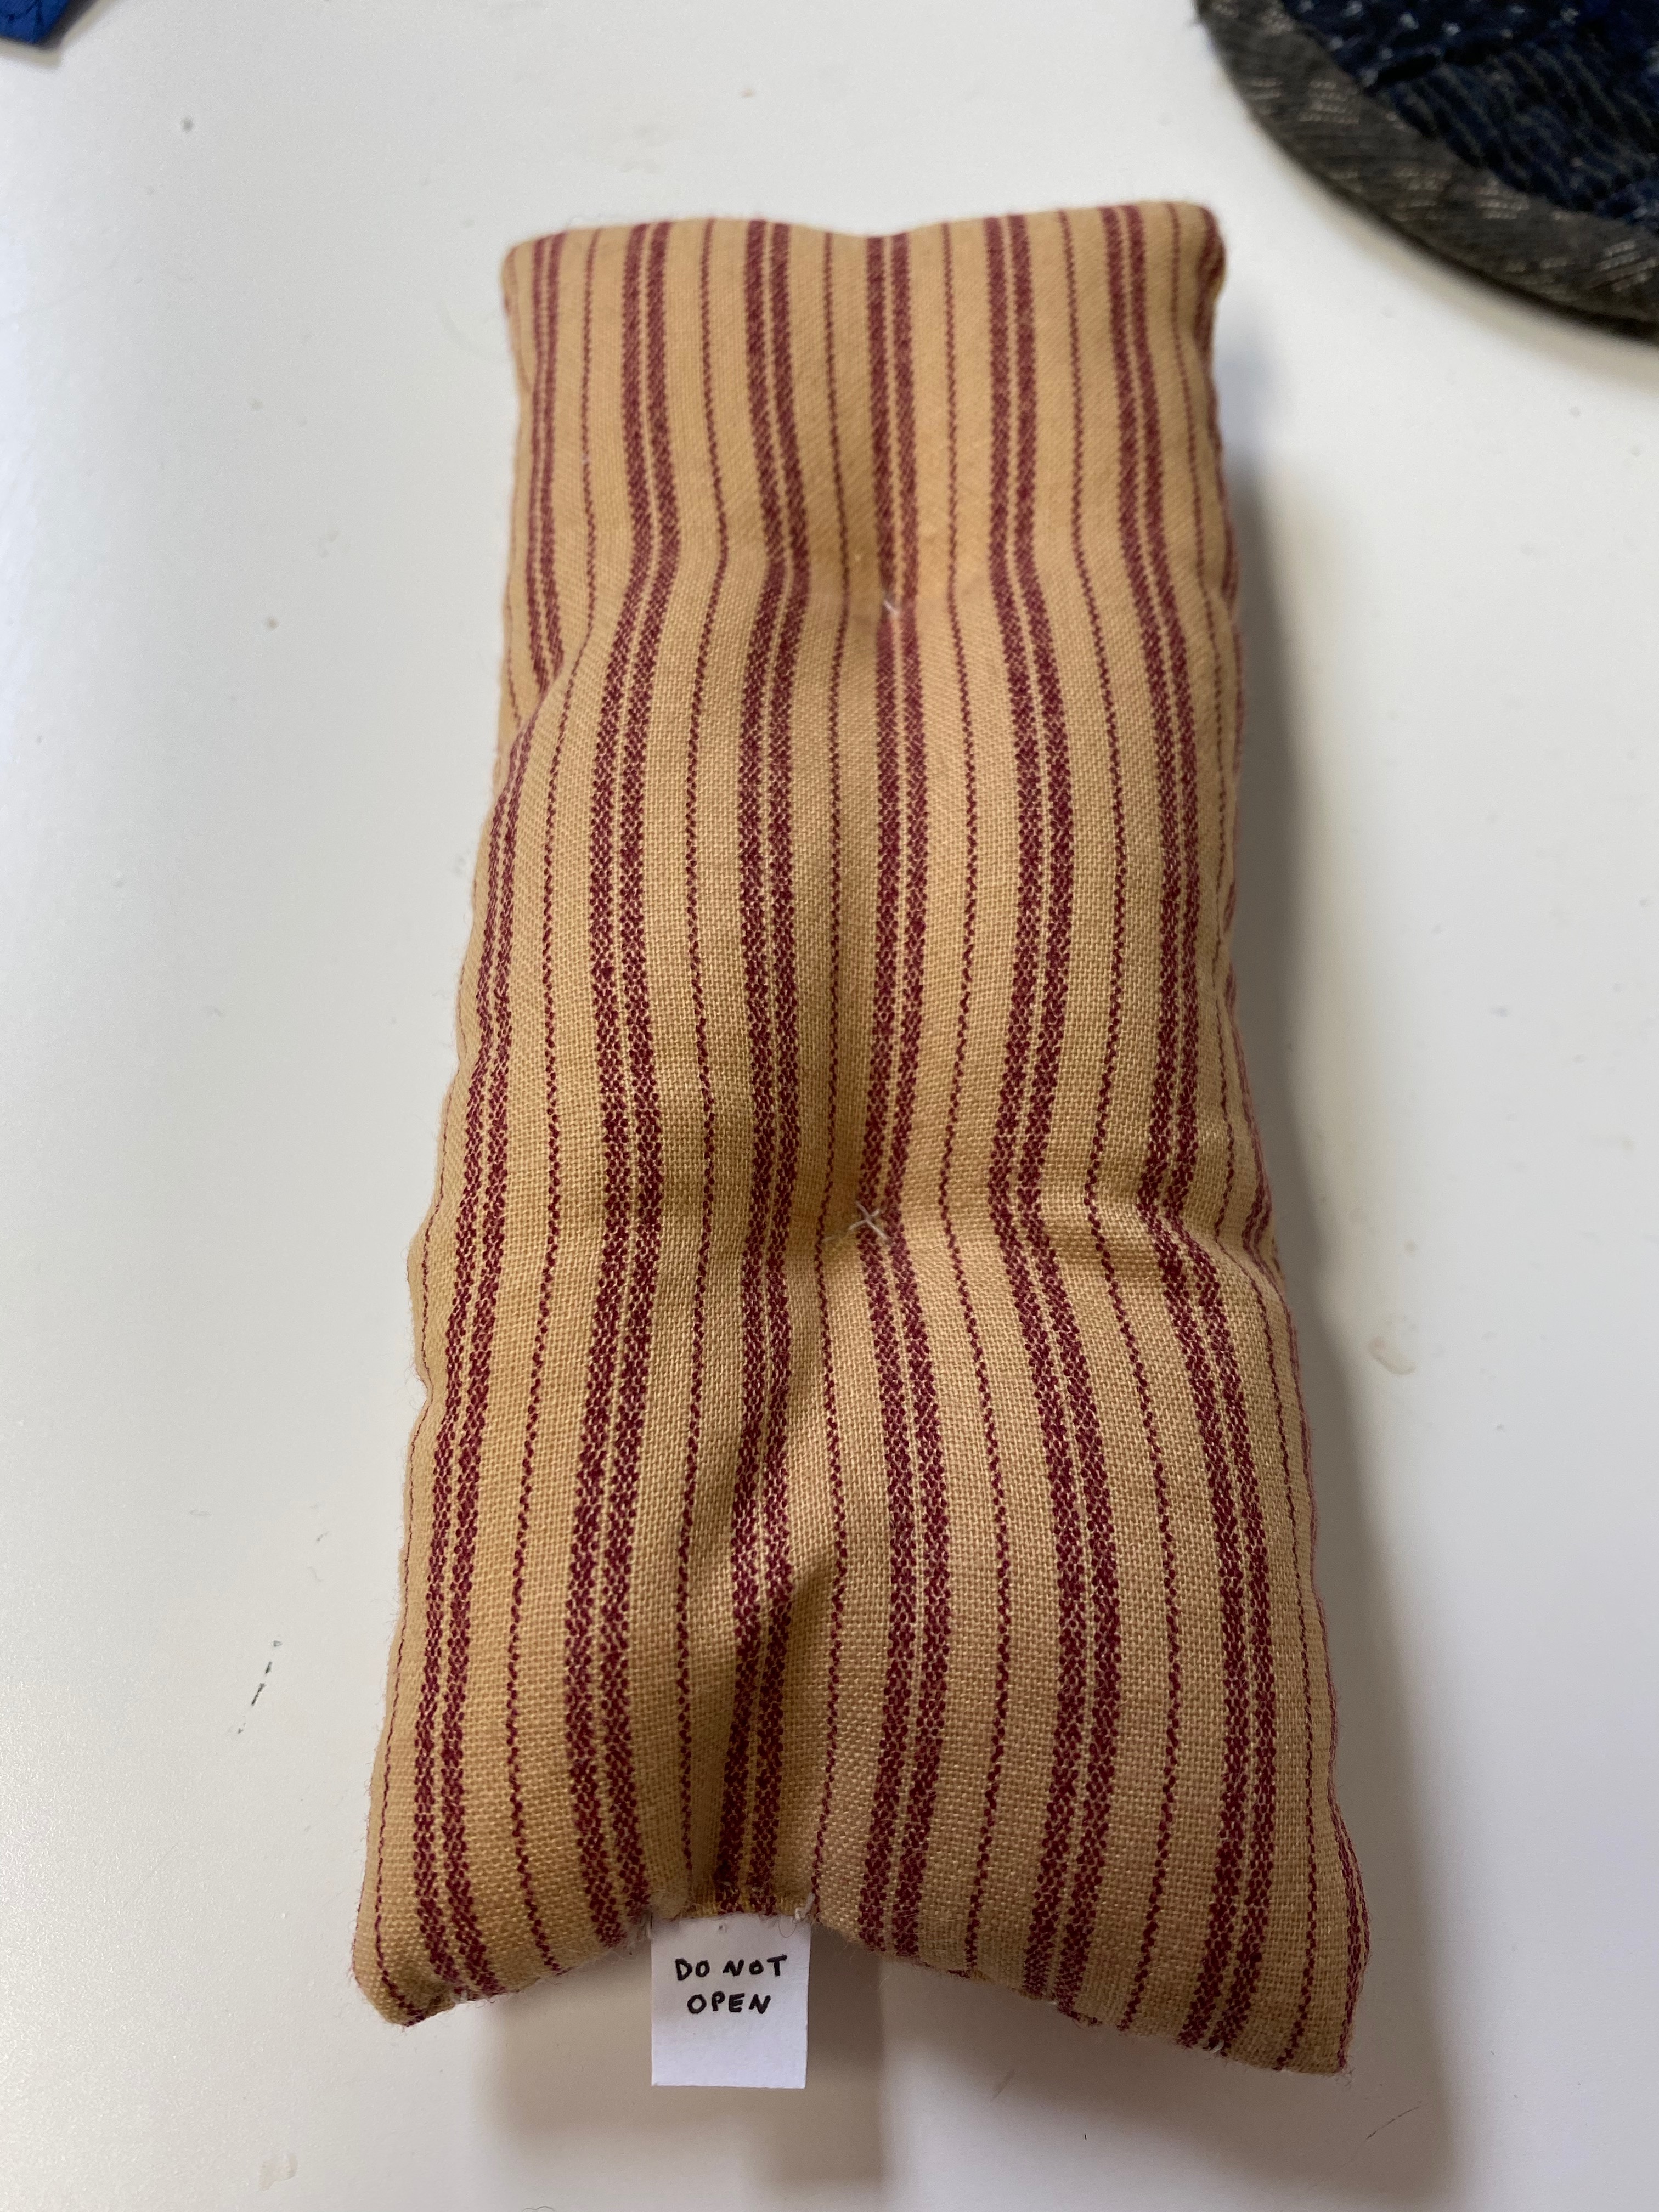
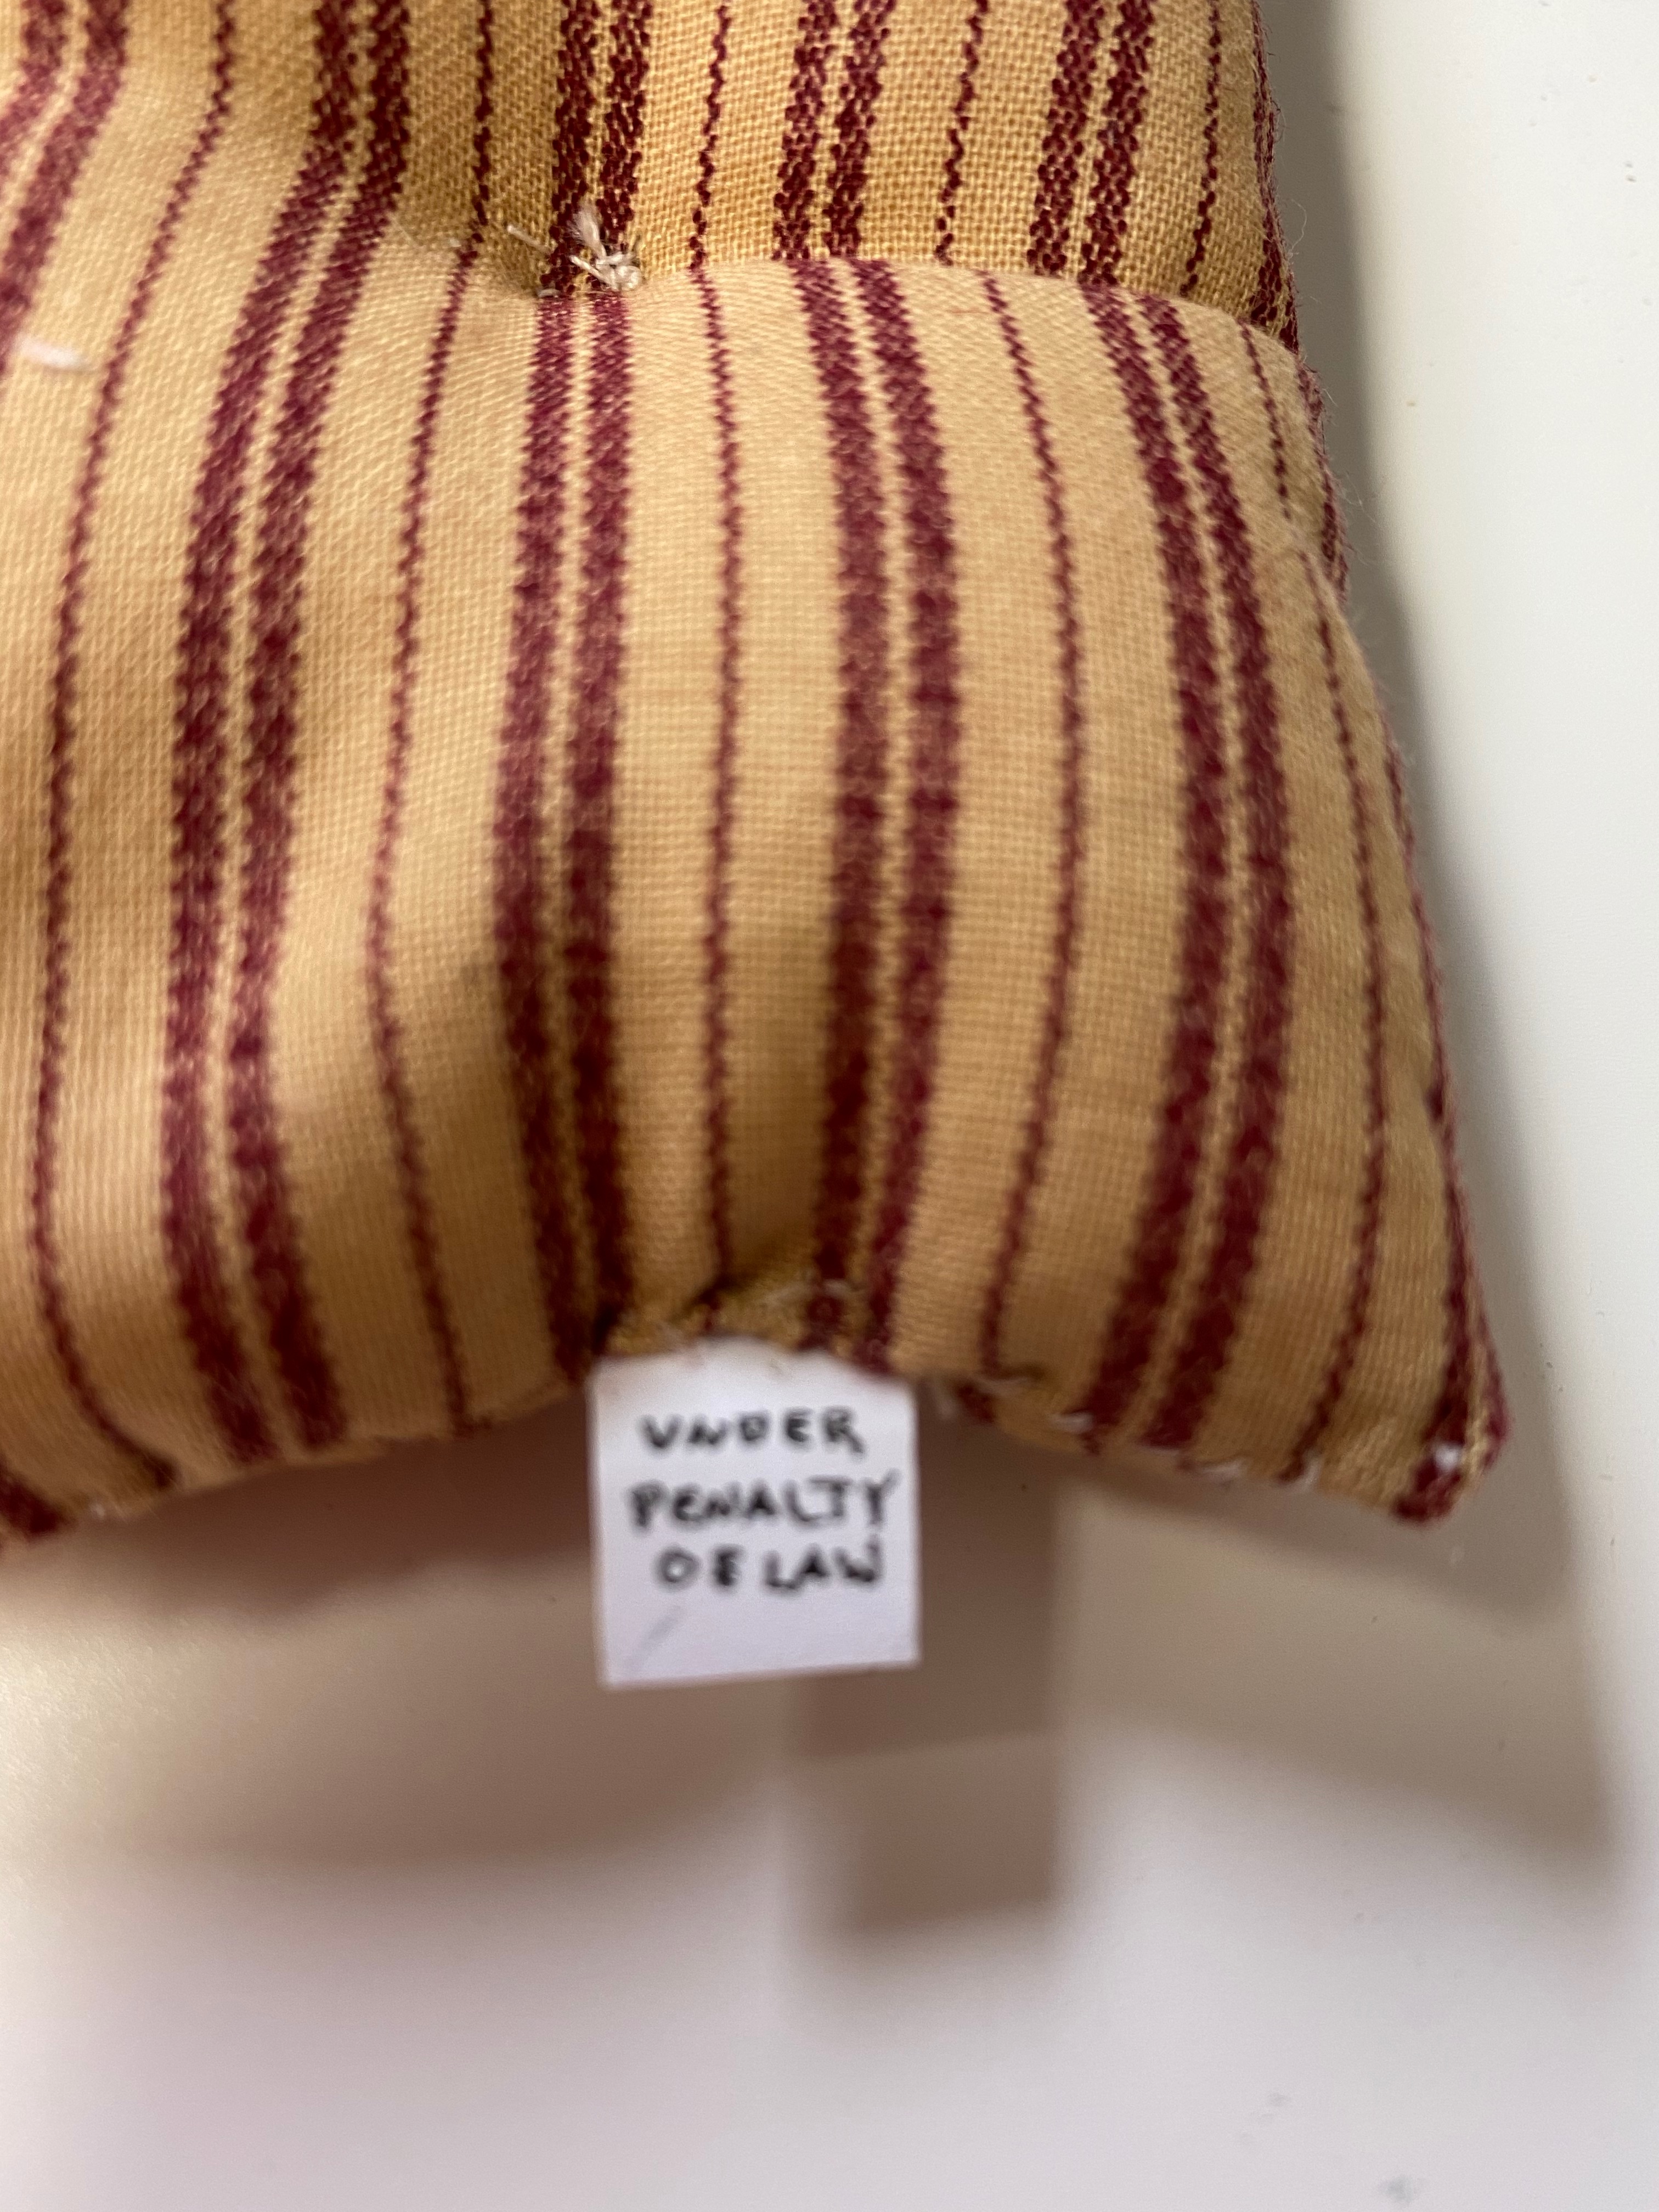
Sooo….after quickly learning that this project required precision, a steady hand, a funnel and then a lot of vacuuming, I got to work and made four mini mattresses for the beds. I was sure to add a warning label. I am not kidding–removing the tag could result in a disastrous situation and my new law is to never, ever risk those things tearing open!
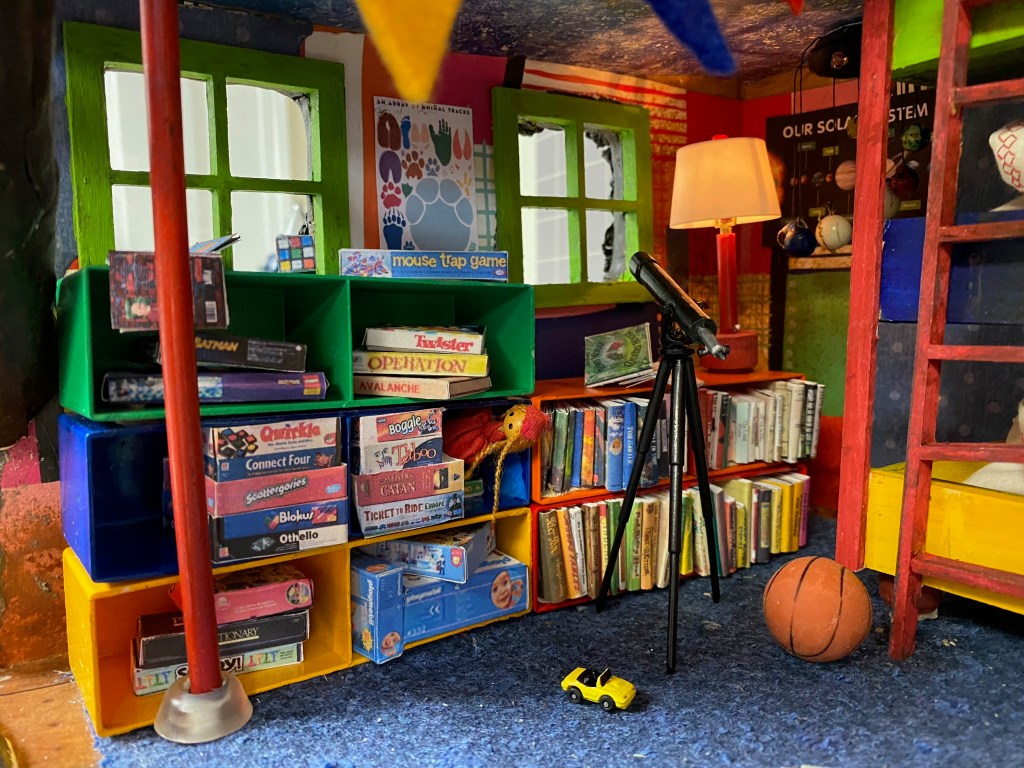
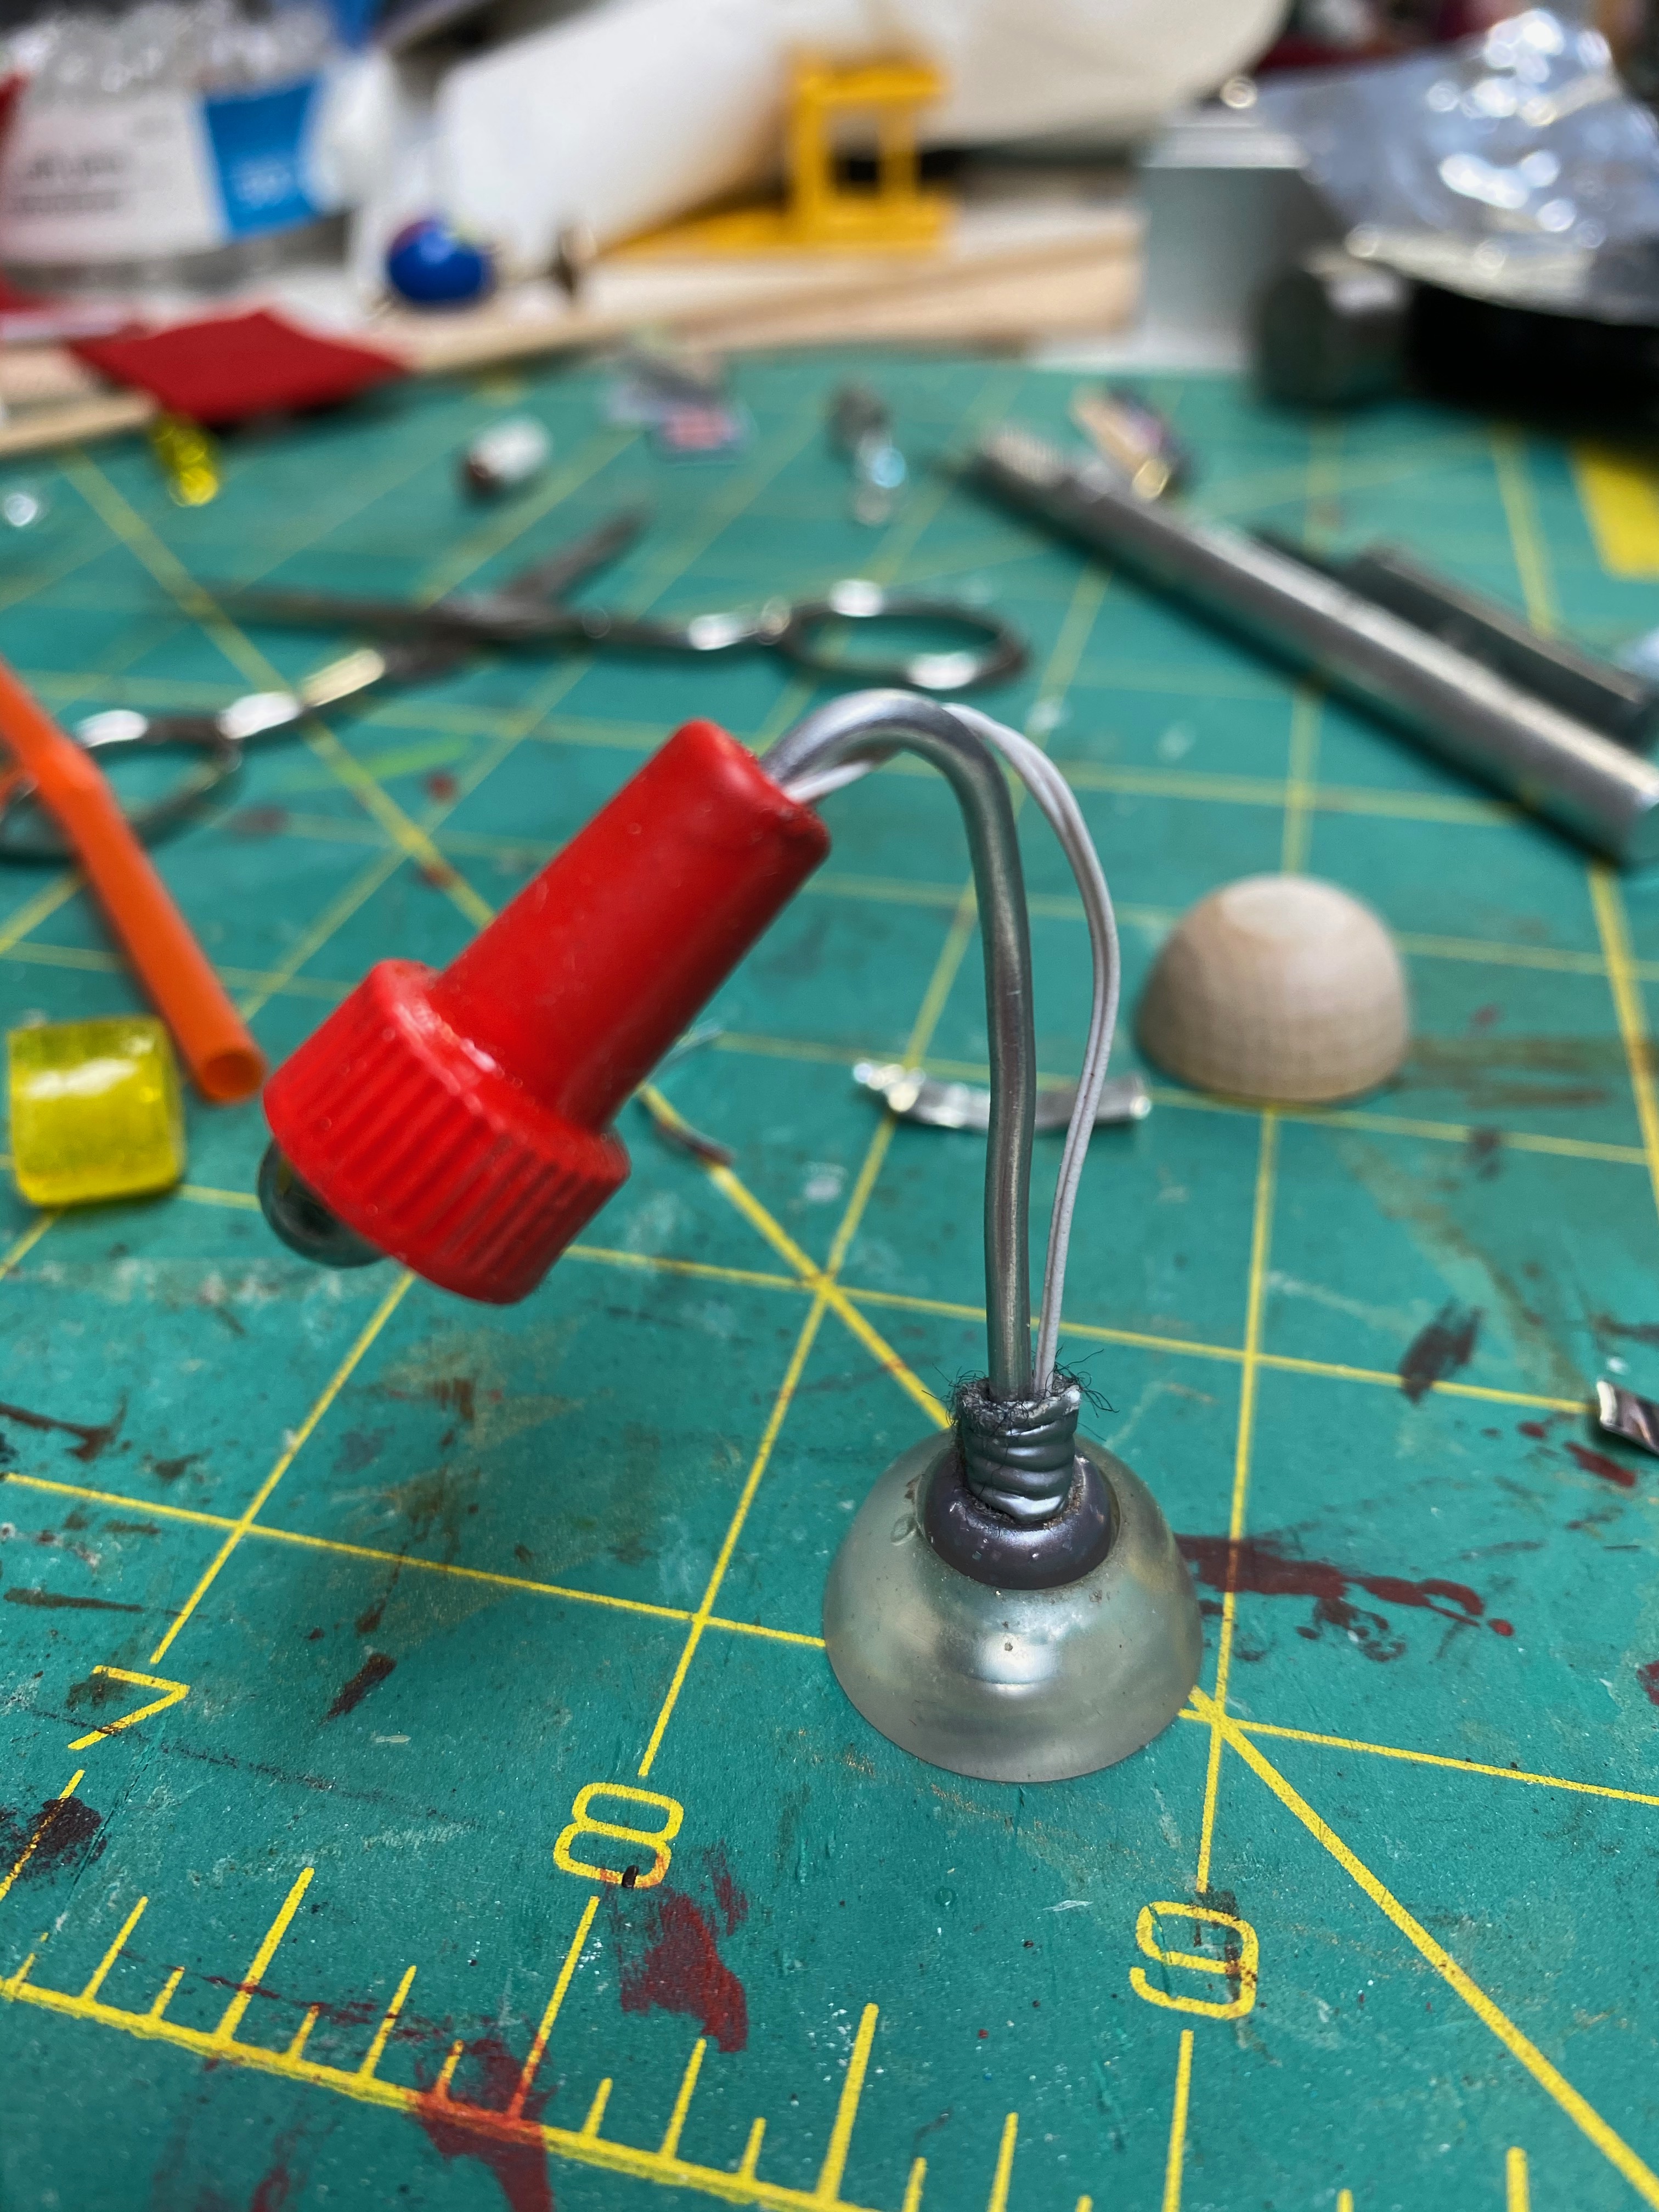
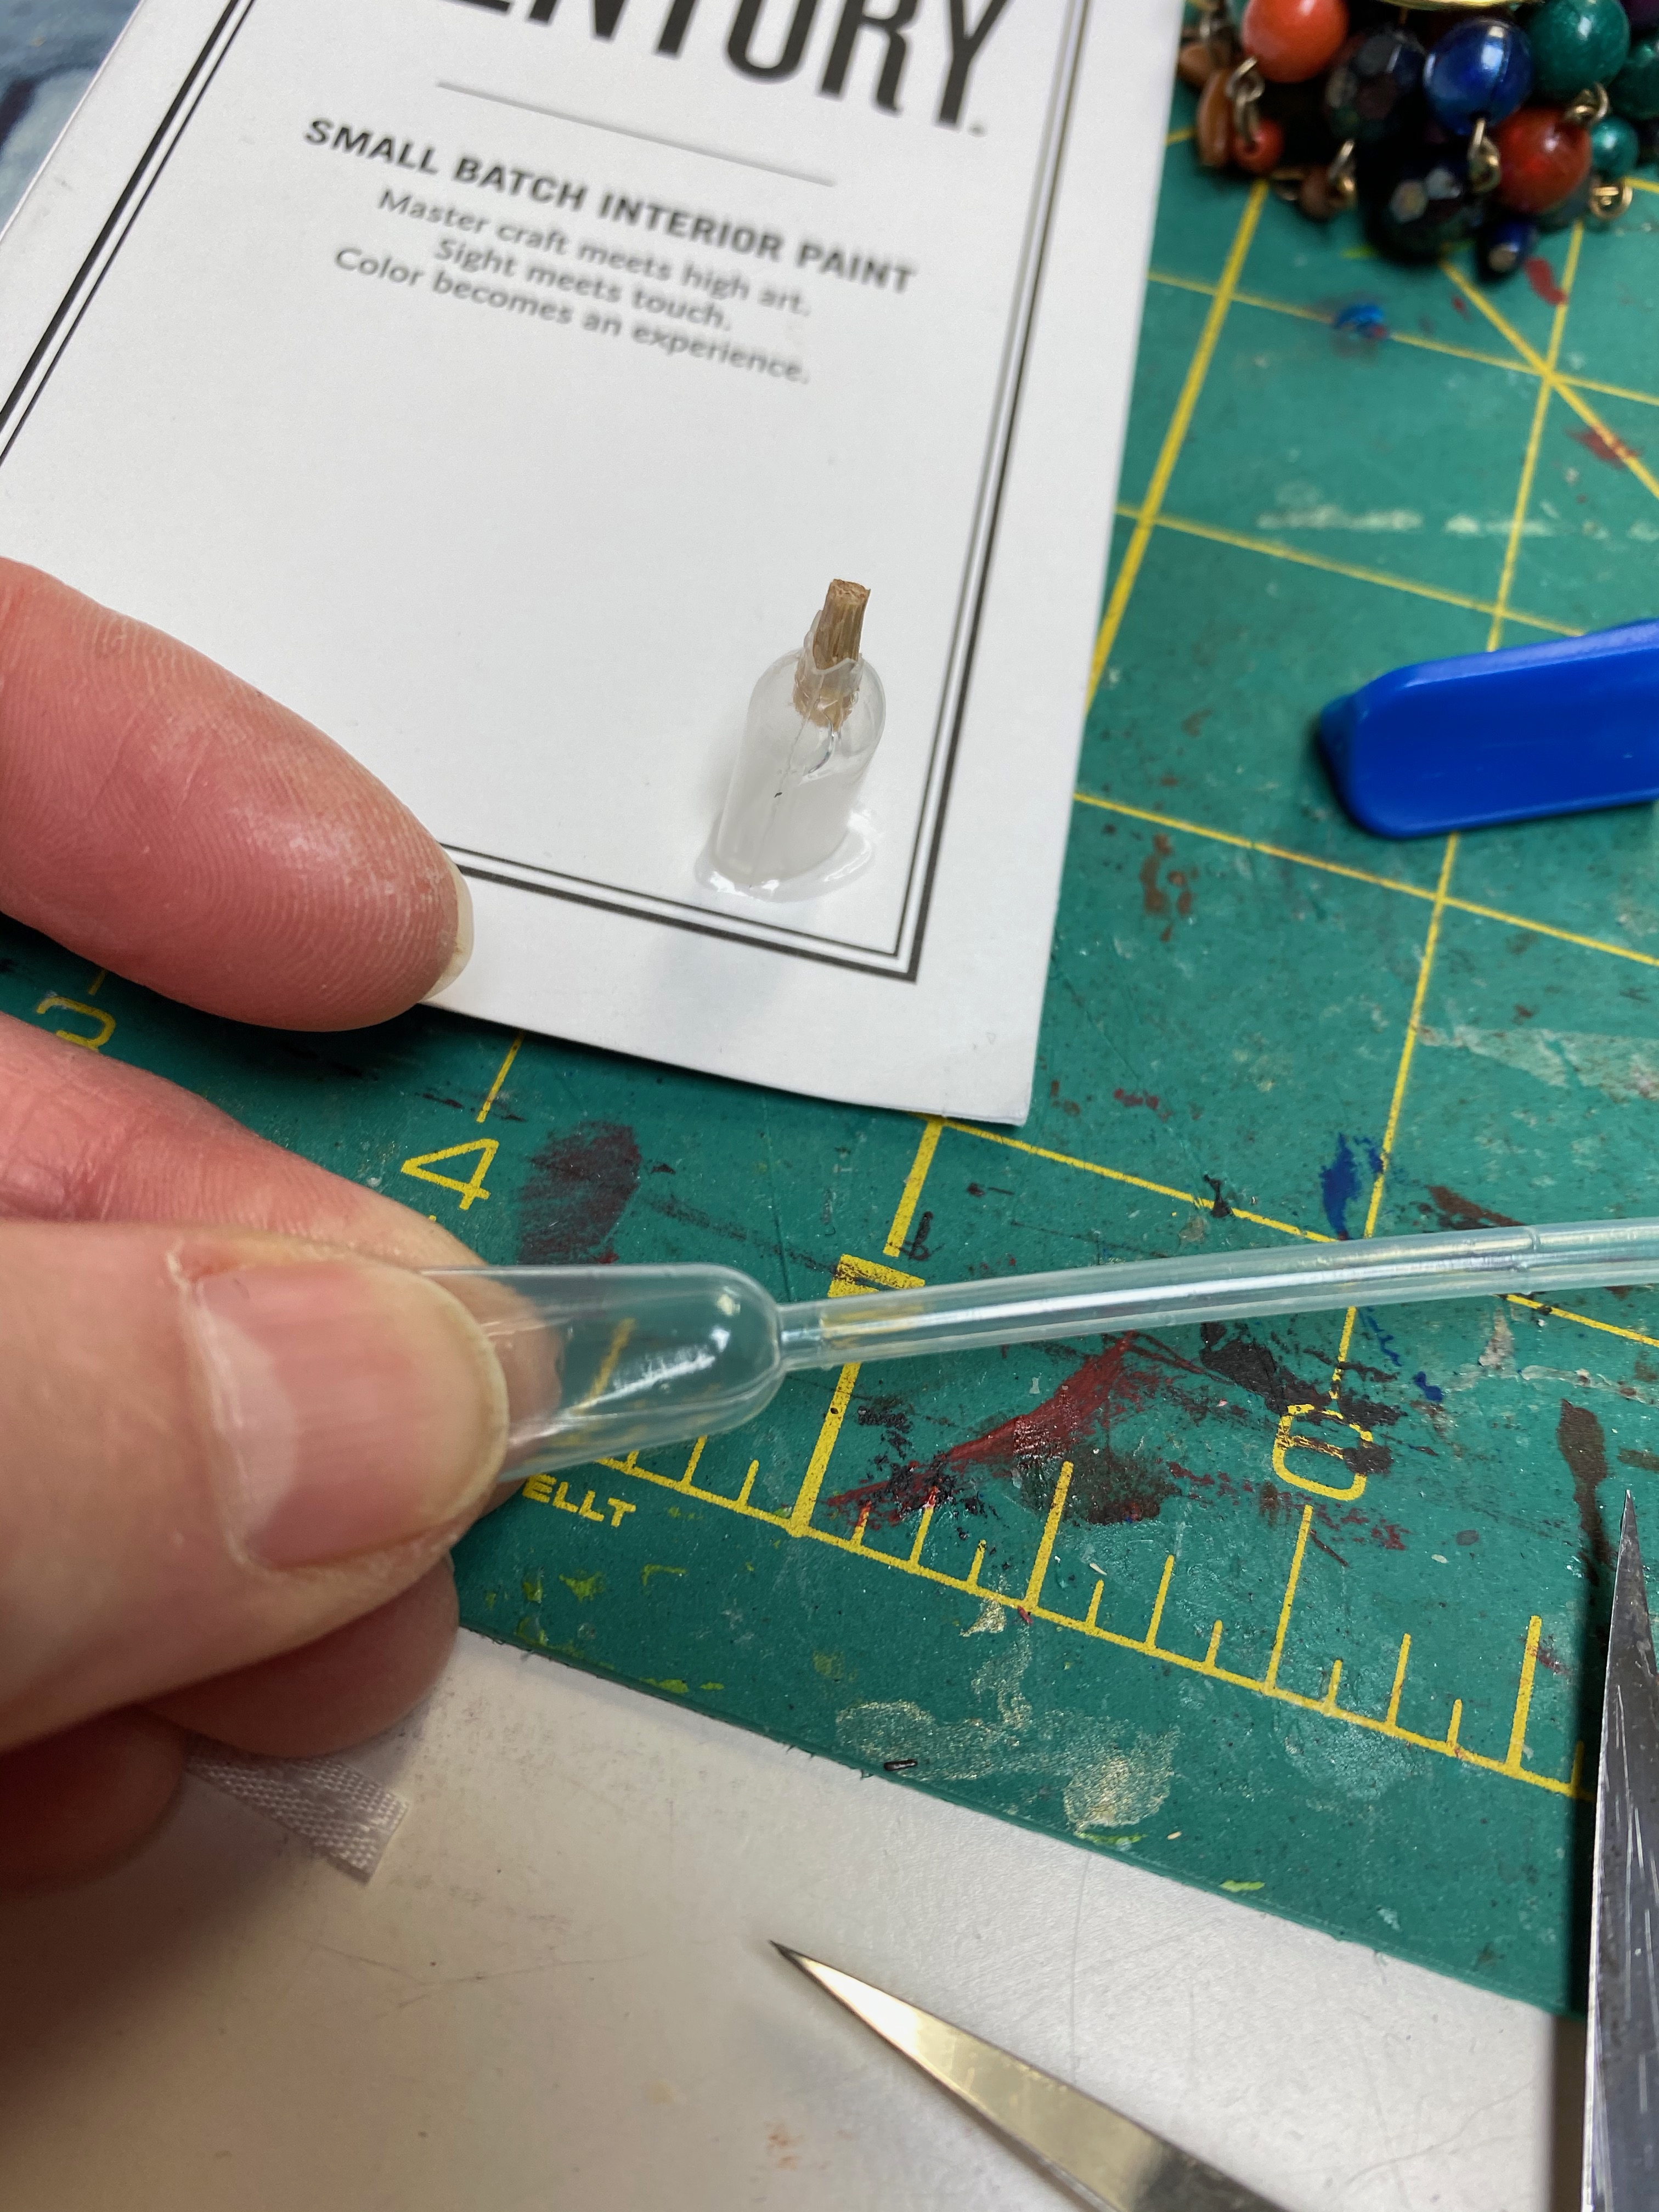
Once the beds and bedding were in place, I concentrated on the loft area. I inserted a desk, painted chairs that I already owned, and made desk supplies including notebooks, markers, a bulletin board, posters, a bottle of glue (out of a cut end of a pipette.) I also made a new lamp with the cap of an empty tube.

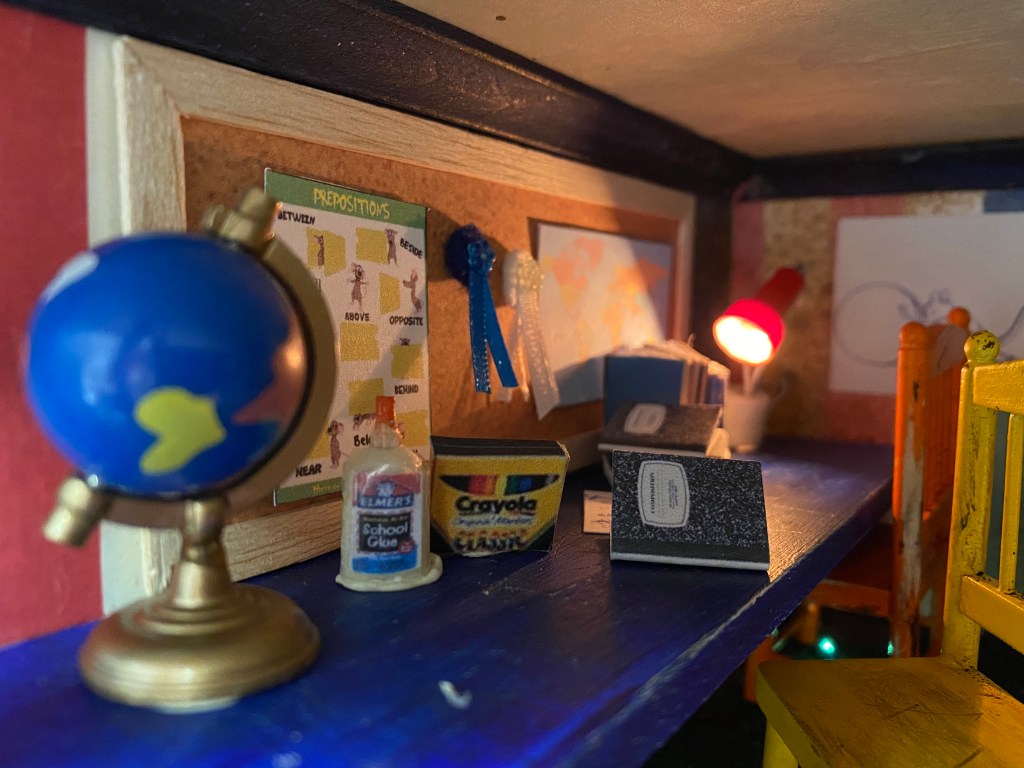
The “school project-like” solar system mobile took me longer than anyone ever spent on their homework. I hung it under the loft next to a space poster and a telescope set up in front of the bookcases.

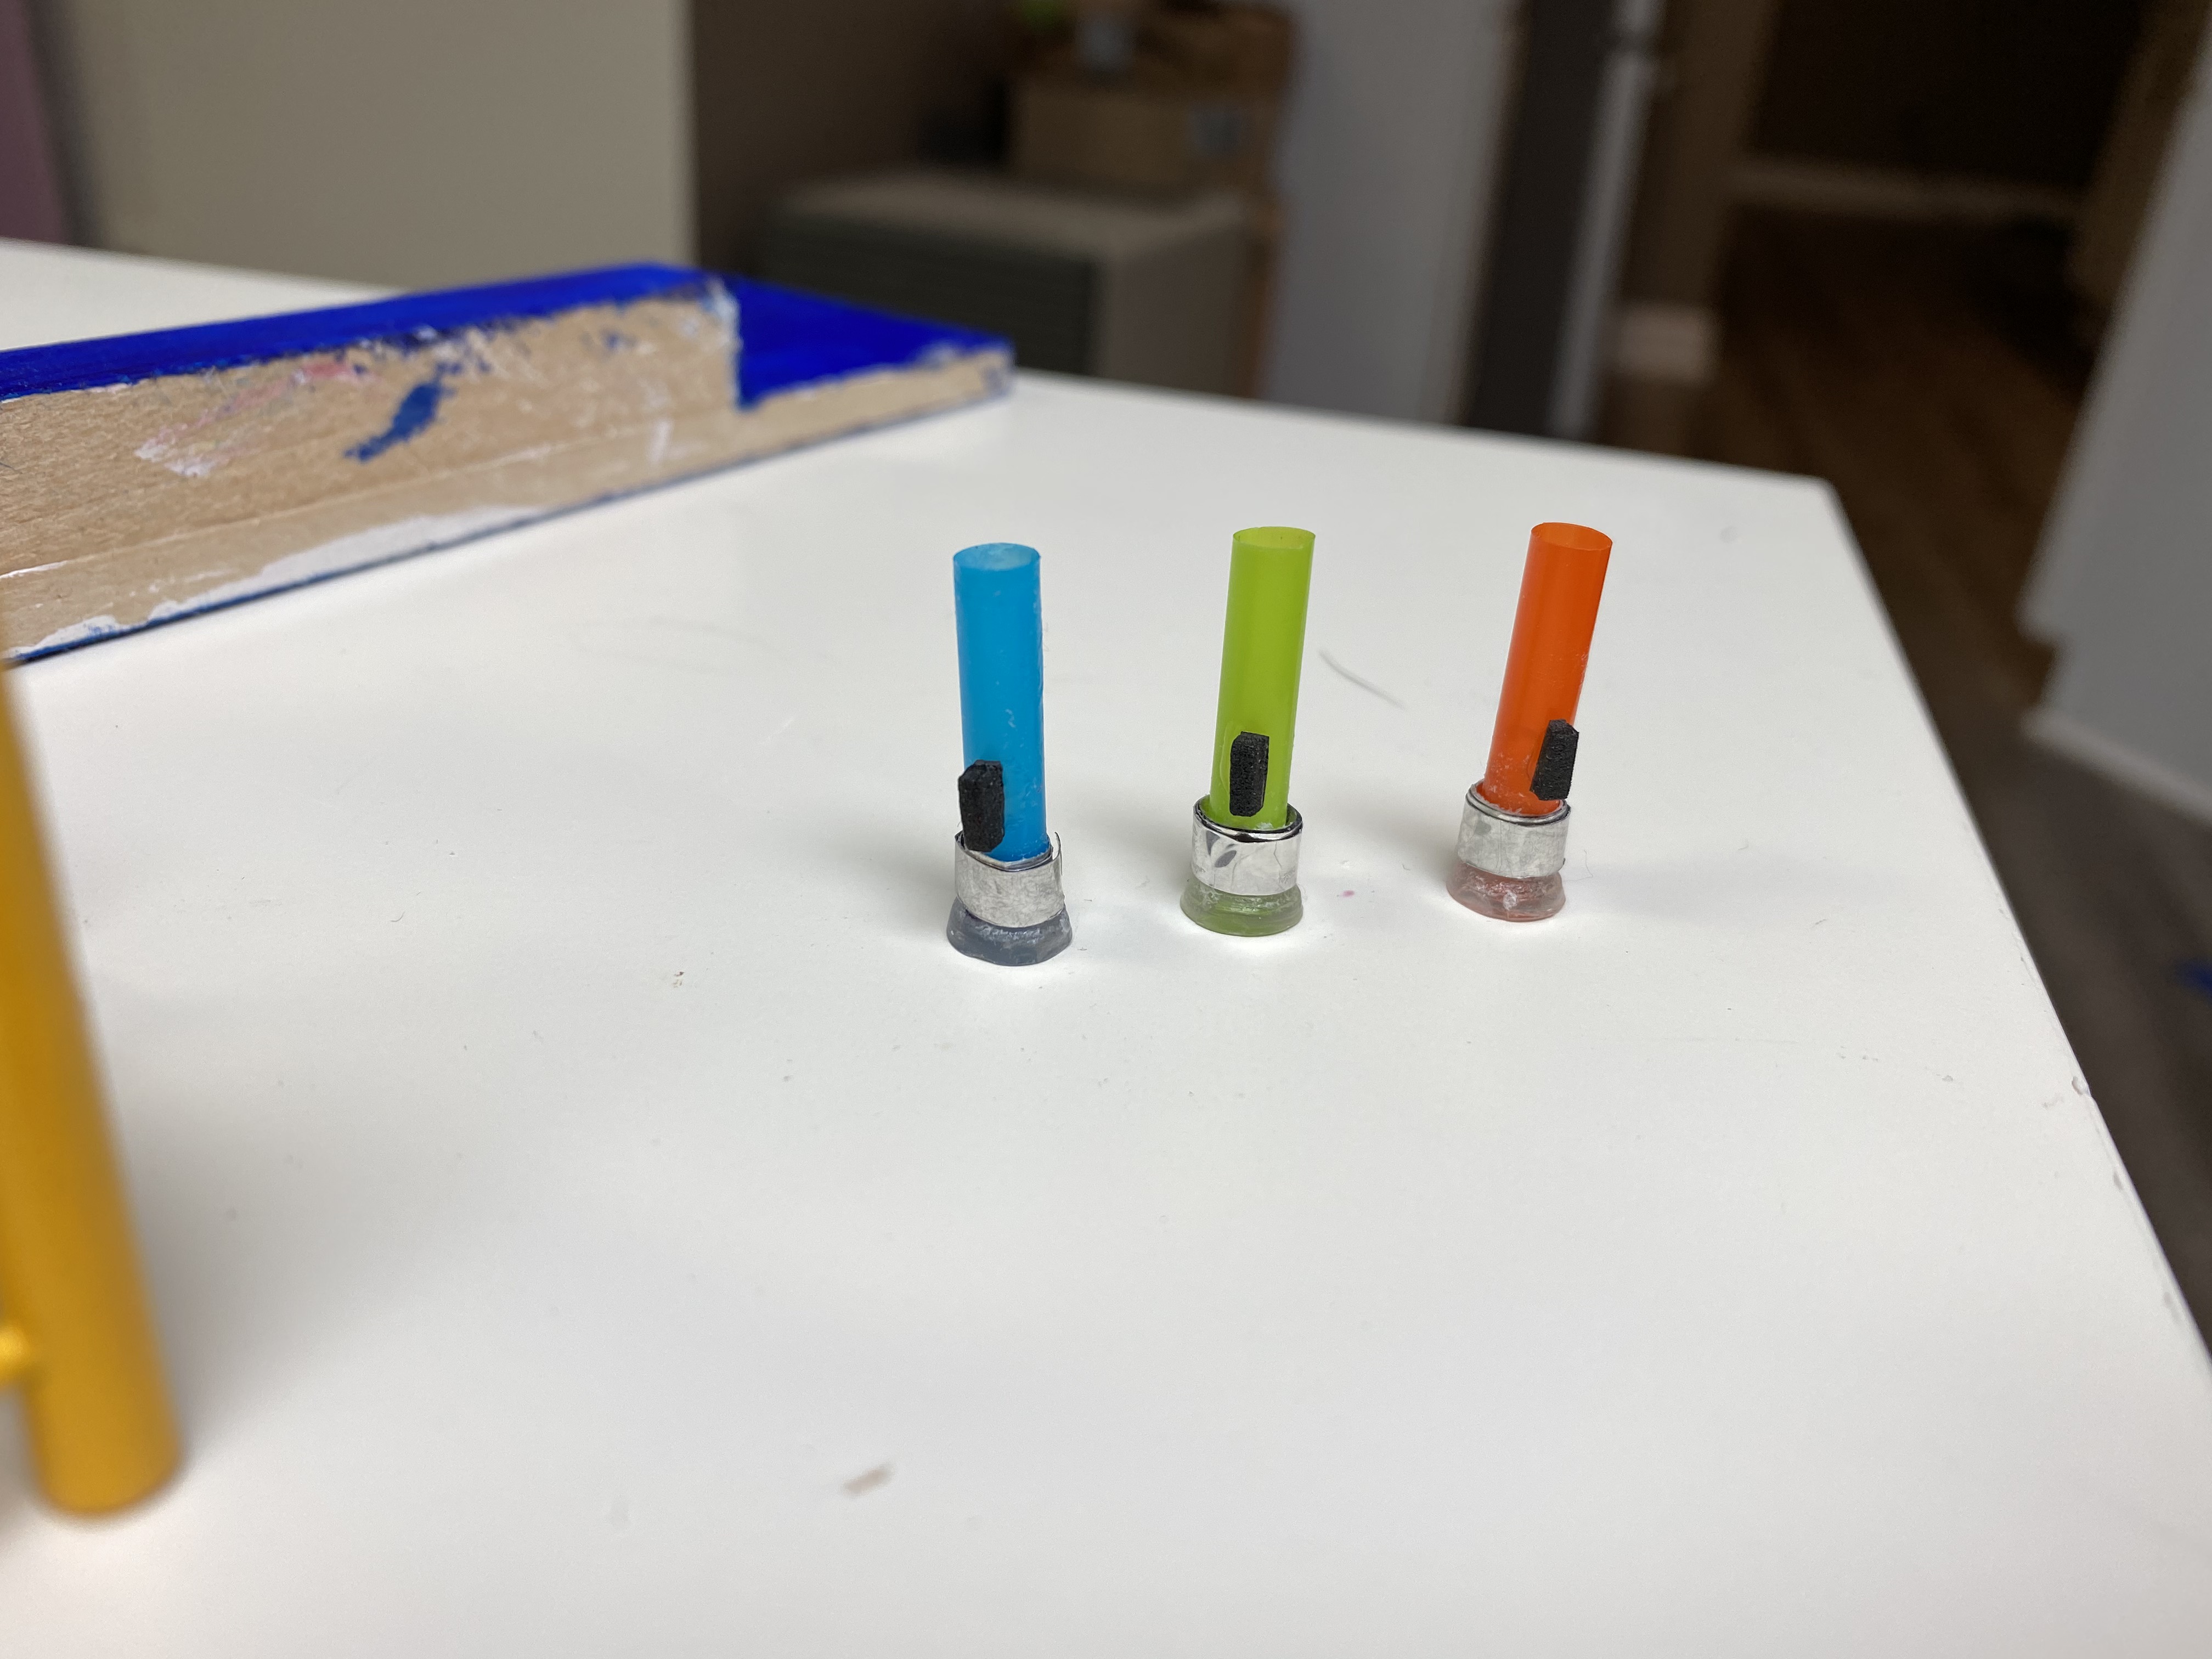
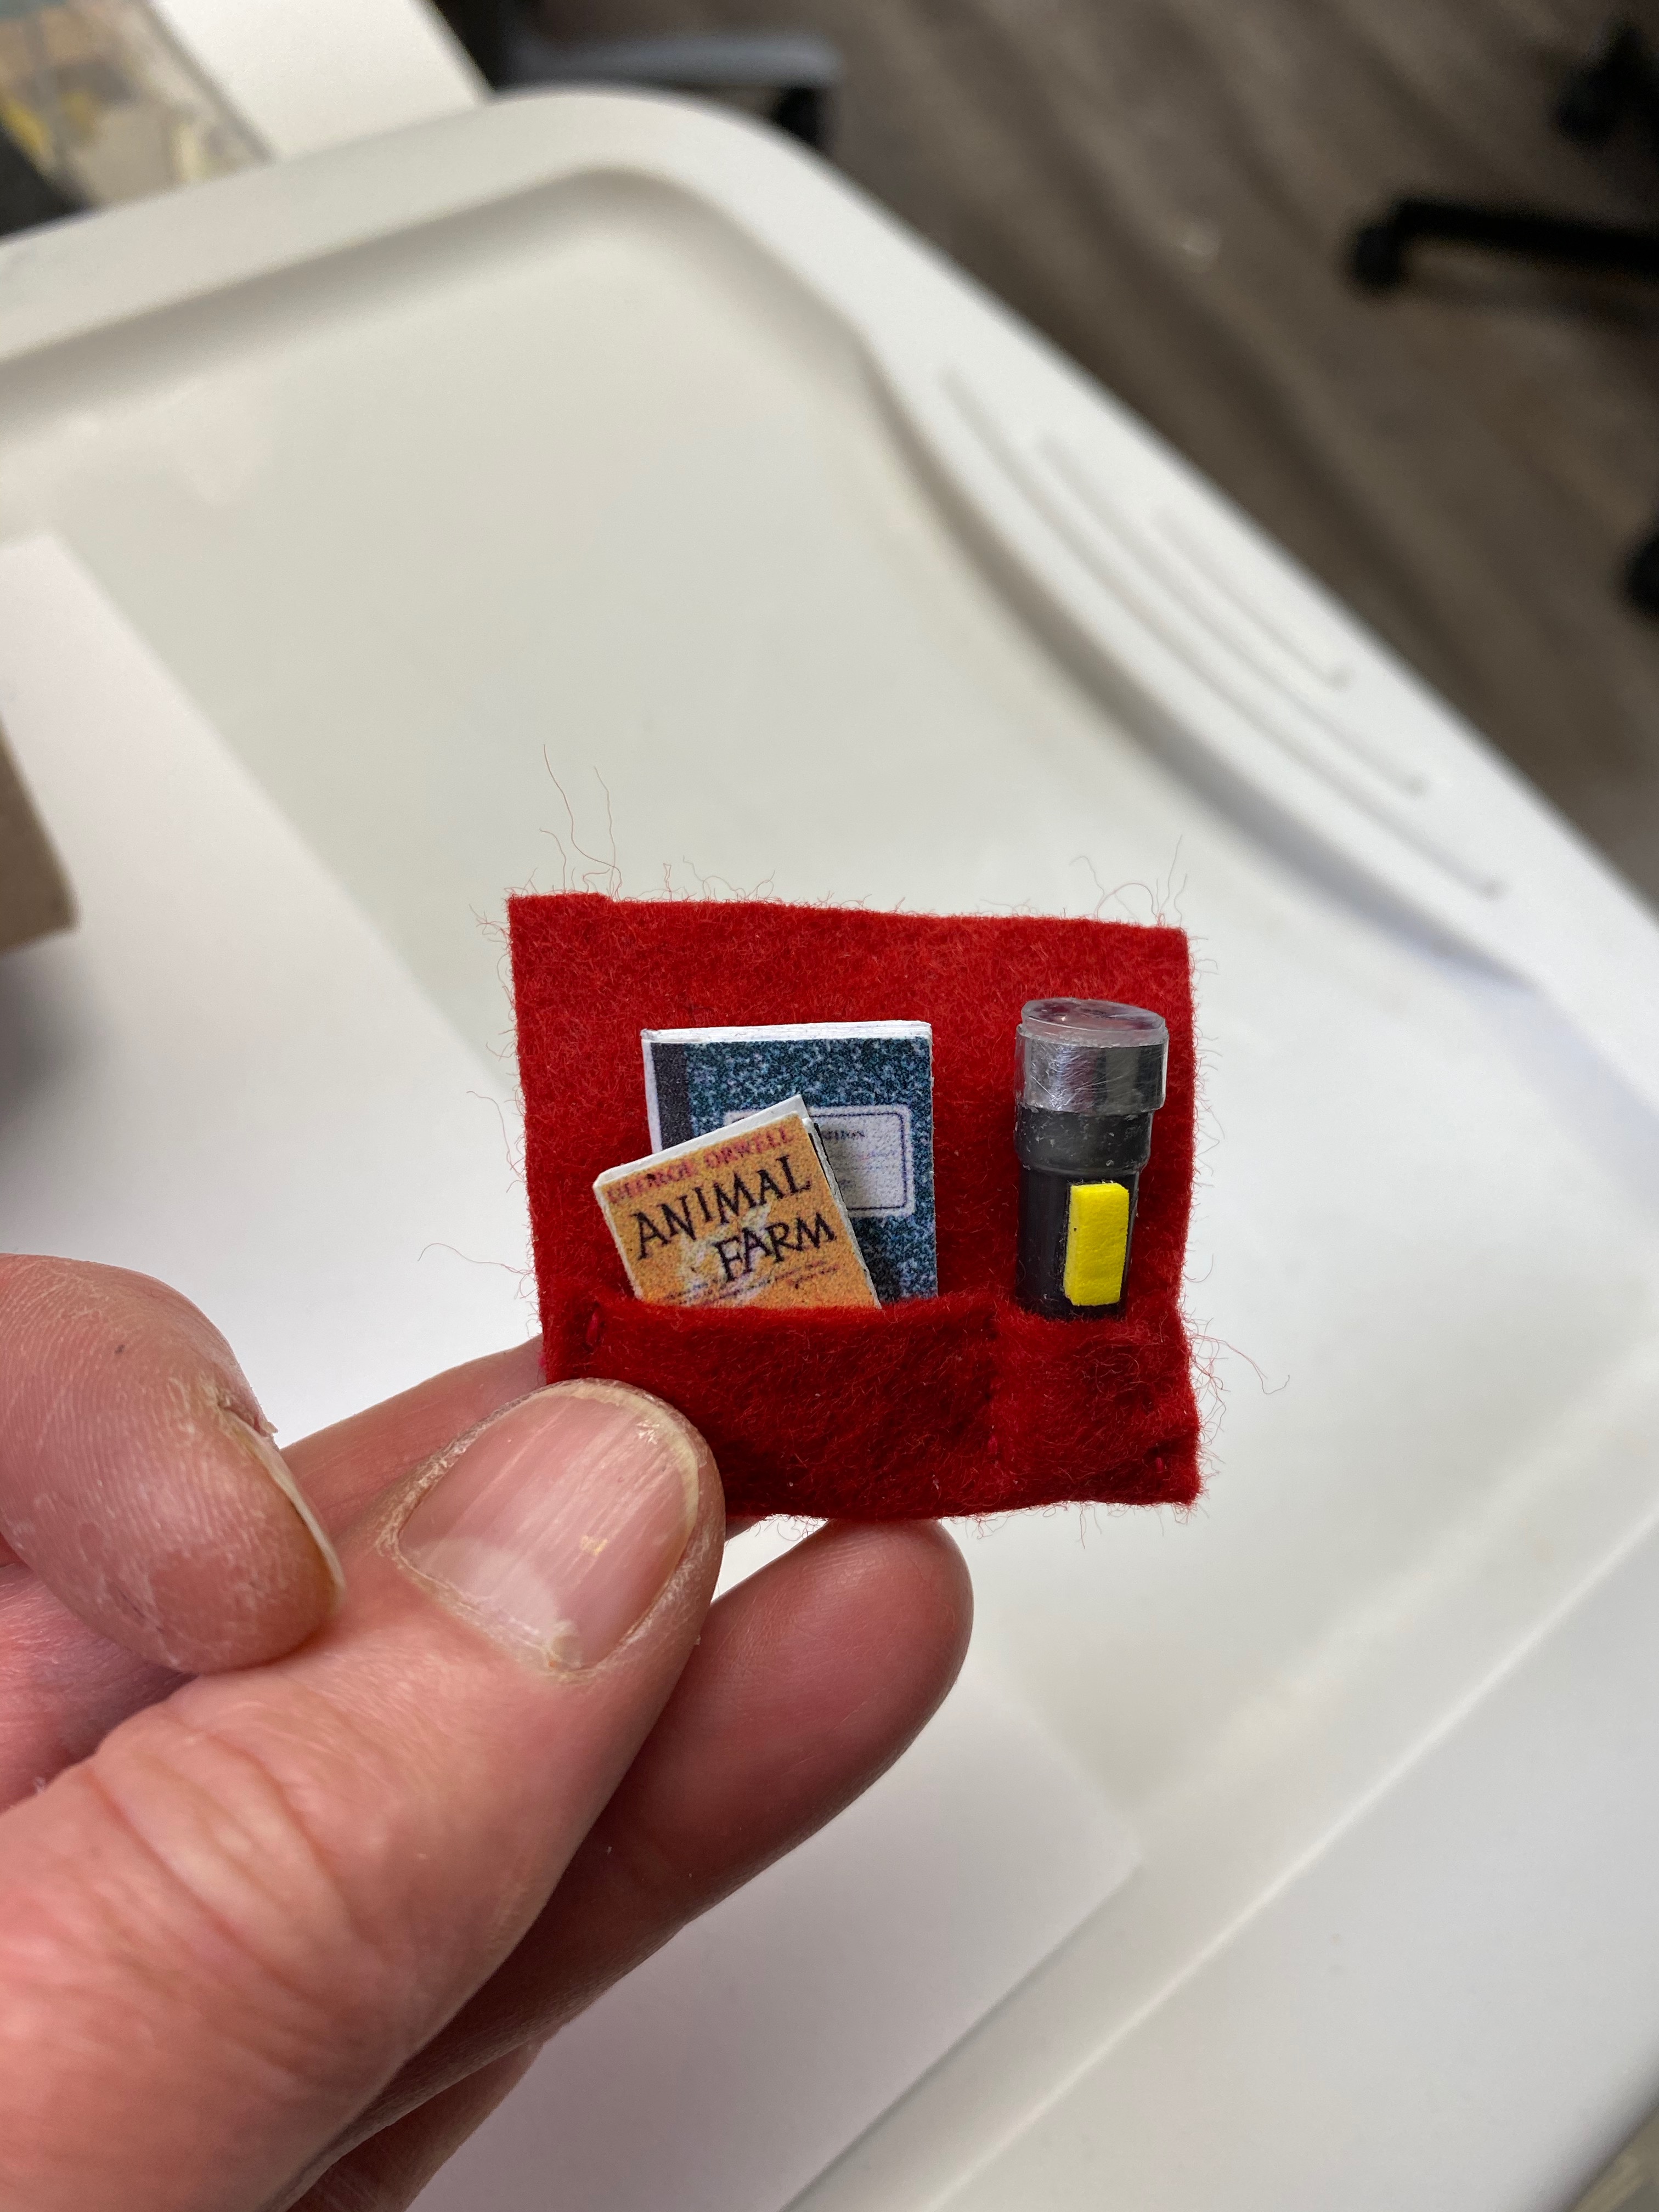
Other details included mini-flashlights I made for the mice to have nearby when they want to read in bed. The first one I made with with the bottom of a pen, while I used colored straws for the three subsequent flashlights.


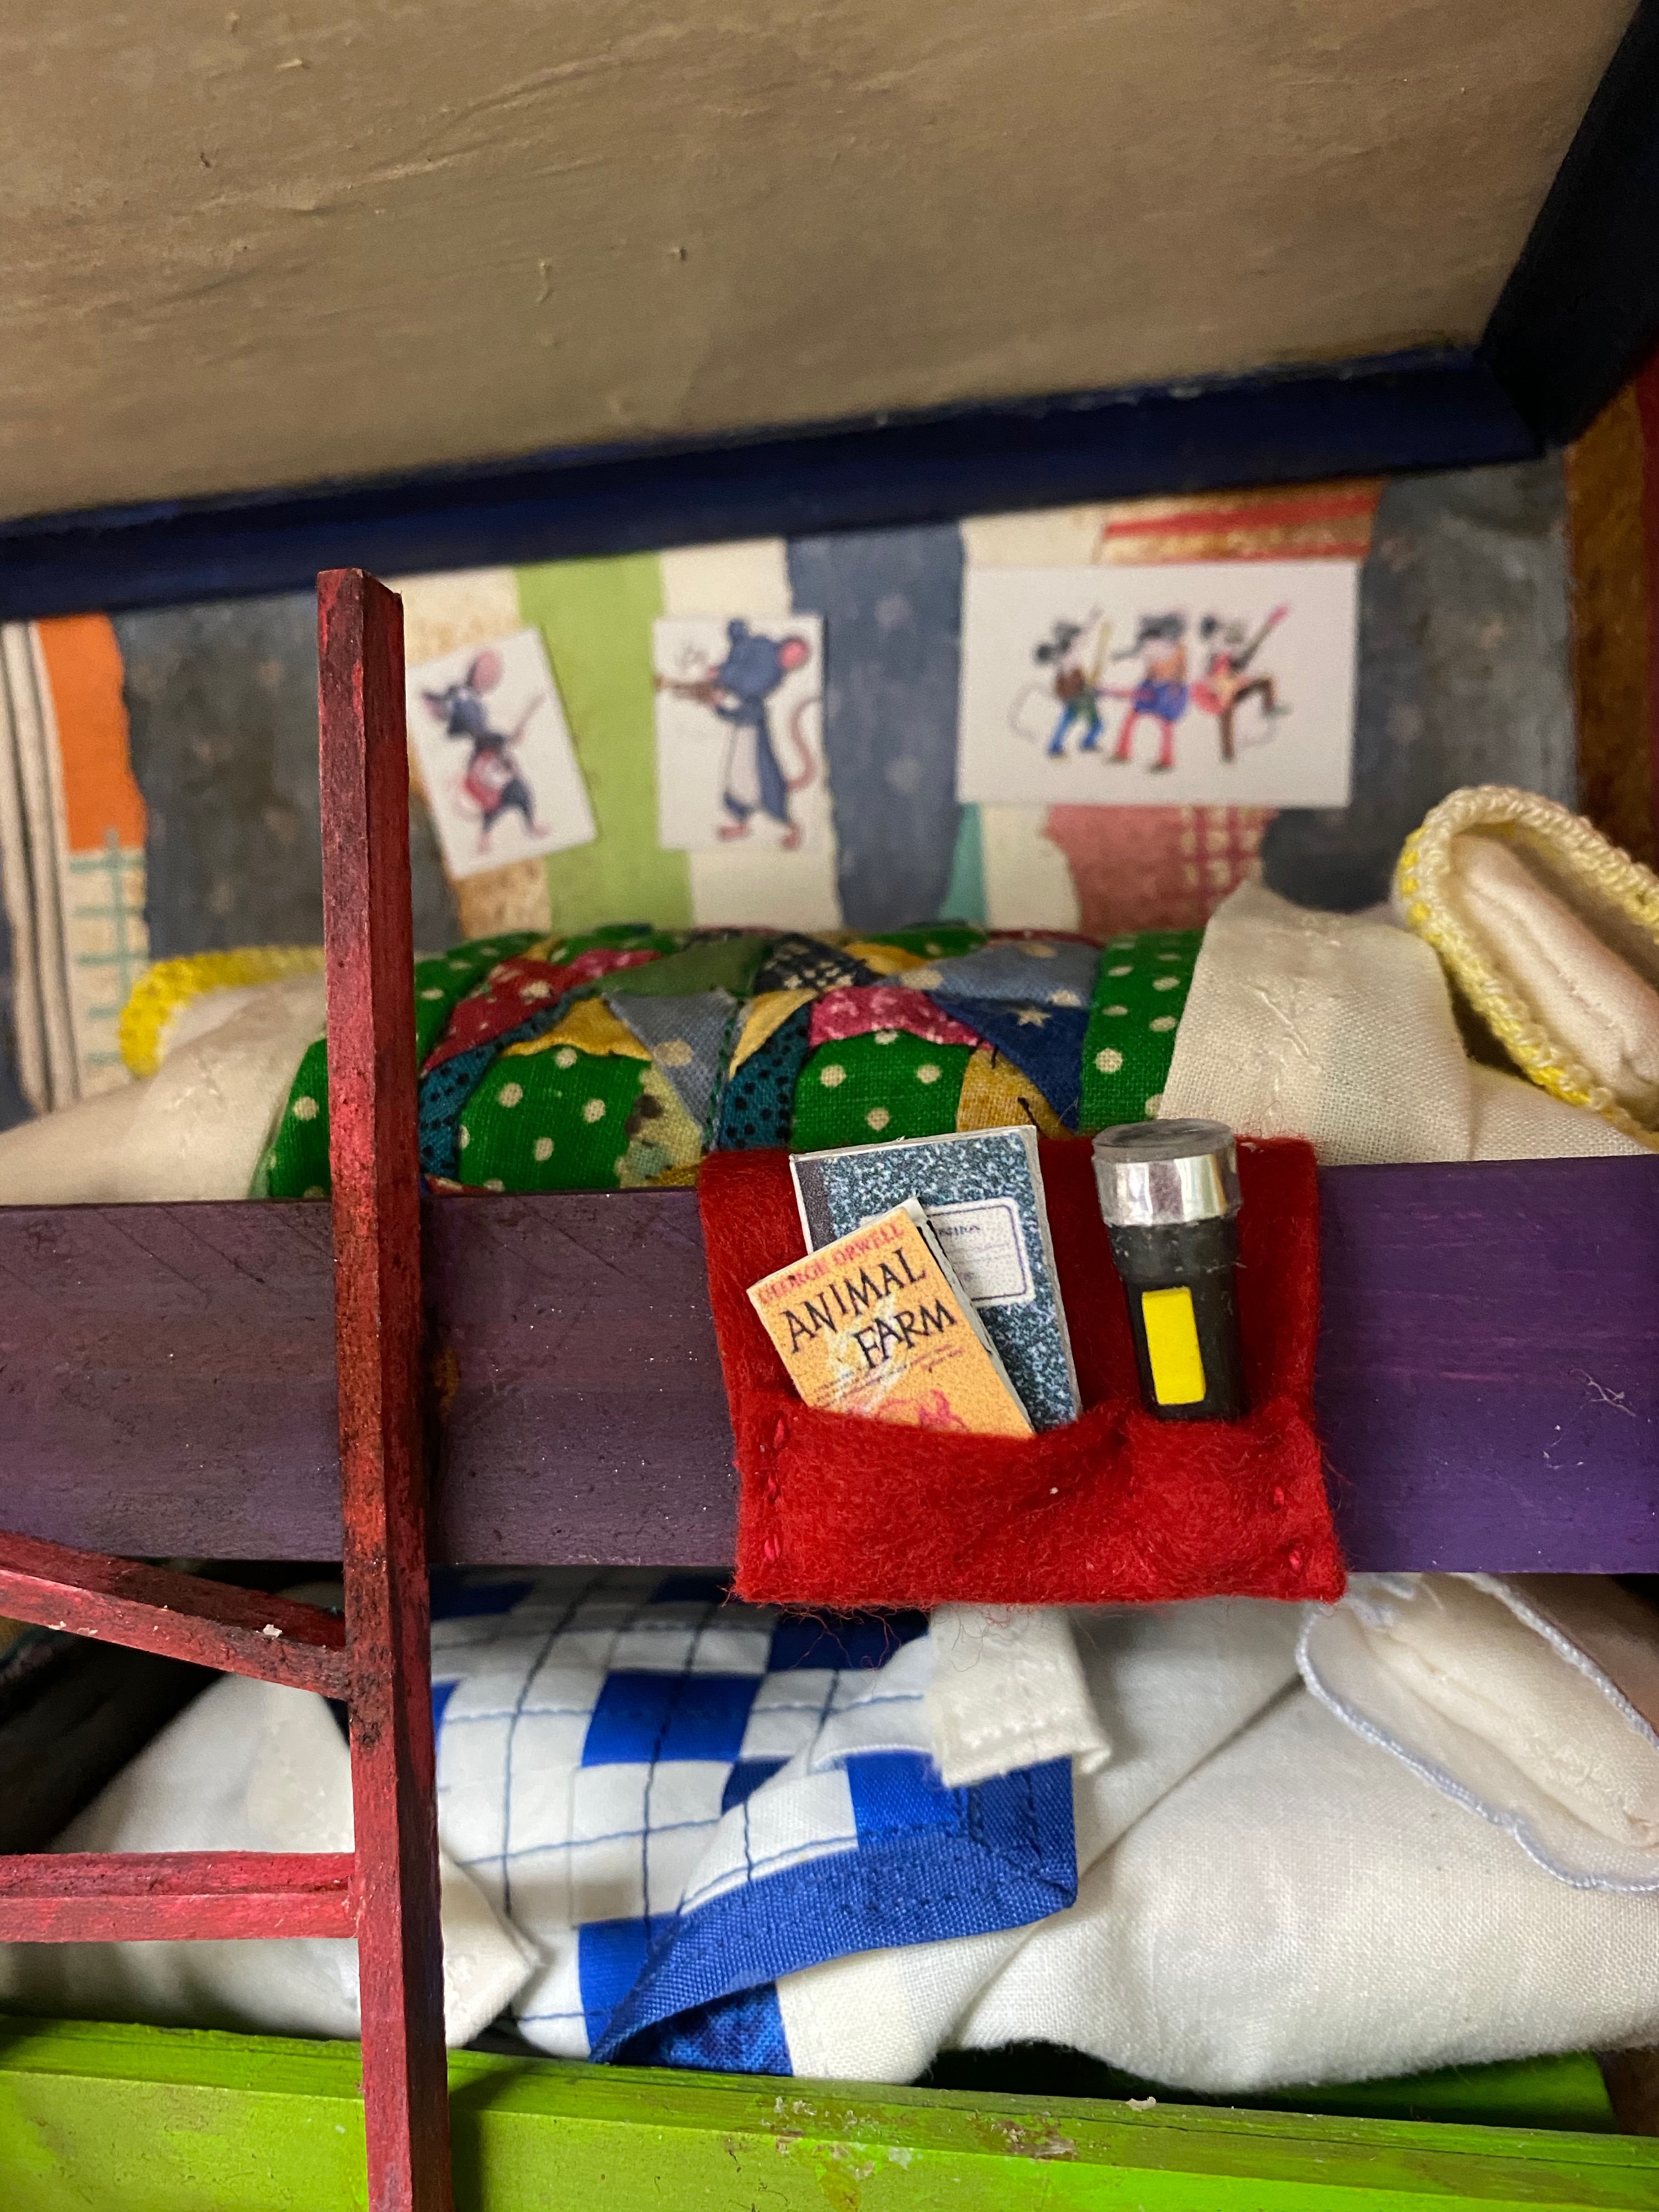
I also selected “posters” to hang above each bed–all with different themes. They are hard to see, but the top bed has musicians; the green bed has dancers; the blue bed has sports posters; and the bottom bed has car and motorcycle pictures.
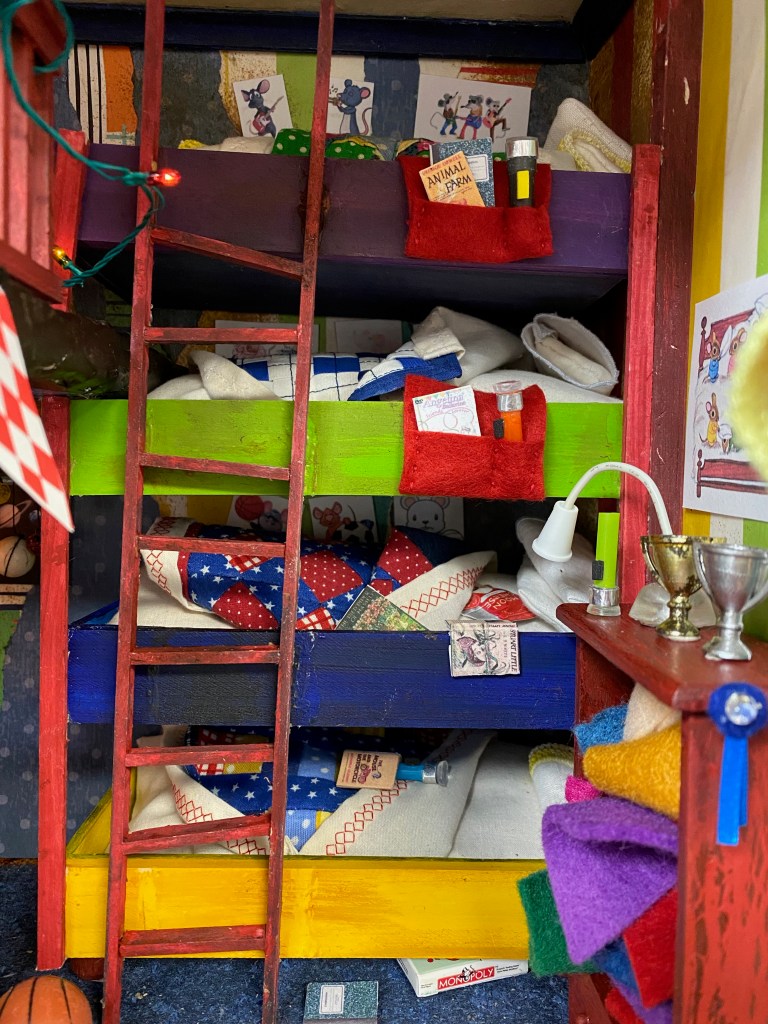
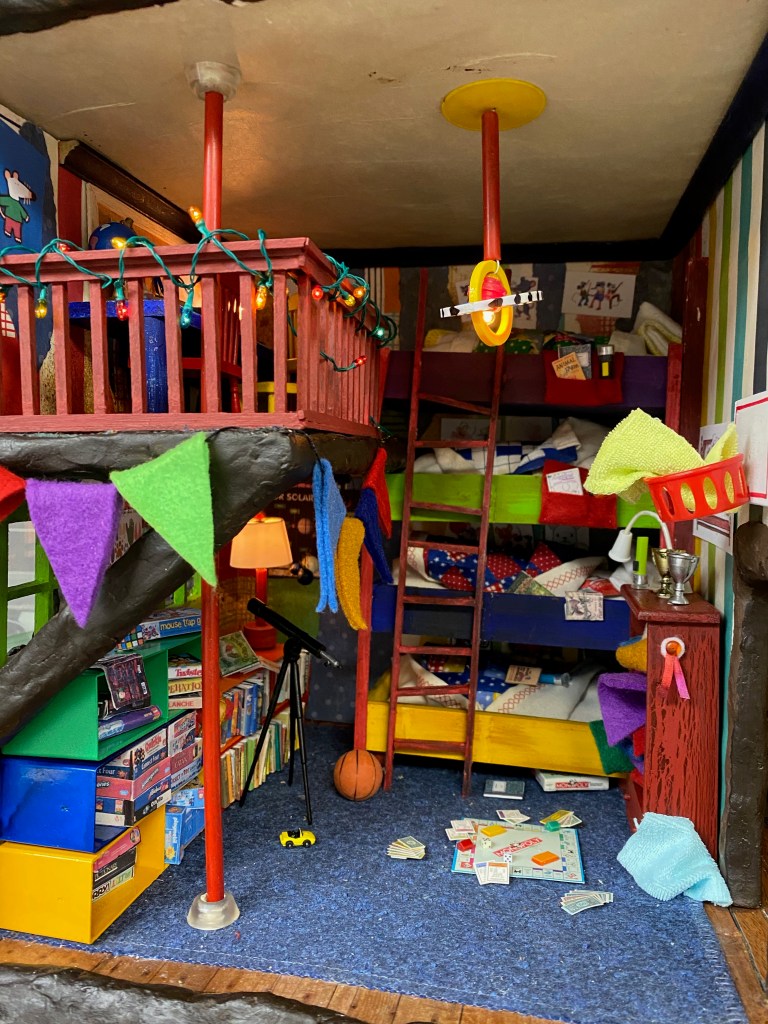
The final architectural touches included a railing around the loft, strung with Christmas lights. I also added the fire pole for quick access from the loft.
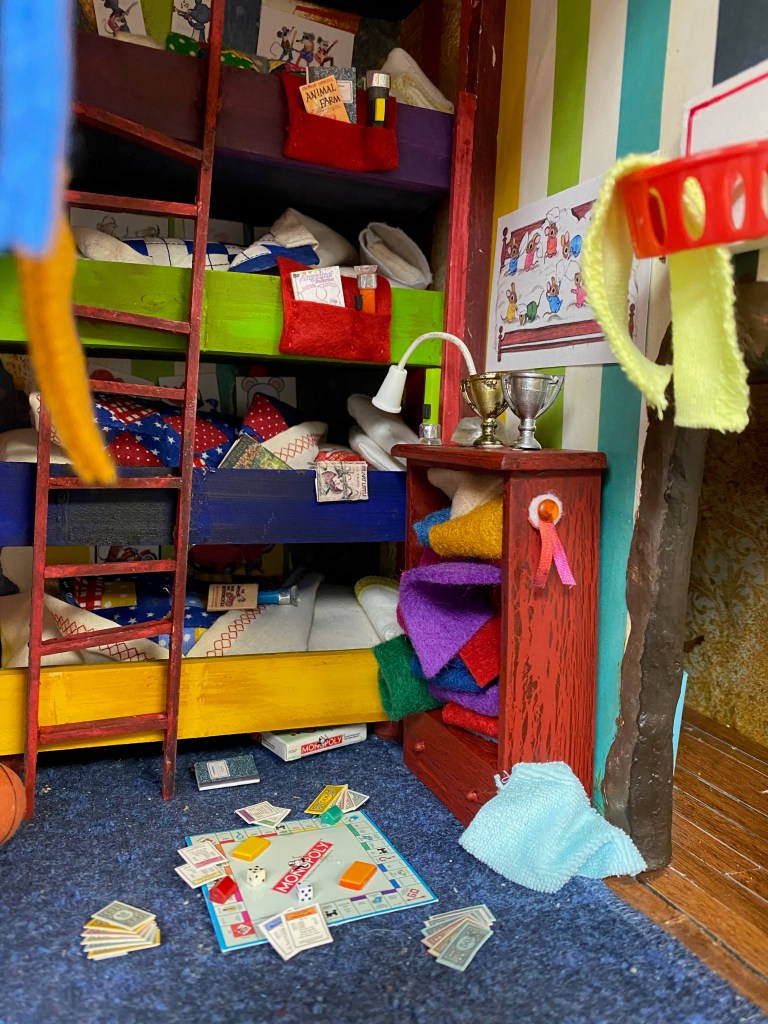
Here are more photos of the completed room: