My Sculpting Supplies

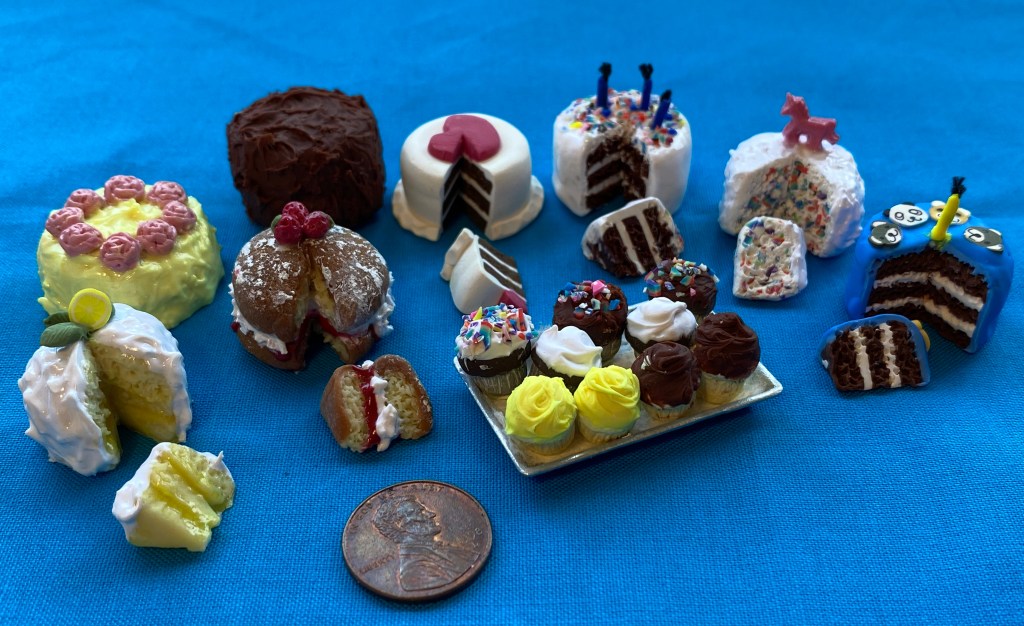
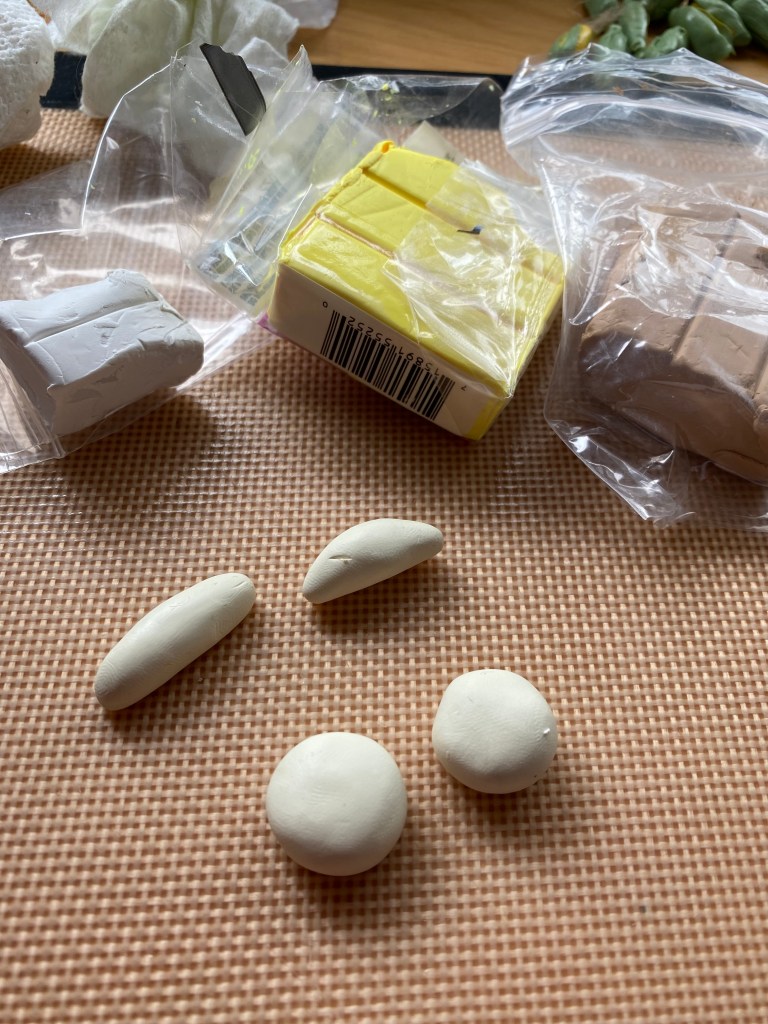
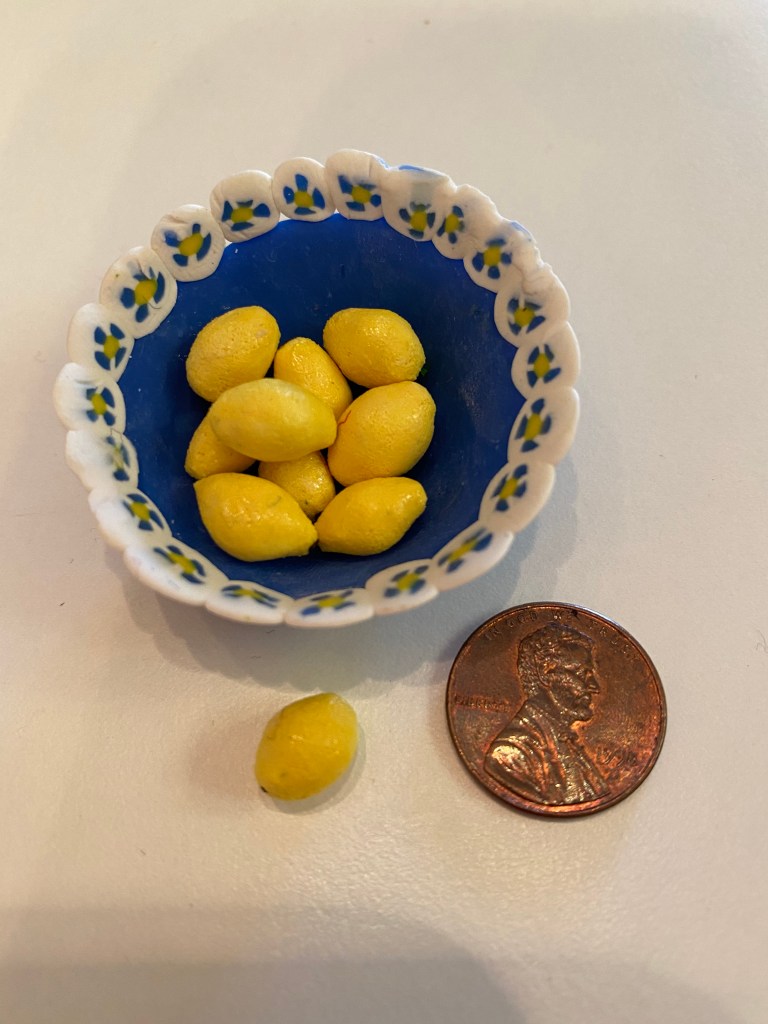
A good friend and blog follower asked if I would post the materials I use when sculpting with polymer clay. I am by no means an expert, but these are the items and brands I’ve been using to make miniature food.

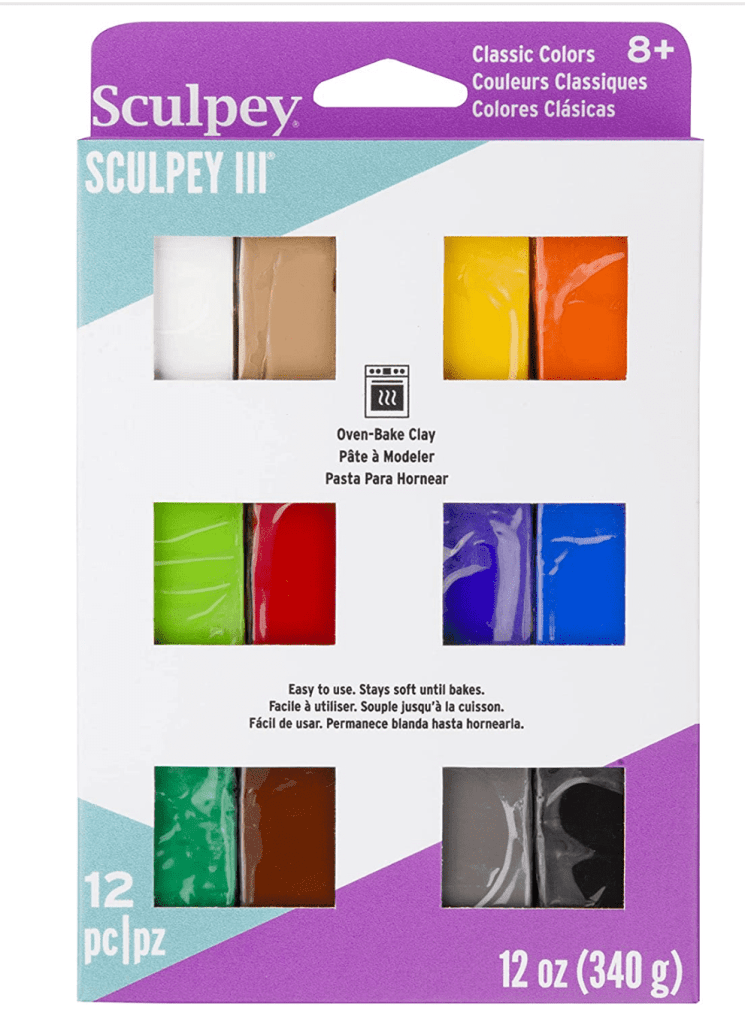
I use Sculpey III polymer clay. I like it as it’s pretty easy to work with out of the package without having to knead and condition it. With that said, sometimes I think it’s too soft and I have to let pieces sit for awhile before I cut or texturize them as otherwise my tools squish them out of shape. I started with the sampler above and have just mixed the colors as I go. The sampler is around $16 on Amazon.

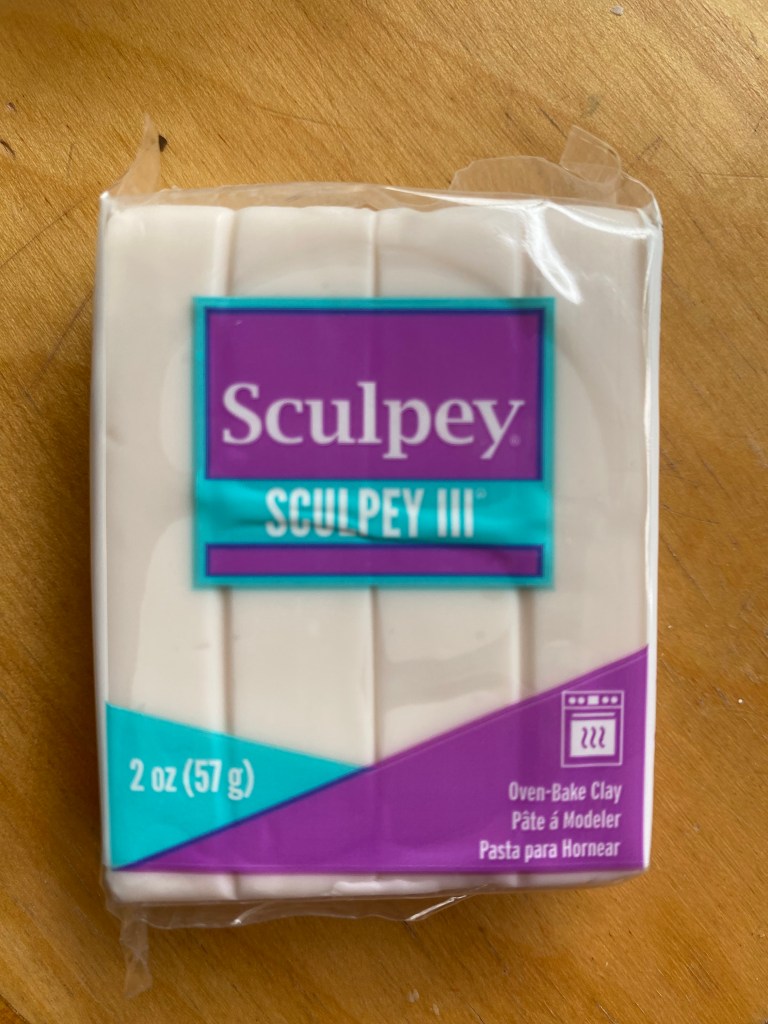
I also use a lot of translucent clay. I buy whatever Sculpey version is available.

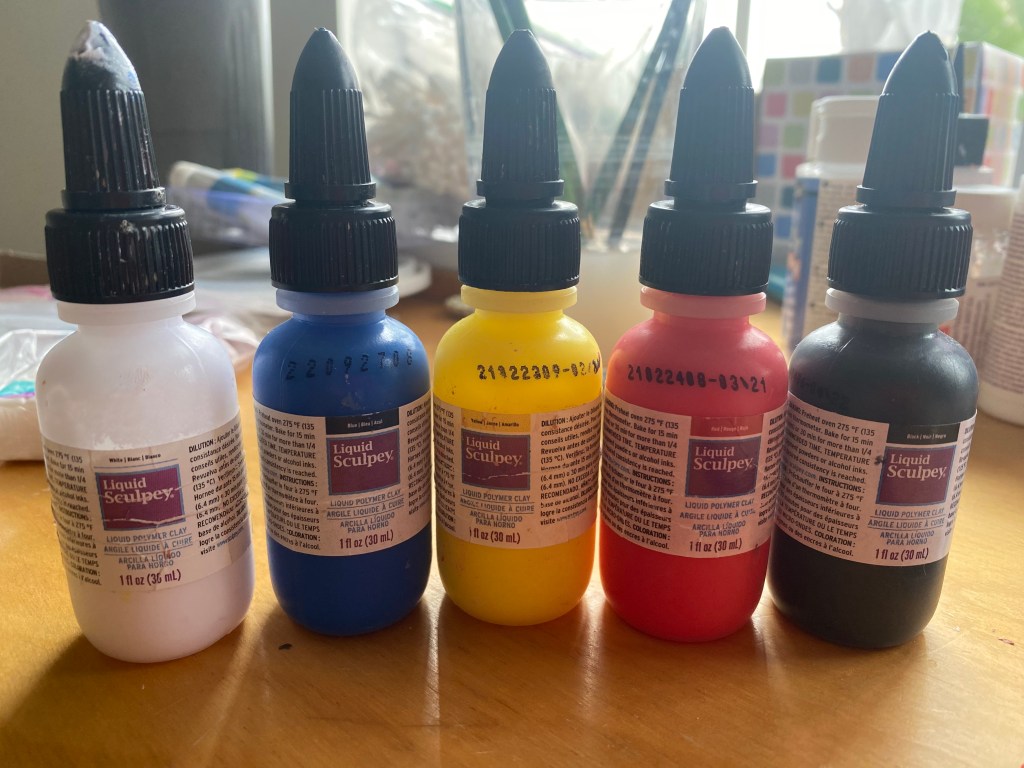
I use Liquid Sculpey when I need to make something less solid, for example catsup and mustard or icing on a cake.

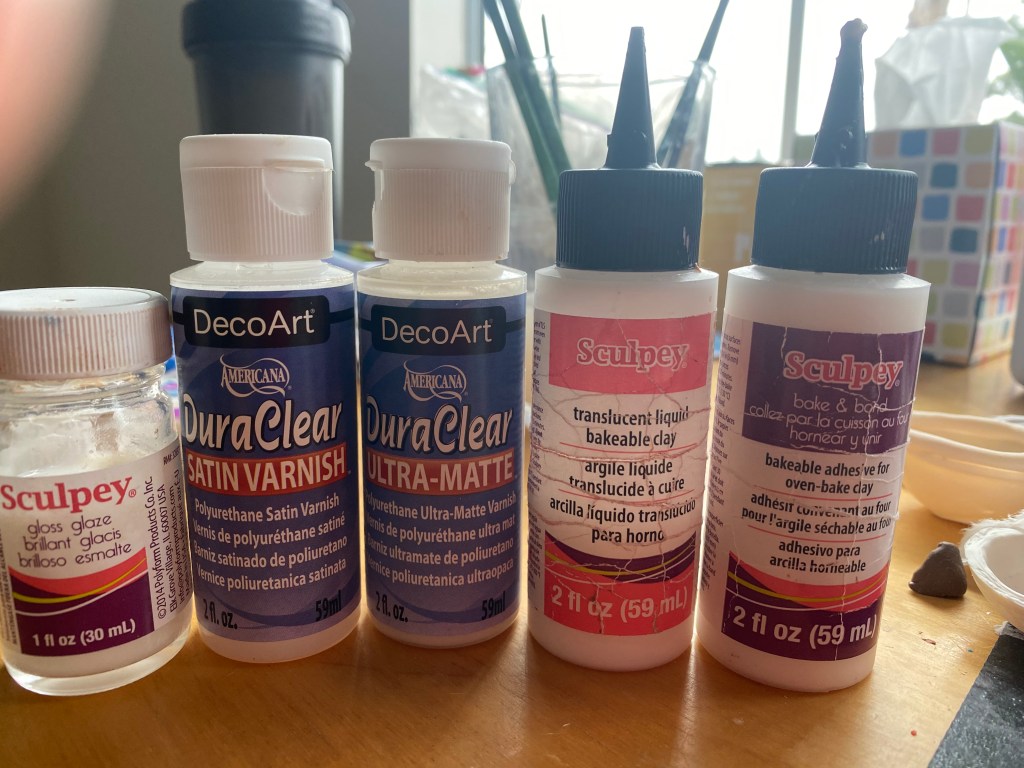
These glazes and the bakeable adhesive are essential. They are used to seal the clay, add translucency to clay, and to glue baked pieces of clay together.

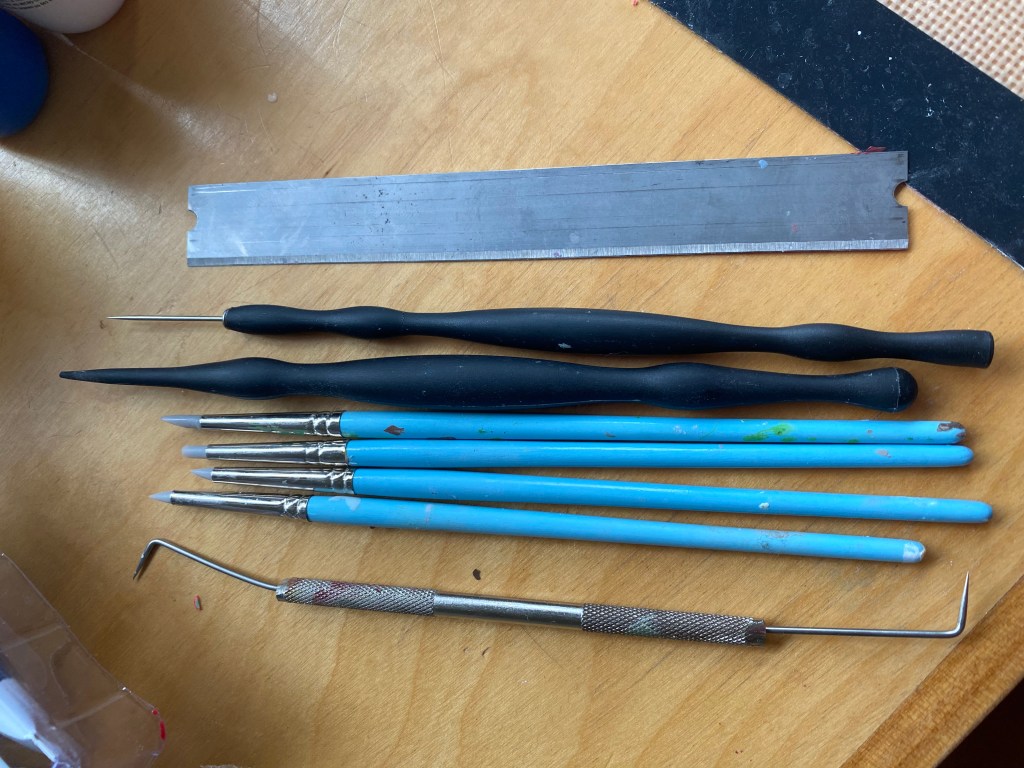
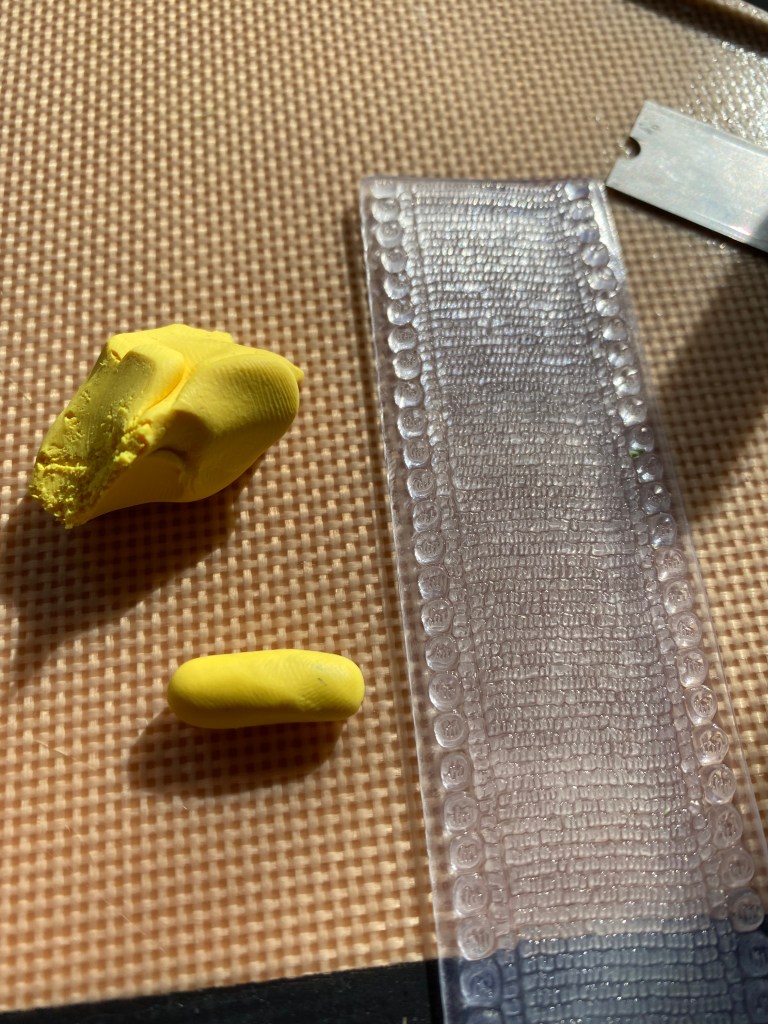
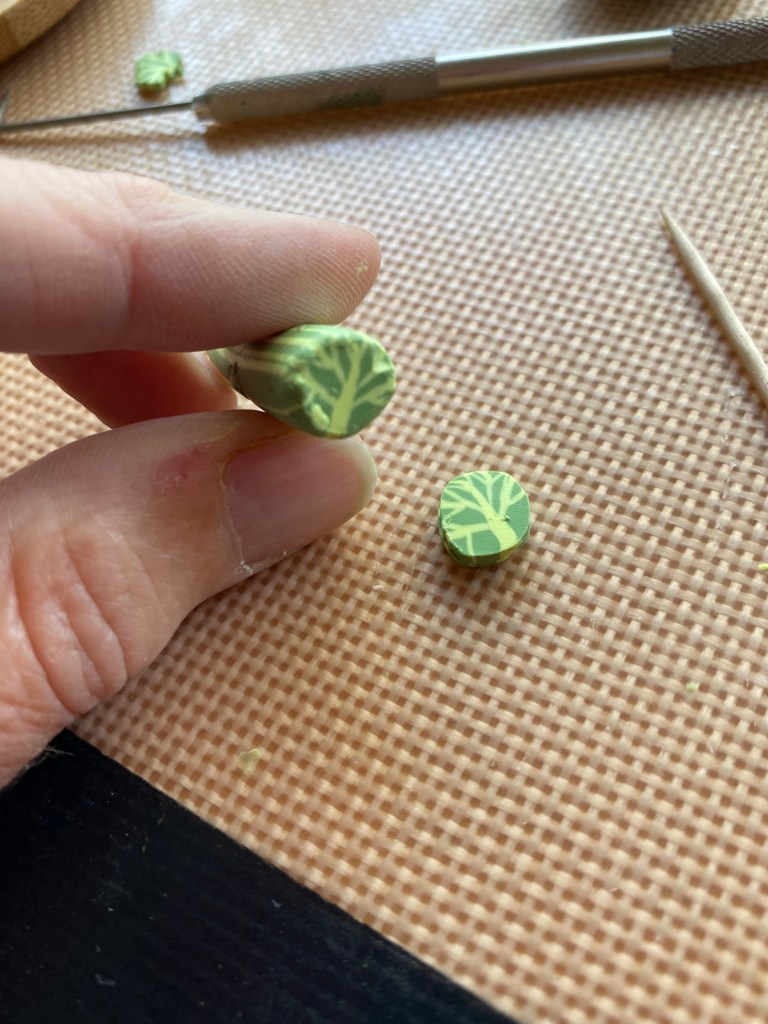
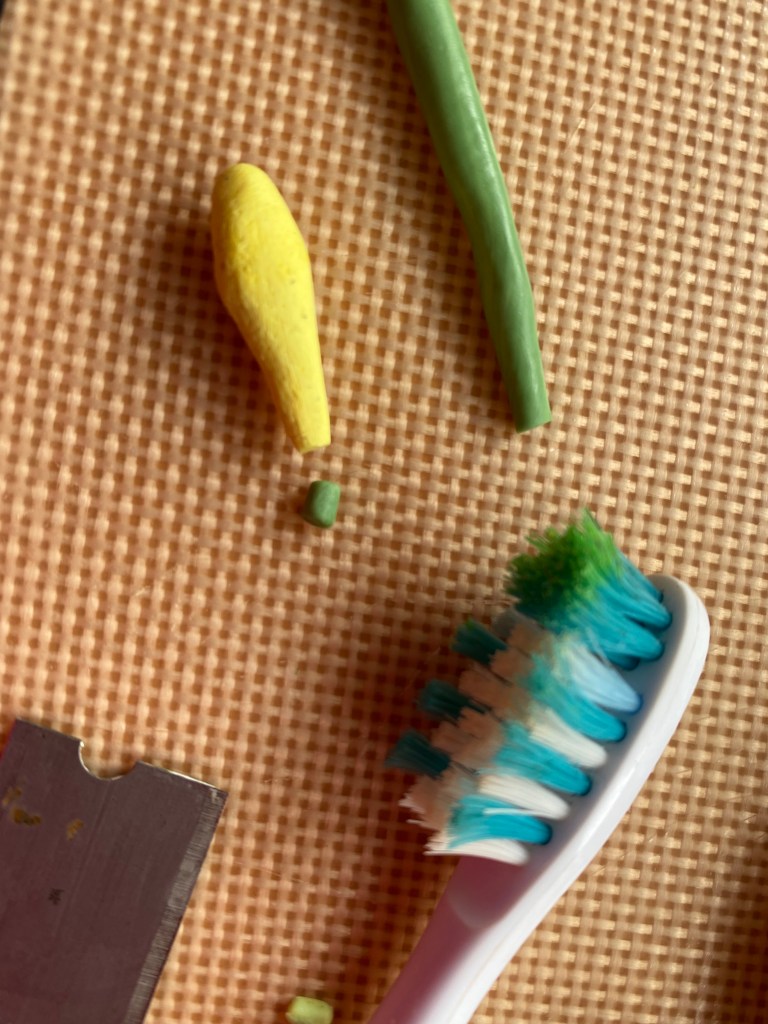
These are my tools. The razor blade is used constantly; the others as needed. These types of tools are readily available on Amazon and in craft stores.

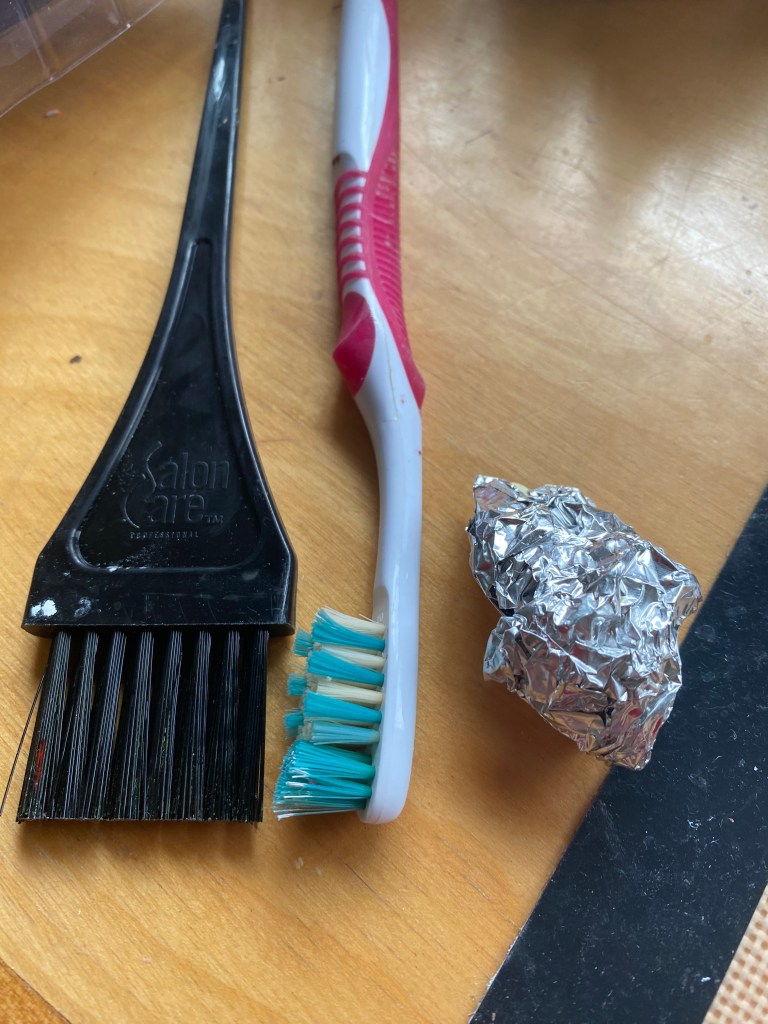
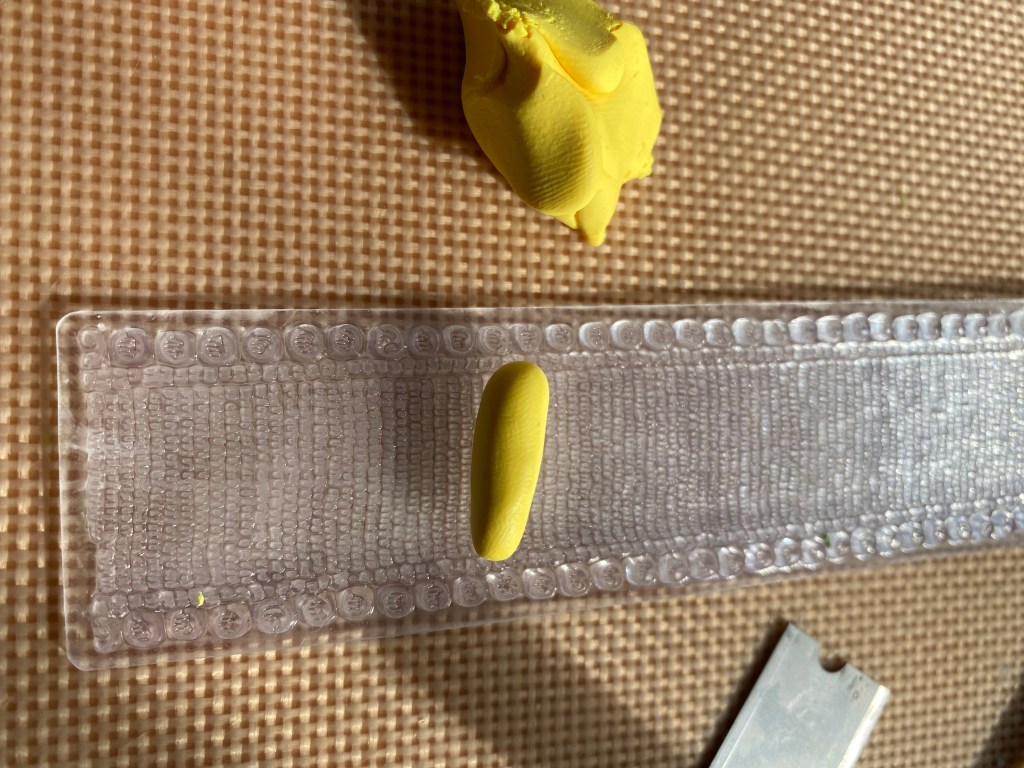
My “texturizers”. Essential and easy to find around the house.

My sanding block for finished pieces. This and small grit sandpaper are quite useful.

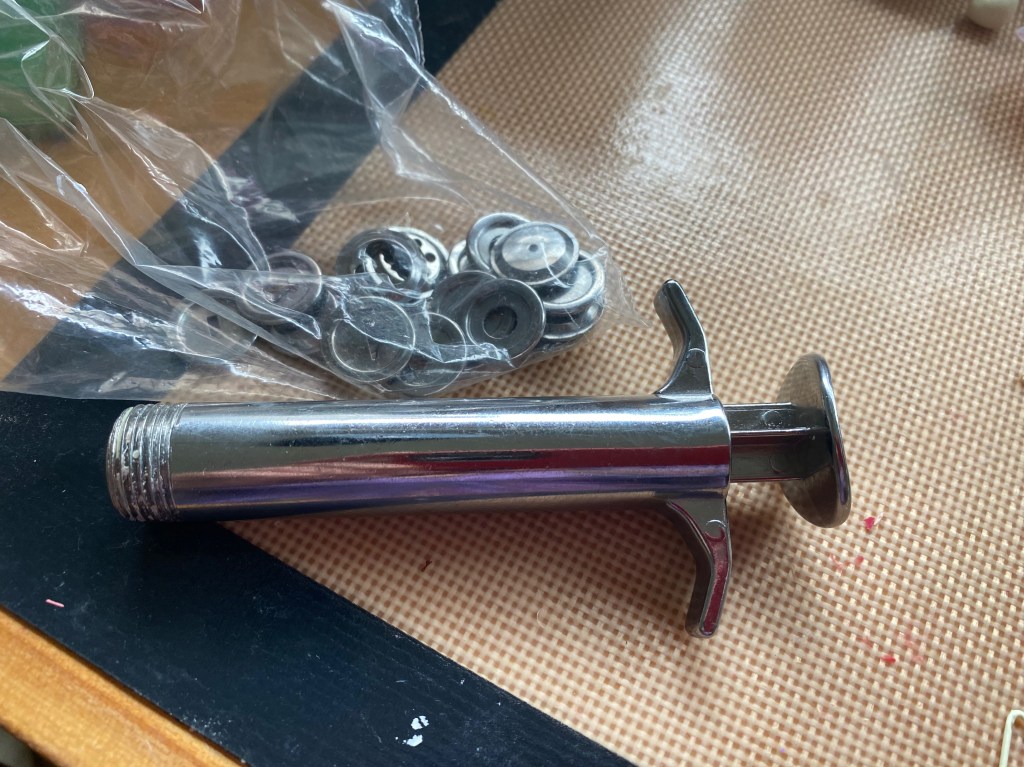
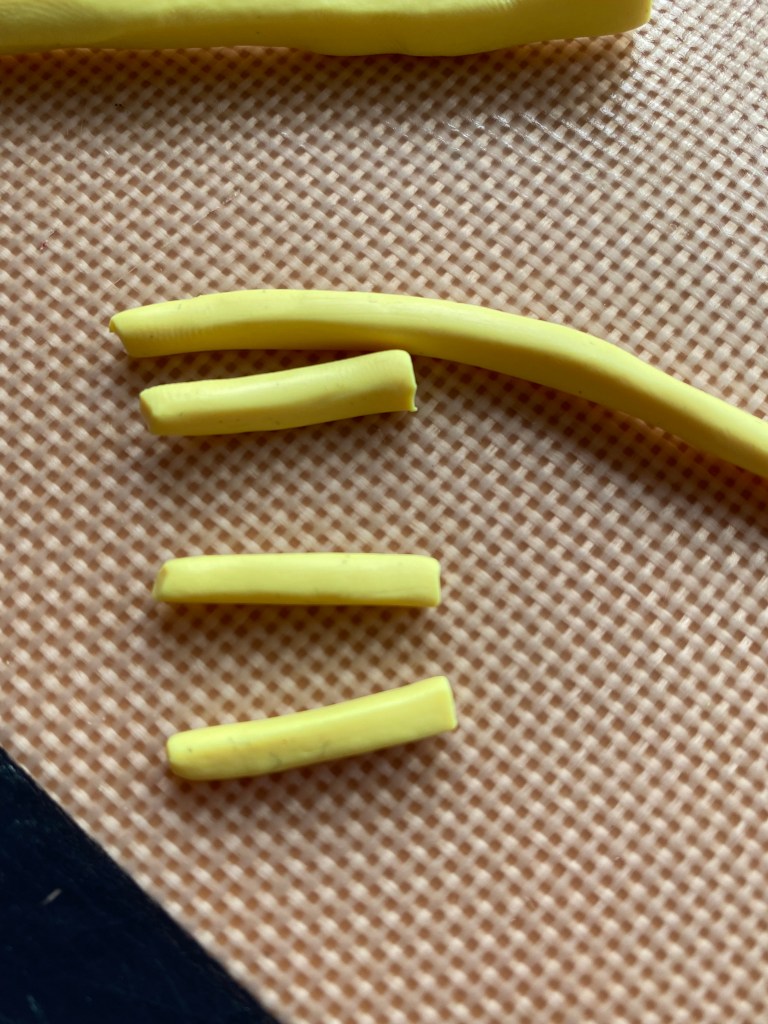
As I’m getting more experienced, I’m using this small extruder more frequently. It’s a pain to clean, but it makes such uniform shapes it’s becoming an important tool.

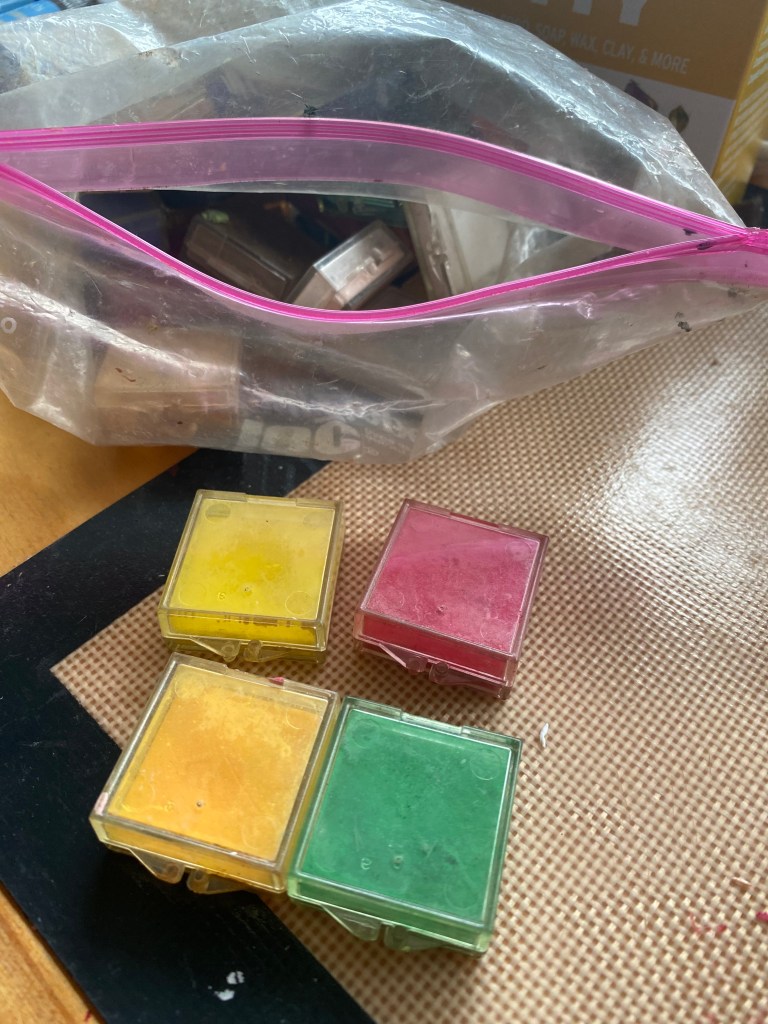
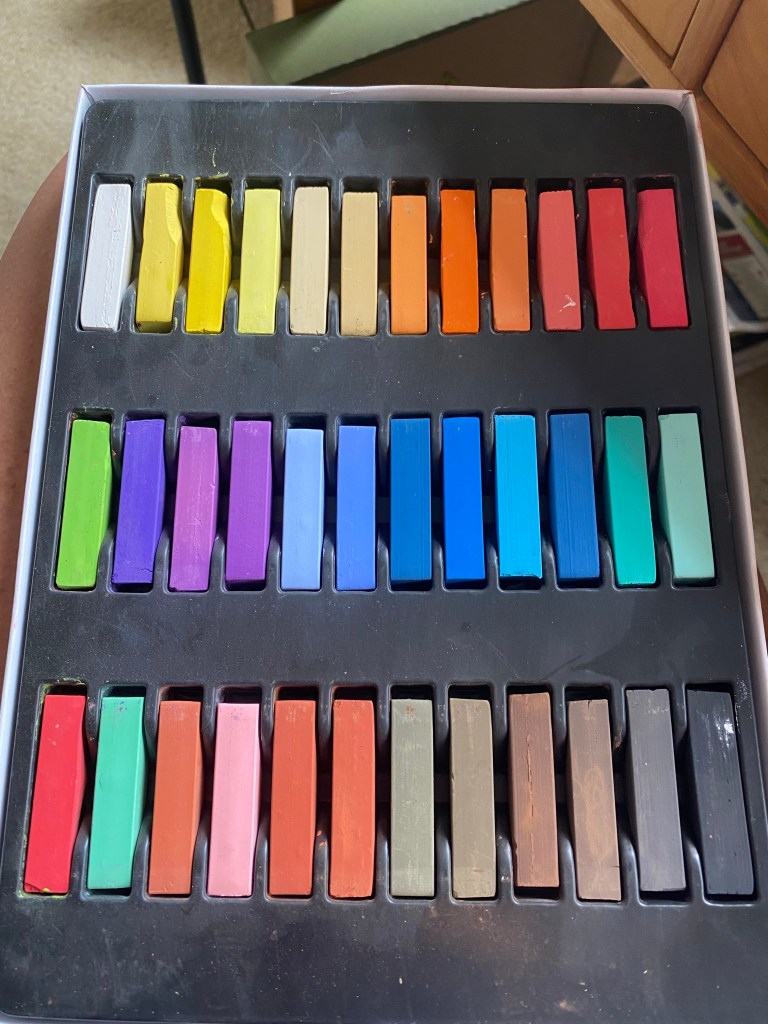
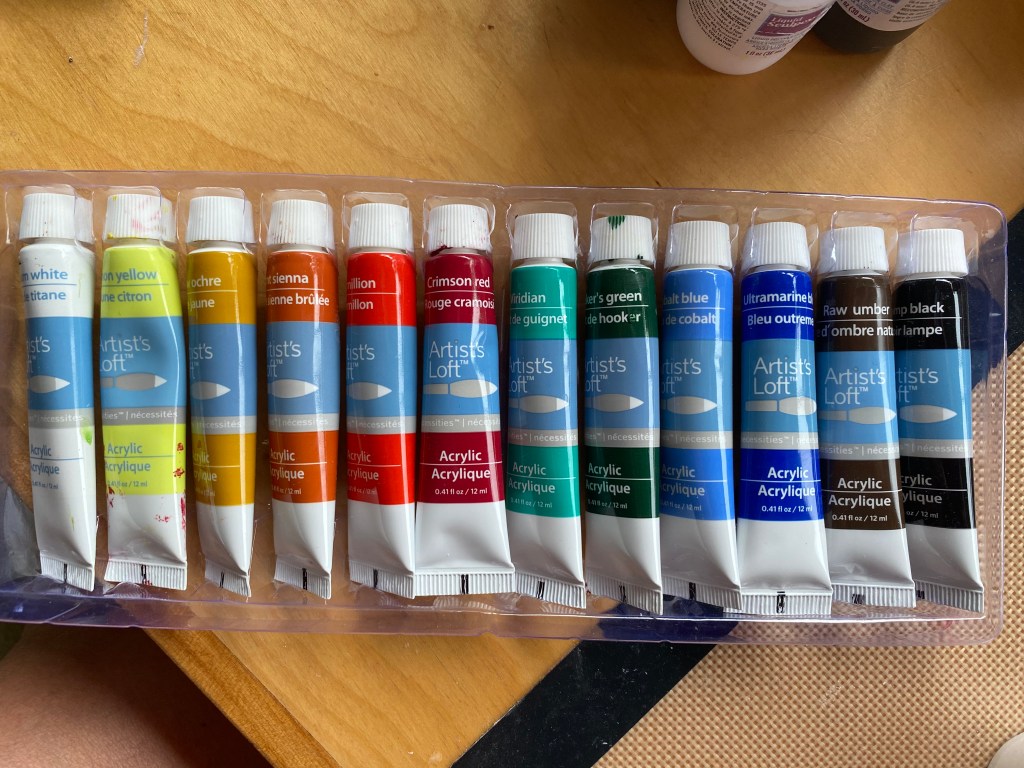
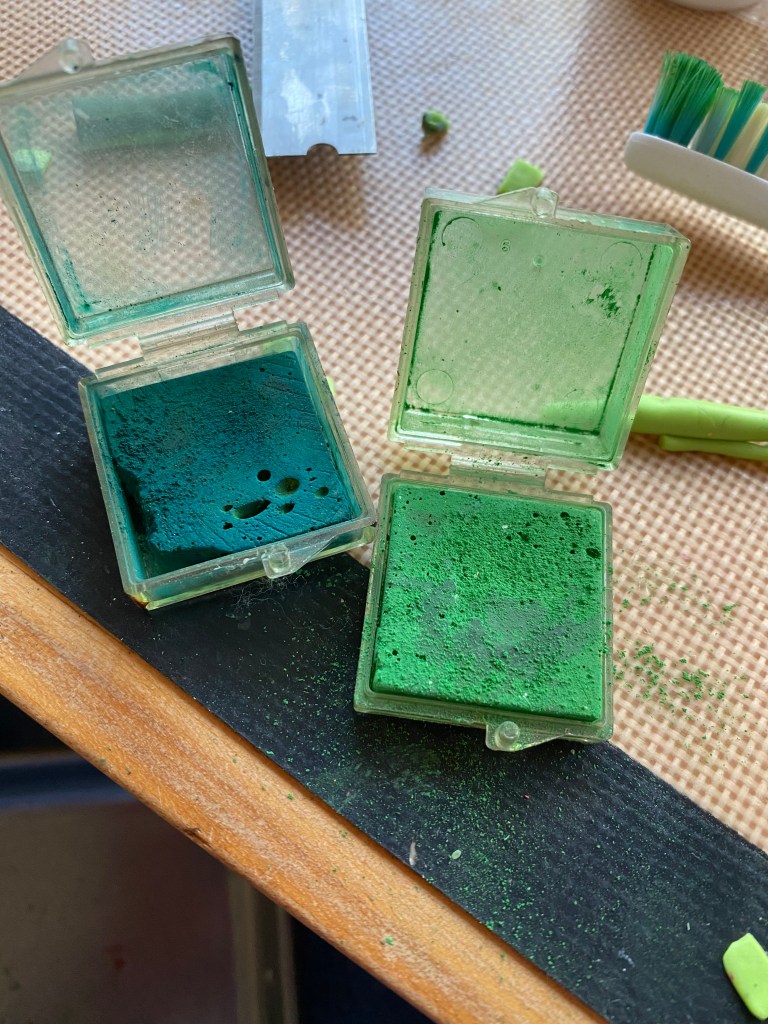
I add color to pieces with chalks, pastels and acrylic paint. The brands I use are inexpensive and easily available. (Add paintbrushes to your shopping list as well as they work the best for applying the colors.)

A pasta machine is very helpful for blending clay; flattening clay to uniform thicknesses; and conditioning /softening clay that is too crumbly to work with.

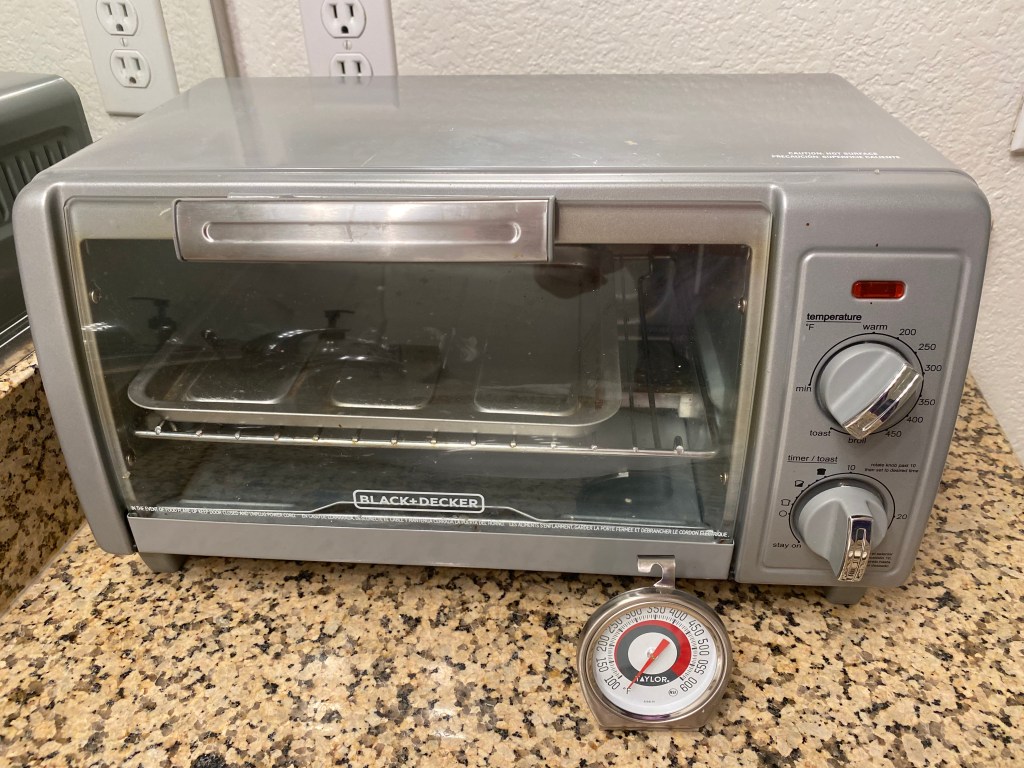
I use a dedicated toaster oven to bake my clay pieces. Everything I’ve read says it’s safe to use a regular oven, but I am overly cautious in our apartment so I set this up in the guest bathroom and use the exhaust fan when baking so fumes don’t permeate the rest of our place. I bought this toaster oven for $10 at the local Goodwill.

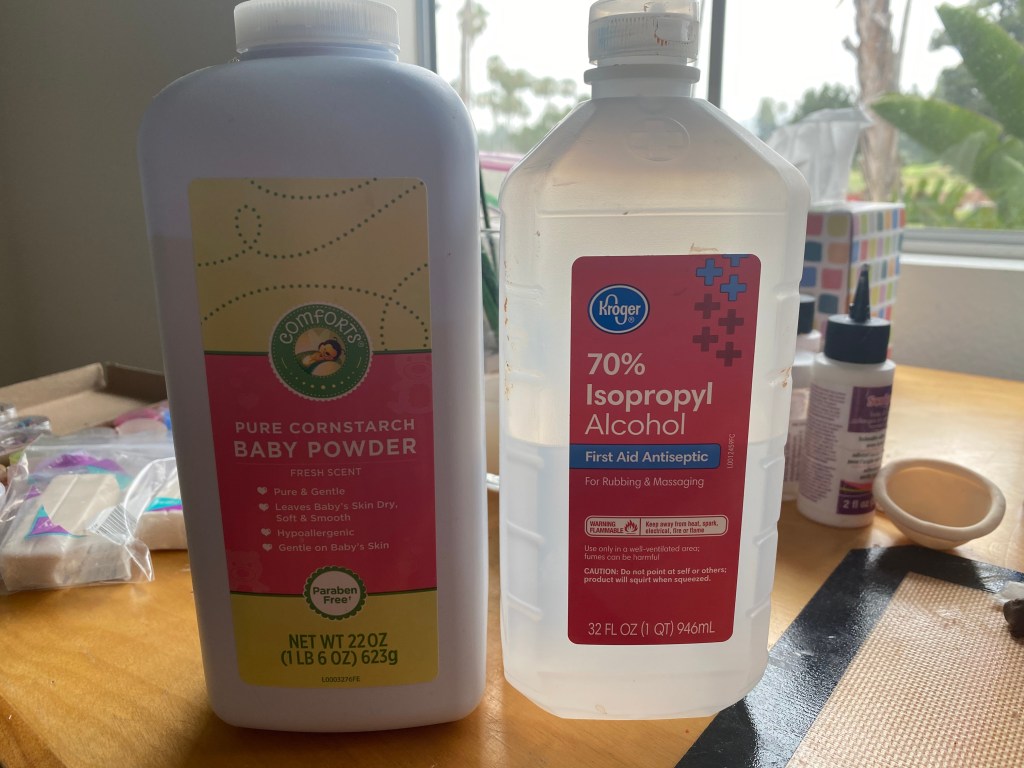
Finally, these two items are quite important. I use the alcohol CONSTANTLY as it’s the best way to clean up clay from surfaces, tools and hands. I used alcohol wipes for awhile but they are hard to find and too expensive. I now make my own with paper towels and alcohol. Trust me –DON’T START USING POLYMER CLAY WITHOUT THIS ALCOHOL ON HAND!

The baby powder (or cornstarch) is a must when molding or stamping clay as it prohibits the clay from sticking to another surface.

I hope this helps anyone who wants to try sculpting with polymer clay. There are lots of how-to books available that recommend these and other supplies and have great step-by-step instructions on how to use everything. I have also learned a lot watching YouTube videos. (It’s astounding how it is so much easier learning new things with the internet than it was just a few years ago!) Don’t hesitate to contact me with any questions–just write a comment below and I’ll get back to you asap.

Joan


Let Them Eat Cake!

Continuing the baked goods theme (and coinciding with a multitude of family birthdays, including my own!), I focused on making mini cakes the last few days.

The basic process is as follows:

Each cake was made in a similar fashion, although on most of the cakes I chose to apply more “fluffy” icing (a mix of clay and translucent liquid) instead of the flat fondant look.

Baby Bear and Unicorn Sprinkles cakes.

Victoria Sponge and Lemon Curd cakes.

Birthday and Valentine’s Day cakes.

The cupcakes were made with a mold I mixed out of an epoxy. First I made a clay cupcake “prototype” and baked it. I then mixed the epoxy and quickly stuck the baked cupcake in the mold and allowed it to set. Once the baked prototype was removed, I used the mold to make identically sized cupcakes out of both chocolate and yellow clay. I painted the “liners” on each piece and then added the frosting to each cake.

Pie!

I made a variety of miniature pies today. I was on such a roll, I forgot to take pictures of my process. Basically I made and baked the crusts first, then added the appropriate colors of clay mixed with translucent liquid to each pie. Pieces of baked clay were added to represent the cherries, apples and pears.

Pies “cooling” on the porch.,

Cherry pie and cherry tarts.

Apple pie and apple tarts.

Lemon and pear tarts and a key lime pie. (I made the lime slices on the pie as well.)

Despite my frequent walks in the California sunshine, I swear I’m gaining weight just making this fake food every day.

Doughnuts and Cookies

Making these doughnuts was so much fun–and quite easy. I simple poked holes in small balls of clay and rounded all of the edges. I texturized them with a toothbrush, baked them, then decorated them with various chalks and liquid polymer colors.

I used a razor blade to chop small resin decorations I bought at Michael’s into tiny pieces and used them for sprinkles.

When they were done baking, I used high gloss glaze on the icing and plain glazed donuts.

The cookies were even easier: small discs of various colors of clay each decorated differently.

Good enough to eat….if you are a pretend mouse.

Bread Day

Today was a good day to make bread–miniature size! Of all of the small food I’ve made so far, this was one of the easier tasks. Once I had the right color of clay mixed together for the bread “dough”, I just shaped the loaves and texturized them both inside (when showing) and out with the strange assortment of tools I have here in California.

I then used used pastel chalks to color the loaves, layering colors ranging from yellow to dark brown, trying to mimic where bread would darken in the oven. Liquid polymer with small lumps of red clay made realistic jelly.

The results are pretty good. This particular project kept me hungry all day!

Miniature Corn

I worked on miniature corn-on-the-cob (in their husks) the last few days. First I chose and mixed a variety of green colored clay and rolled them through my pasta machine several times. This eventually produced a thin piece of clay with subtle striations.

I cut the leaf-shaped corn husks with my razor blade and set them aside so they would be a bit stiff when I needed them.

The actual corn was made with bright yellow clay, rolled into a thin log then cut into appropriate lengths. I textured it by rolling each piece on a silicone stamp with a grid pattern. (This worked fine for the pieces inside of the husks, but I don’t like the texture of the stripped corn. More on that later.)

Finally. I carefully layered the husks over each piece of corn, leaving some of the pieces with exposed corn and others completely covered. I added a small piece of light green clay for the stem.

Before baking I added some texture to the husks and a light wash of dark green acrylic paint to add depth. I experimented with a couple of fibers for the corn silk: shredded twine and glossy plastic from a cheap floral pick I bought at Michael’s. The twine looks best but I only added it to a couple of pieces as it’s just too messy looking and that detail won’t show where the corn is going in the Mouse House.

Back to the texture of the corn…from a distance, the pattern from the silicone stamp gives the illusion of full cobs, but up close it looks like the corn has already been eaten! Right now I’m going to keep these as I think they will be in “water” on the Mouse House stove and the texture won’t be very visible.

Cruciferous Vegetables

Today I made broccoli and cauliflower.

The hardest part with making these was mixing the clay to get the right colors. Once I did that it was pretty straightforward. I made bright green, translucent stems for the broccoli and baked them before adding dark green balls and texturizing them with a toothbrush. I then carefully applied pastel chalks to these heads before I baked them one more time.

The cauliflower was made by making the white florets first, then I wrapped a few leaves around them that were leftover from another experimental cane.

These things are tiny!

A Yellow Day

Bananas, lemons, and squash, oh my!

I pulled yellow clay out this morning and worked on the bananas first. I rolled a soft yellow with translucent clay into a log then cut it into 1/2″ pieces. Then I carefully “squared” these pieces so they would have ridges, pinched the ends closed, and stretched the stem end out a bit. I stuck some of the bananas together at the stem. Then I carefully added very thin brushstrokes of green at the ends of the bananas and painted the stems brown.

After baking, I added a few more brown spots and touched up the paint on the stems.

I added a brighter yellow piece of clay to my leftover “banana” clay to make the yellow squash. These were simple to shape, then I added texture with a sanding block and a toothbrush. I cut the stem ends with green and shaped them with my razor blade. Finally I added a thin coat of yellow paint to add depth of color before baking them in the oven.

The zucchini was made with clay that I rolled out of strips of both light and green clay, as I wanted to capture the streaks of color found in that type of squash. I added light green stems to both ends and baked them in the oven.

The lemons were rolled with the remaining yellow clay, texturized with a brighter yellow liquid polymer on a toothbrush, then baked. I covered them with gloss and put them in a bowl I made yesterday for fun (the bowl is out of scale for the Mouse House but I wanted to decorate something with the yellow and blue cane slices I made for practice).

I need to get to work on crates and baskets so I have somewhere to put all of this food!