Right before the holidays, I emptied all of the rooms in the Mouse House so my husband Andy and our wonderful neighbor Patrick could carry the cabinet from my basement studio to our living room upstairs. I could hardly watch as electrical wires are in every room and I fretted that they would disconnect during the move. Miraculously, it all stayed intact and every light worked after I plugged it in.
The “refurnishing” took a couple of days and a few tweaks but I can finally say…
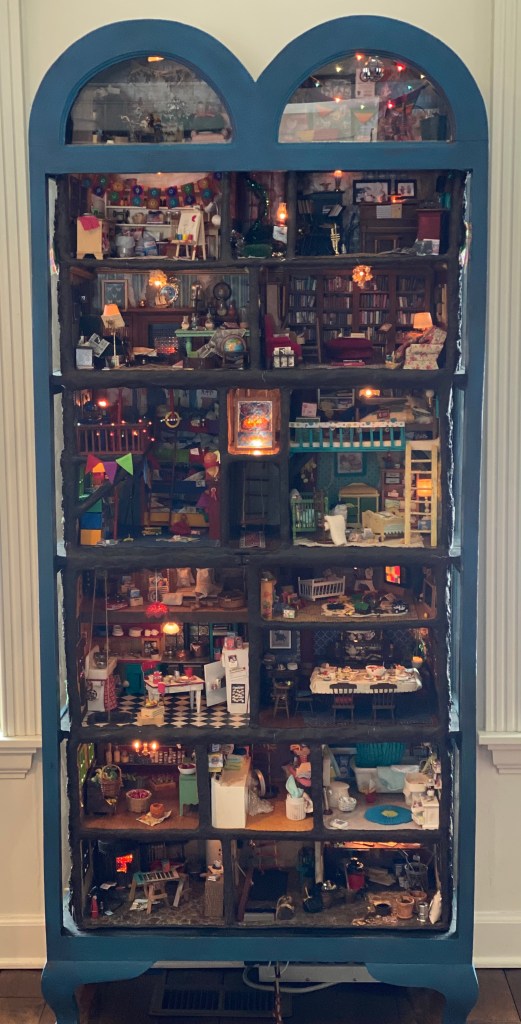
THE MOUSE HOUSE IS FINISHED!
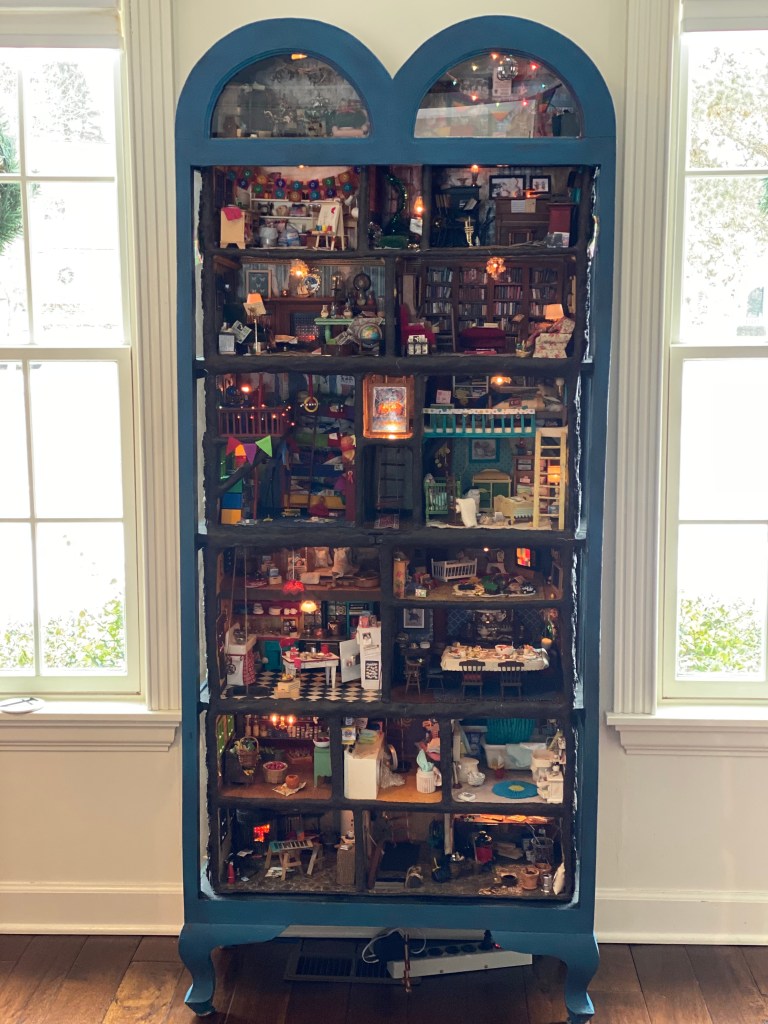
I gave myself ten years to build this and am proud to say I finished it in seven despite fairly normal life interruptions including; a five year high school volleyball coaching job; a basement flood and consequential remodel of my entire studio; an “almost” devastating fire (lots of sooty smoke!) in my basement closet five feet from the Mouse House; two sons leaving the nest; four deaths in our family; AND a three year move to California.
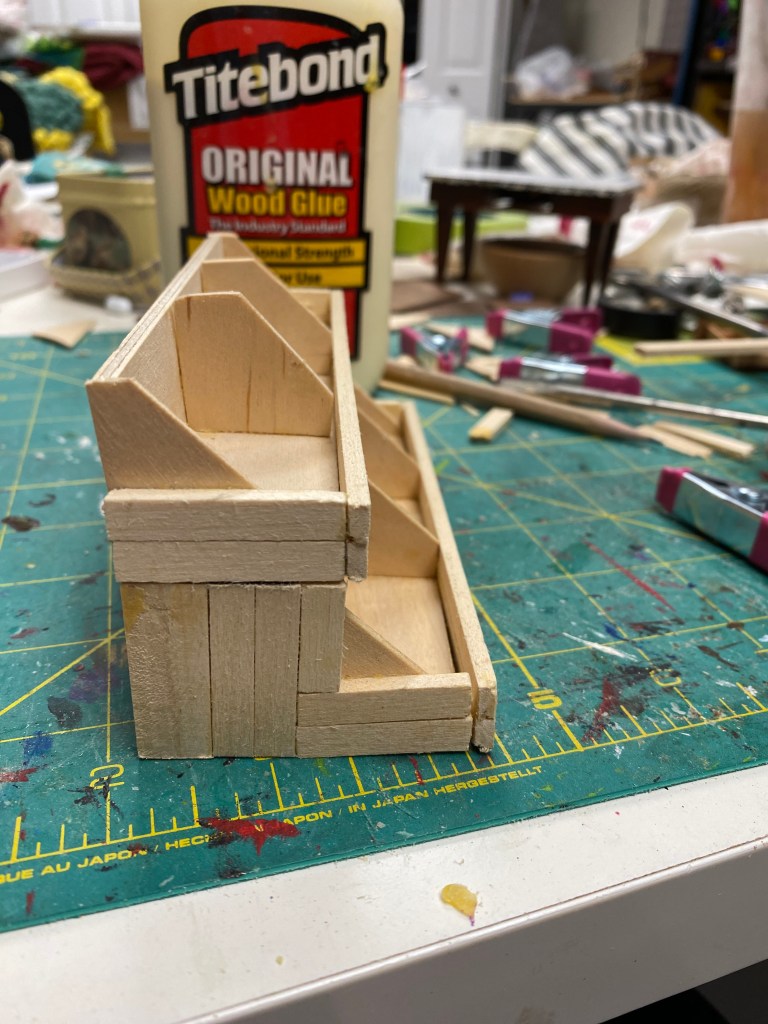
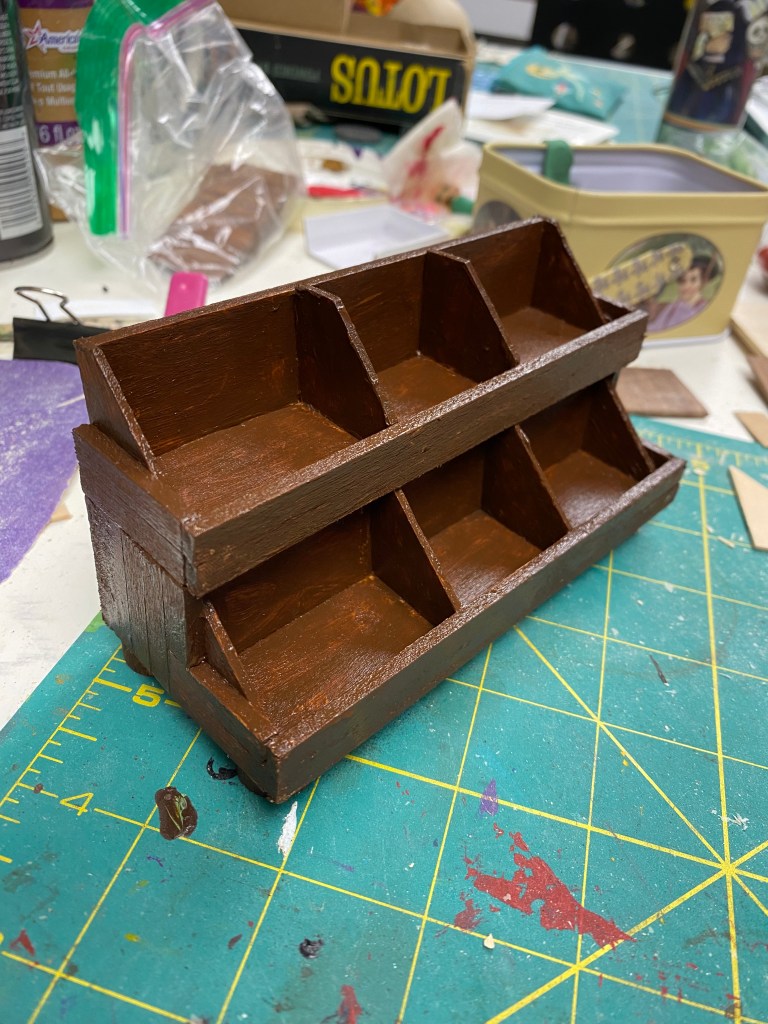
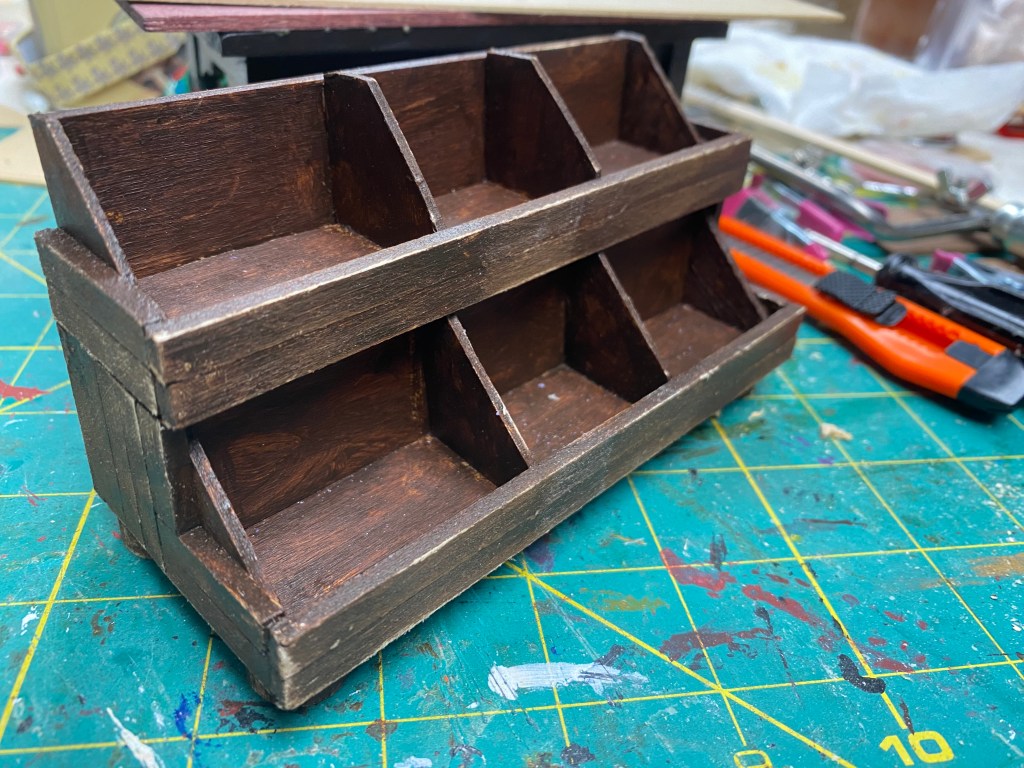
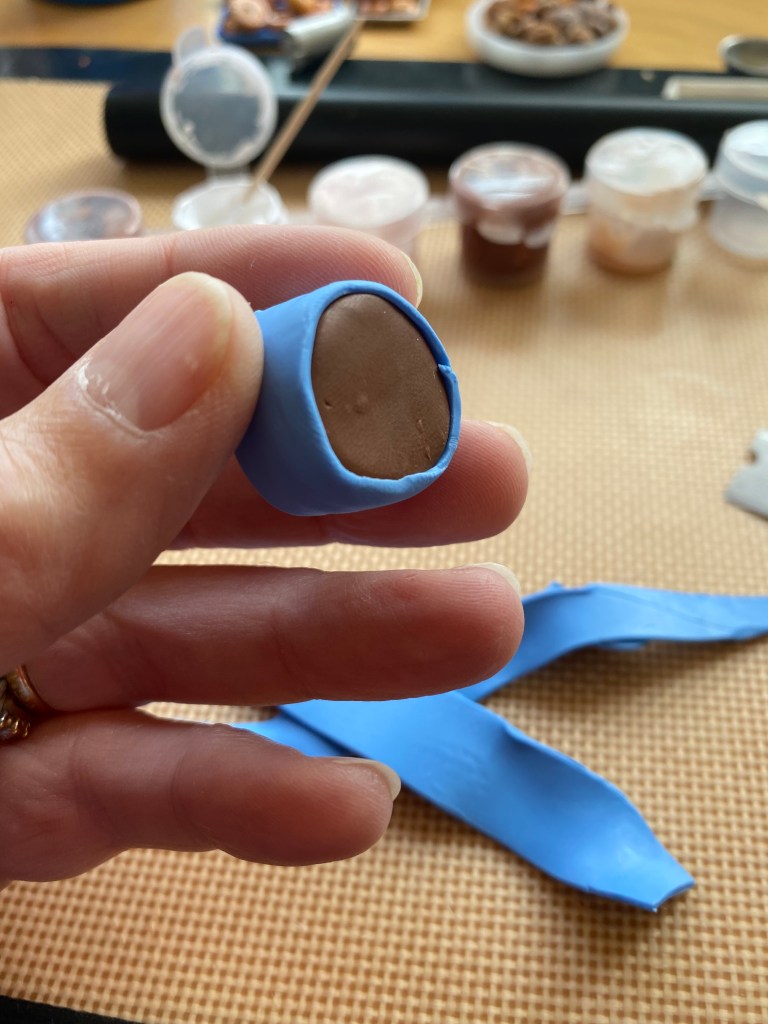
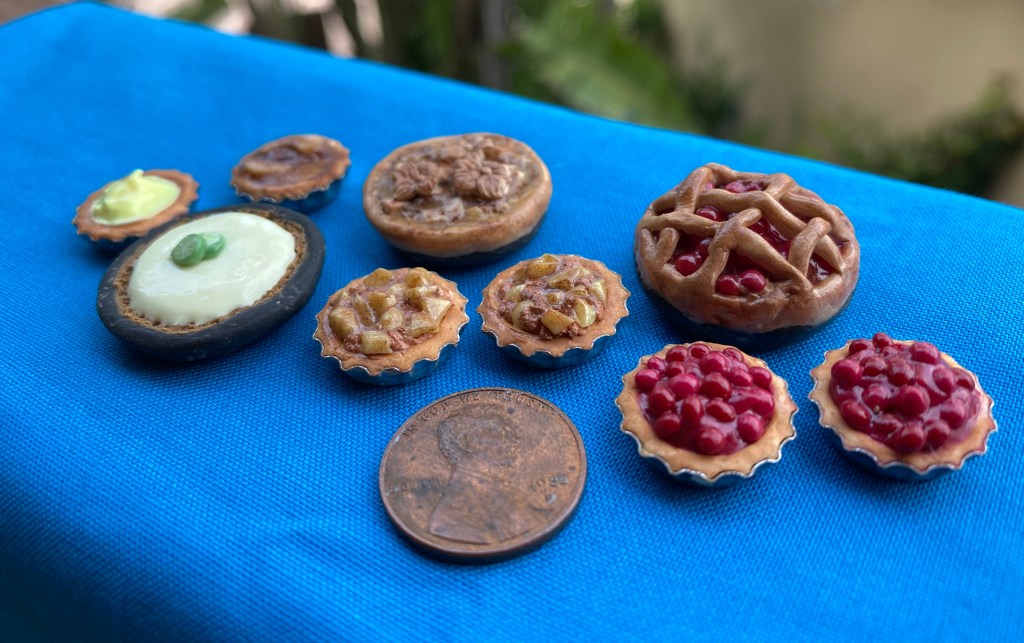
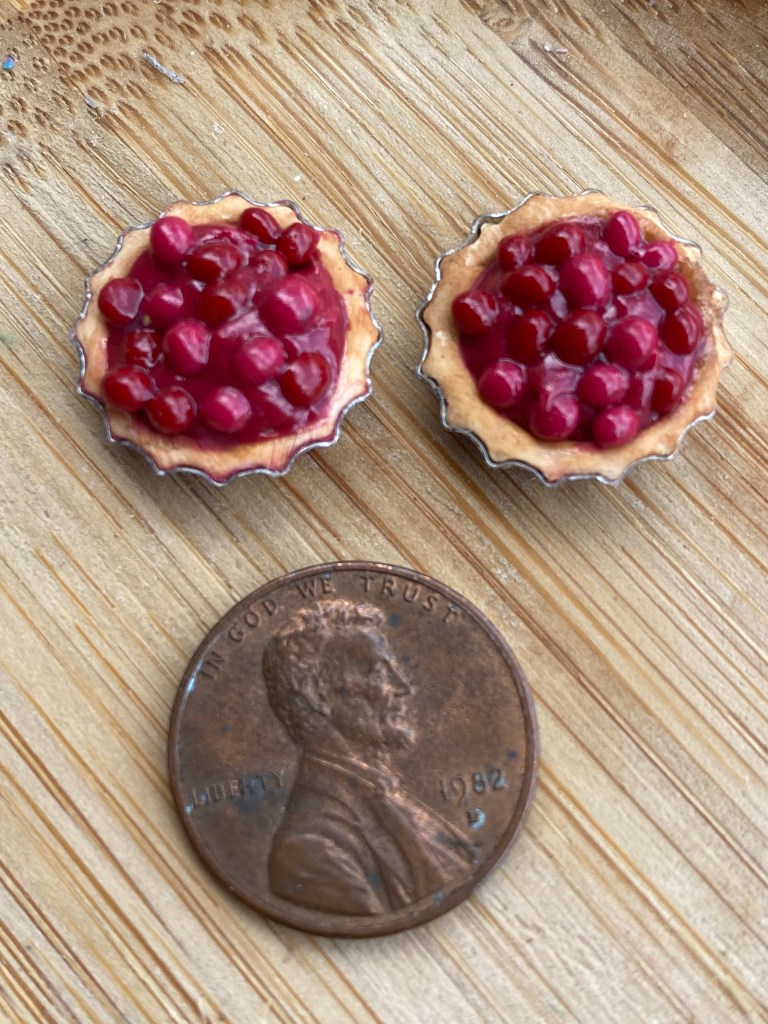
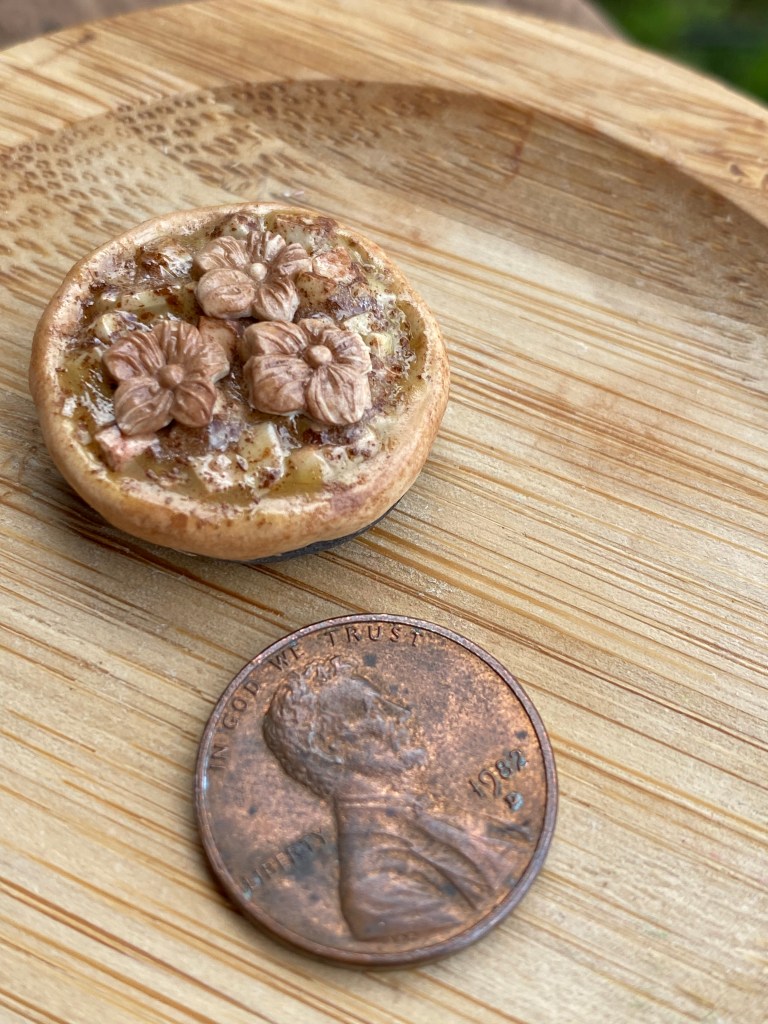
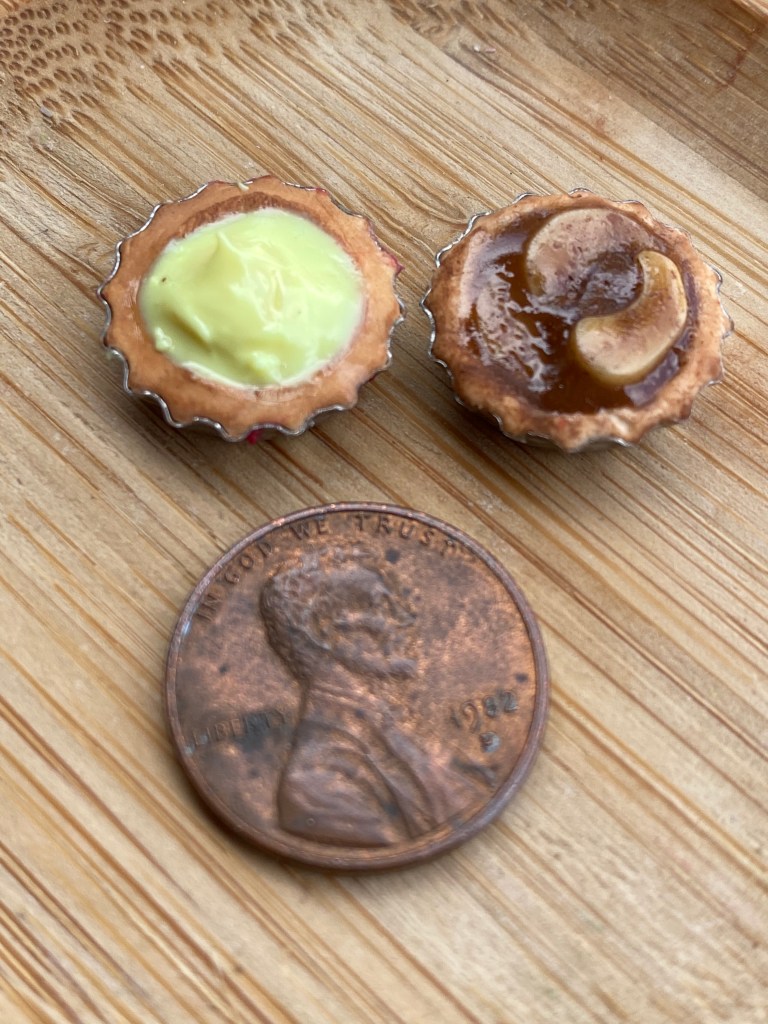
Below are photos of each room. There are LOTS more images throughout my blog with pictures of how I constructed everything as well as a better perspective as to the size of the rooms. (The scale I worked in is 1″ =1′.) Scroll way down into this blog for the many details.
THE BASEMENT ENTRY
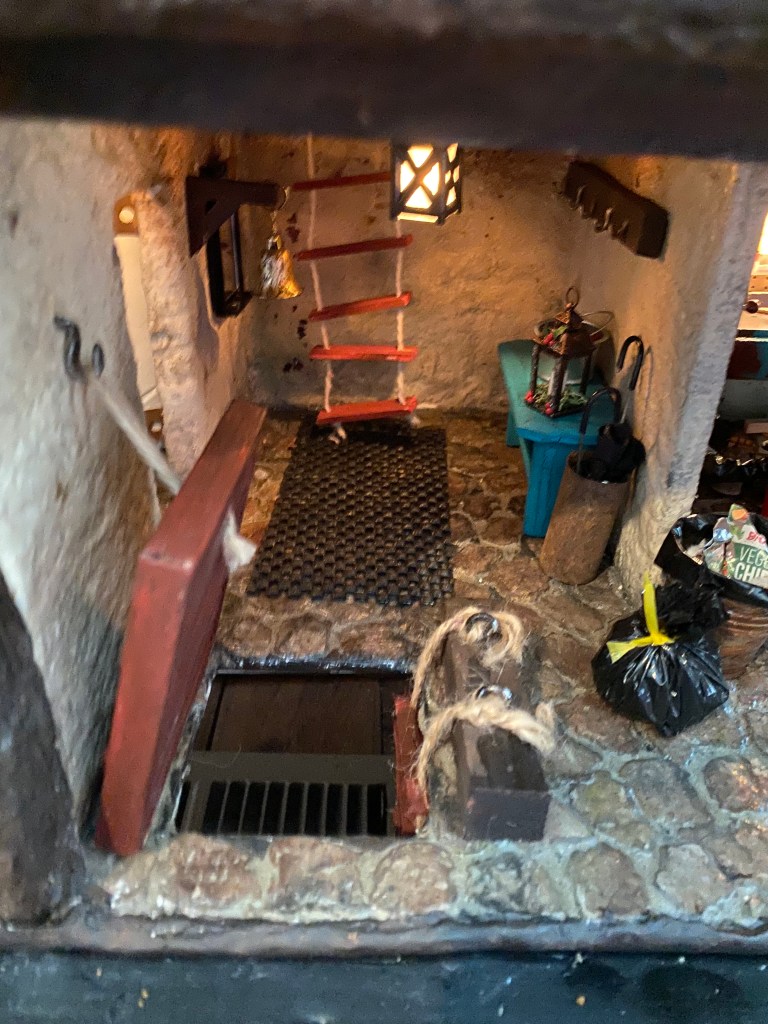
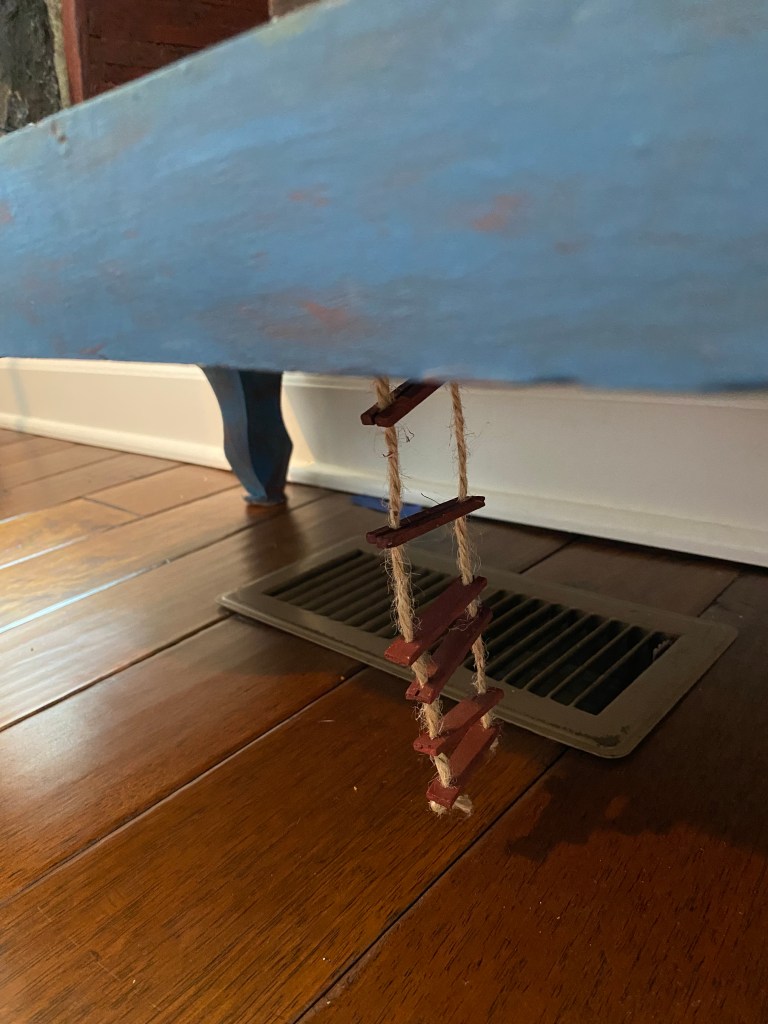
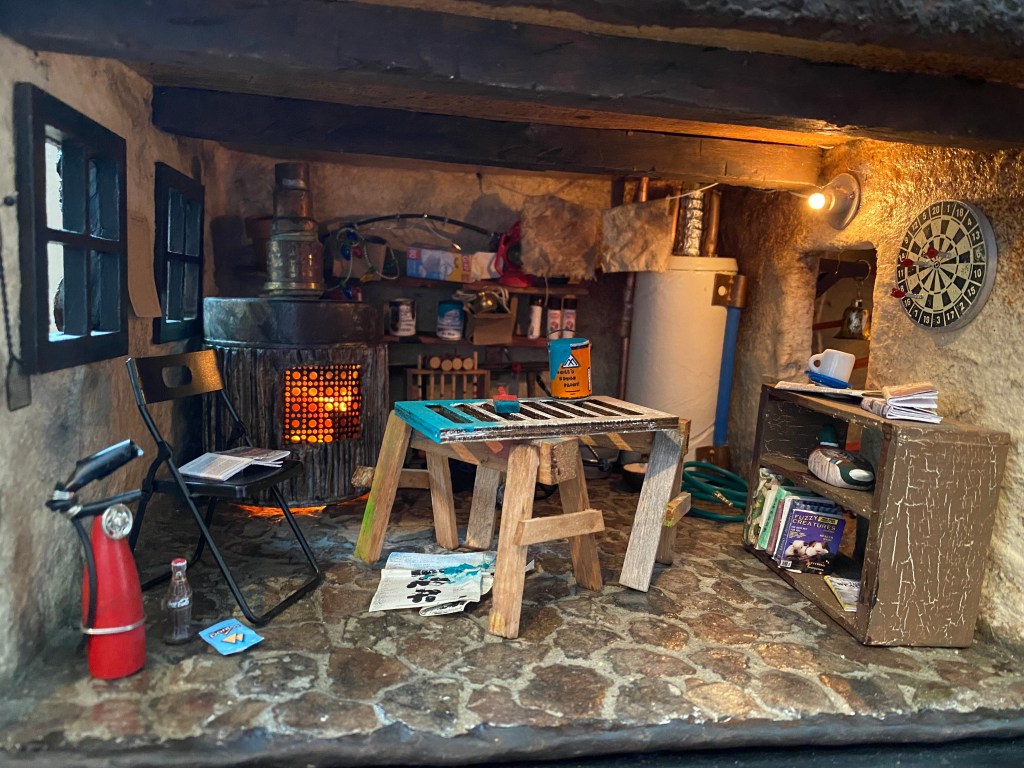
THE FURNACE ROOM
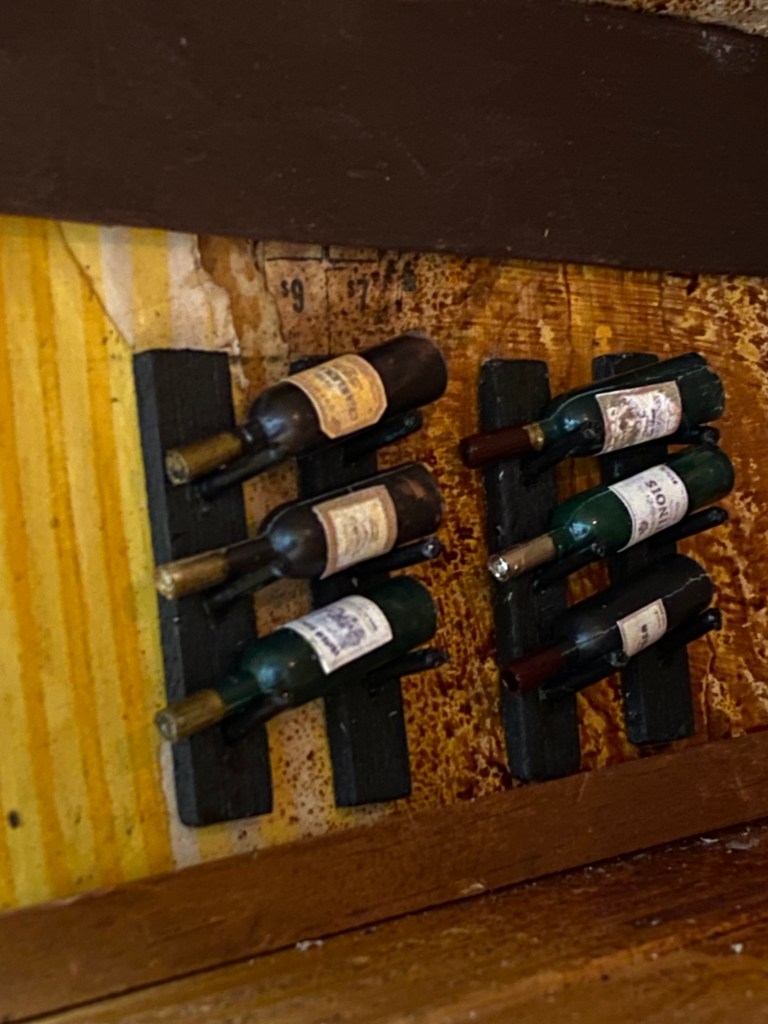
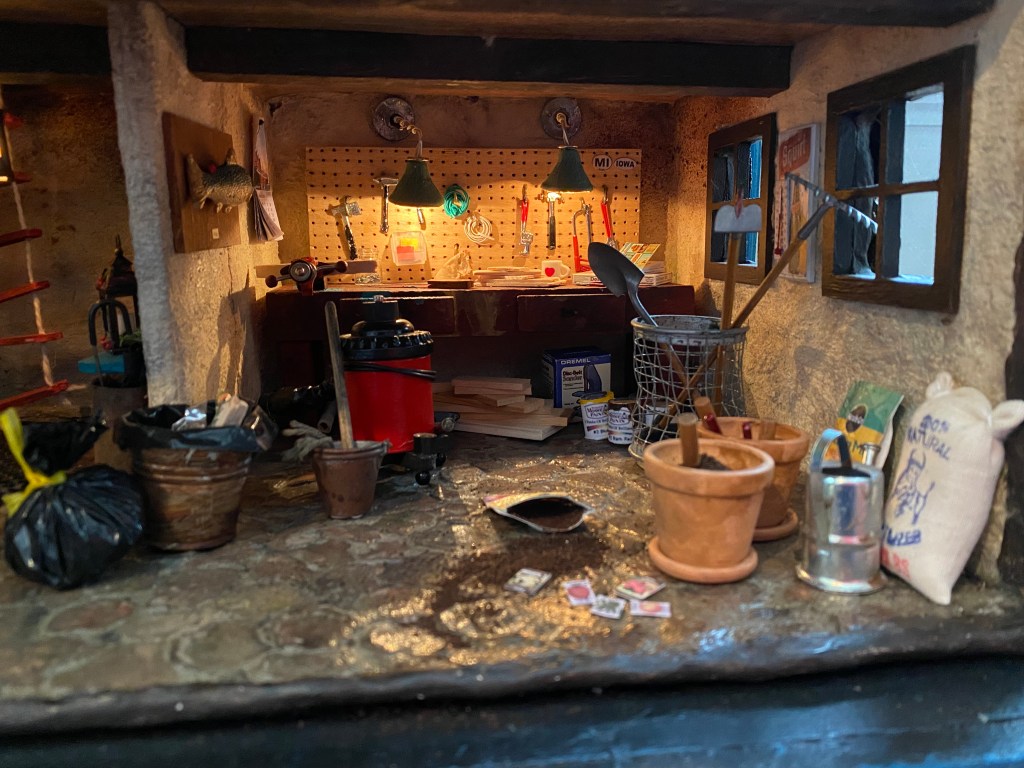
THE WORKSHOP
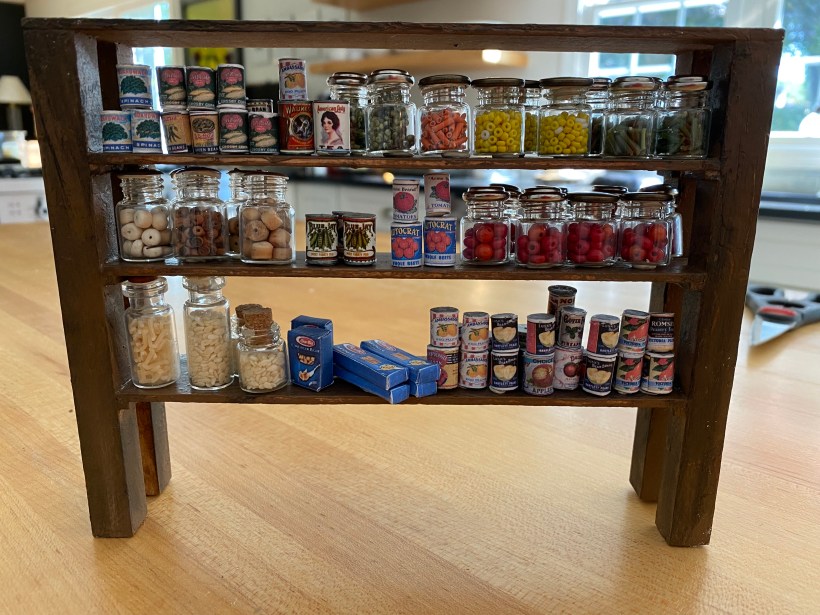
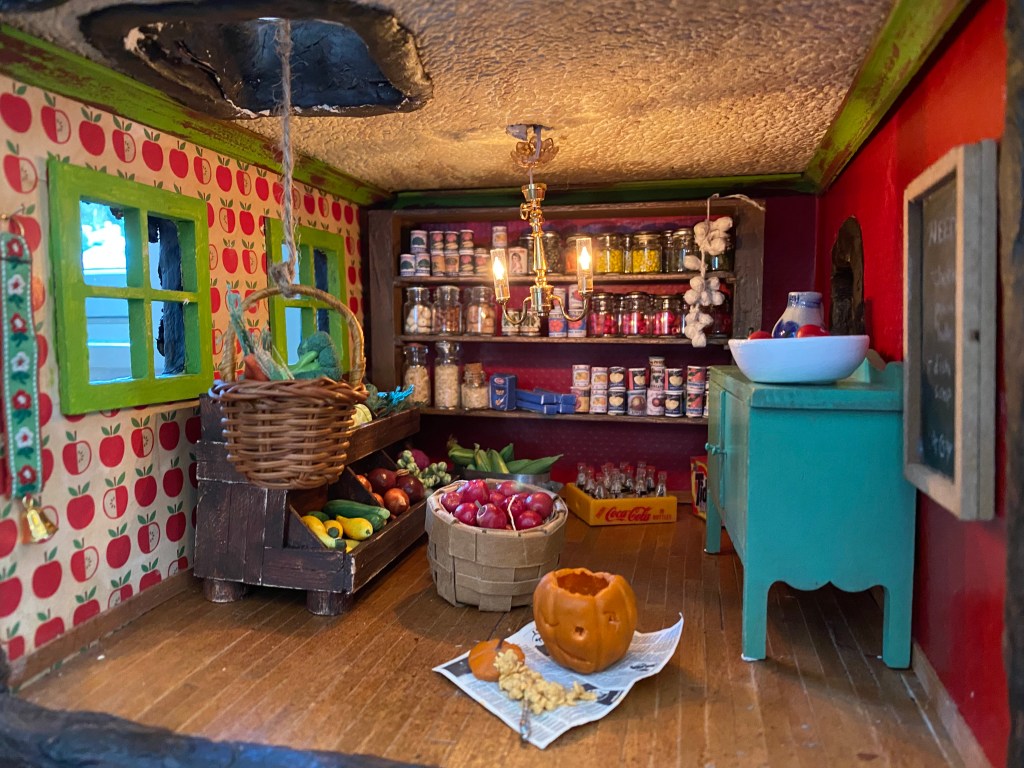
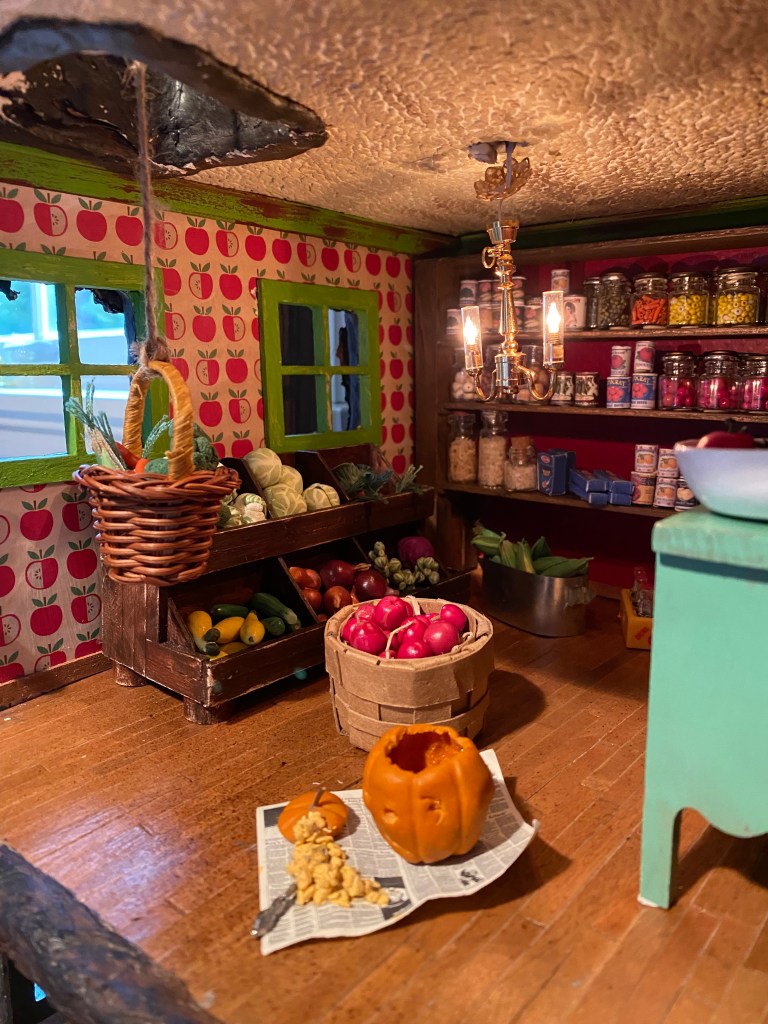
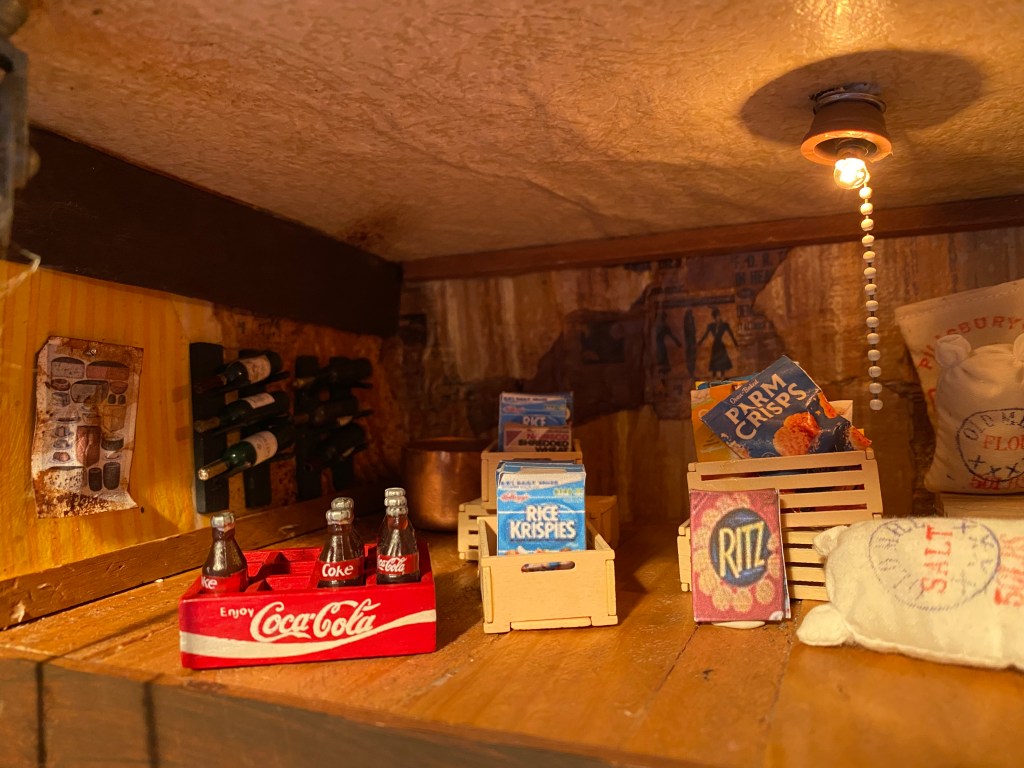
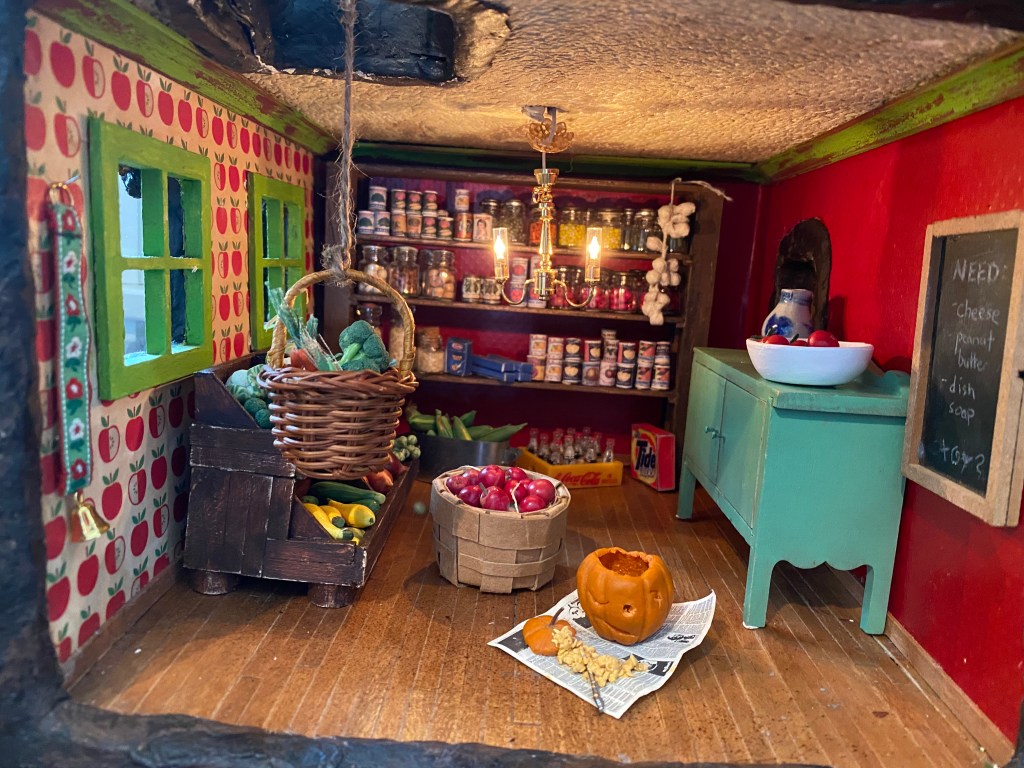
THE PANTRY
THE LAUNDRY ROOM

THE BATHROOM

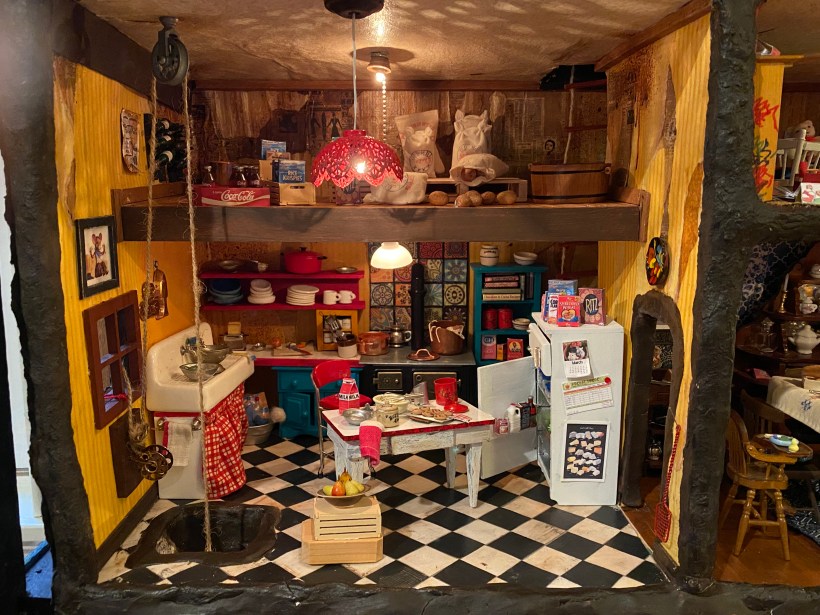
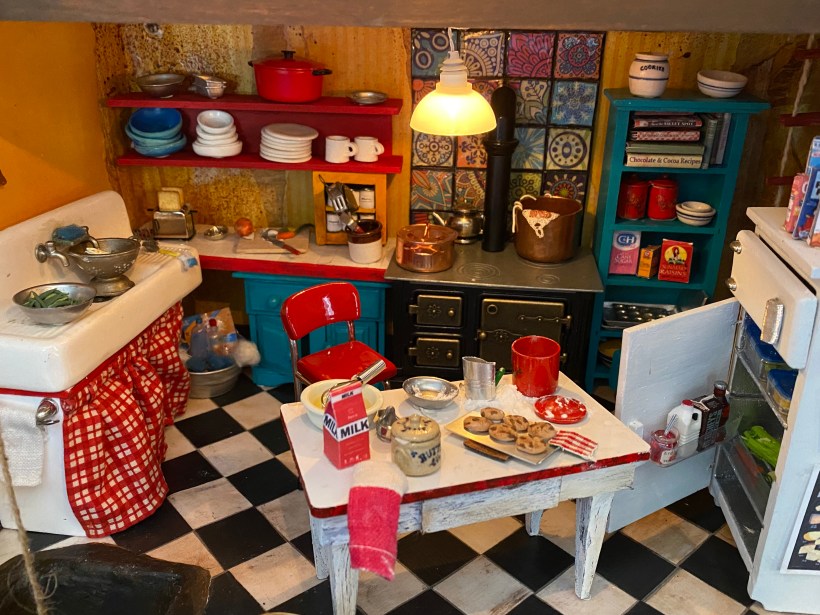
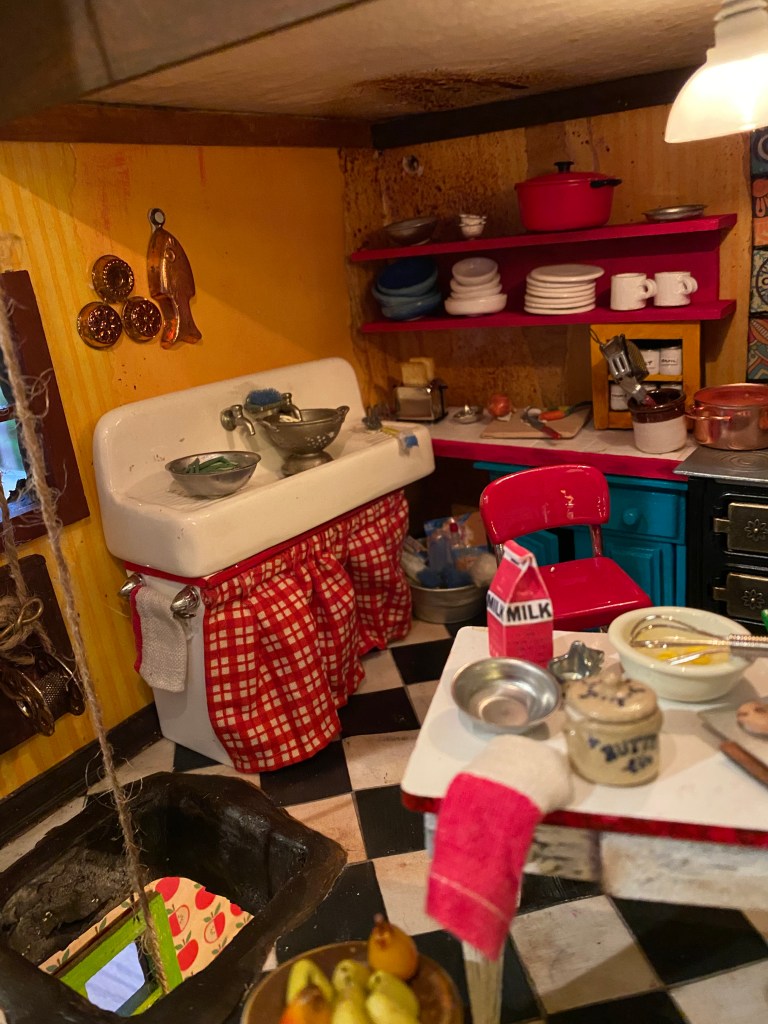
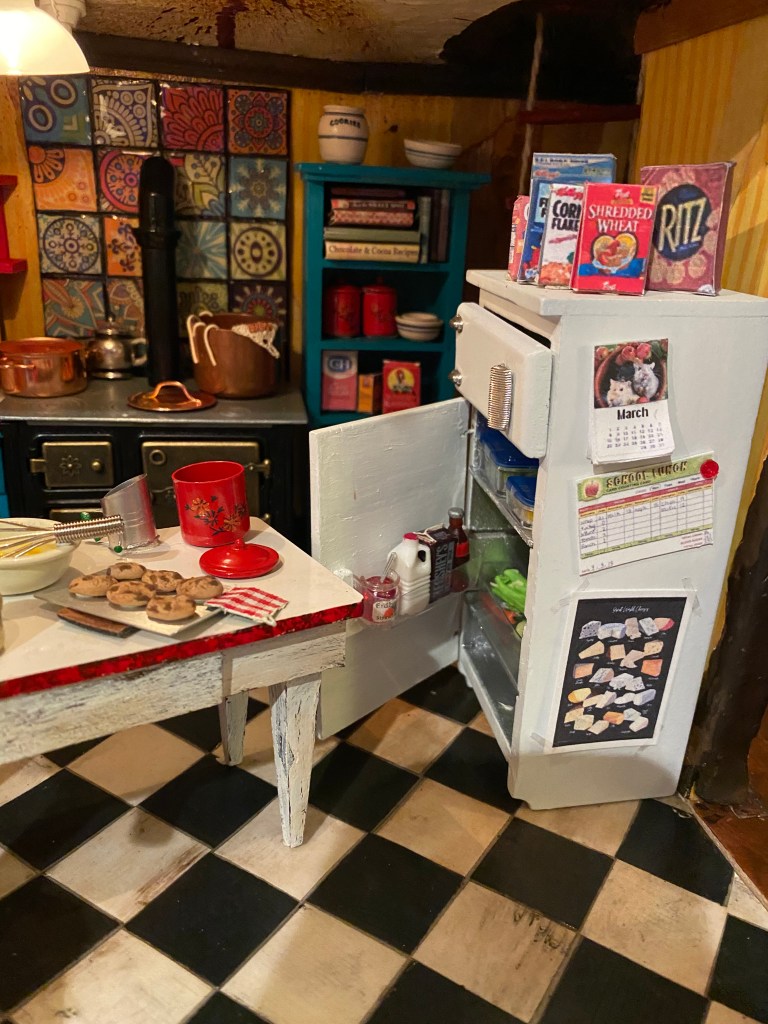
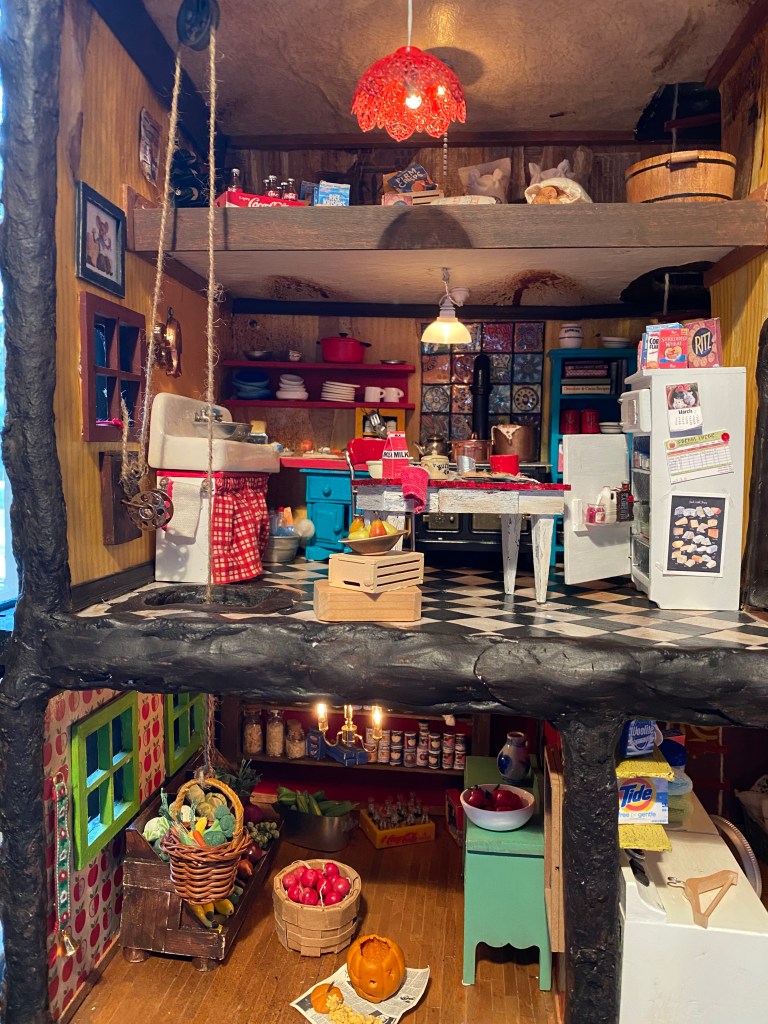
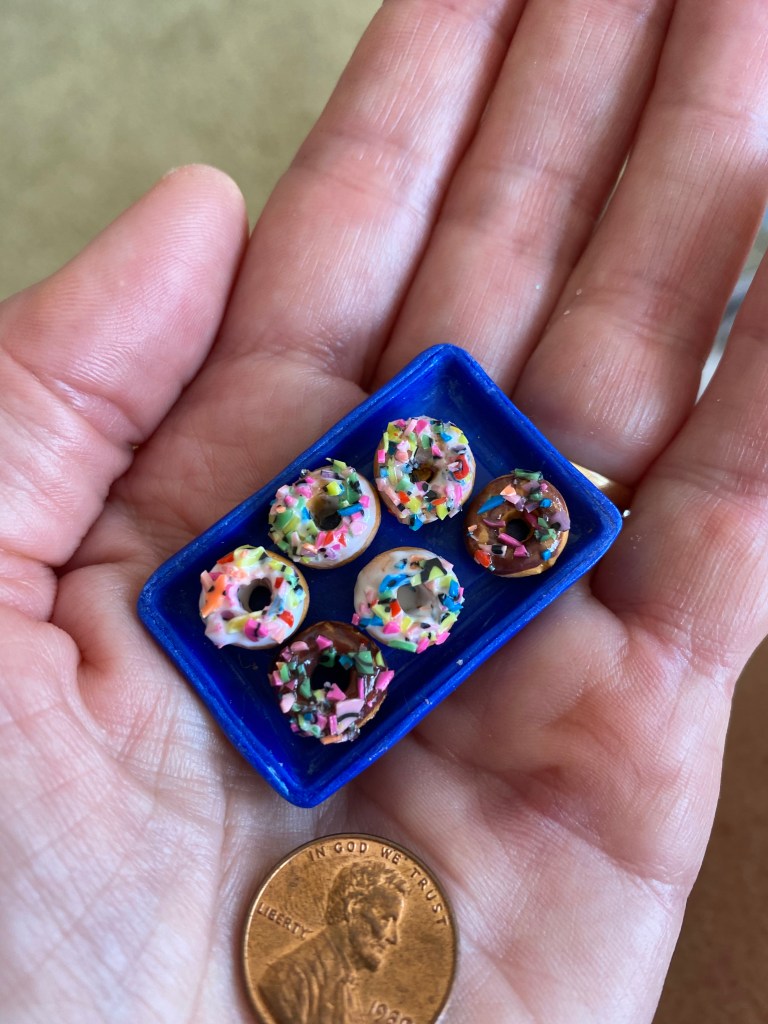
THE KITCHEN
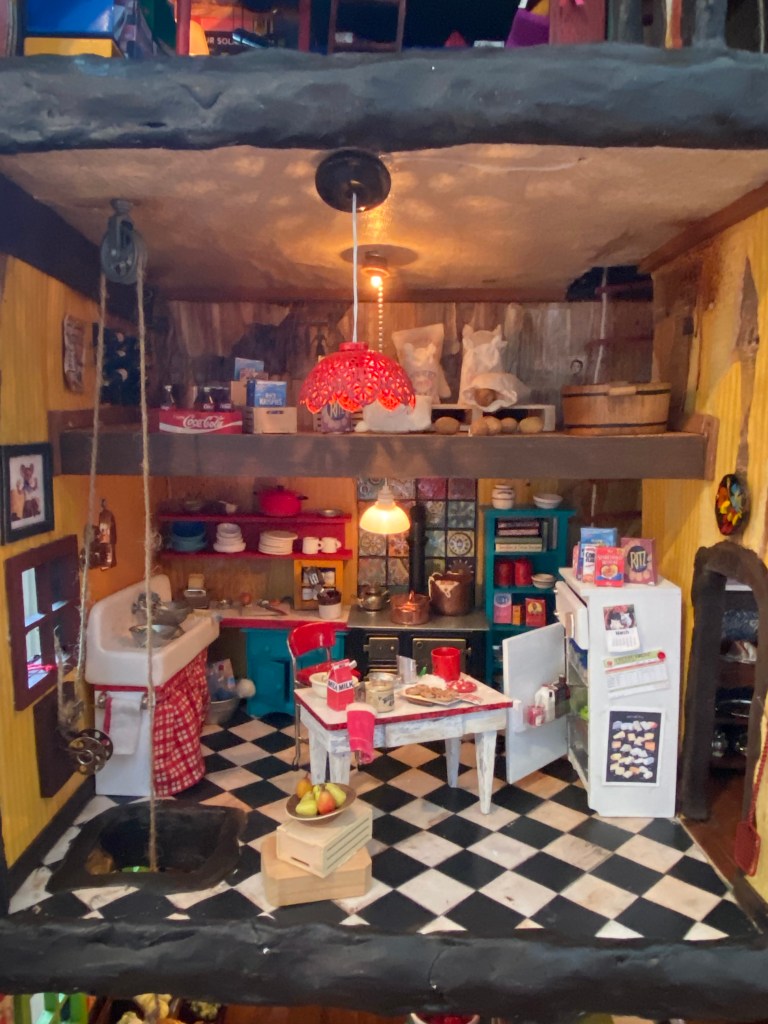
THE KITCHEN LOFT

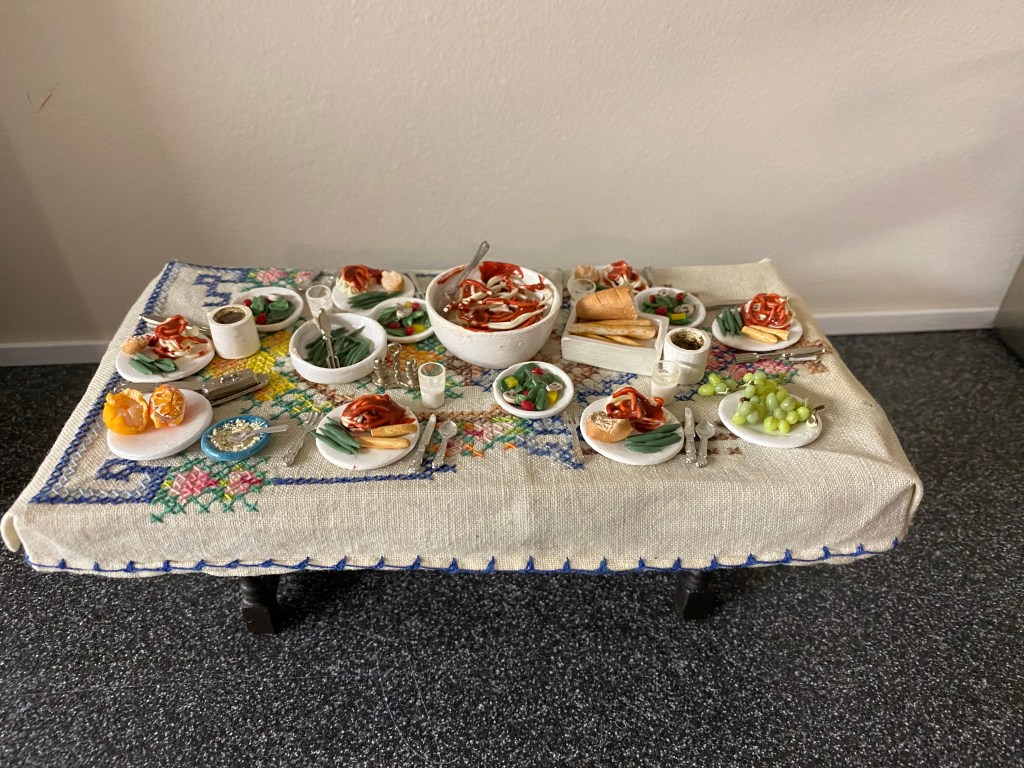
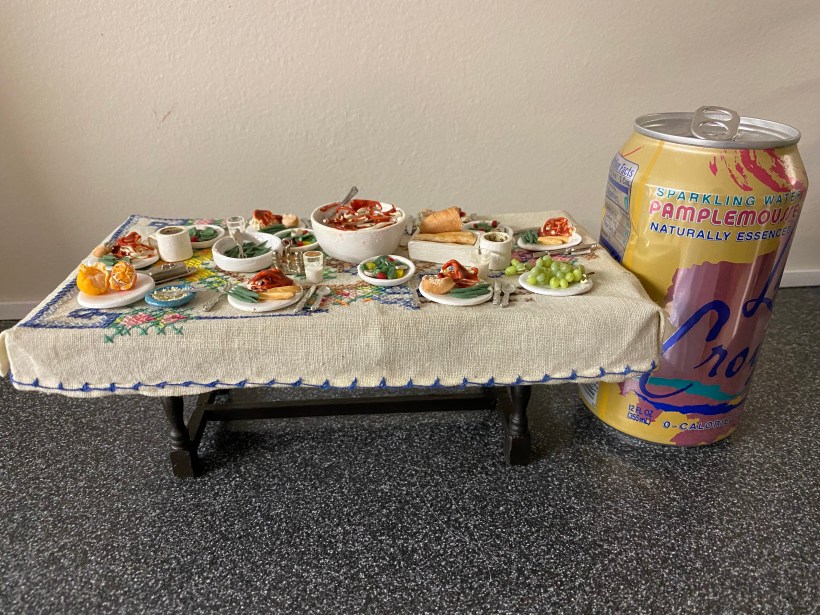
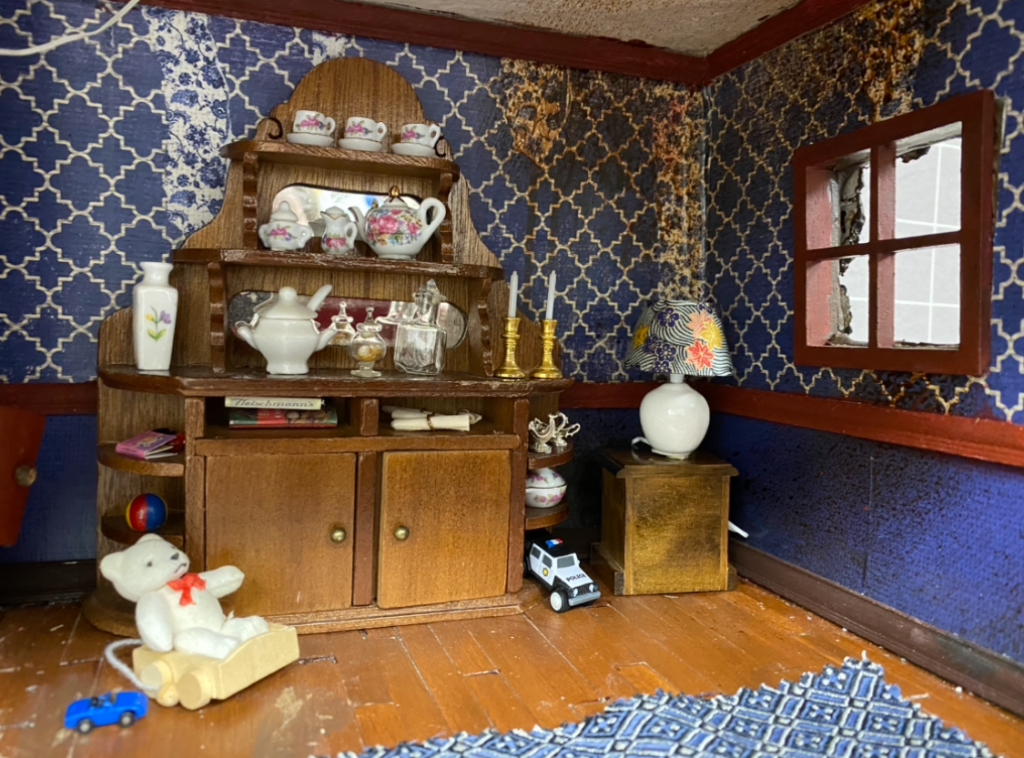
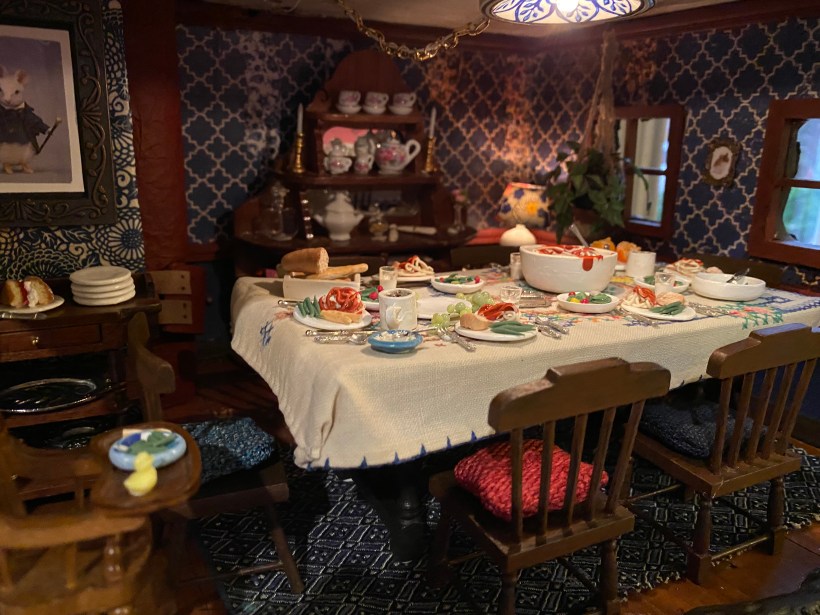
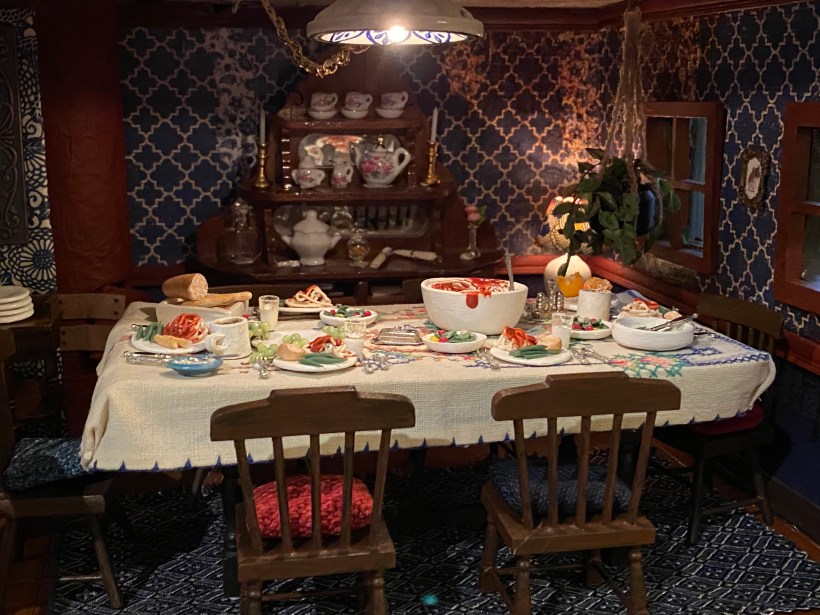
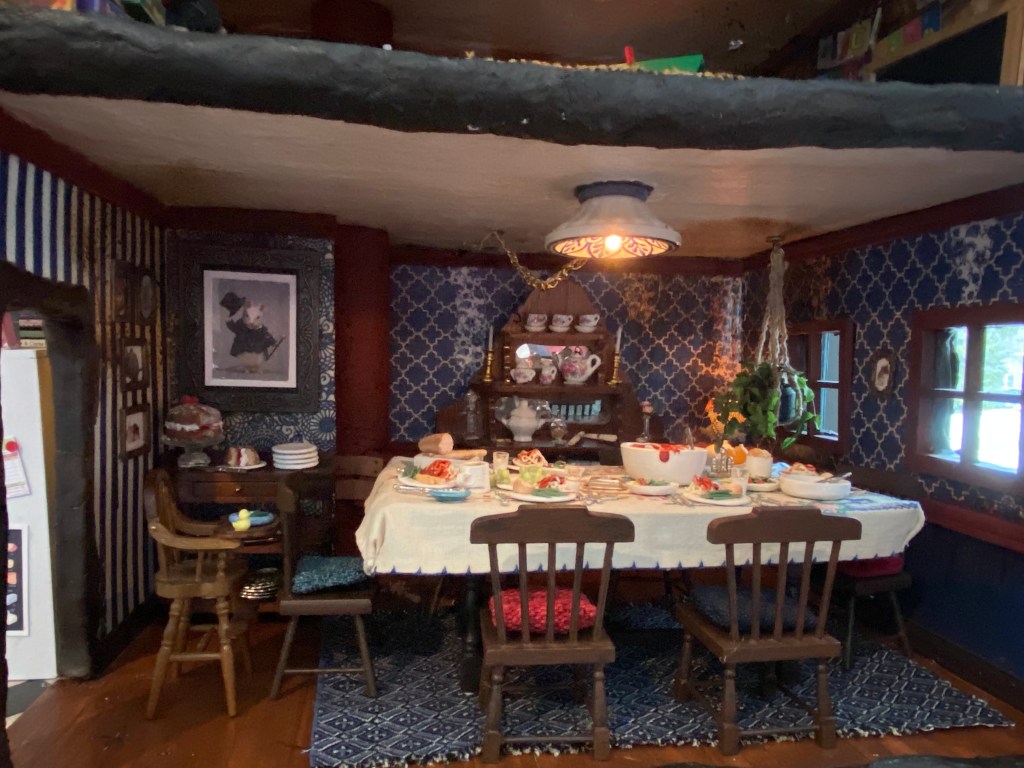
THE DINING ROOM
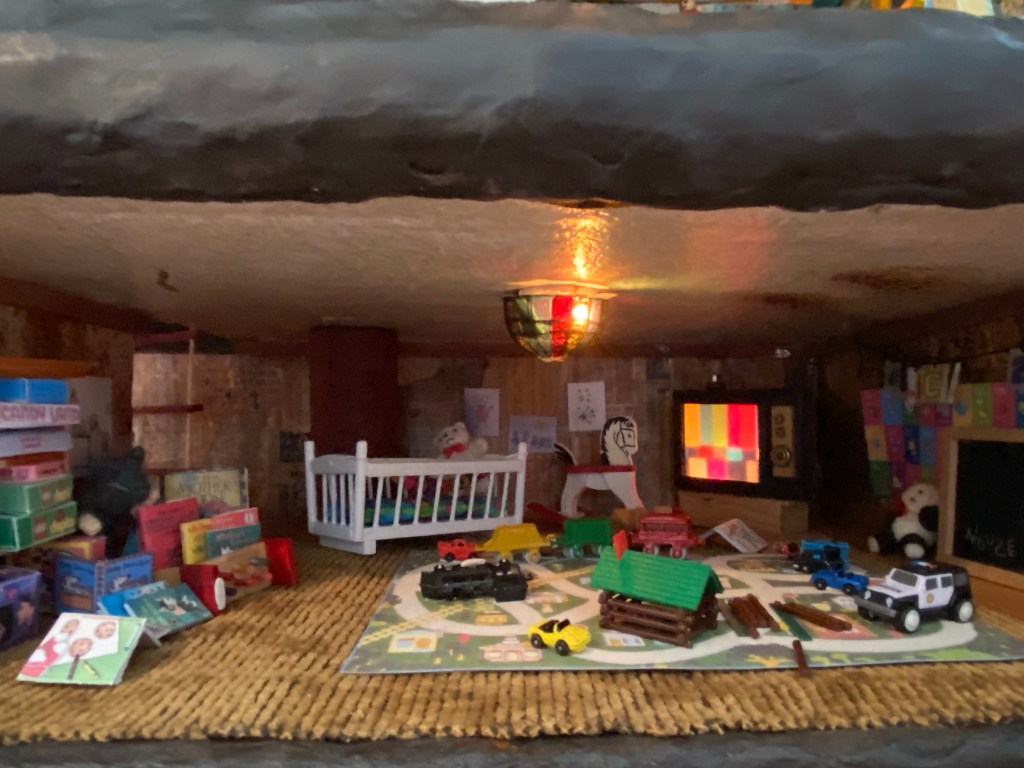
THE PLAYROOM
THE KIDS’ BEDROOM

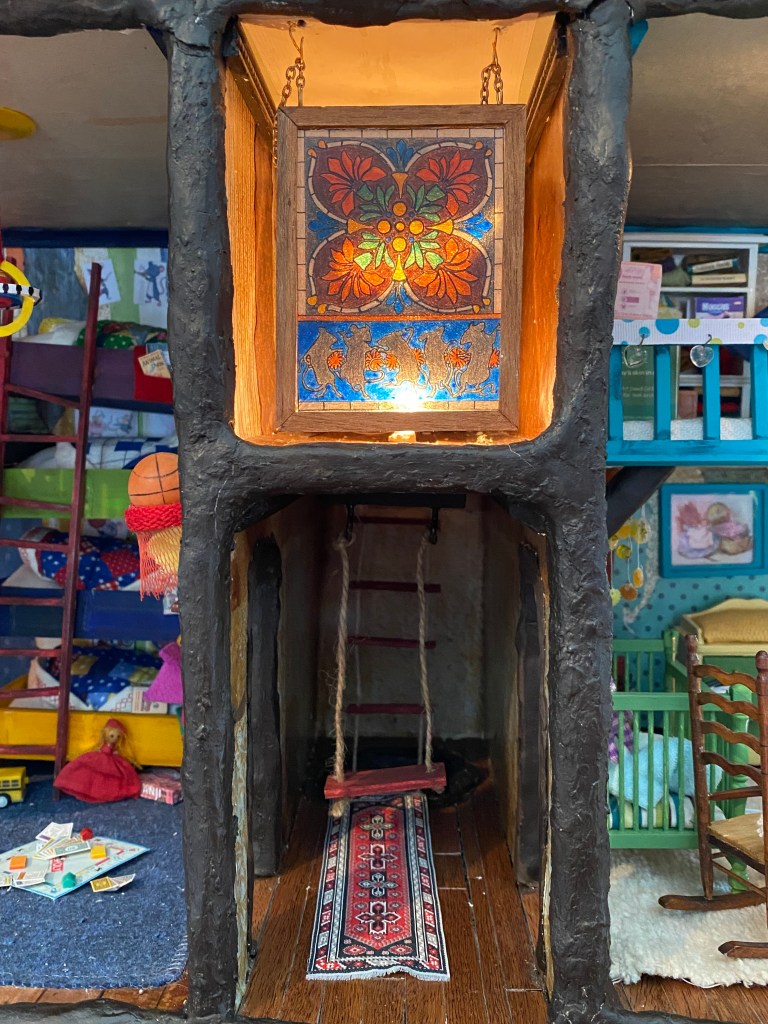
THE SWING IN THE HALLWAY (and my “Shrinky Dink” stained glass!)
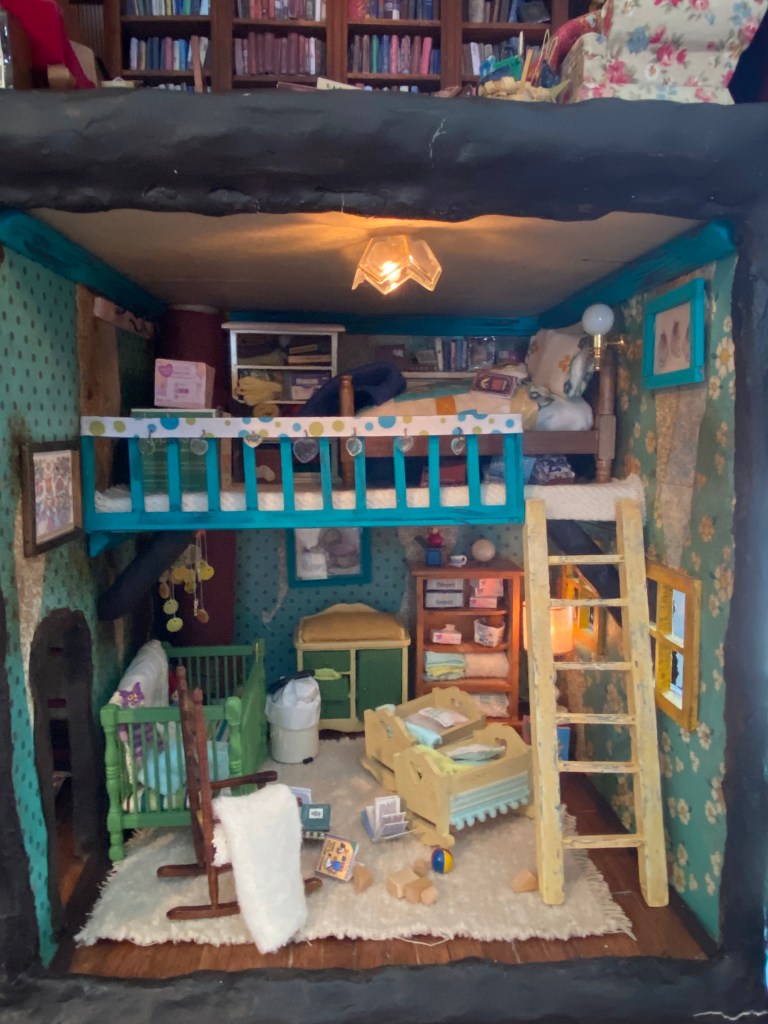
THE NURSERY AND MASTER BEDROOM
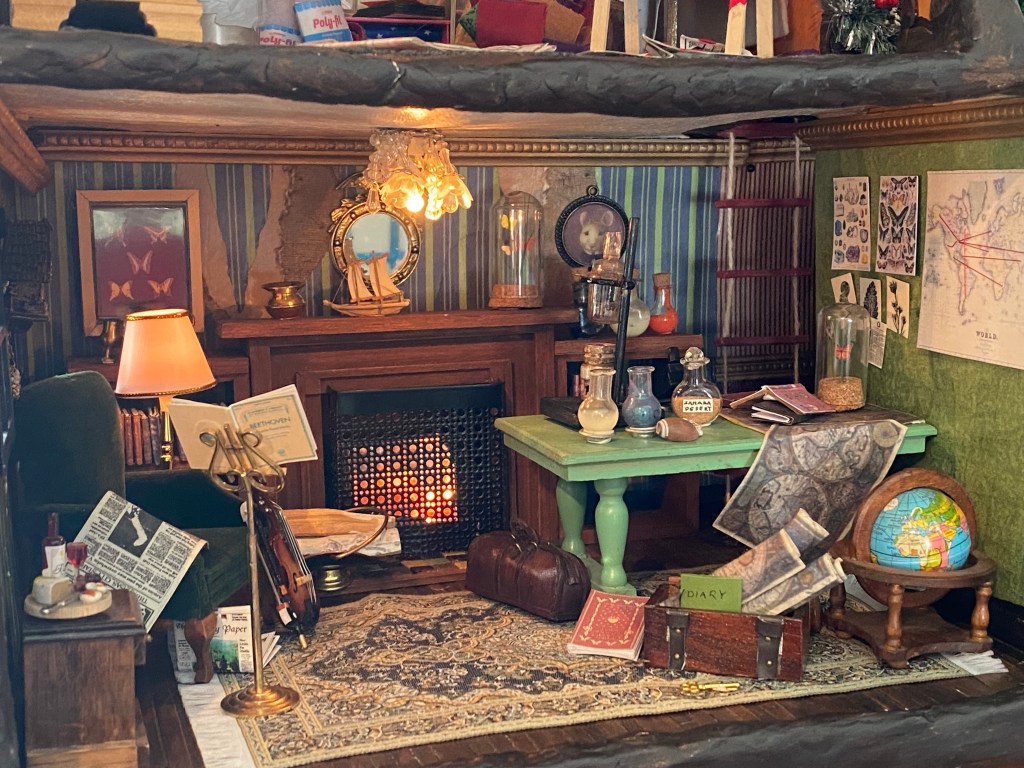
THE STUDY
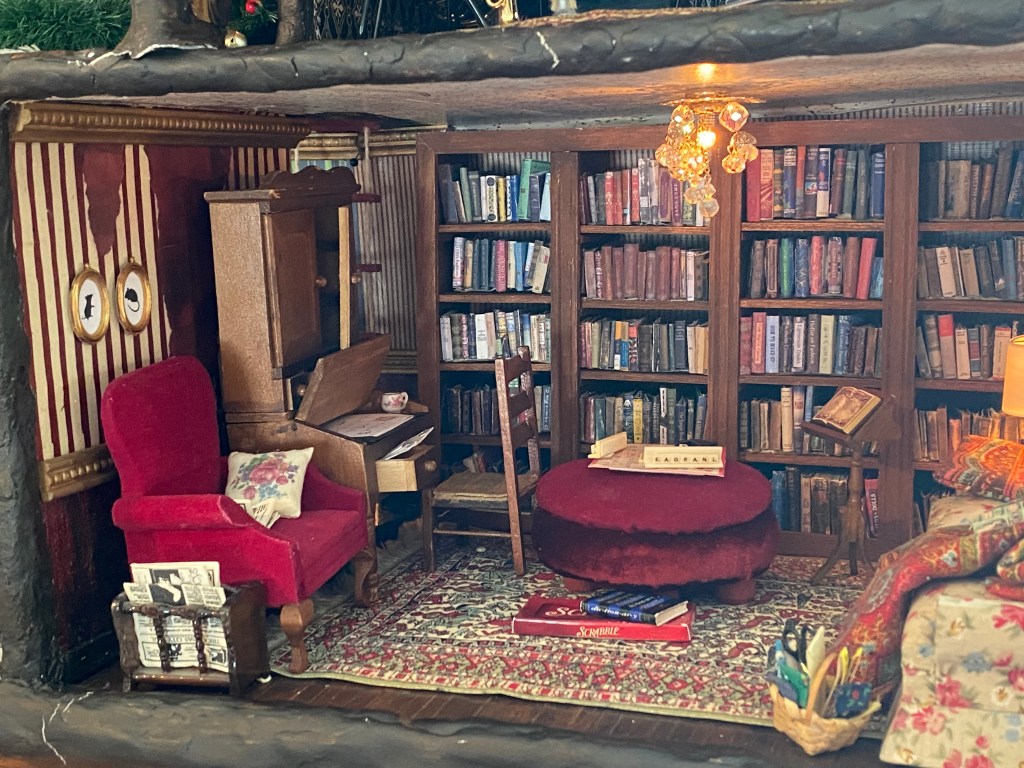
THE LIBRARY
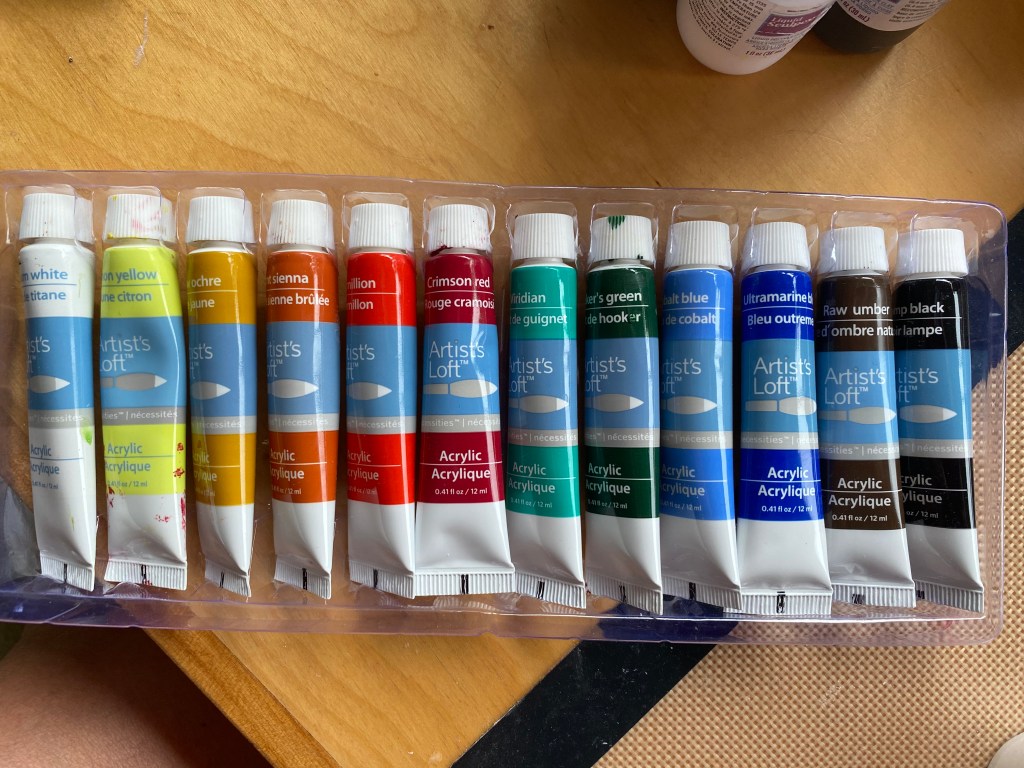
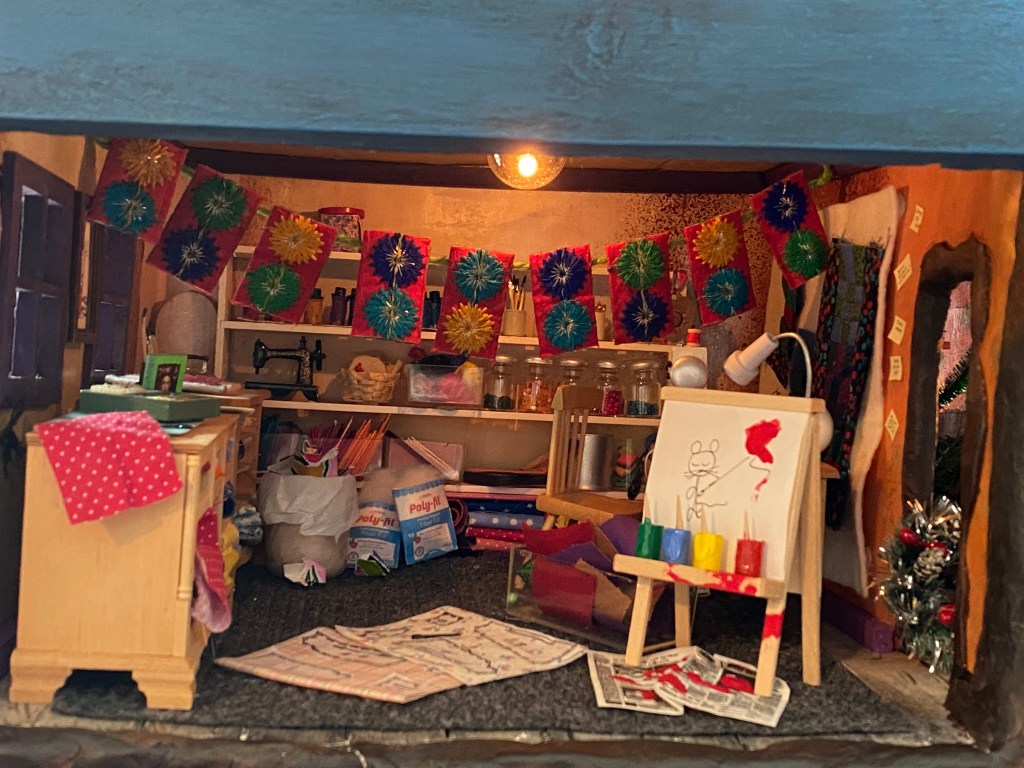
THE ART STUDIO
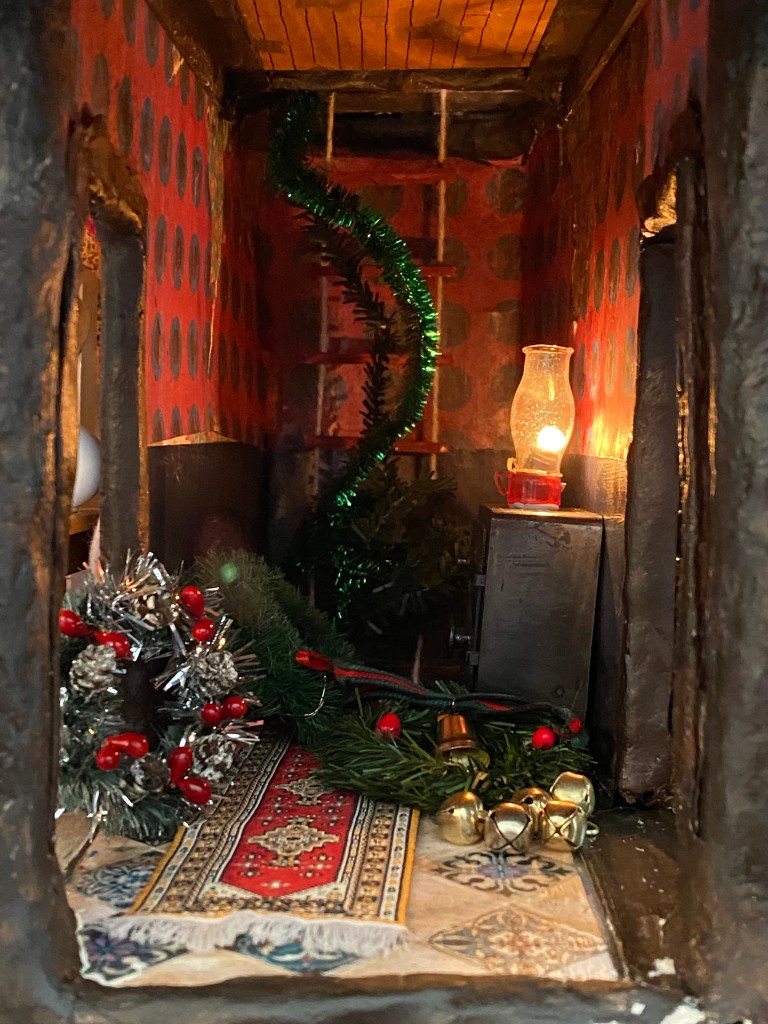
THE HALLWAY ENTRY TO THE ATTIC
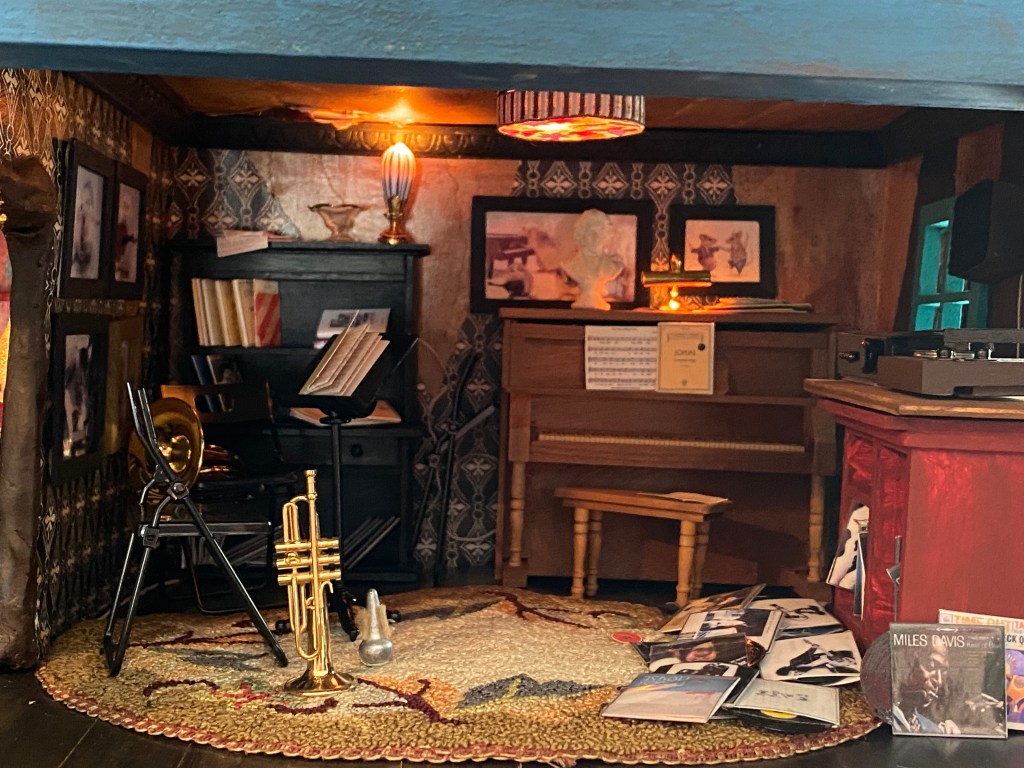
THE MUSIC ROOM
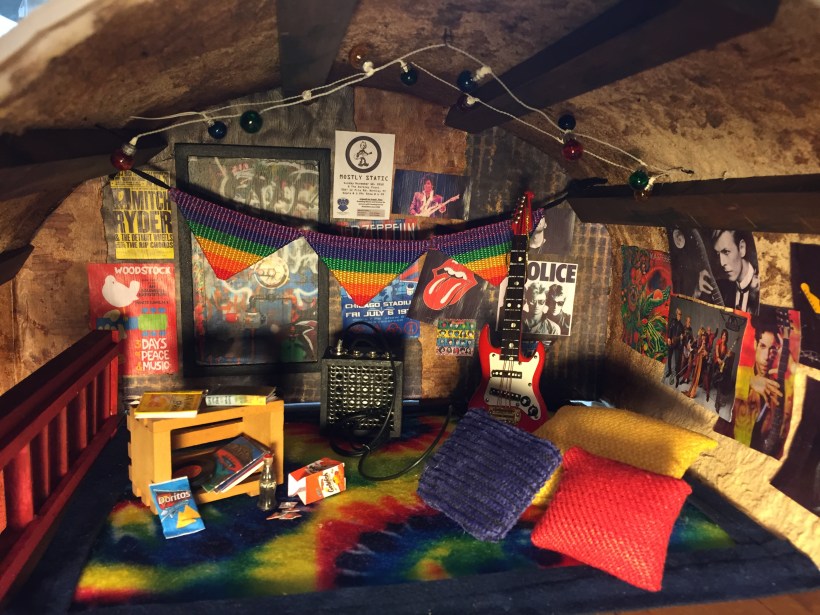
THE TEEN HANGOUT IN THE ATTIC
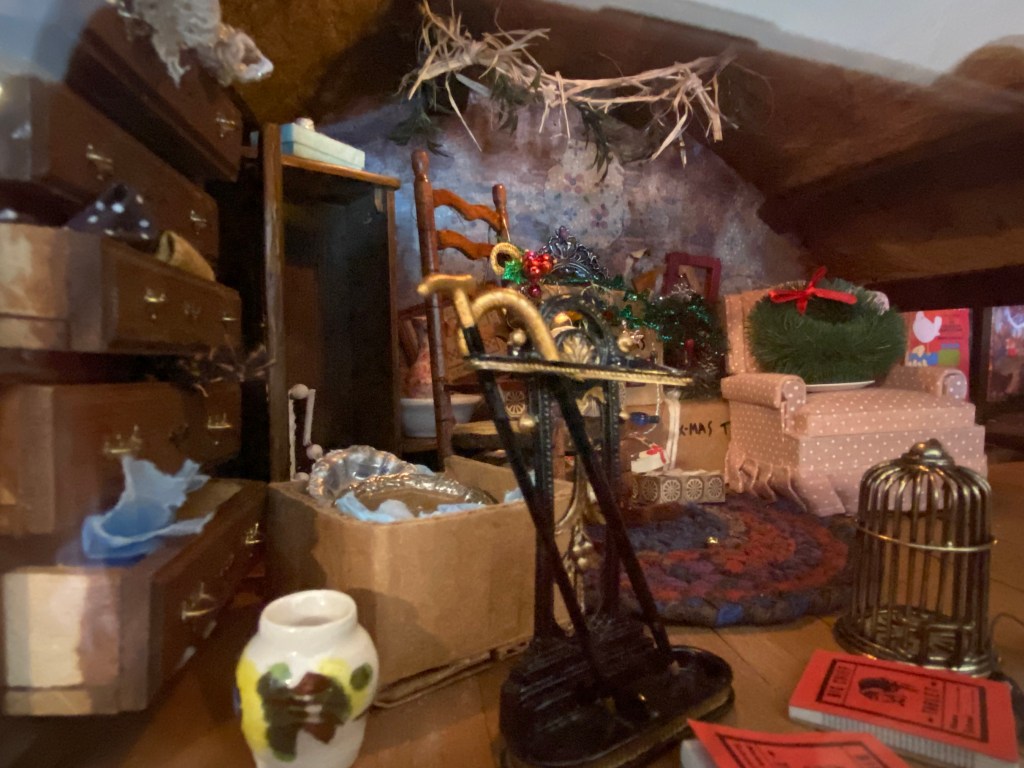
THE ATTIC STORAGE ROOM (It was impossible to get a good photo of this room through the glass!)
So there you have it. I’m sure I’ll add and subtract things over the years (and the pictures highlighted some cracks in the Paperclay trim I need to repair and paint), but all in all I’m pretty happy with how this turned out. On to one of my many “next” projects, including a MECHANIZED miniature house with lots of motors and movement–Santa did give me robotic supplies for Christmas……!
JOAN POTTER THOMAS
January 19, 2025
NOTE: I am trying to figure out how to add links to my blog posts by category so people (including me!) don’t have to scroll through the entire blog to find how I built a particular room. For now, I’m hopeful that these dates will help a little
- January 2025
- December 2024
- February 2024
- May 2023
- April 2023
- March 2023
- July 2021
- April 2021
- March 2021
- February 2021
- January 2021
- May 2020
- April 2020
- March 2020
- April 2018
- March 2018
- February 2018
All rights reserved, 2025. Photos or text may NOT be shared for commercial or educational purposes.