Miniature Corn

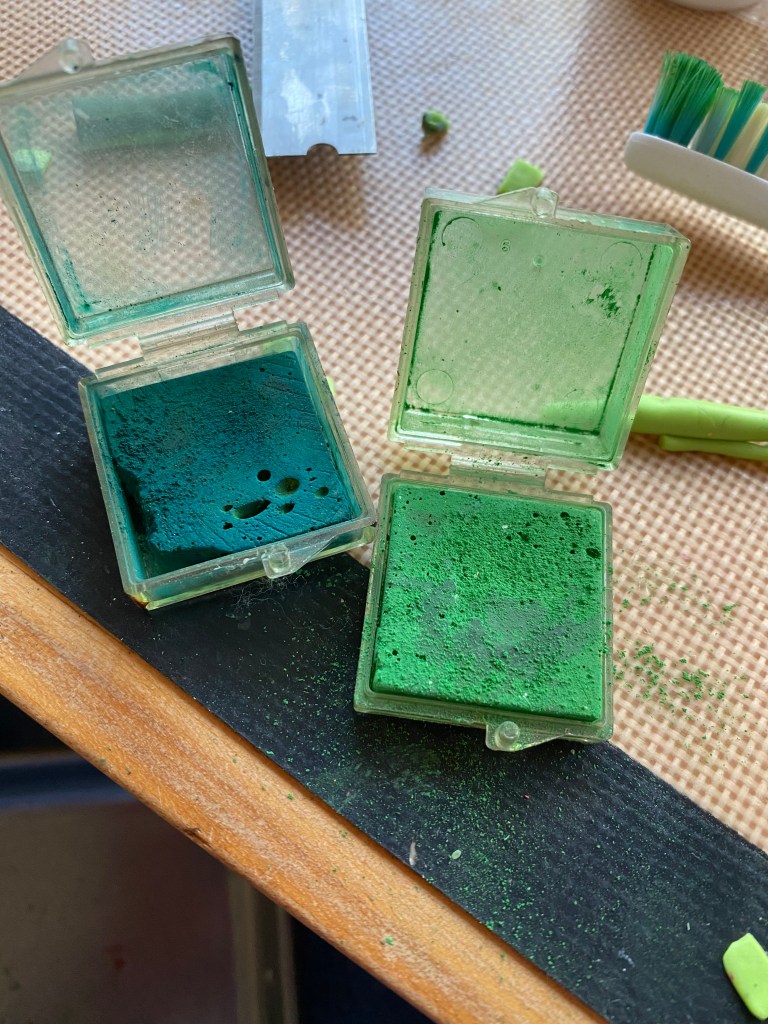
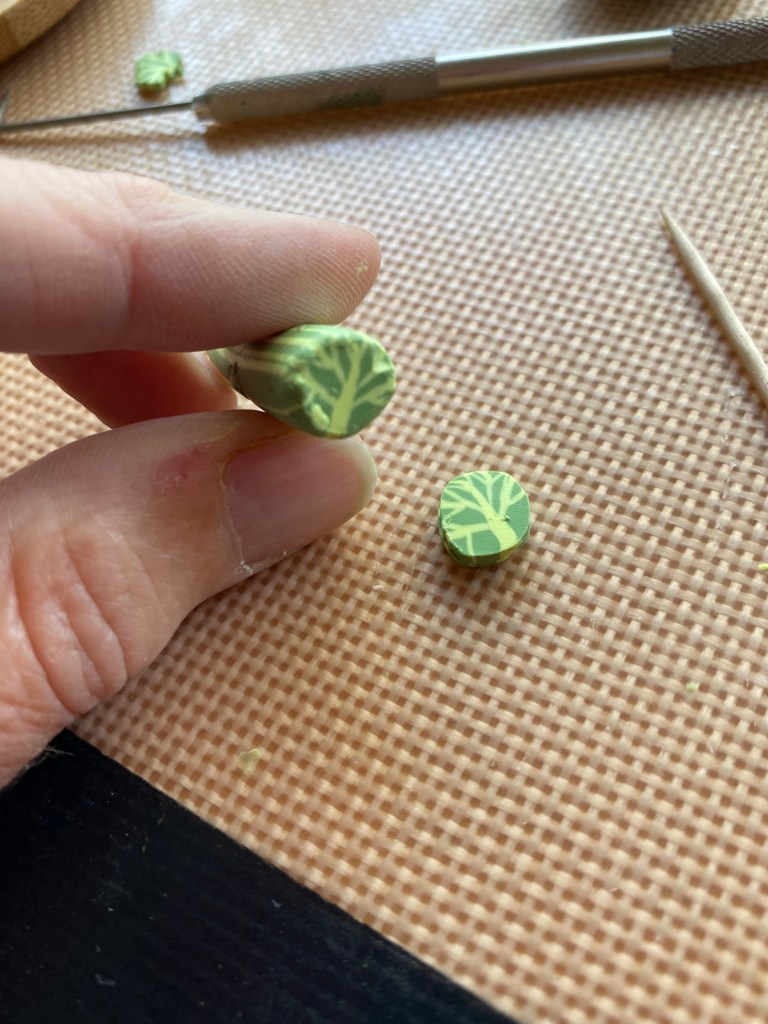
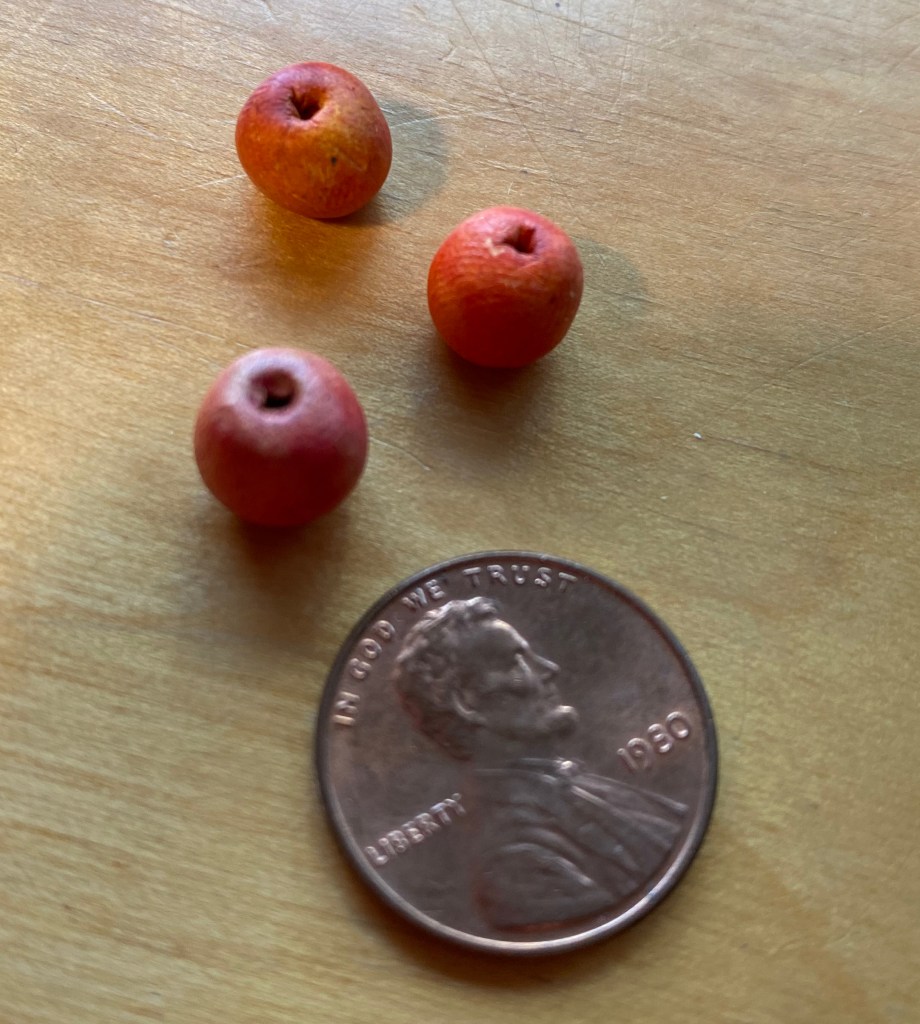
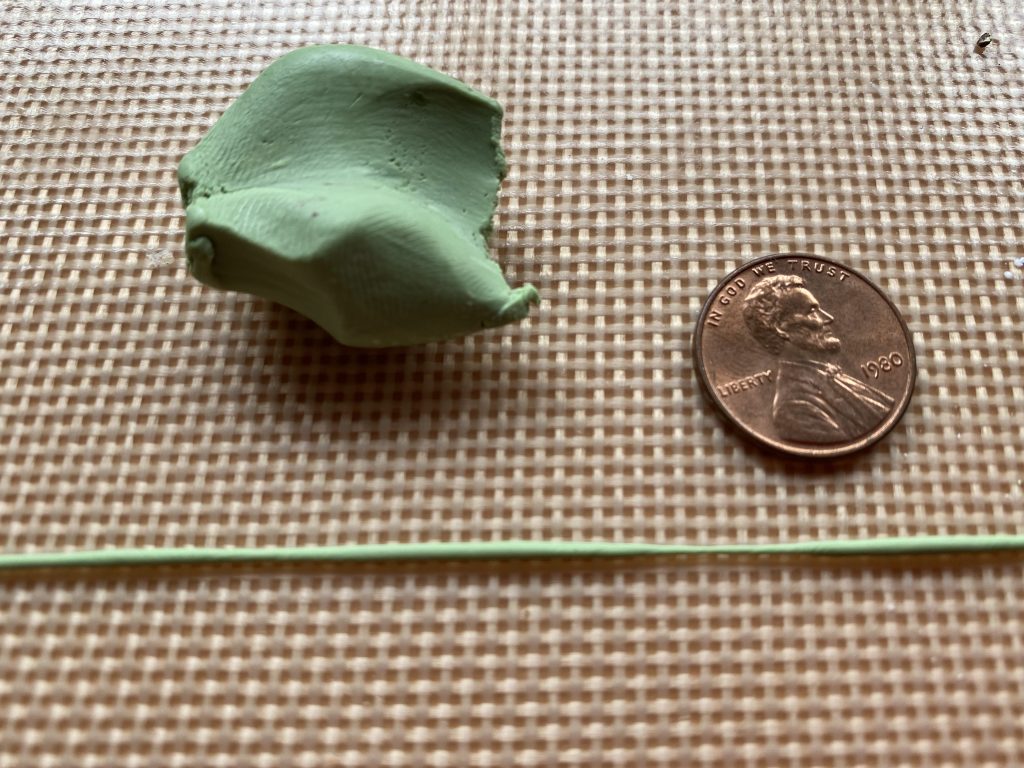
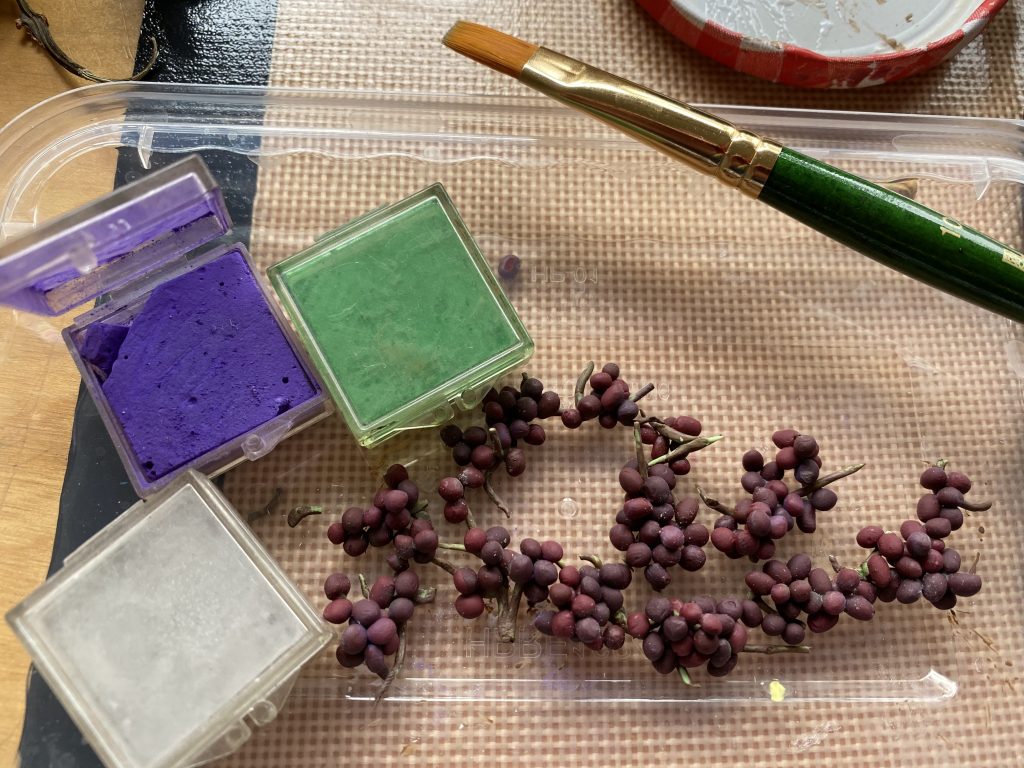
I worked on miniature corn-on-the-cob (in their husks) the last few days. First I chose and mixed a variety of green colored clay and rolled them through my pasta machine several times. This eventually produced a thin piece of clay with subtle striations.

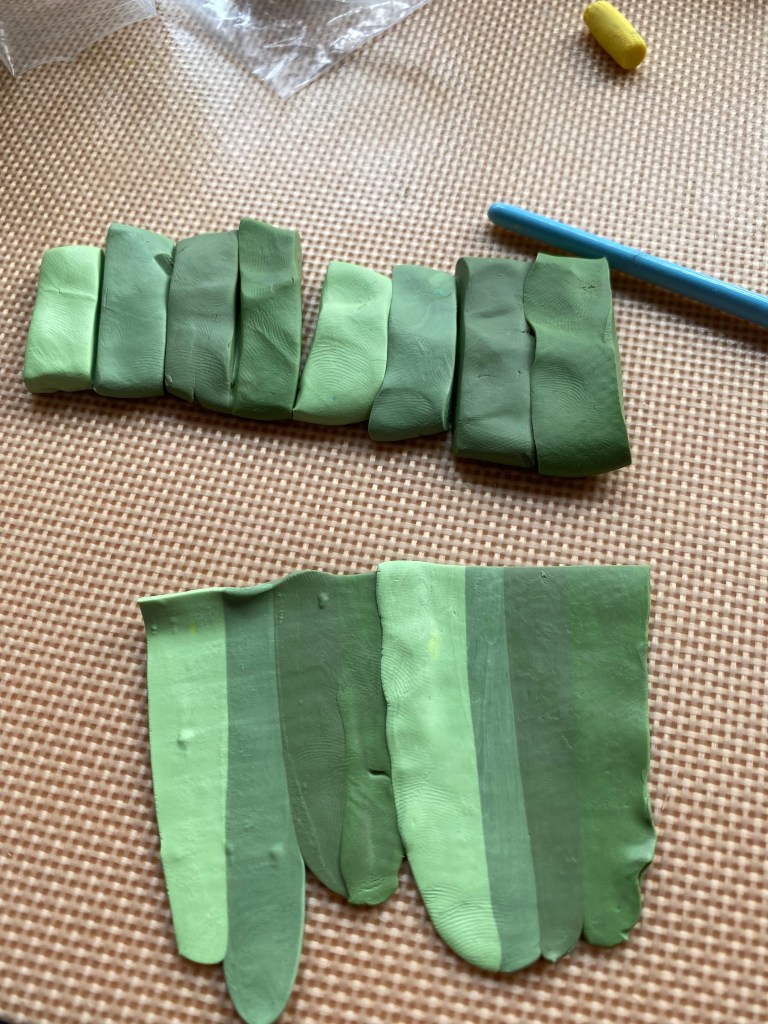
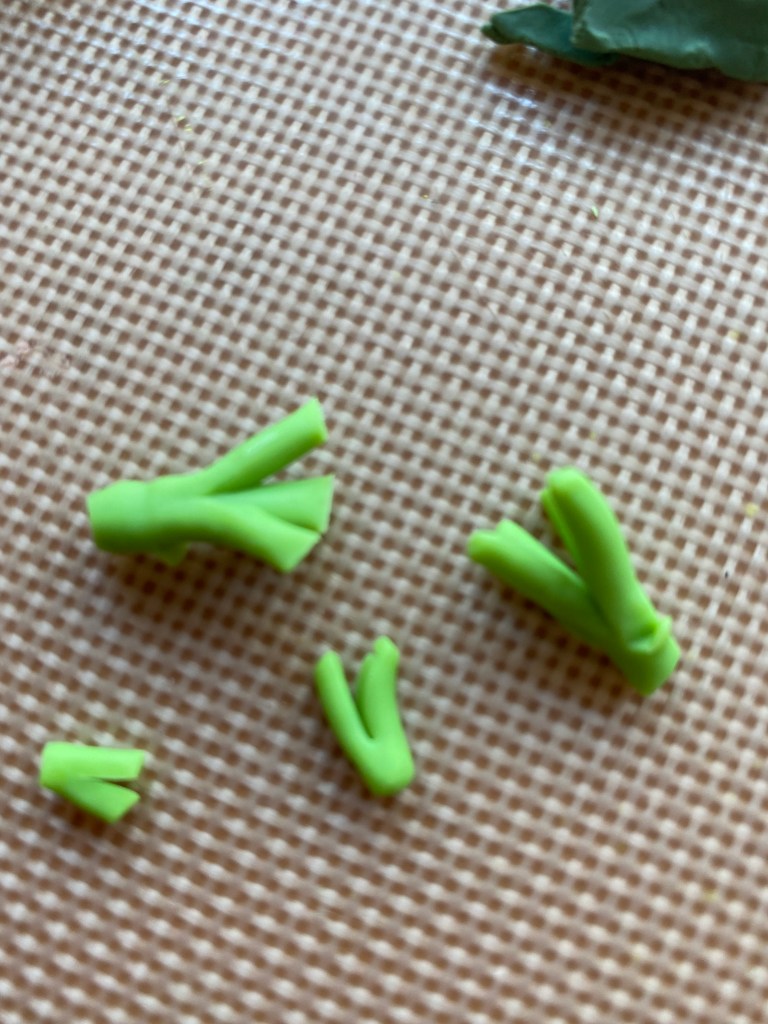
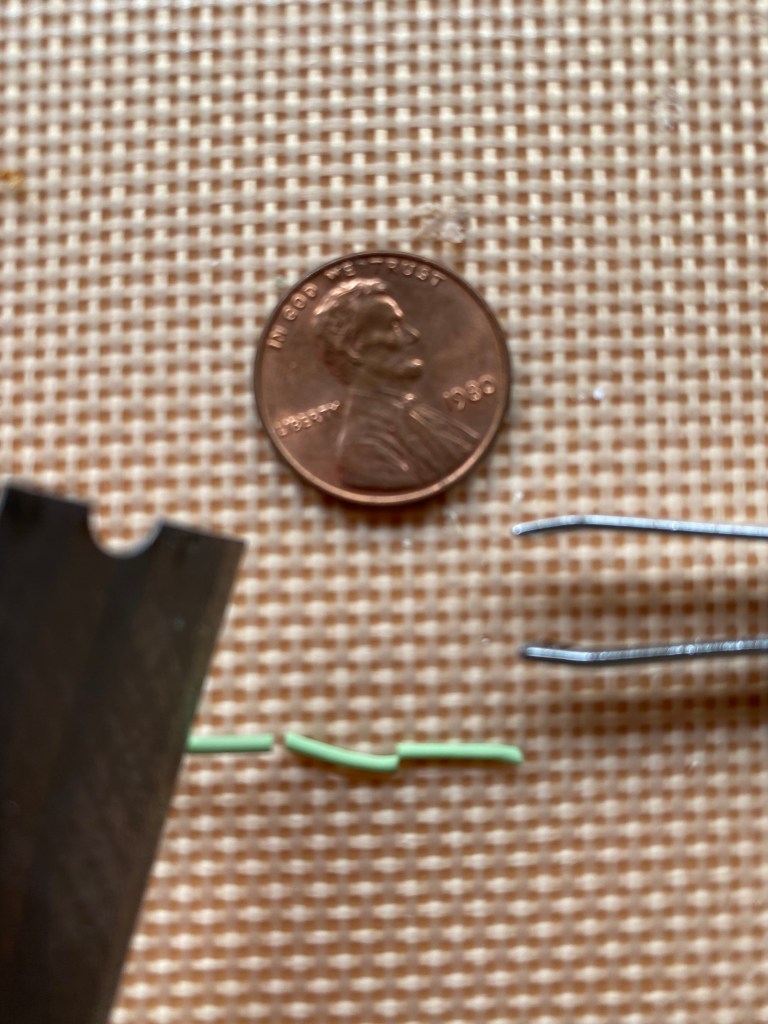
I cut the leaf-shaped corn husks with my razor blade and set them aside so they would be a bit stiff when I needed them.

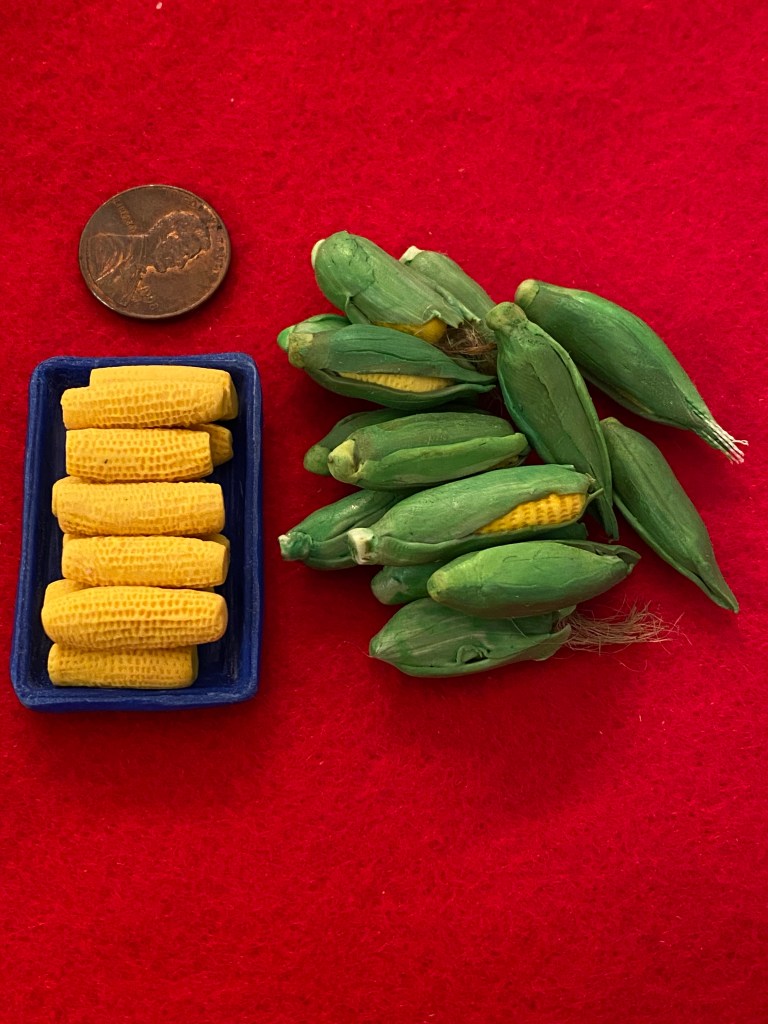
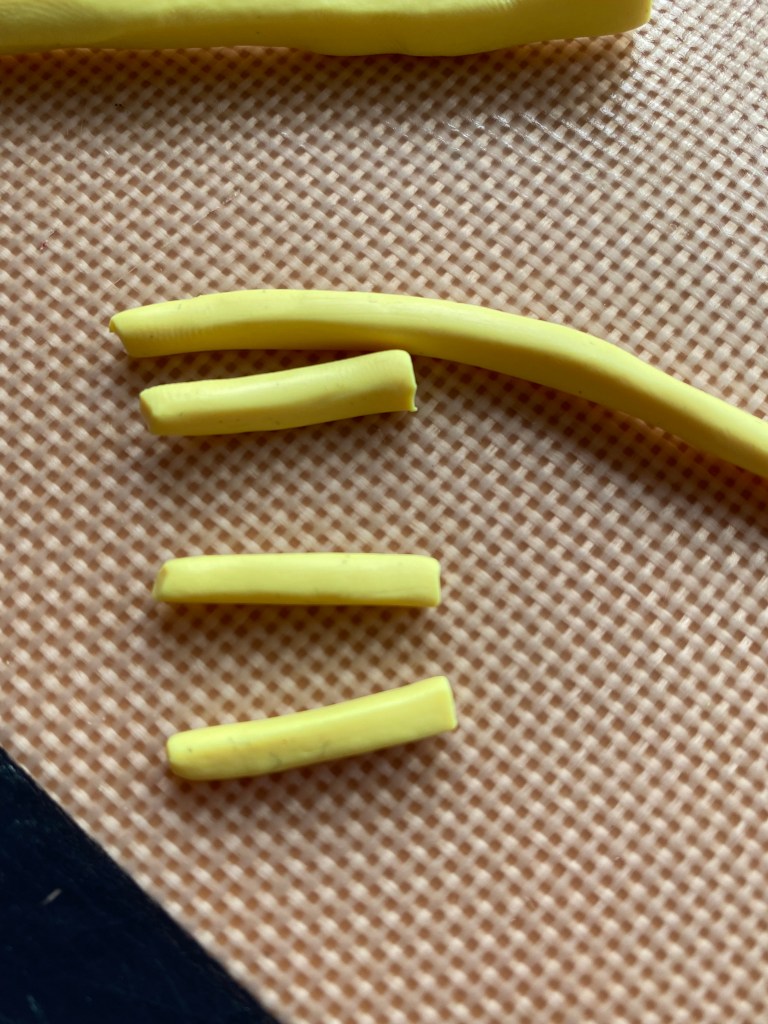
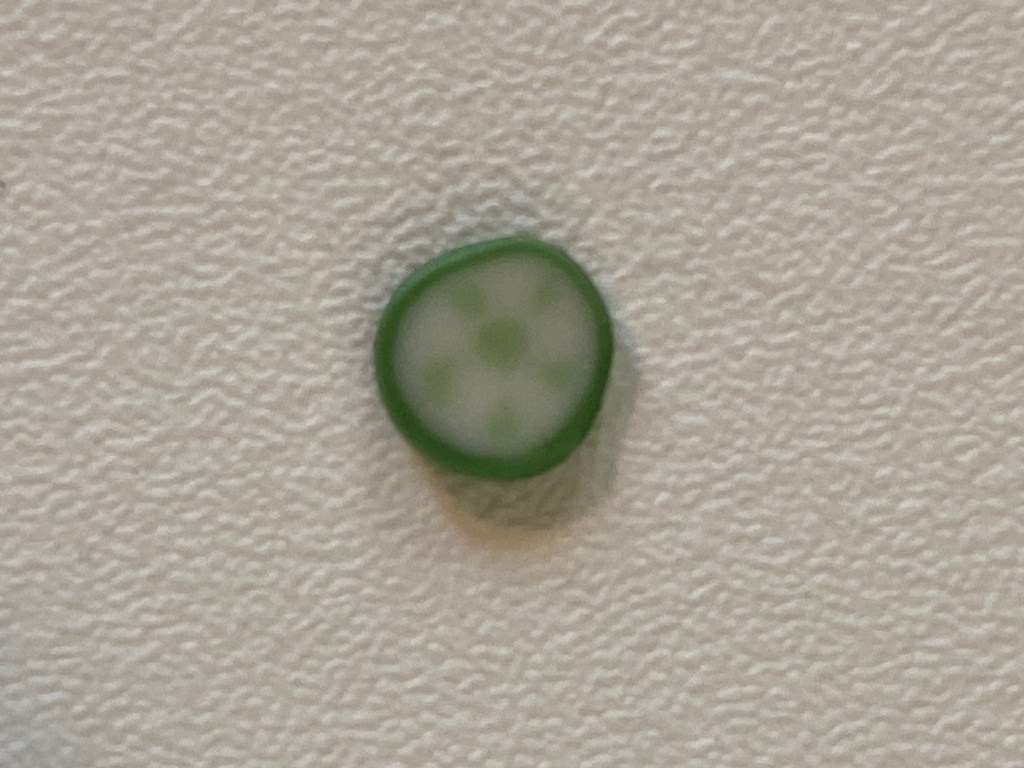
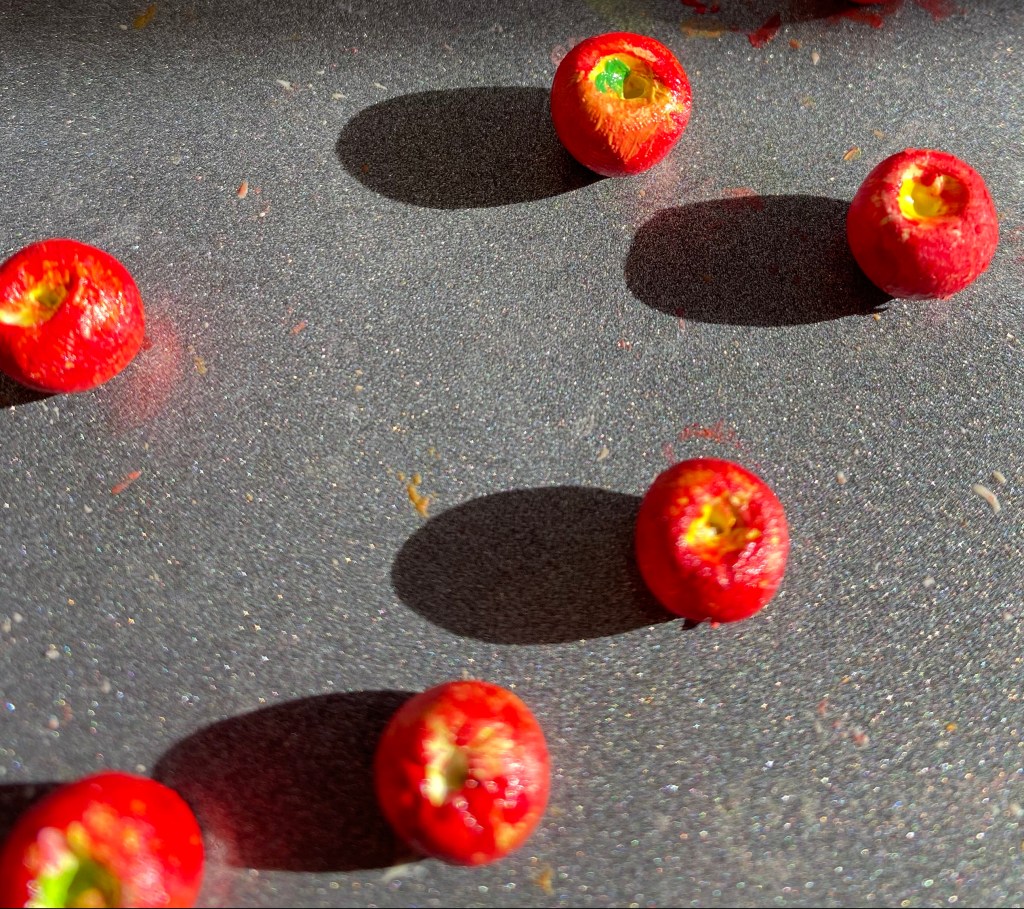
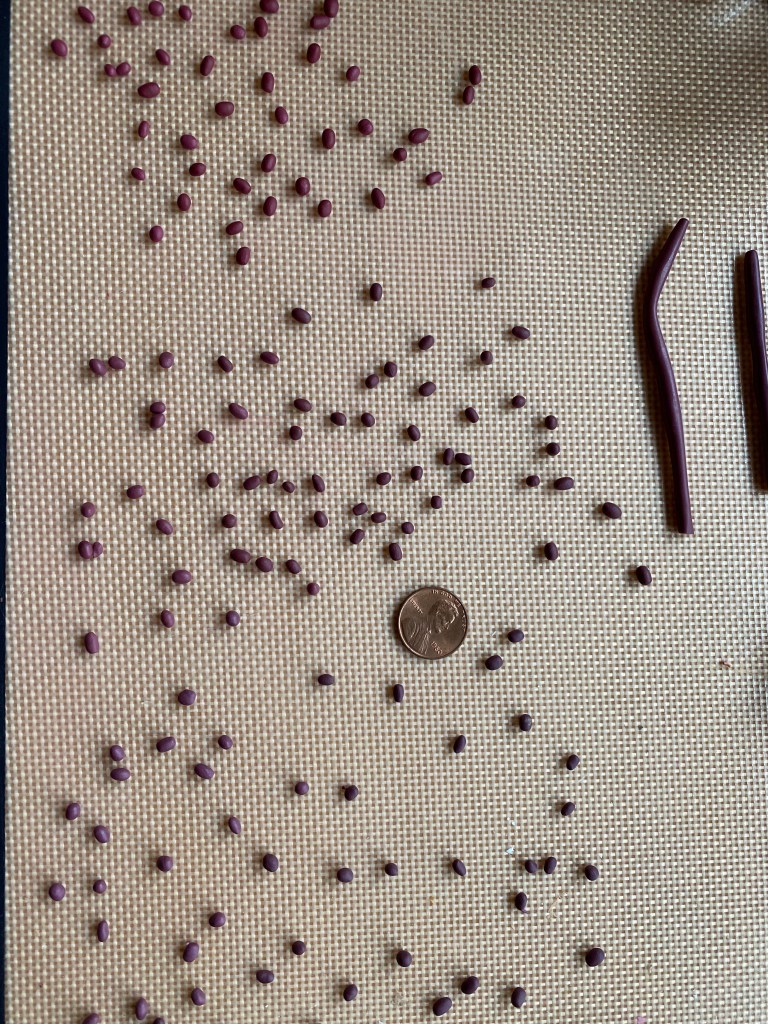
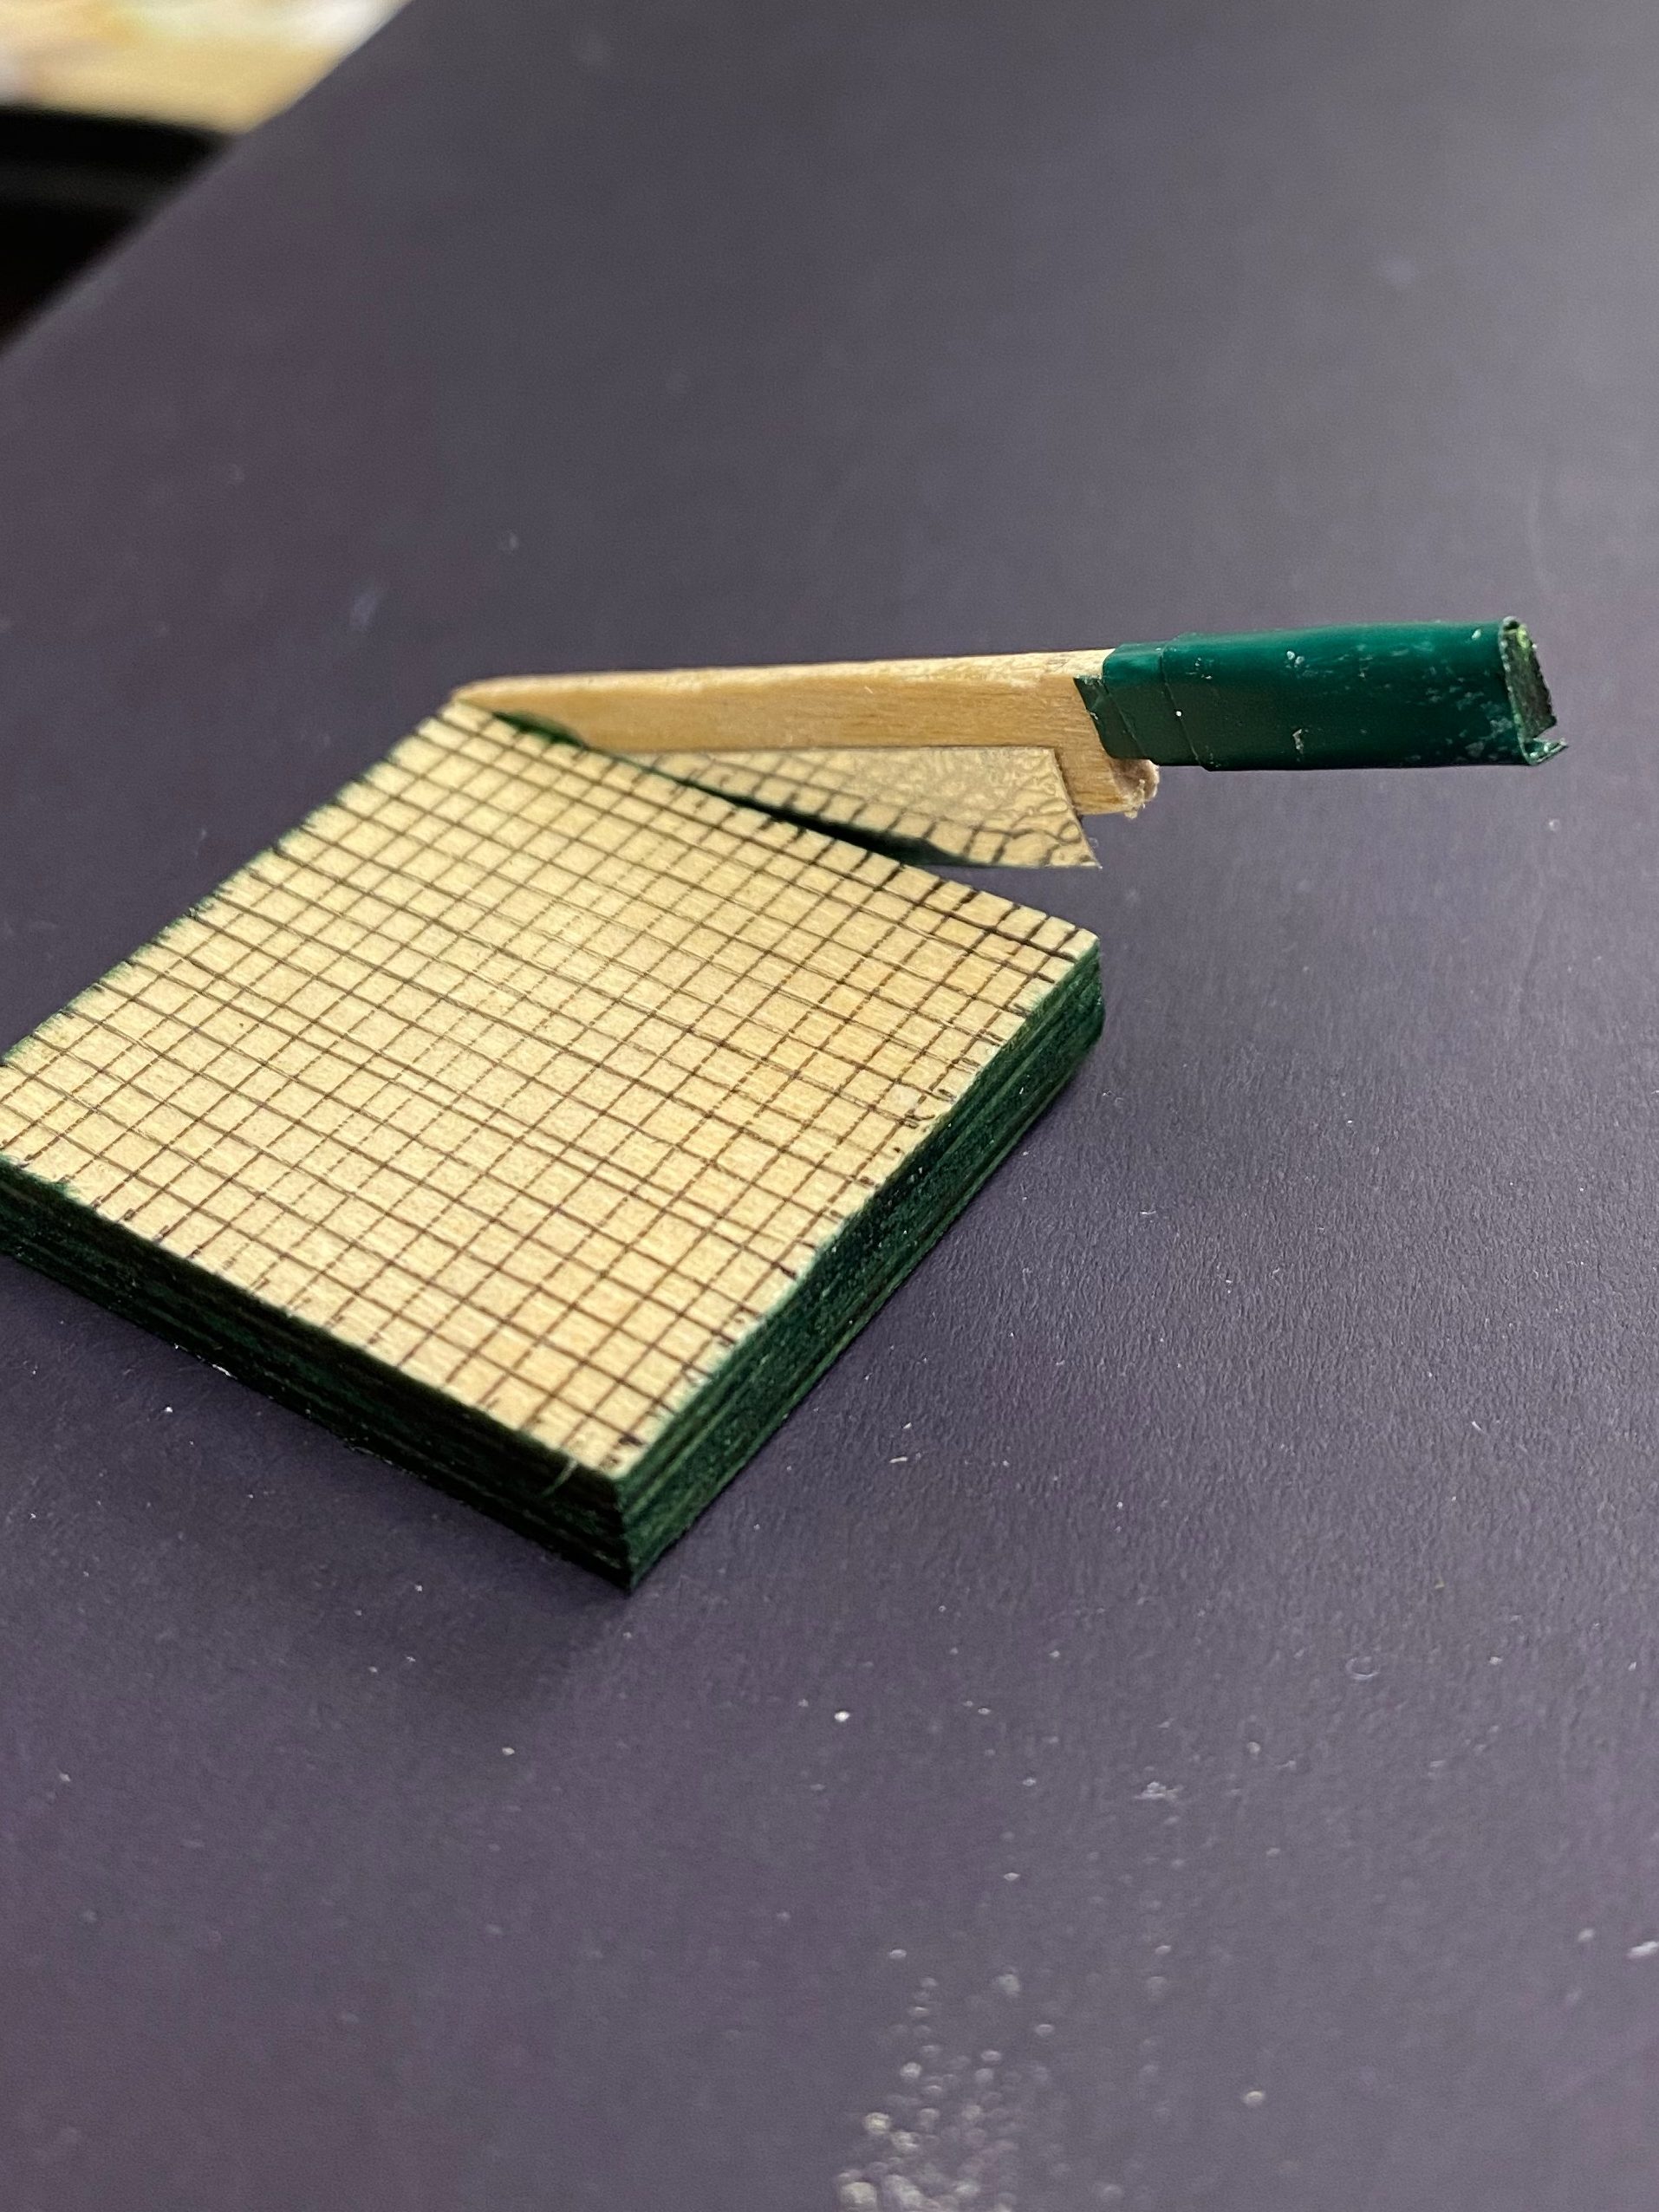
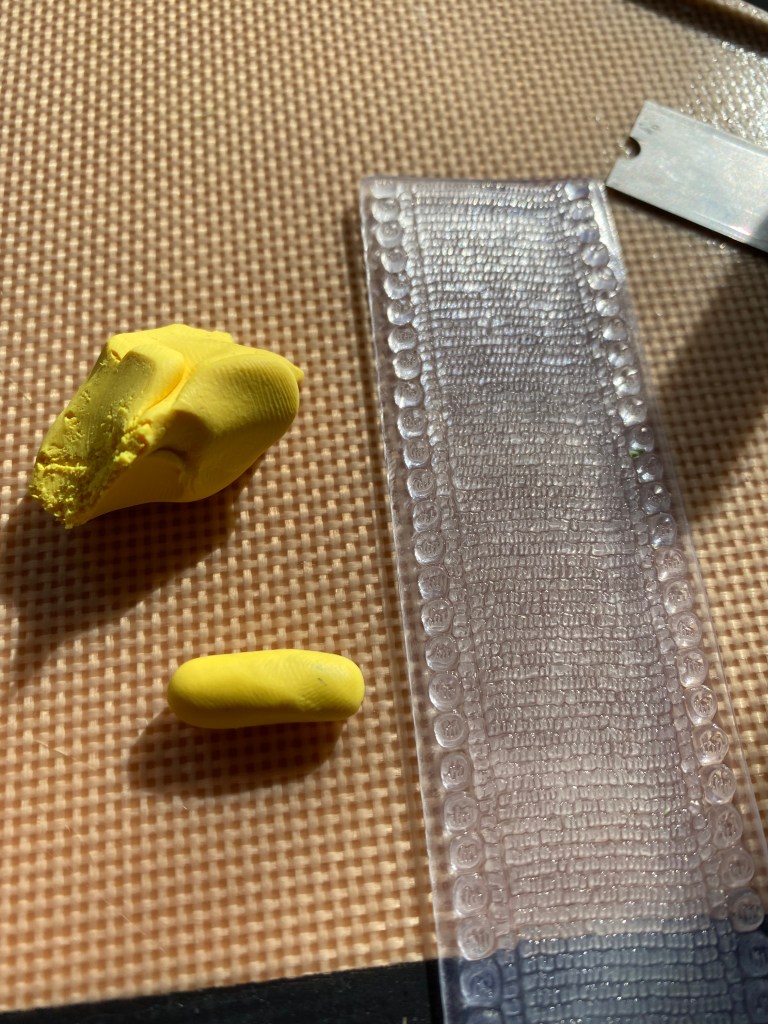
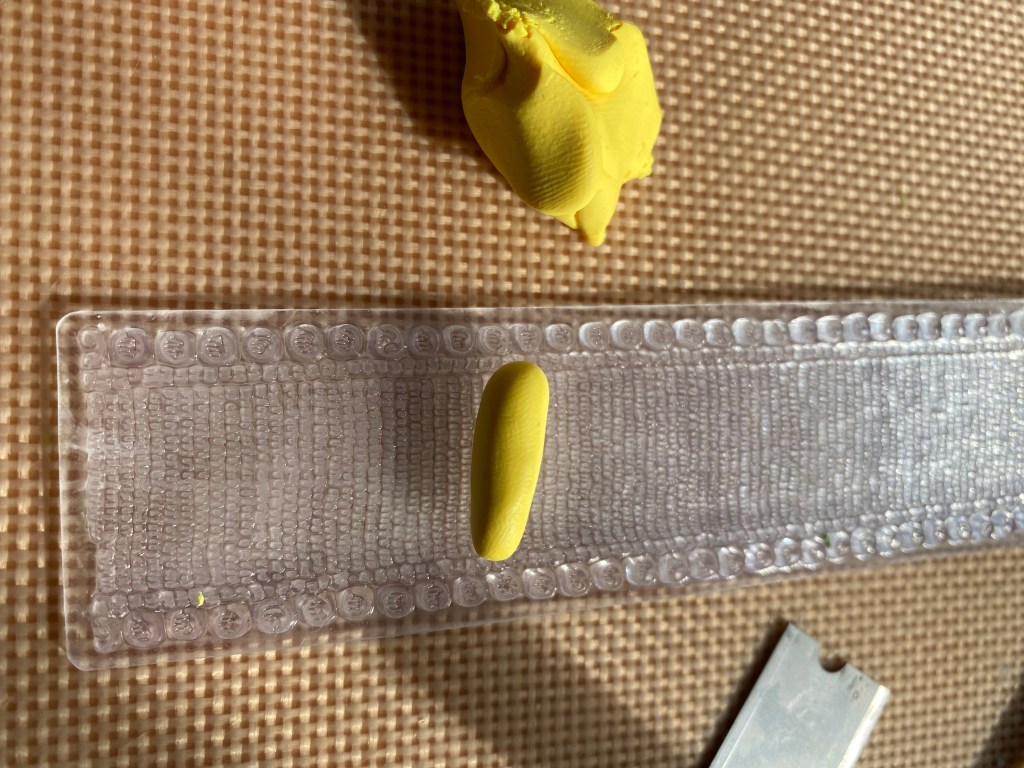
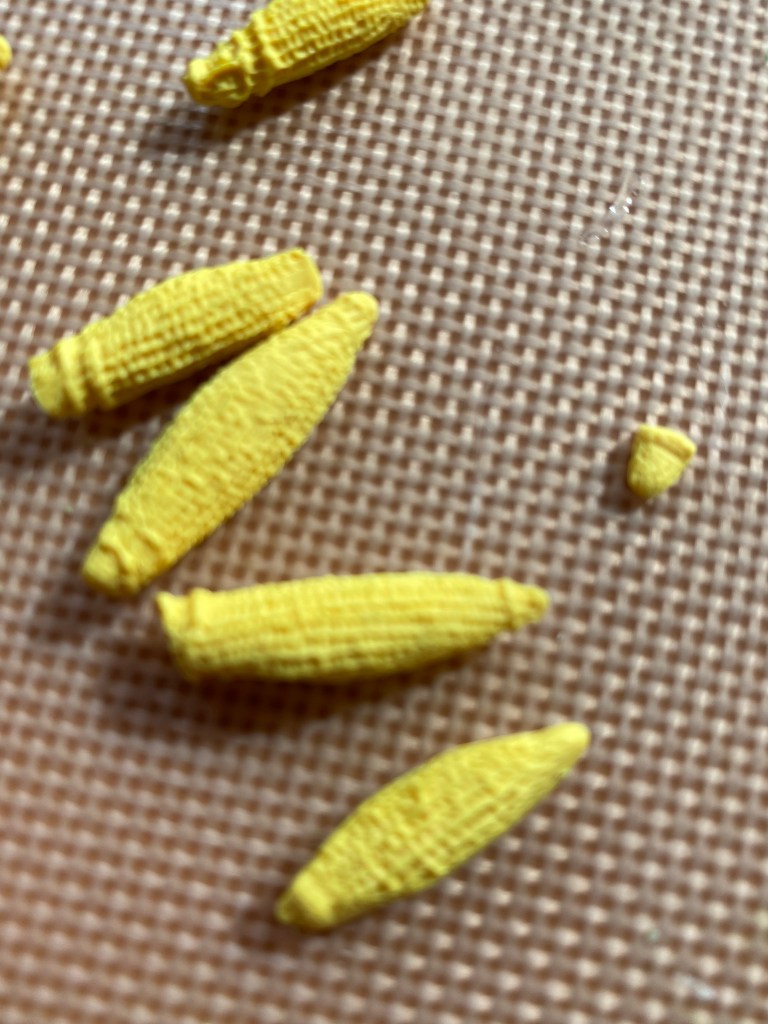
The actual corn was made with bright yellow clay, rolled into a thin log then cut into appropriate lengths. I textured it by rolling each piece on a silicone stamp with a grid pattern. (This worked fine for the pieces inside of the husks, but I don’t like the texture of the stripped corn. More on that later.)

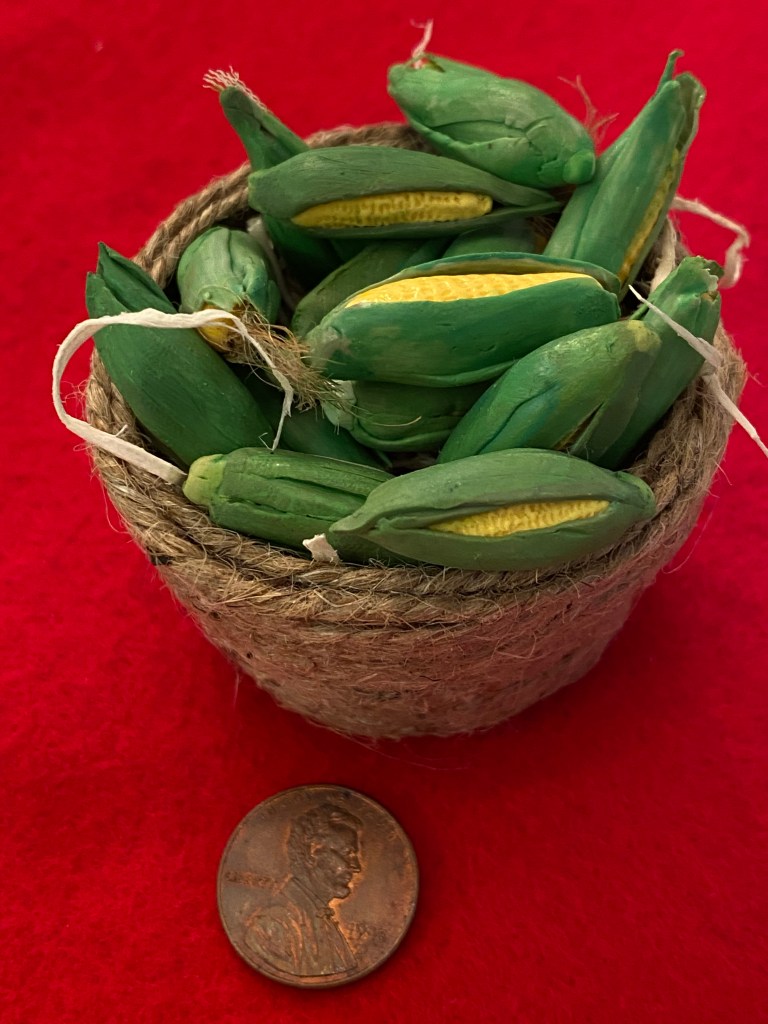
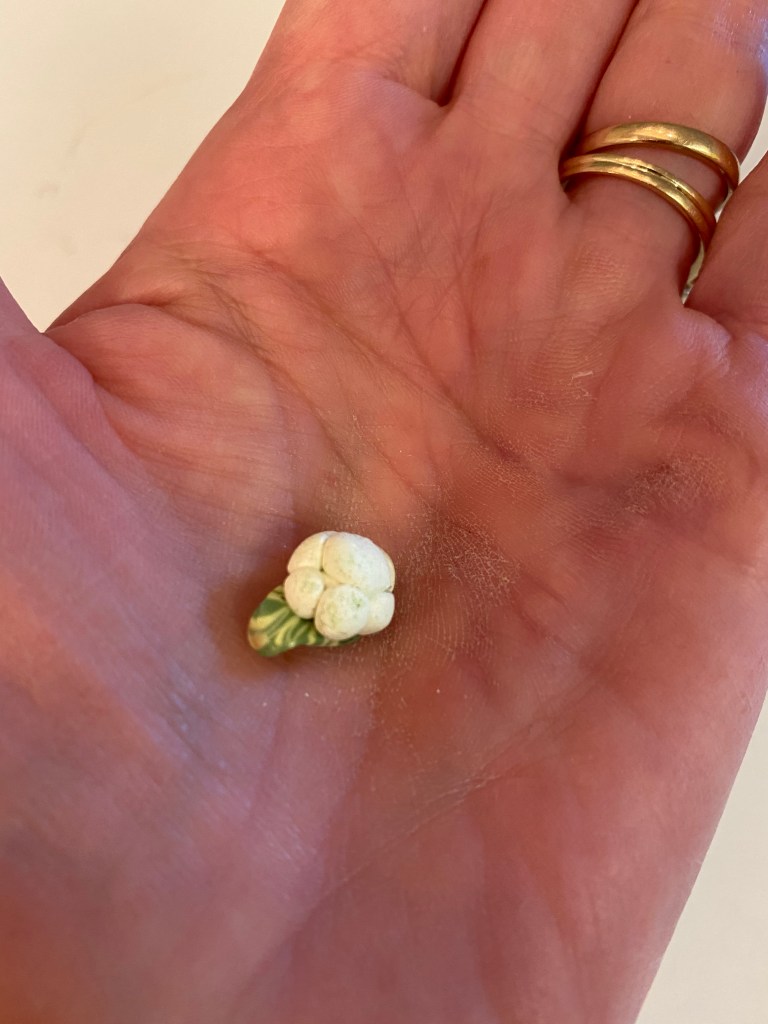
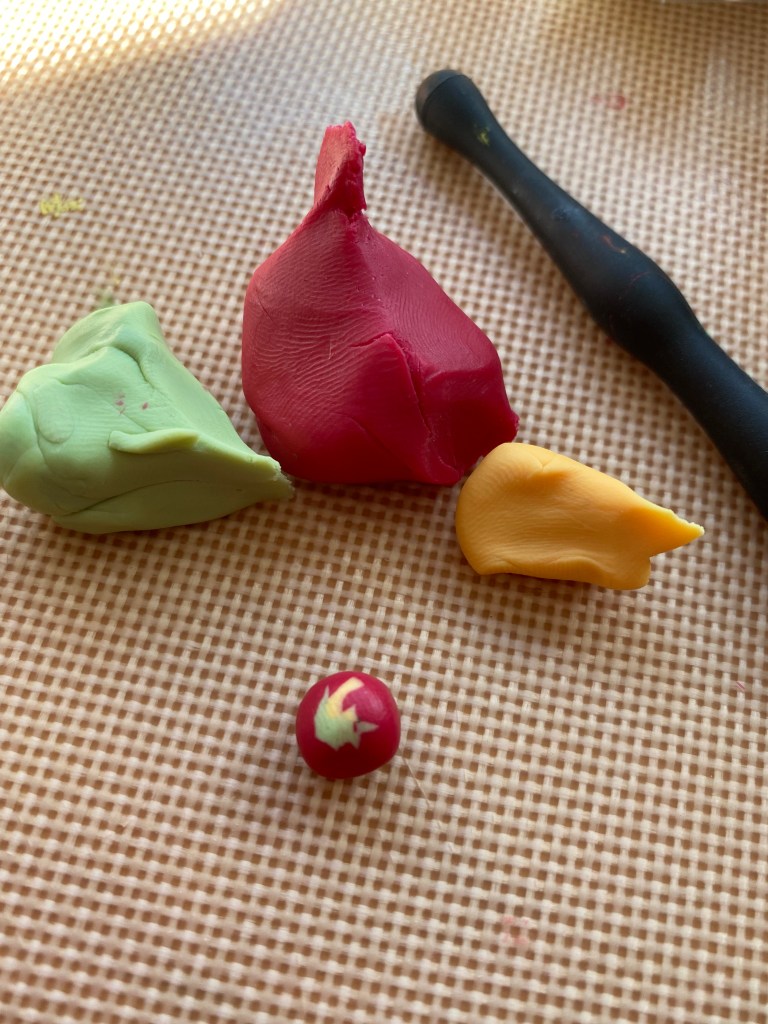
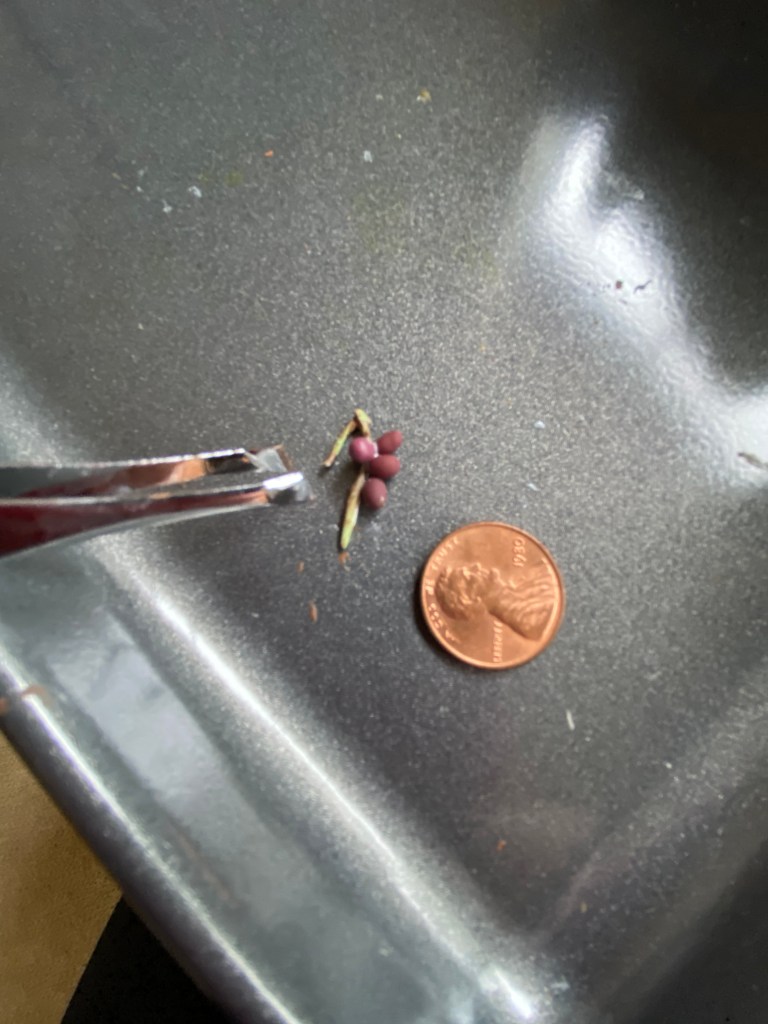
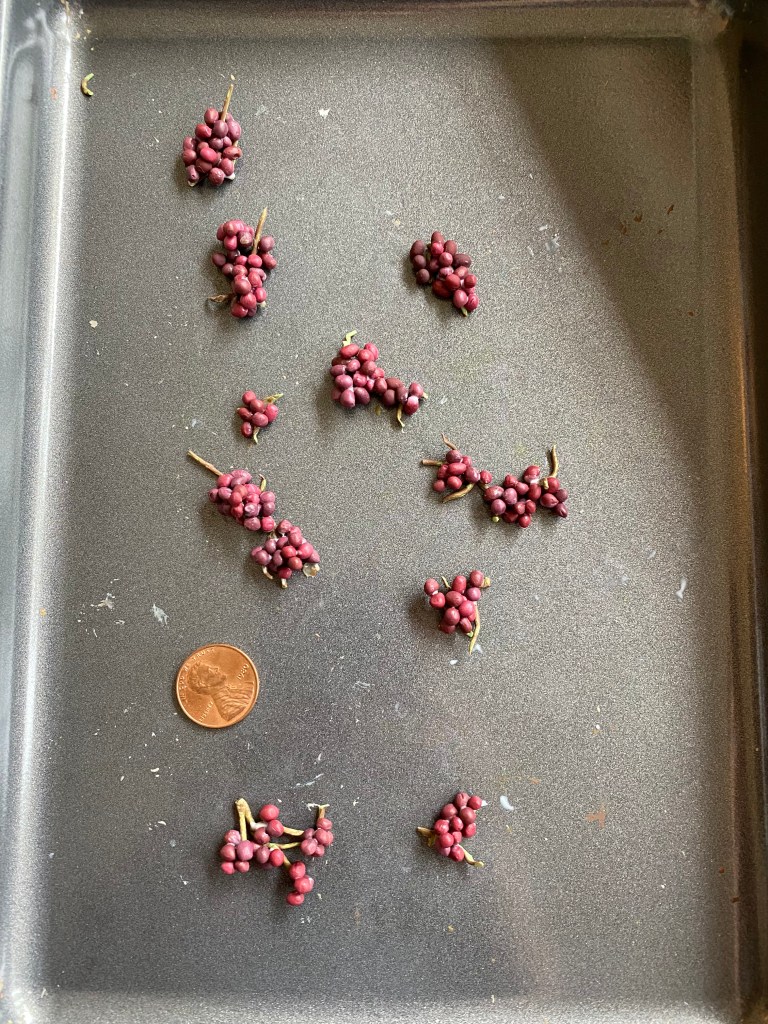
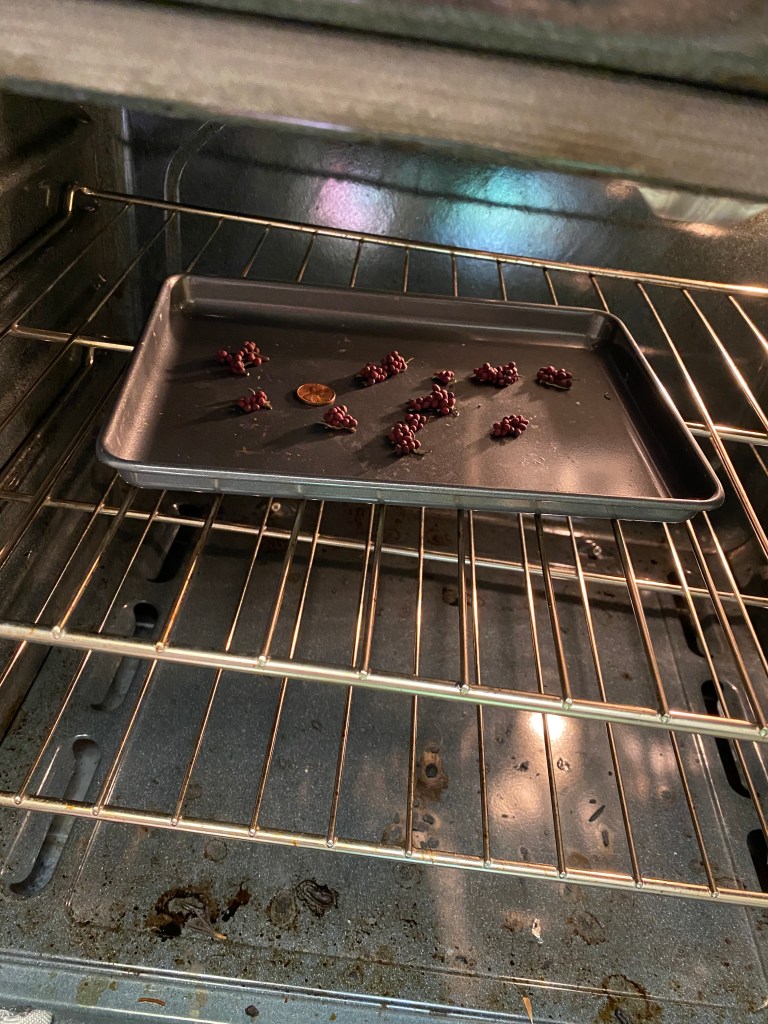
Finally. I carefully layered the husks over each piece of corn, leaving some of the pieces with exposed corn and others completely covered. I added a small piece of light green clay for the stem.

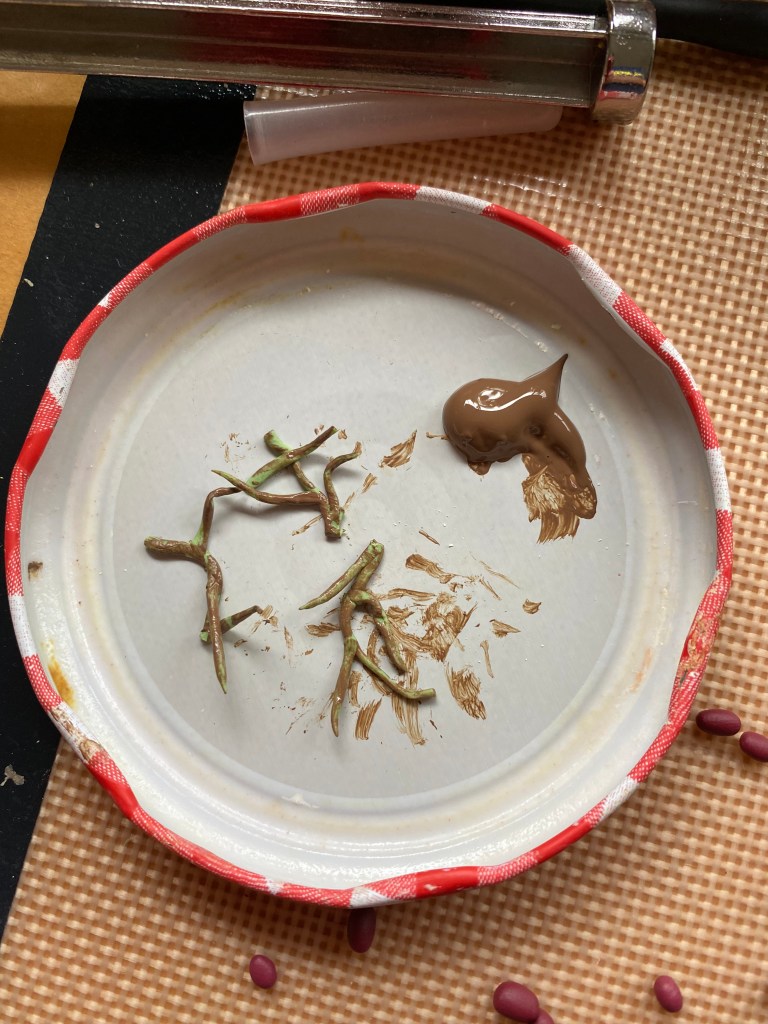
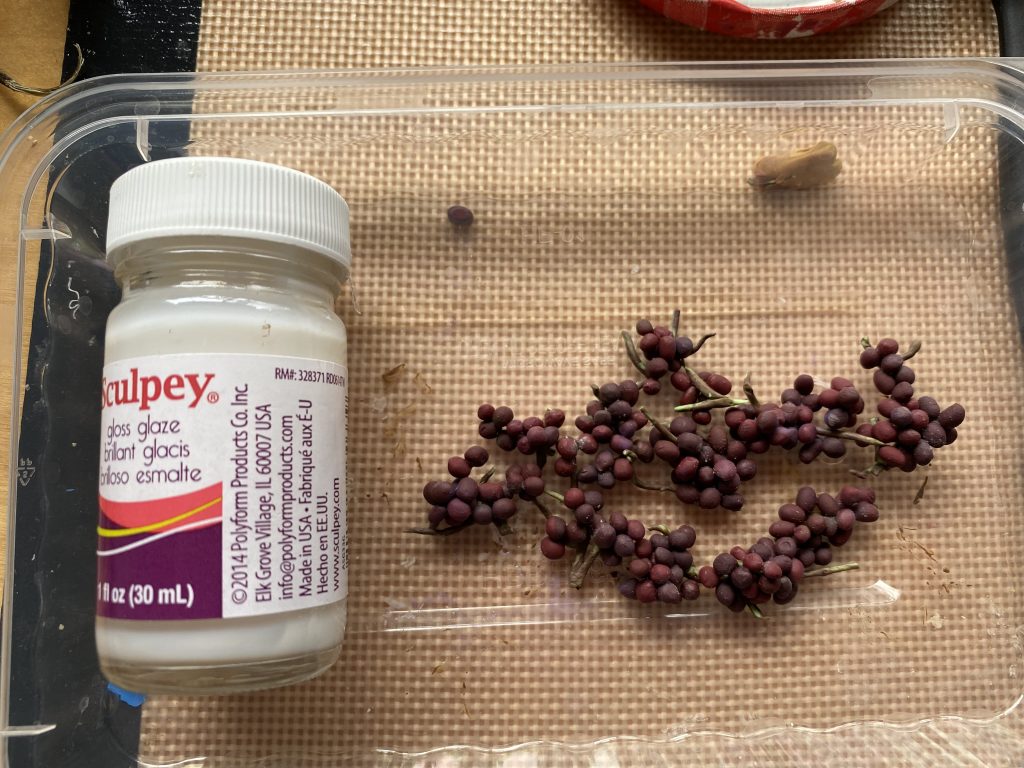
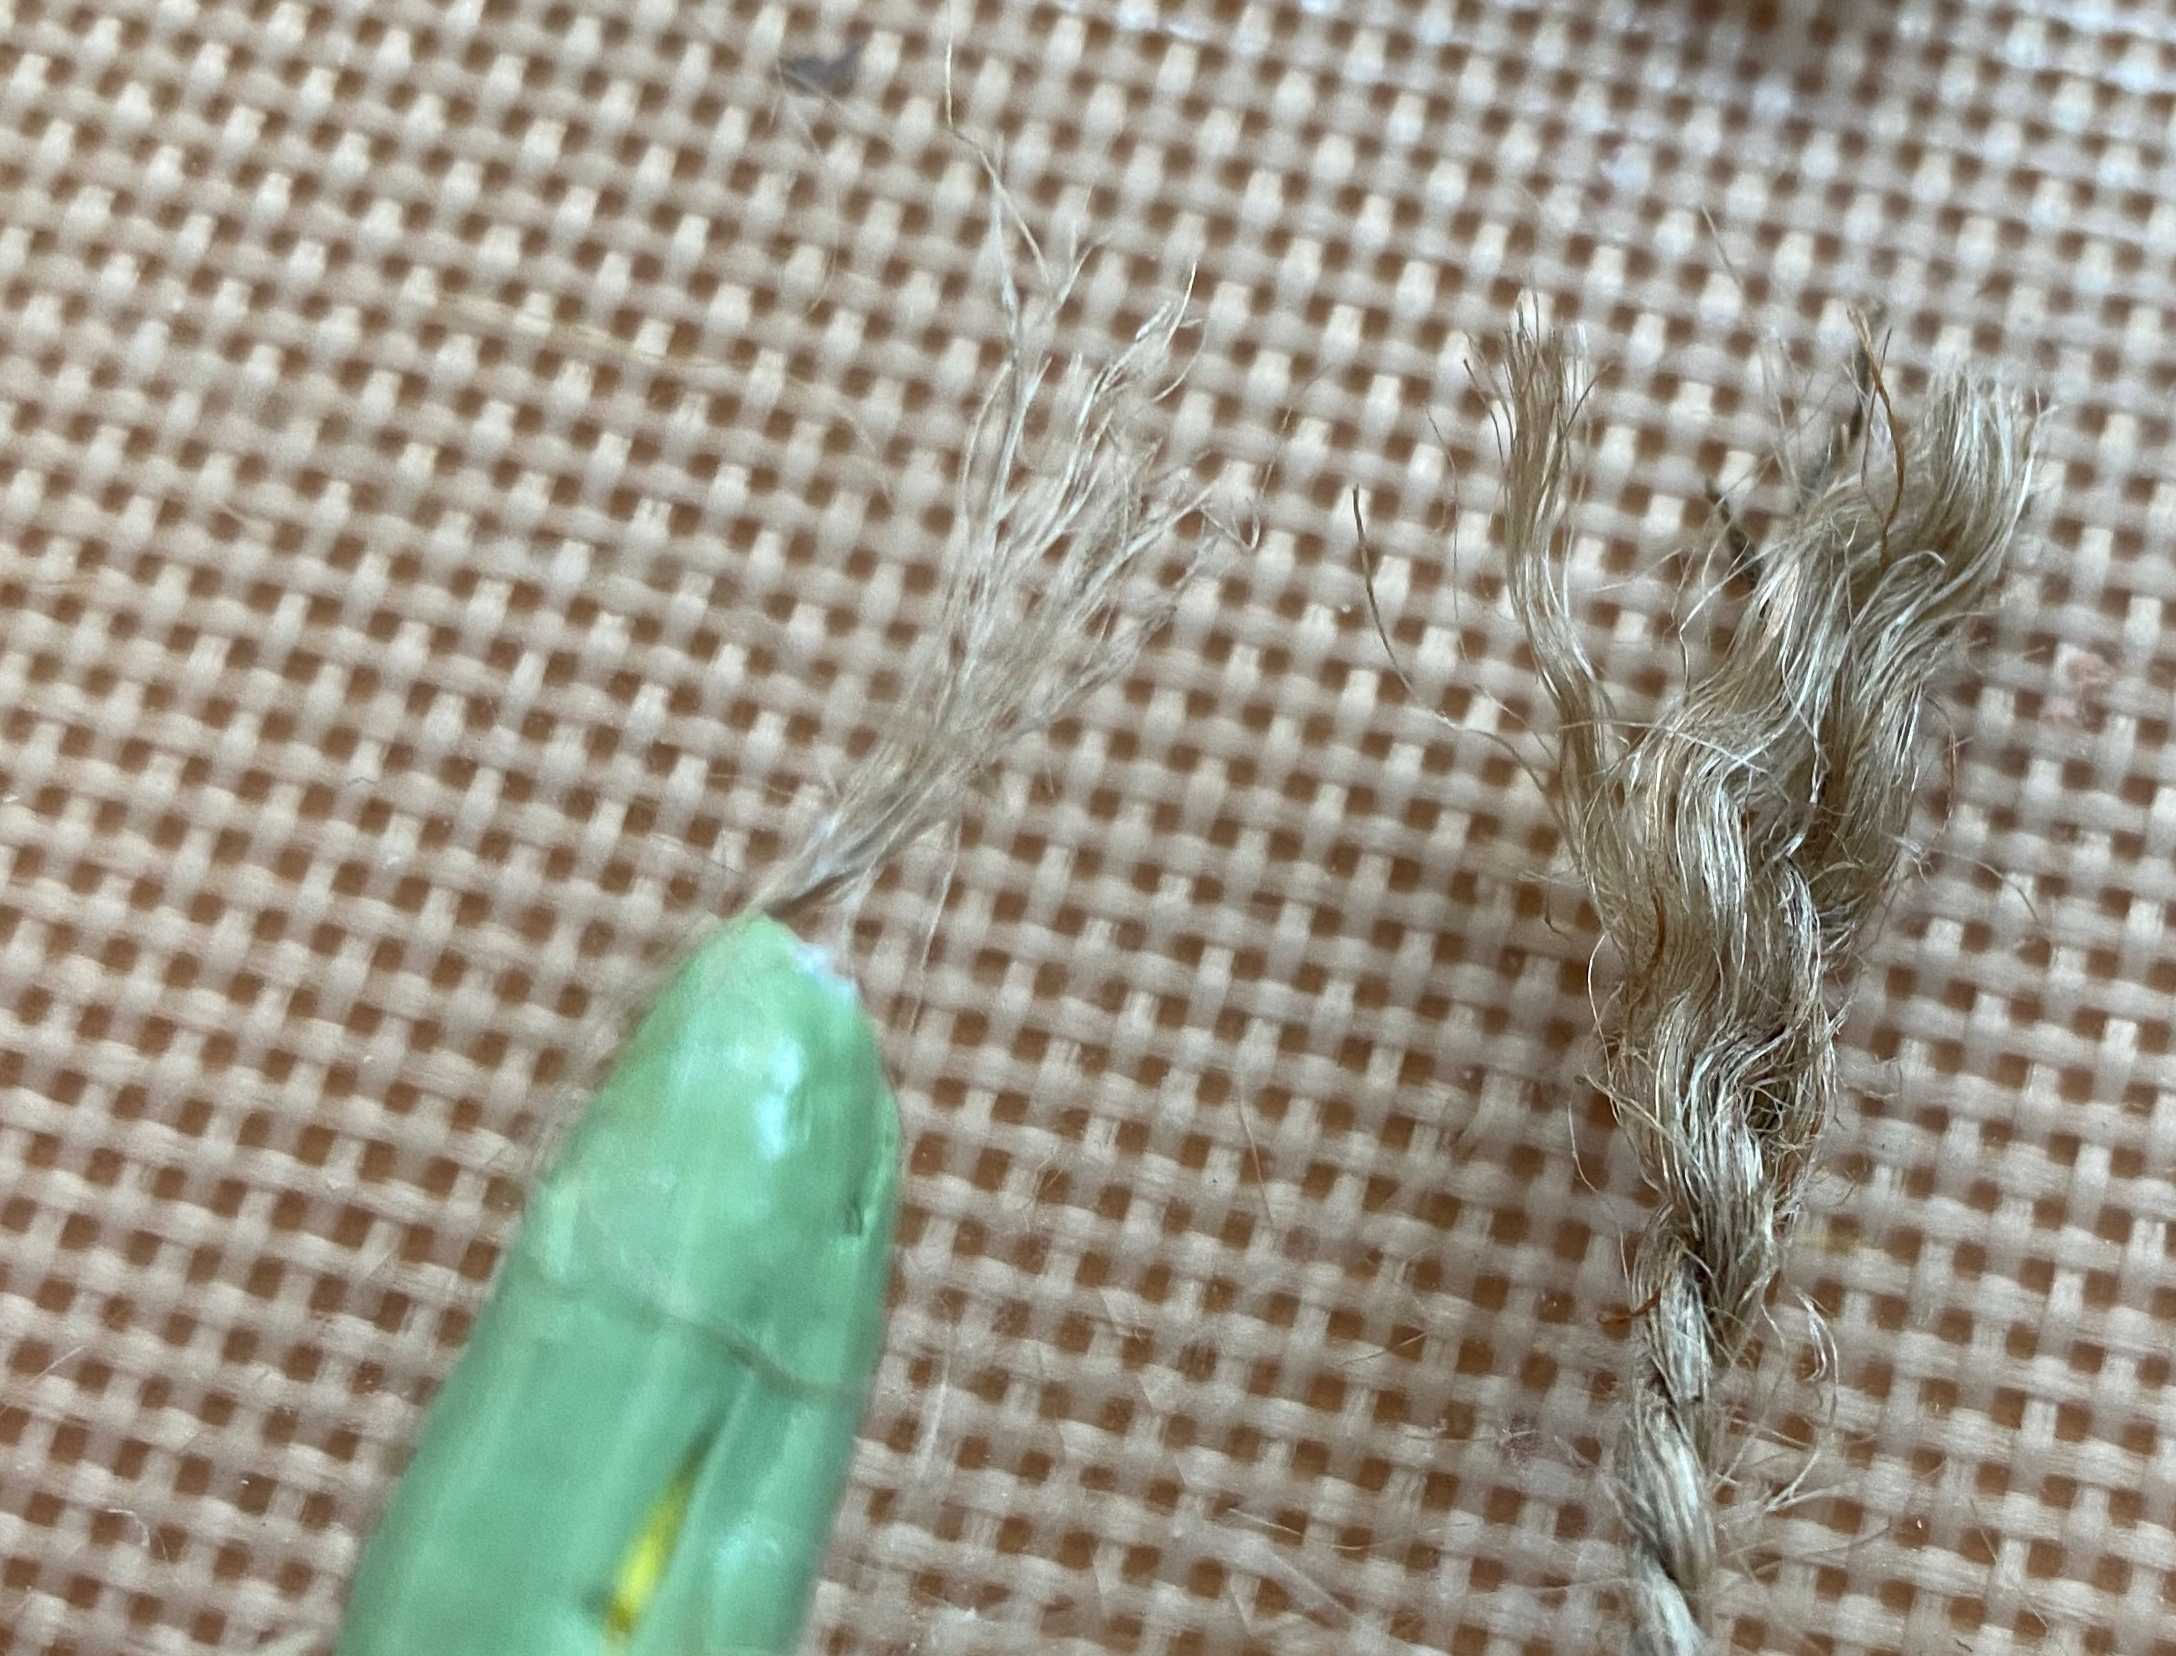
Before baking I added some texture to the husks and a light wash of dark green acrylic paint to add depth. I experimented with a couple of fibers for the corn silk: shredded twine and glossy plastic from a cheap floral pick I bought at Michael’s. The twine looks best but I only added it to a couple of pieces as it’s just too messy looking and that detail won’t show where the corn is going in the Mouse House.

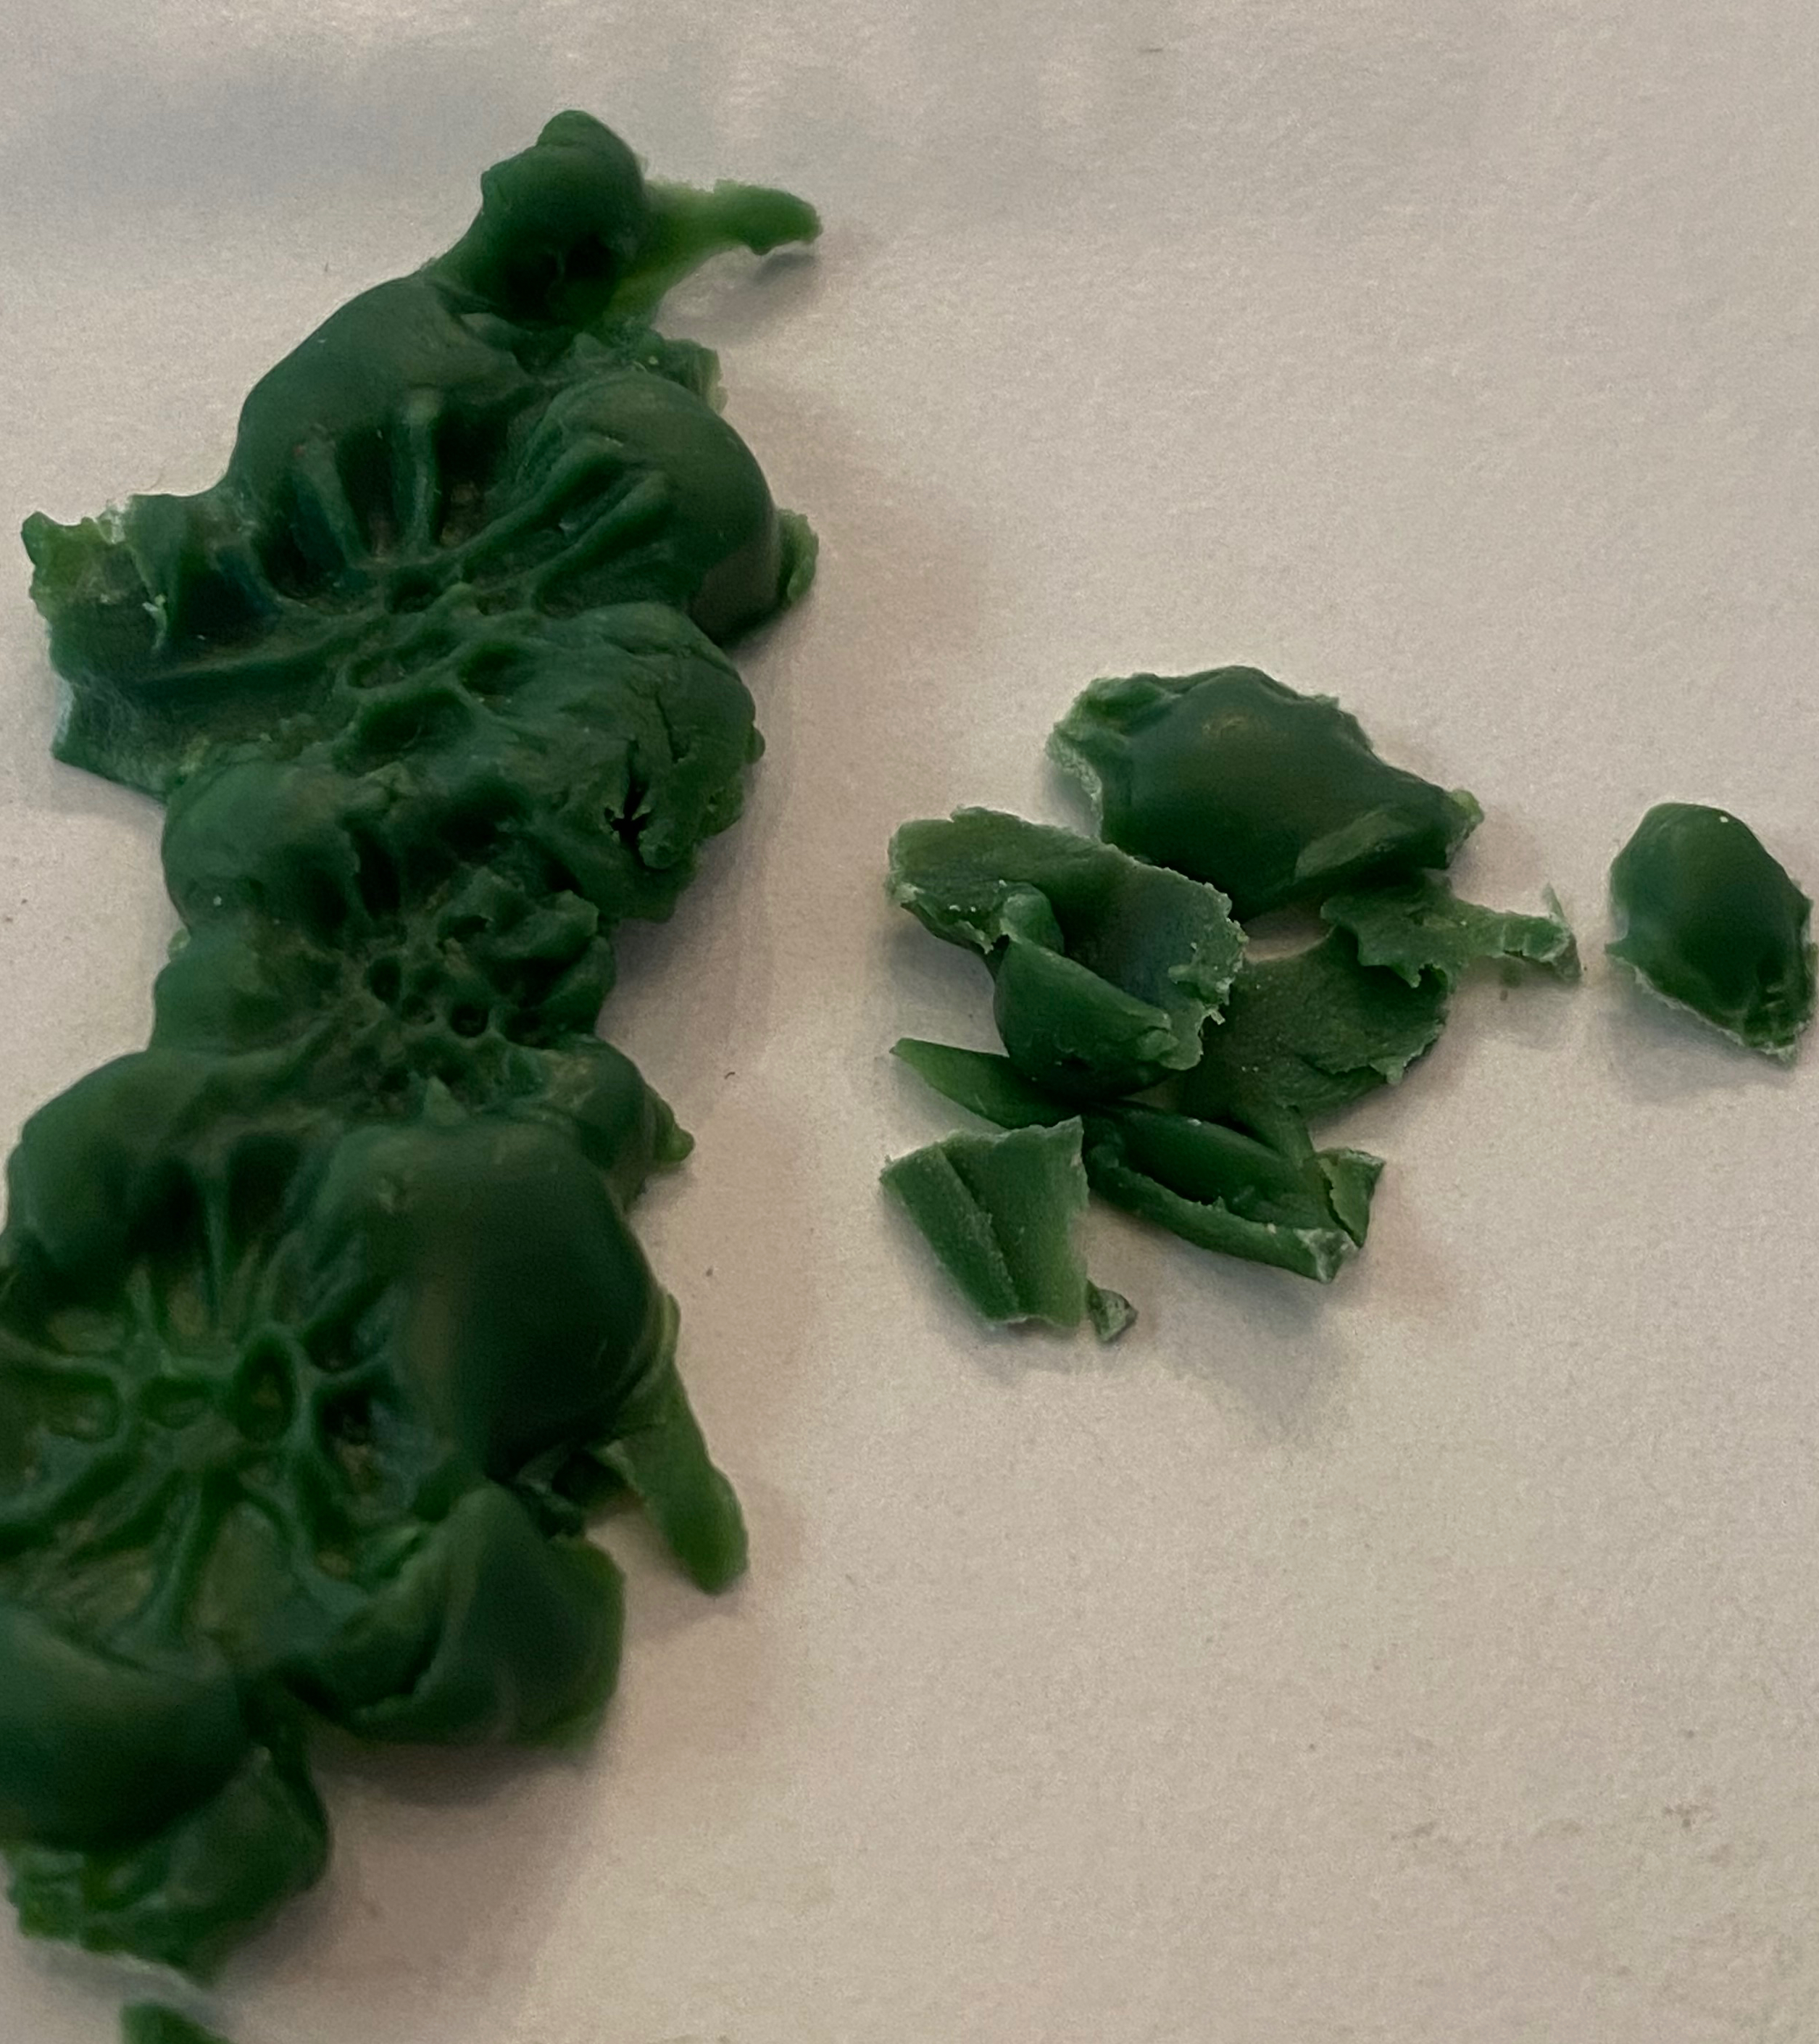
Back to the texture of the corn…from a distance, the pattern from the silicone stamp gives the illusion of full cobs, but up close it looks like the corn has already been eaten! Right now I’m going to keep these as I think they will be in “water” on the Mouse House stove and the texture won’t be very visible.

Cruciferous Vegetables

Today I made broccoli and cauliflower.

The hardest part with making these was mixing the clay to get the right colors. Once I did that it was pretty straightforward. I made bright green, translucent stems for the broccoli and baked them before adding dark green balls and texturizing them with a toothbrush. I then carefully applied pastel chalks to these heads before I baked them one more time.

The cauliflower was made by making the white florets first, then I wrapped a few leaves around them that were leftover from another experimental cane.

These things are tiny!

A Yellow Day

Bananas, lemons, and squash, oh my!

I pulled yellow clay out this morning and worked on the bananas first. I rolled a soft yellow with translucent clay into a log then cut it into 1/2″ pieces. Then I carefully “squared” these pieces so they would have ridges, pinched the ends closed, and stretched the stem end out a bit. I stuck some of the bananas together at the stem. Then I carefully added very thin brushstrokes of green at the ends of the bananas and painted the stems brown.

After baking, I added a few more brown spots and touched up the paint on the stems.

I added a brighter yellow piece of clay to my leftover “banana” clay to make the yellow squash. These were simple to shape, then I added texture with a sanding block and a toothbrush. I cut the stem ends with green and shaped them with my razor blade. Finally I added a thin coat of yellow paint to add depth of color before baking them in the oven.

The zucchini was made with clay that I rolled out of strips of both light and green clay, as I wanted to capture the streaks of color found in that type of squash. I added light green stems to both ends and baked them in the oven.

The lemons were rolled with the remaining yellow clay, texturized with a brighter yellow liquid polymer on a toothbrush, then baked. I covered them with gloss and put them in a bowl I made yesterday for fun (the bowl is out of scale for the Mouse House but I wanted to decorate something with the yellow and blue cane slices I made for practice).

I need to get to work on crates and baskets so I have somewhere to put all of this food!

Mexican Fiesta!

My friend Ellen suggested I make miniature avocados, so yesterday I played around and made a little Mexican appetizer for the Mouse House.

I built clay bowls and filled one with red, green and white pieces in a slurry of liquid red and translucent polymer for the pico de gallo. The second bowl was filled with tortilla chips made from thin clay that was texturized with a bit of brown paint on a toothbrush then cut into small triangles. The final bowl was filled with a mix of light green clay and liquid polymer. Once baked and painted with glossy medium it looks just like guacamole.

The avocados were made with light green clay, texturized on the outside, then baked. They were then painted with dark green paint and a tiny brown pit of clay was added to one of the halves.

Finally, the bottles were made with brown and translucent clay, then painted with orange liquid polymer. A lime segment tops them off.

So Ellen, we need to set a date for a Mexican lunch when I’m back in Michigan!

Salad Day!

The last couple of days I’ve tackled some basic salad ingredients in miniature: tomatoes, cucumbers and lettuce.

After my struggles with the apples, the tomatoes were easy. I mixed bright red and translucent clay, shaped it into balls, cut the “star” shapes on top, then inserted green clay into the stems. (I added longer stems and leaves to a few of them as well.)

After baking, I glazed them with gloss medium. I made sure they varied in size and added cherry and green tomatoes to mix it up a bit.

The cucumbers took a bit longer as I assembled another cane (similar to the orange slices) so I could have pieces as well as whole vegetables. I made the cane with green and natural translucent clay. (The picture below shows how it was built before I wrapped it in green clay.) Once I rolled it into a log I cut slices that looked like cucumber pieces with seeds. I made lots of these slices, but also cut longer pieces of the cane and pinched the ends closed to make whole cucumbers. Then I used my old toothbrush to add grooves and dimples into these pieces and dabbled them with dark green and yellow paint so they would look realistic. The big picture below shows what they looked like before baking.

The results were pretty good. I wanted the slices to be more translucent– perhaps they were overbaked?

The lettuce was easy. I spread a thin sheet of dark green clay in a fondant mold I picked up at the Goodwill yesterday for one dollar. Once this sloppy and raw edged clay was baked, I just broke it into little pieces.

For fun I threw these pieces into a miniature bowl and added cherry tomatoes and cucumber slices to make a salad. When I sent a picture of it to Andy at work he thought we were having that salad for dinner!

Apples

I thought apples would be easy to make. Ha! I tried at least four different techniques and am still not completely satisfied. I’m going to say they are done for now, but I’ll continue to experiment when I have more time.

The image above shows my first attempt. I used white clay and dry chalk. I don’t like the rotten looking centers and I see fingerprints all over them.

I used translucent clay and wet chalk on my second attempt. I liked the way they looked before baking, but once “cooked” the translucent clay made the results look like orange tomatoes.

The third try was awful. I used a mix of white and translucent clay and painted them with acrylic paint. The paint was gummy and a mess before I baked them and it almost disappeared after they came out of the oven. Yuck!

I finally decided to use clay and no other coloring techniques. I carefully made balls of mostly red and some green and yellow and coaxed the colors to “streak” like the colors in real apples.

I think these look pretty good. I wish the color streaks were more prominent but they will work for my purposes–until I decide to try again.
Fun note: I used pine needles outside our apartment in CA for the stems.

Oranges

Boy, am I glad making miniature food does not require a significant amount of materials! I have sculpted many fruits and vegetables over and over and thrown out so much. I do see some improvement in each rendition, so that’s good, but it’s always hard to give up on a piece and try again.

Practice, practice, practice!

Anyway…here are my most recent oranges.

I made them by building a “cane” out of the clay so the inside of each of the oranges is realistic.

Once the disc was free of spaces and air bubbles, I shaped it into a long log by continuing to squeeze, stretch and roll. This part is tricky as it is easy to distort the disc and alter the interior. The photos below illustrate this.

To make the orange slices I simply cut very thin slices of the cane. Trial and error taught me to let the cane sit overnight or put it in the refrigerator for awhile so my blade wouldn’t squish and distort the image as I cut it.

To make whole oranges I cut about a quarter of an inch from the cane and carefully pinched the peel together on both cut ends. After rolling this into a ball, I added some pastel chalk with a brush to add depth of color, then stuck a teeny tiny piece of green on the stem side of the orange.

Finally, I added texture to the peels with a toothbrush then baked the oranges in the oven for 15 minutes to harden the clay.

I know it would have been easier to just roll the orange clay into balls instead of building the canes, but I love the idea that the inside of the oranges are realistic as well. I cut many more slices than pictured, so I’m sure there will be plates of these somewhere other than the kitchen in the Mouse House!

Food, Glorious Food!

It has been a long time since I’ve posted. My husband’s transfer to Southern California stalled my progress on the Mouse House as I’ve been living most of the time in our Tustin, CA apartment rather than our house in Michigan. I have a desk in our apartment (with a wonderful view!) but most of my art supplies are in Michigan, so I’ve been limited with how I use the space. I did a lot of sewing (five art quilts) this past year, but I miss constructing the Mouse House! I finally decided to just “bite the bullet” and I bought polymer clay and new sculpting tools and am learning how to make miniature food while I’m out west.

I am very lucky to have this beautiful space in California to work on all my creative endeavors. I just wish I had the Mouse House and all of my supplies here as well!

The Mouse House has a kitchen, a pantry, a kitchen loft and a dining room I want to fill with realistic food I make myself. I jumped right in trying to sculpt without instructions (a habit of mine!), yet my awkward results indicated I needed help. I spent time reading books on sculpting and discovered the incredible video resources on YouTube. I’m now spending these (strangely!) rainy California days making tiny food over and over. Practice, practice, practice.

I made grapes the last couple of days while the Santa Ana winds blew sheets of rain outside my window. Here’s how I did it:

I have practiced making lots more fruits and vegetables as well as several entrees. Each time I make an item it looks more realistic, so I’ll keep working. Stay tuned!

The Art Studio

The sewing room/art studio in the Mouse House took some thought. It was hard to decide what should go in it–I have so much in my own studio that paring it down was a challenge.

I began with the paint jars and brushes. The “jars” are just slices of a plastic drinking straw I cut and painted. I then attached “snap” for the tops. I also made bins of scrapbook paper and a bottle of glue from a plastic syringe and a label from the internet.

Paint jars, bins of paper, glue and brushes on the studio shelves.

I made the paint brushes with small skewers trimmed to size. I was able to “shred” the skewers at the top to make the bristles which I then dipped into black paint and wrapped with a silver piece of foil.

I completed the shelves with bins of yarn and fabric, bottles of buttons, a crate of scrap wood and a paper cutter I made with wood and foil.

The storage shelves in the art studio.
A close-up of the paper cutter (with thanks to my friend Jan for the idea!)

Next, I built the sewing machine. It took awhile for me to find the right pieces to build it but once I discovered this electrical-connector-thingie in one of my junk boxes I knew I was on to something. With a little glue, paint, snaps, buttons and foil, this is what I came up with:

I completed the sewing machine “vignette” with a pedal and attached it to a table with assorted sewing supplies.

The Mouse House sewing machine.

I added a design wall above the sewing table complete with a partial quilt and yellow sticky-note reminders on the wall; an ironing space on top of a fabric cupboard; a trash can; table lamp; more sewing supplies; and a banner I made from trim I bought on my trip to India in 2020.

I still need to add some books and some munchies, but I’m excited to move on to the kitchen and pantry. I’m calling this room complete for now.

The Mouse House art studio.
The Mouse House art studio with the can for perspective.

The Mad Scientist

I recently completed a four month online course in illustration –Lilla Rogers and her “Make Art That Sells” Bootcamp. The class generated so many ideas, including a children’s book based on this Mouse House, but it took up most of my time and I was unable to work on this beloved project. The exciting news is that I shared this blog with Lilla and many of my classmates so they can follow my progress and share my enthusiasm.

I finally finished the Mouse House Study last week. It’s a spot for the scientist mouse who tracks and collects butterflies all over the world; plays the violin; dabbles in geology; experiments with chemistry; and enjoys reading newspapers in front of the fireplace.

The “Scientific Study” in the Mouse House.
The cozy corner in the Mouse House study.
Note the maps tracking butterfly excursions, the Bunsen burner, more books in the bookcase, etc.

I started with the fireplace which I designed and built myself. (See previous blog post here: The Heat Is On!)

I then focused on the table and all of the accessories I wanted to display. This included a microscope I made out of an IKEA shelf support and a tape dispenser lid. I also made a box of mini slides with dabs of paint on teeny pieces of plastic.

After that came the butterflies: I made a framed display and also made domed dioramas to put on the table and the mantle. I printed butterfly prints for the walls and added a map with string “markers” to document the butterfly excursions.The room was completed with books I made and other accessories I have built or collected.

The butterfly collection in the Mouse House.
A butterfly “diorama”!

I made the Bunsen burner and stand out of a few of the tiny electrical parts my dear friends Mark and Leann have given me over the years. The “flame” in the bottom of the burner is an orange bead.

The Bunsen burner made out of electrical components.

I filled the beakers on the table and on the bookshelf with nail polish also given to me by Leann. The “white” beakers are two of the things I like the best in the house so far–the nail polish glows in the dark! Here are a couple of photos with the lights off. Isn’t that cool?!!

The magic of glow in the dark nail polish!

The Mouse House Study with can for perspective.

Next up: the Art Studio. I’ll try to duplicate a bit of what I have going on in my own space. Wouldn’t it be fun to make a Mouse House in the Mouse House? Don’t hold your breath!!