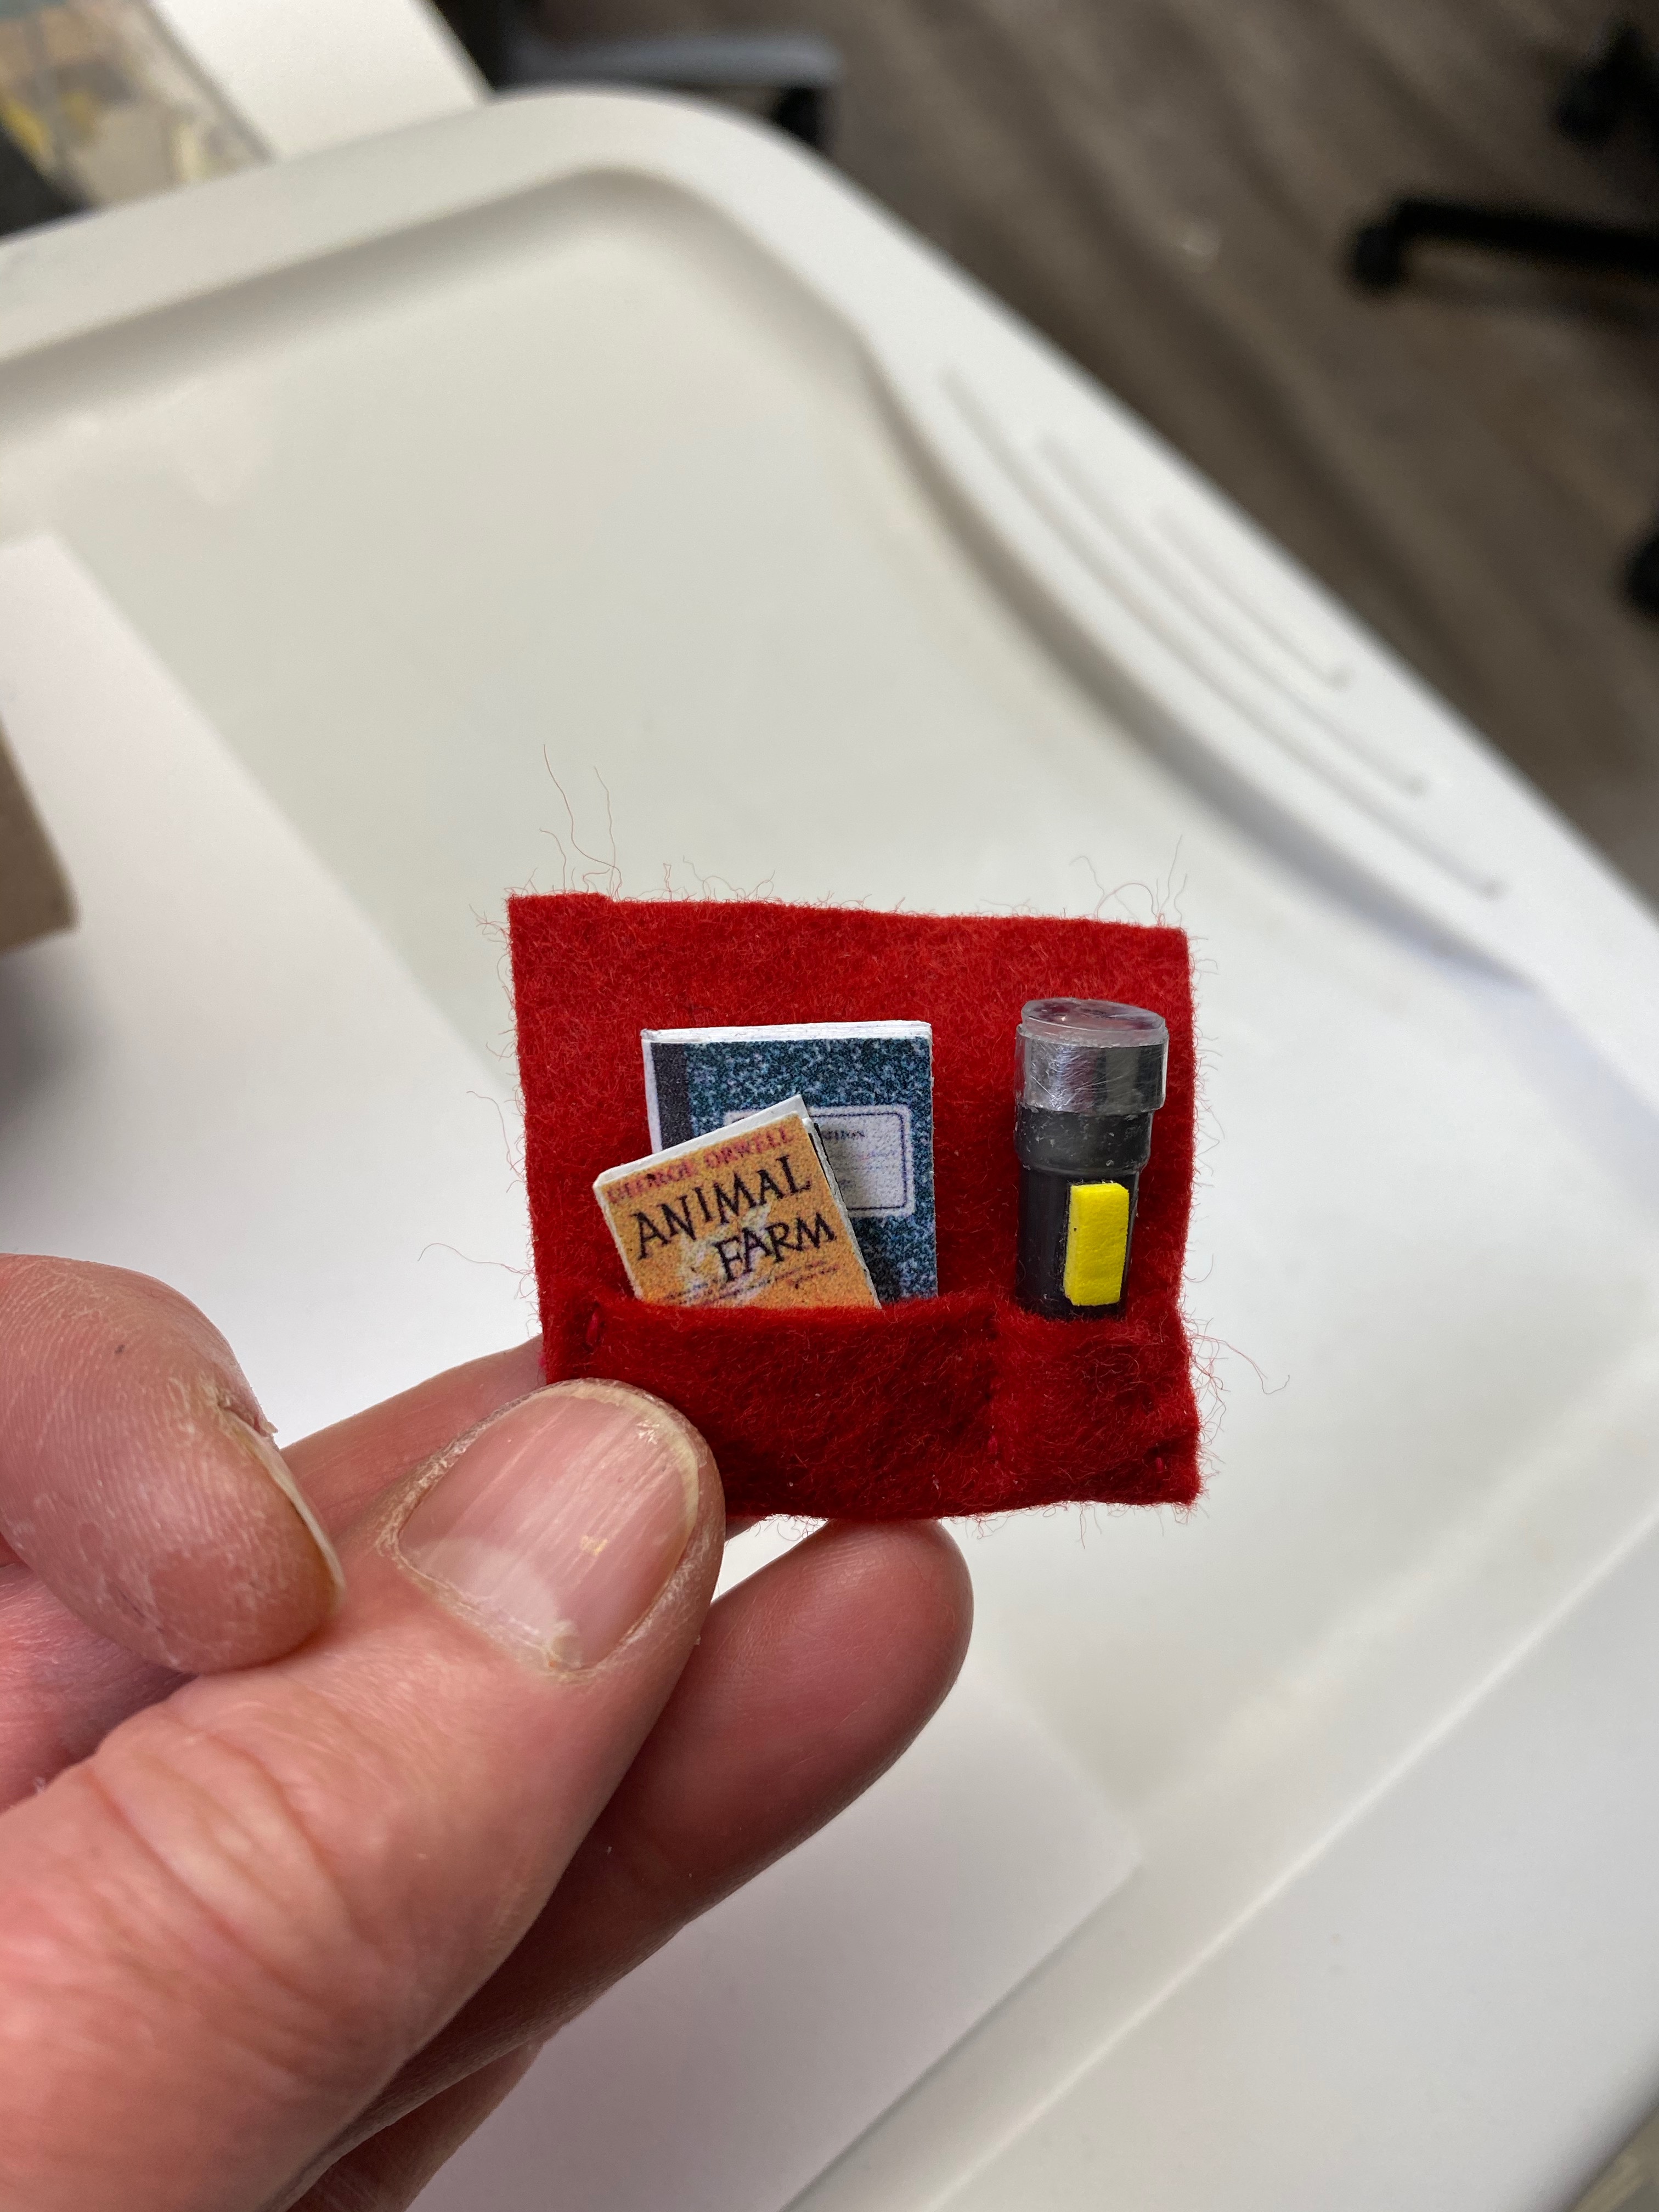
Despite some major conflicts (I’m taking an online illustration class and it’s gardening season!) I have been able to squeeze in time for the Mouse House as well. The next area to reveal is the music room.
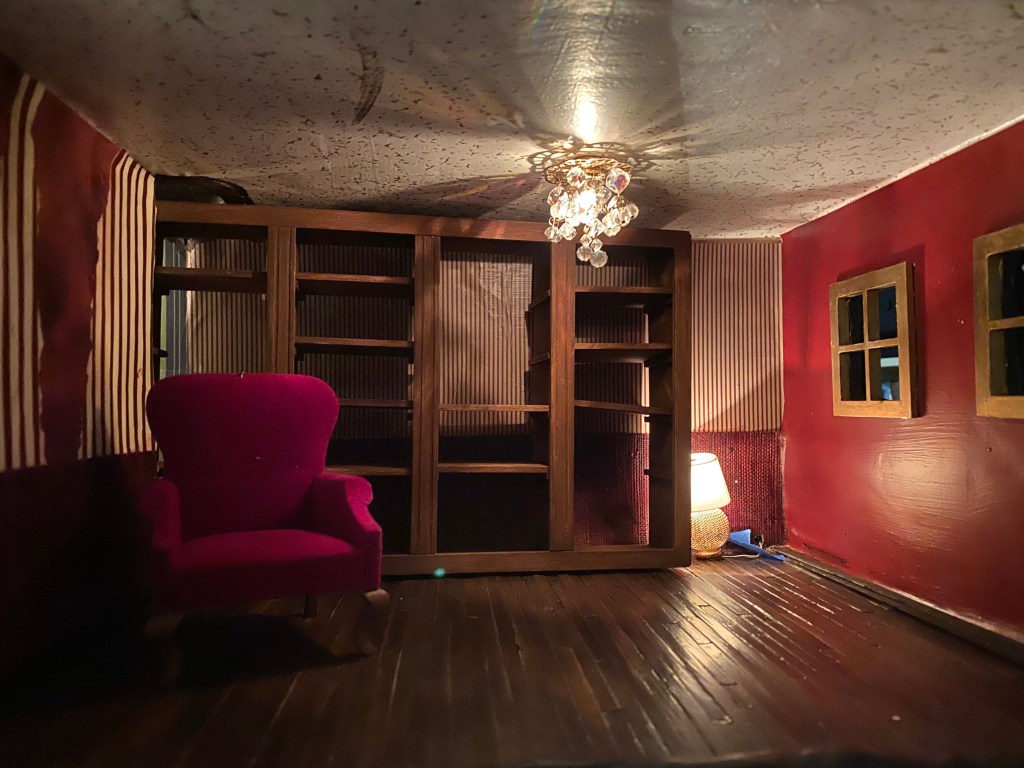
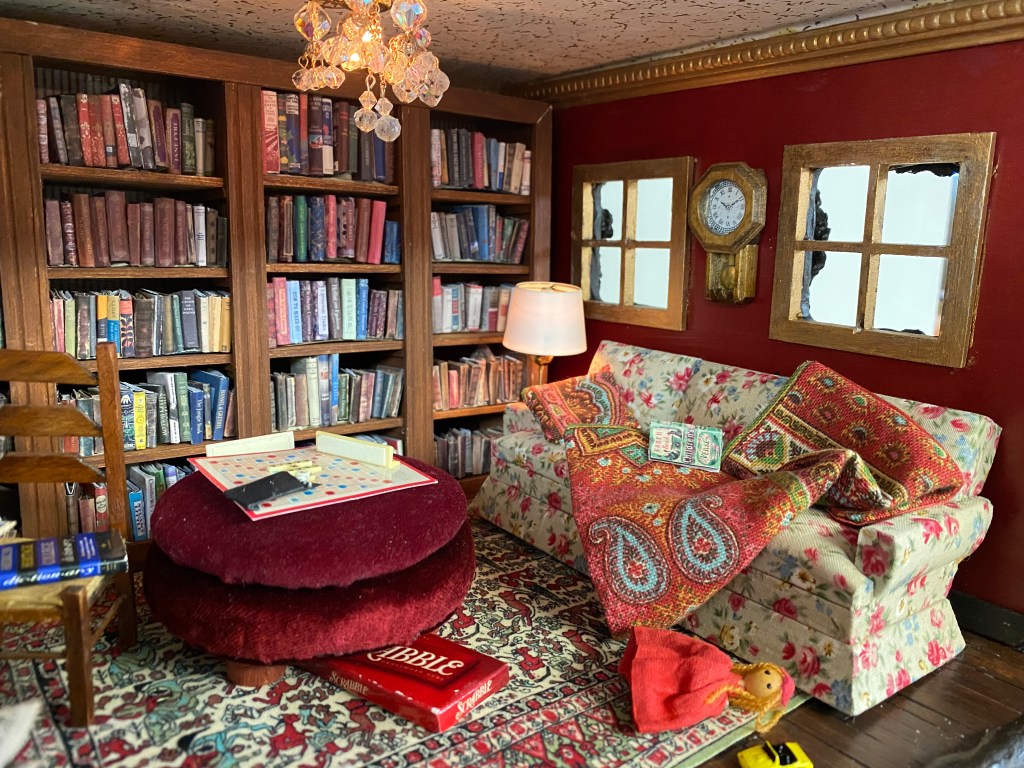
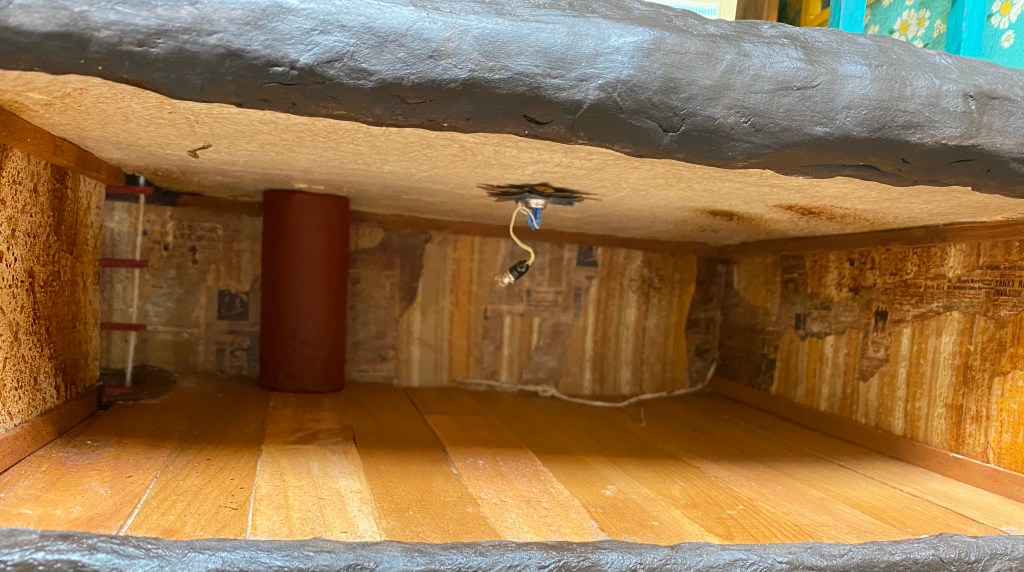
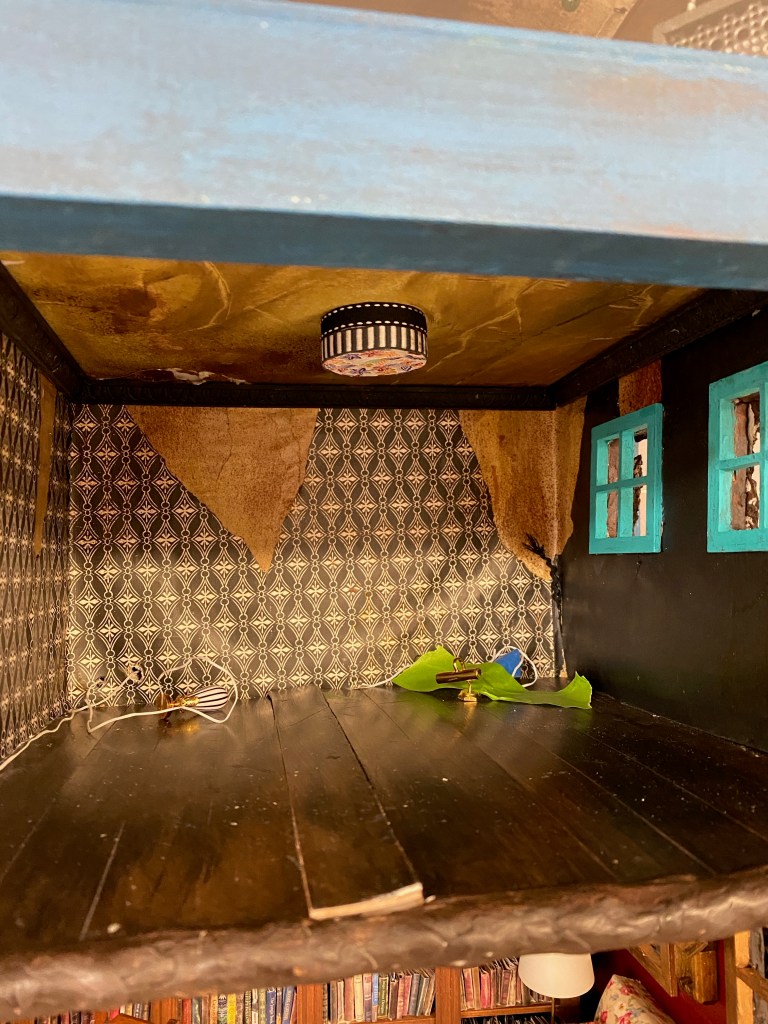
Here is the “before” picture of the room:
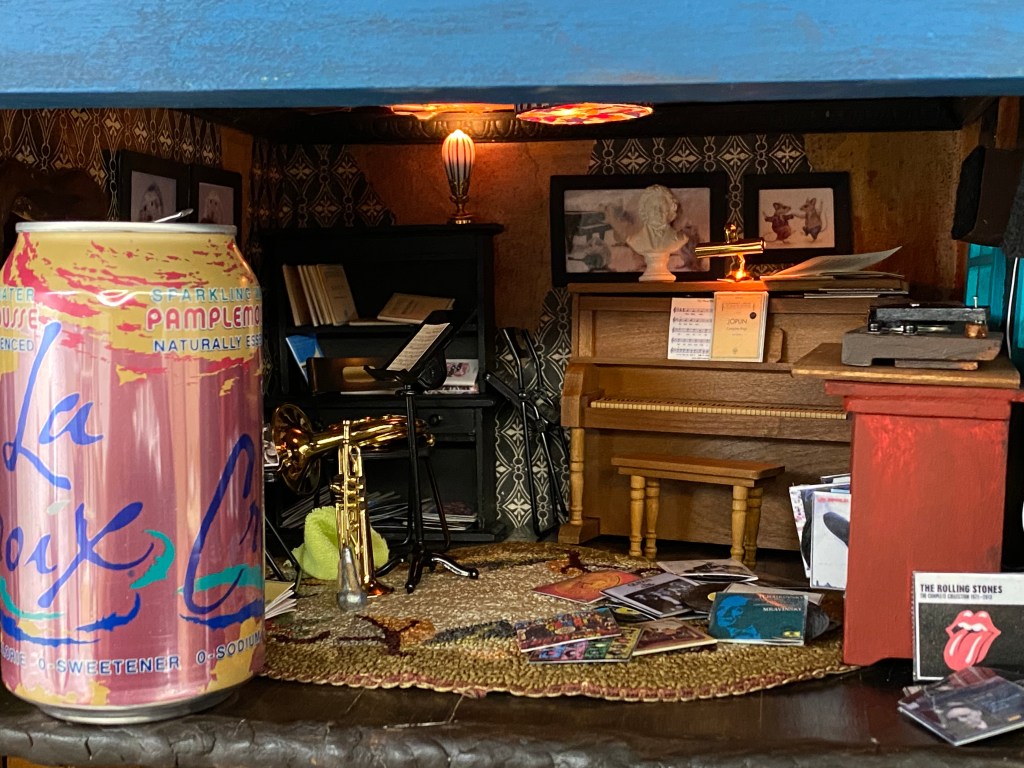
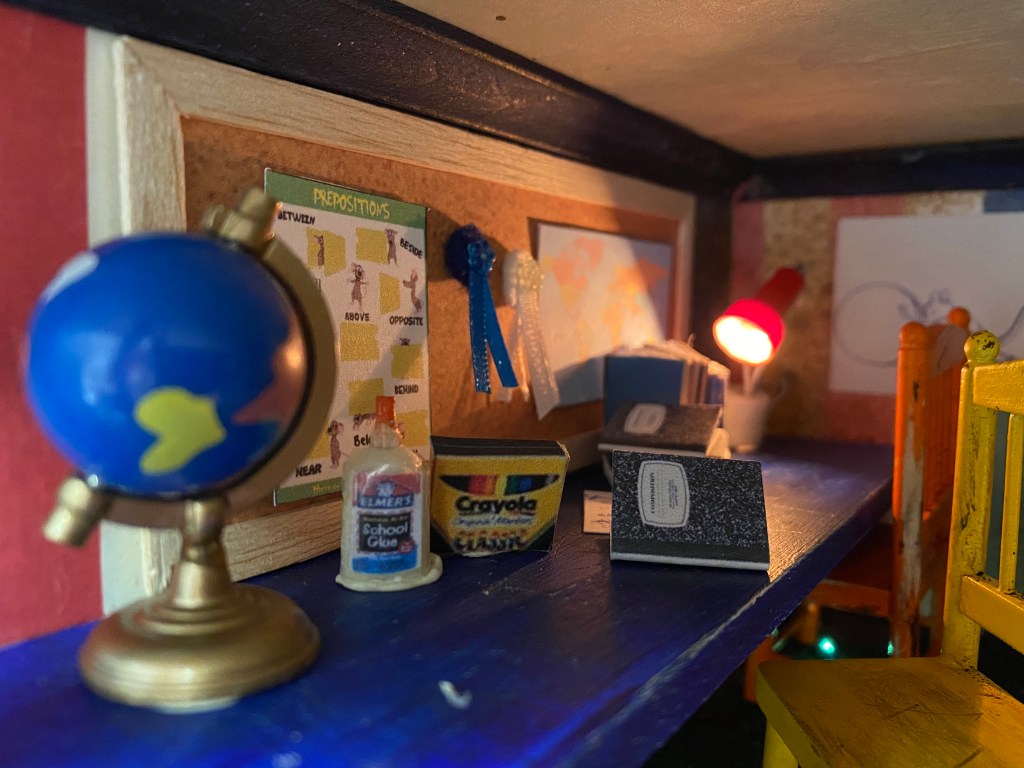
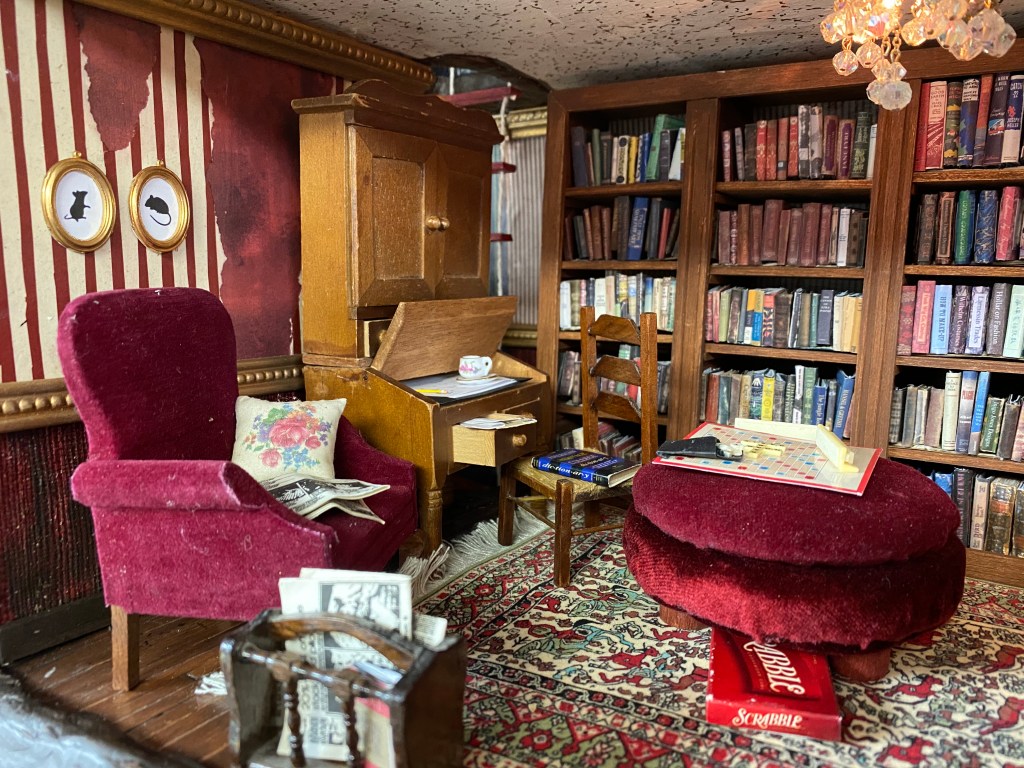
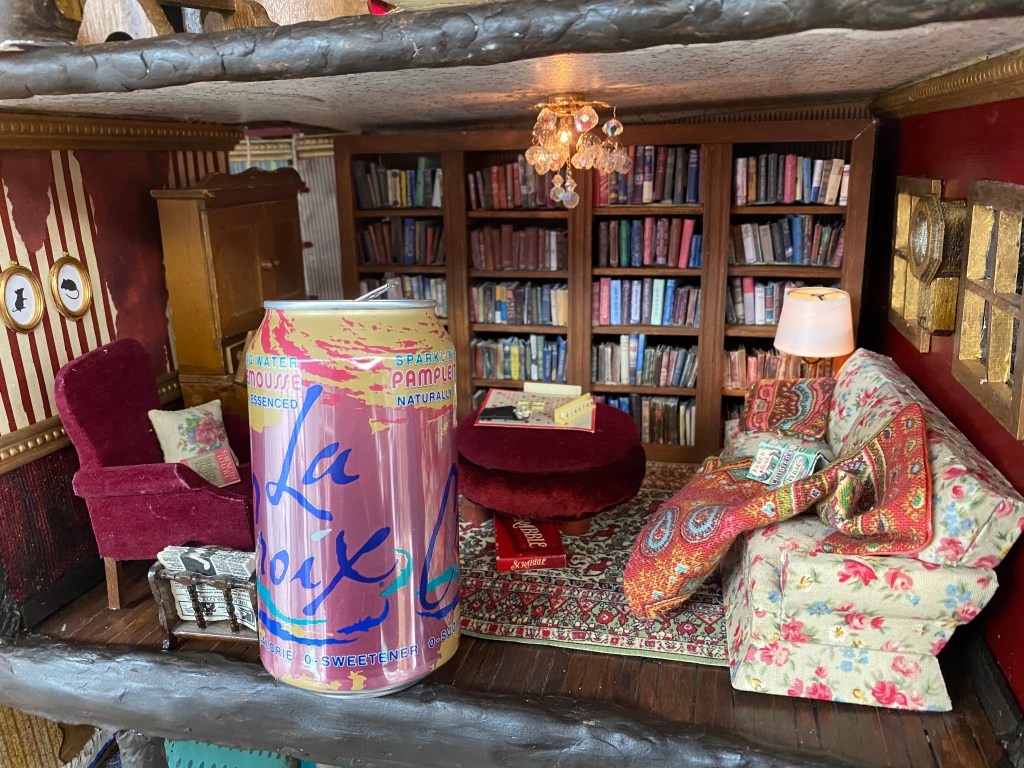
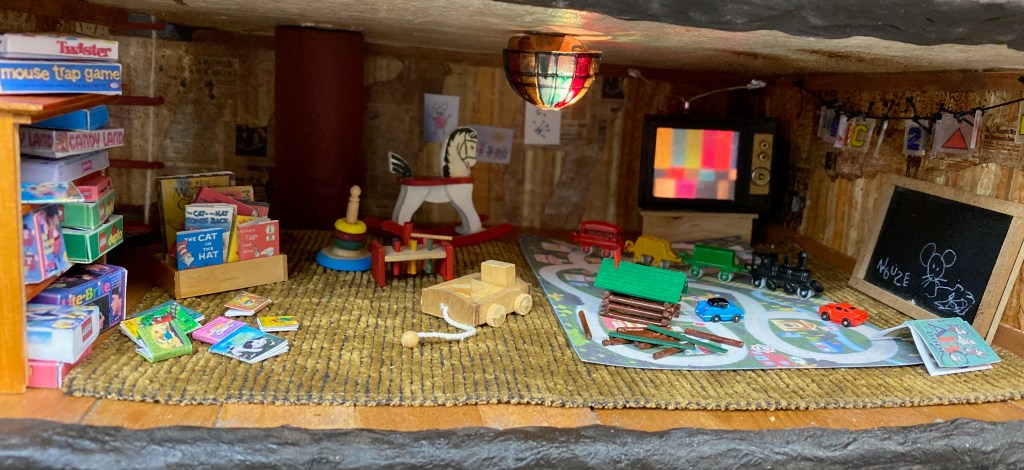
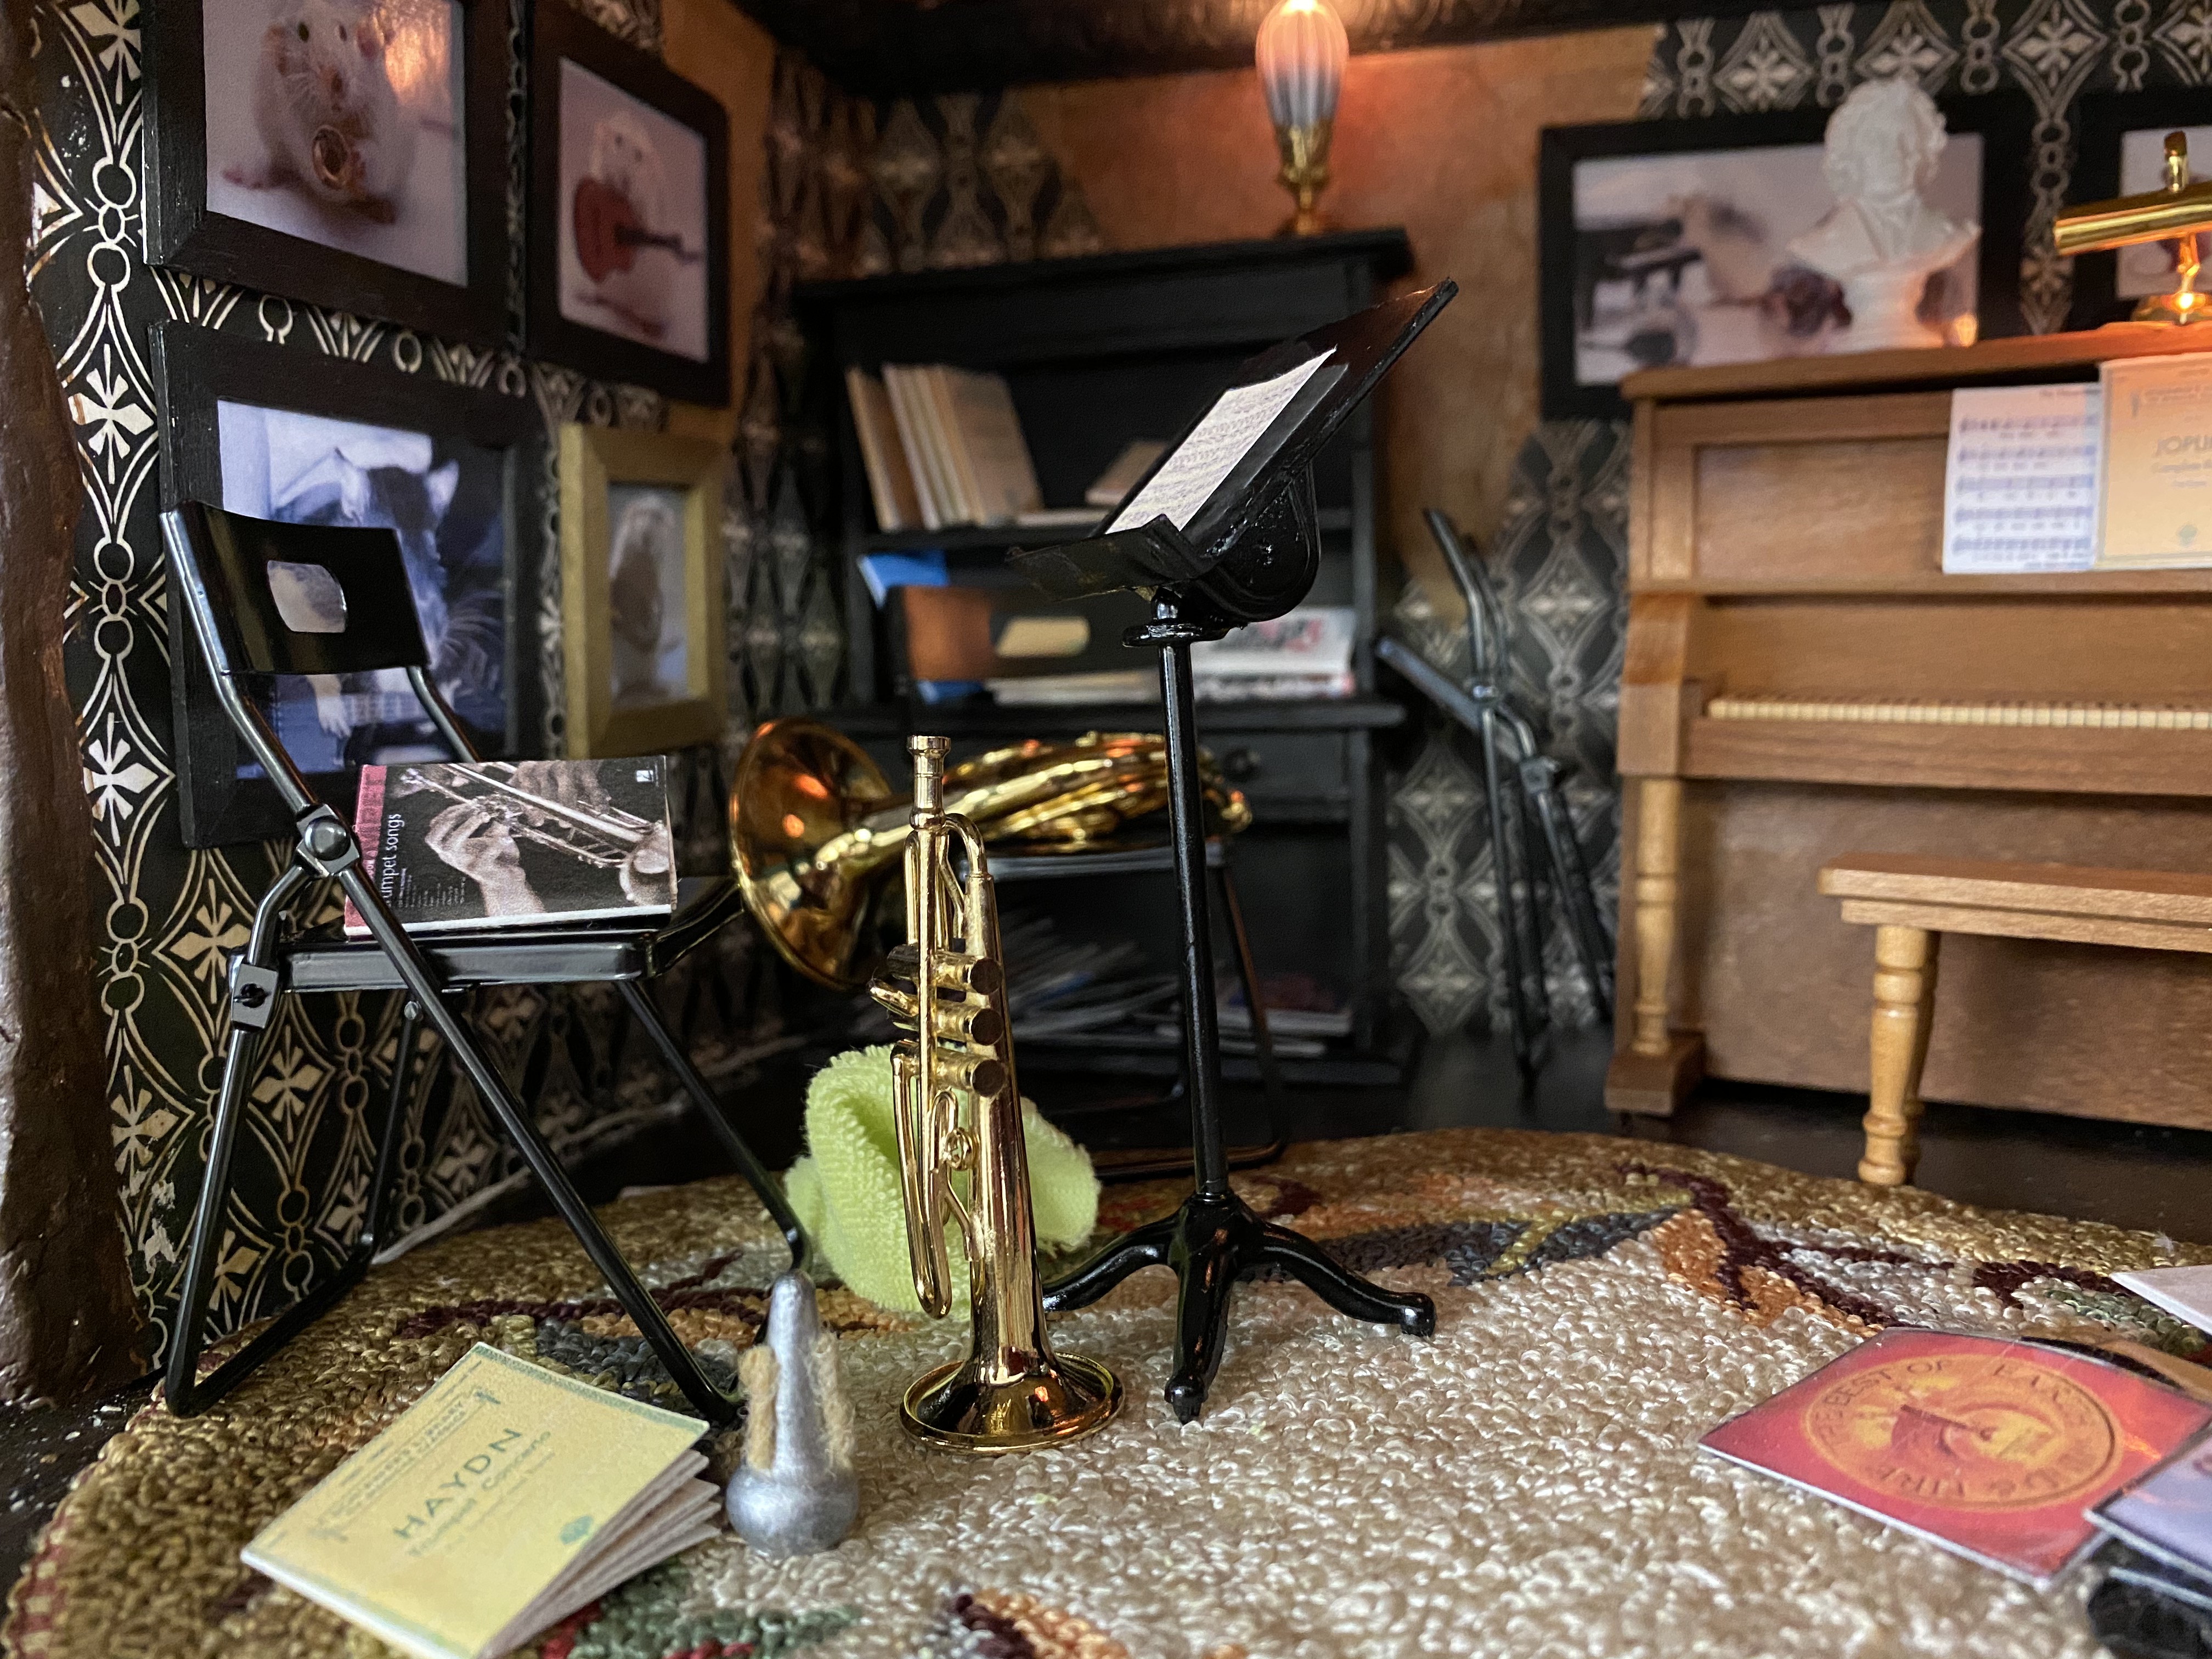
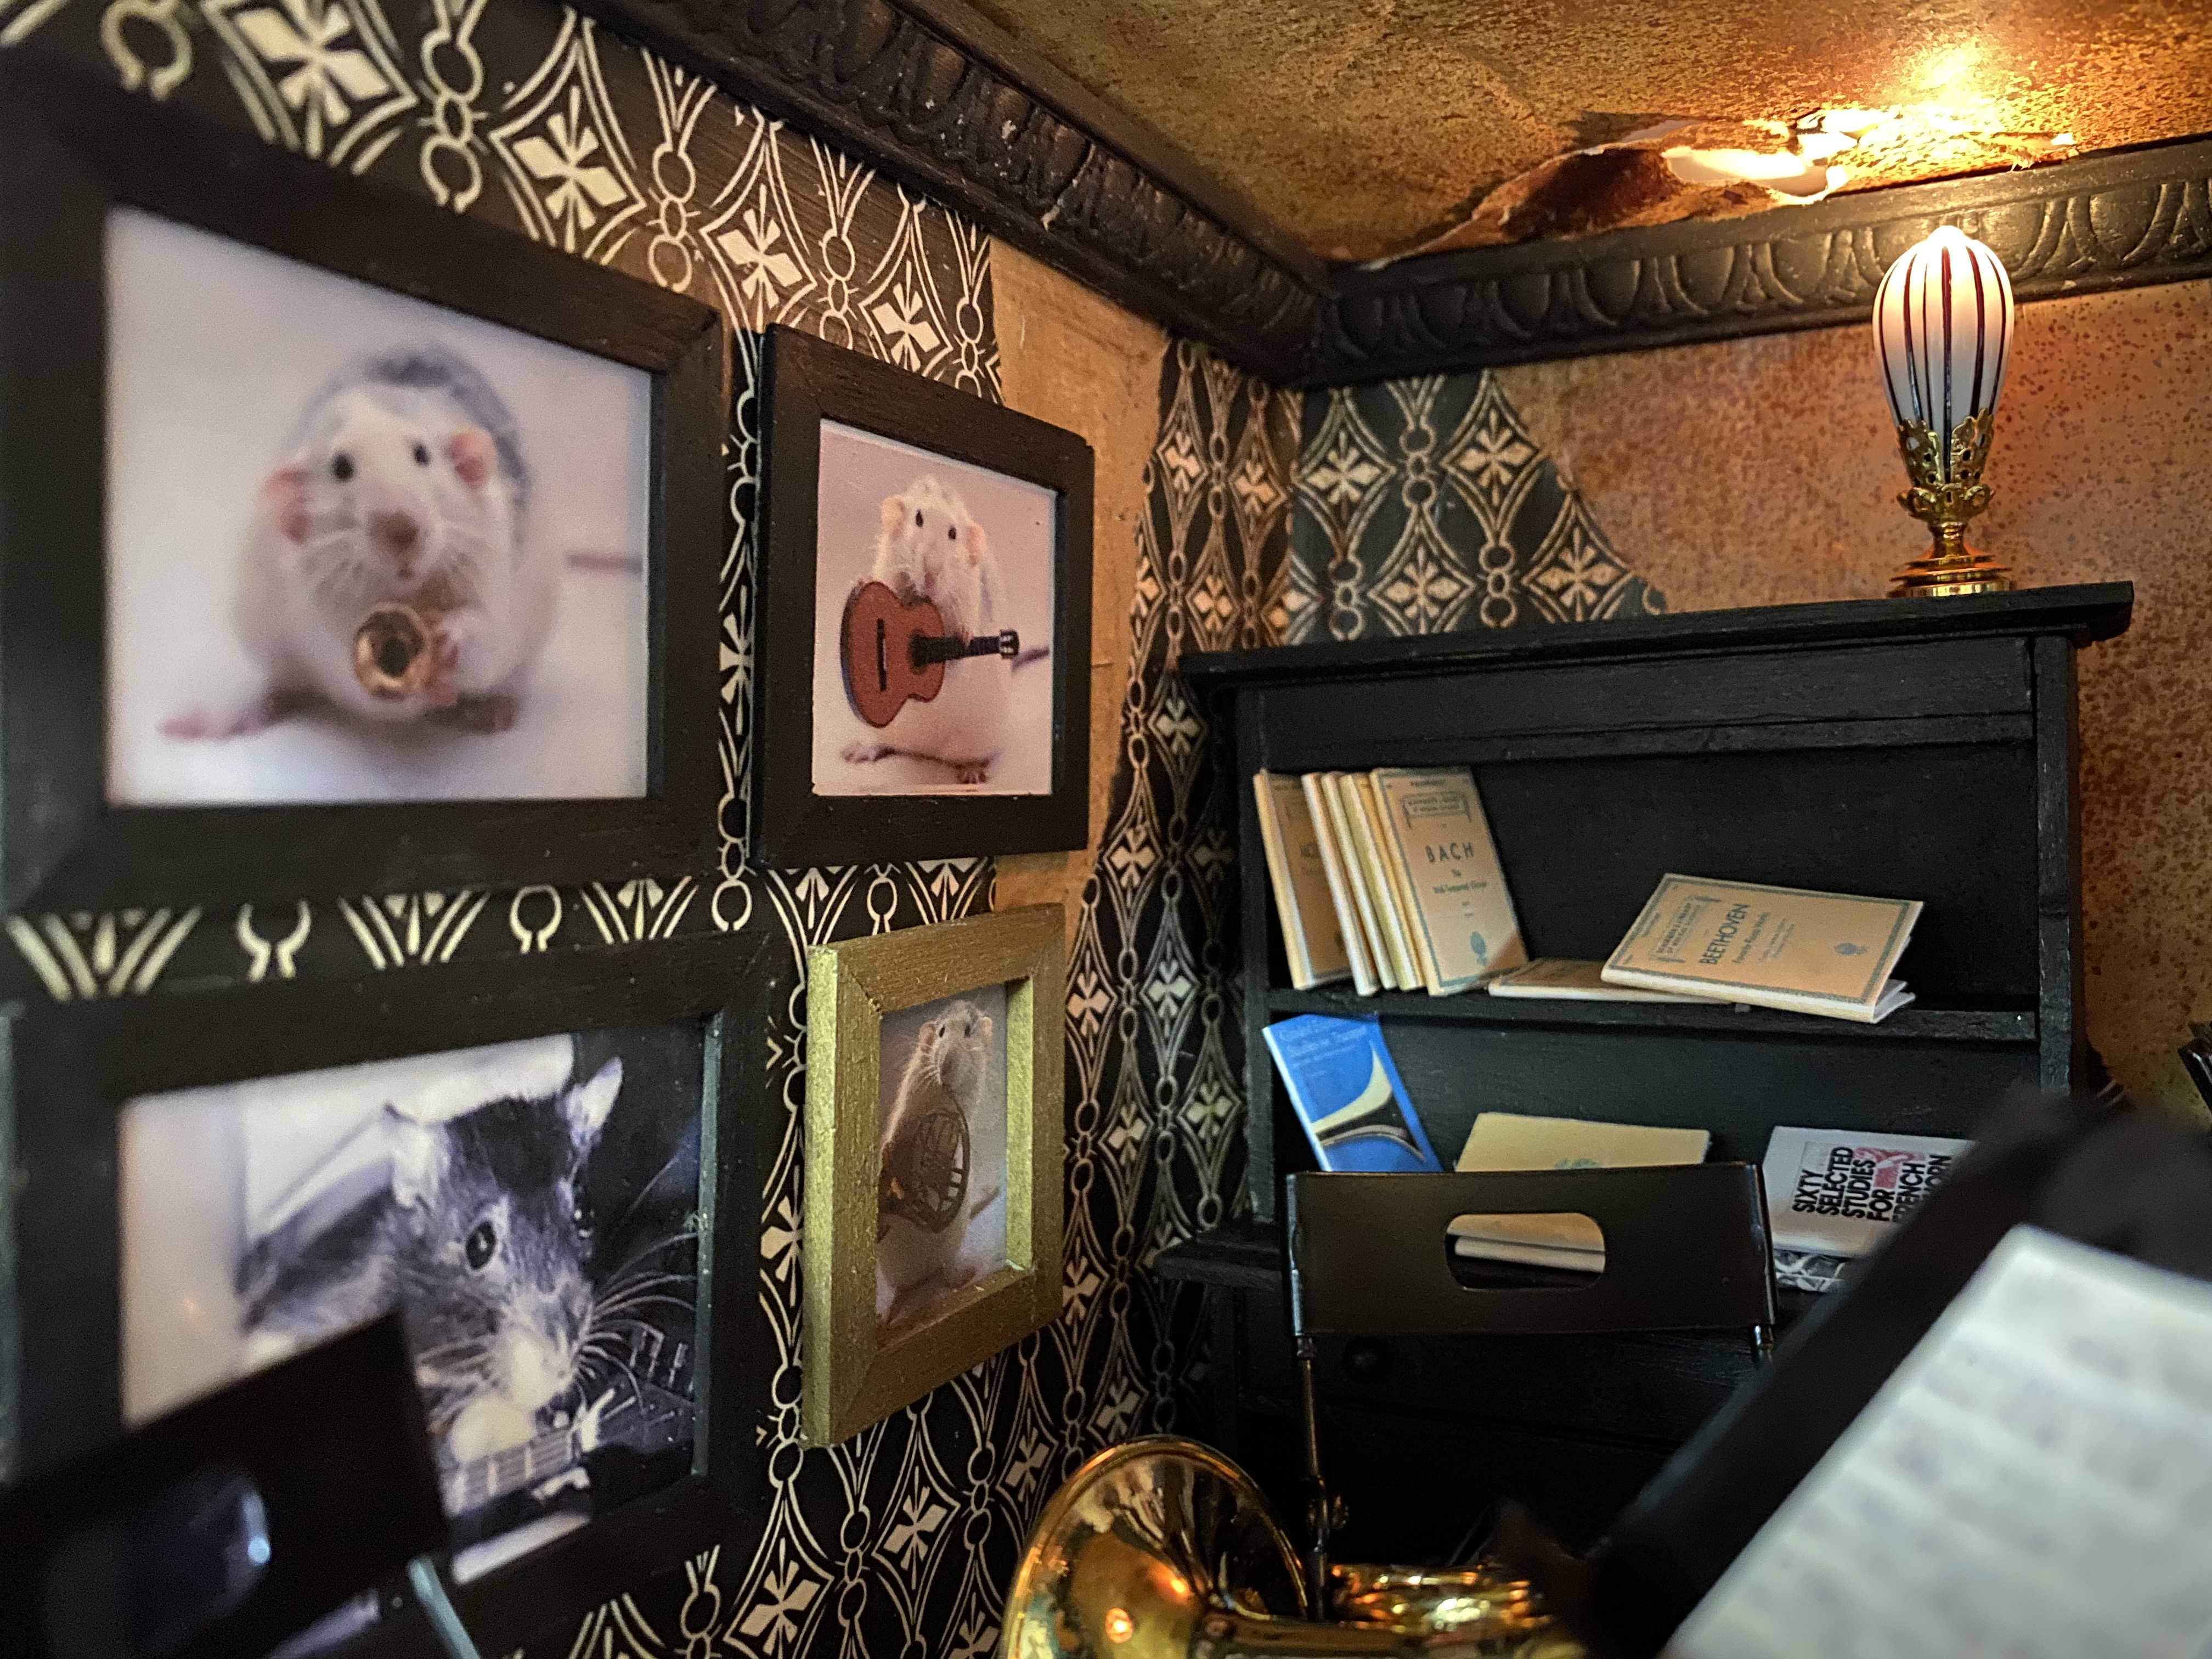
And here is the completed room:


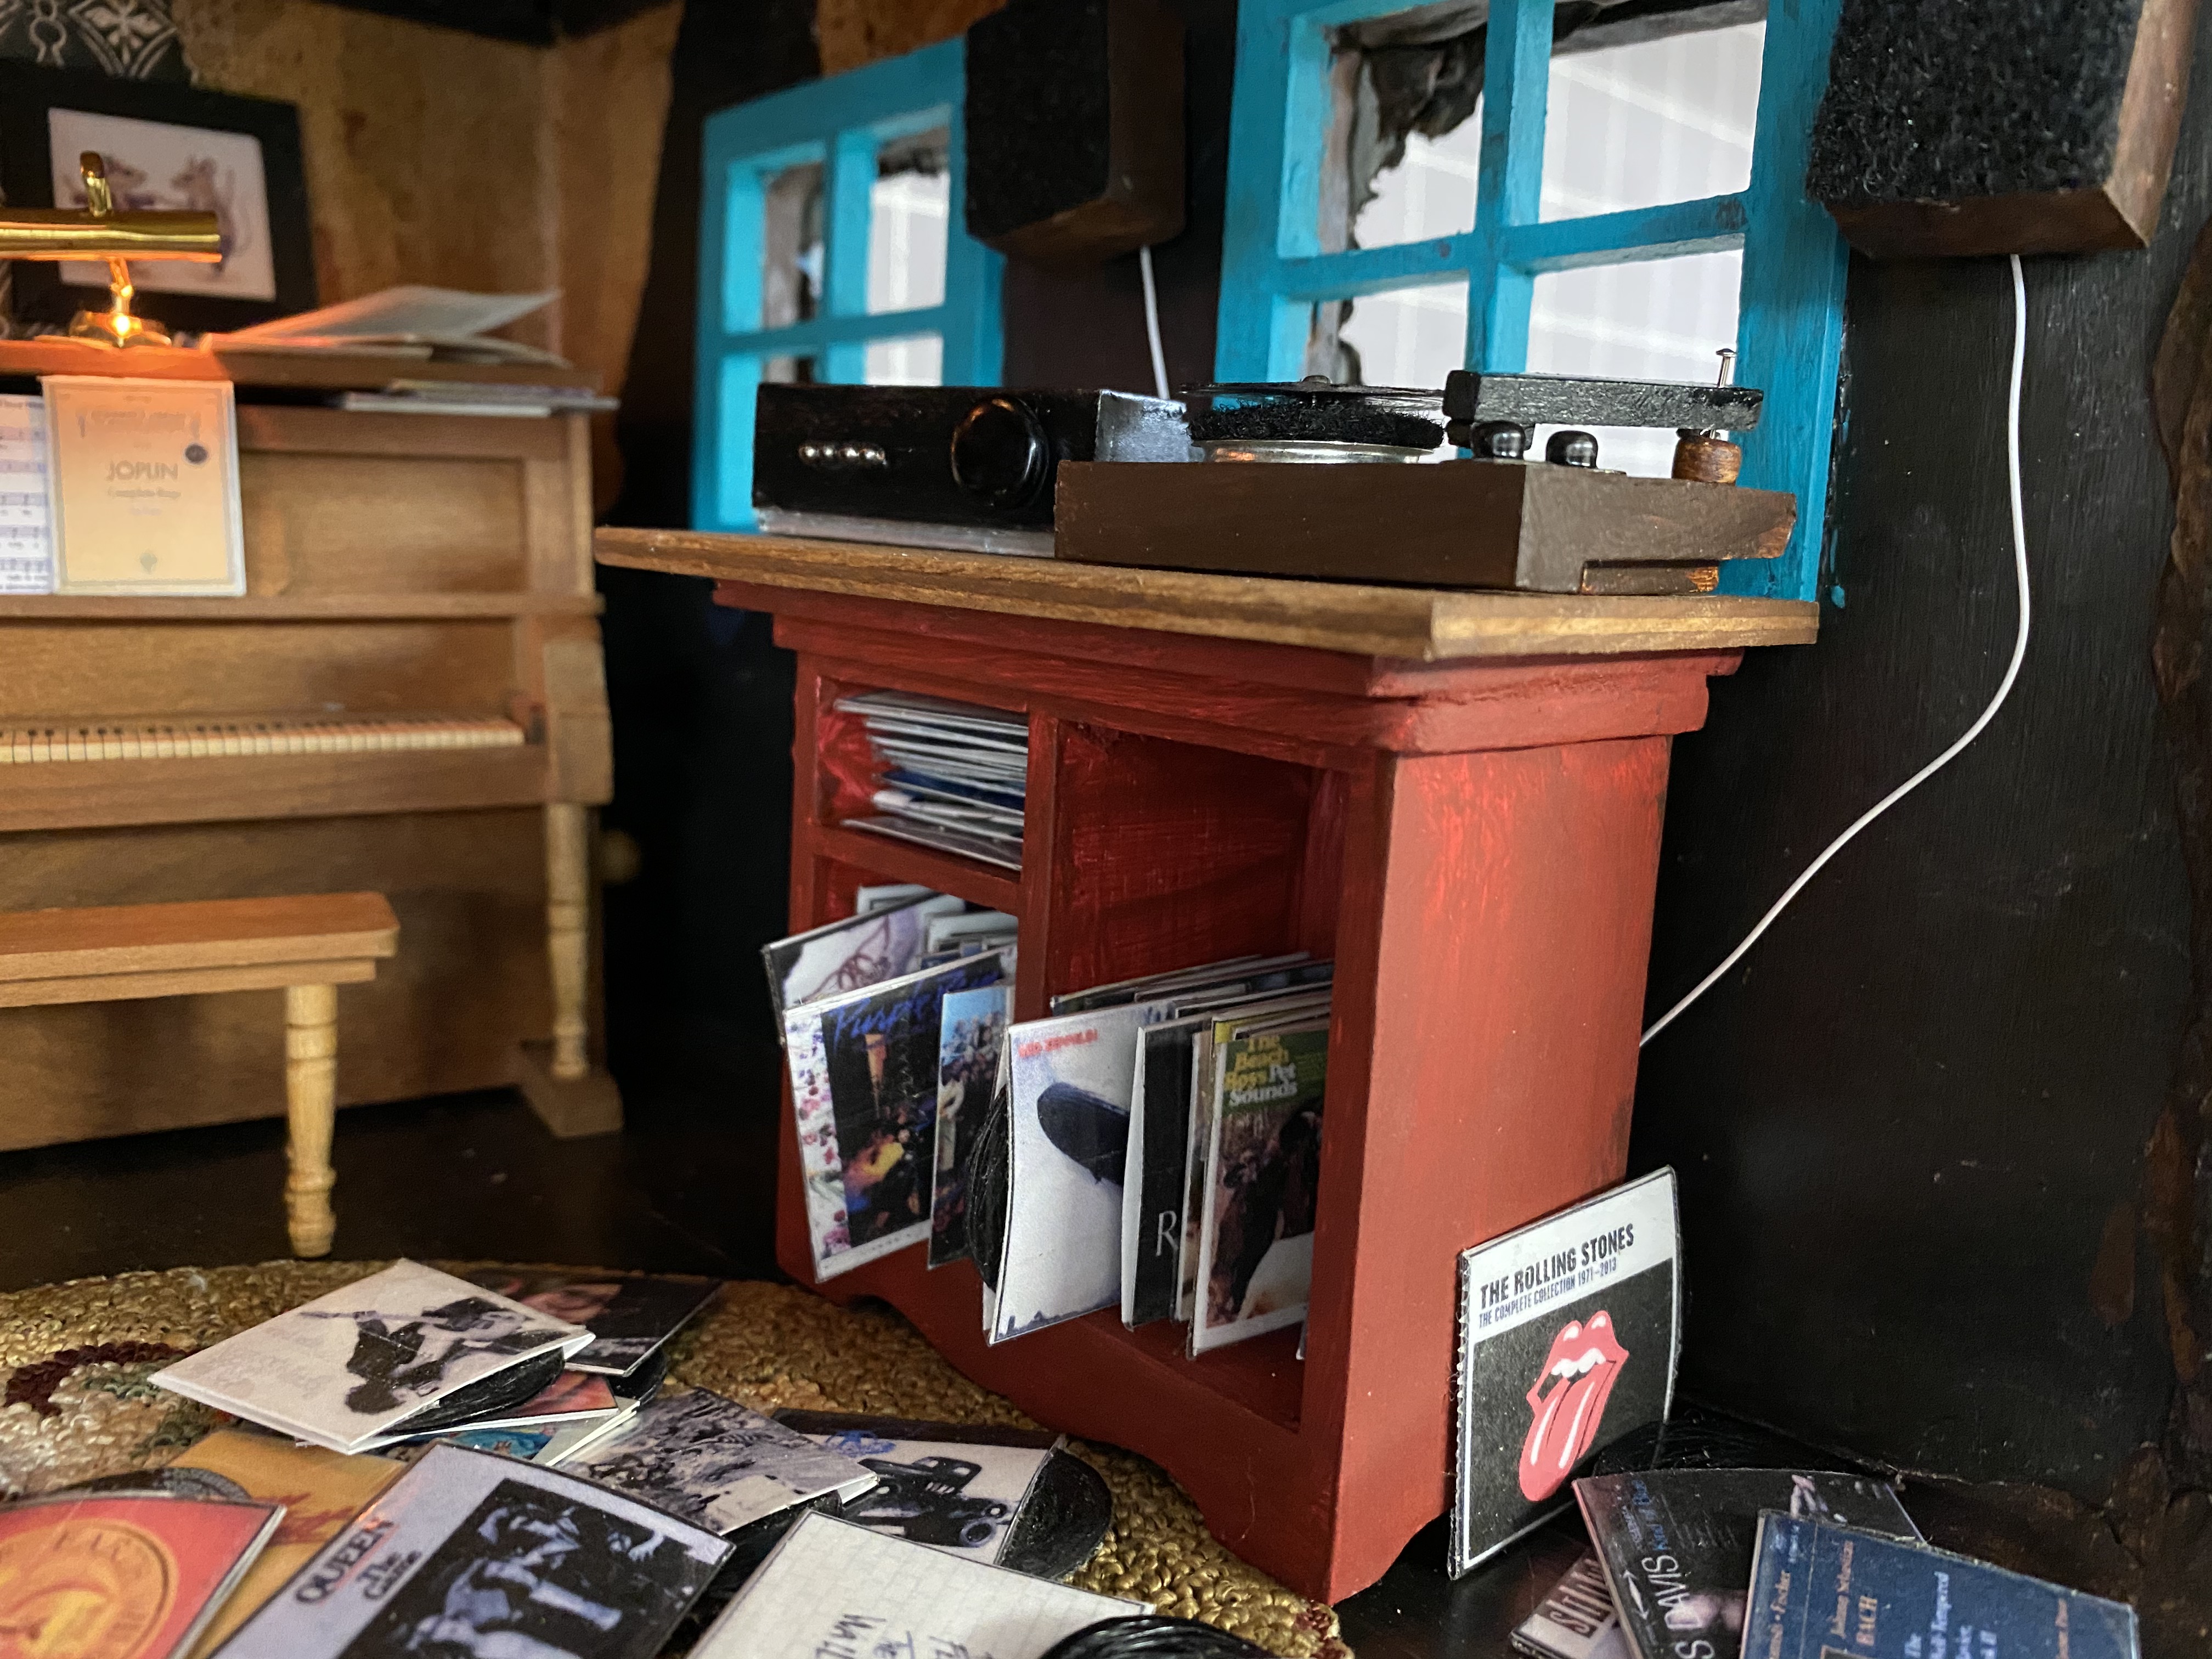
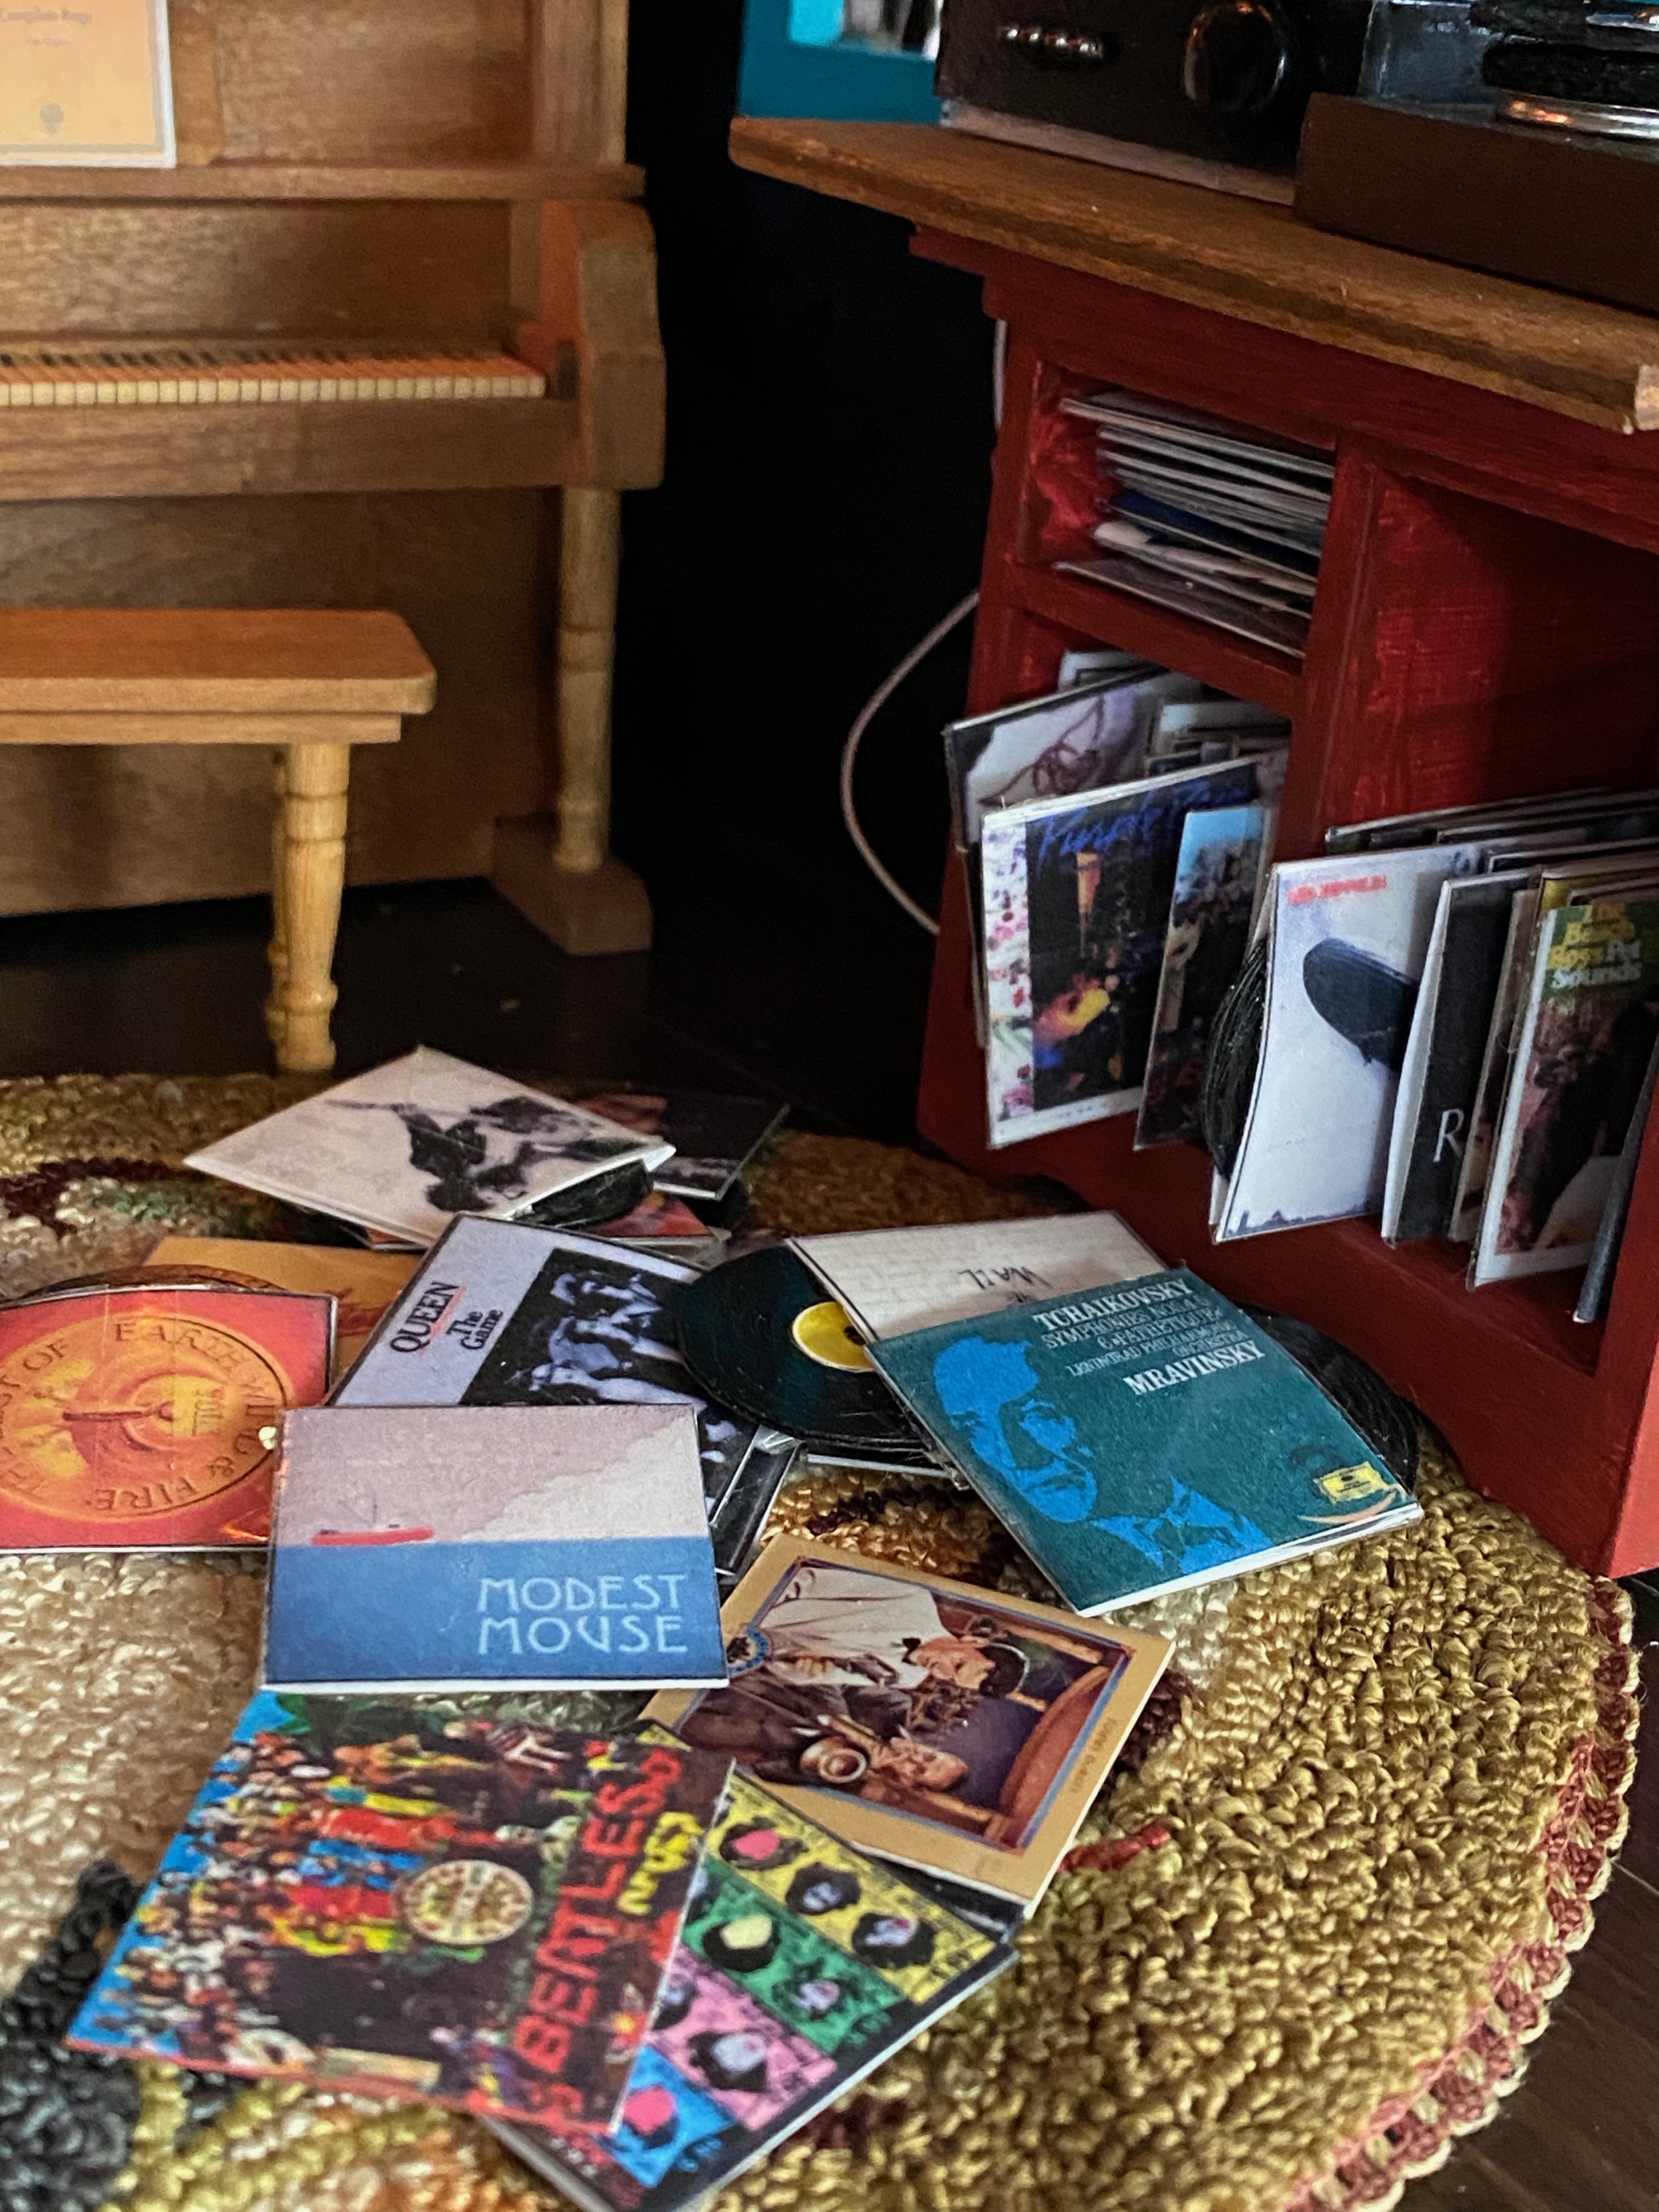
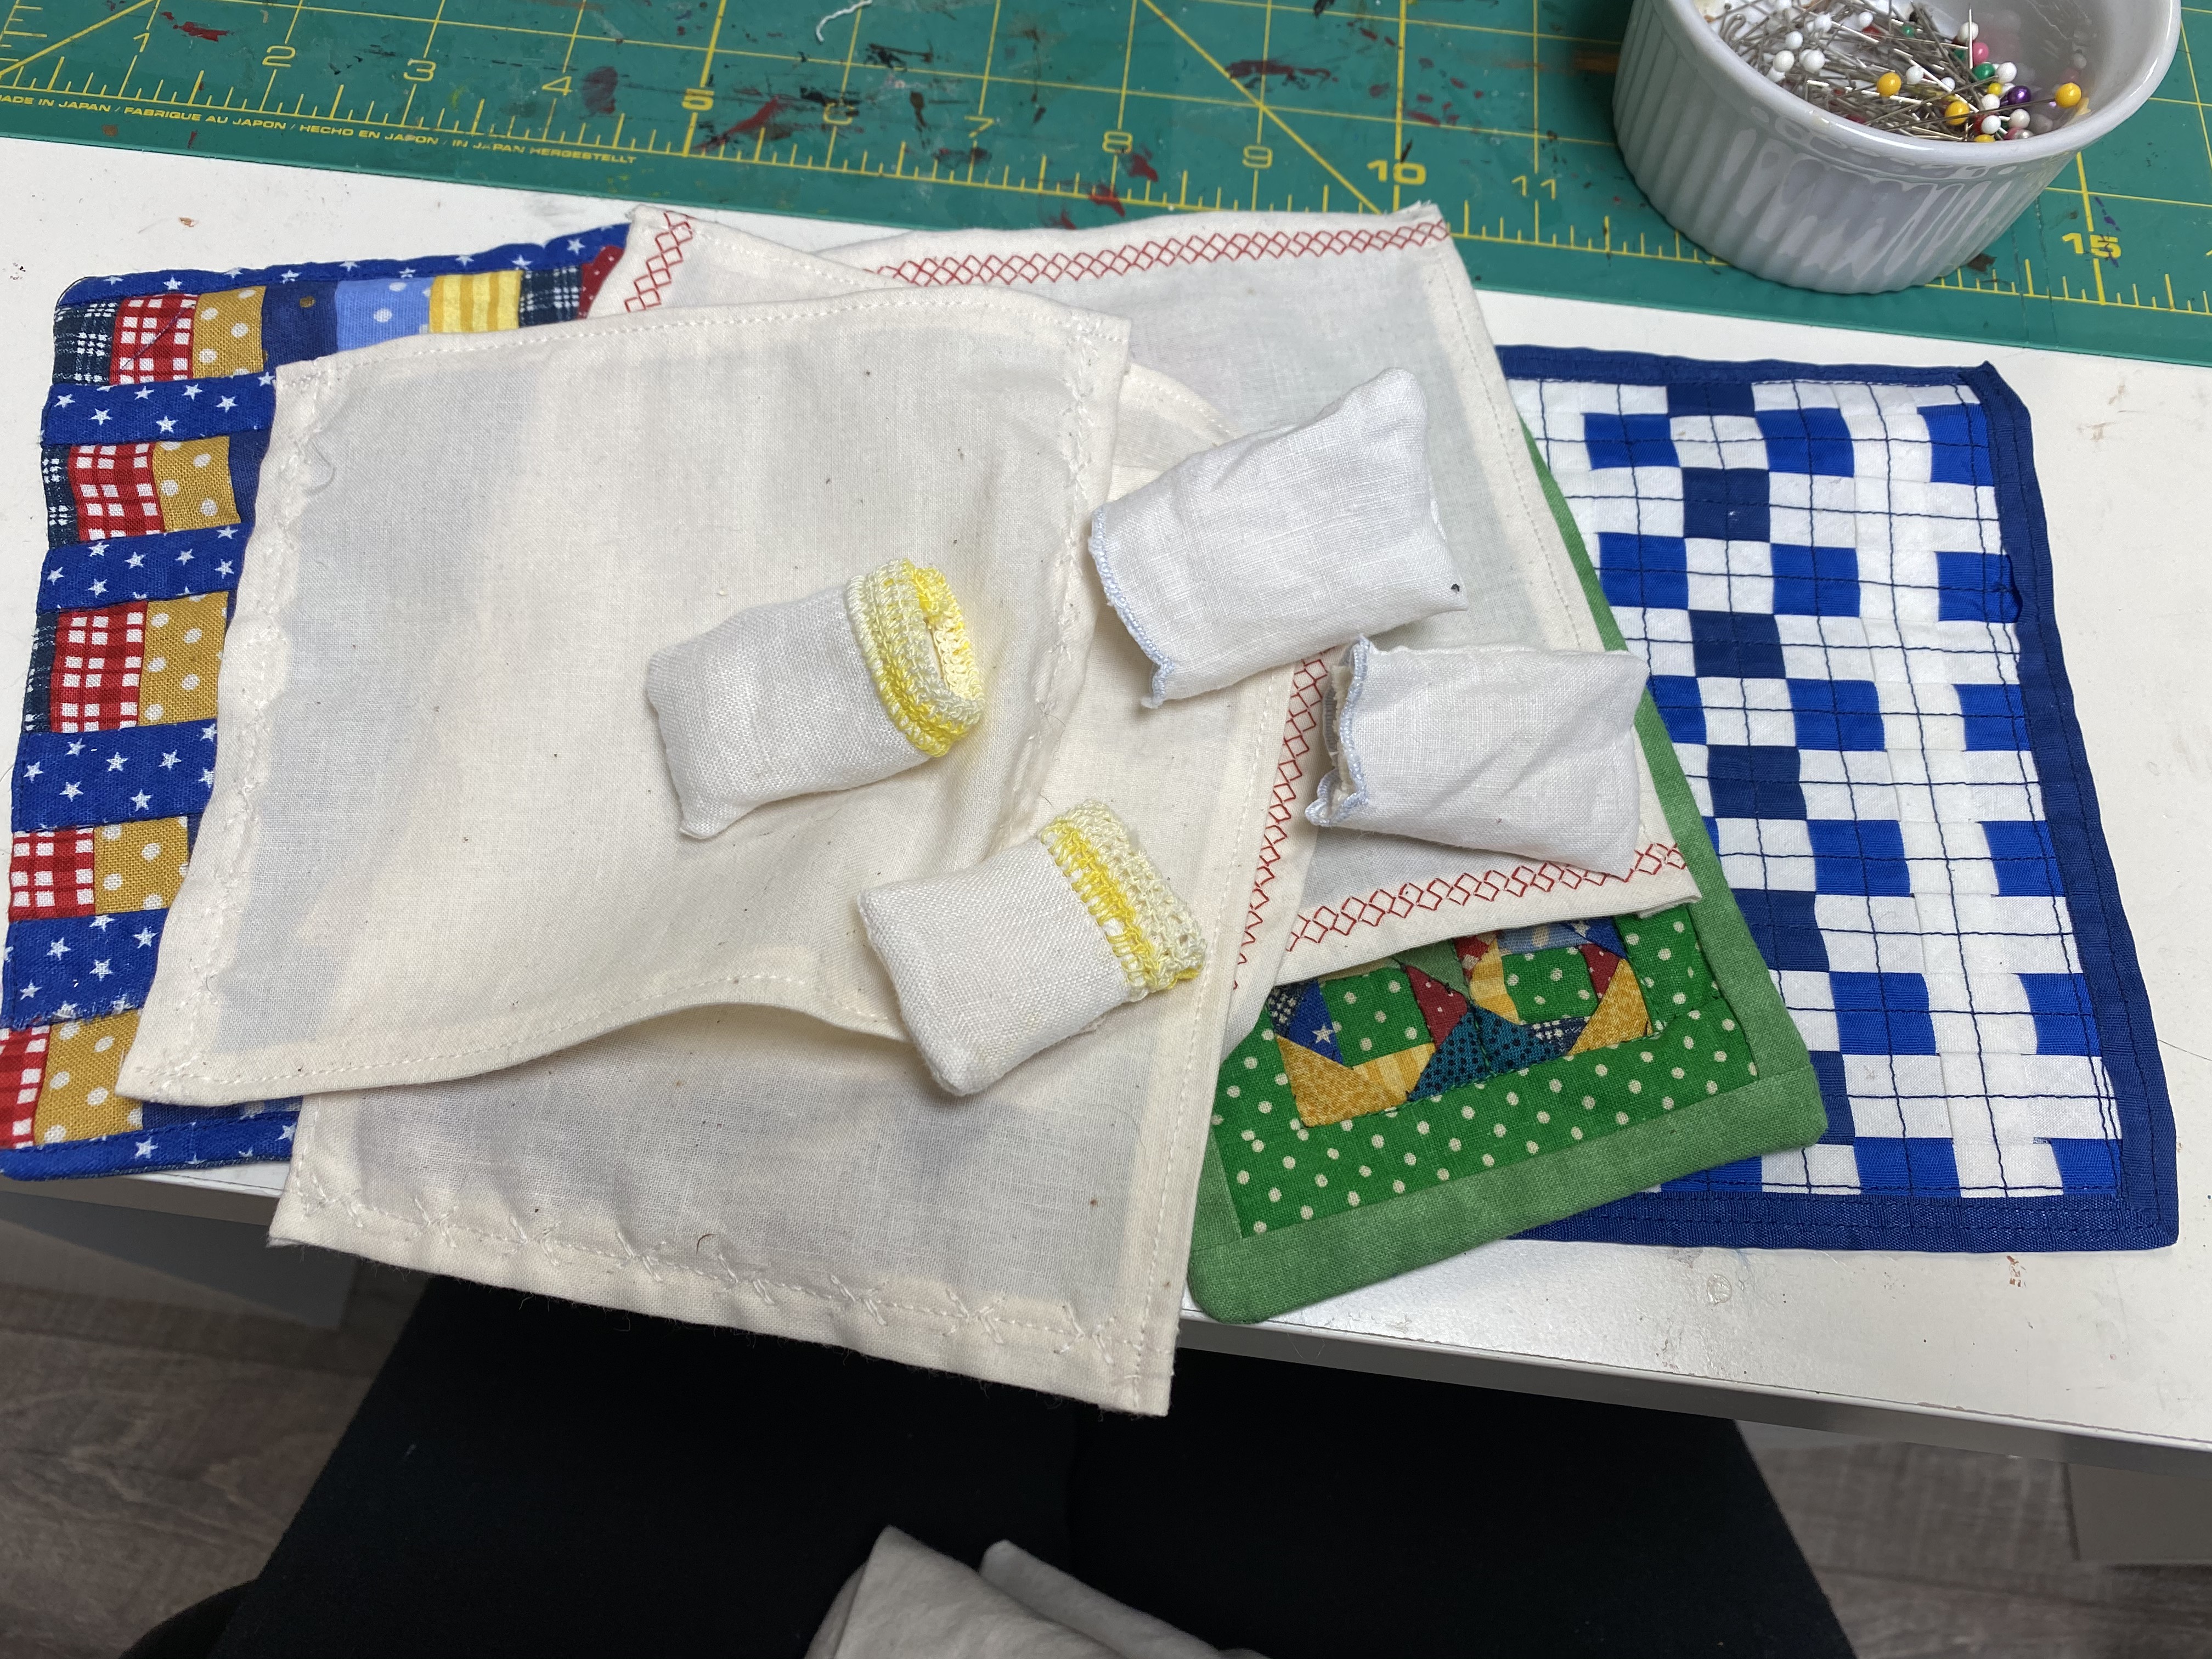
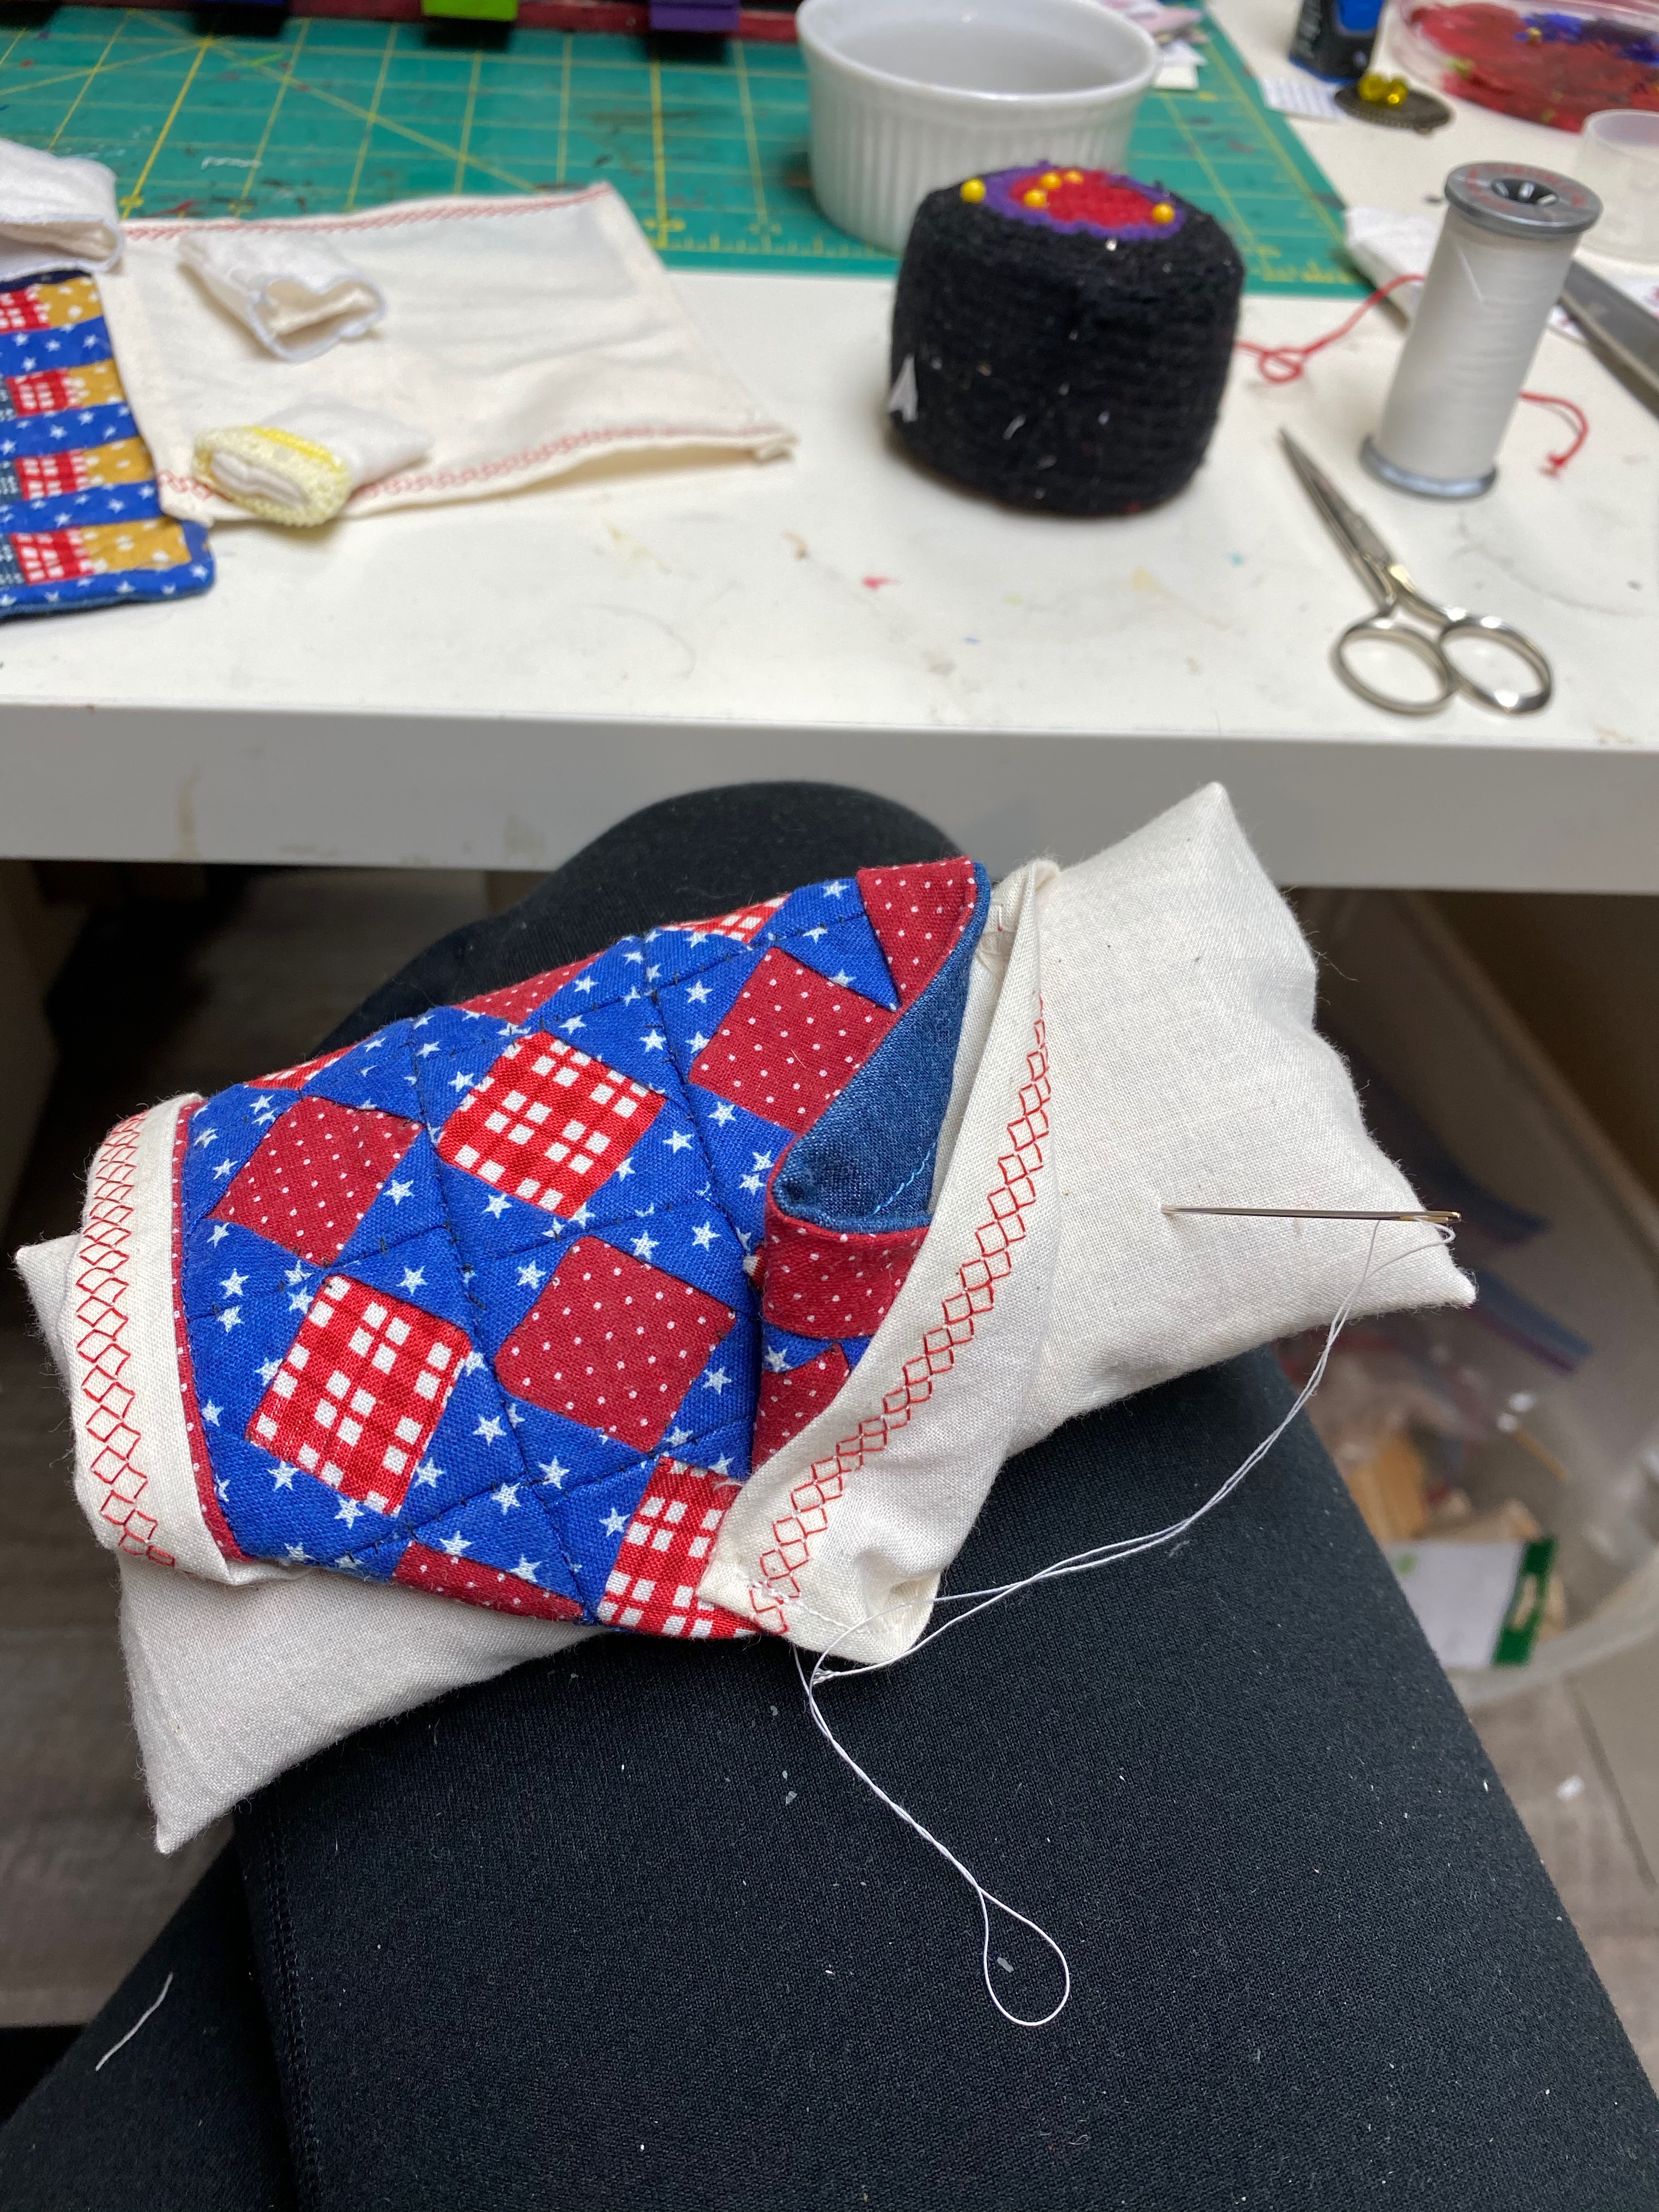
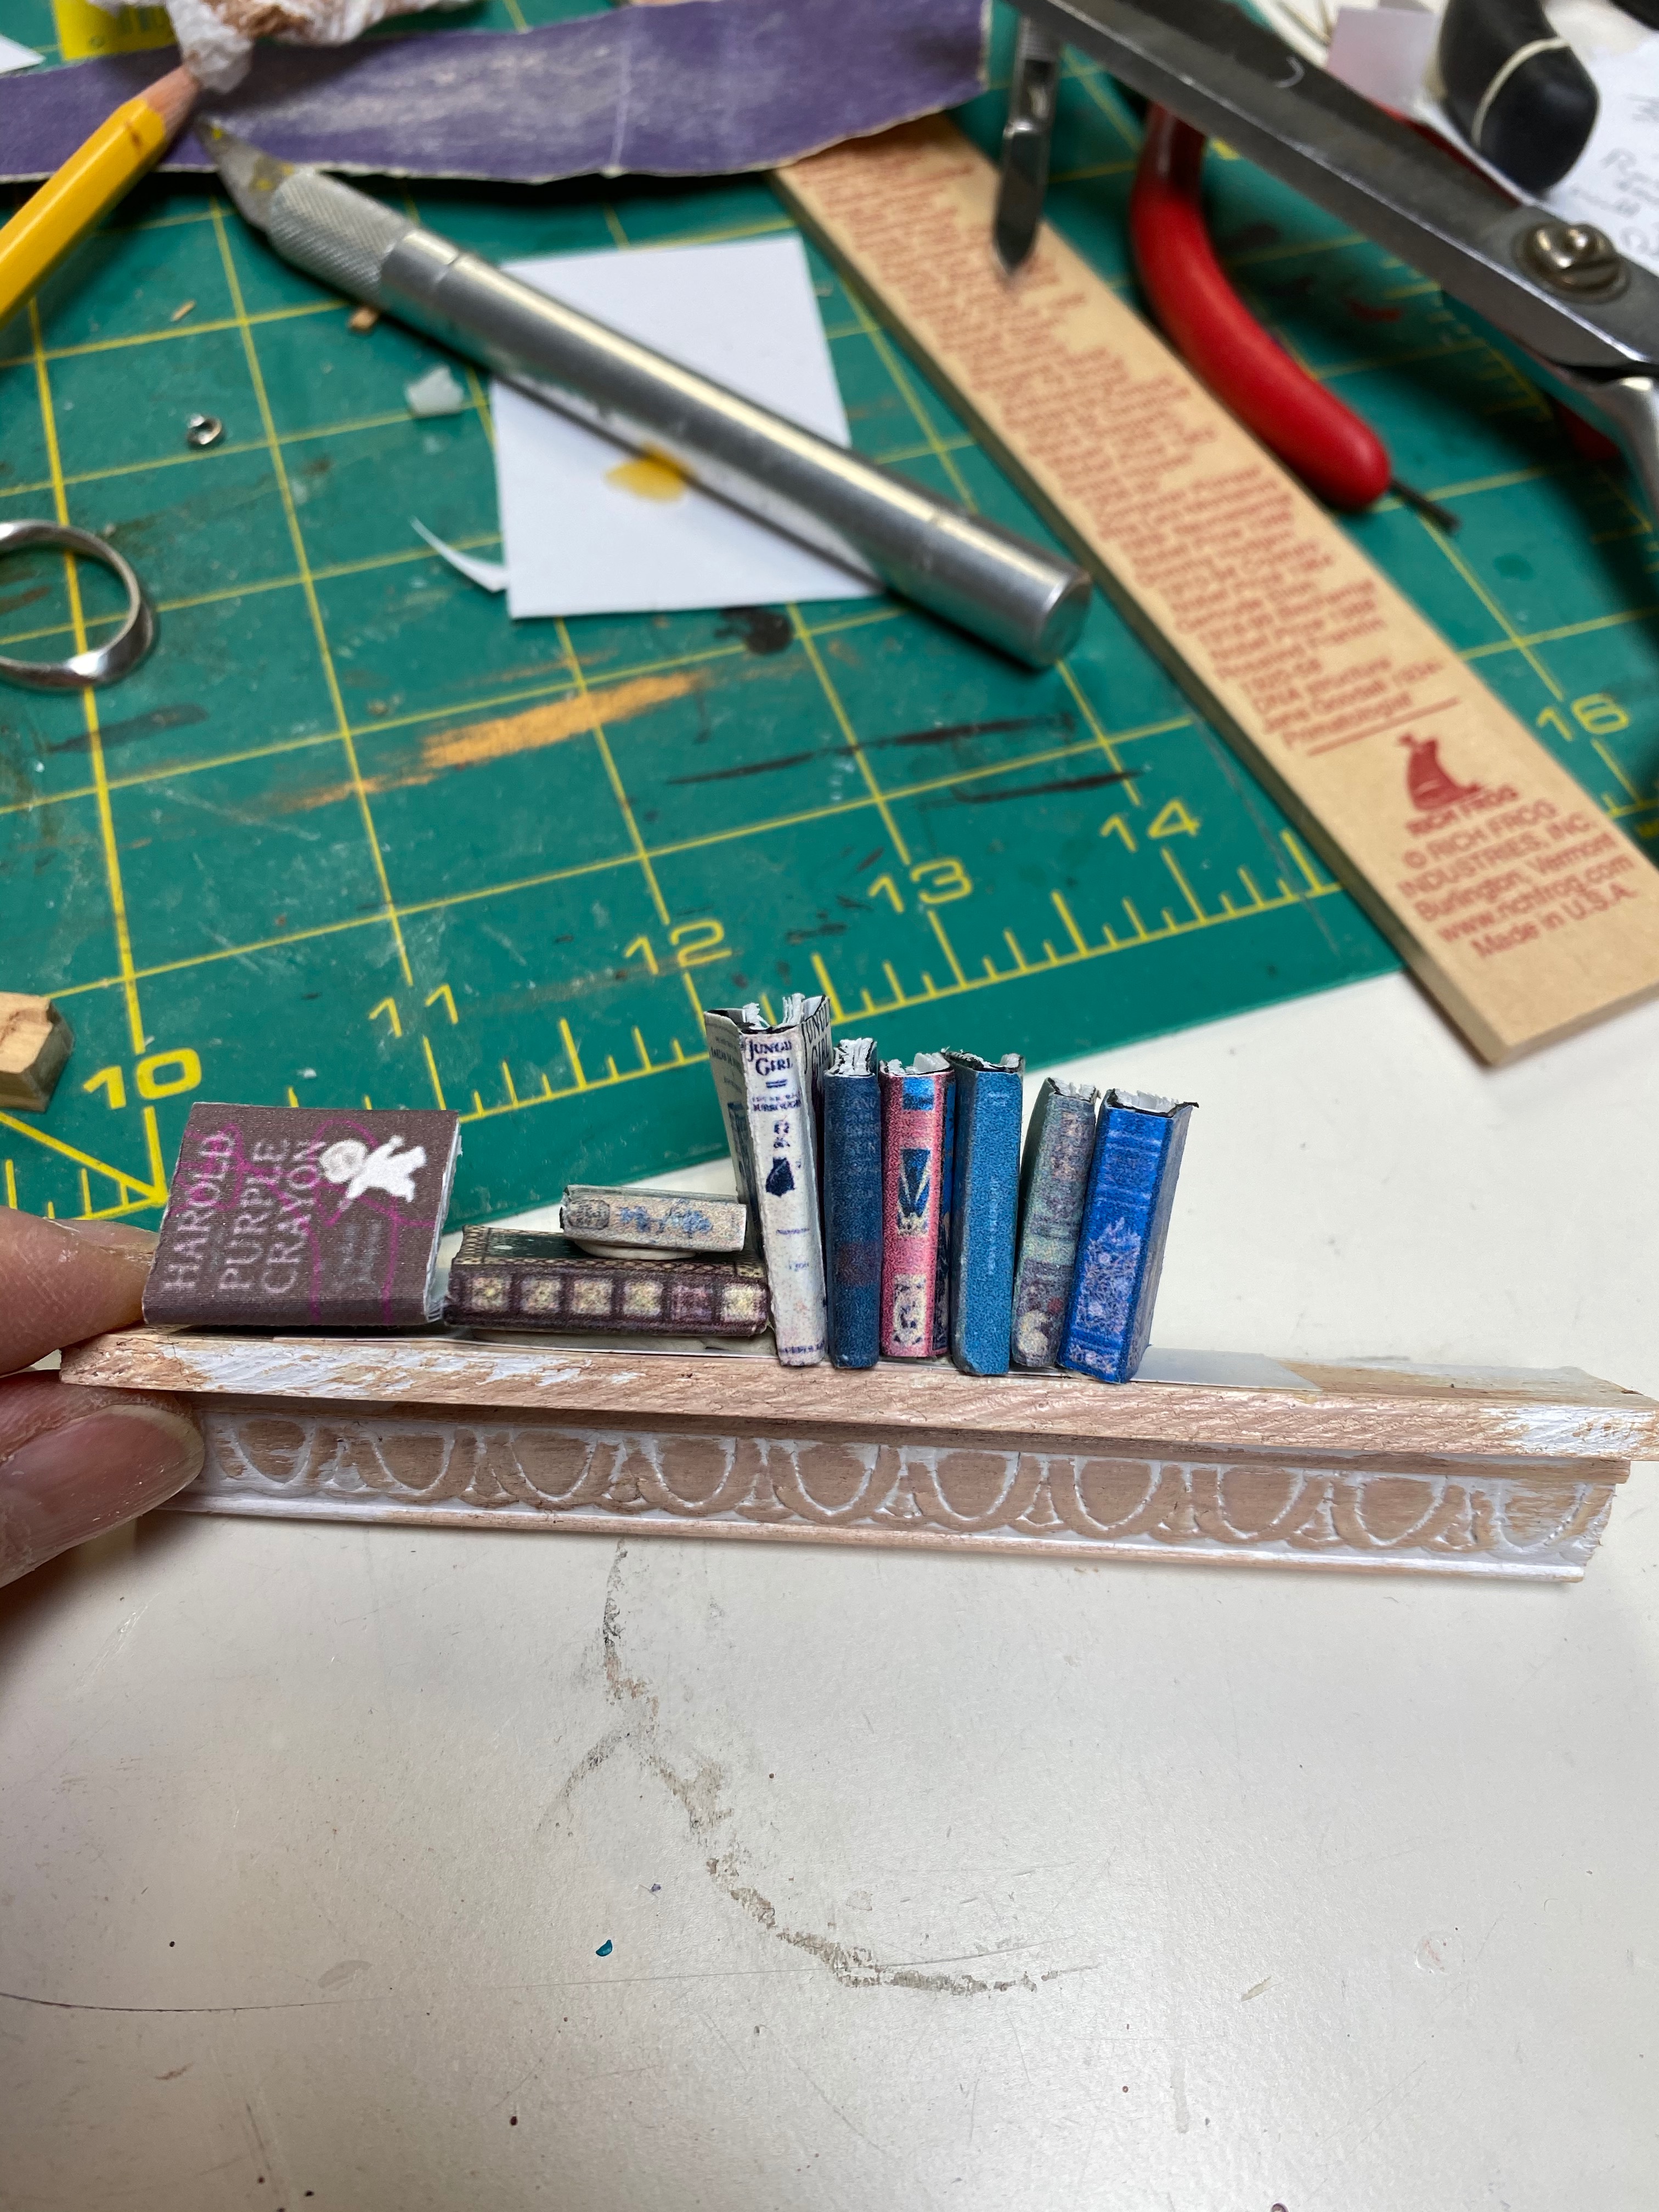
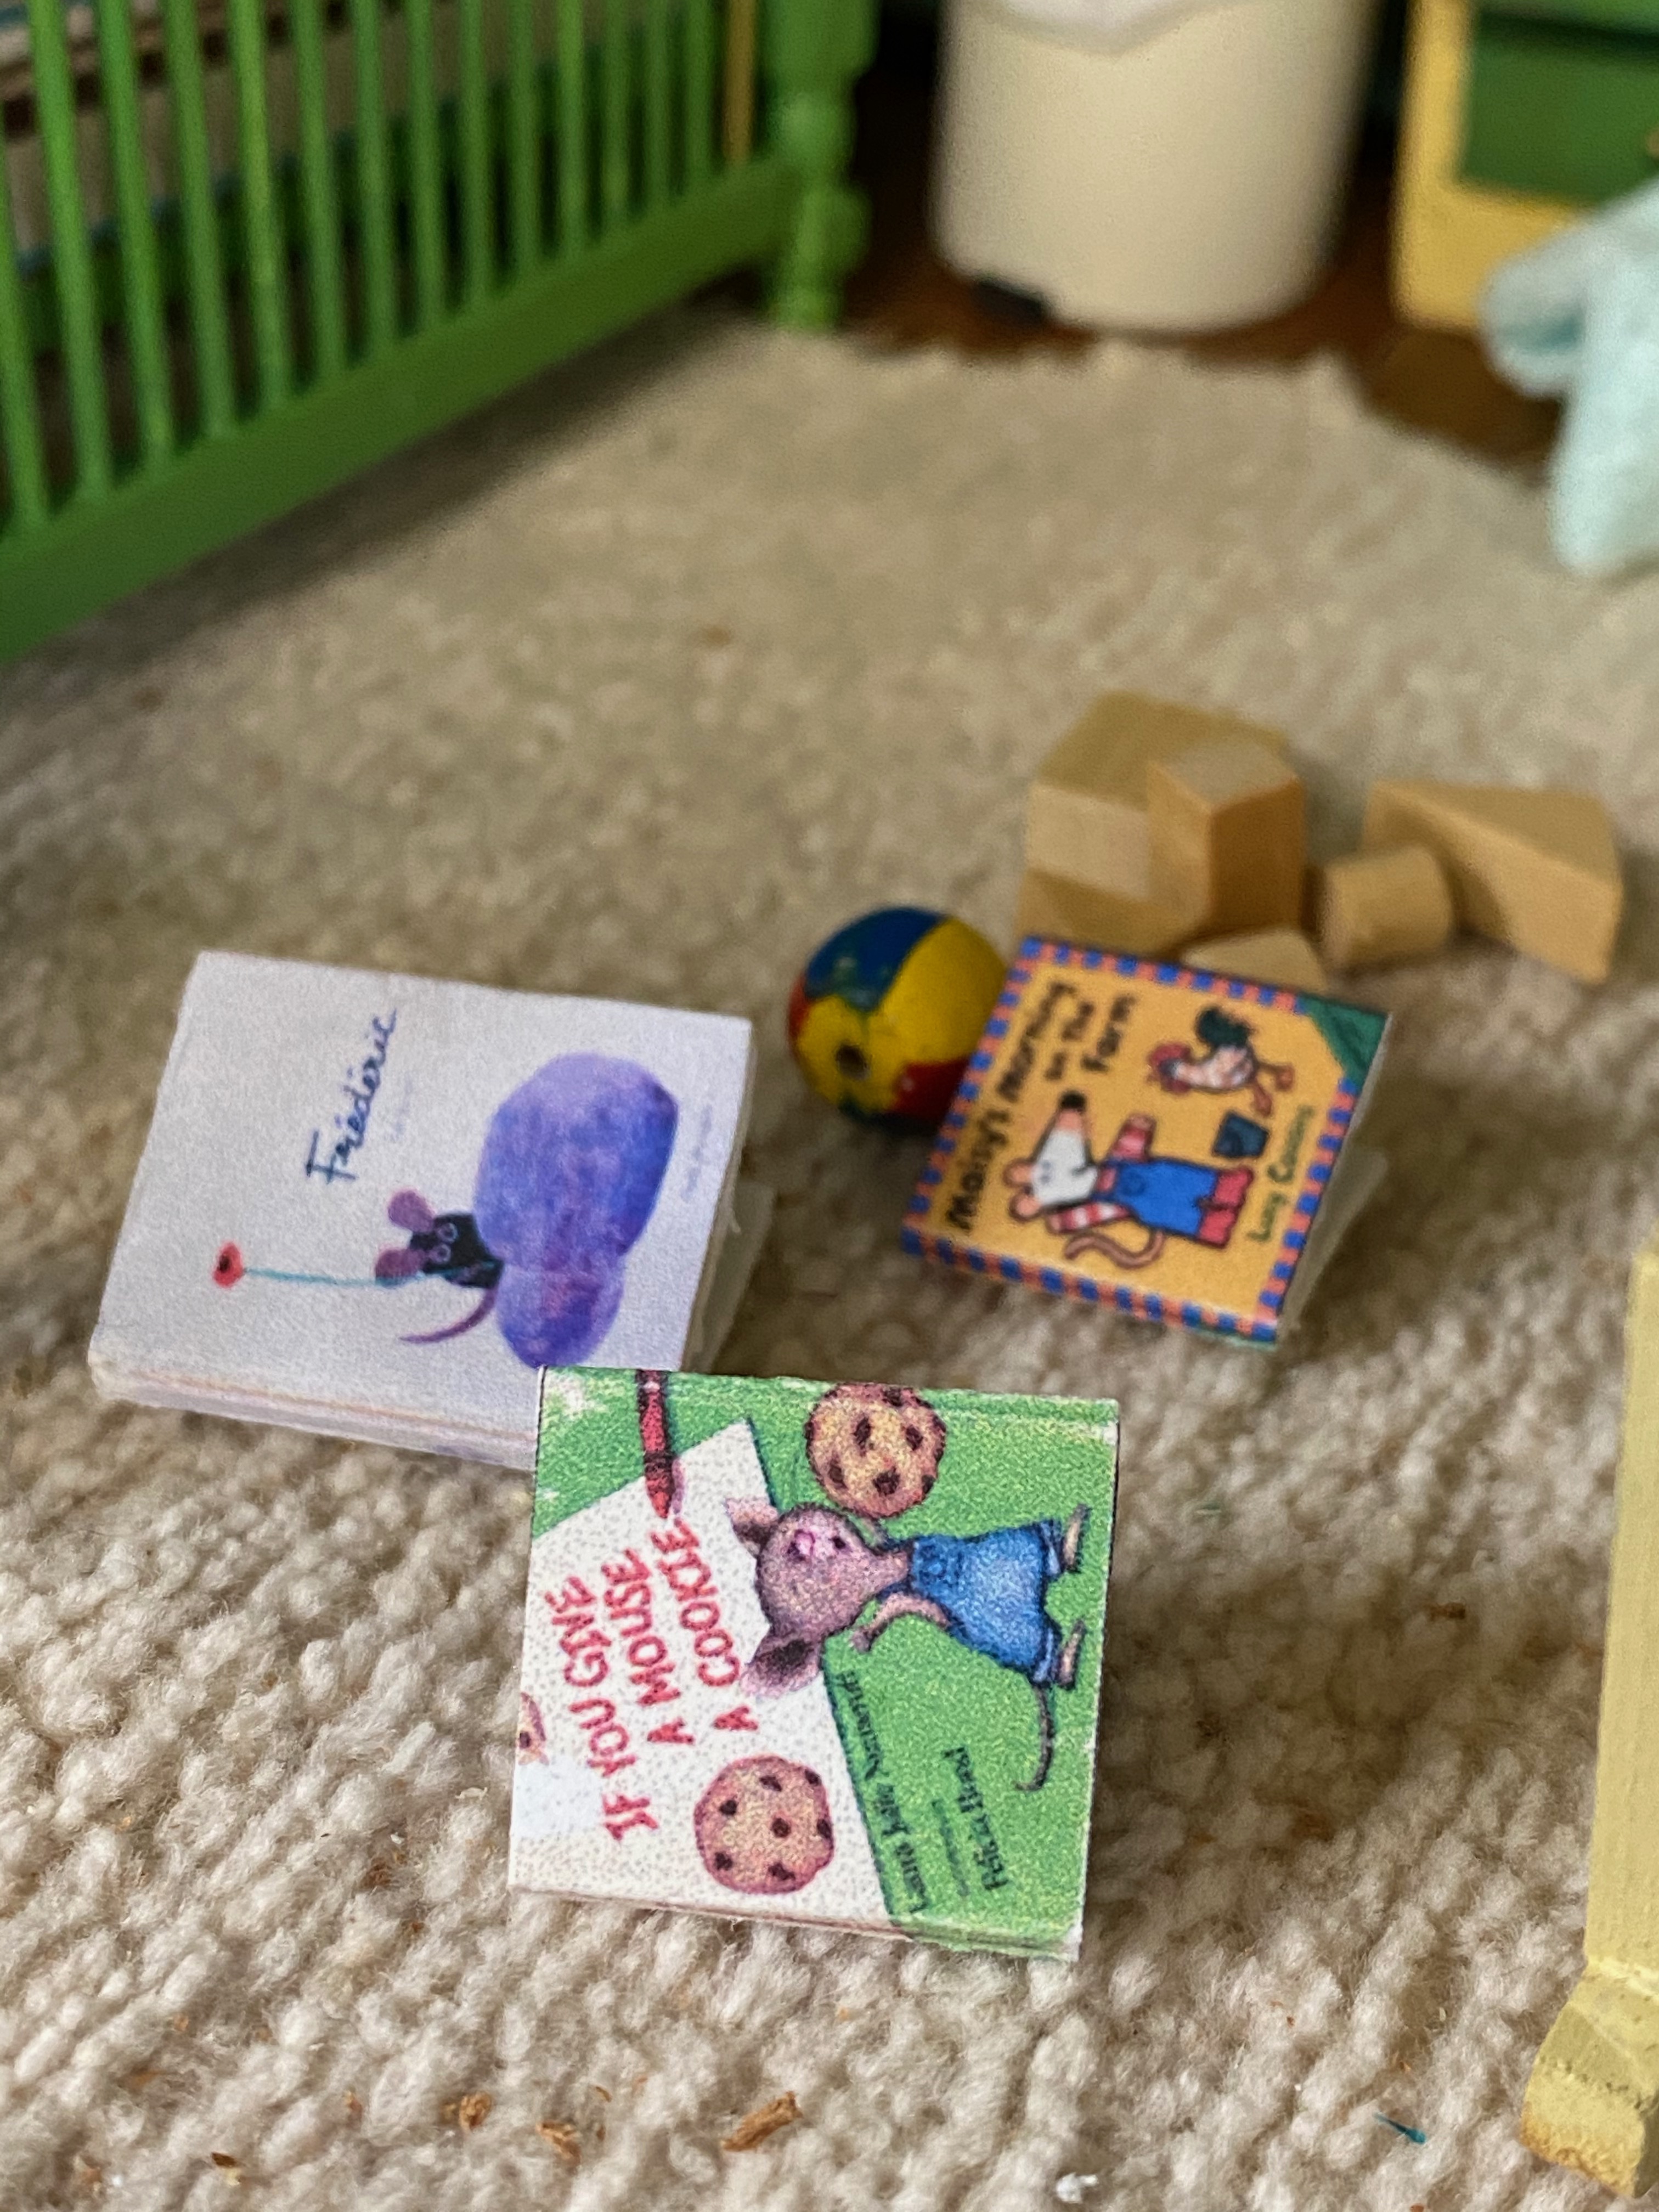
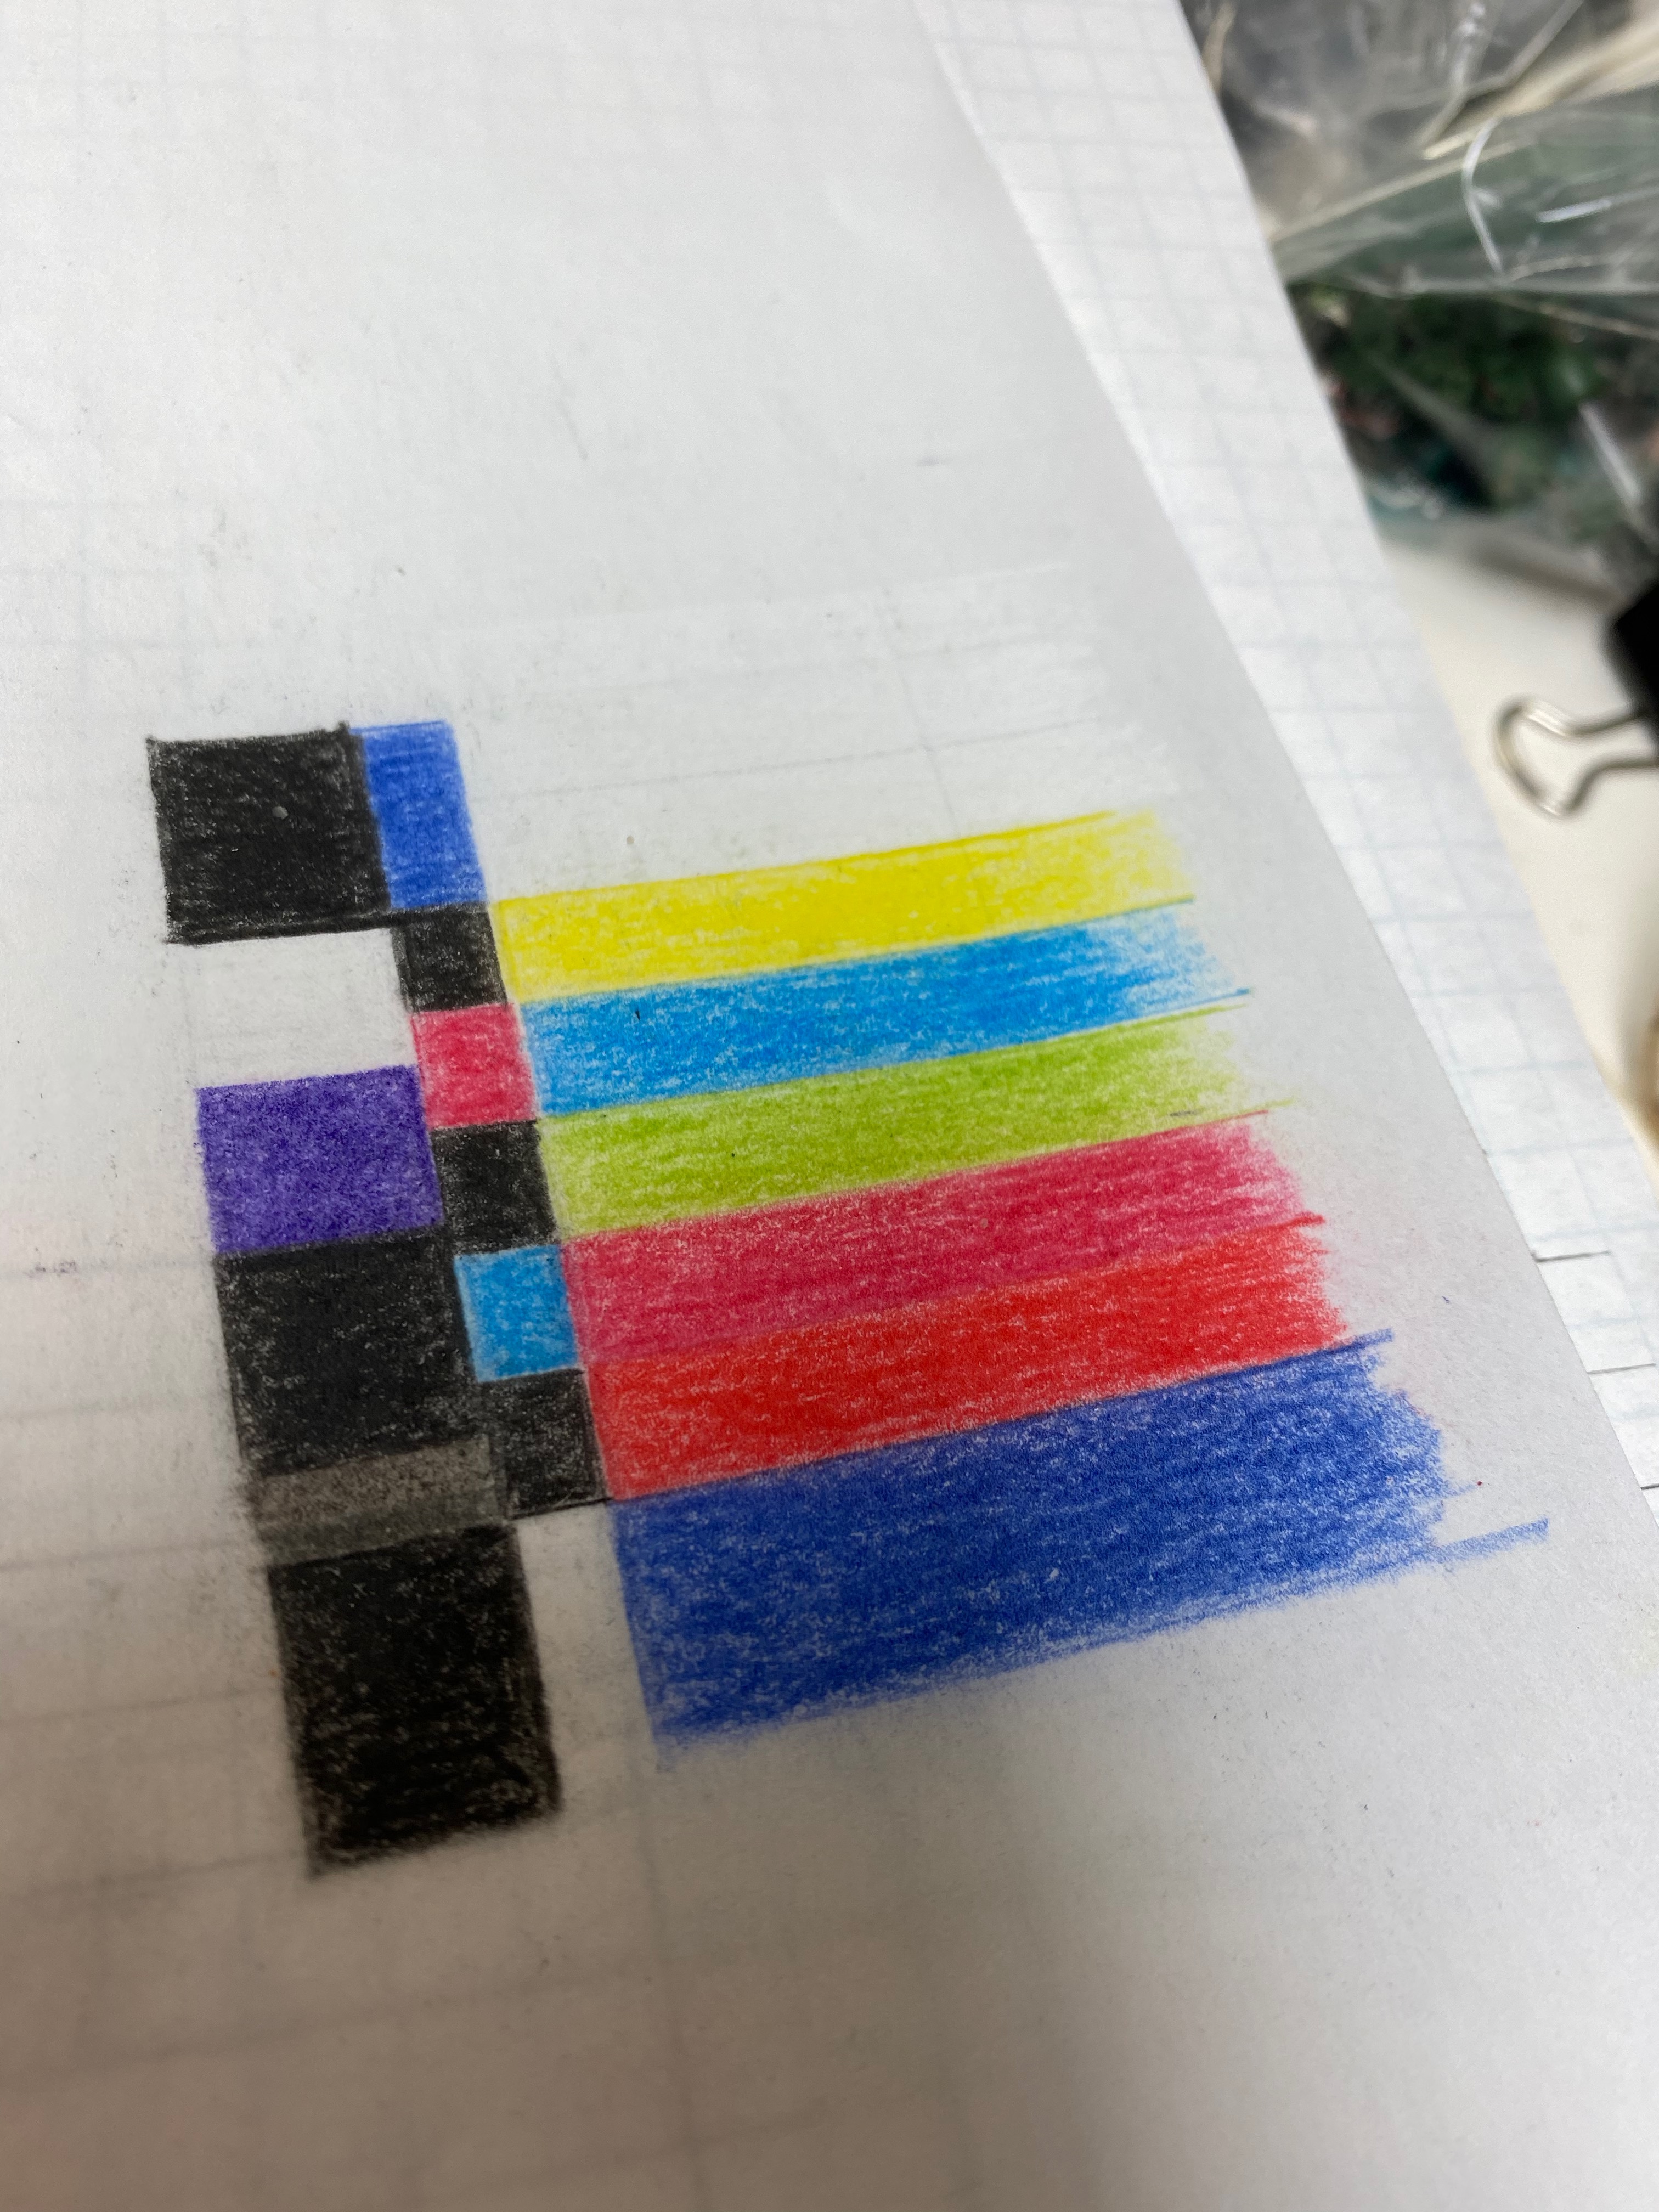
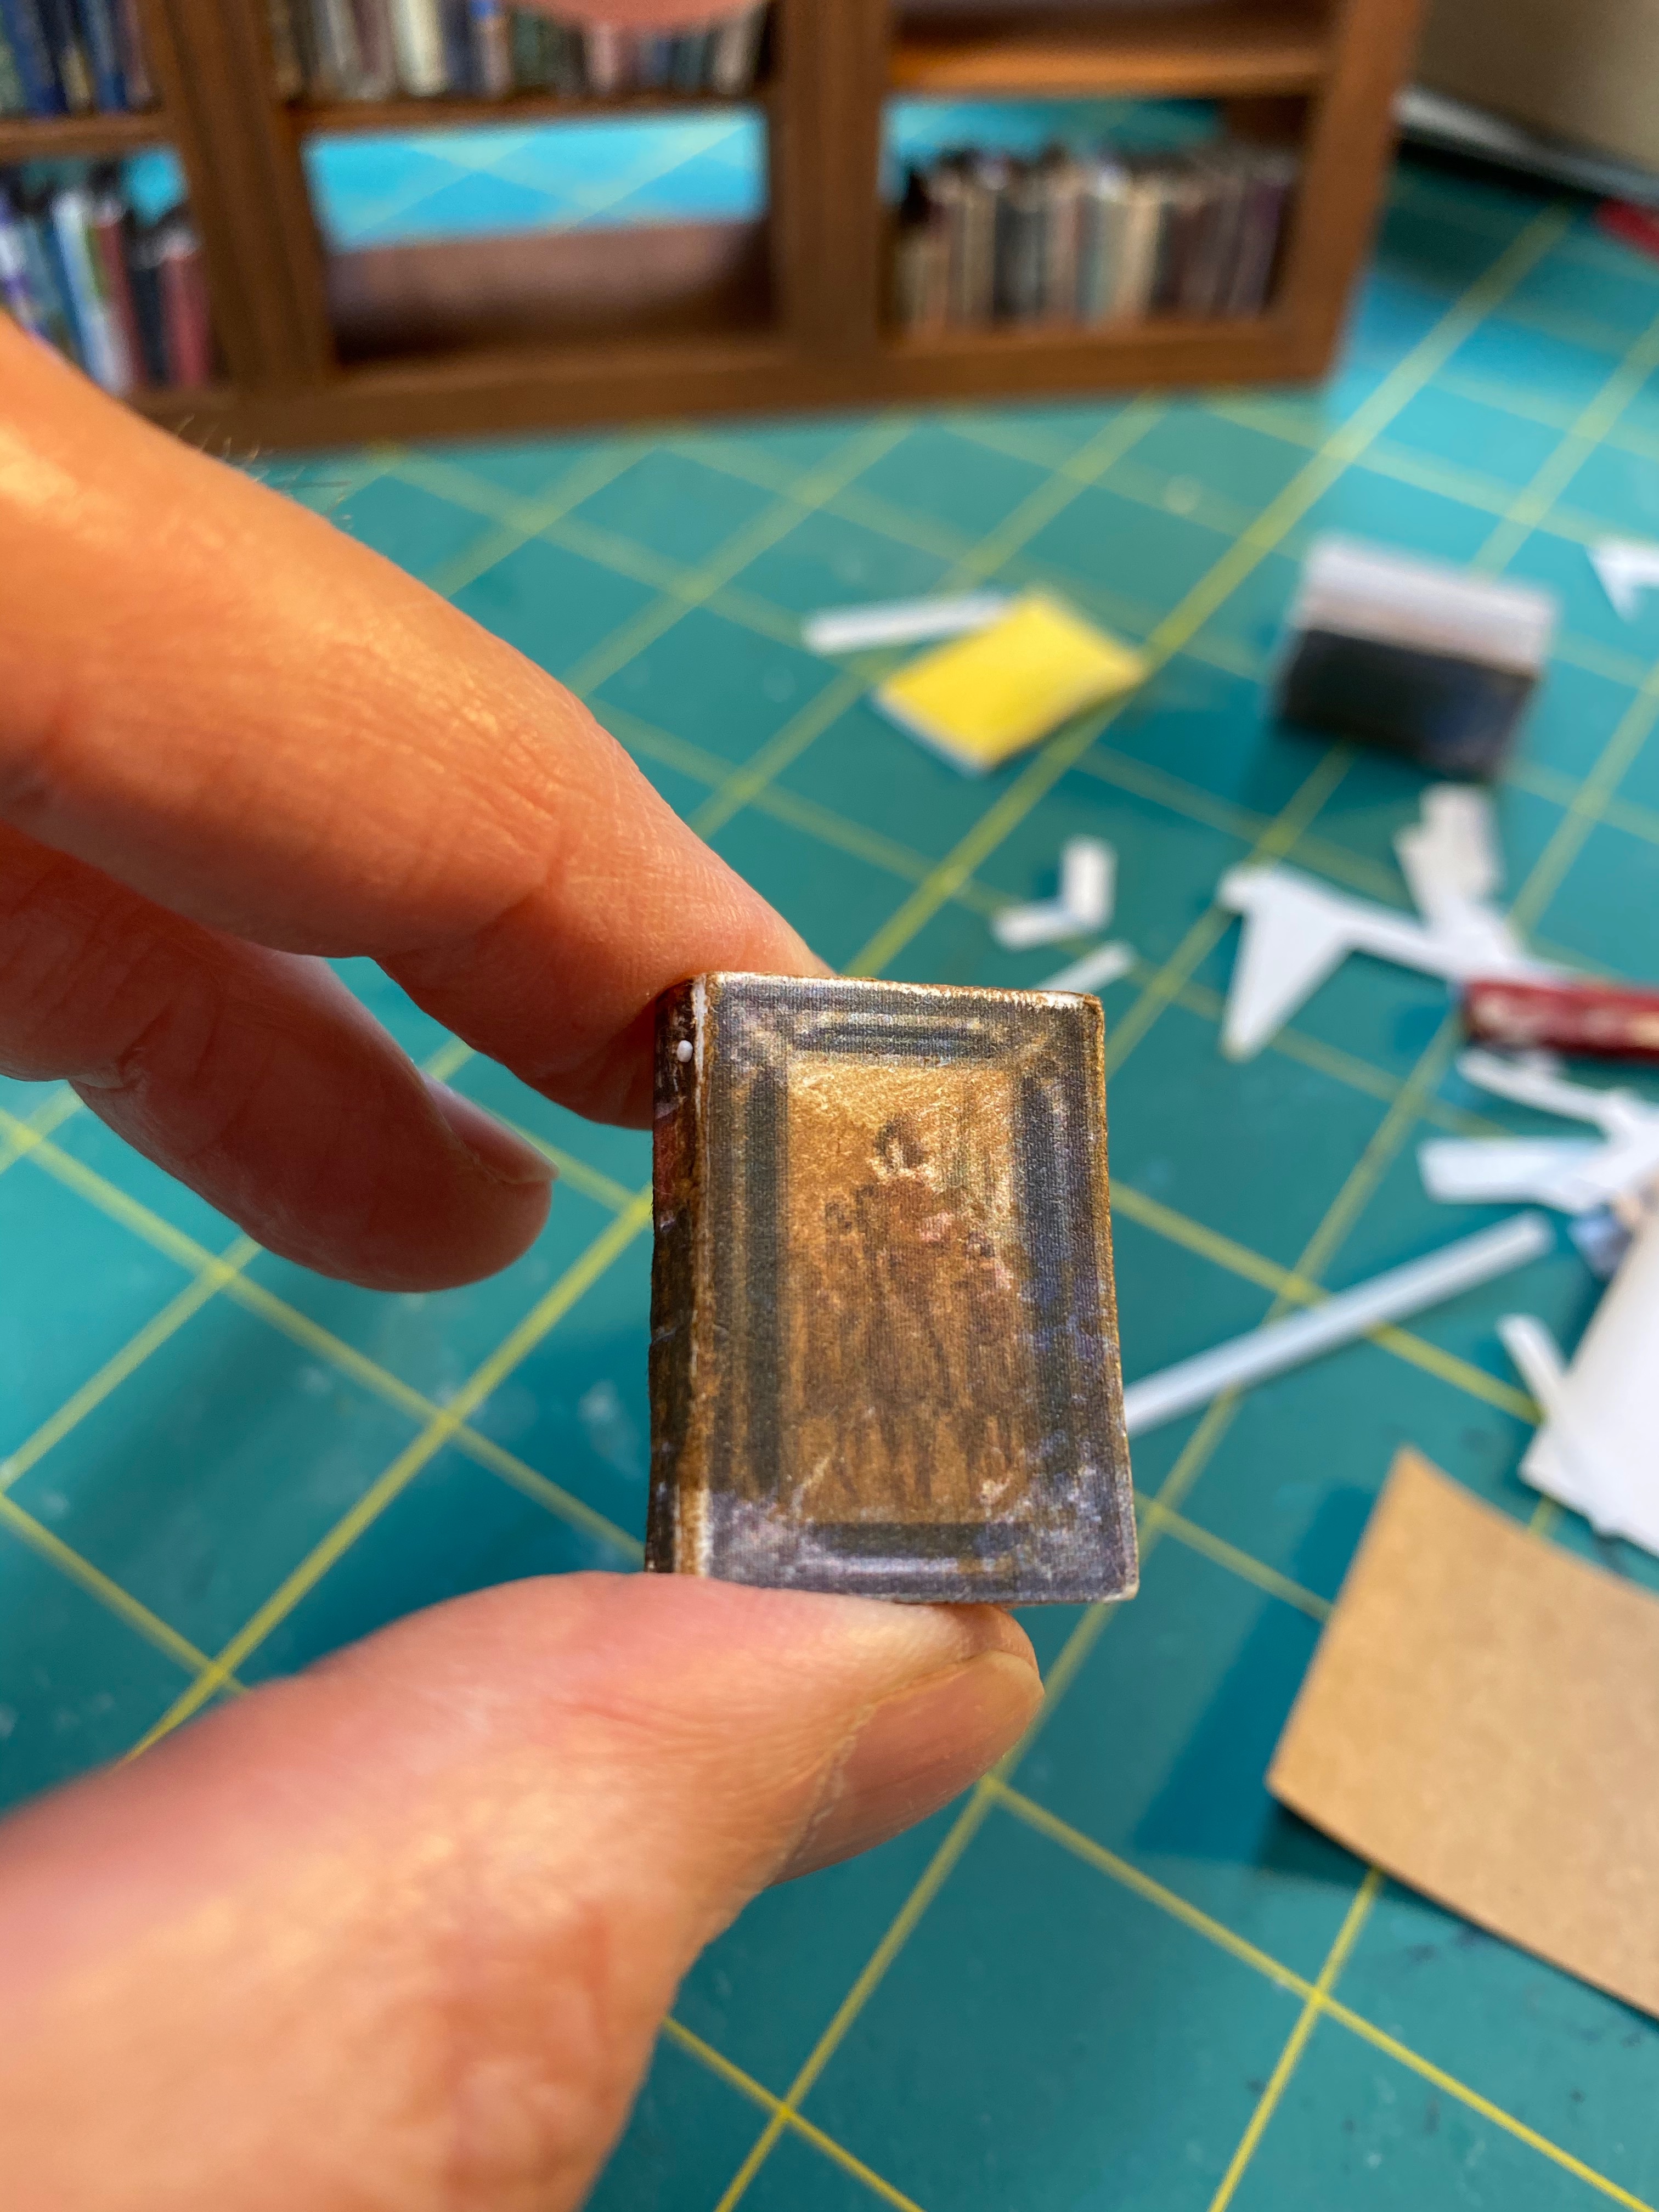
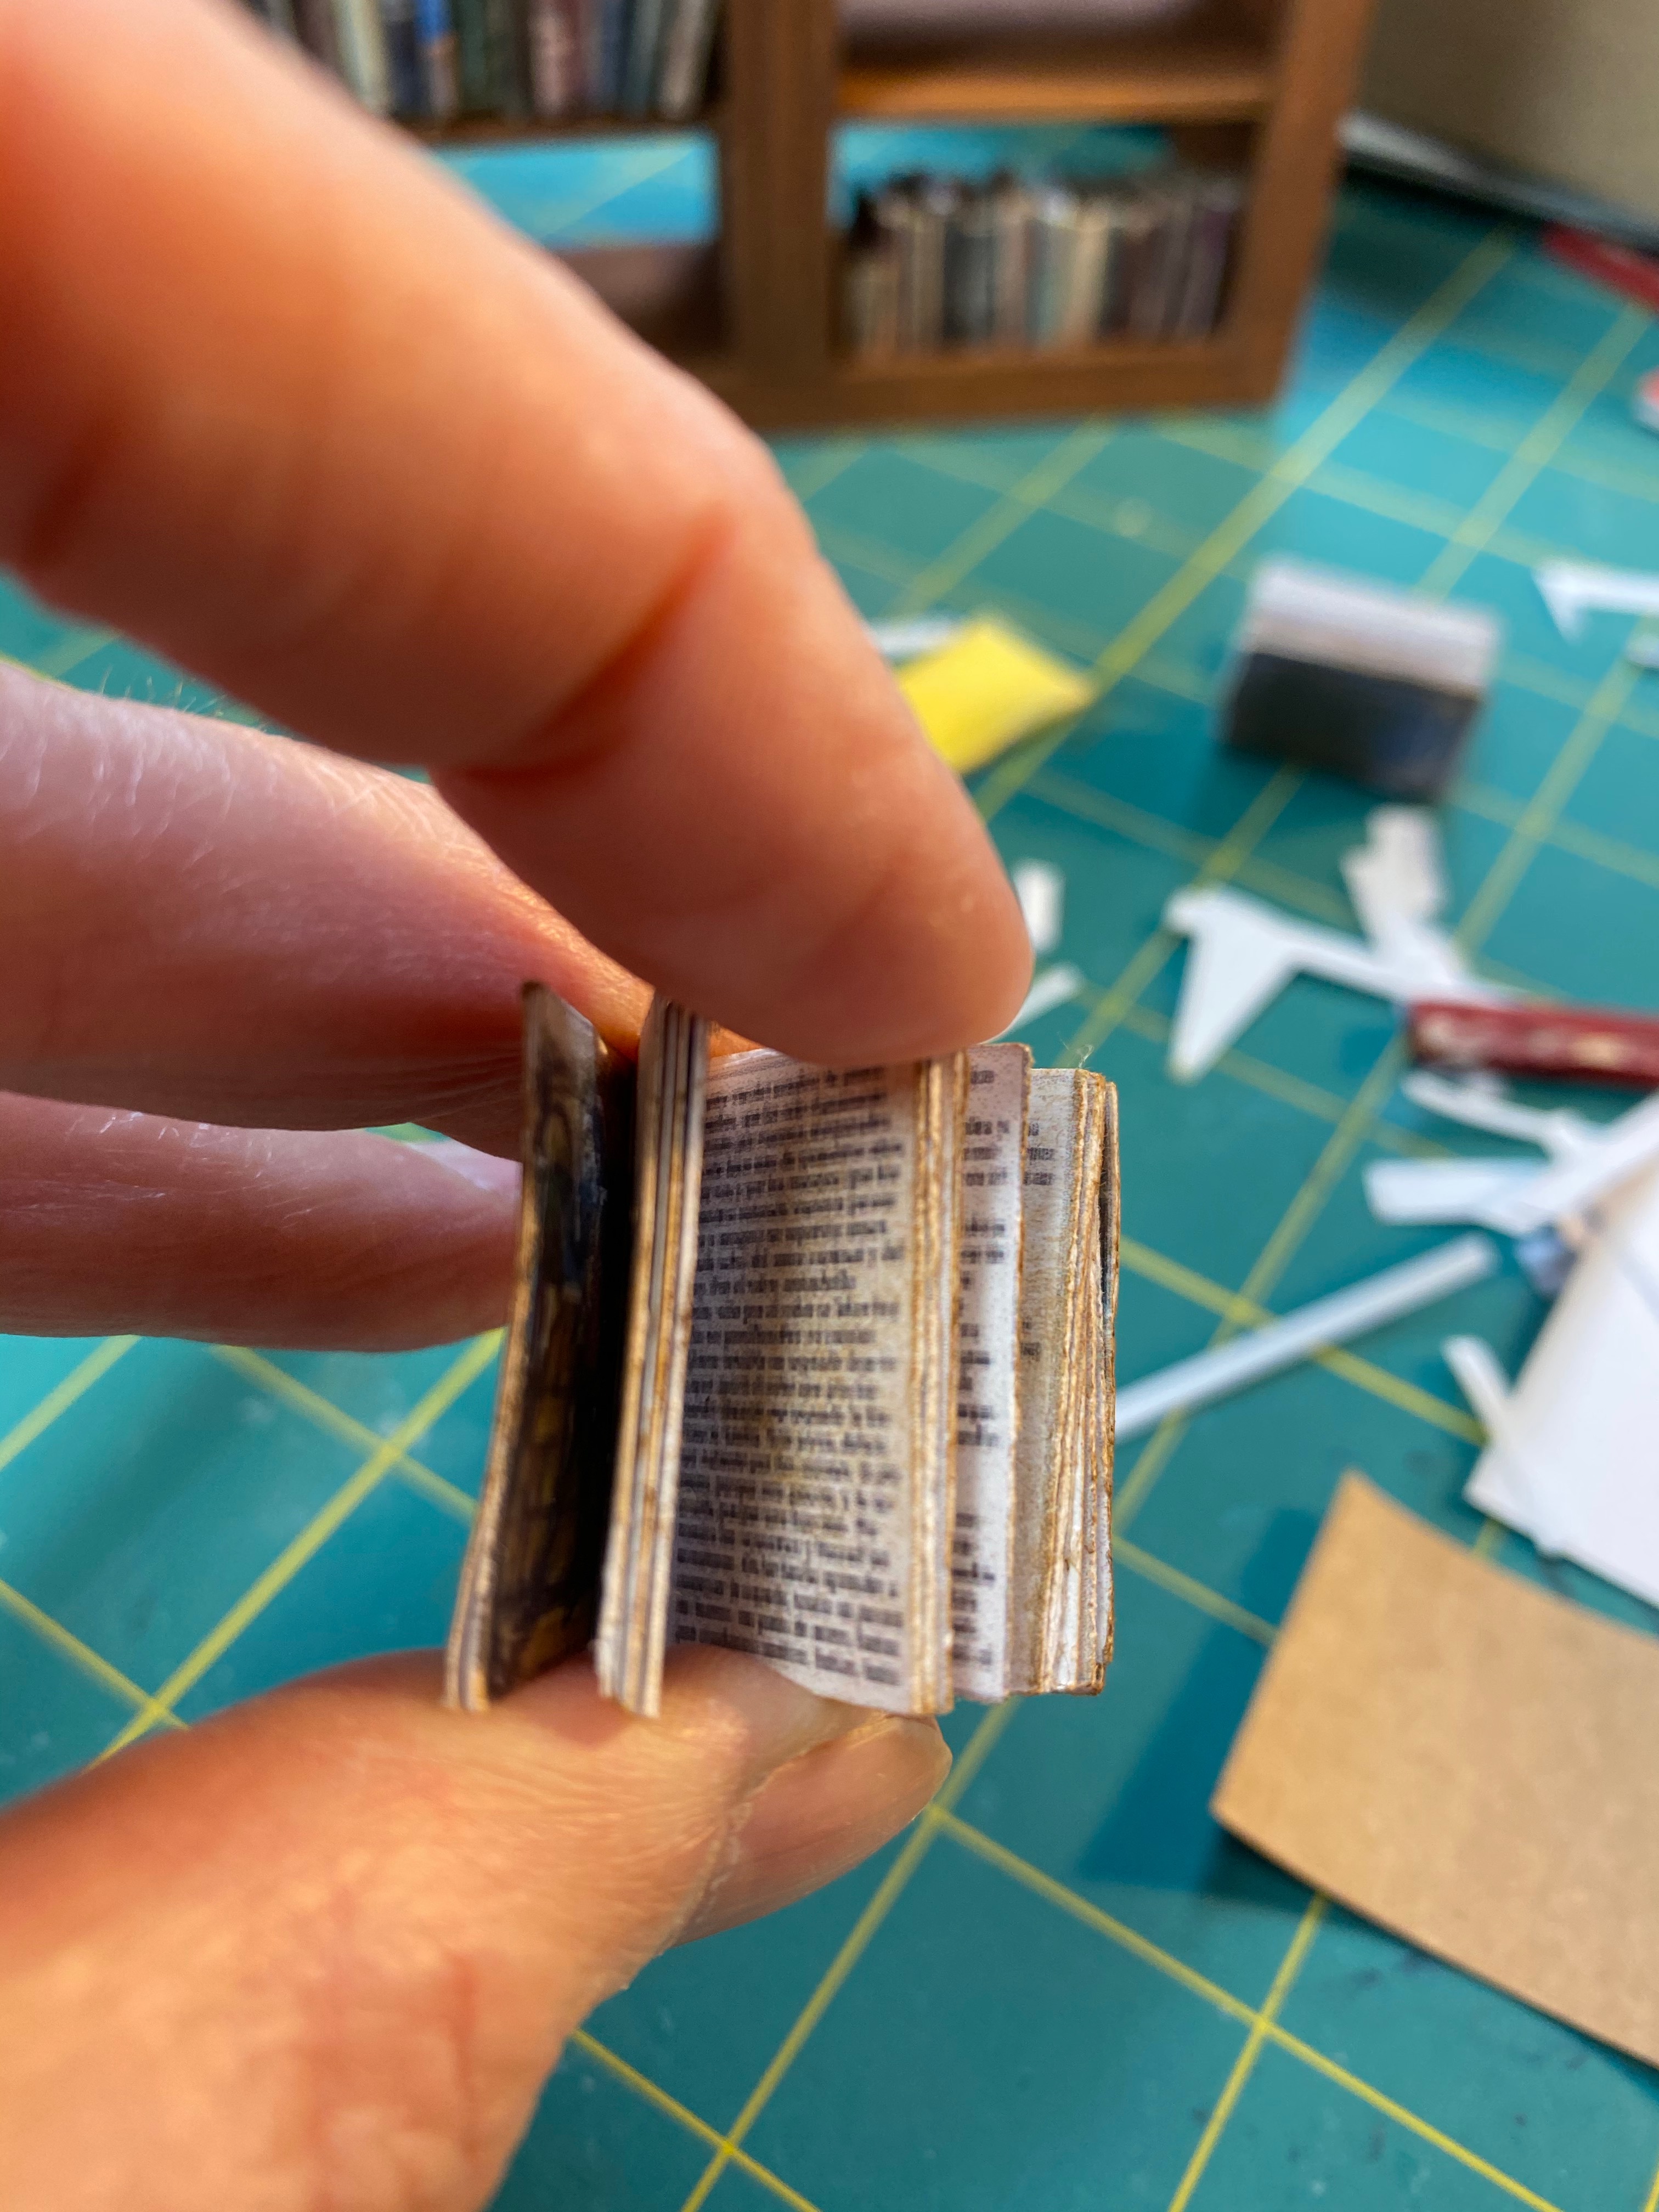
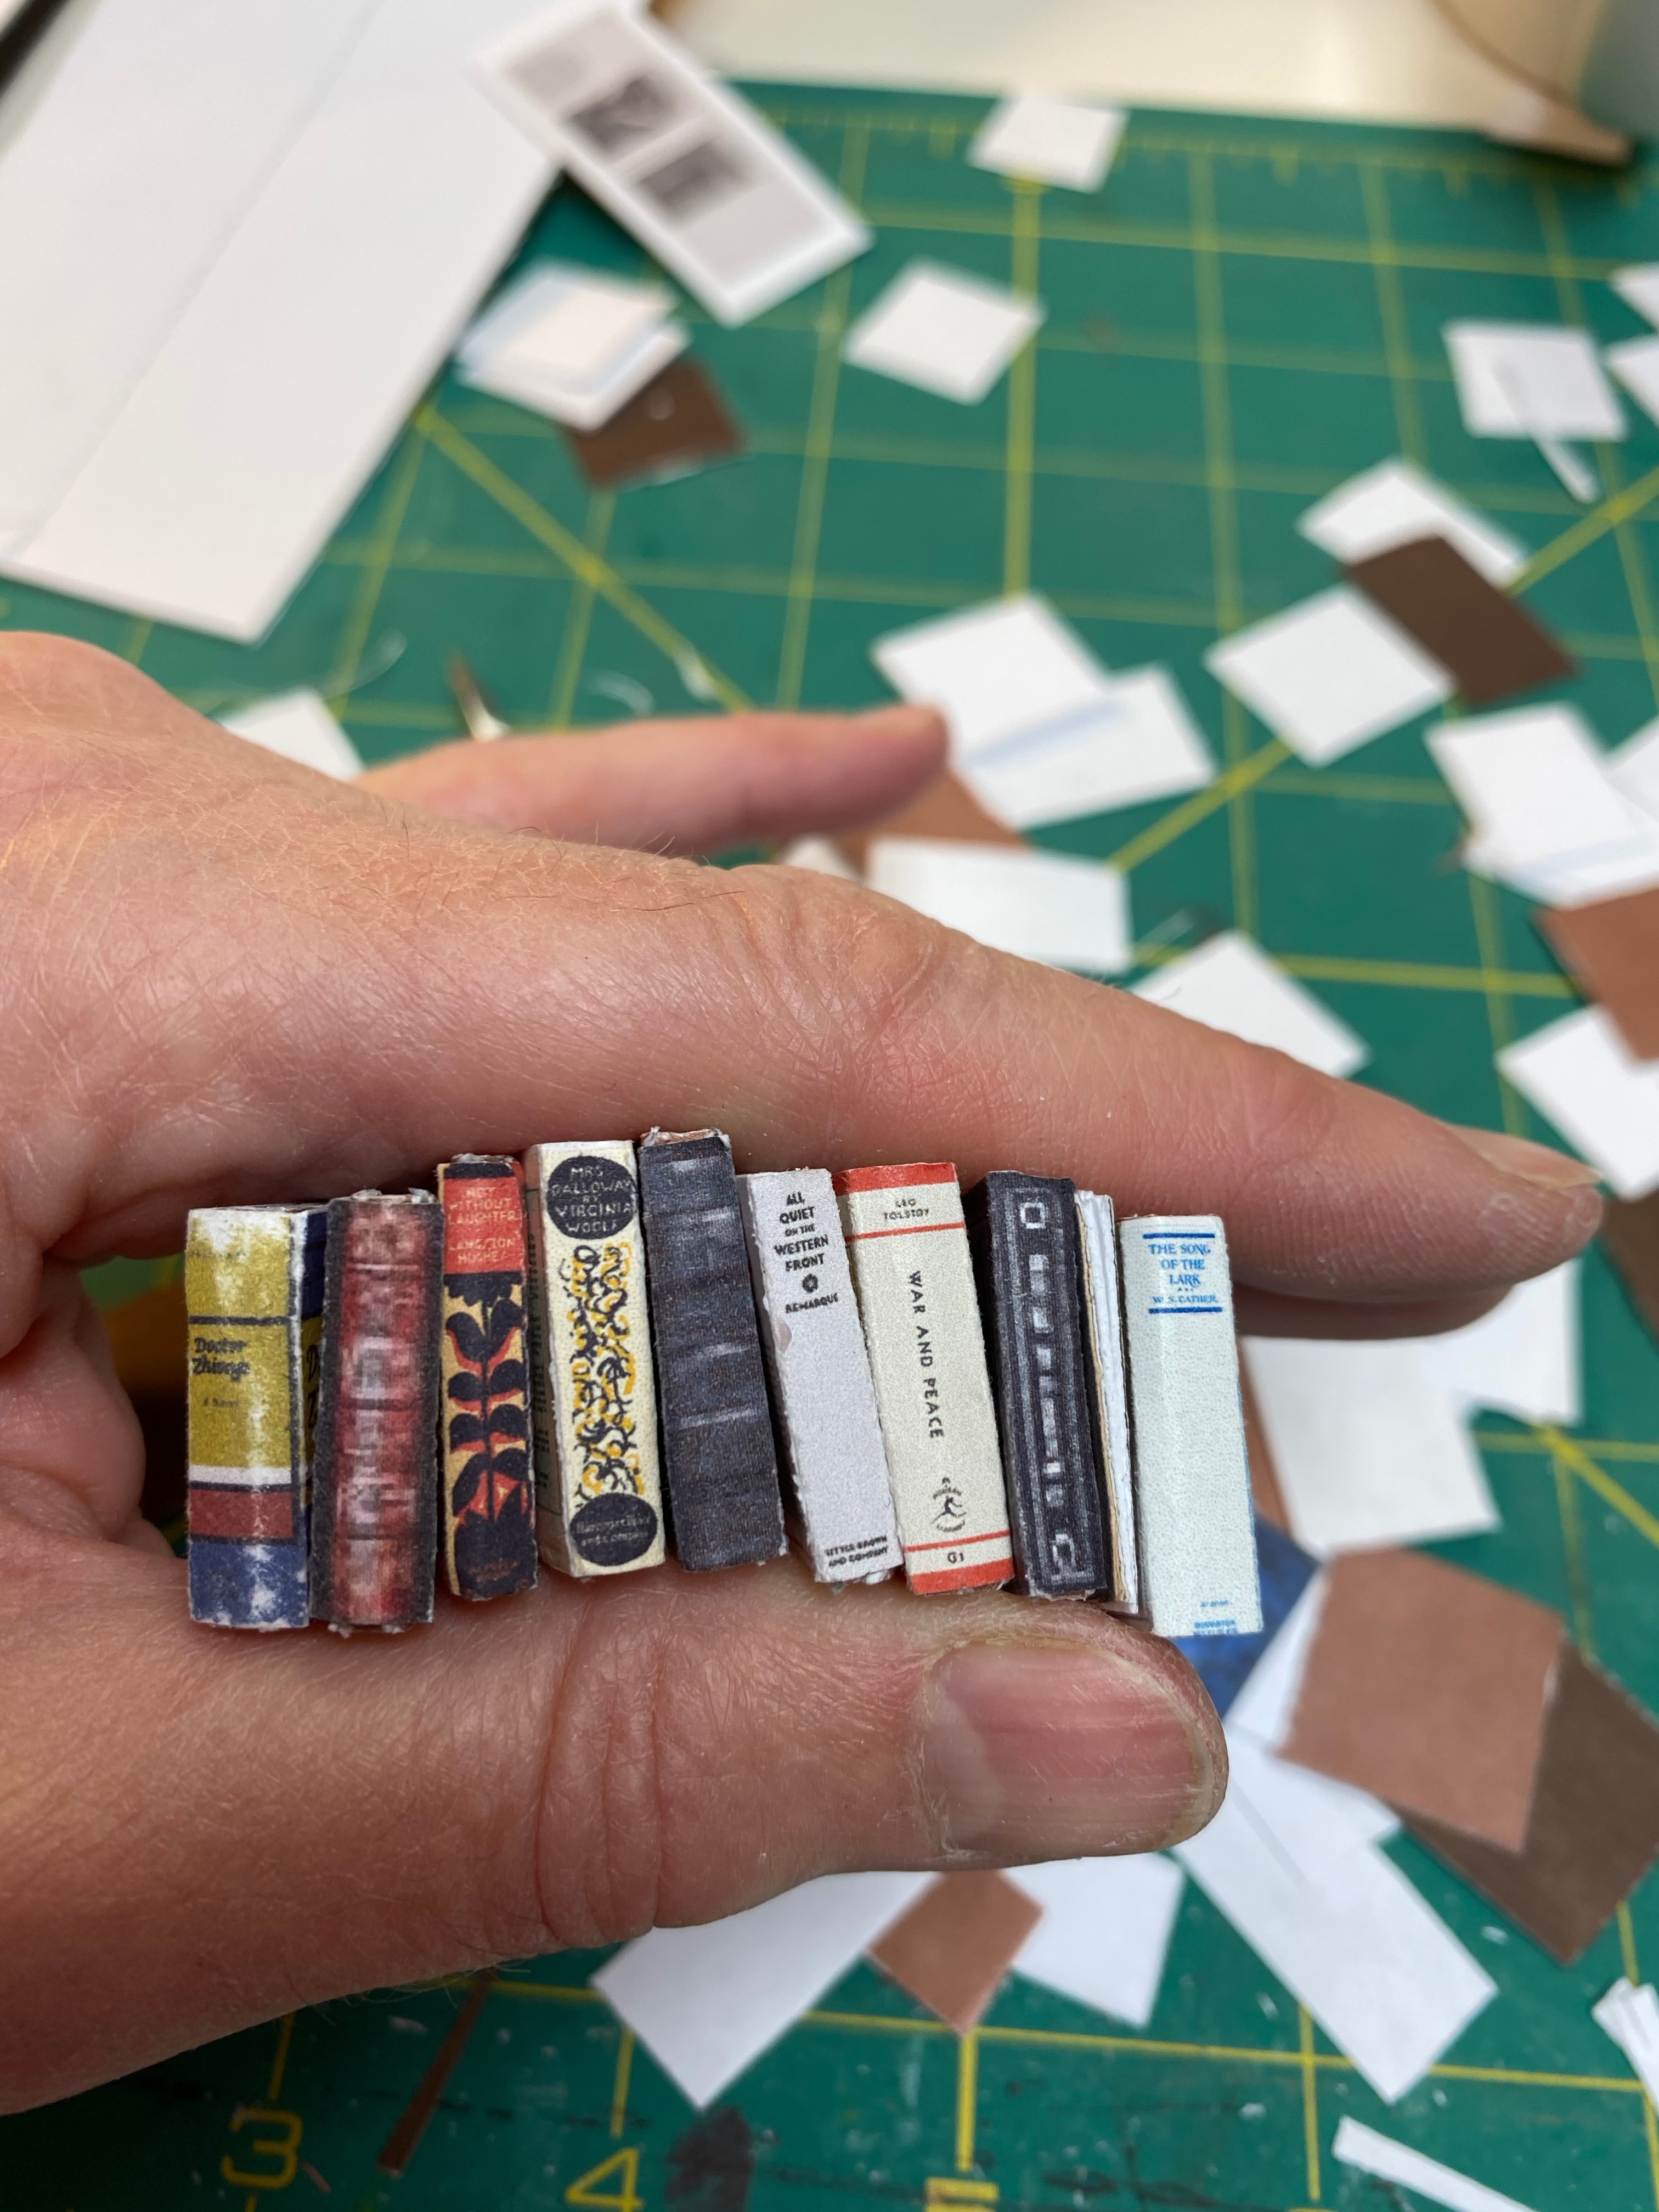
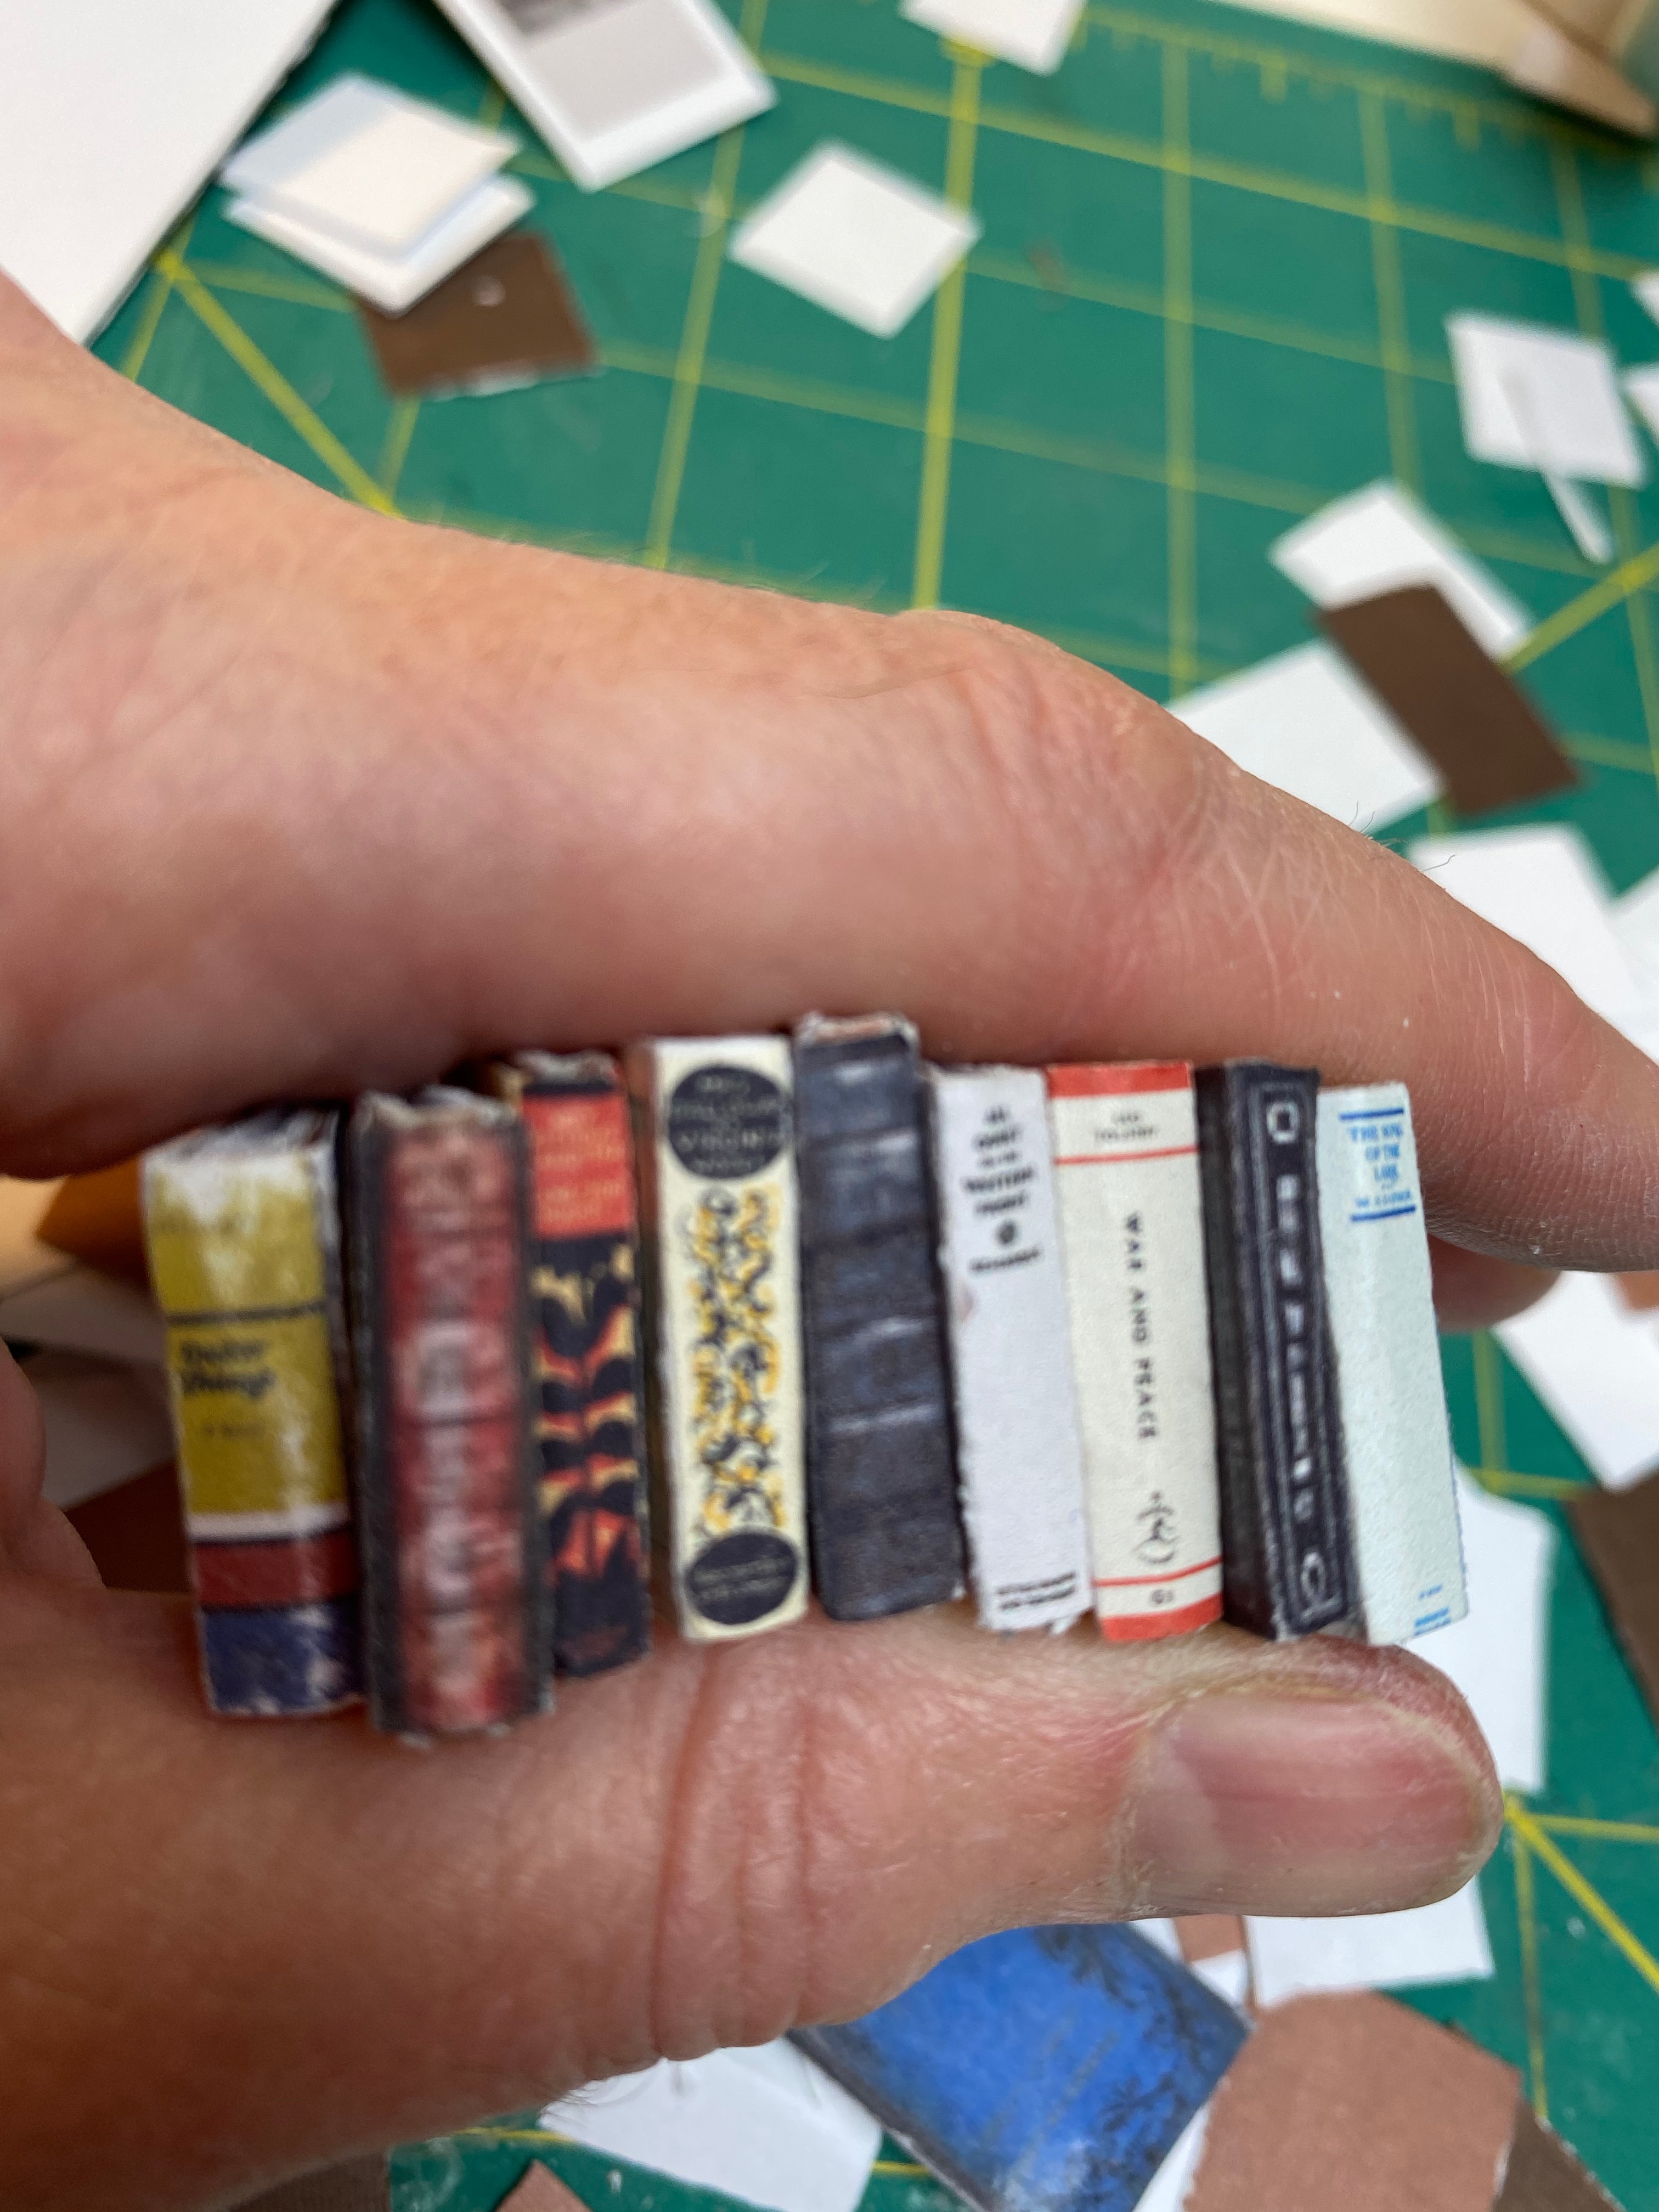
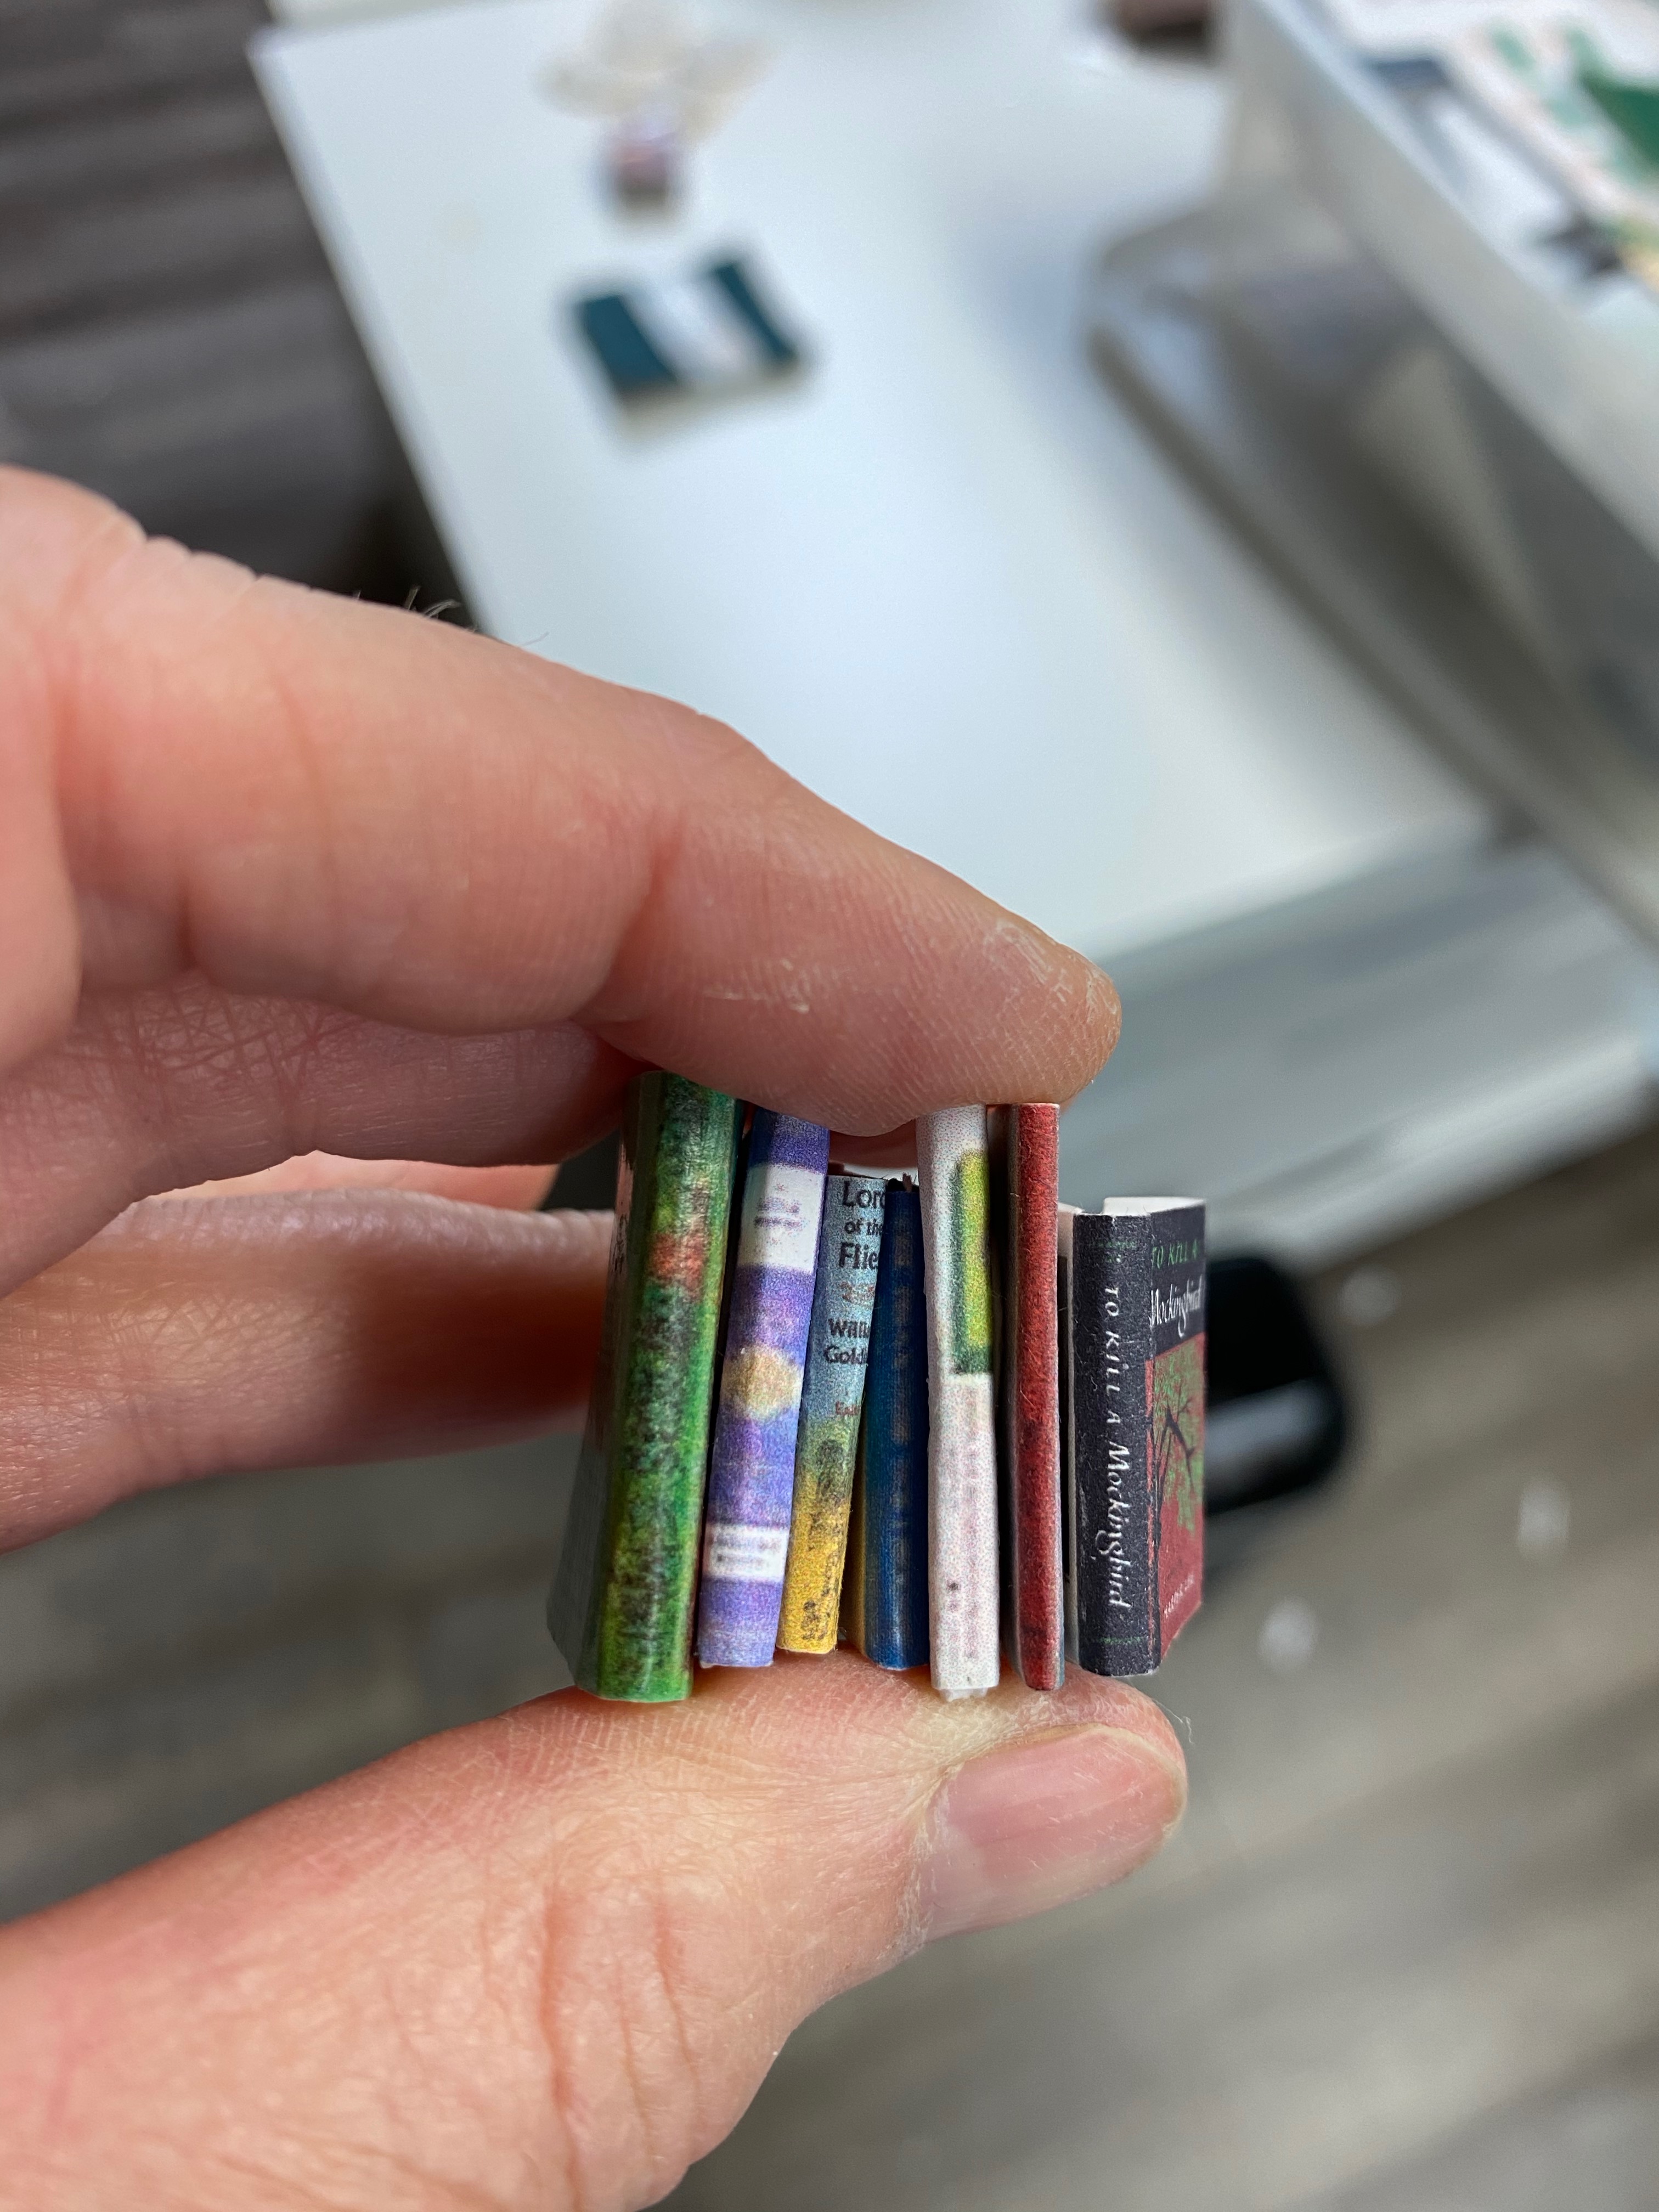
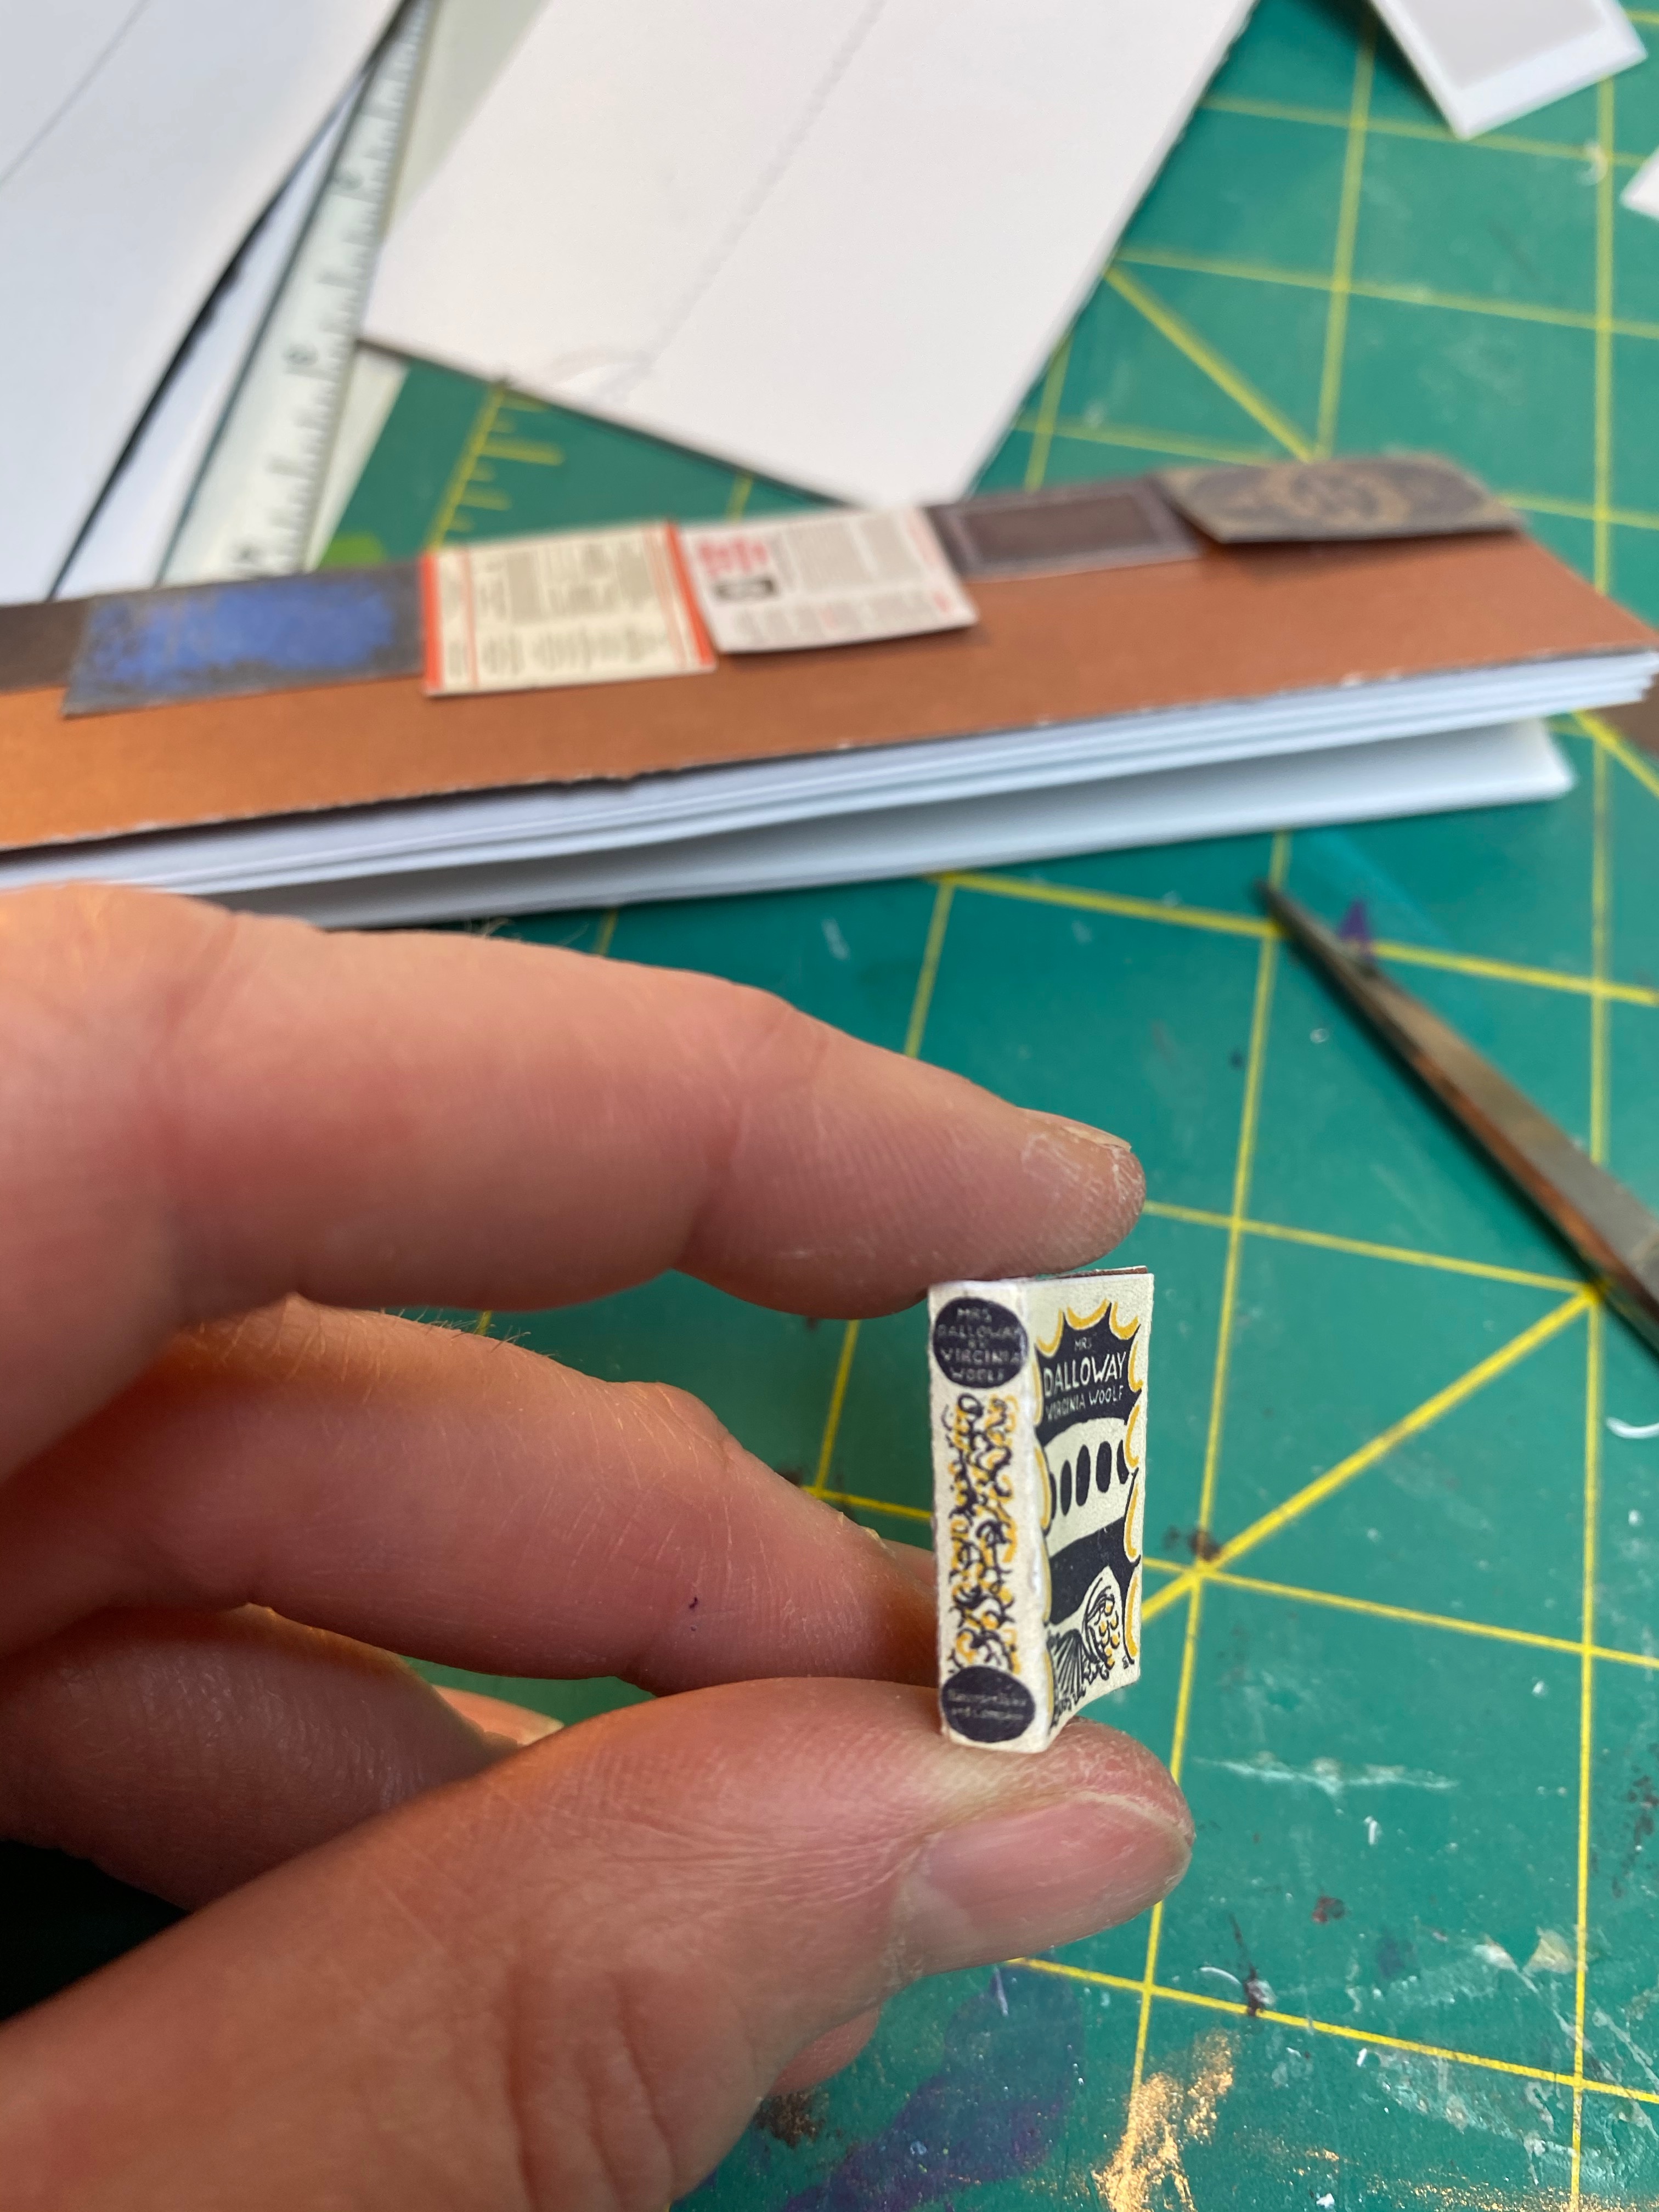
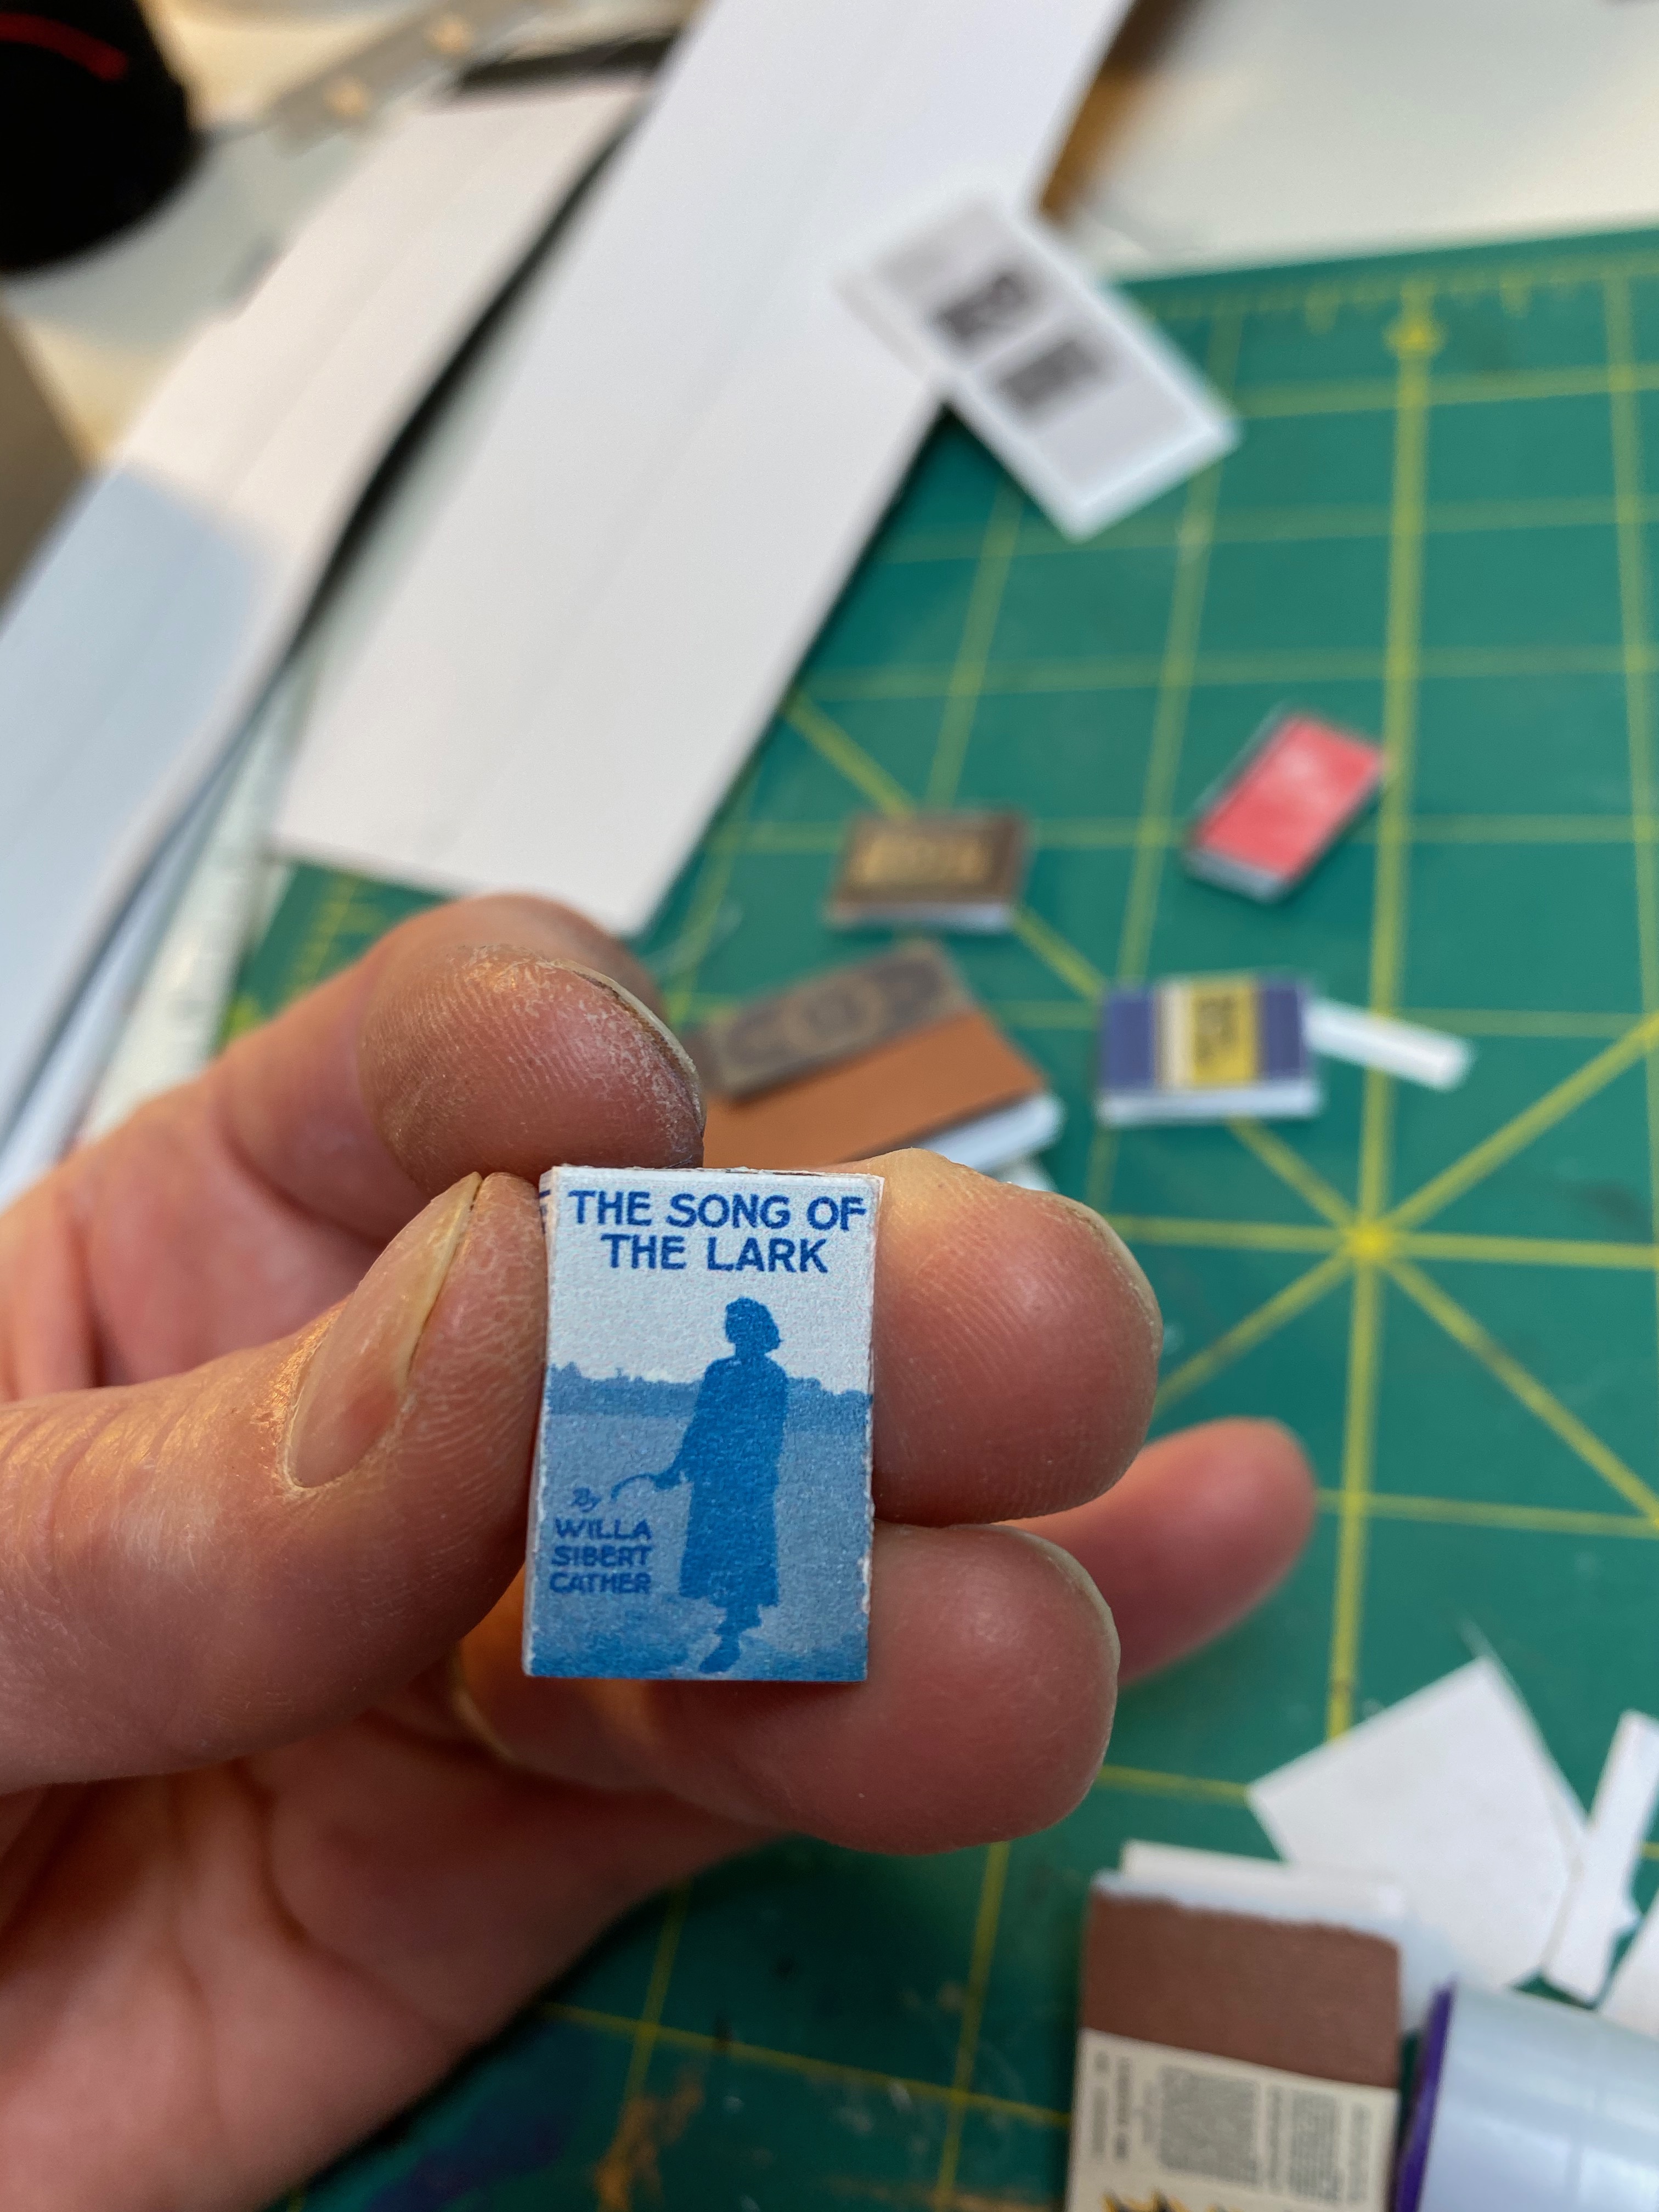
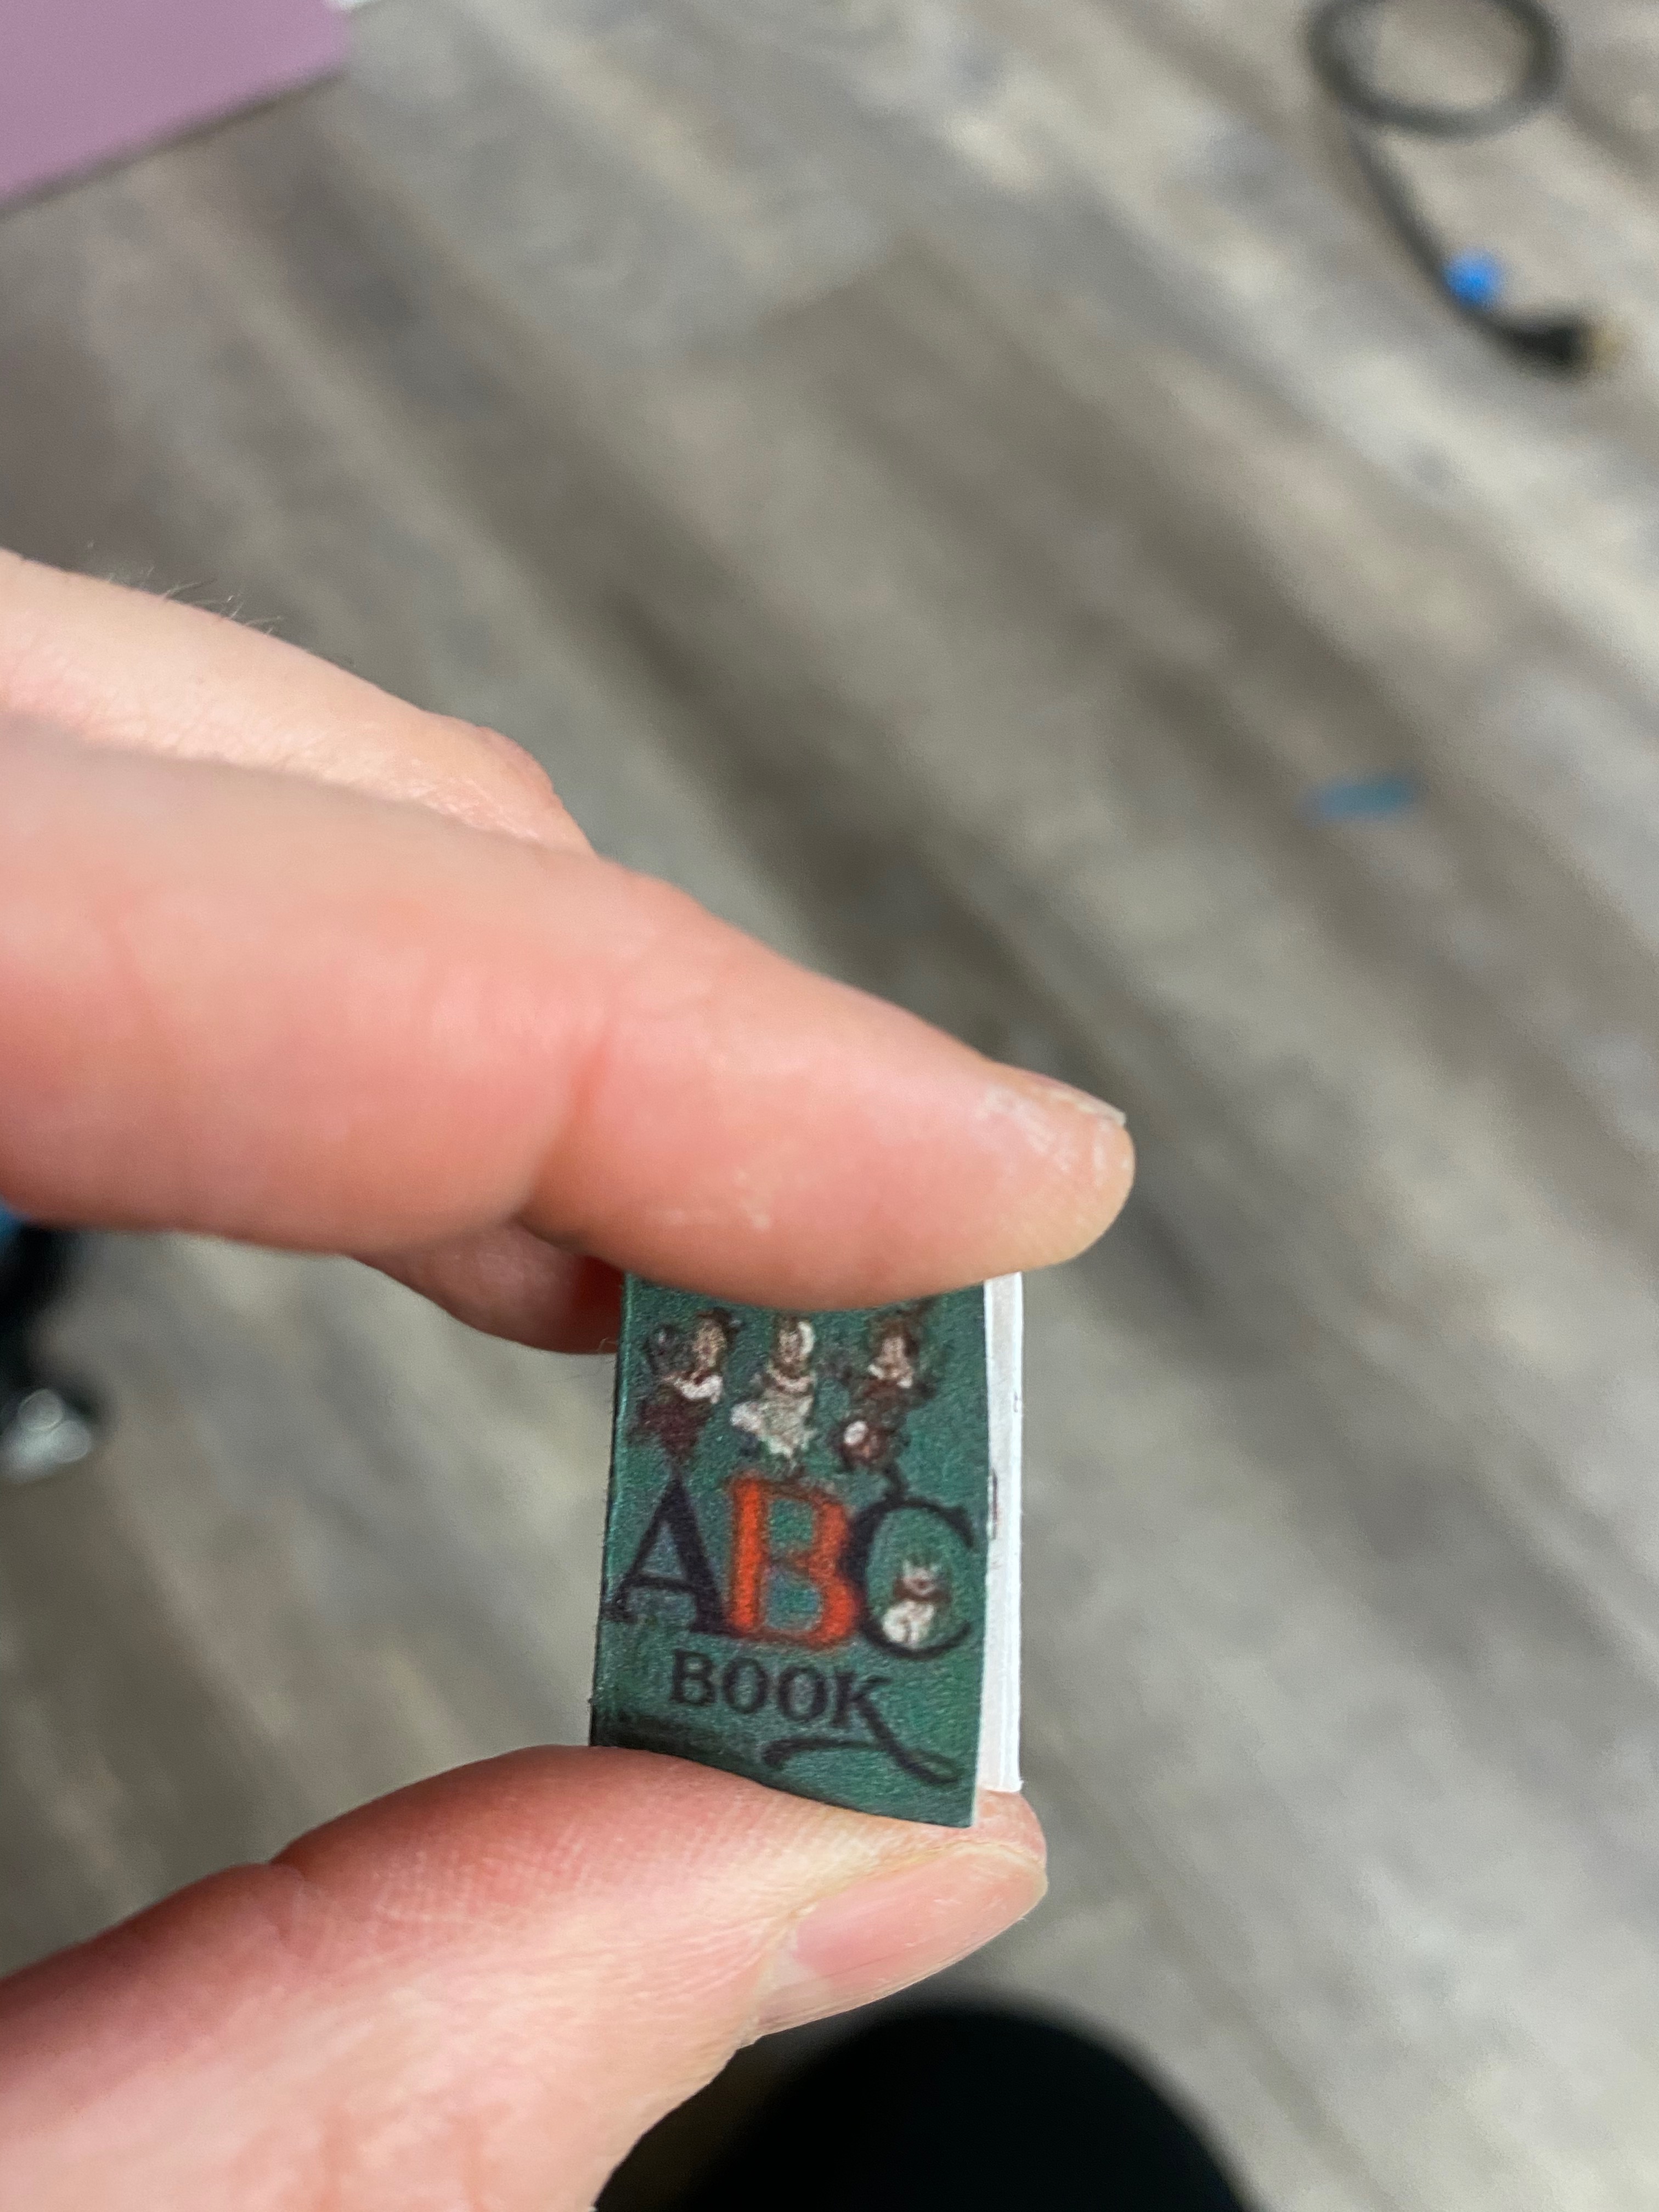
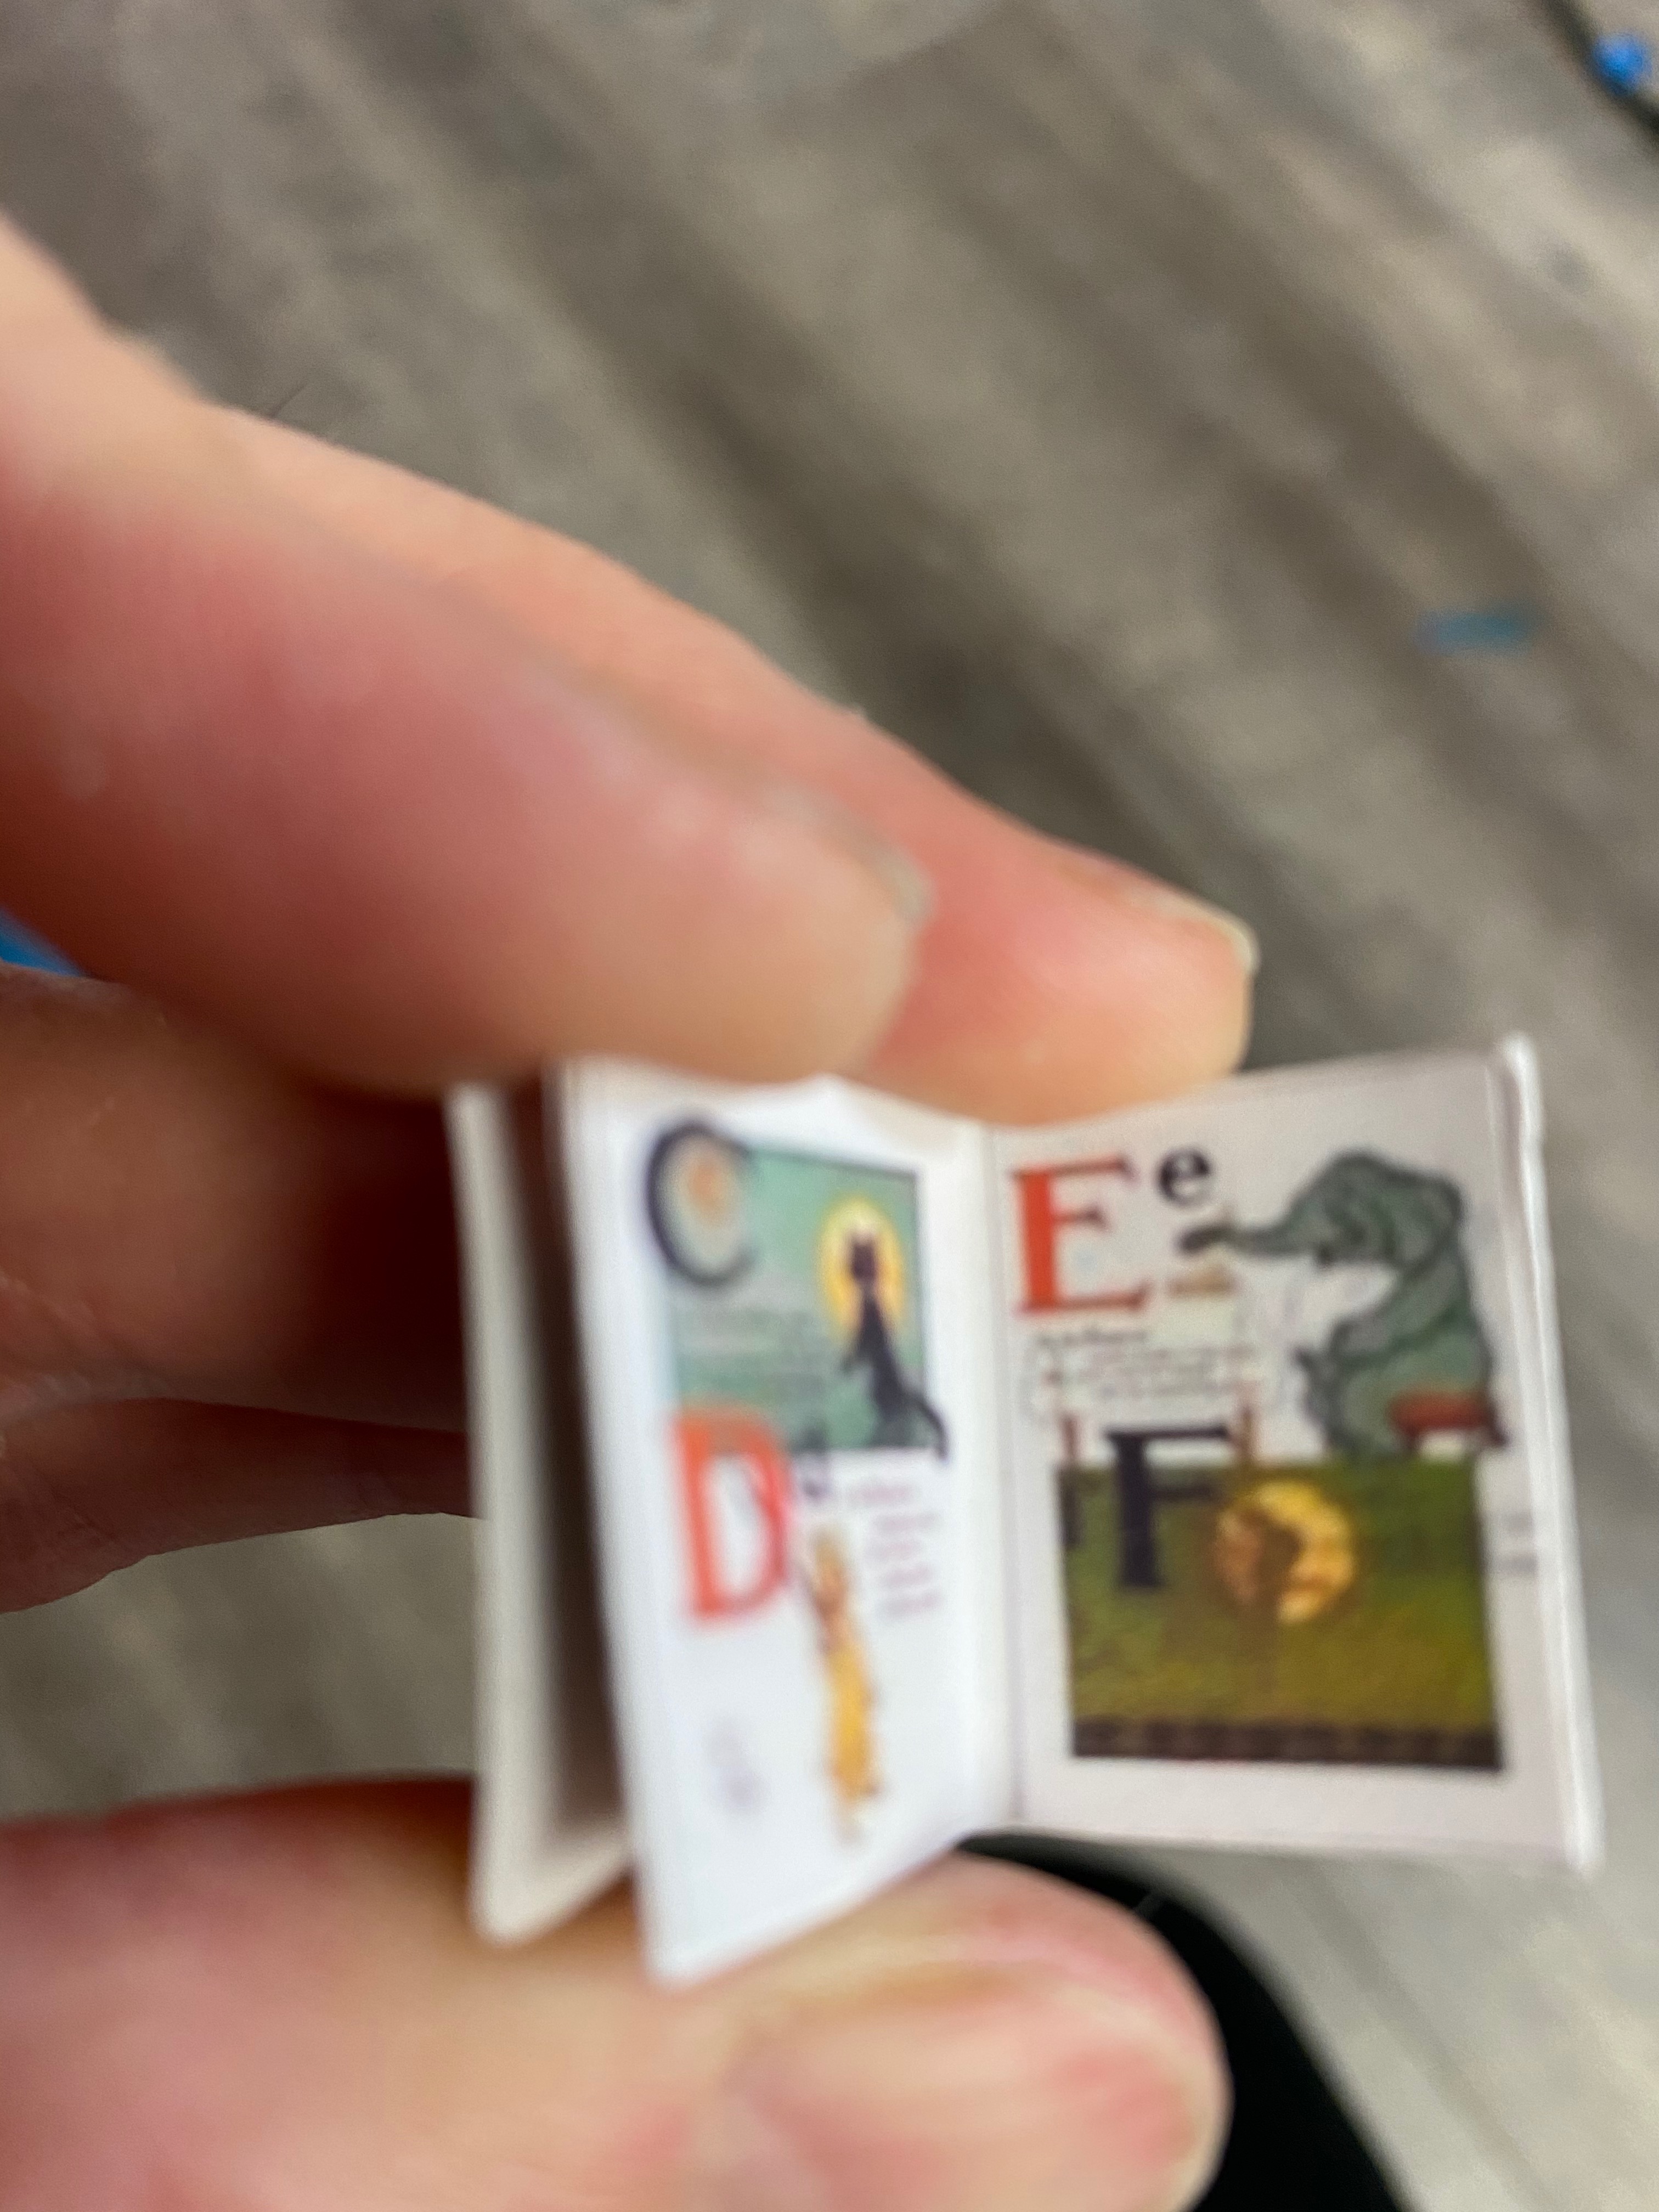
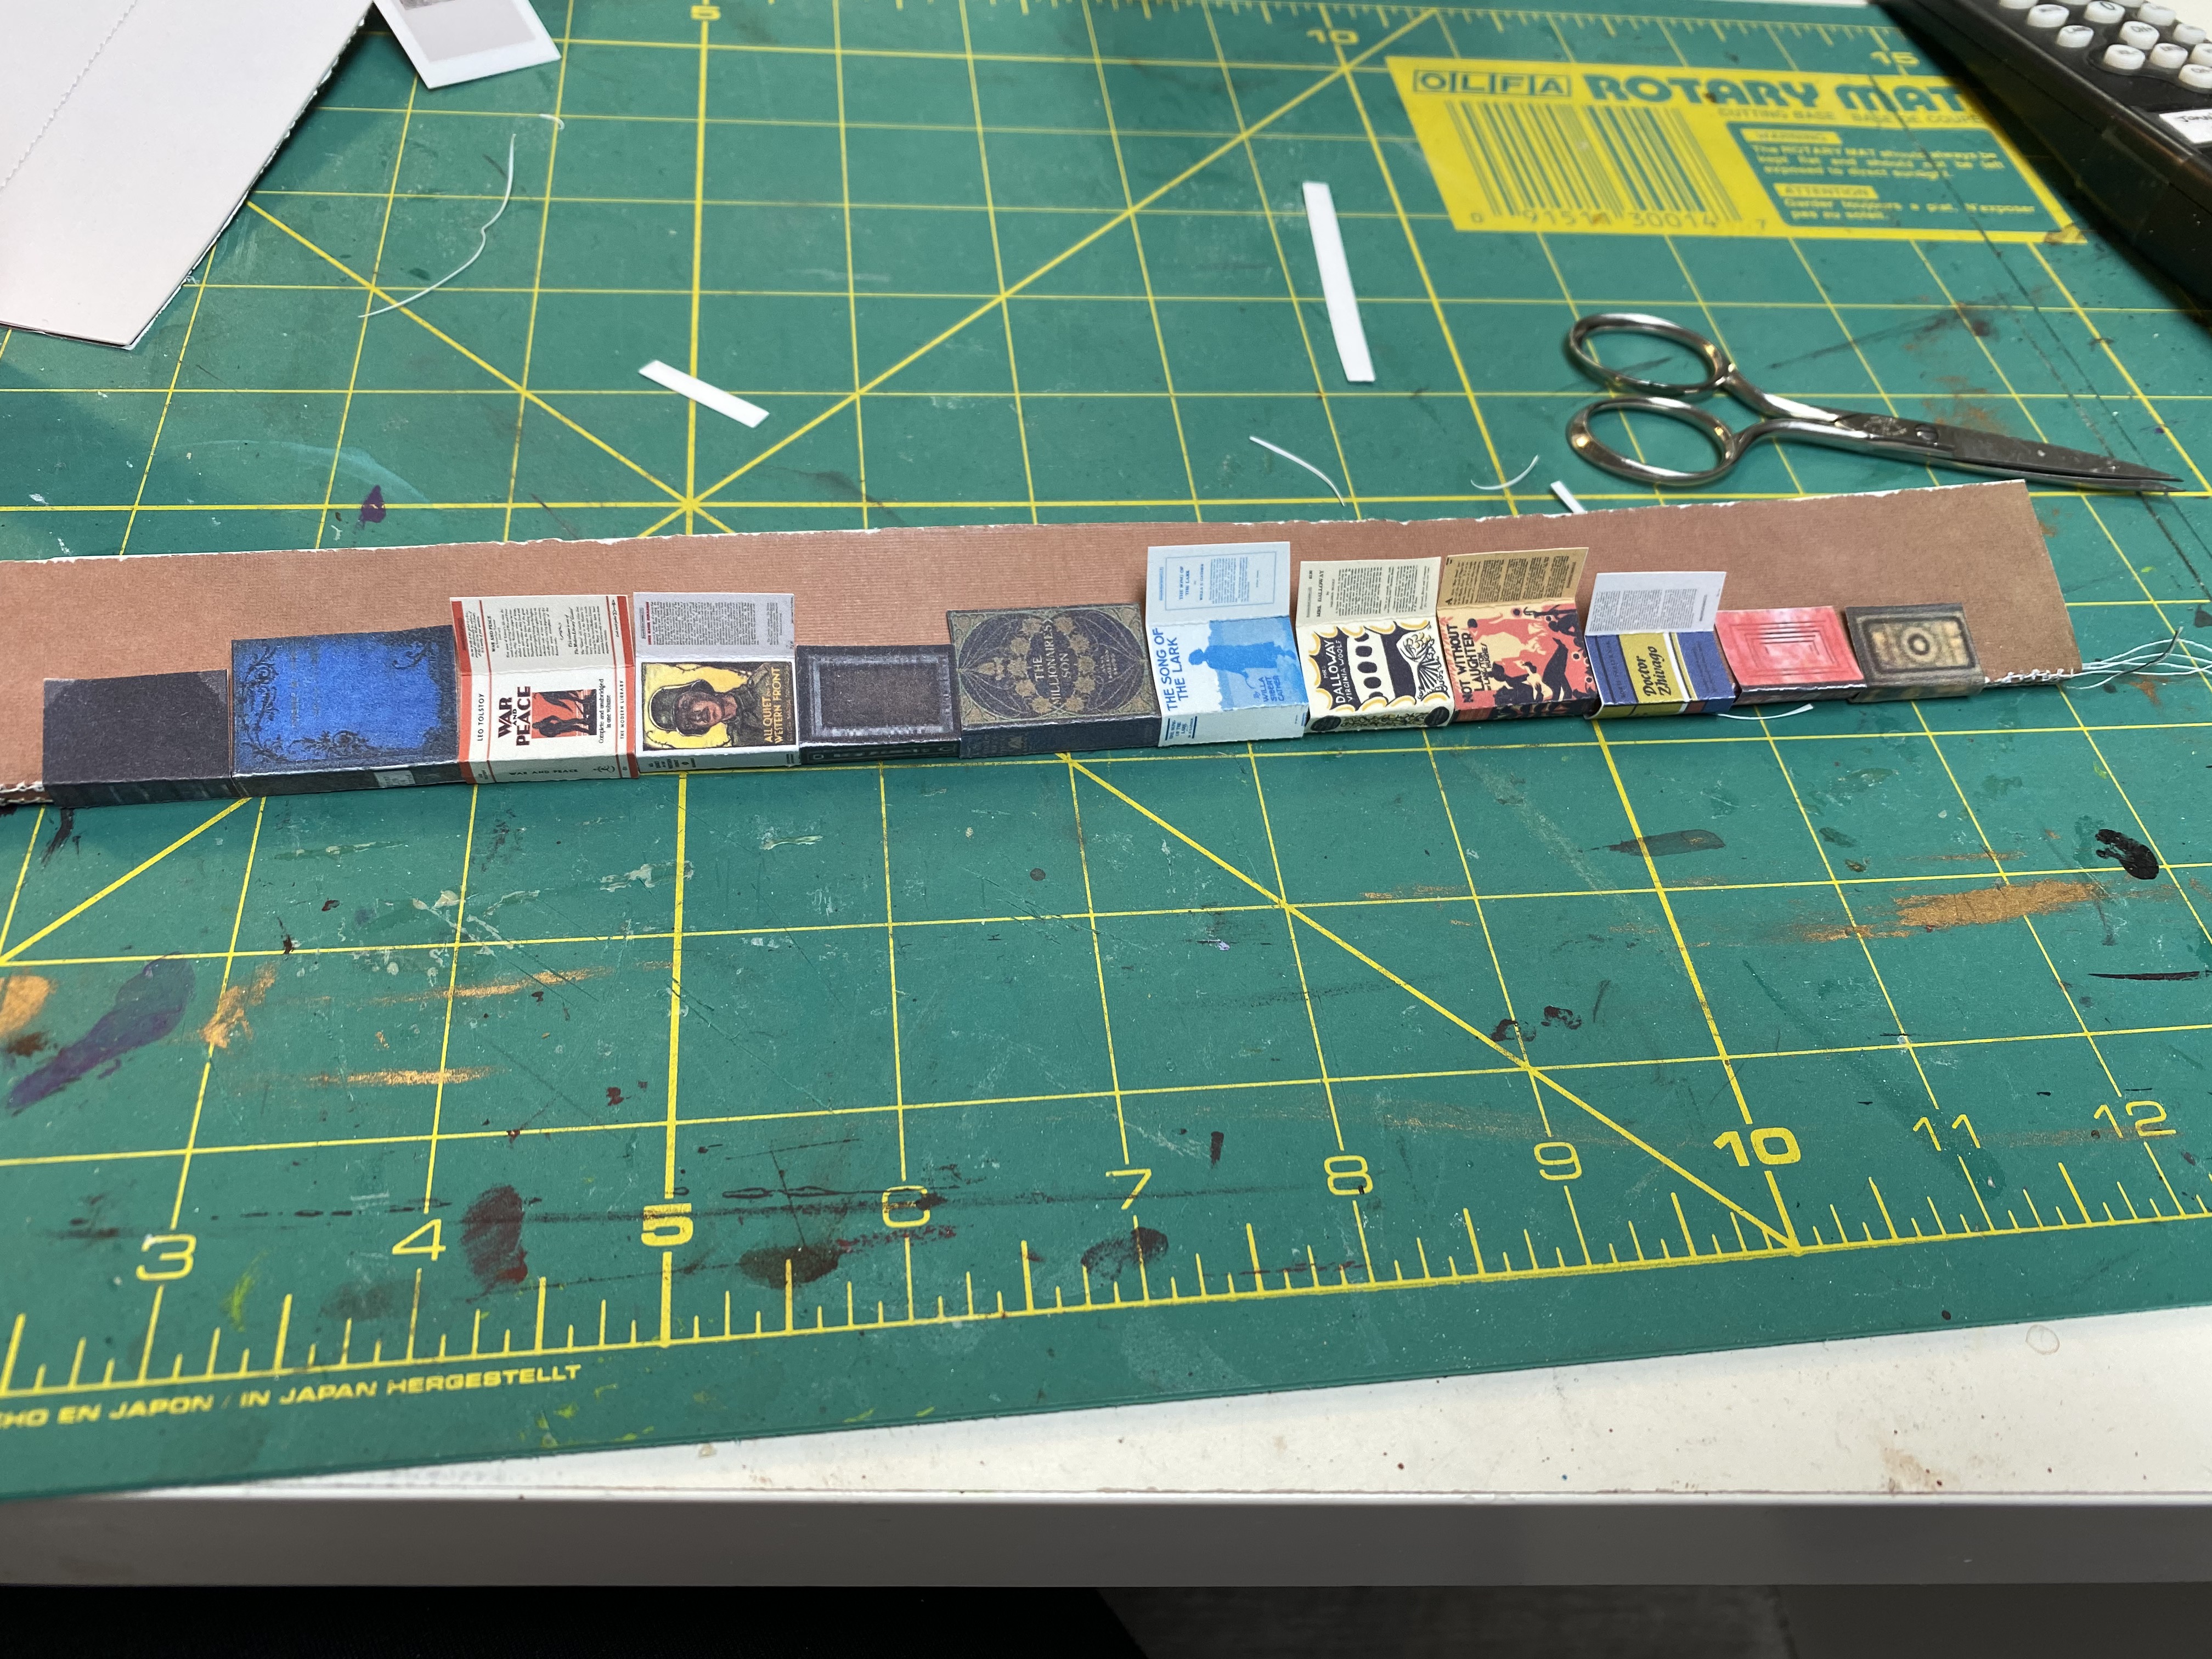
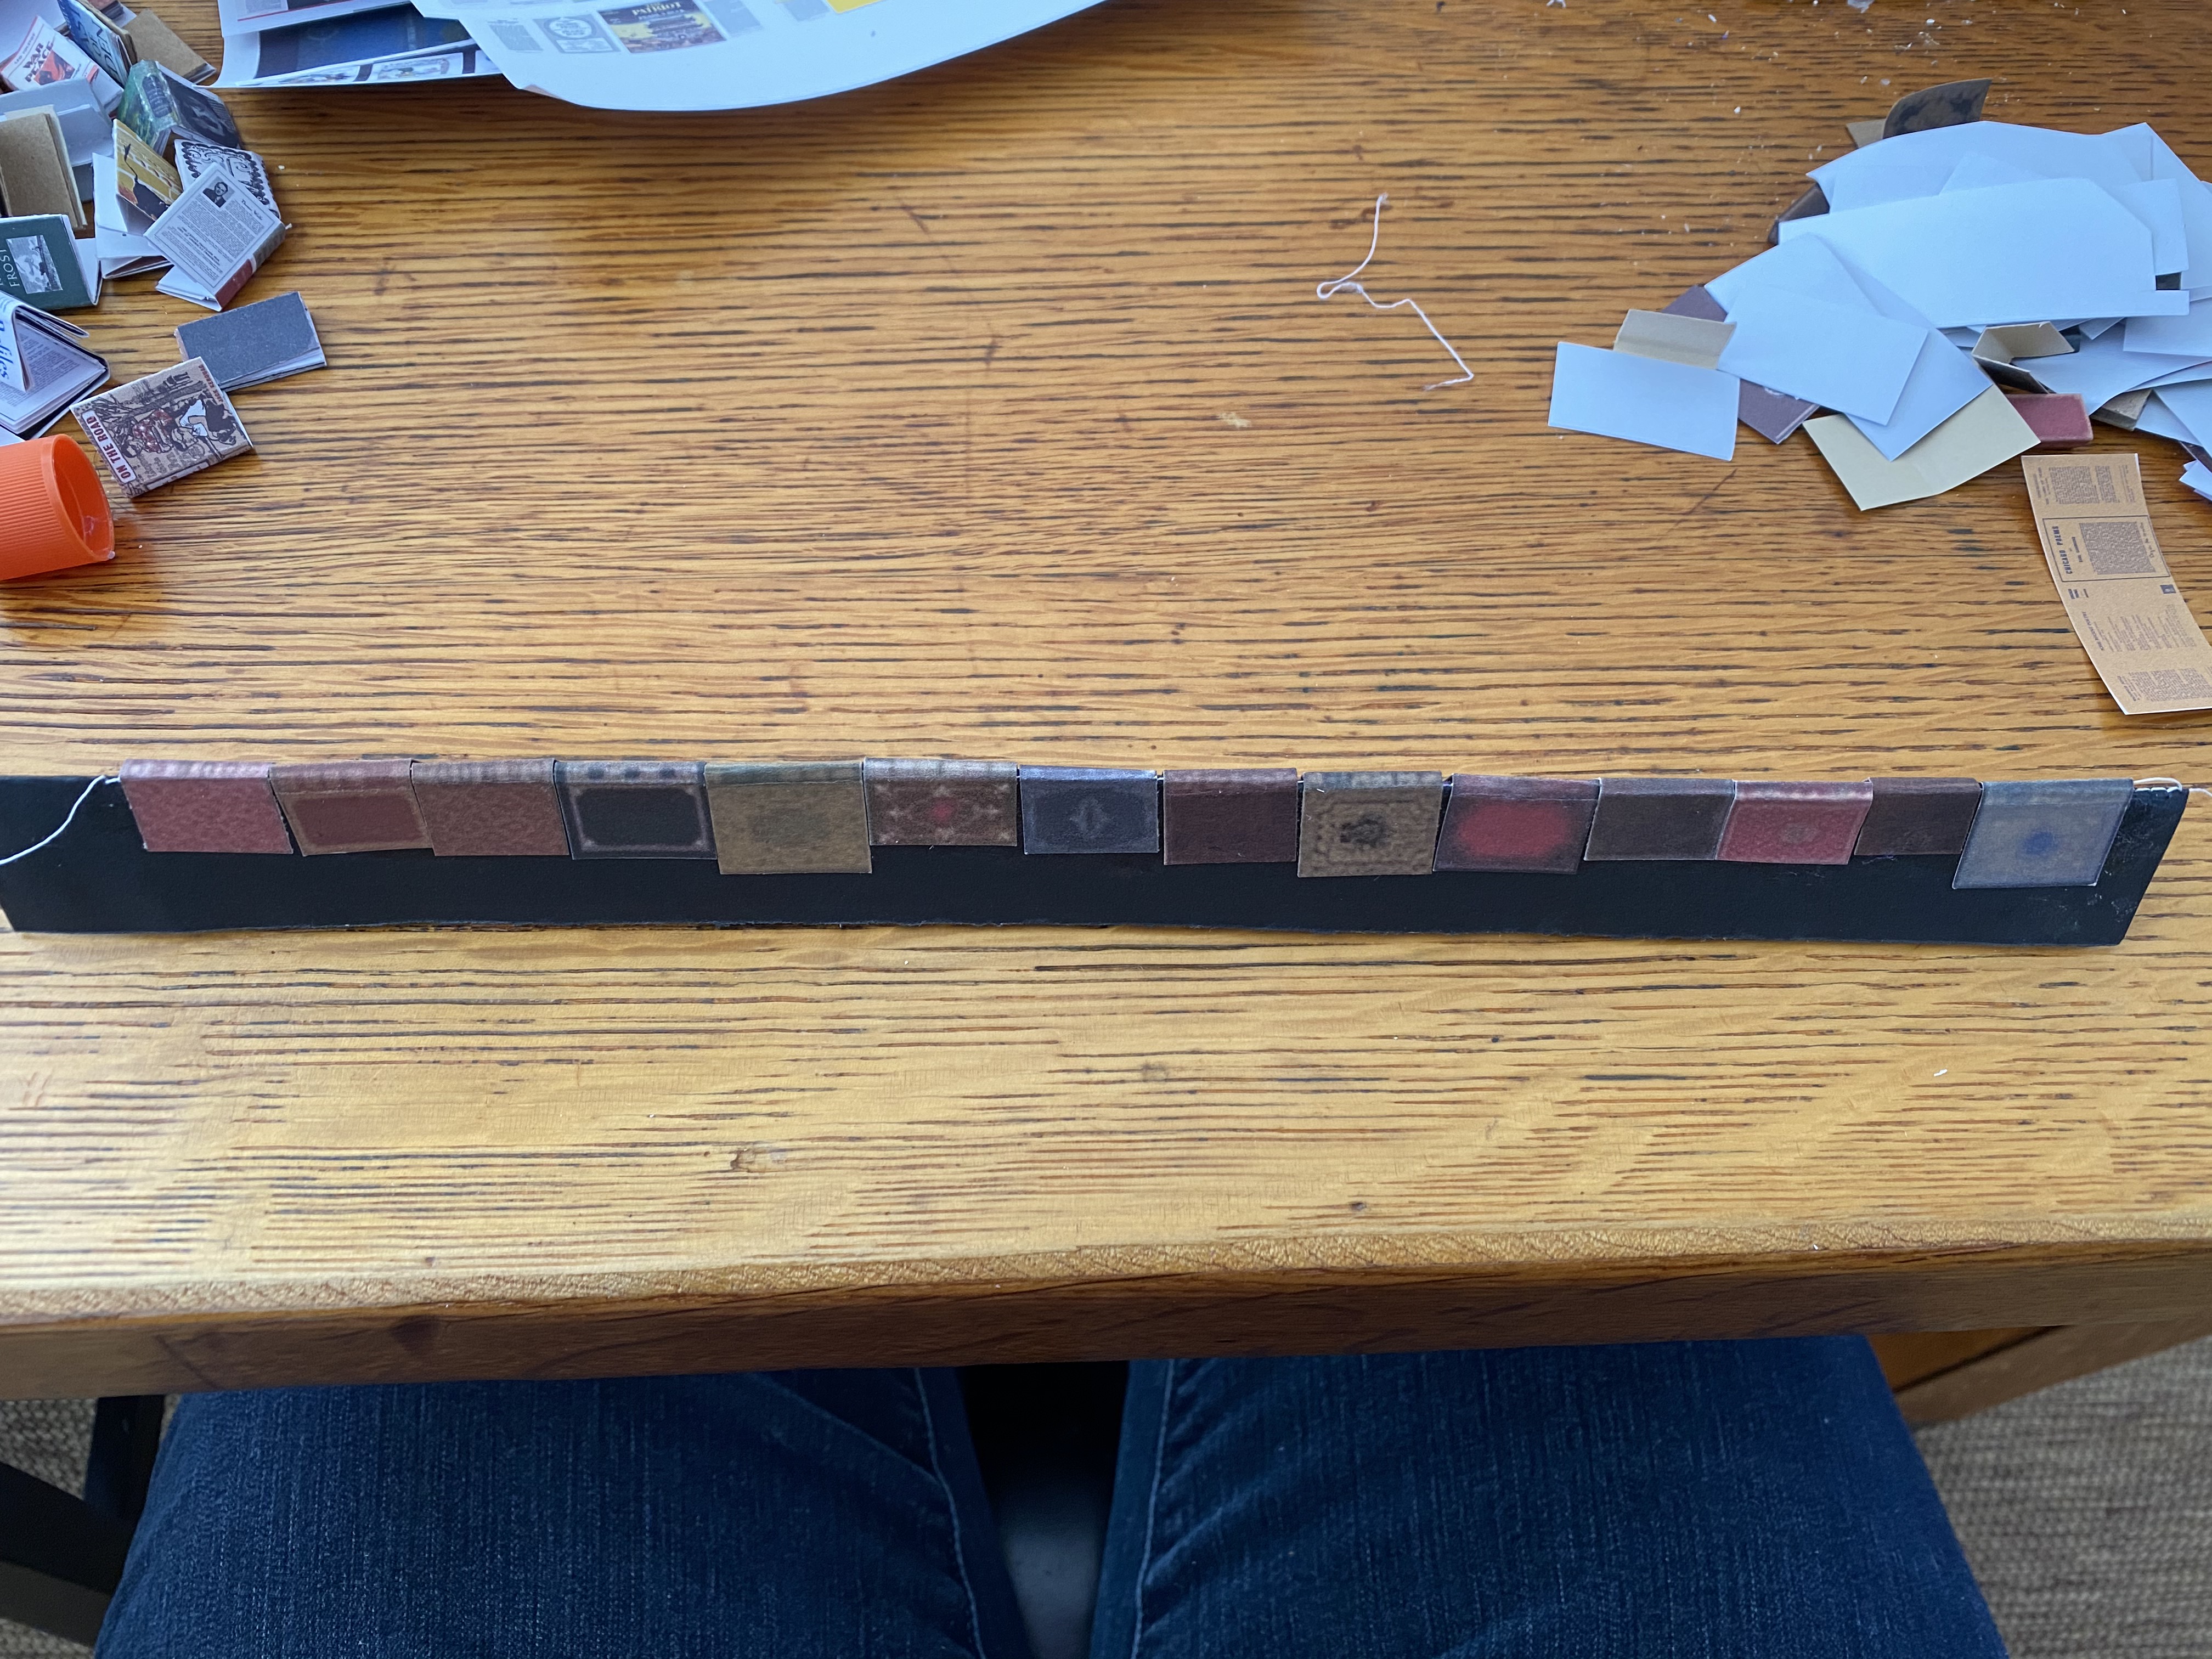
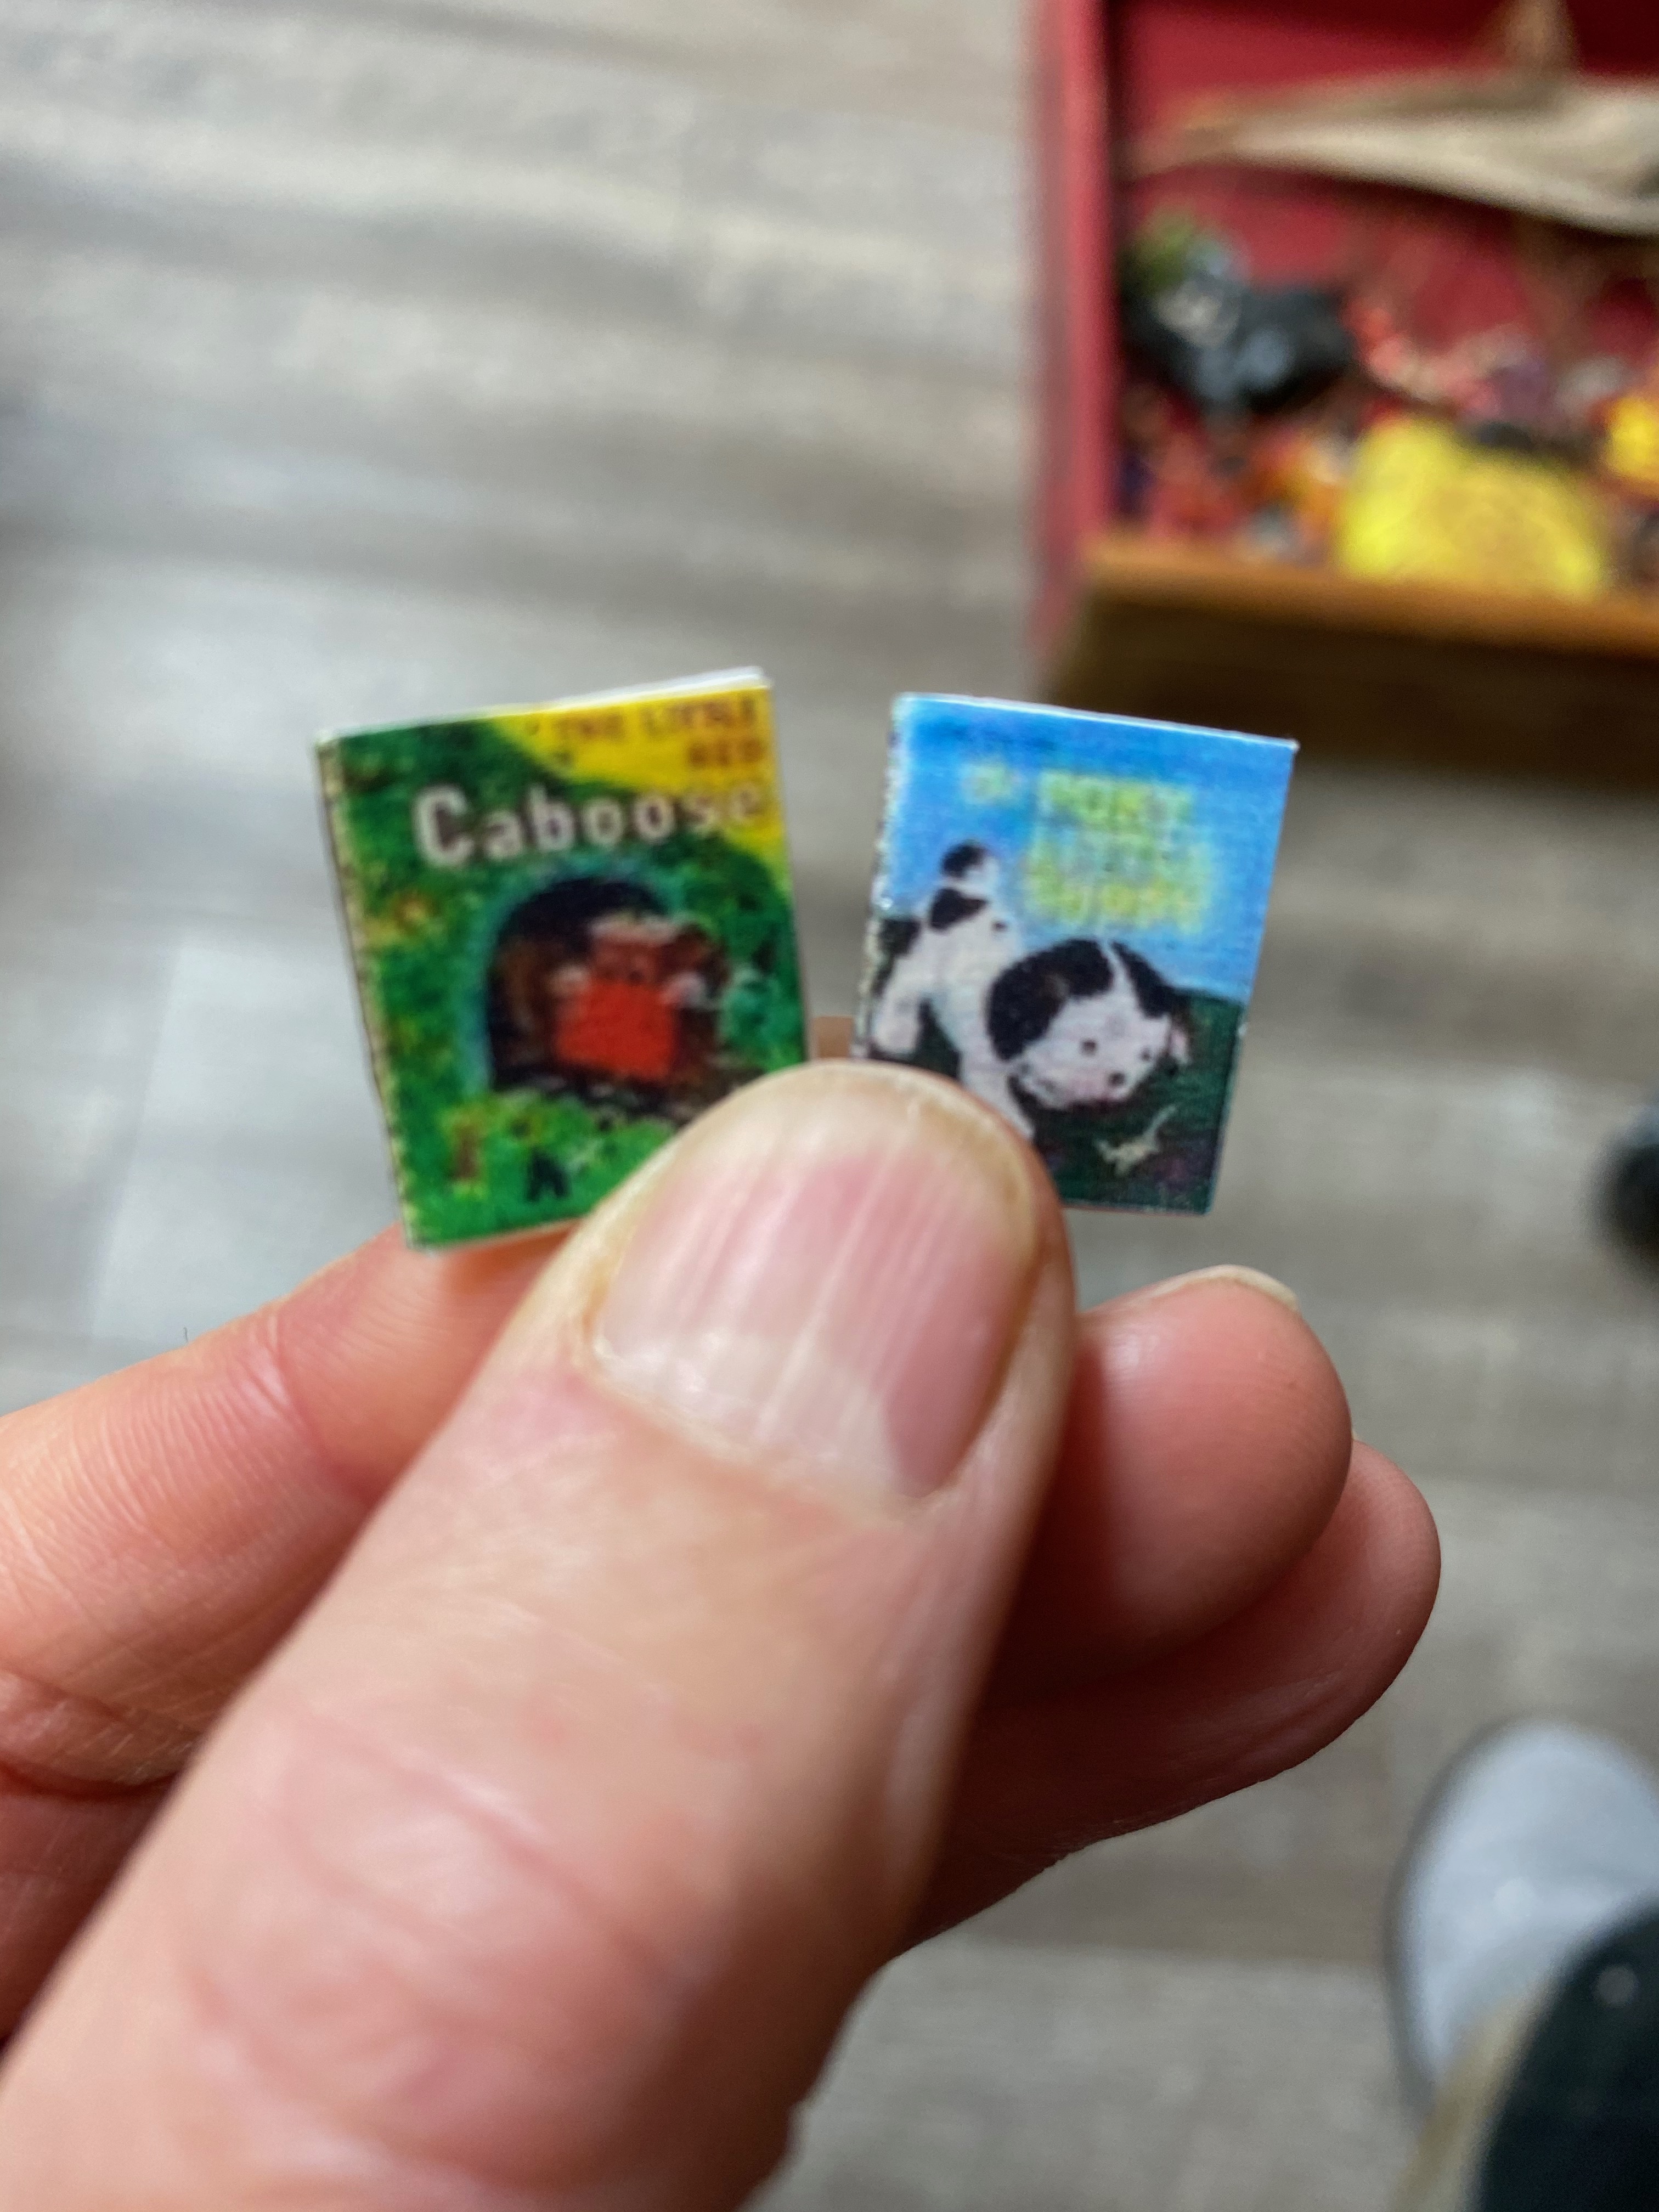
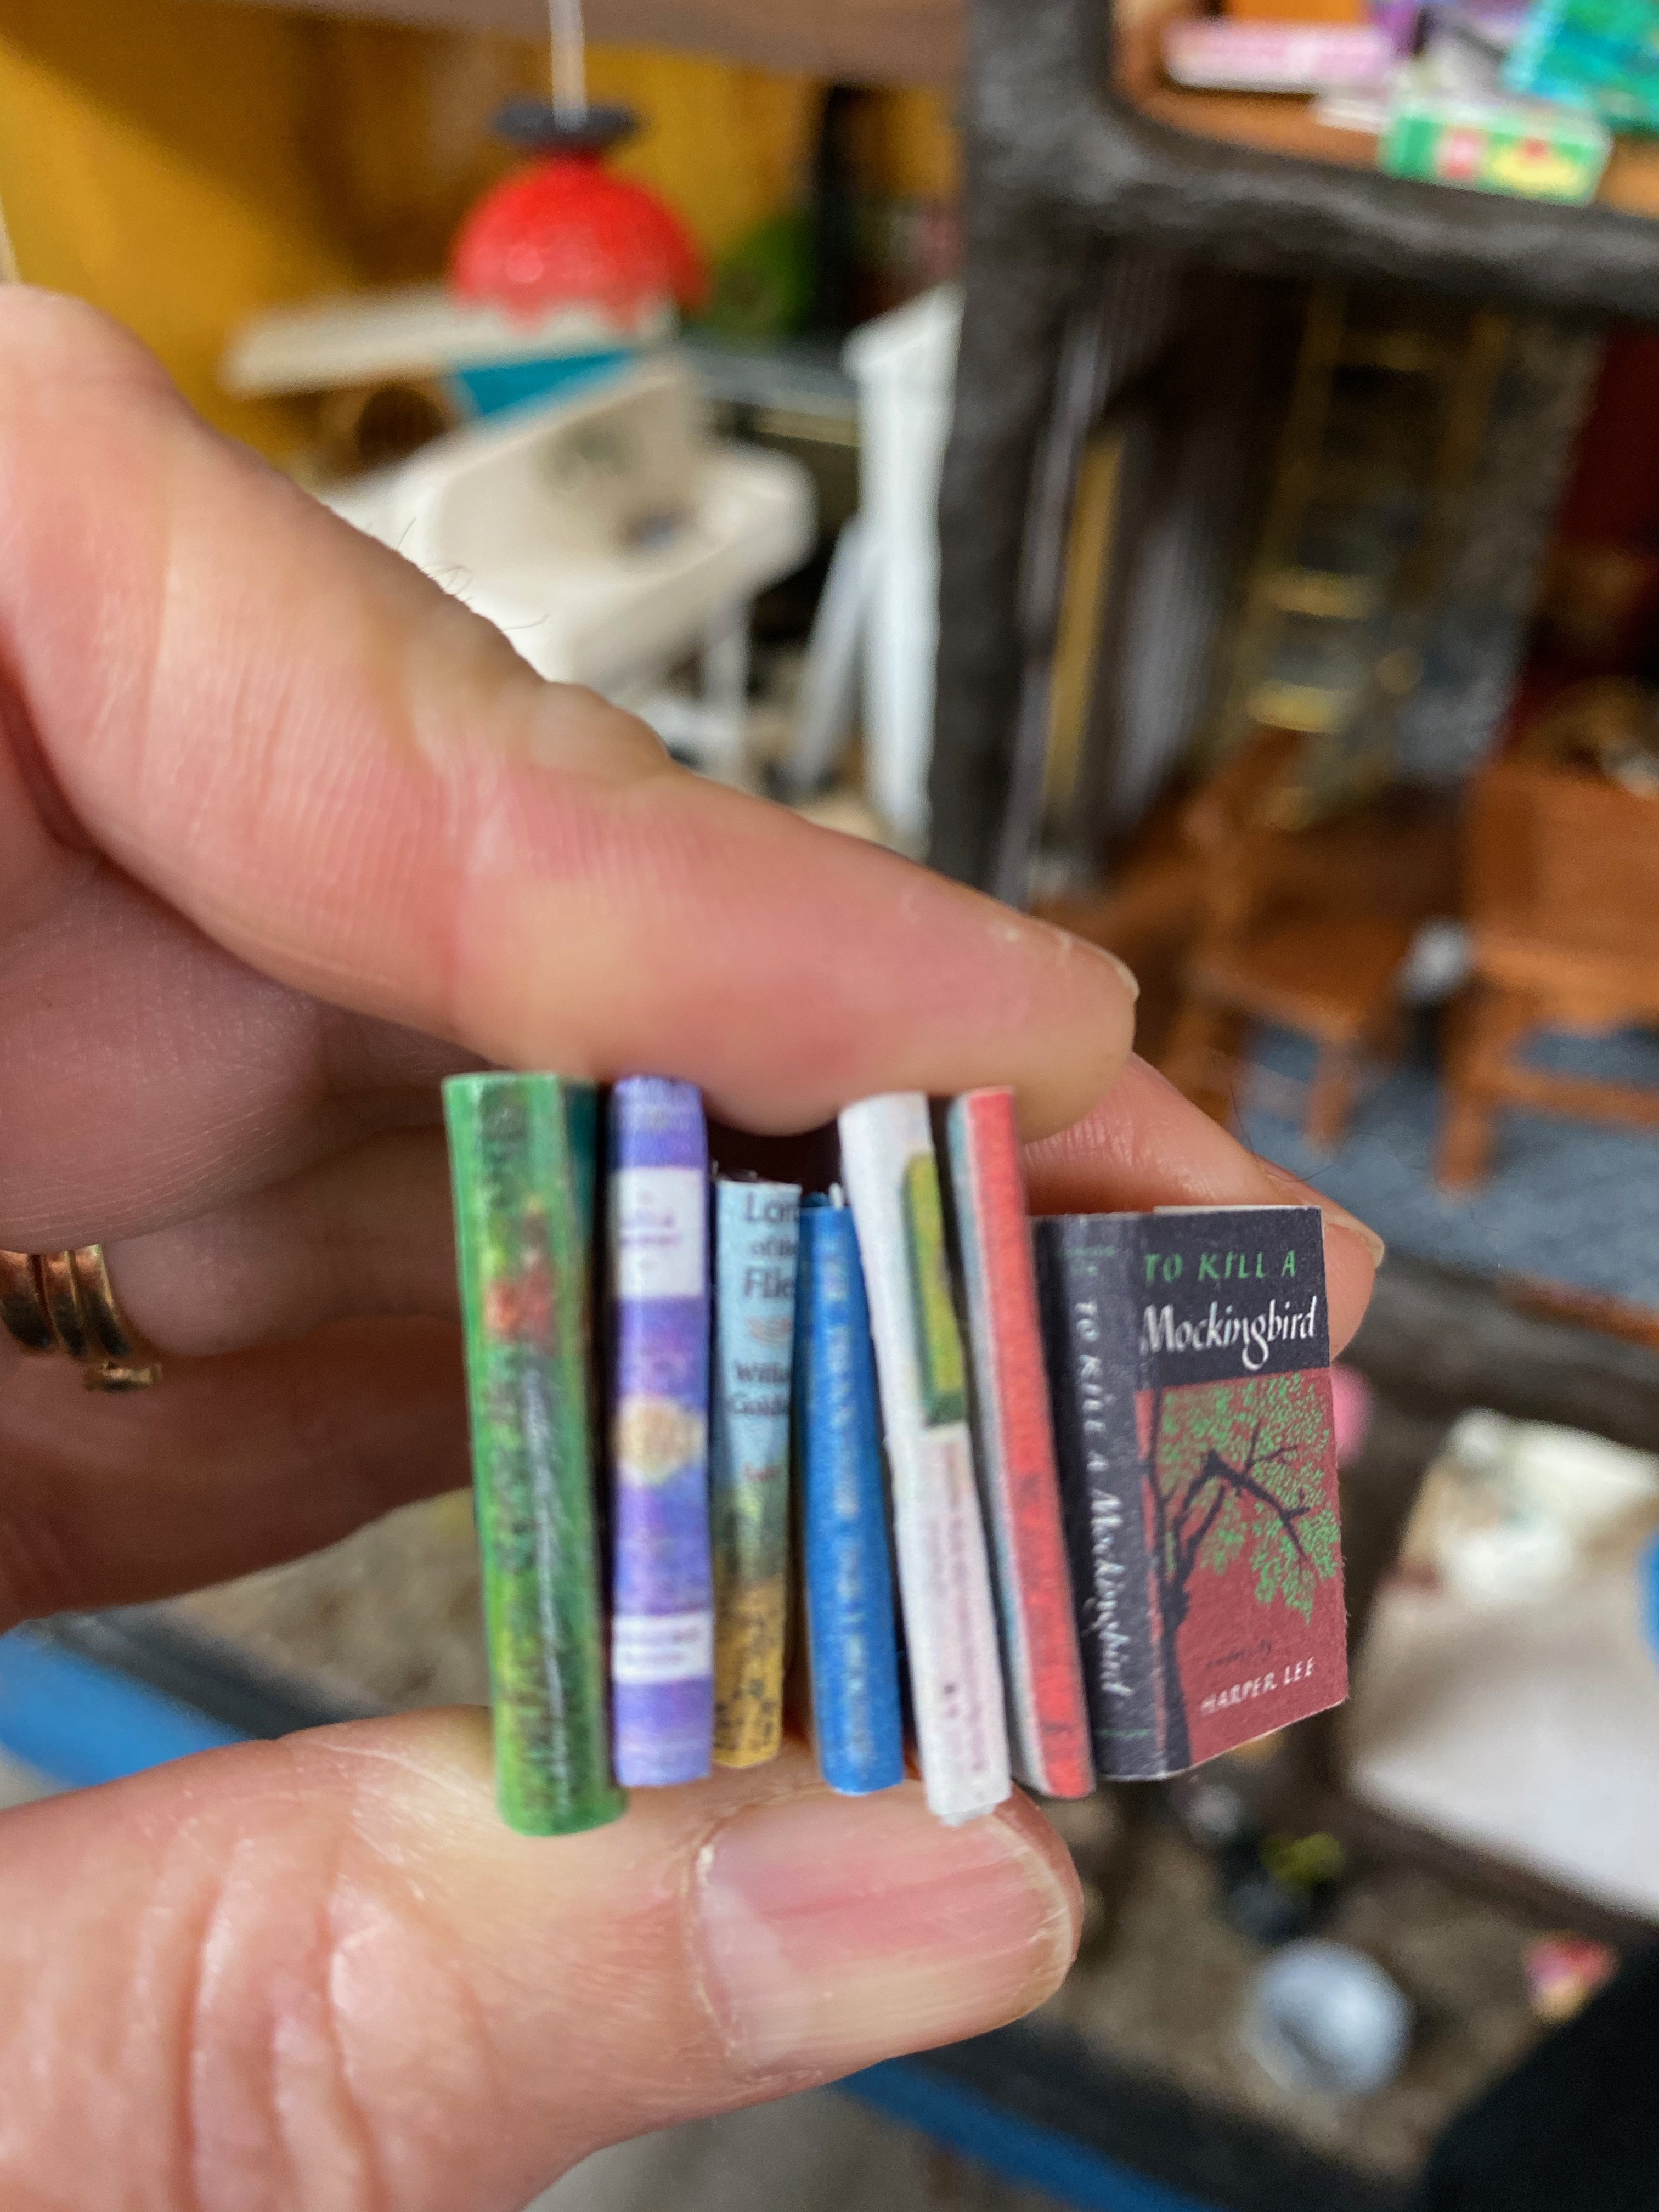
Just like the books in the library, I made lots of record album covers and records for this room. I copied the covers from the internet, shrunk them to size, and then covered them with packing tape for glossy protection.
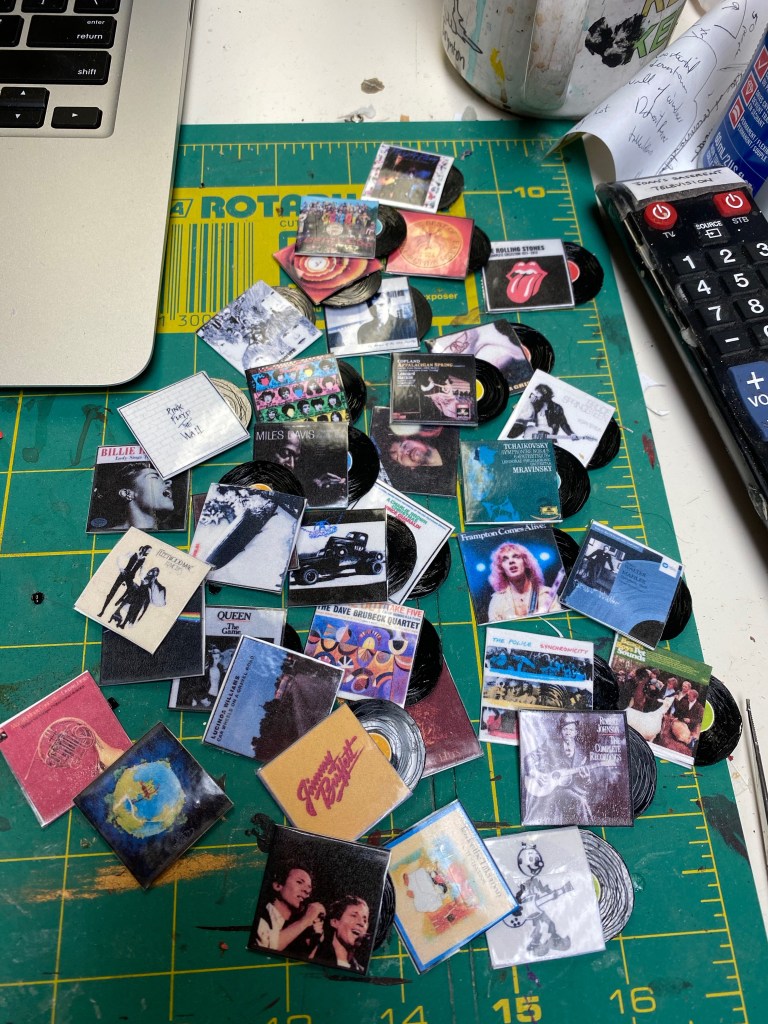
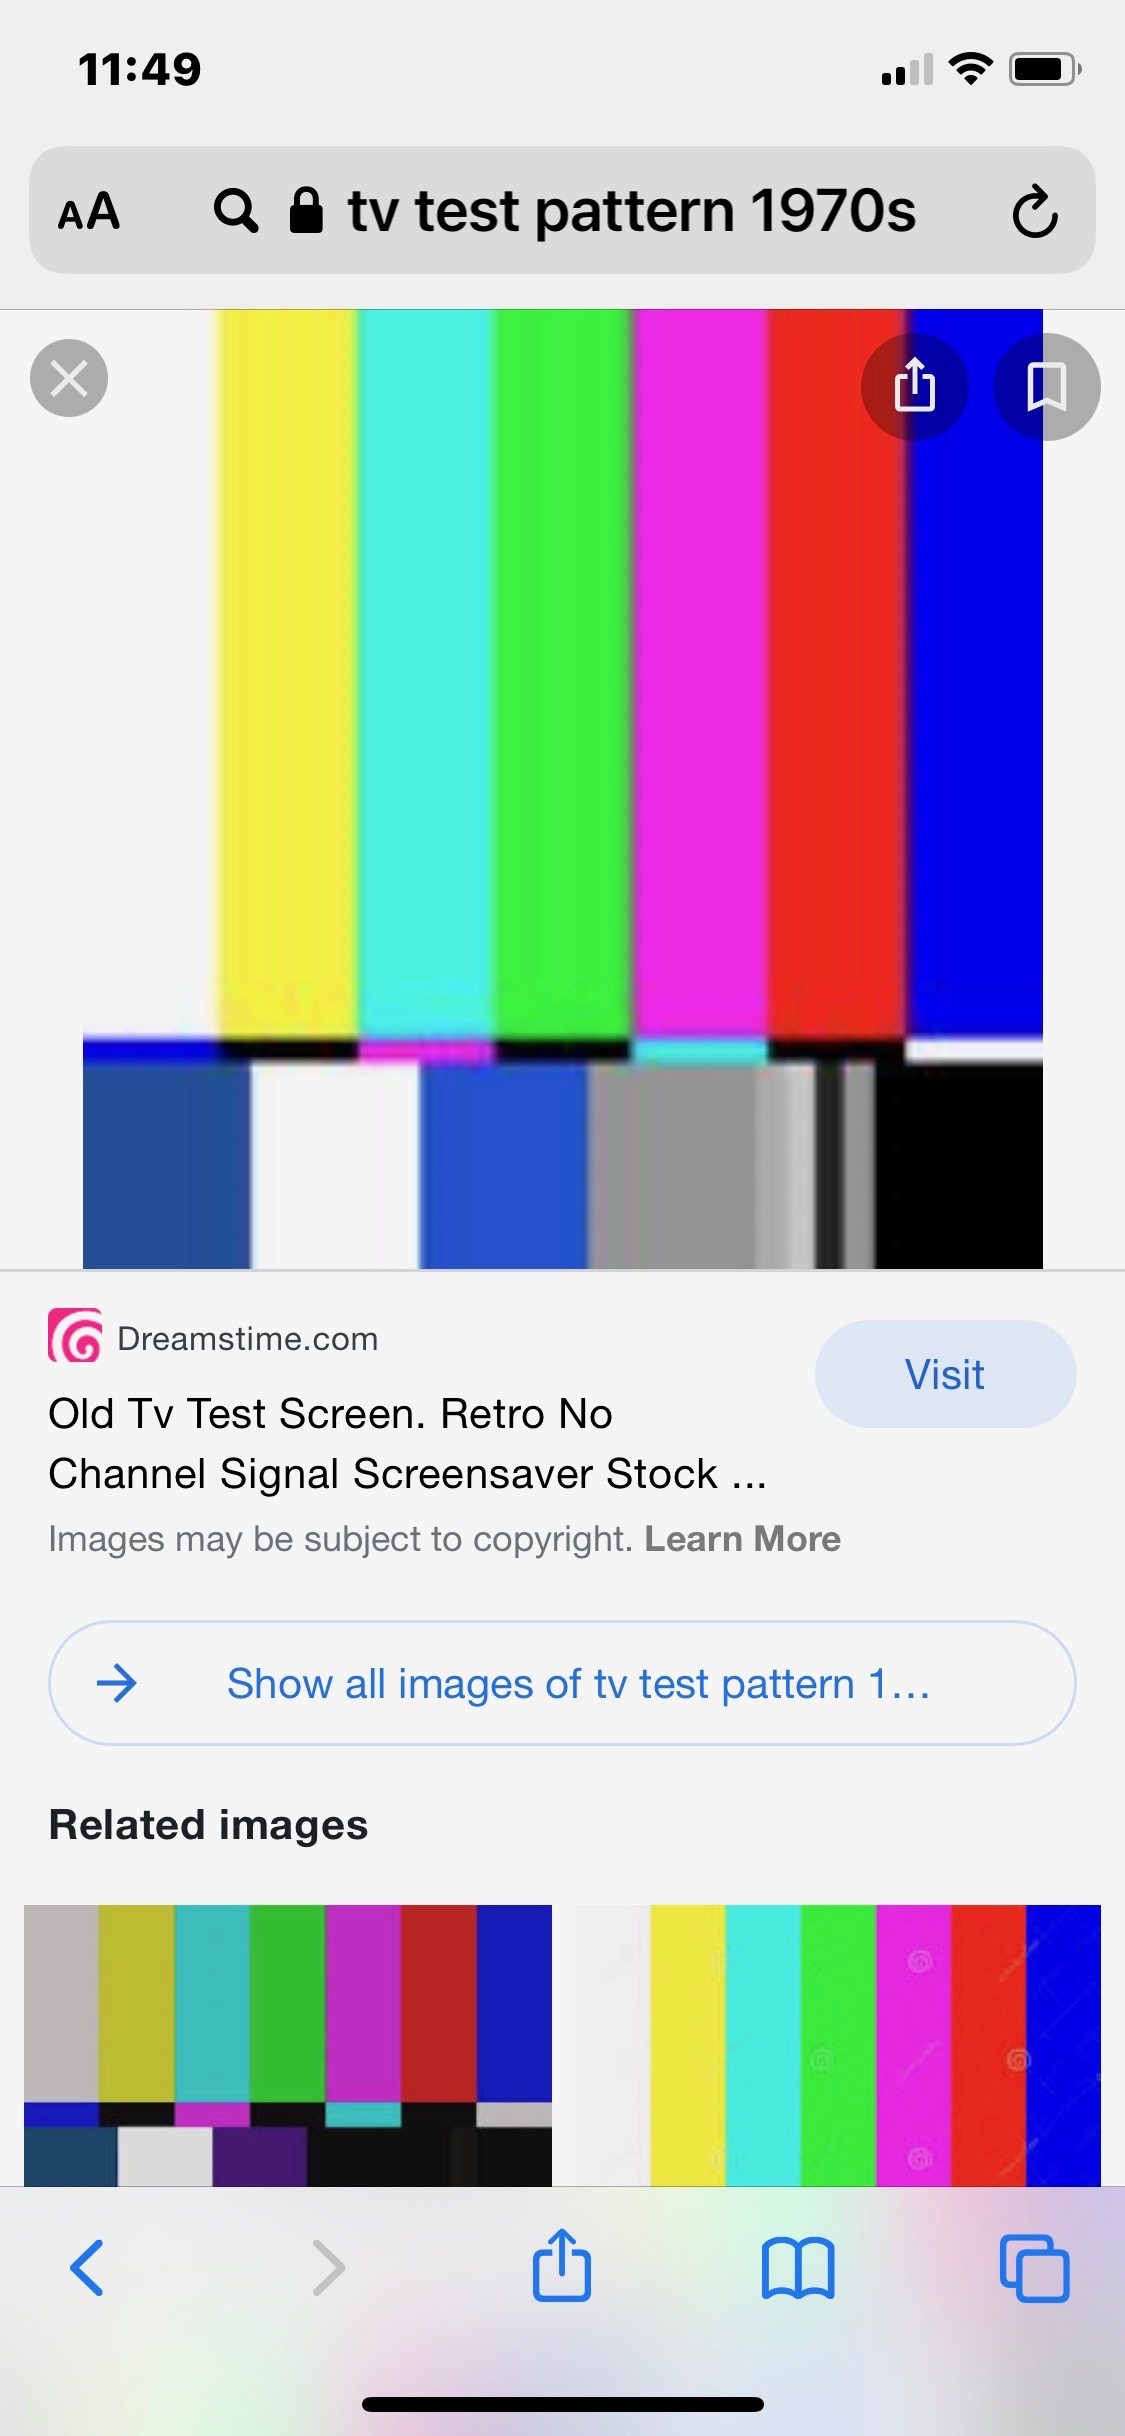
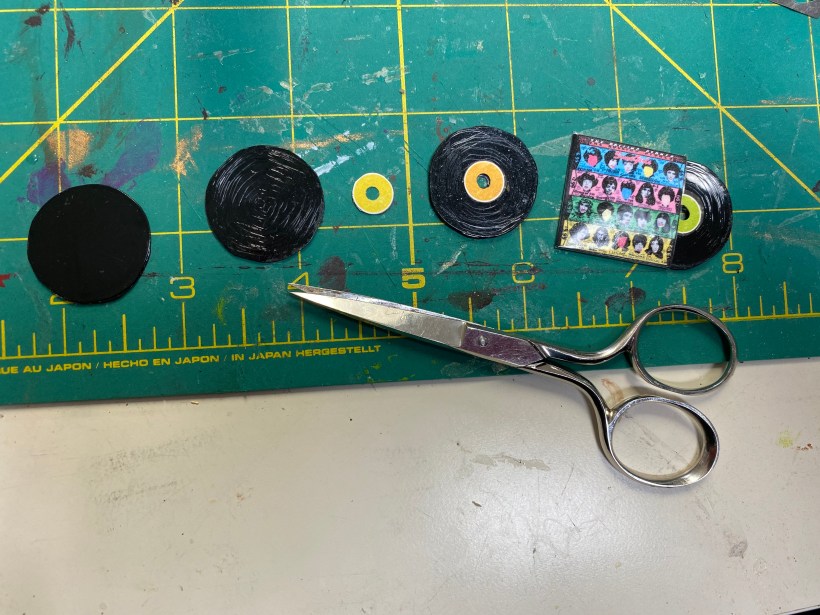
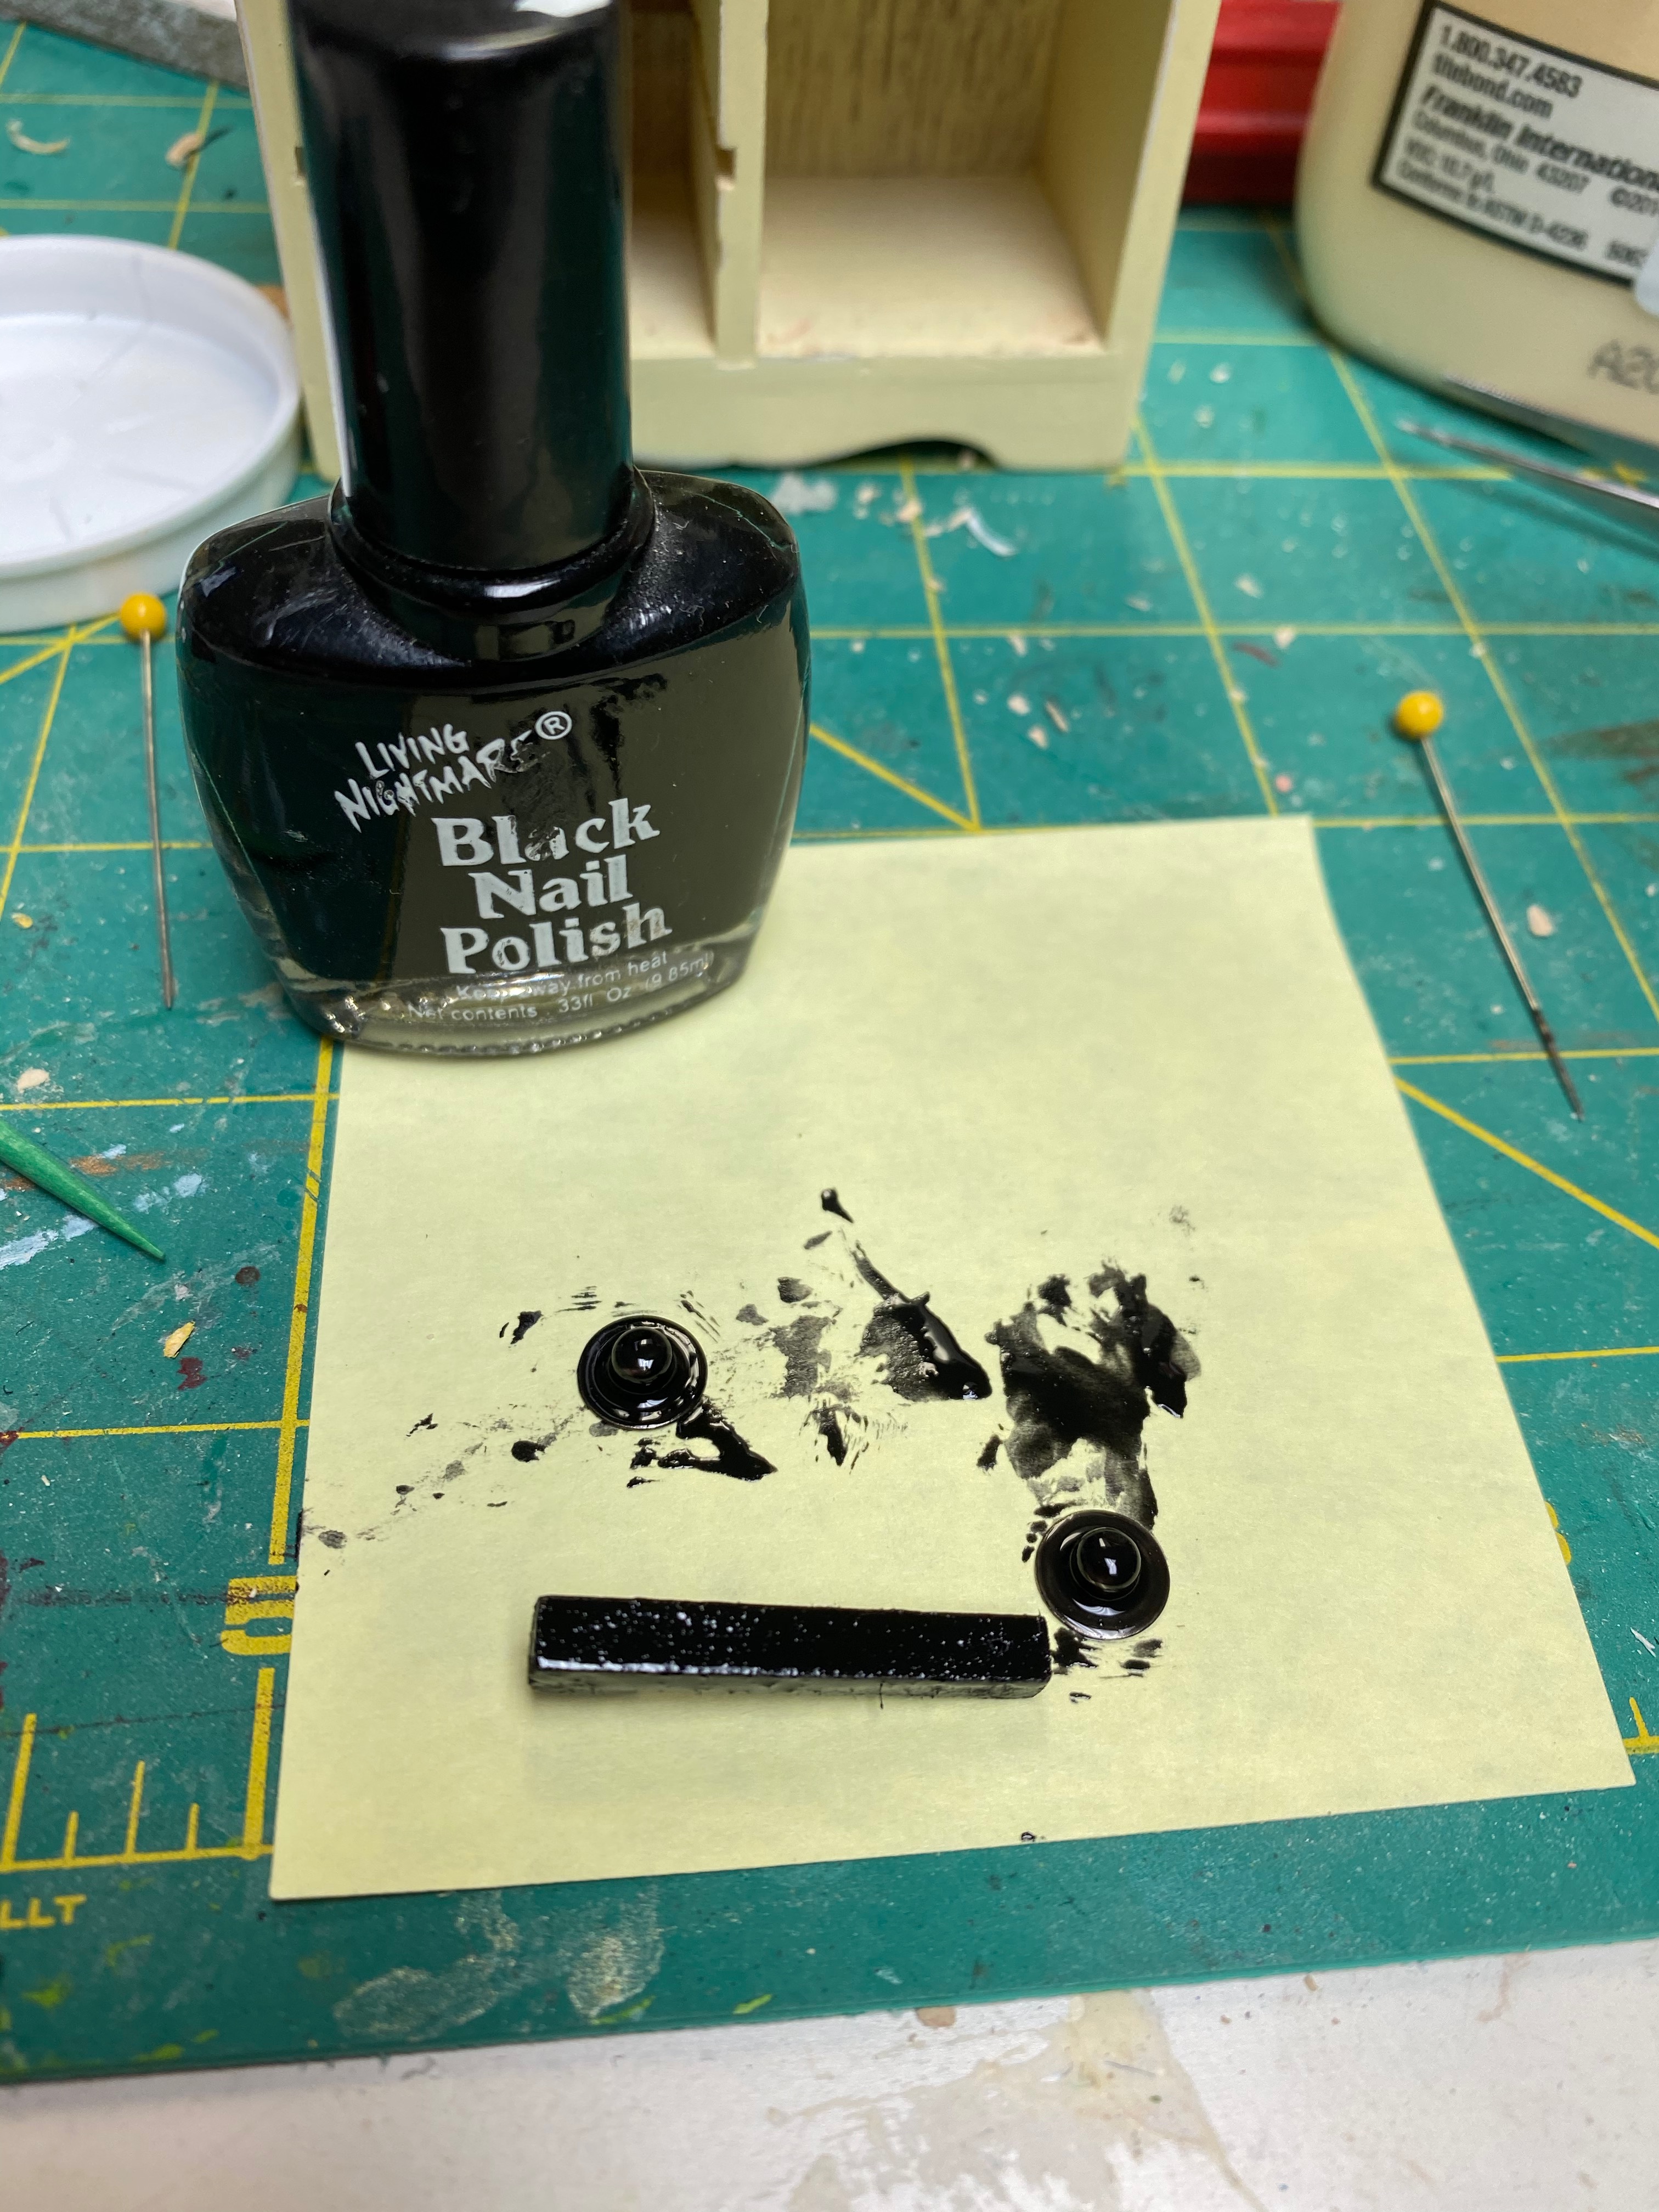
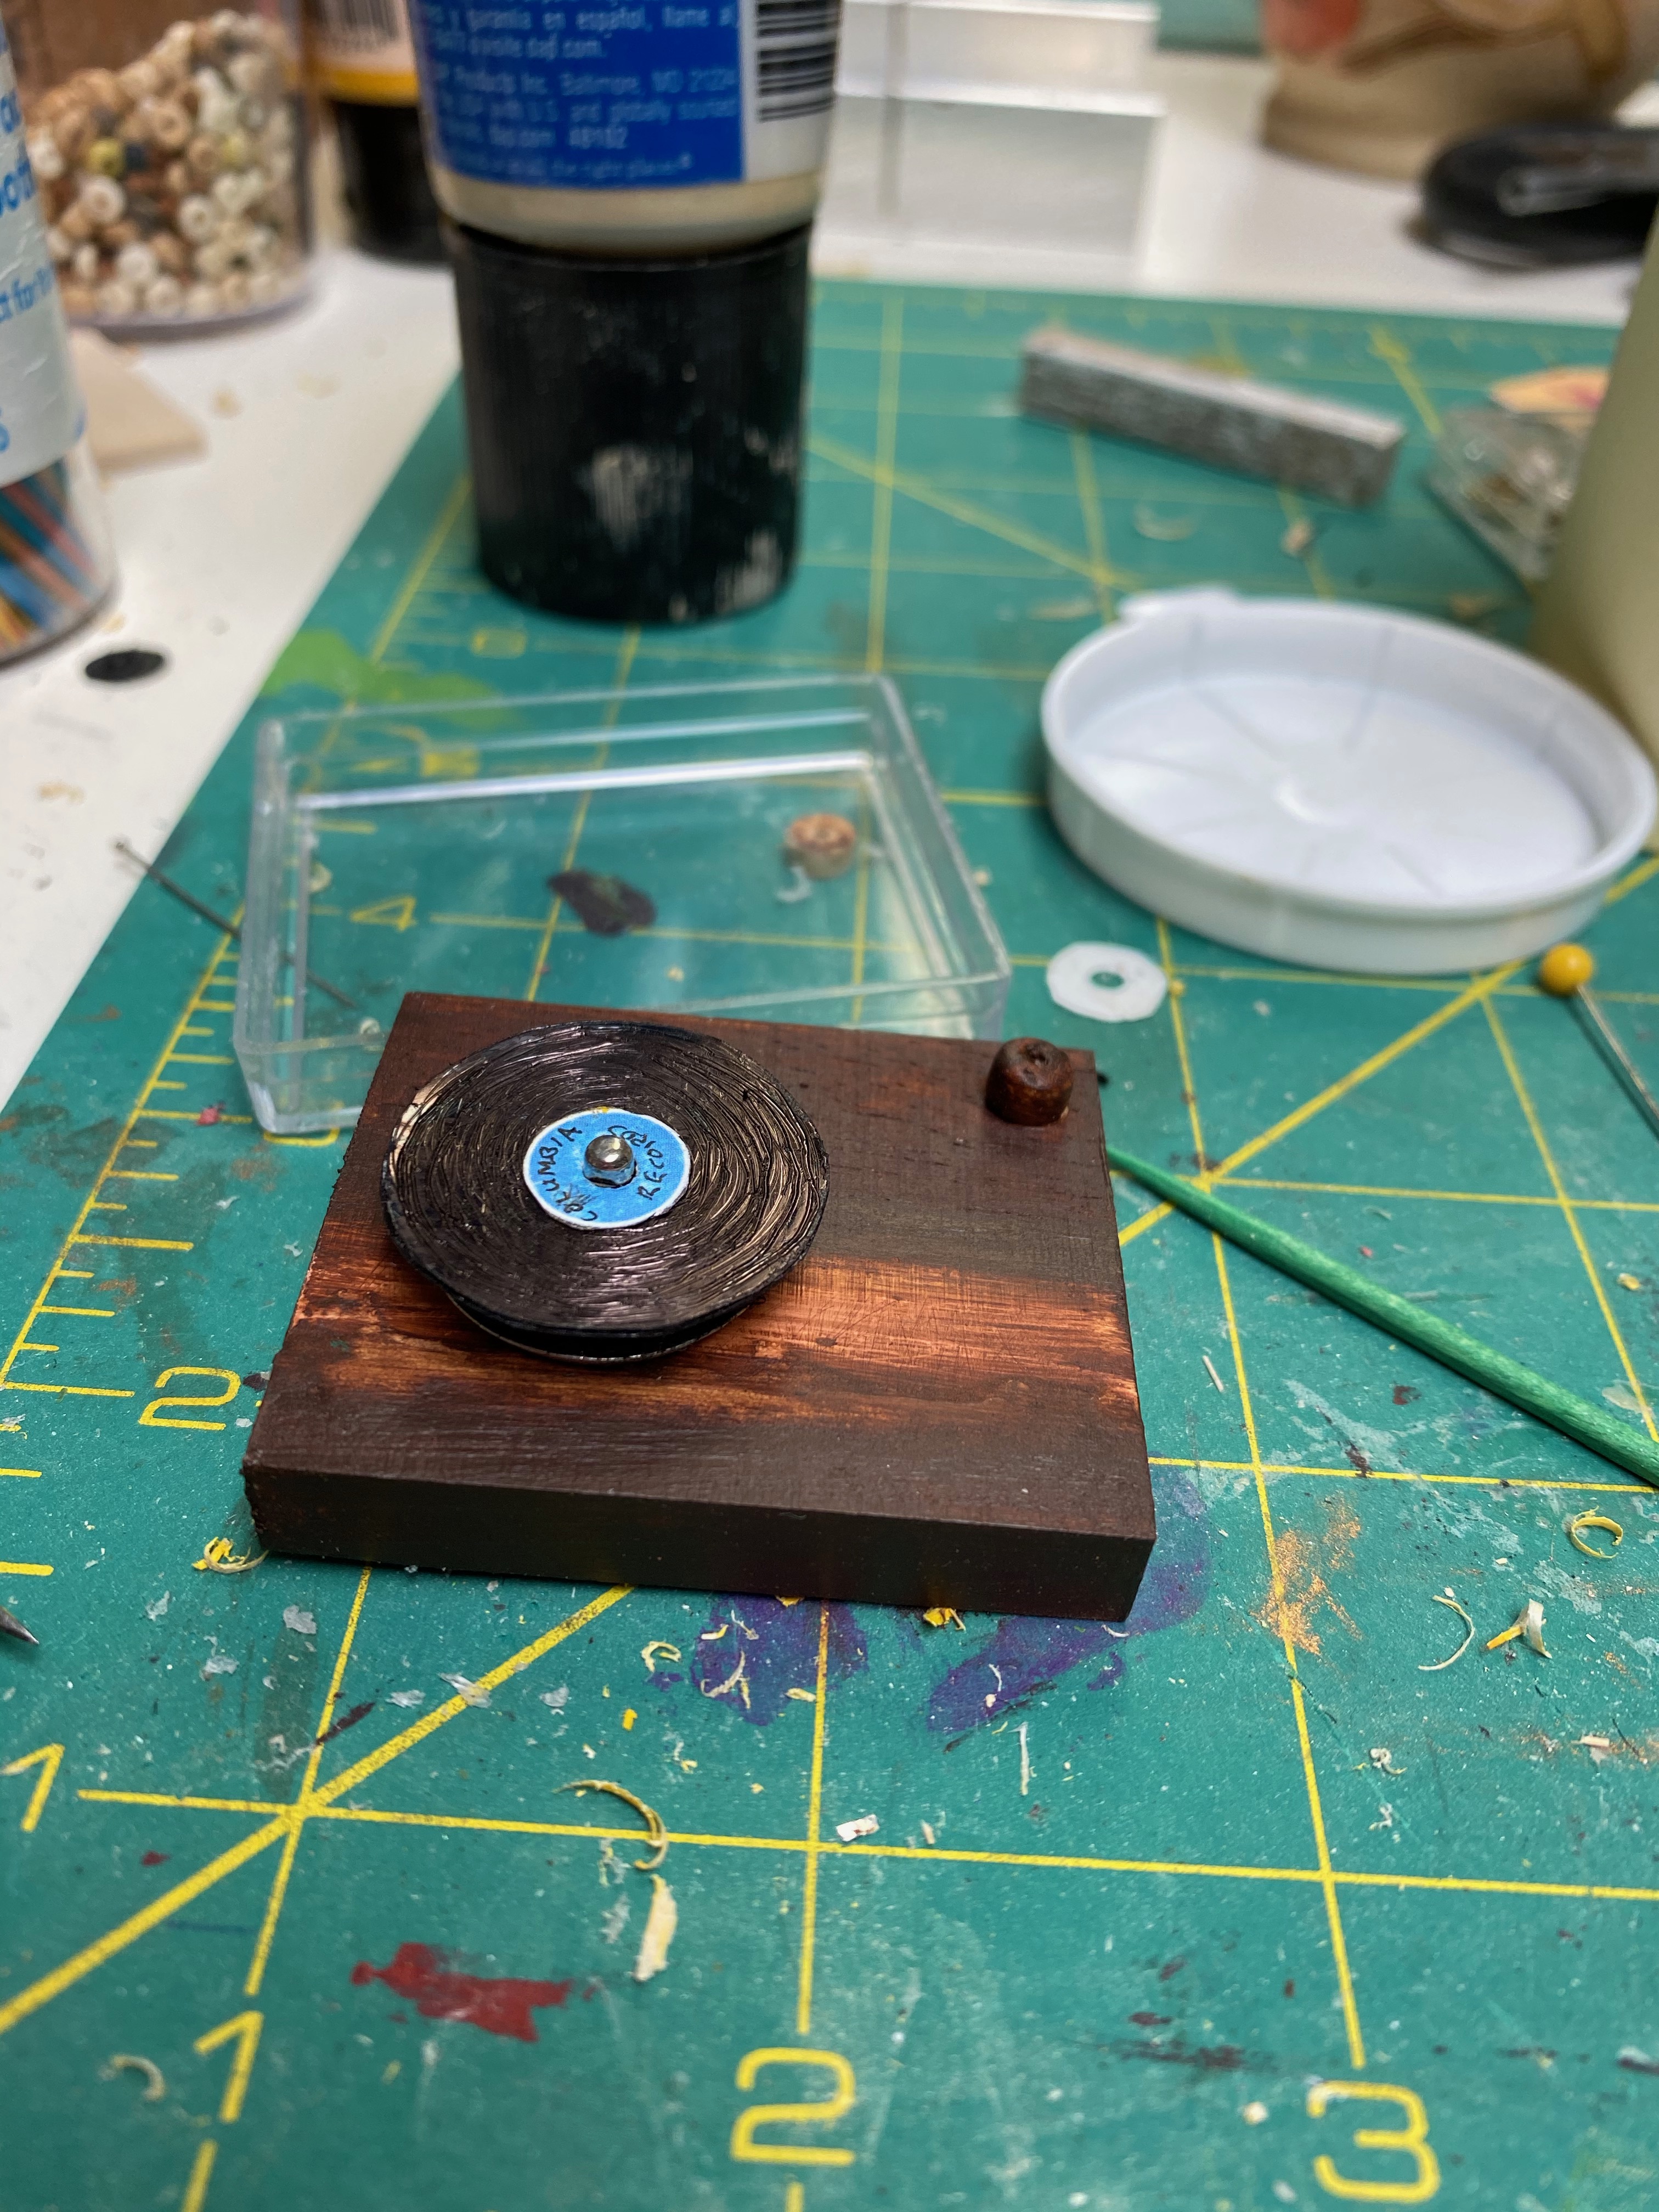
I made the actual LPs by cutting circles from a large plastic tub of spinach, then spray painting them on one side with black glossy paint. Once dry, I scratched grooves in the paint with a pin, used a hole punch to cut the center hole, then attached a label.
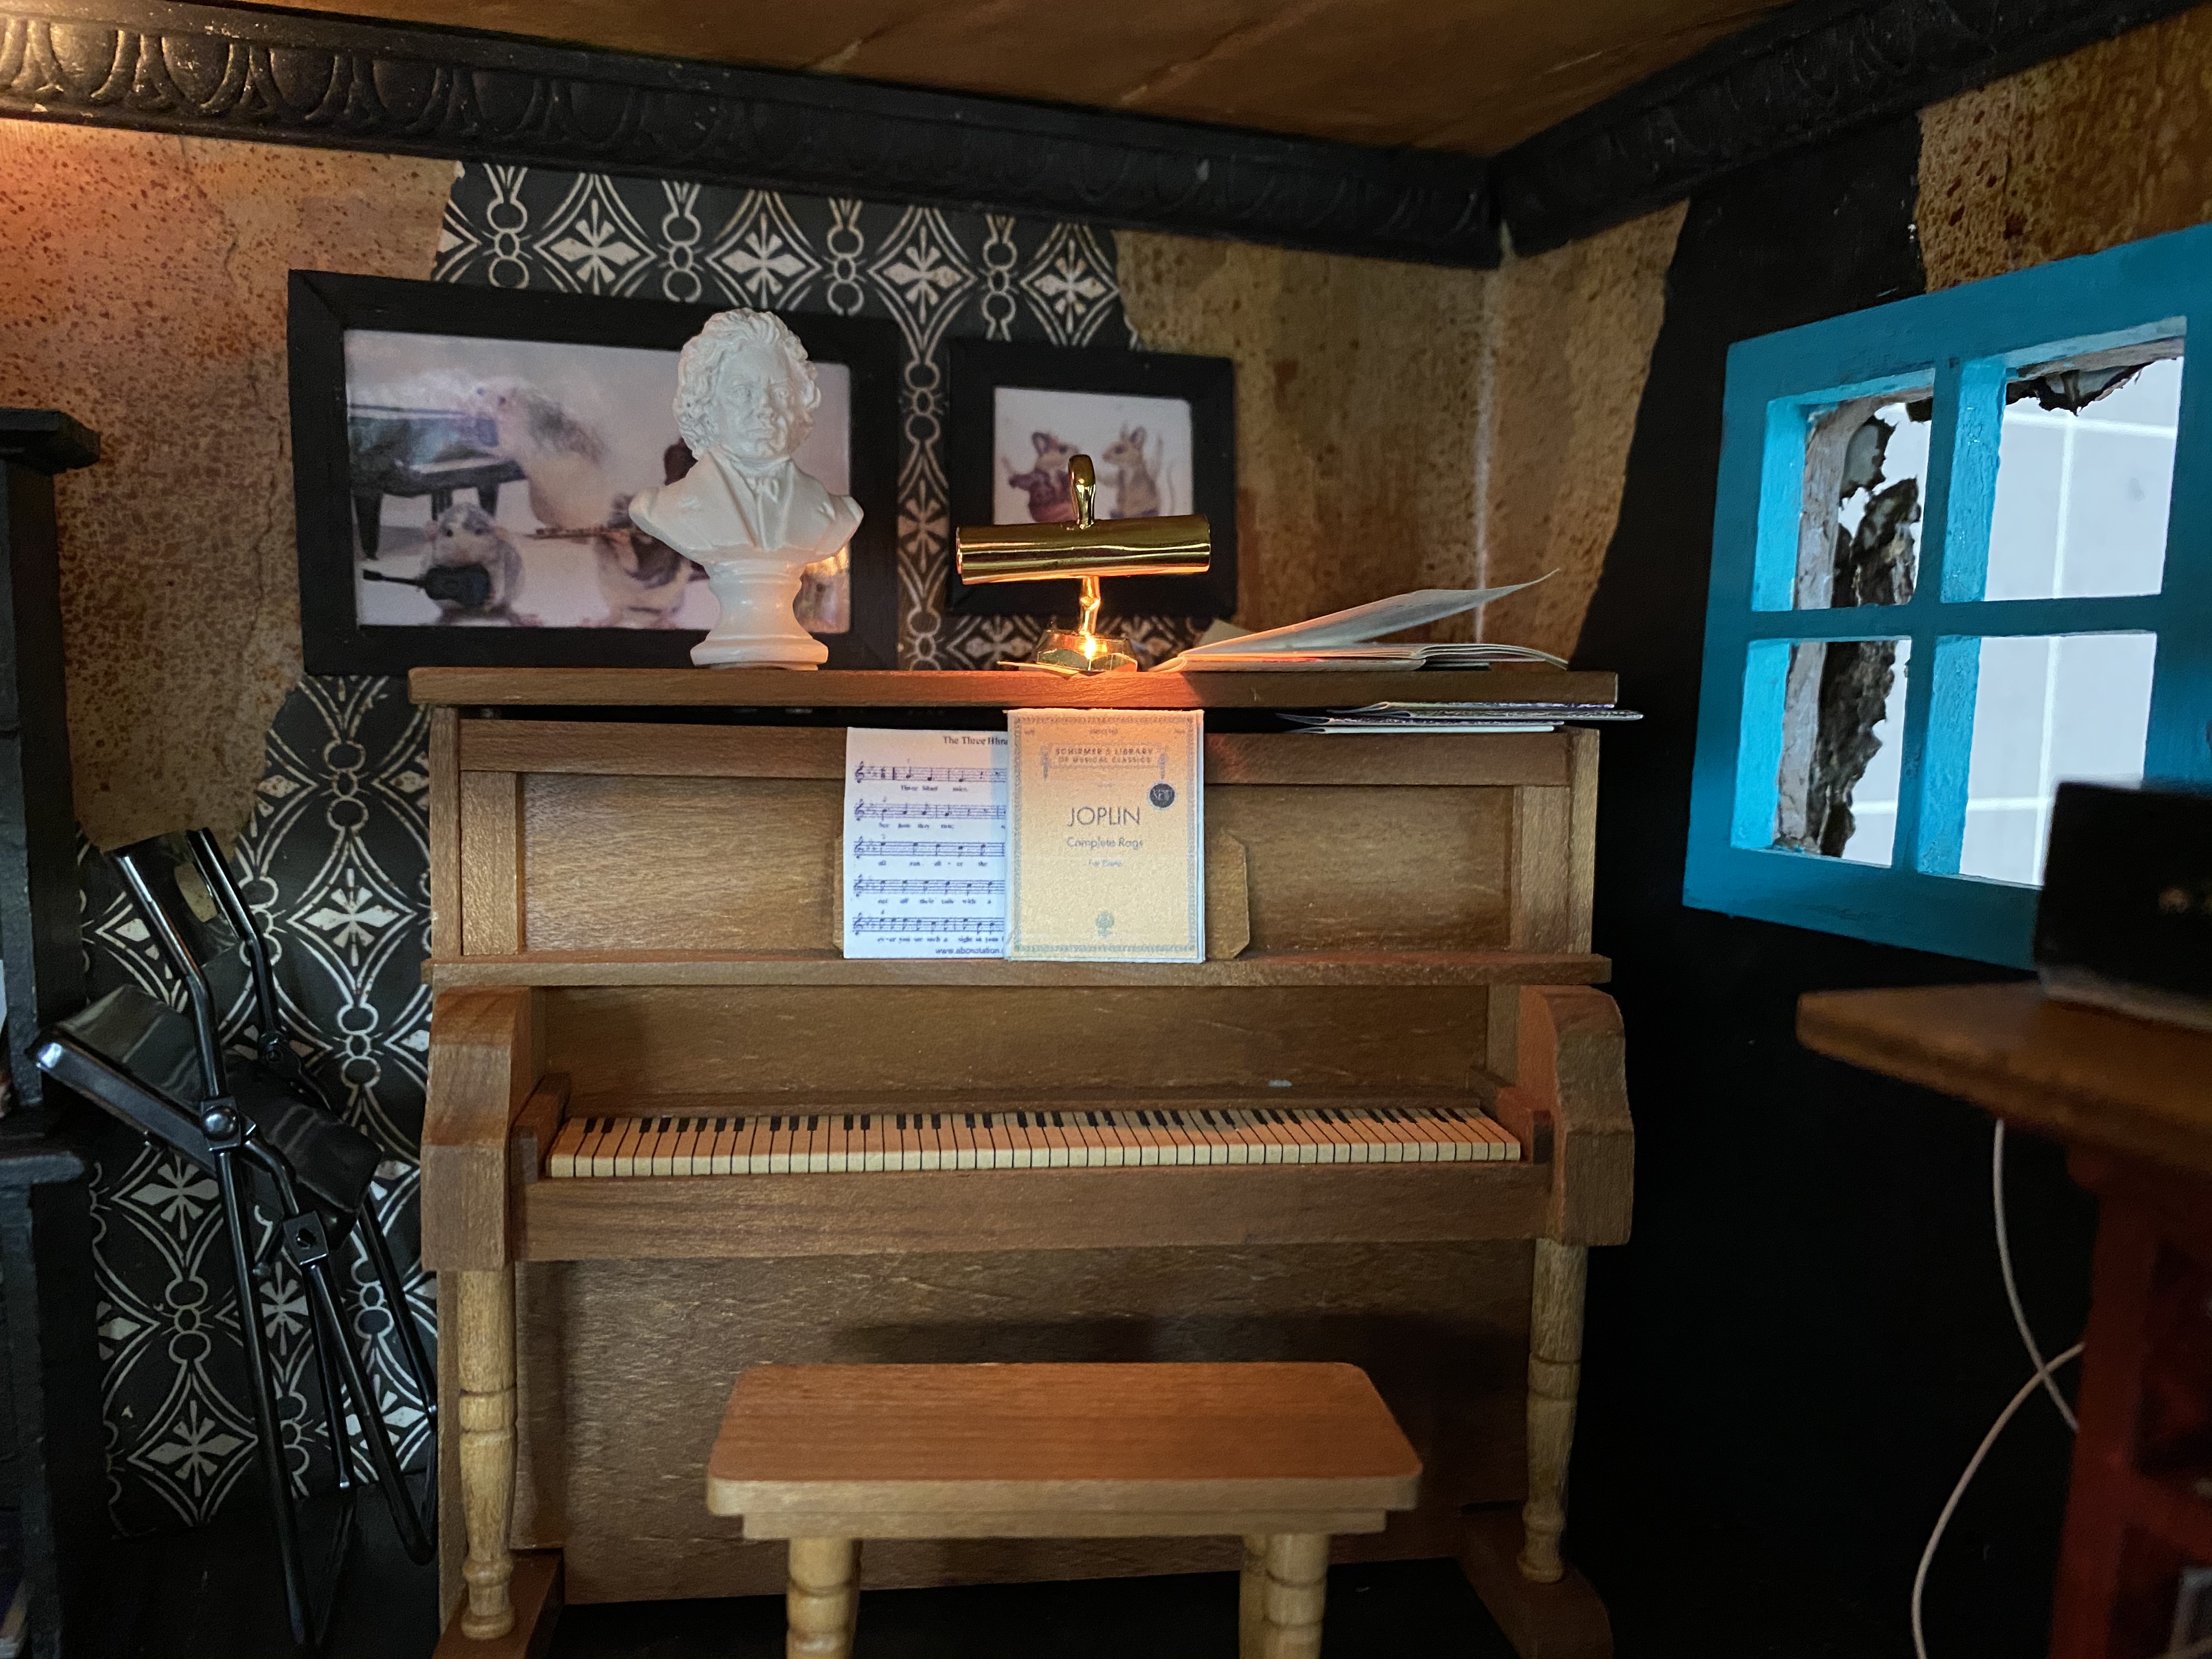
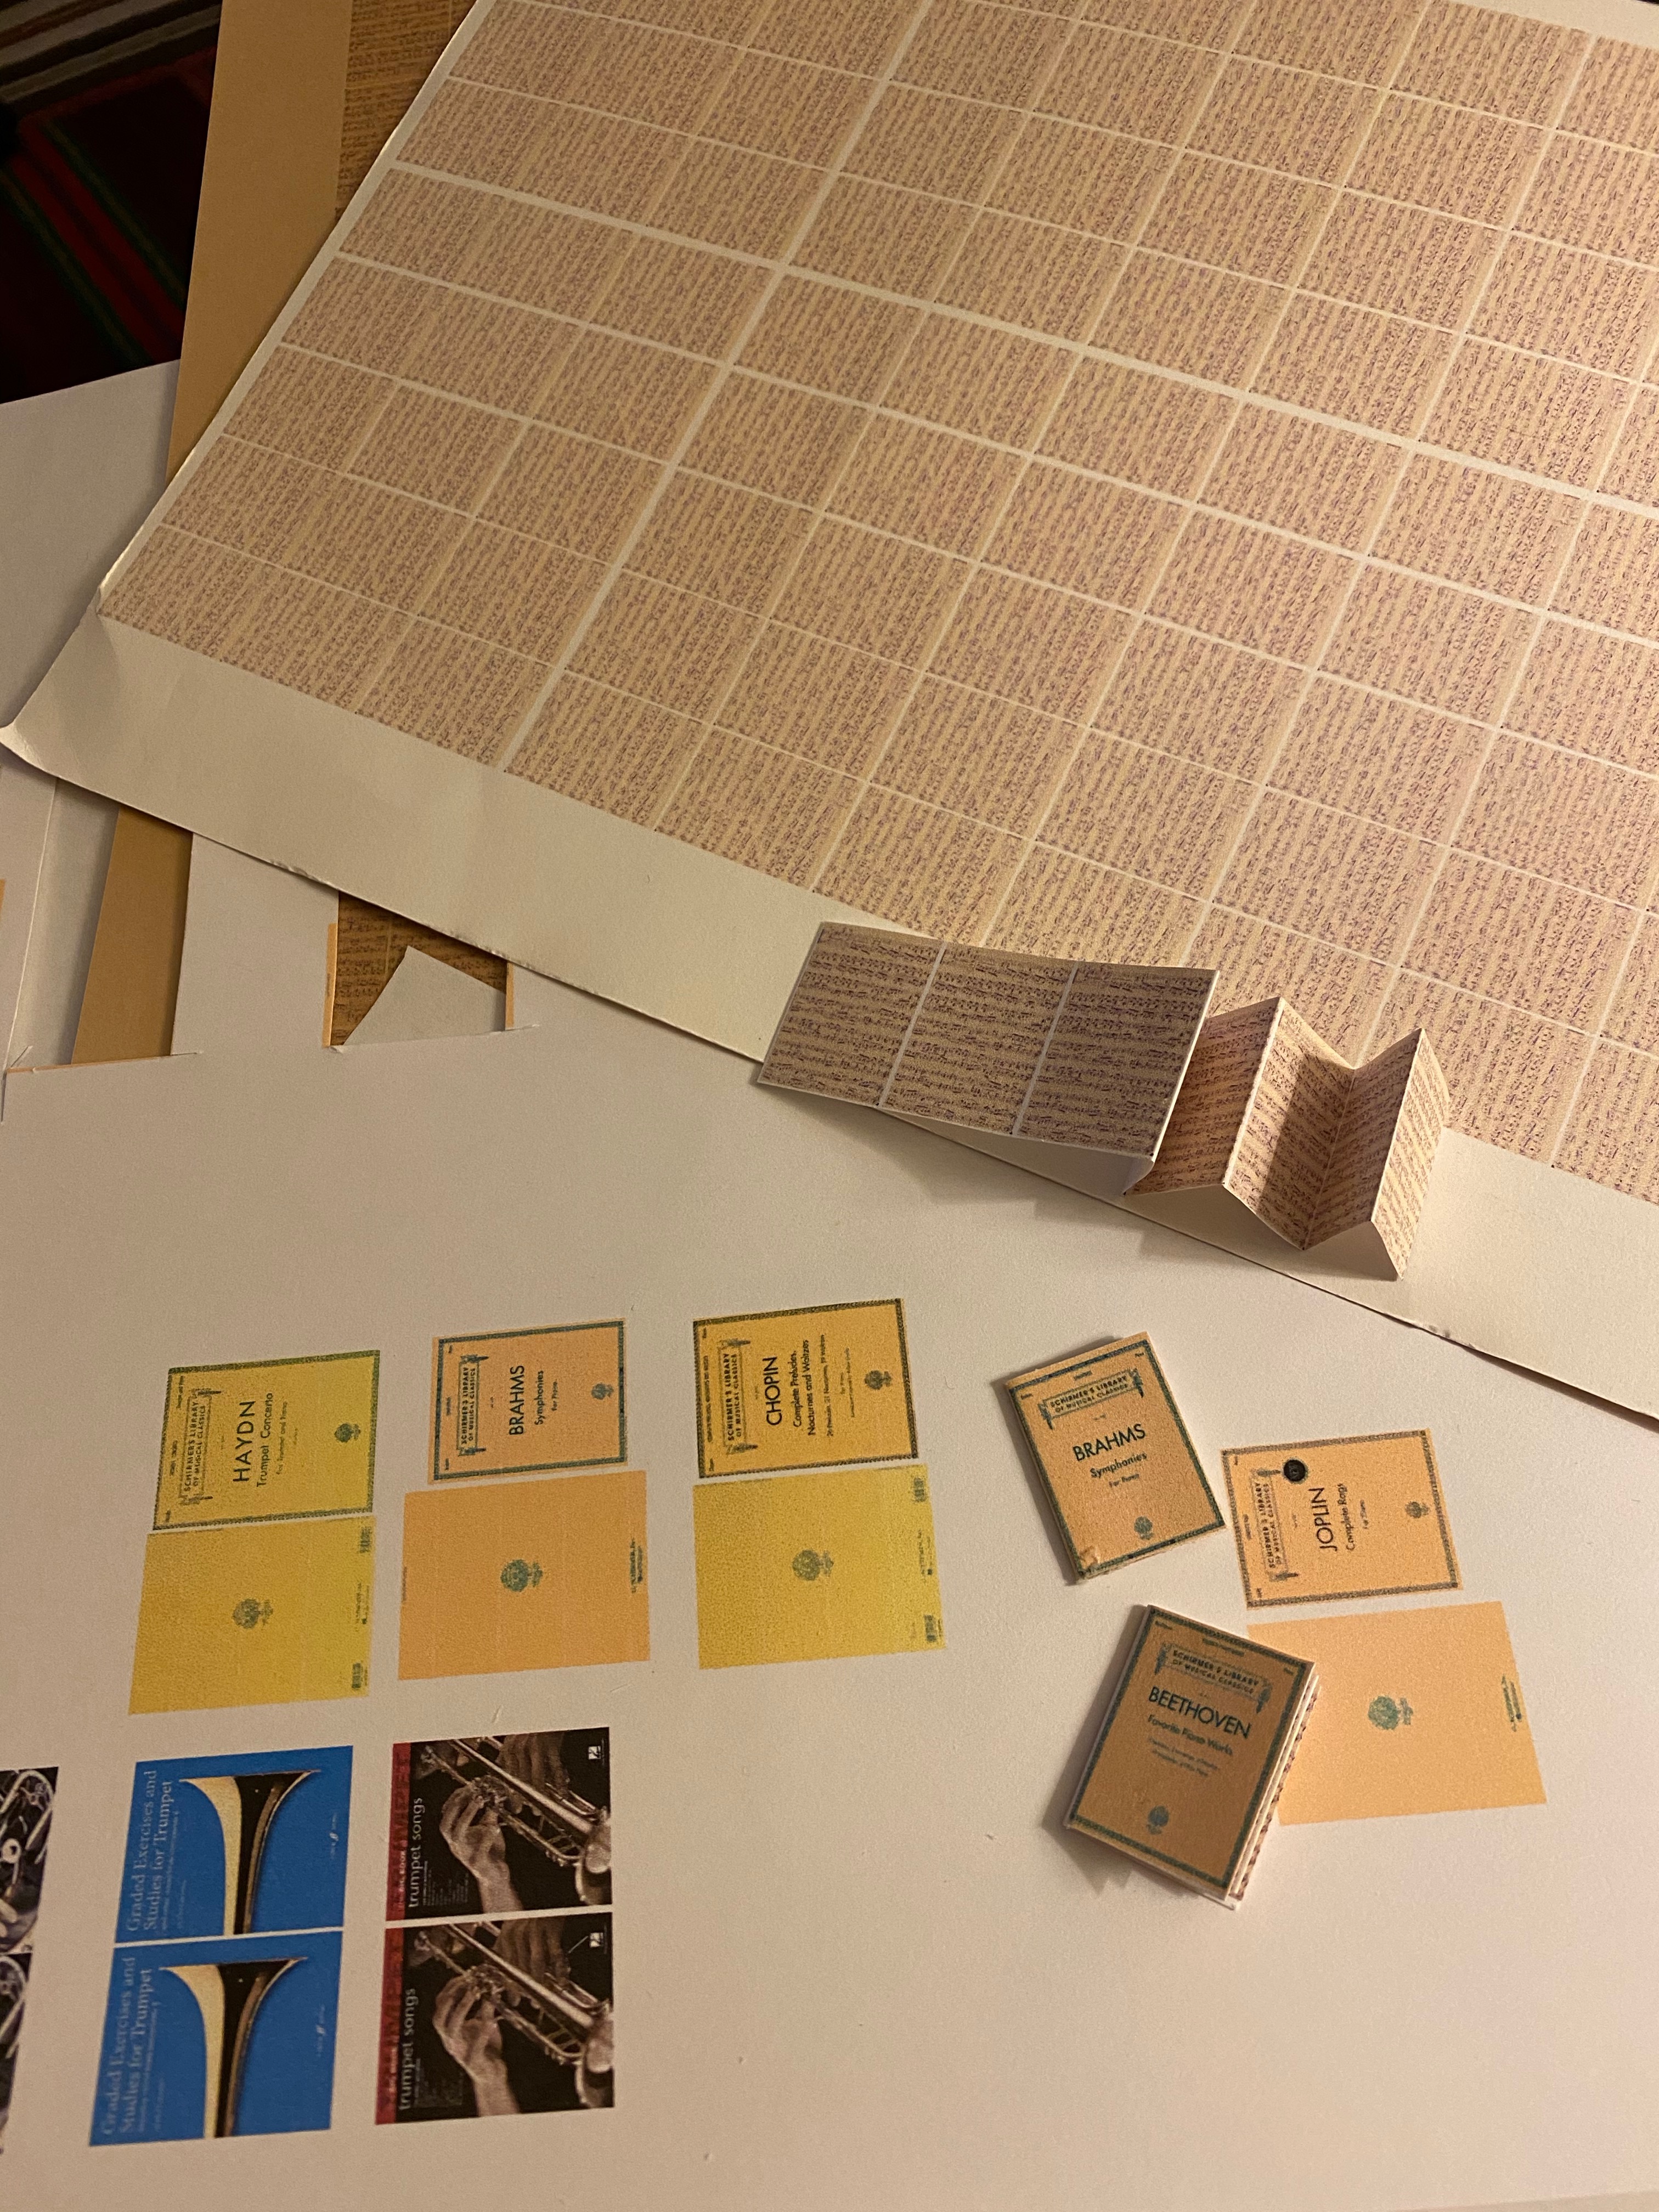
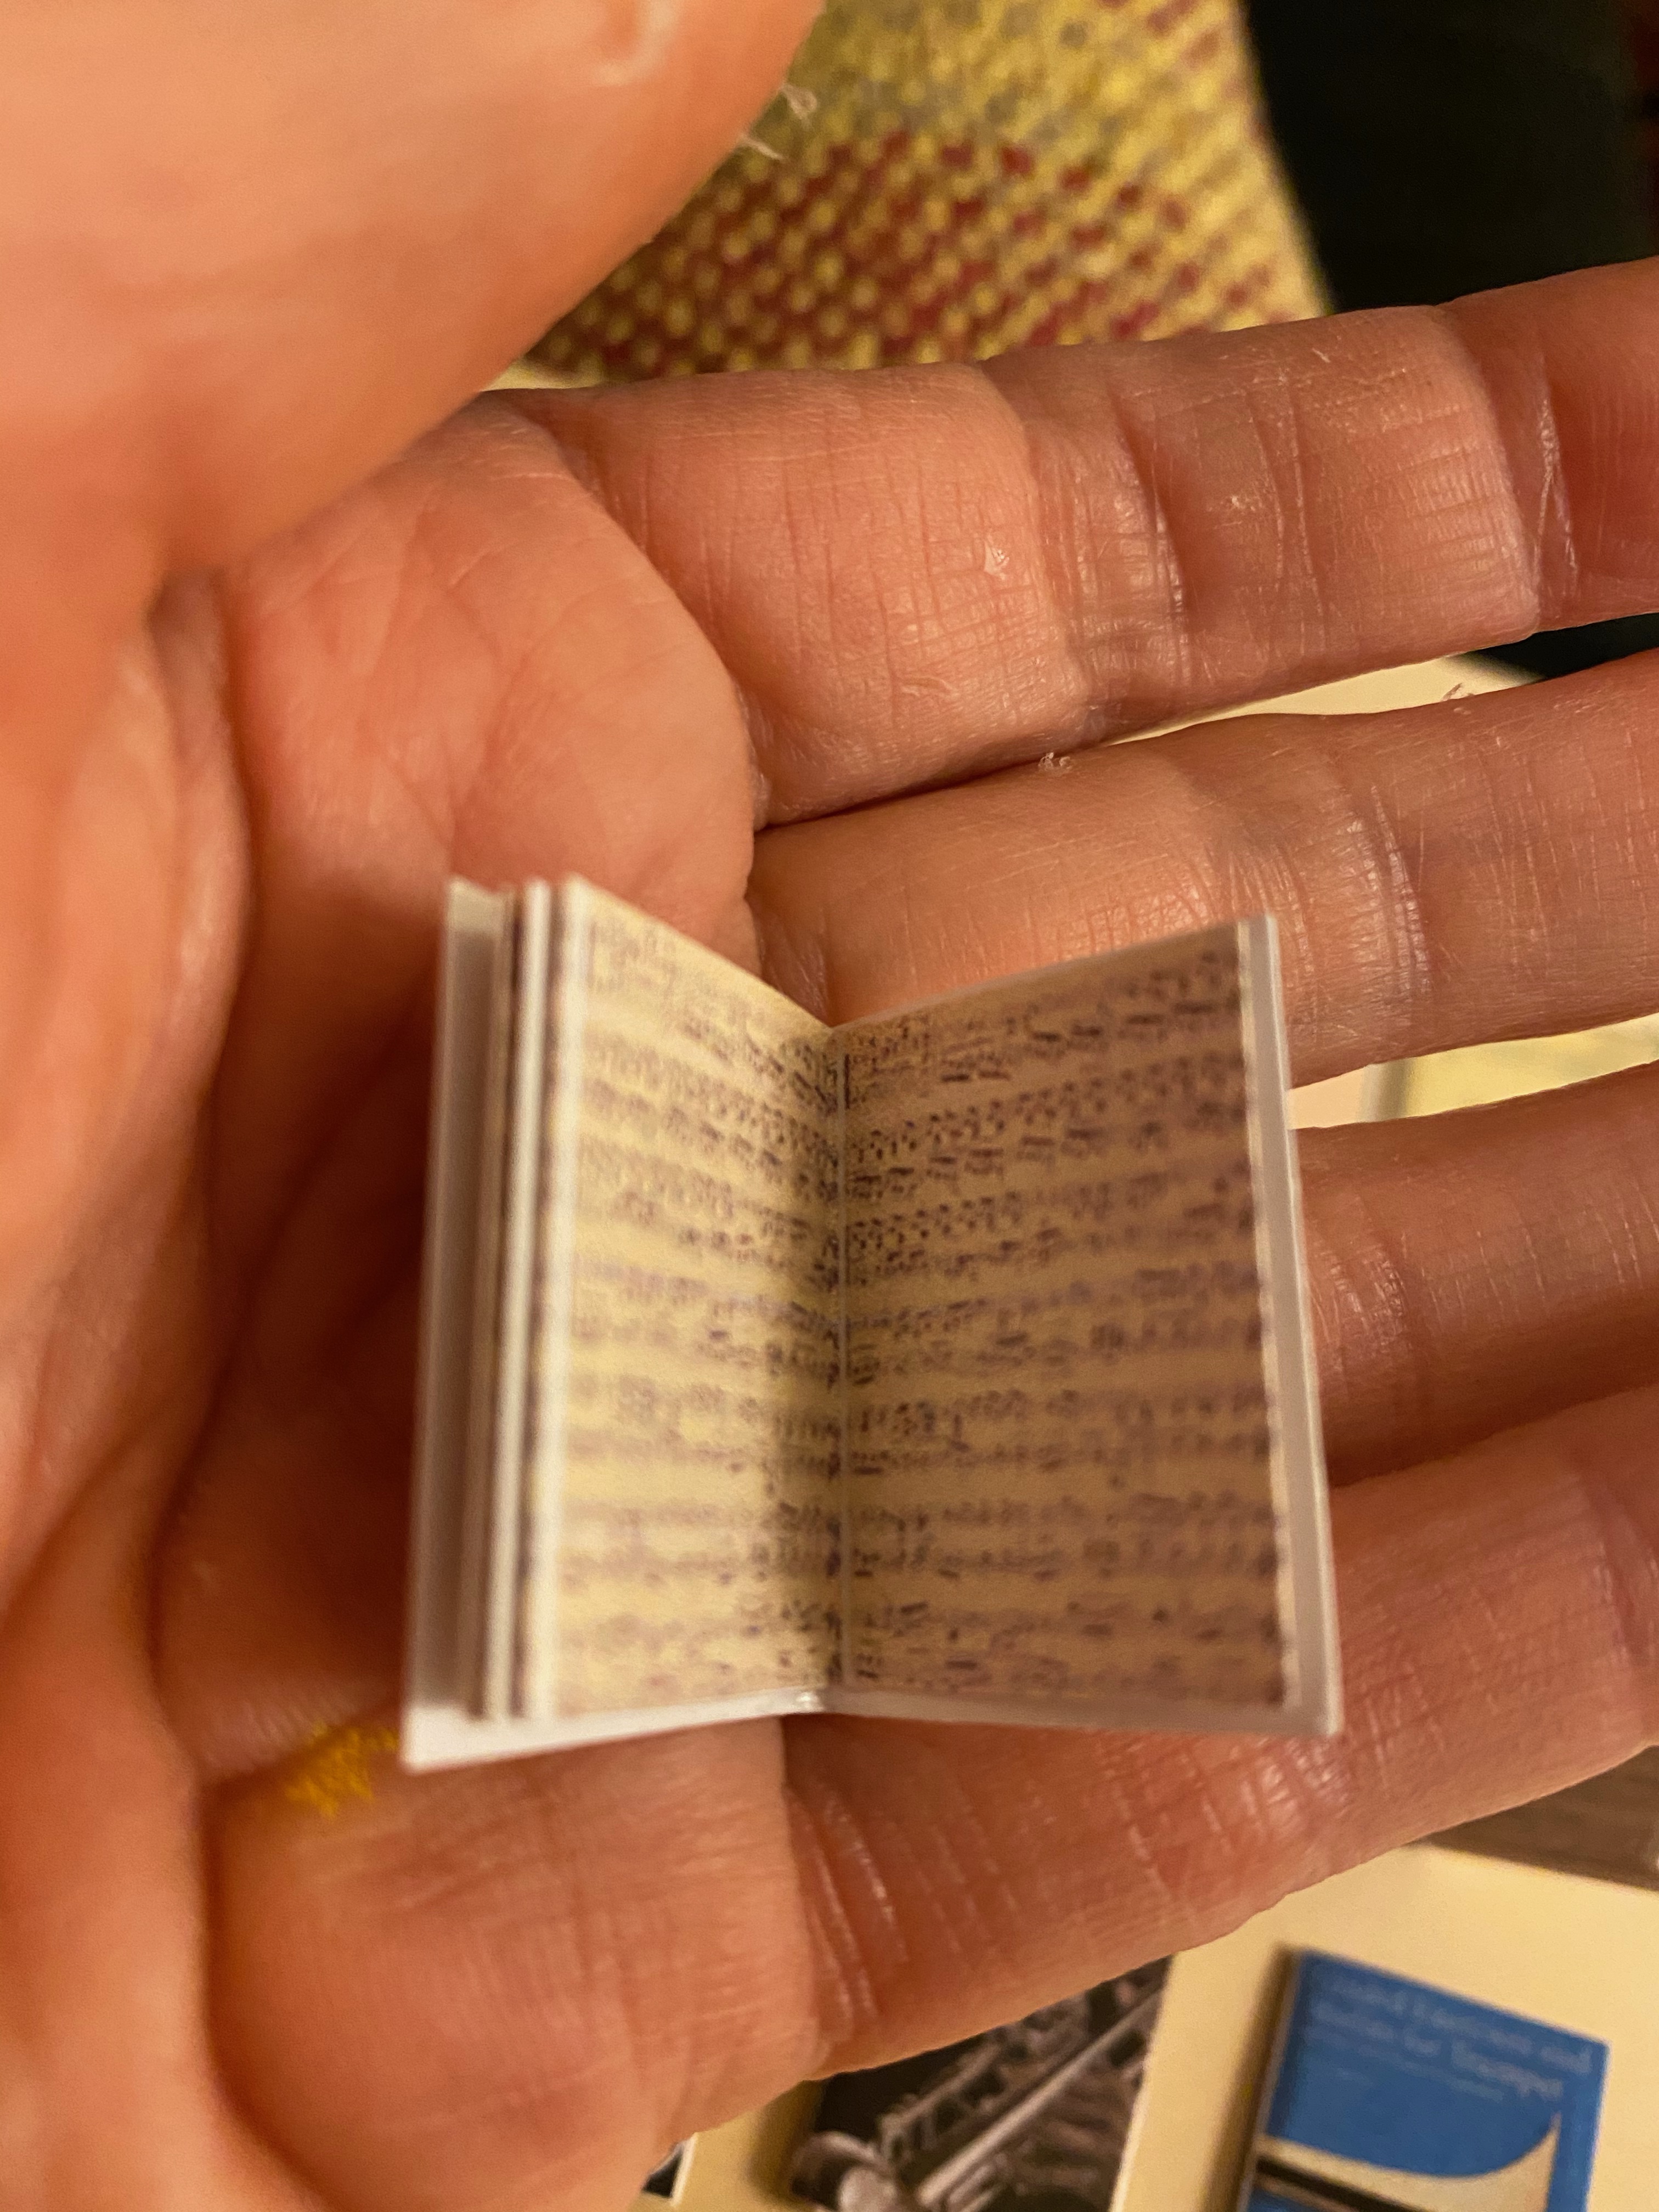
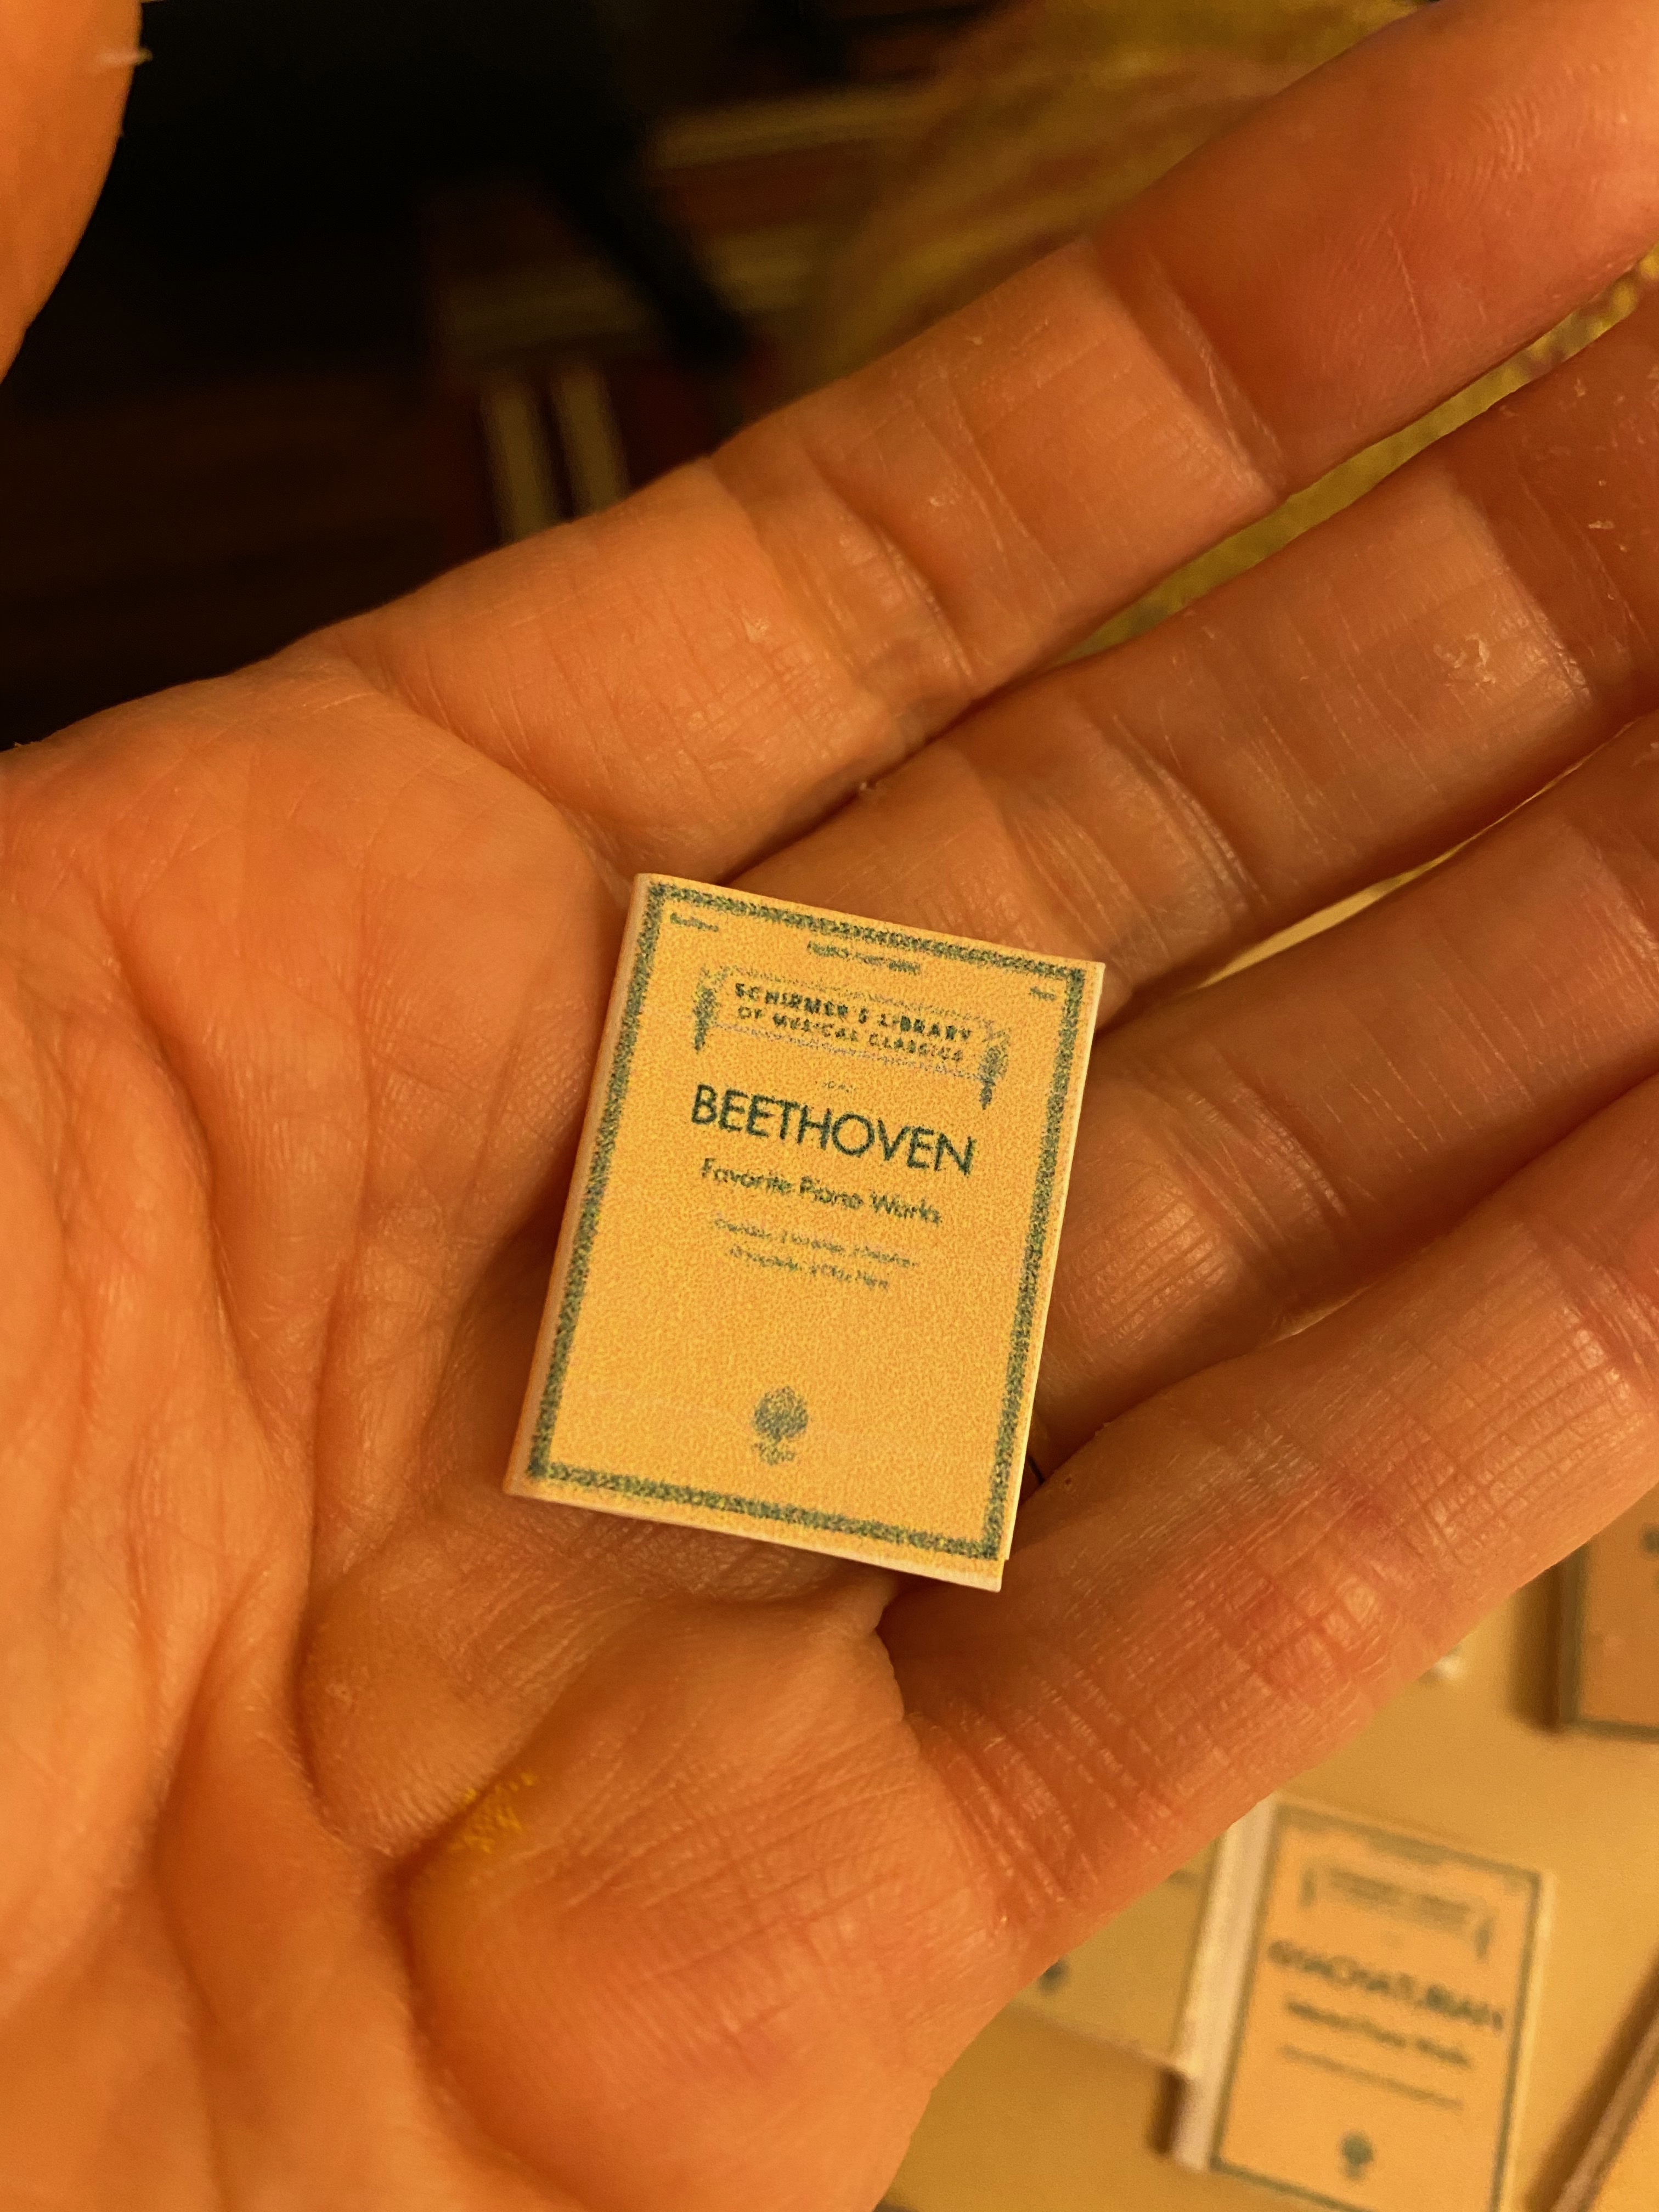
I also made a lot of music books for the shelves and piano. Again, images are prolific on the internet so I printed the covers and made them just as I constructed the reading books in the library, using resized music as the inside pages.

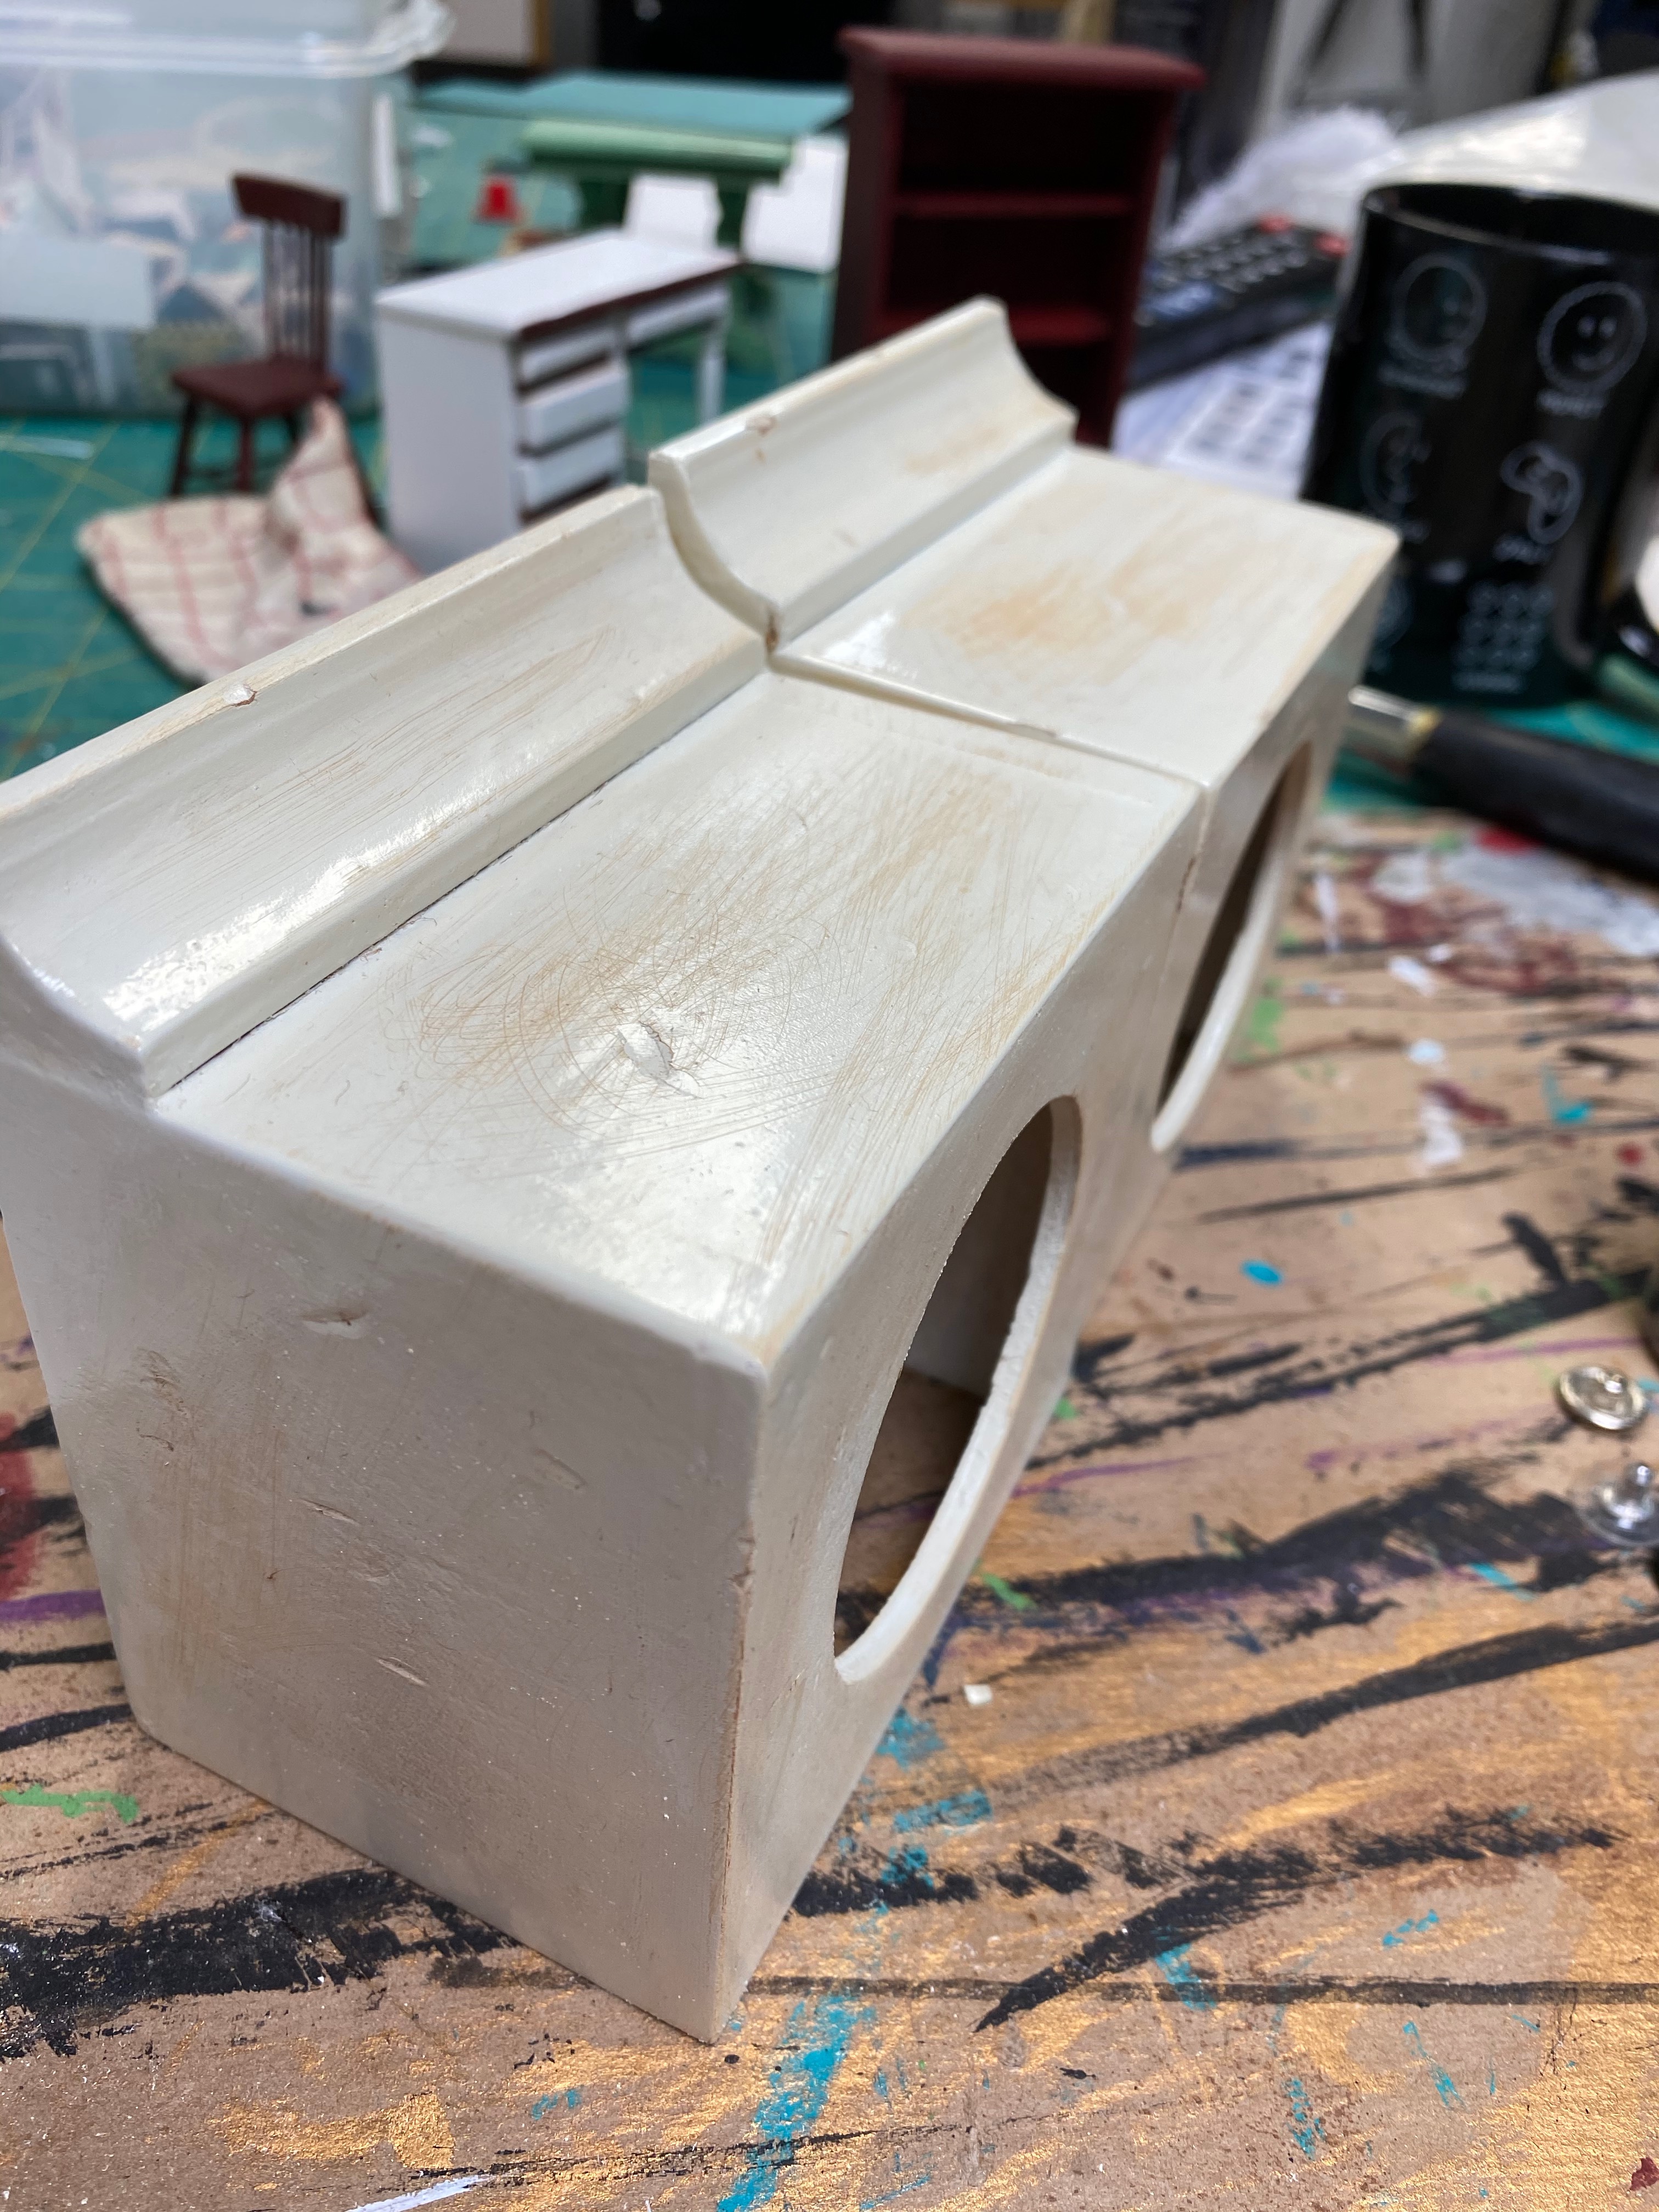
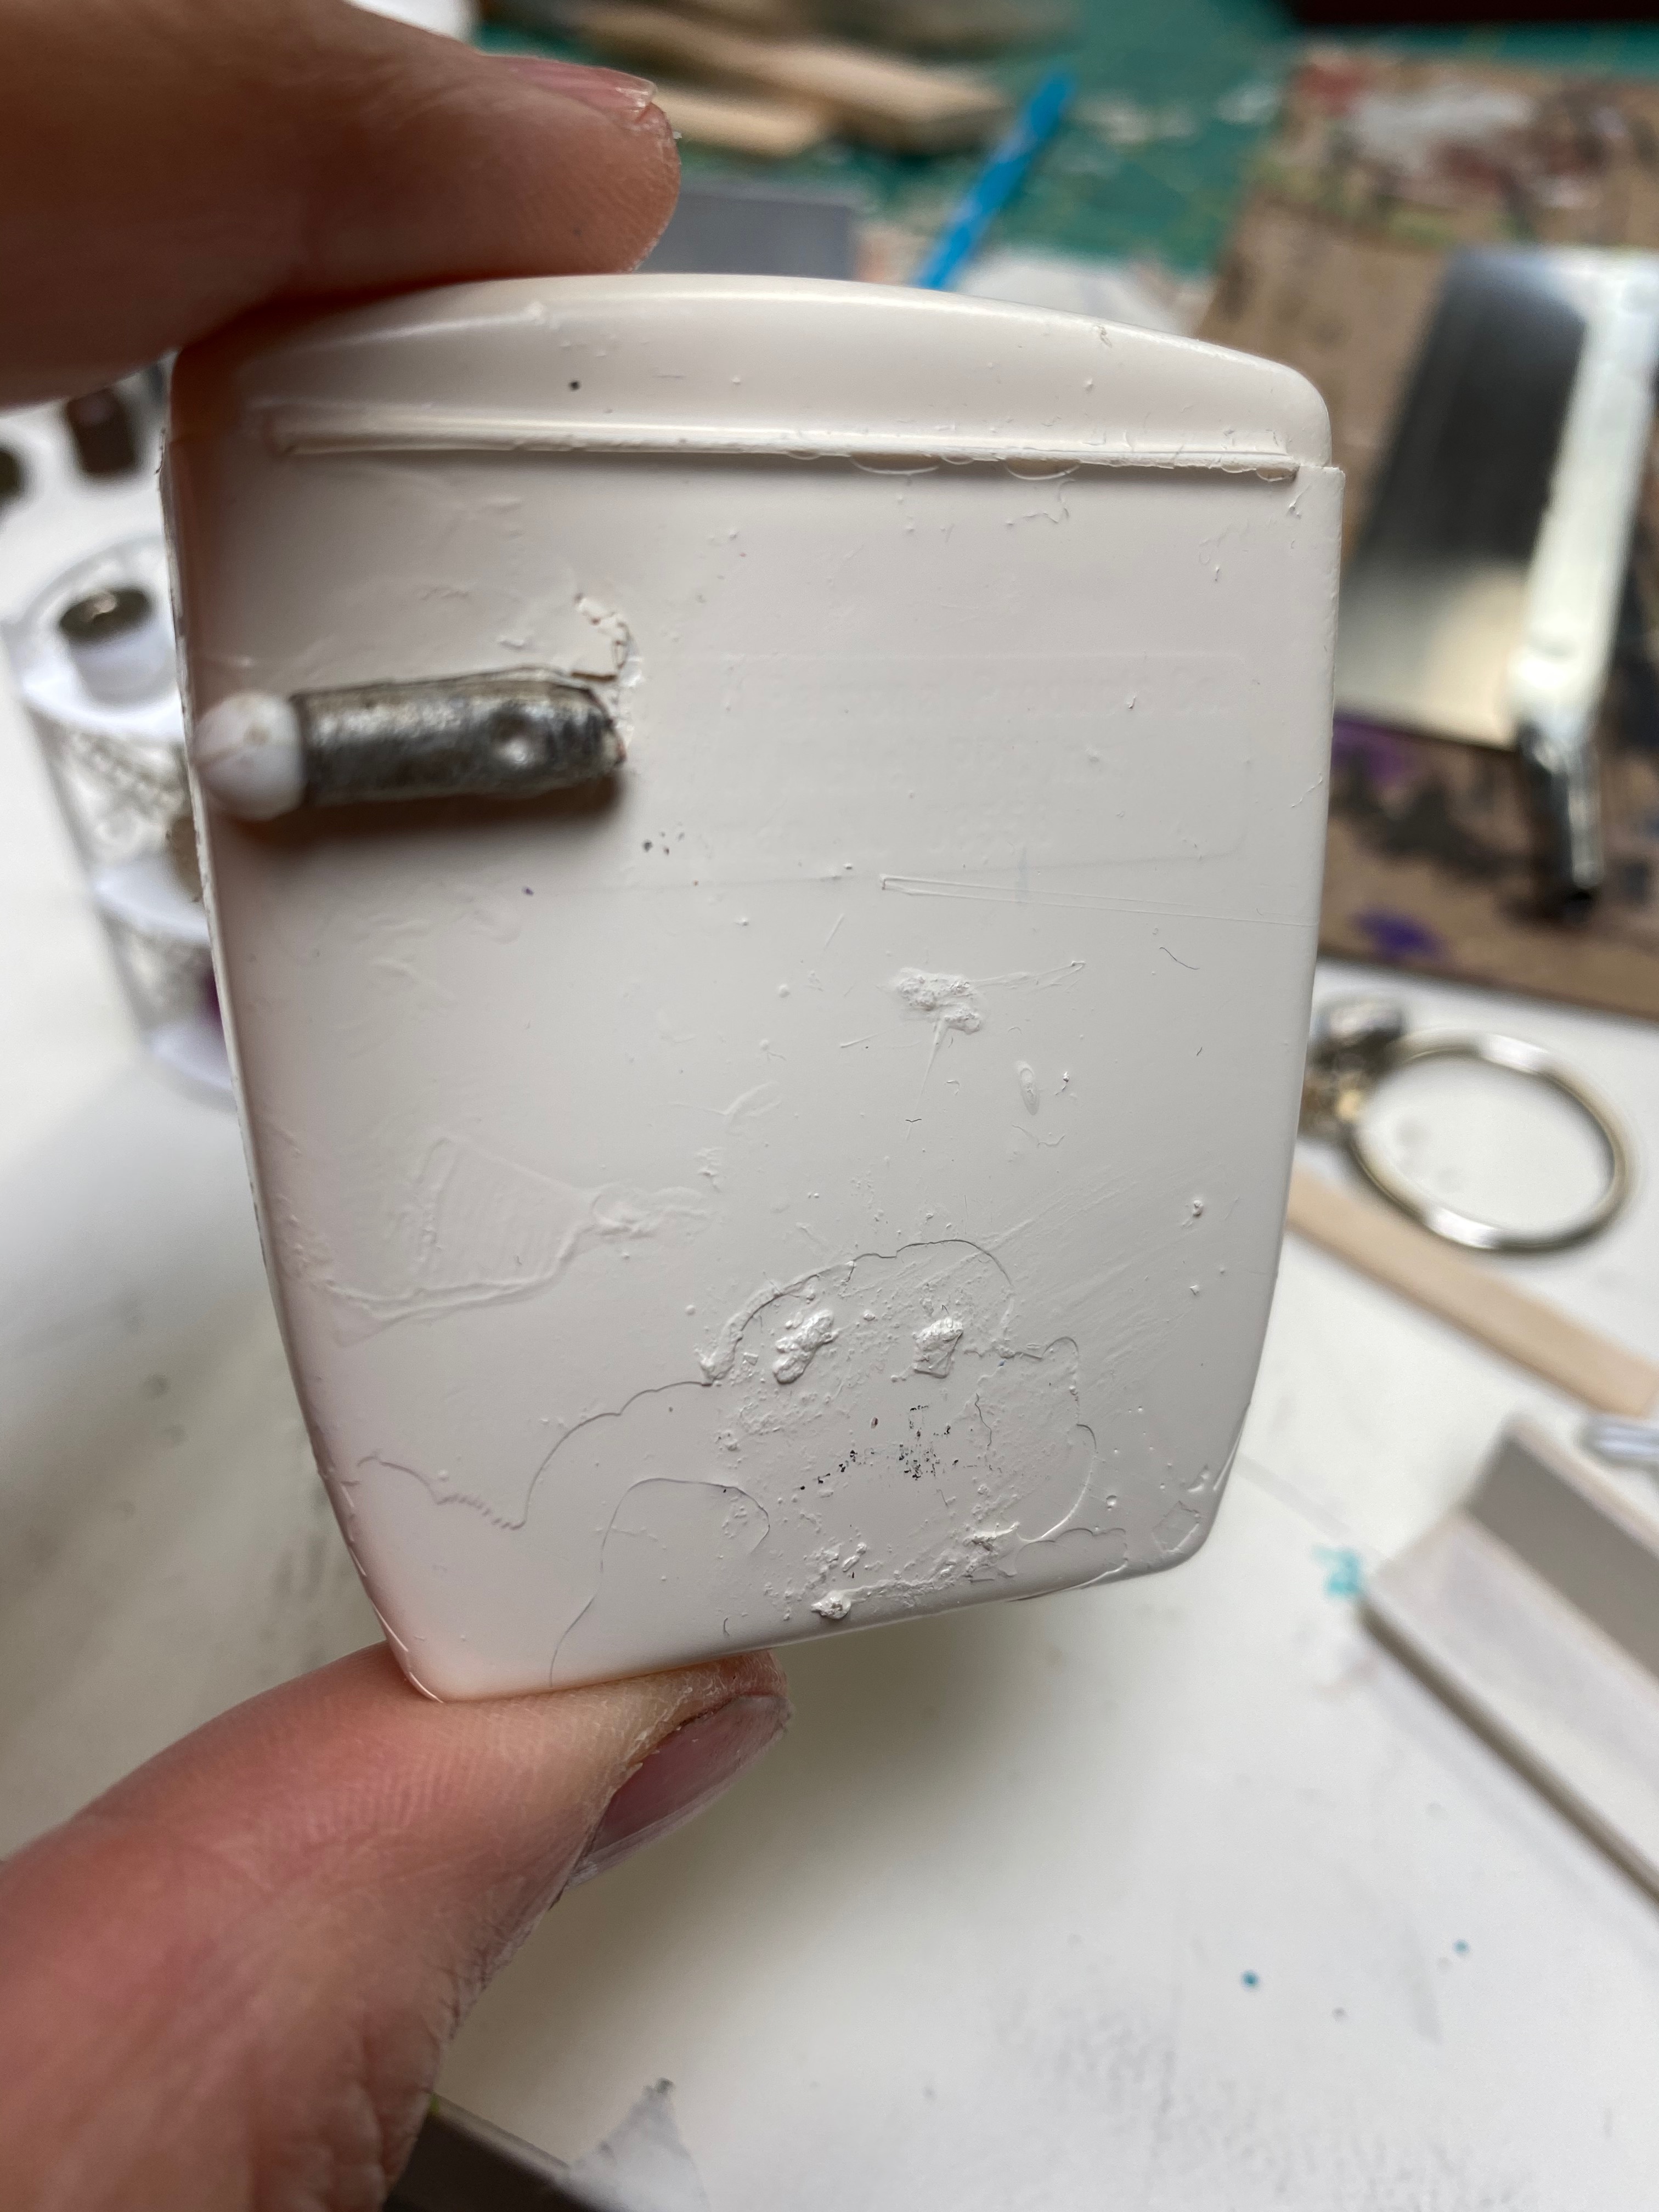
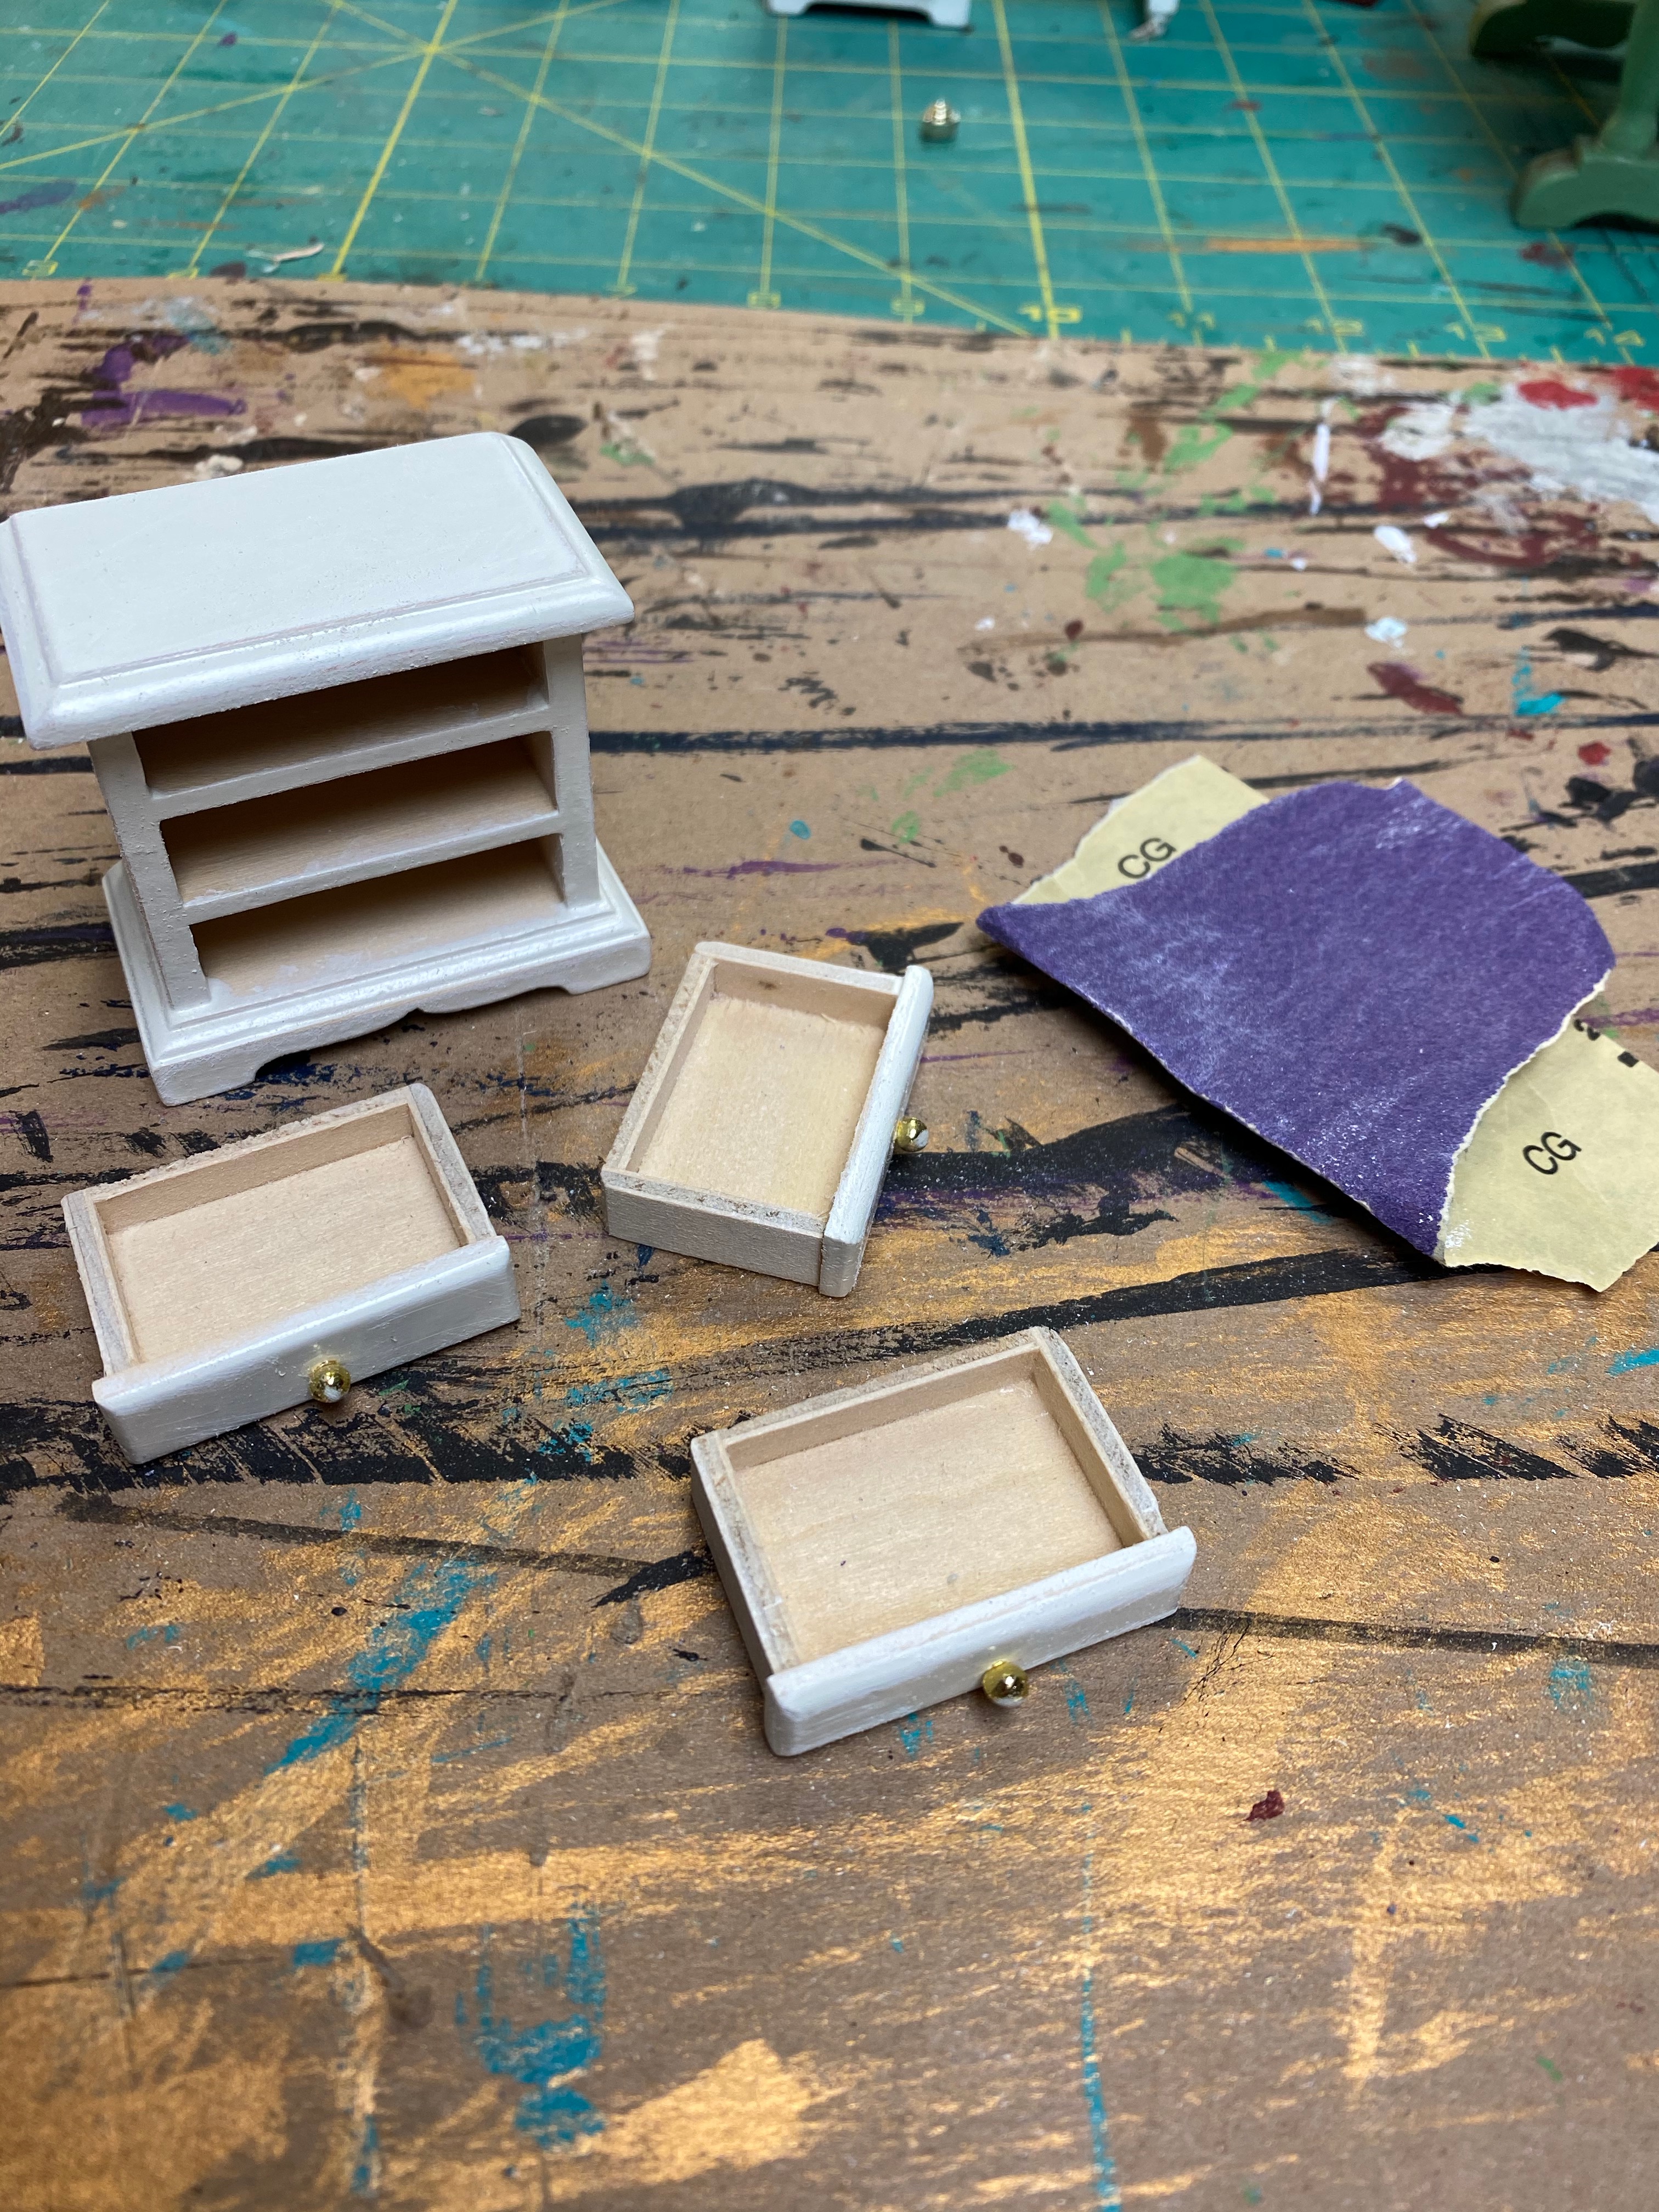
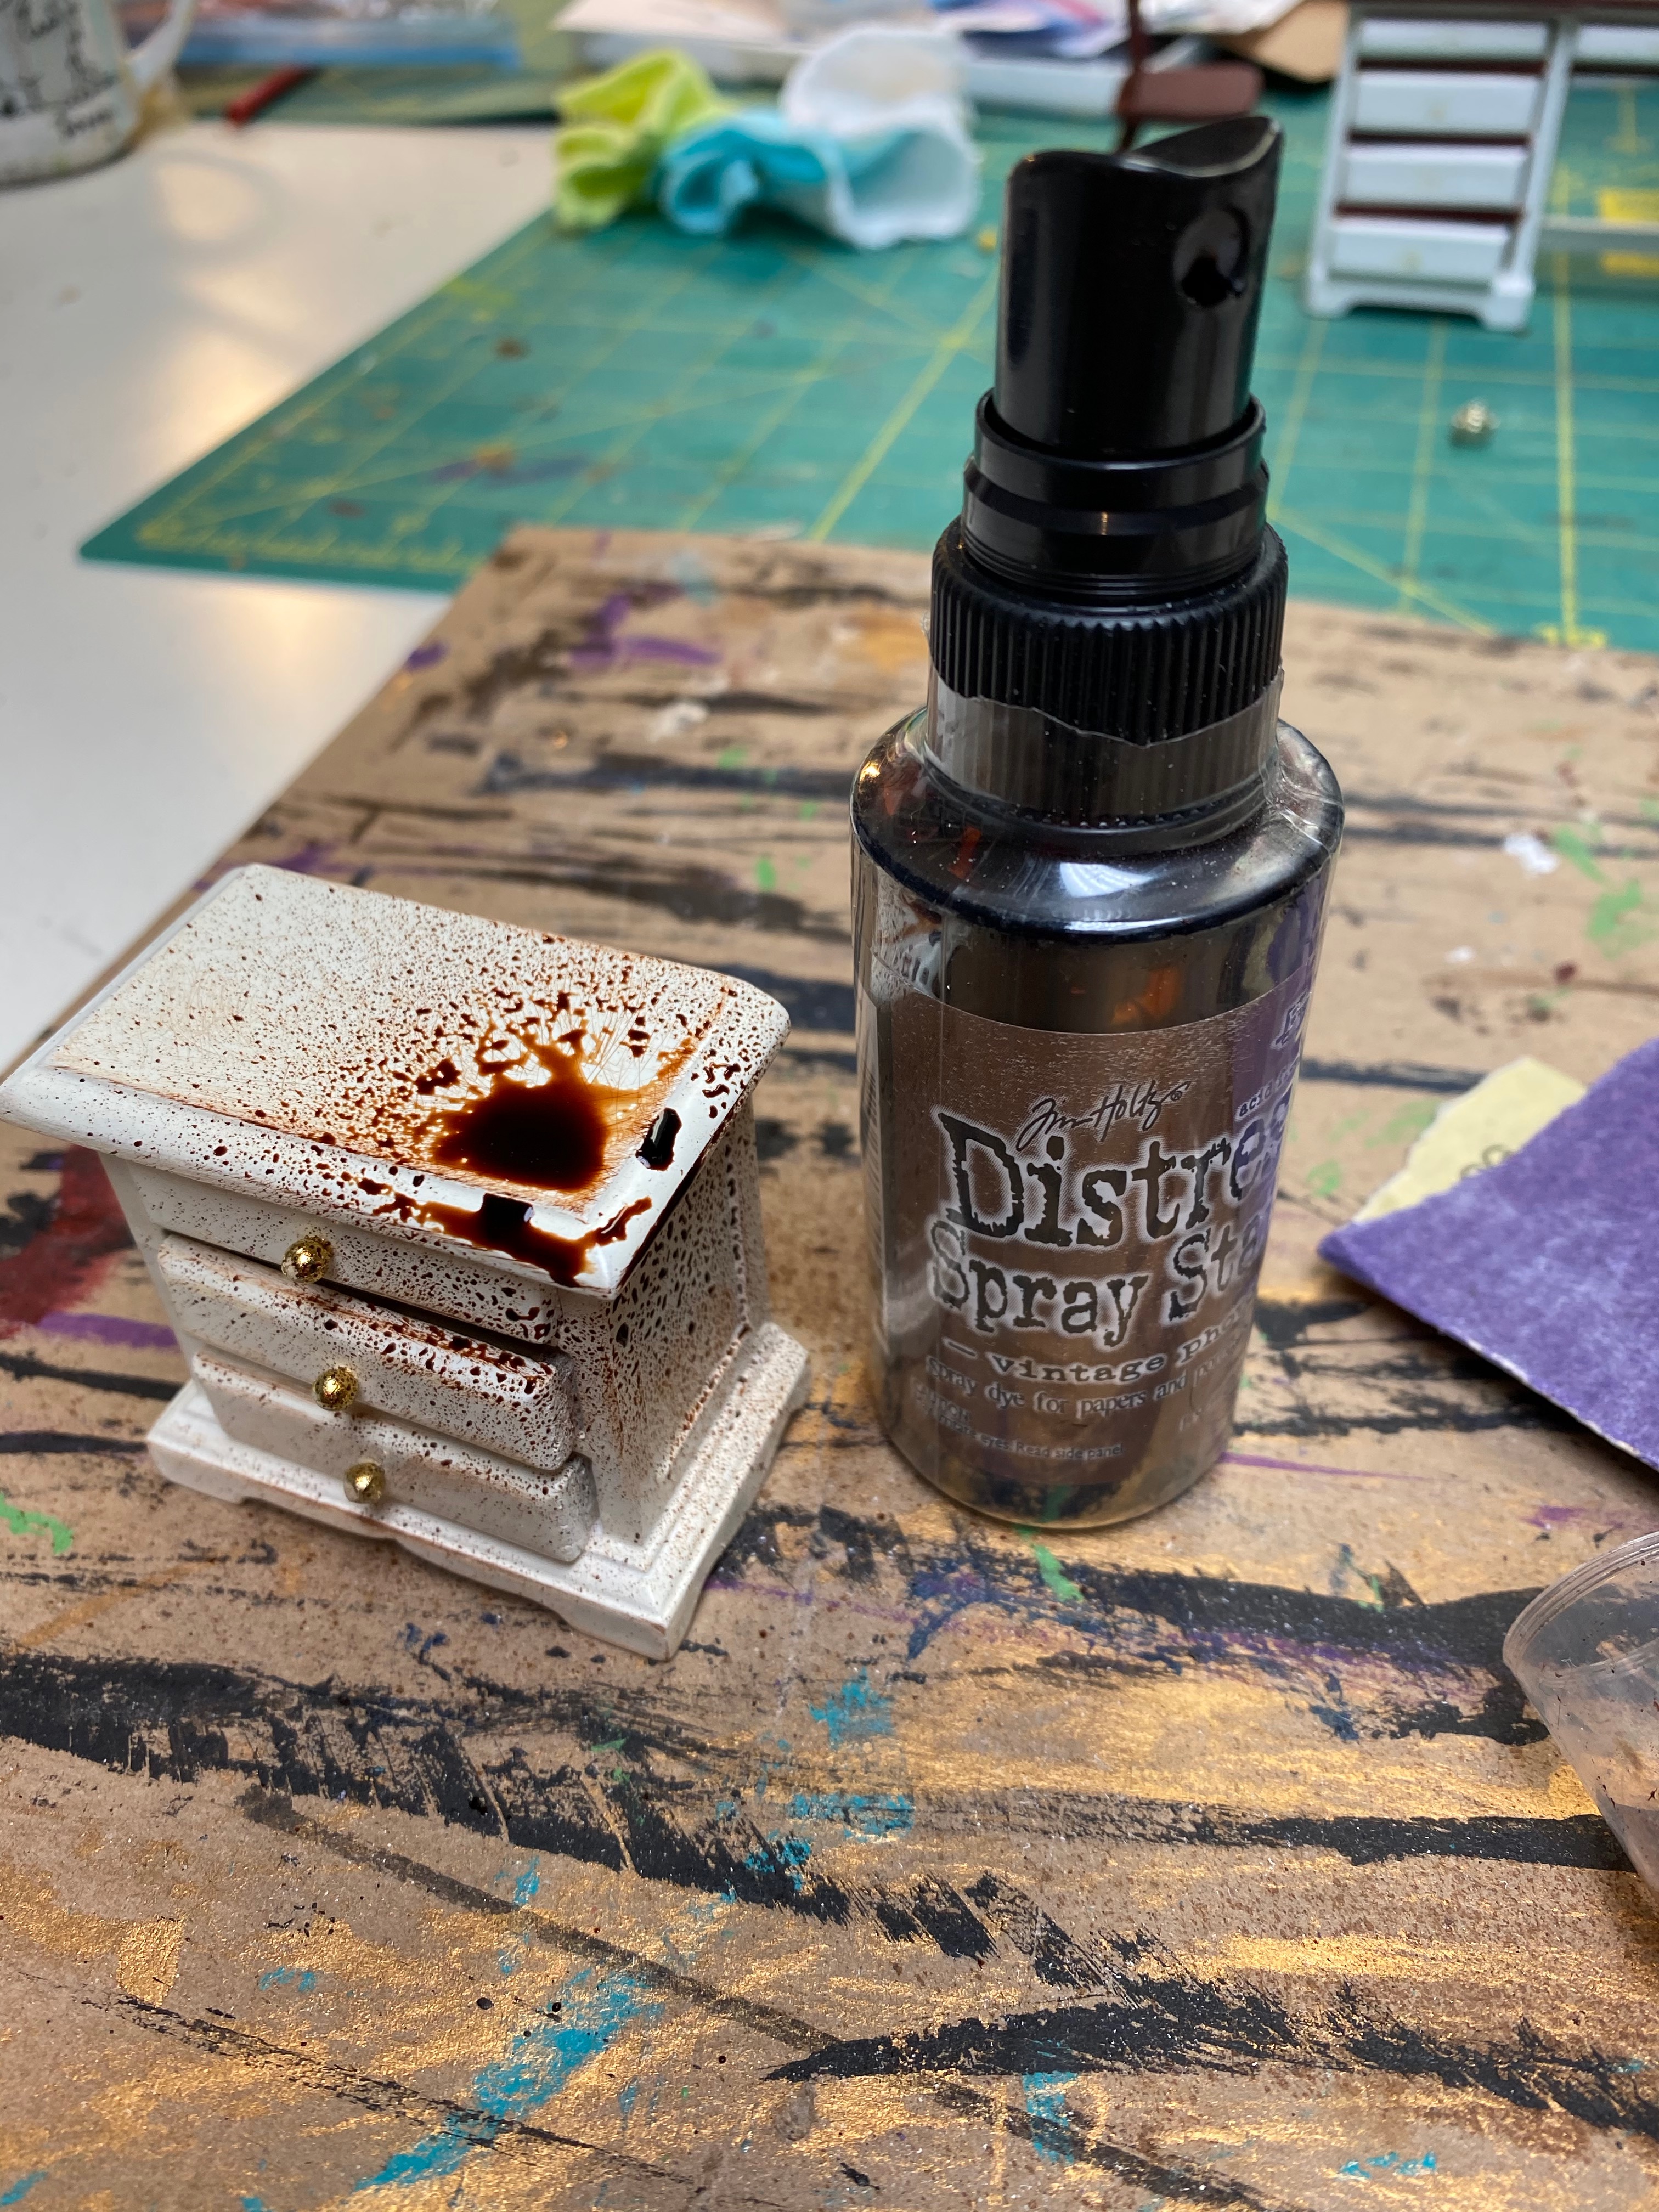
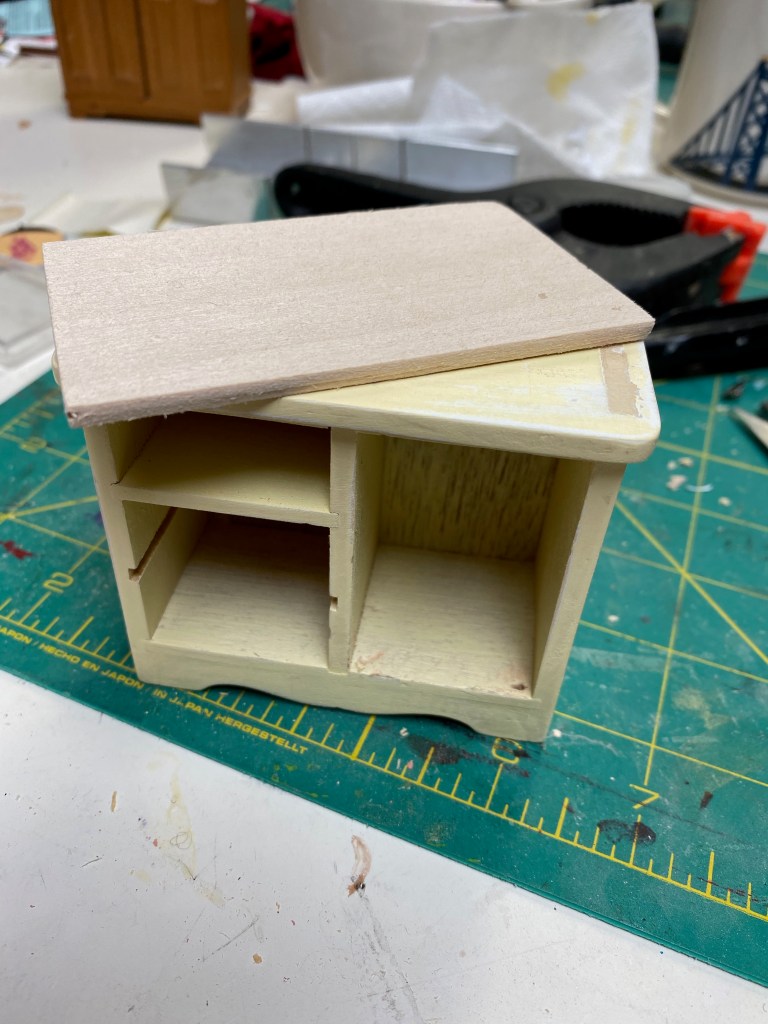
The stereo cabinet and stereo equipment were fun to make. I “bashed” a dresser I already had by taking off the door and drawers and removing a shelf.
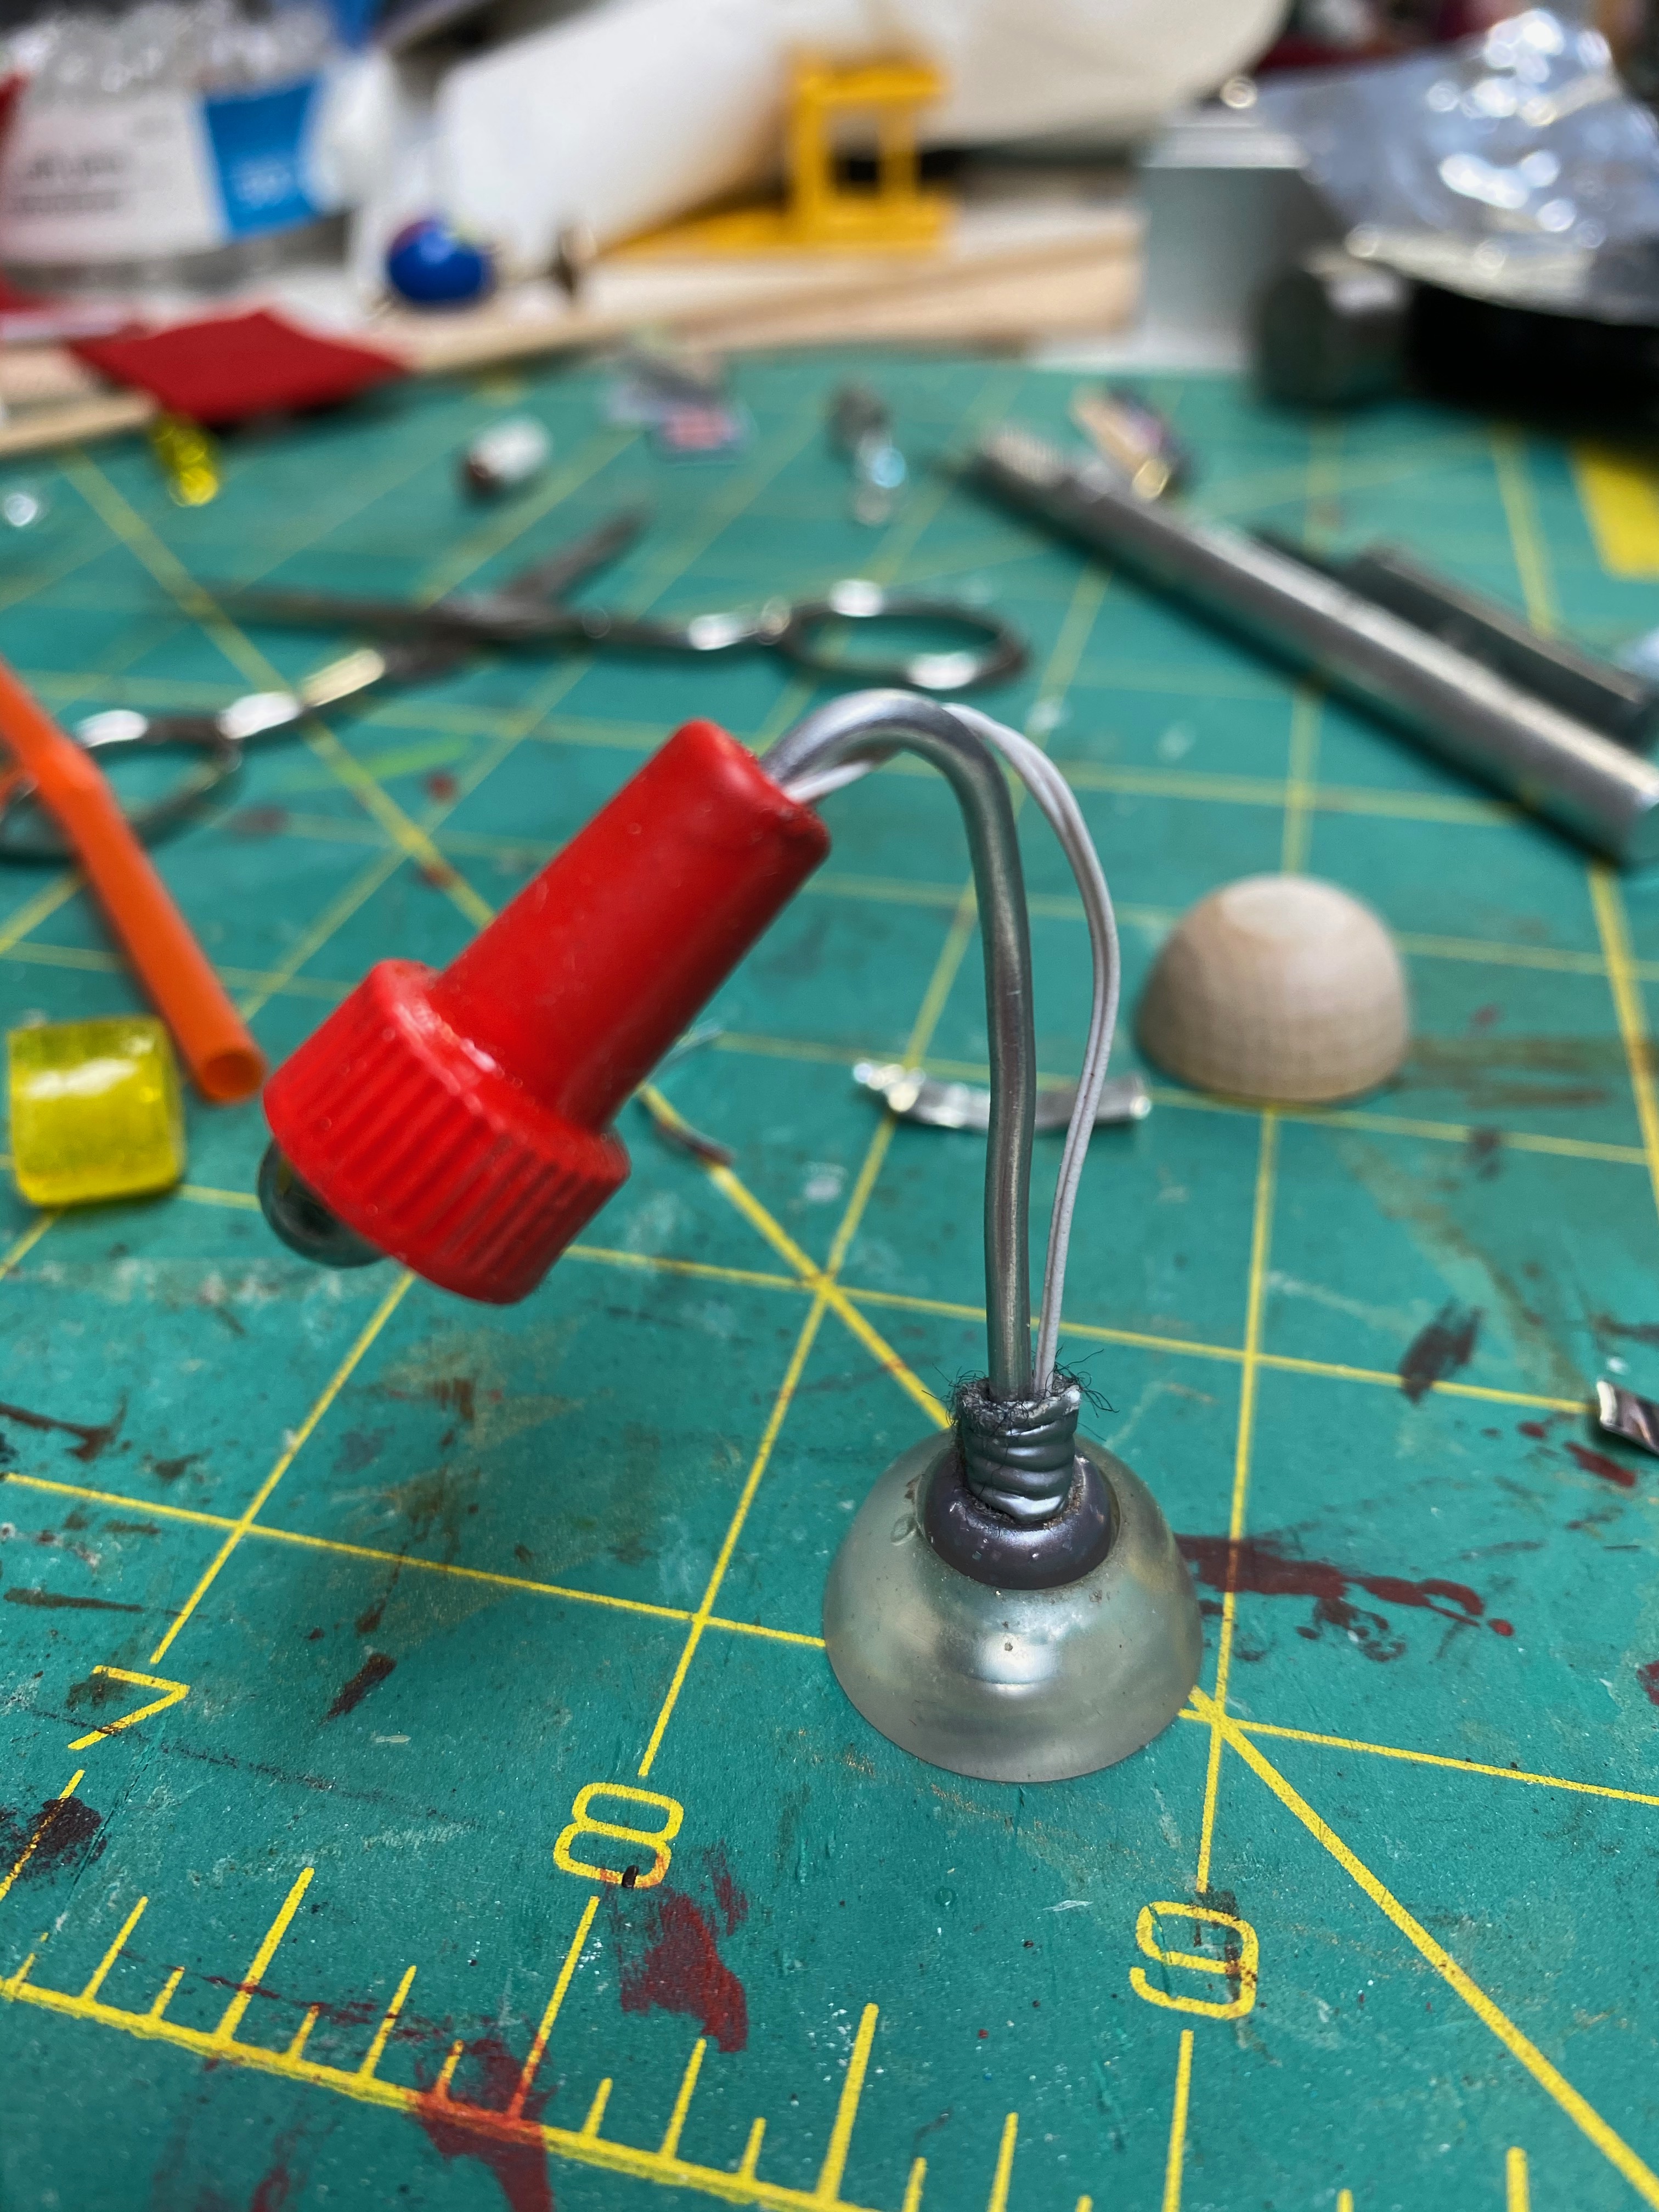
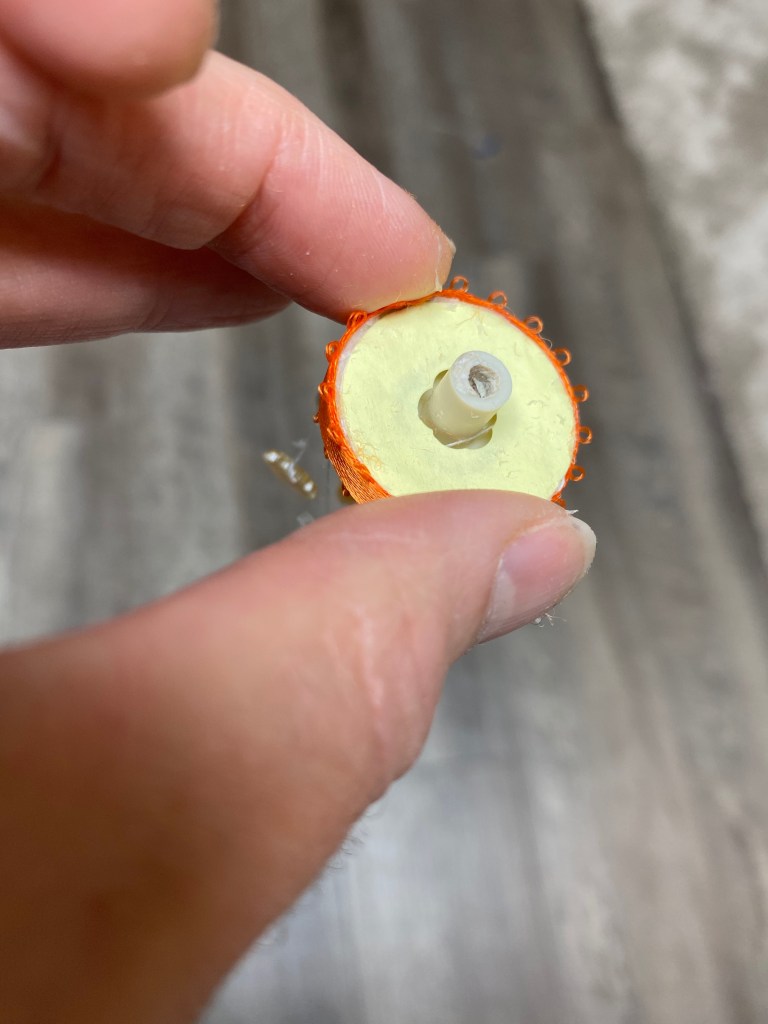
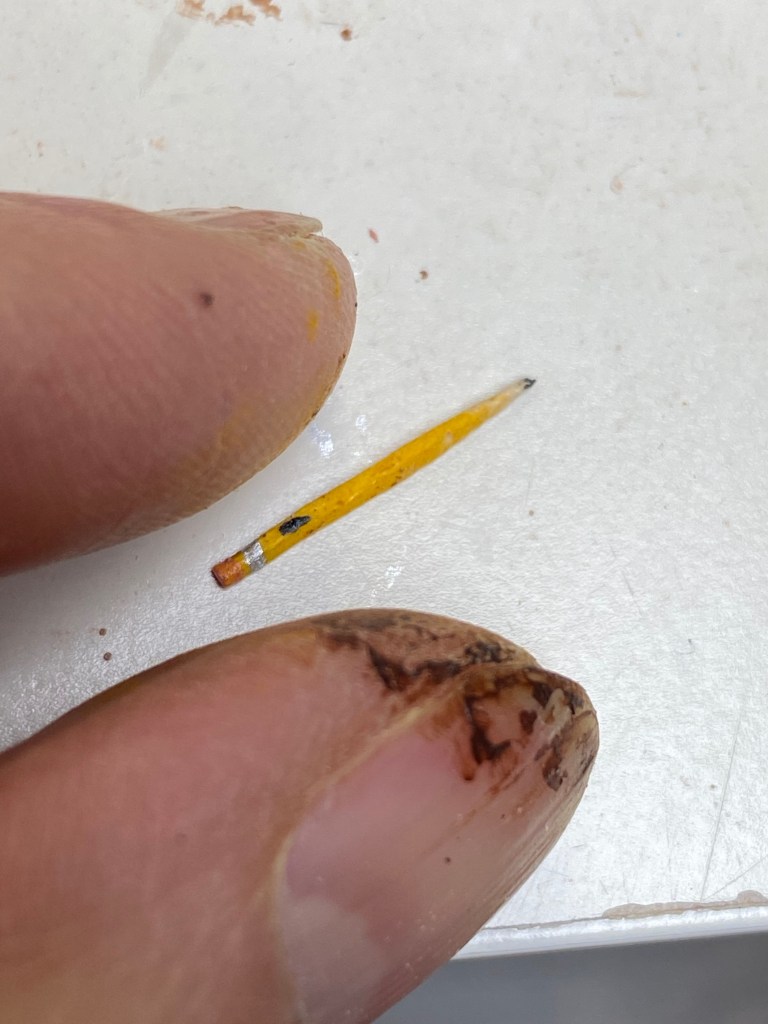
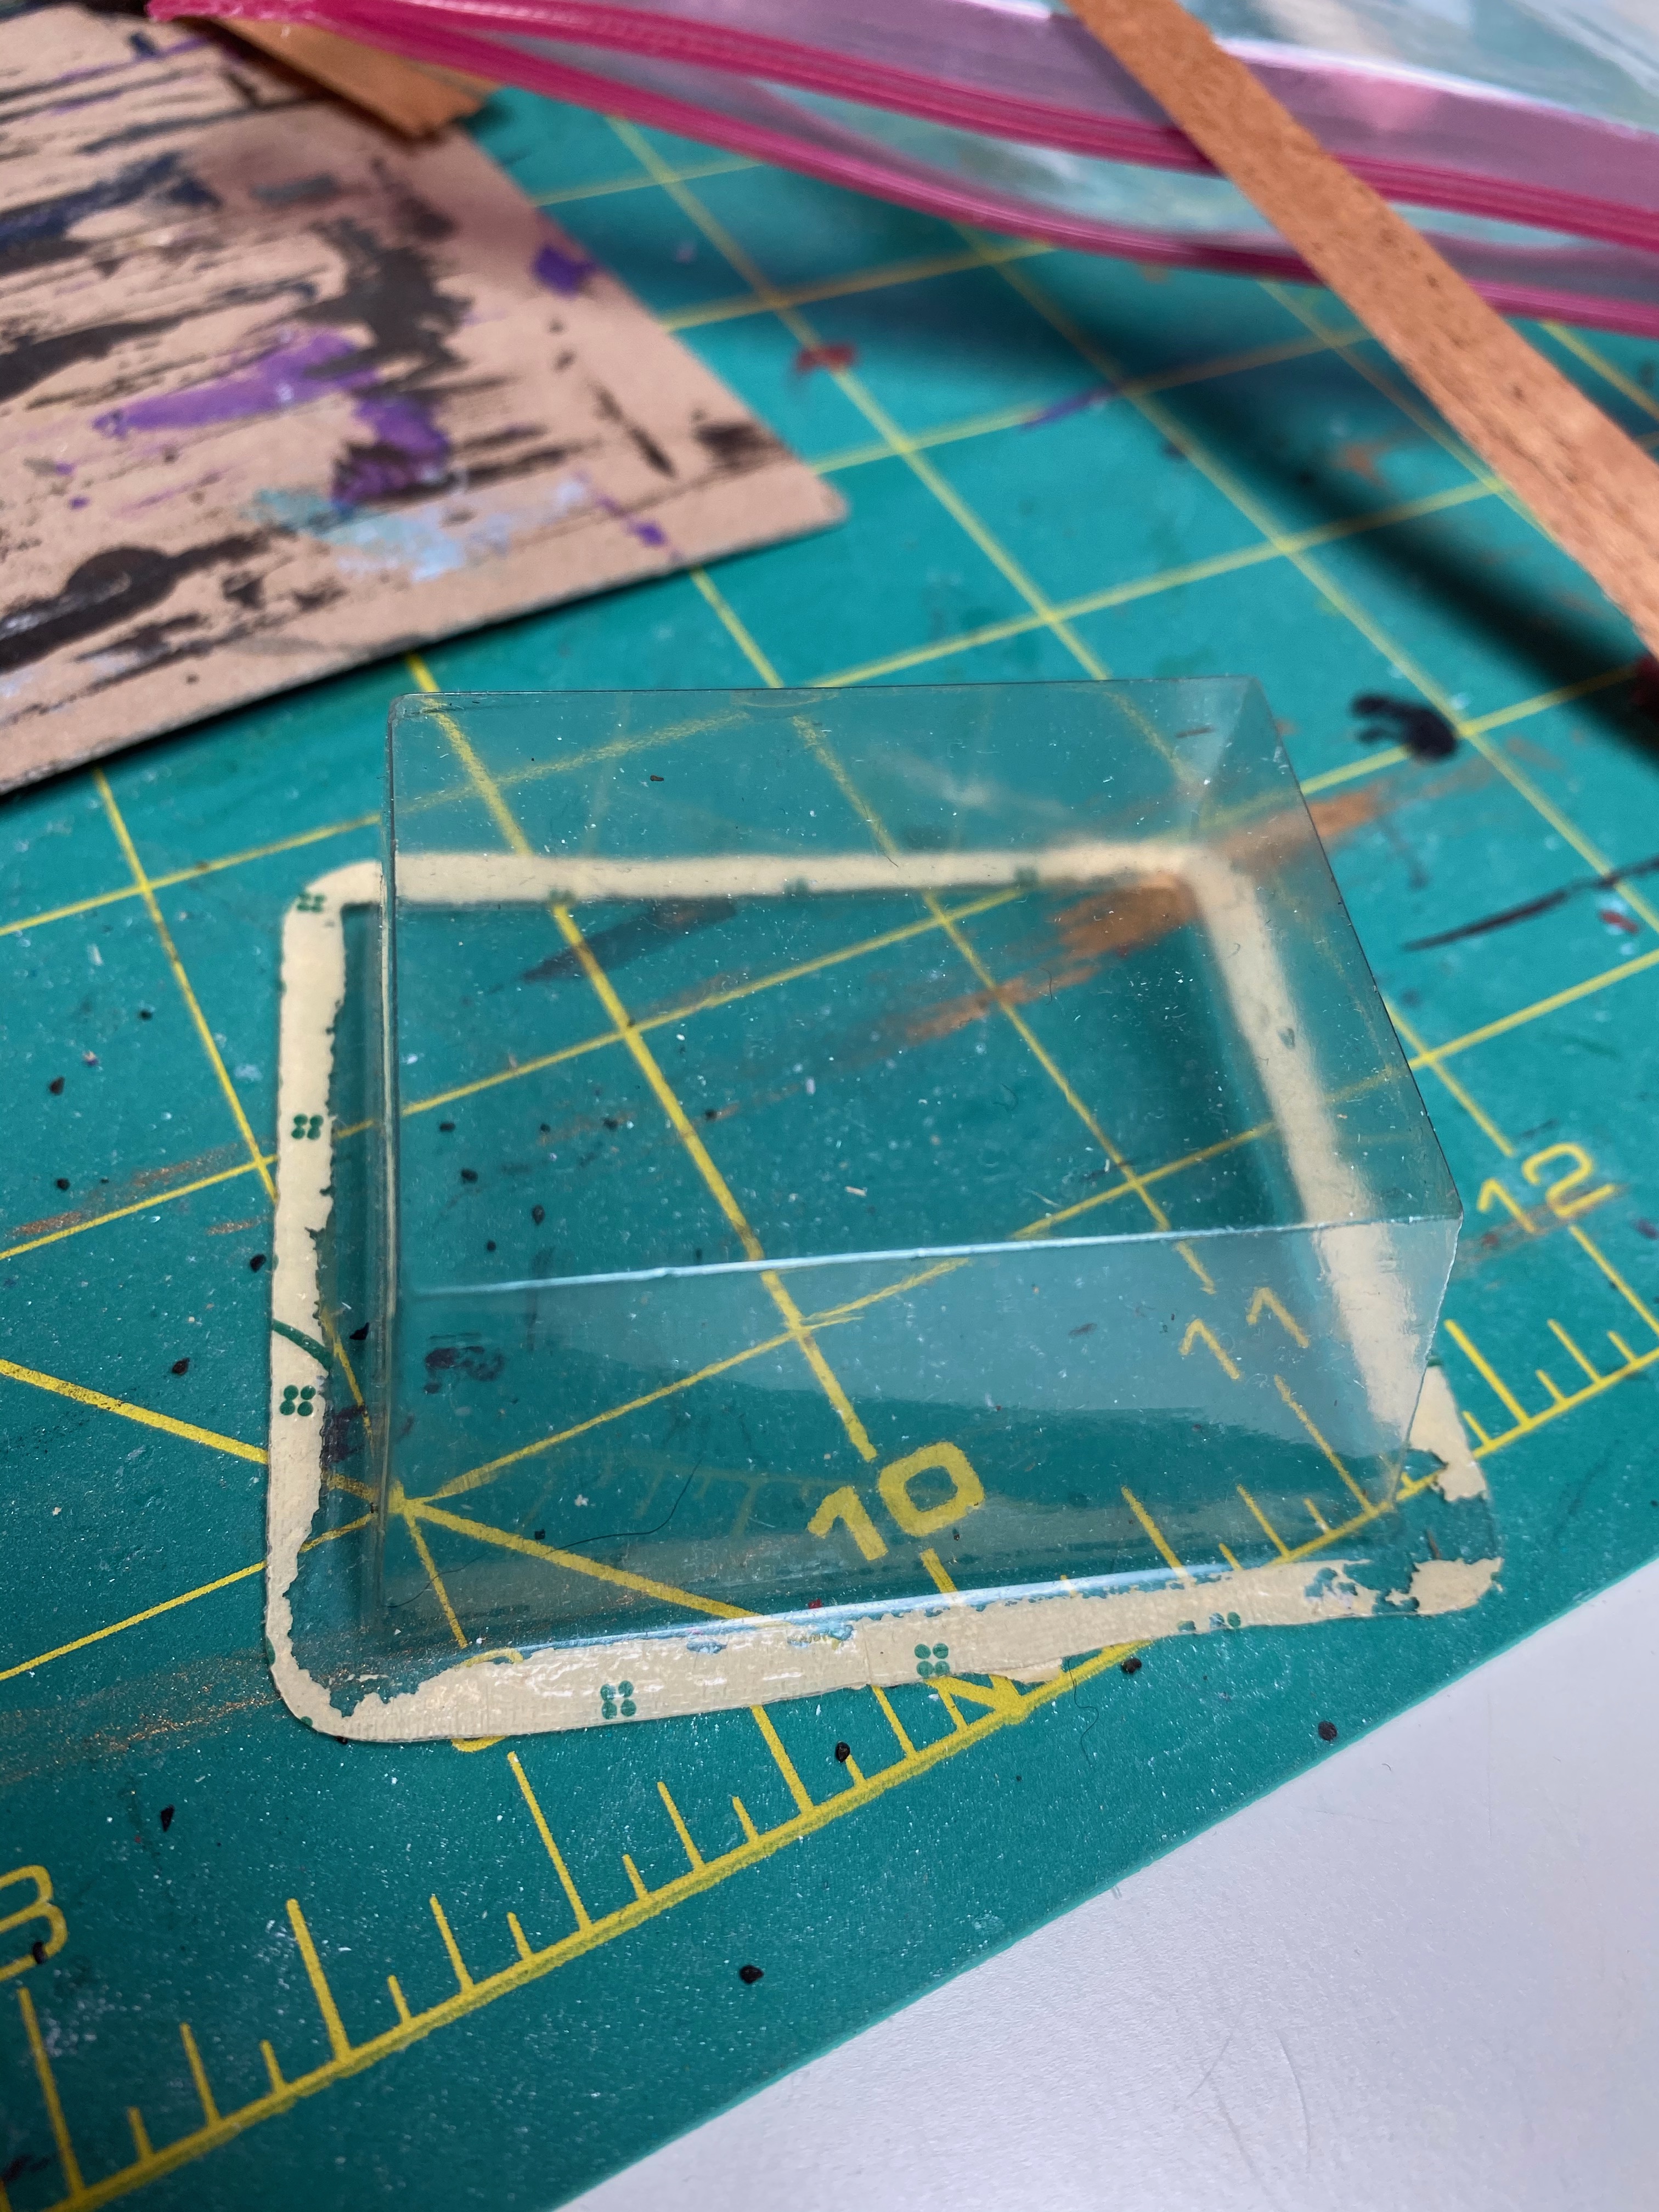
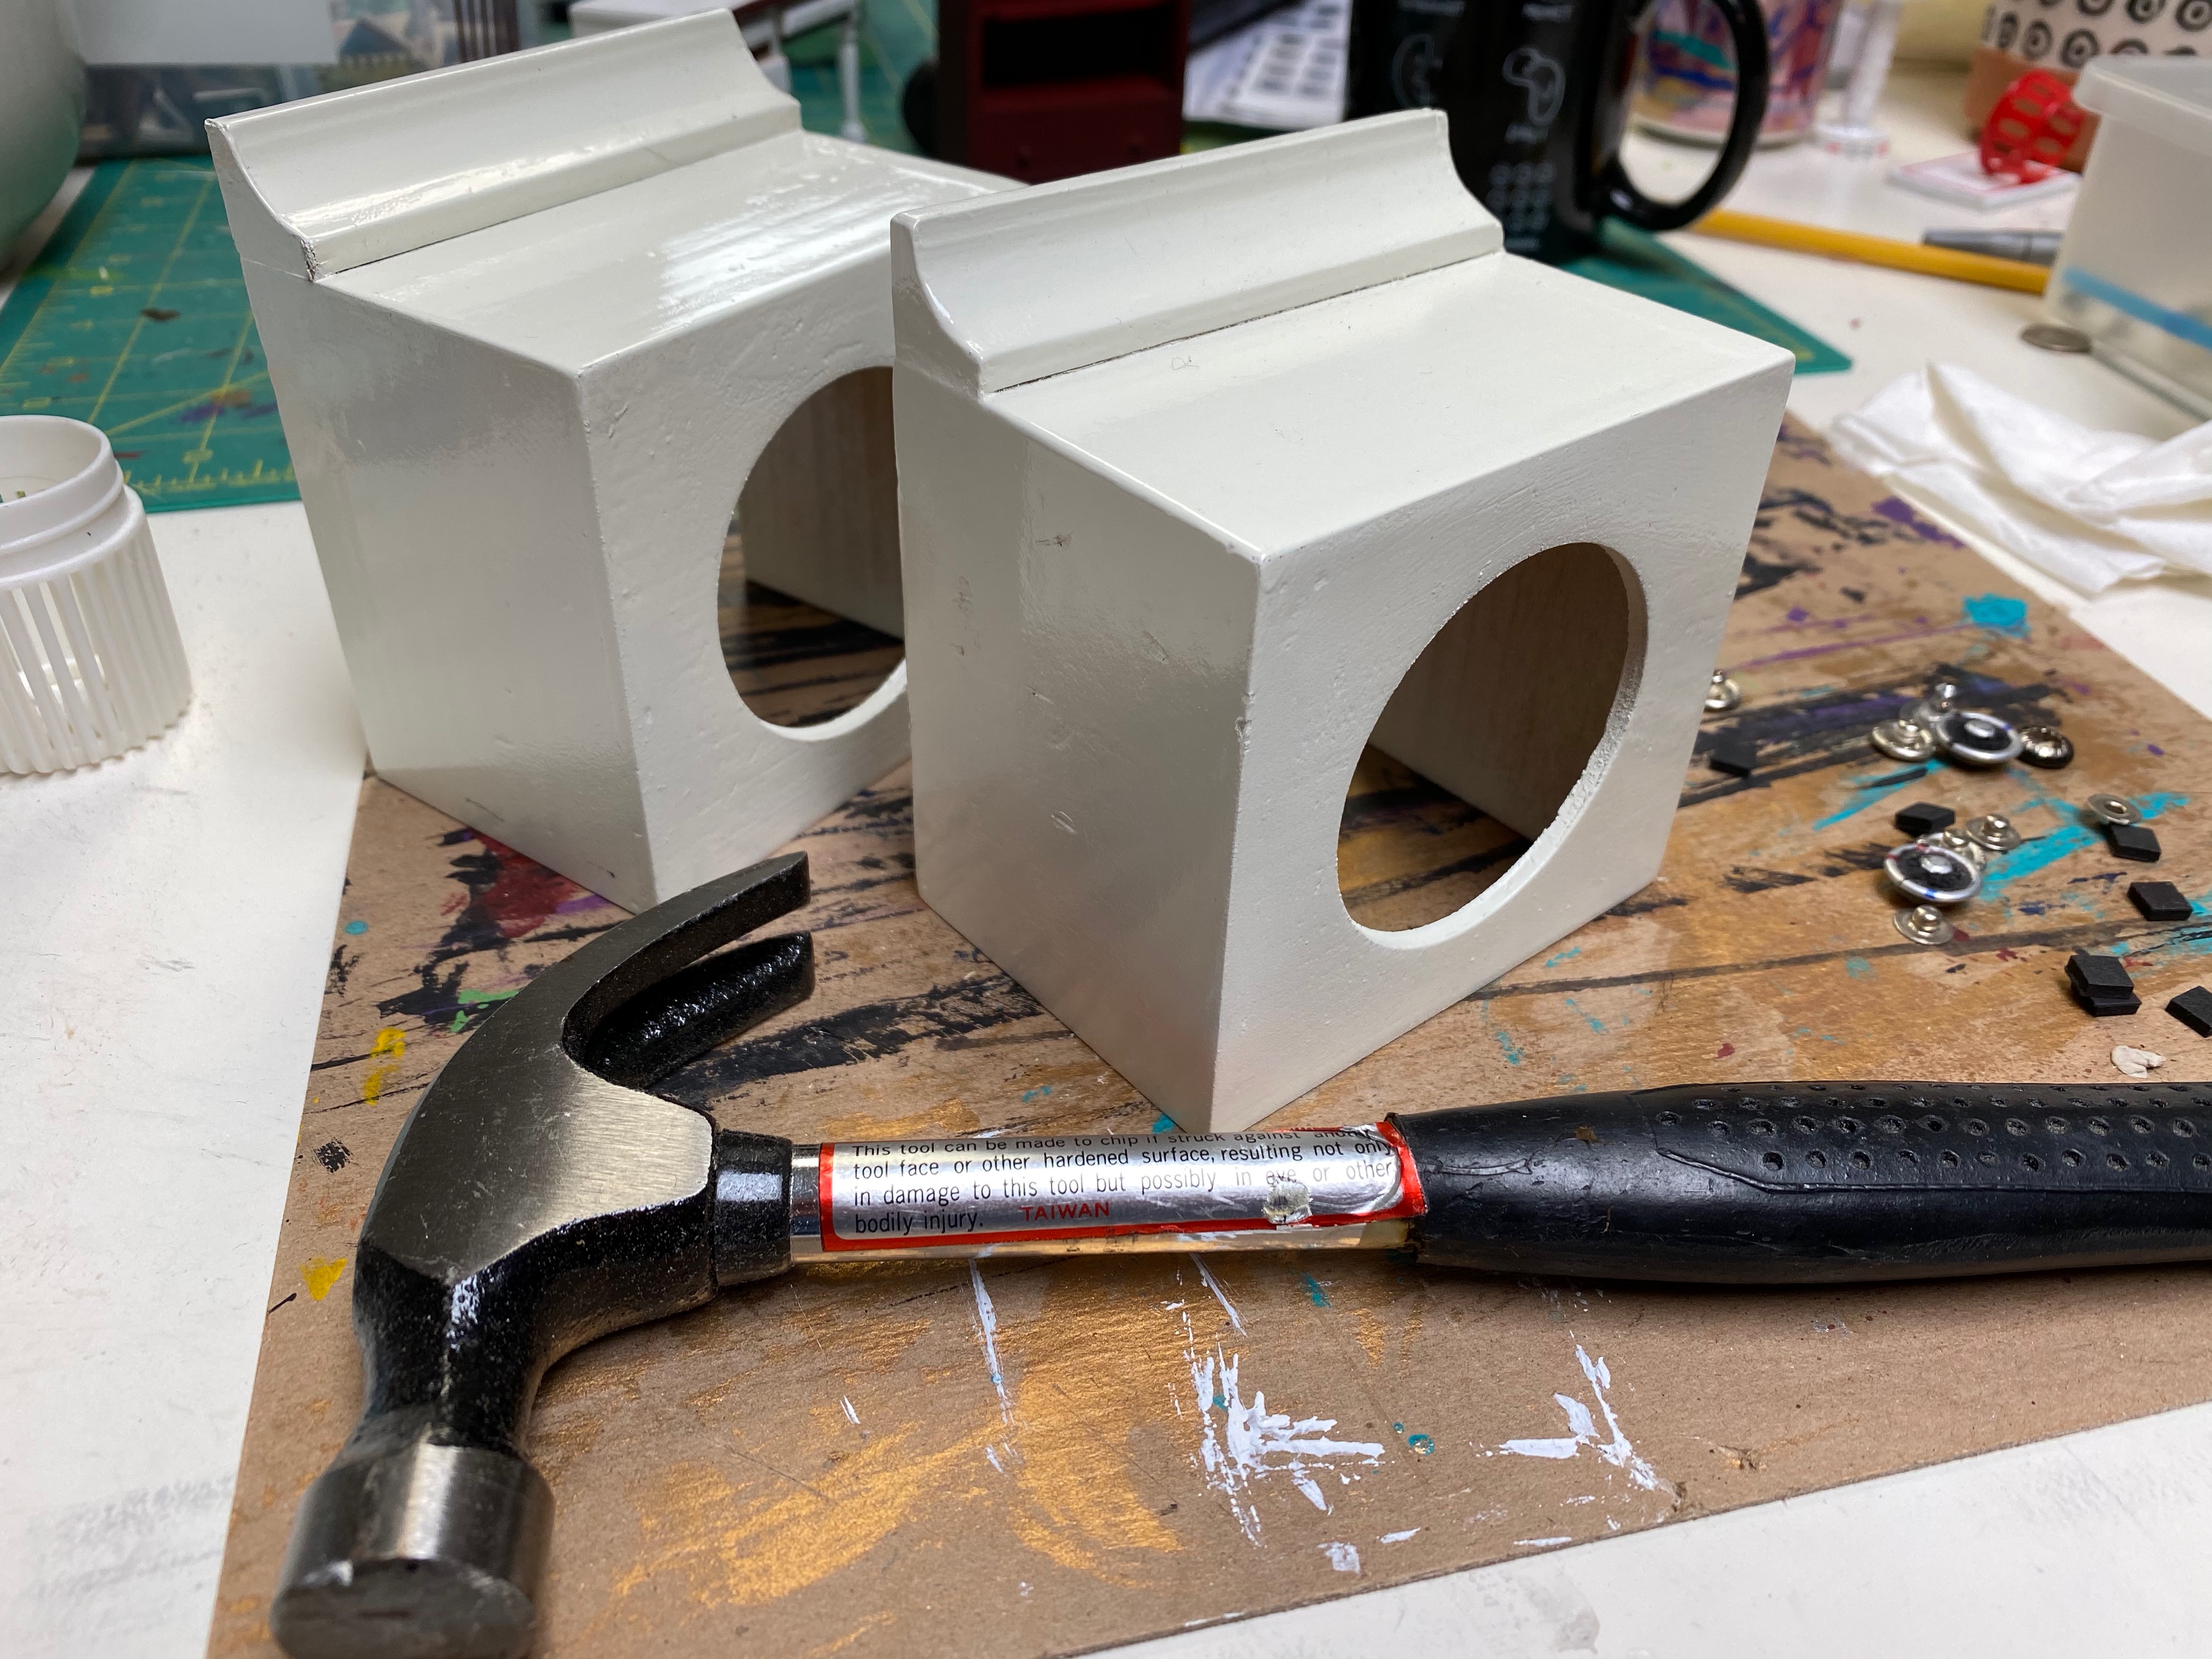
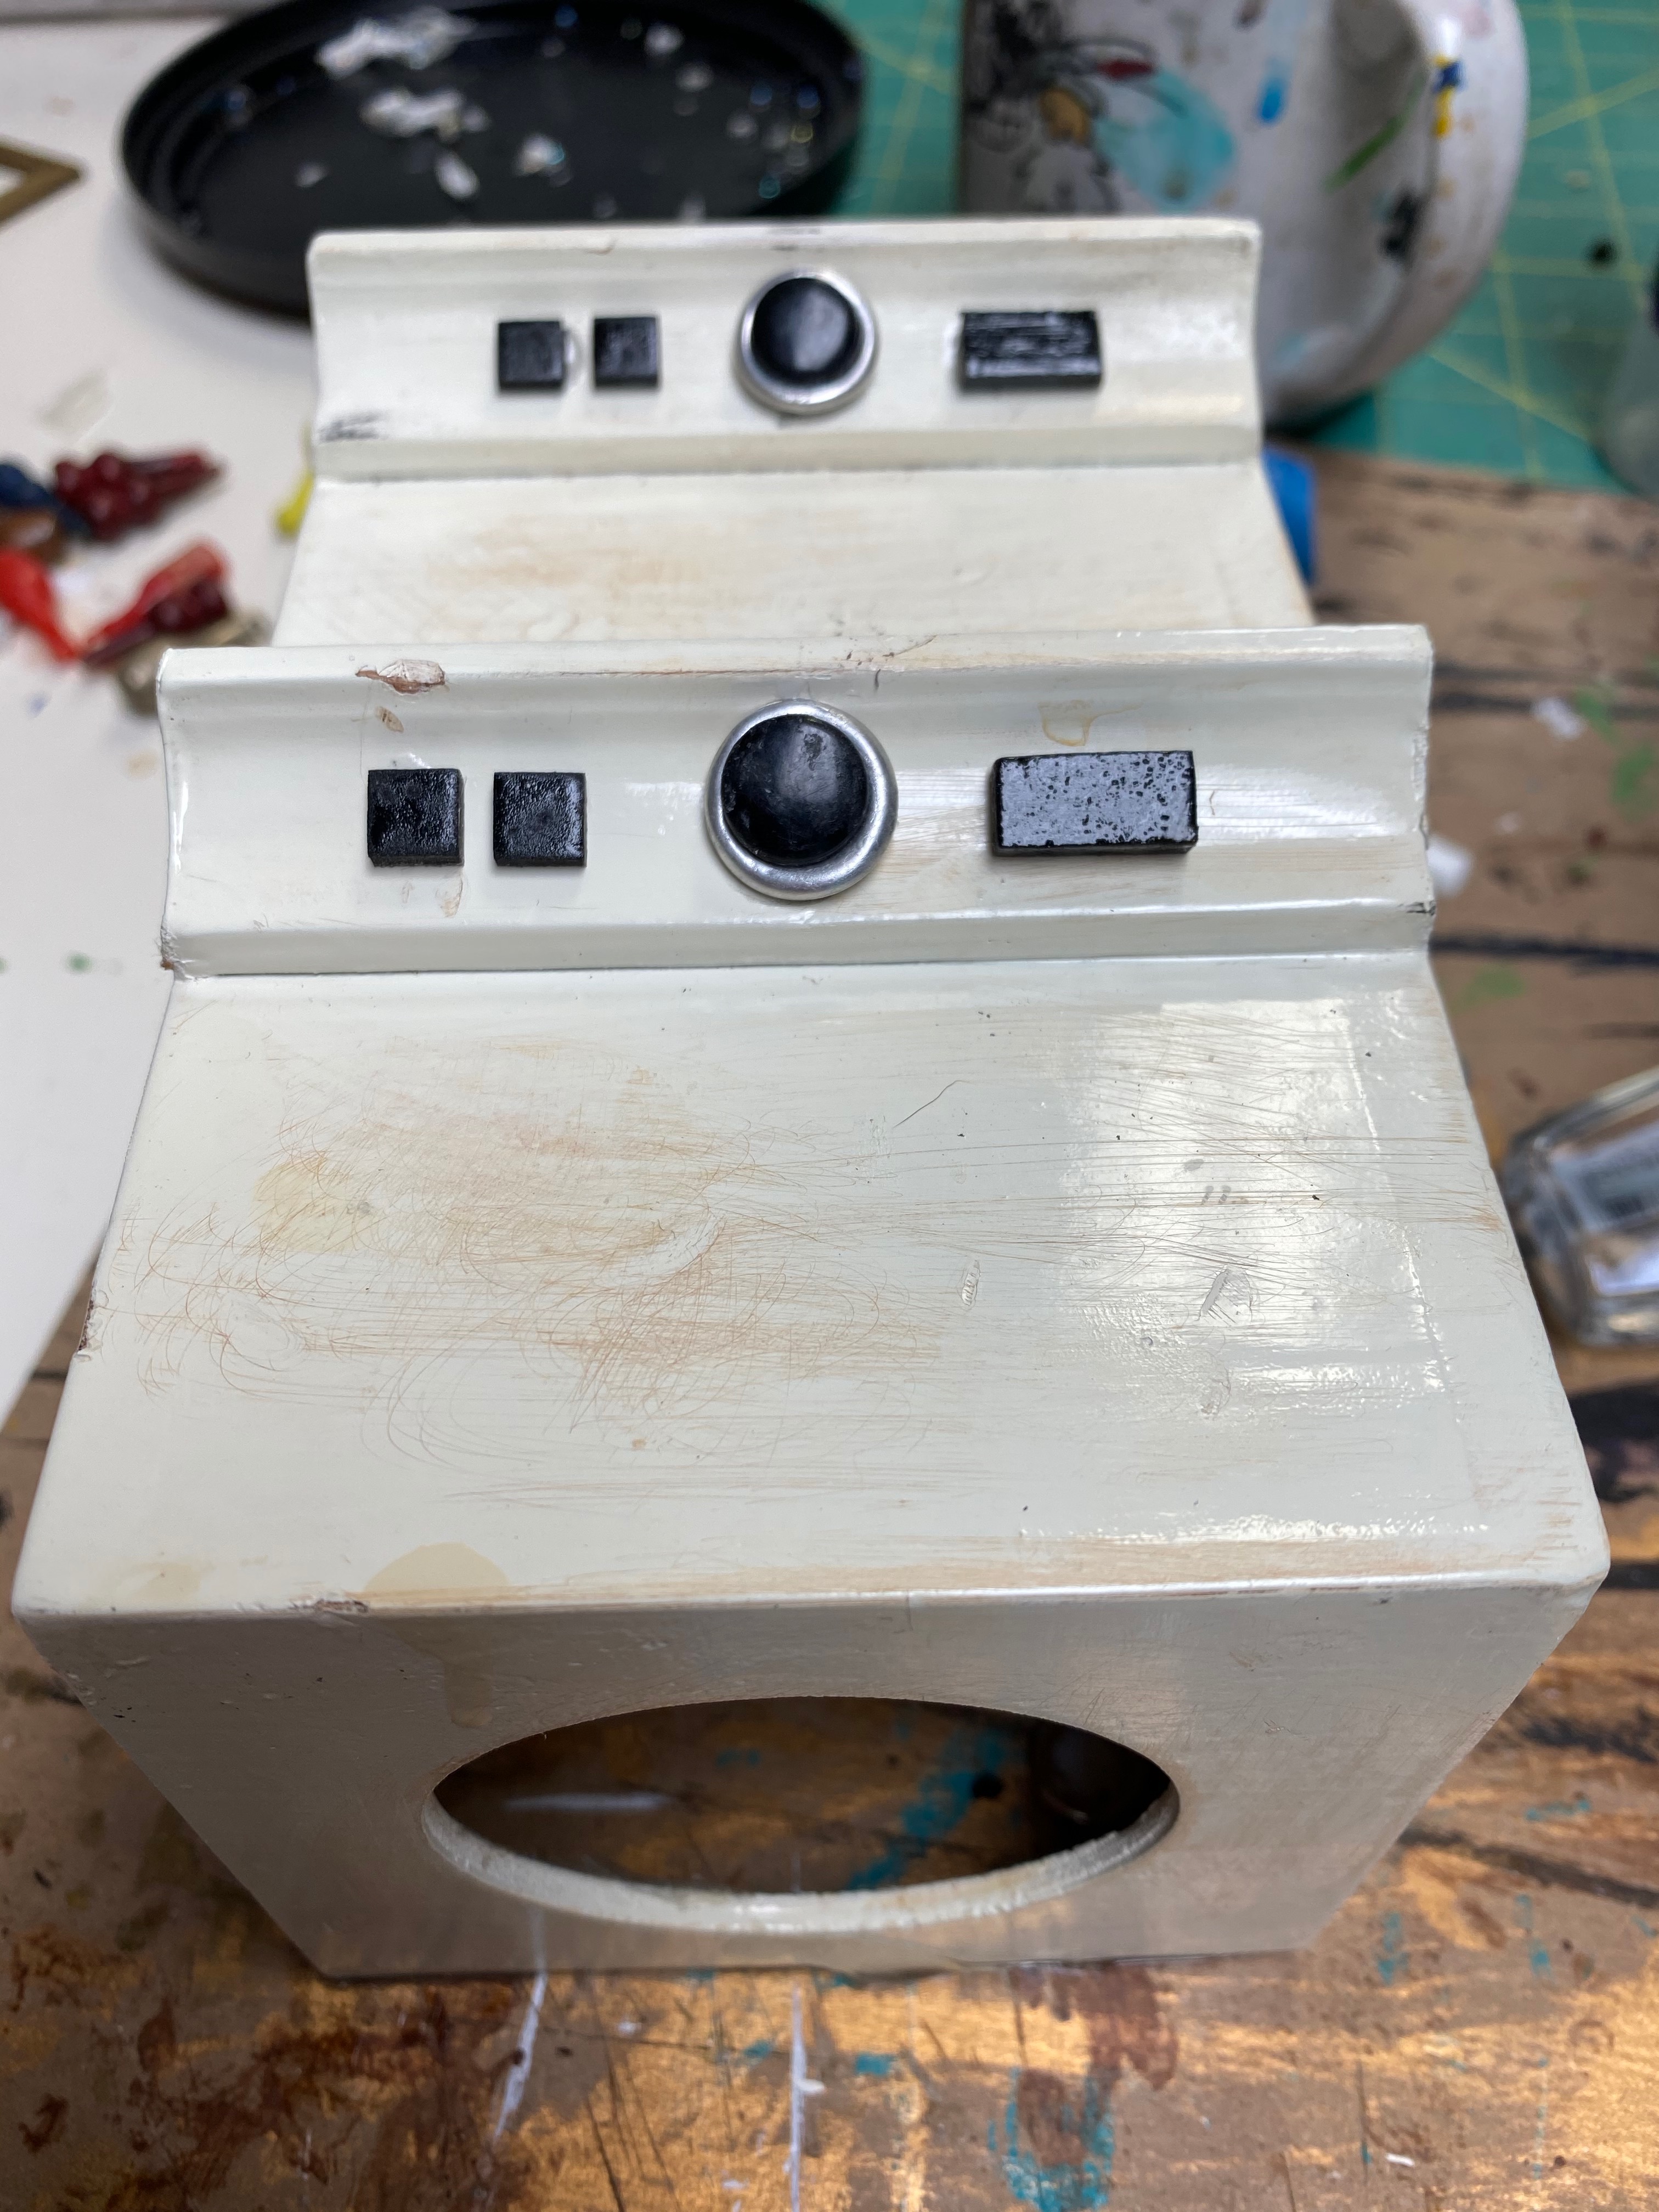
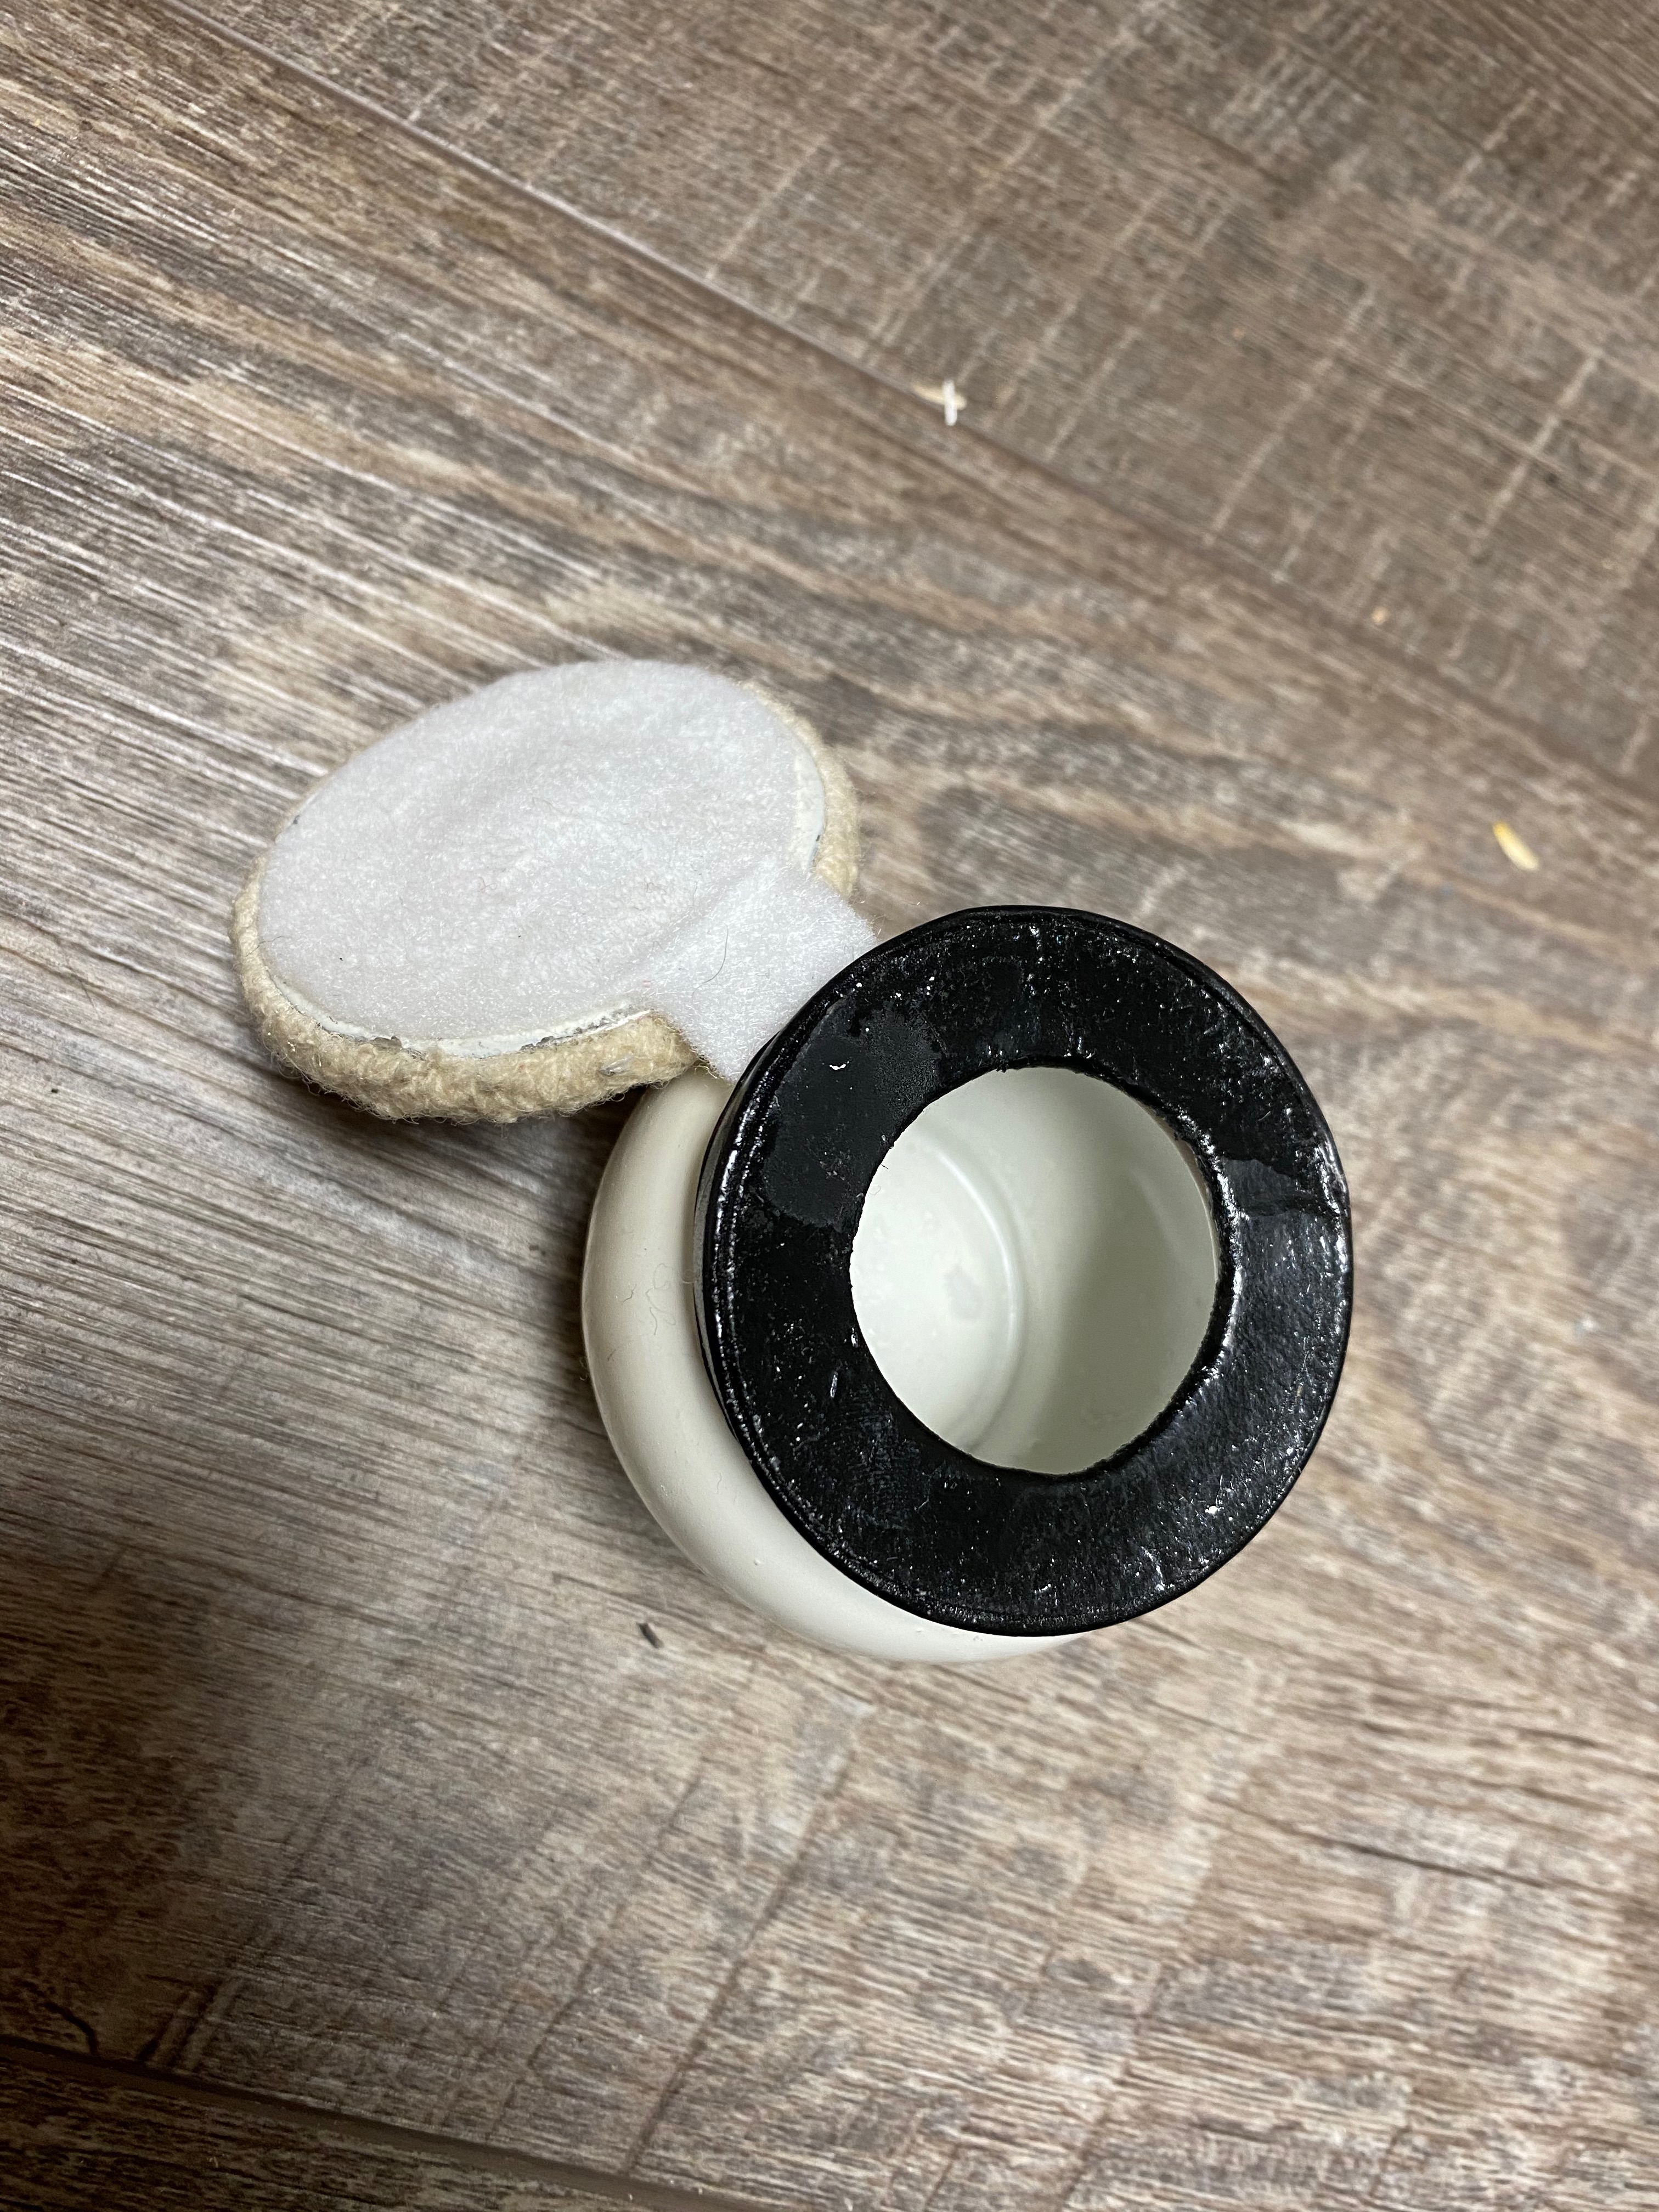
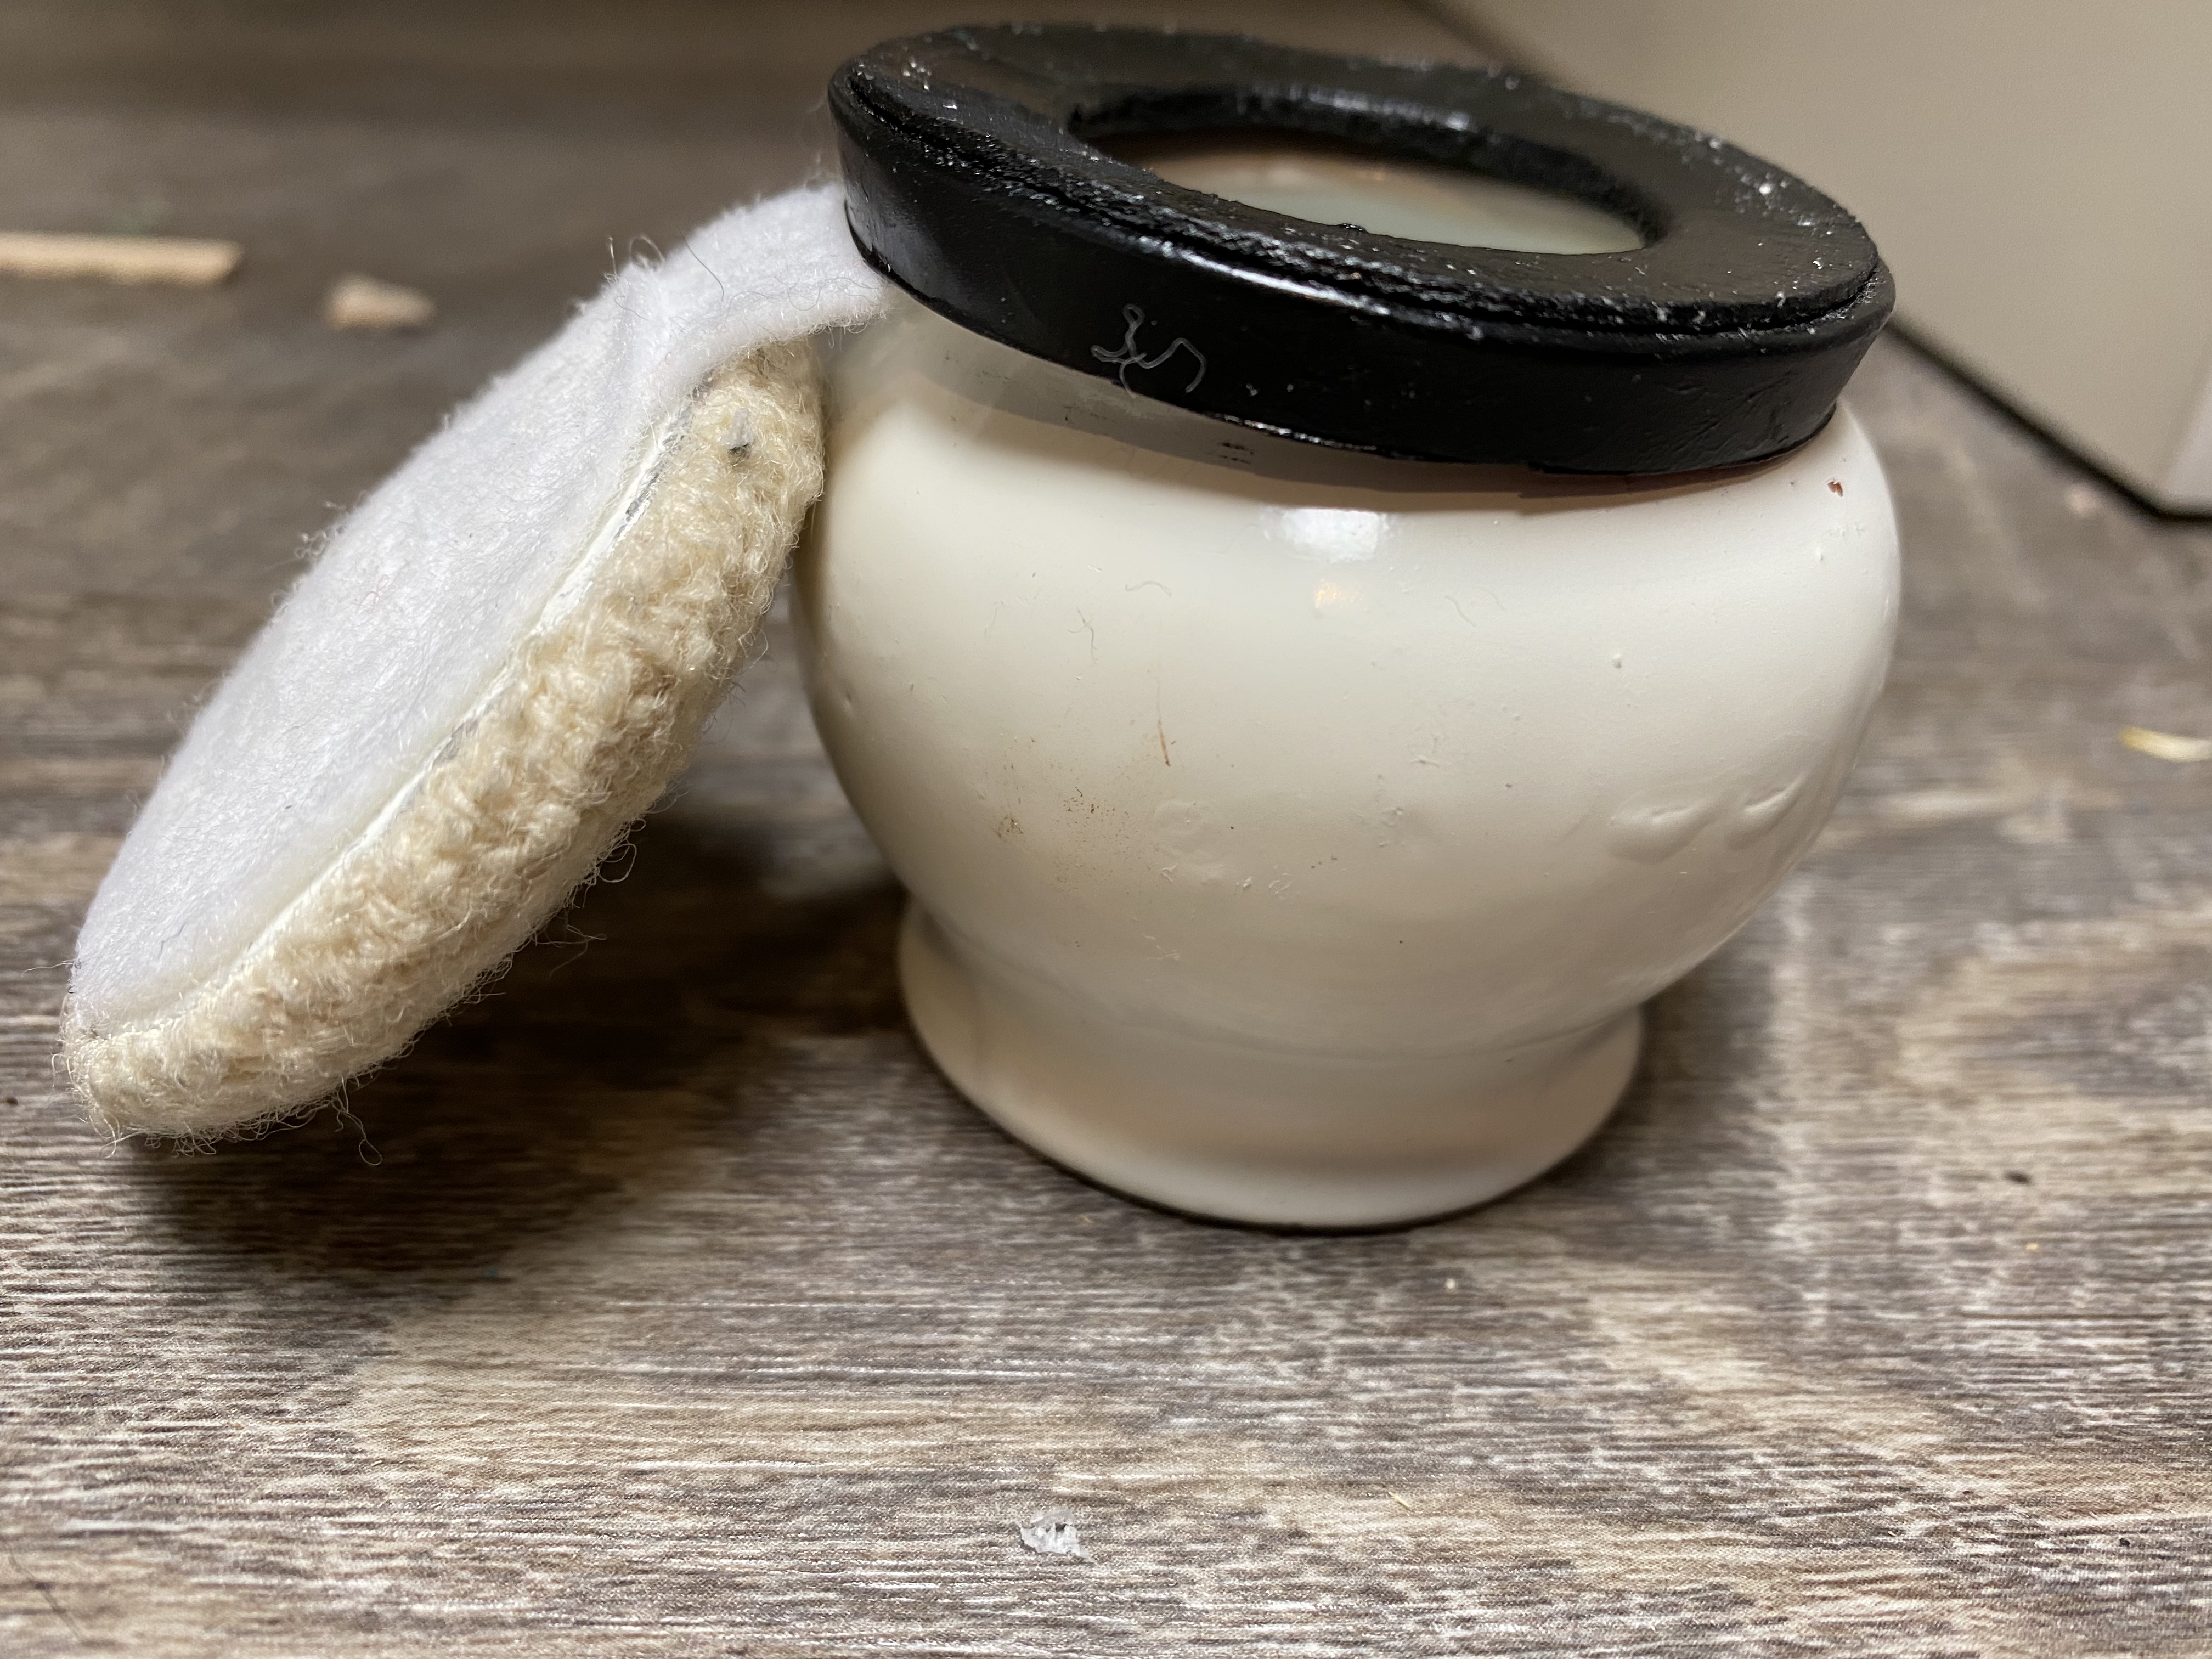
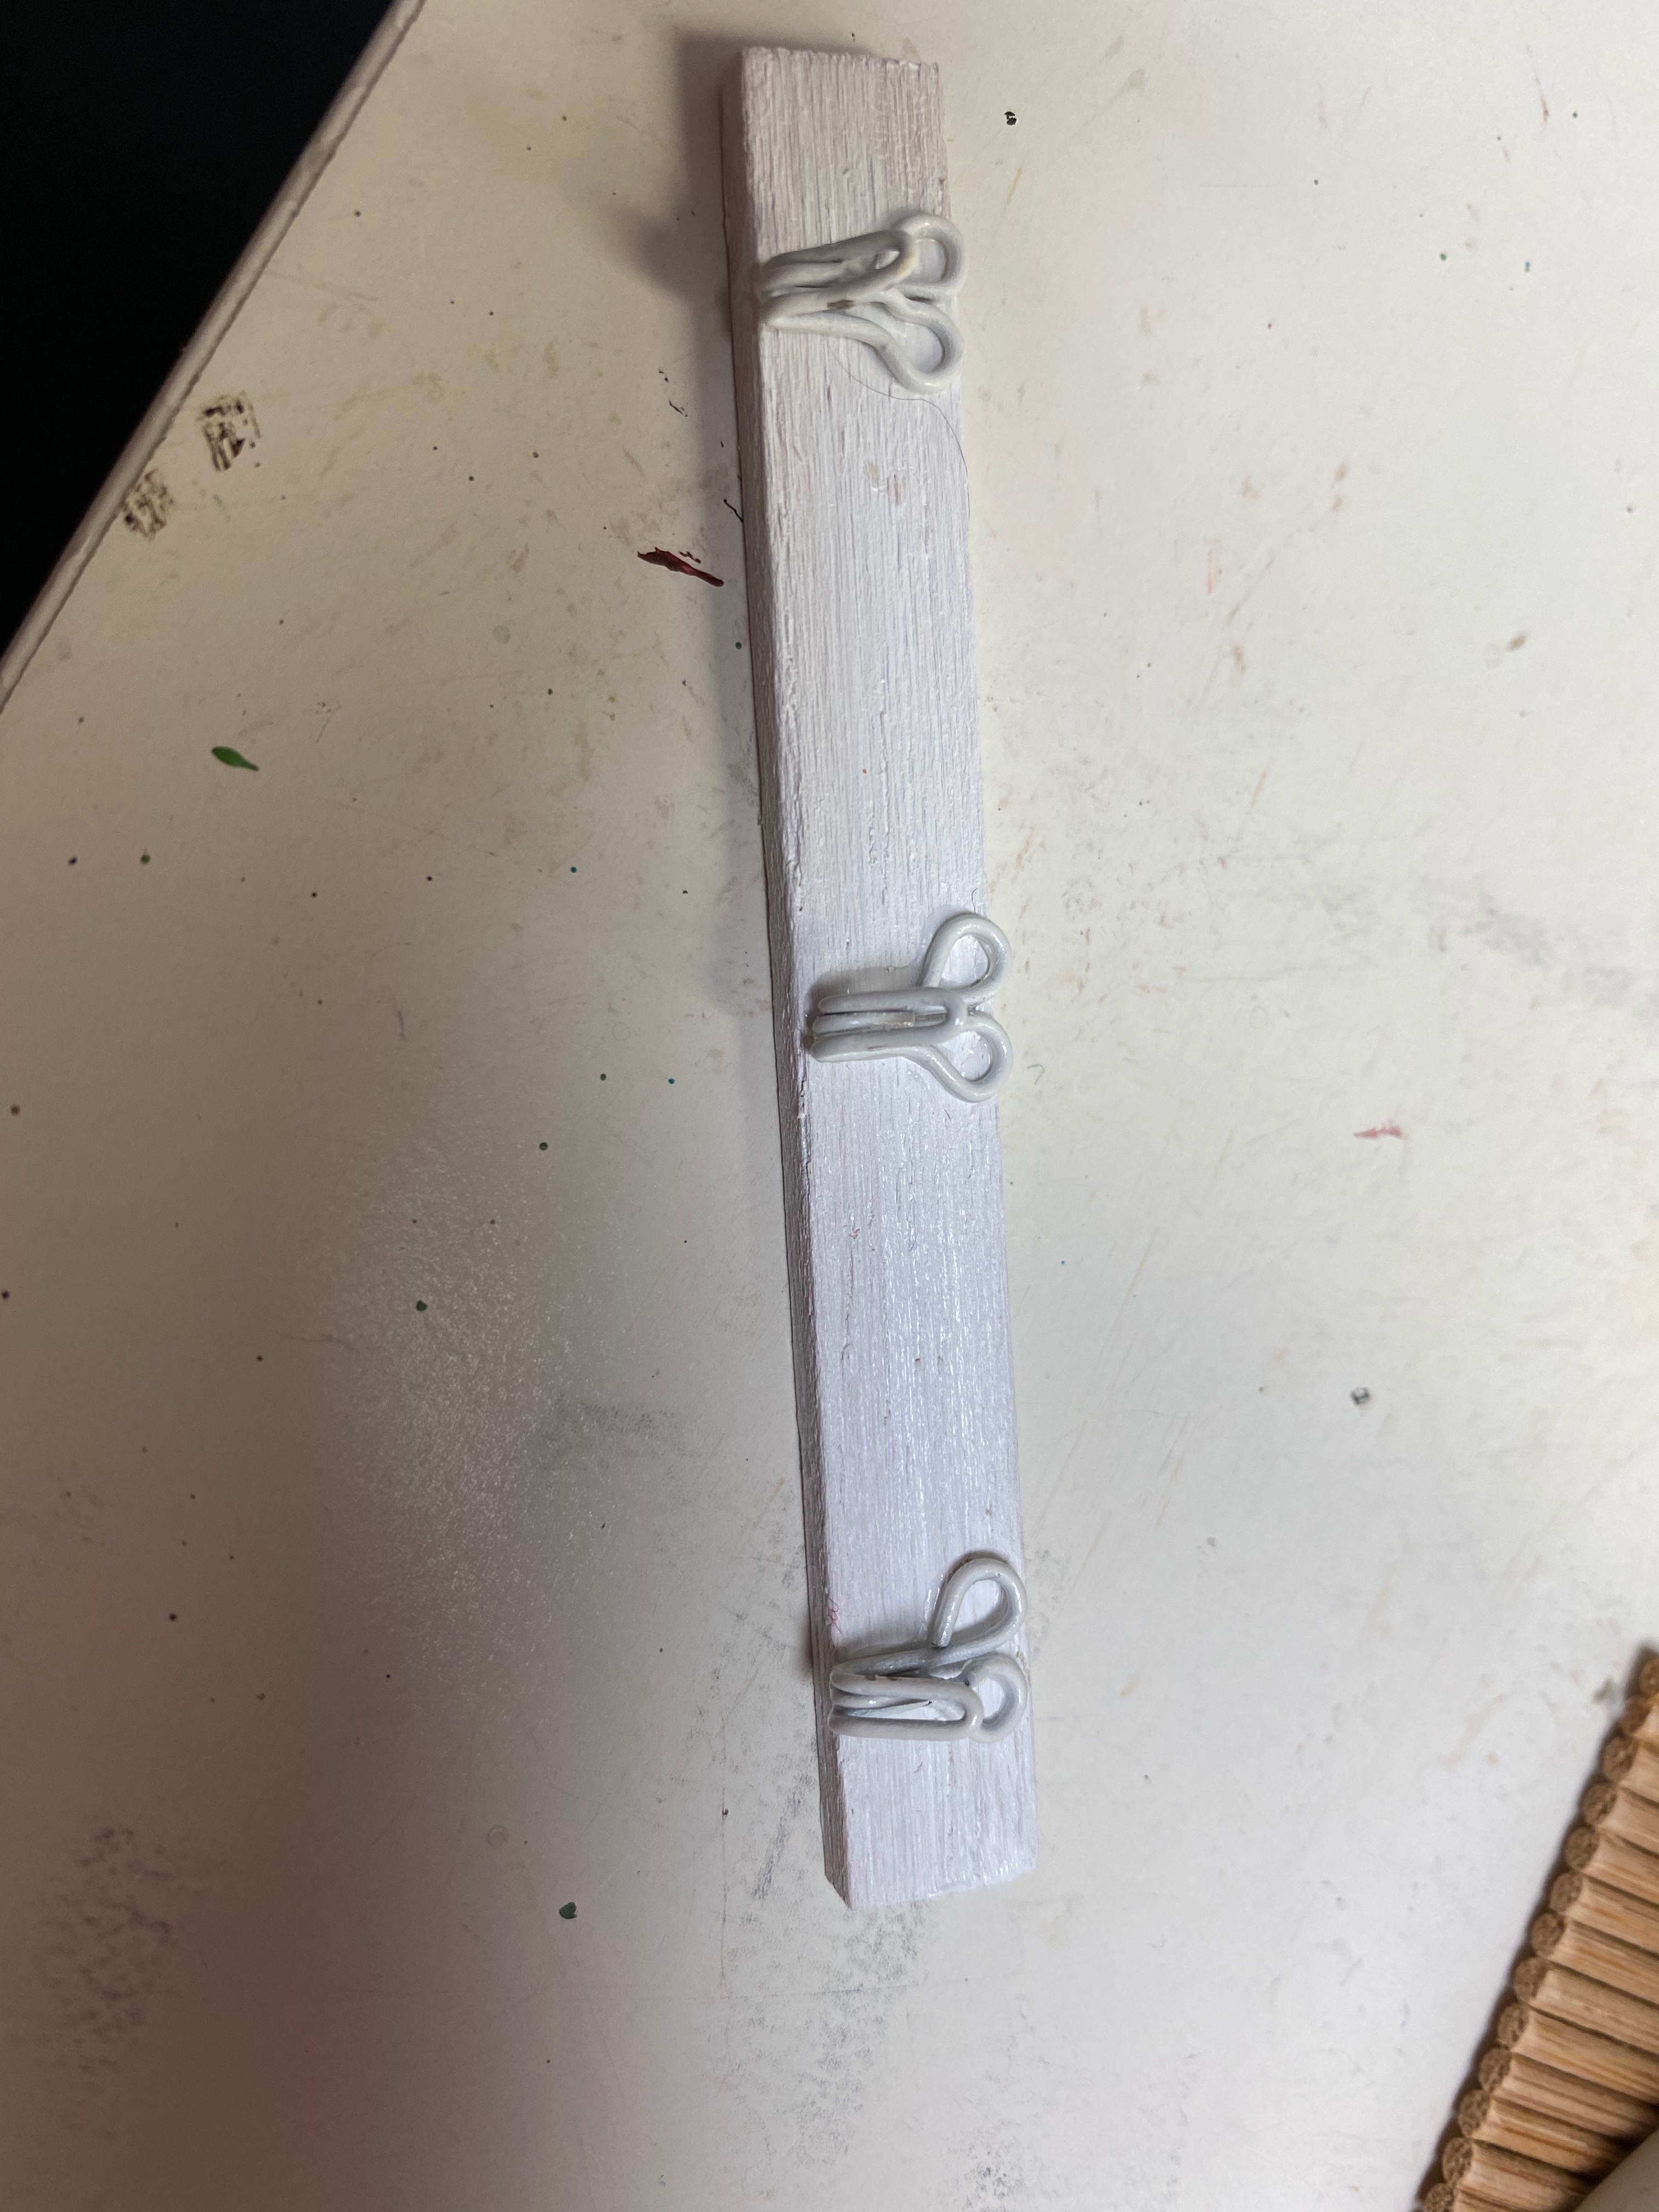
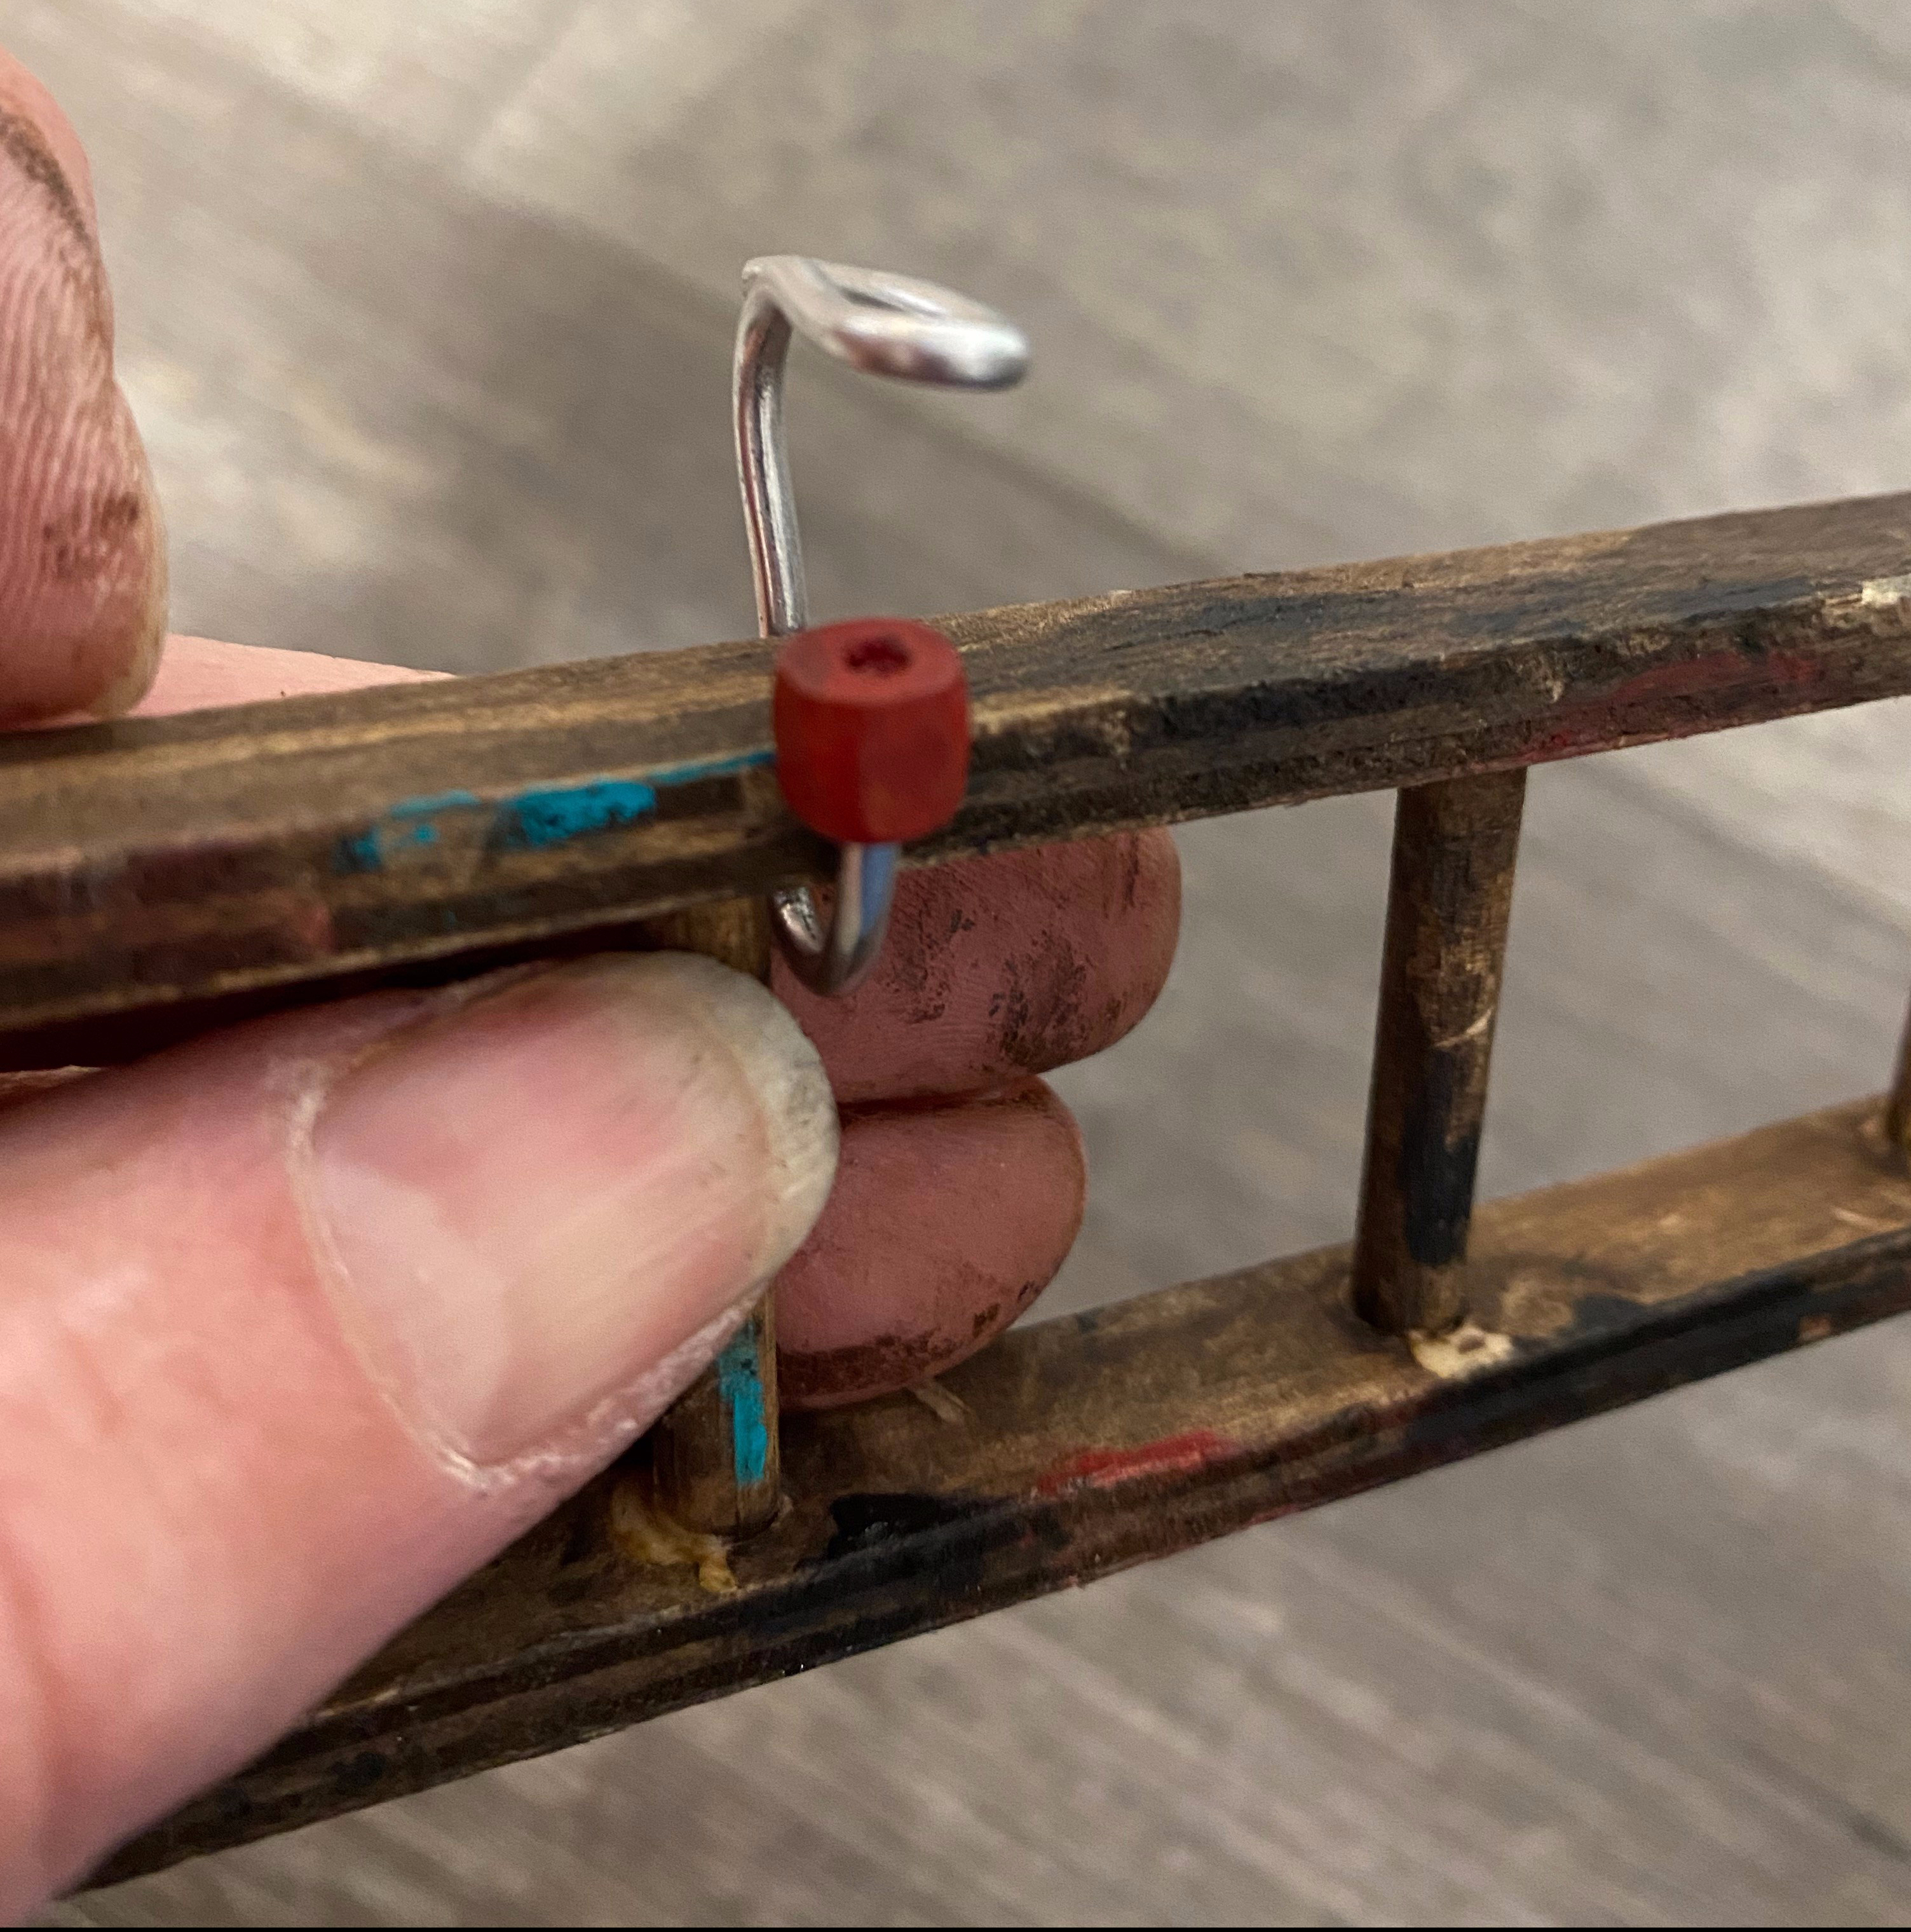
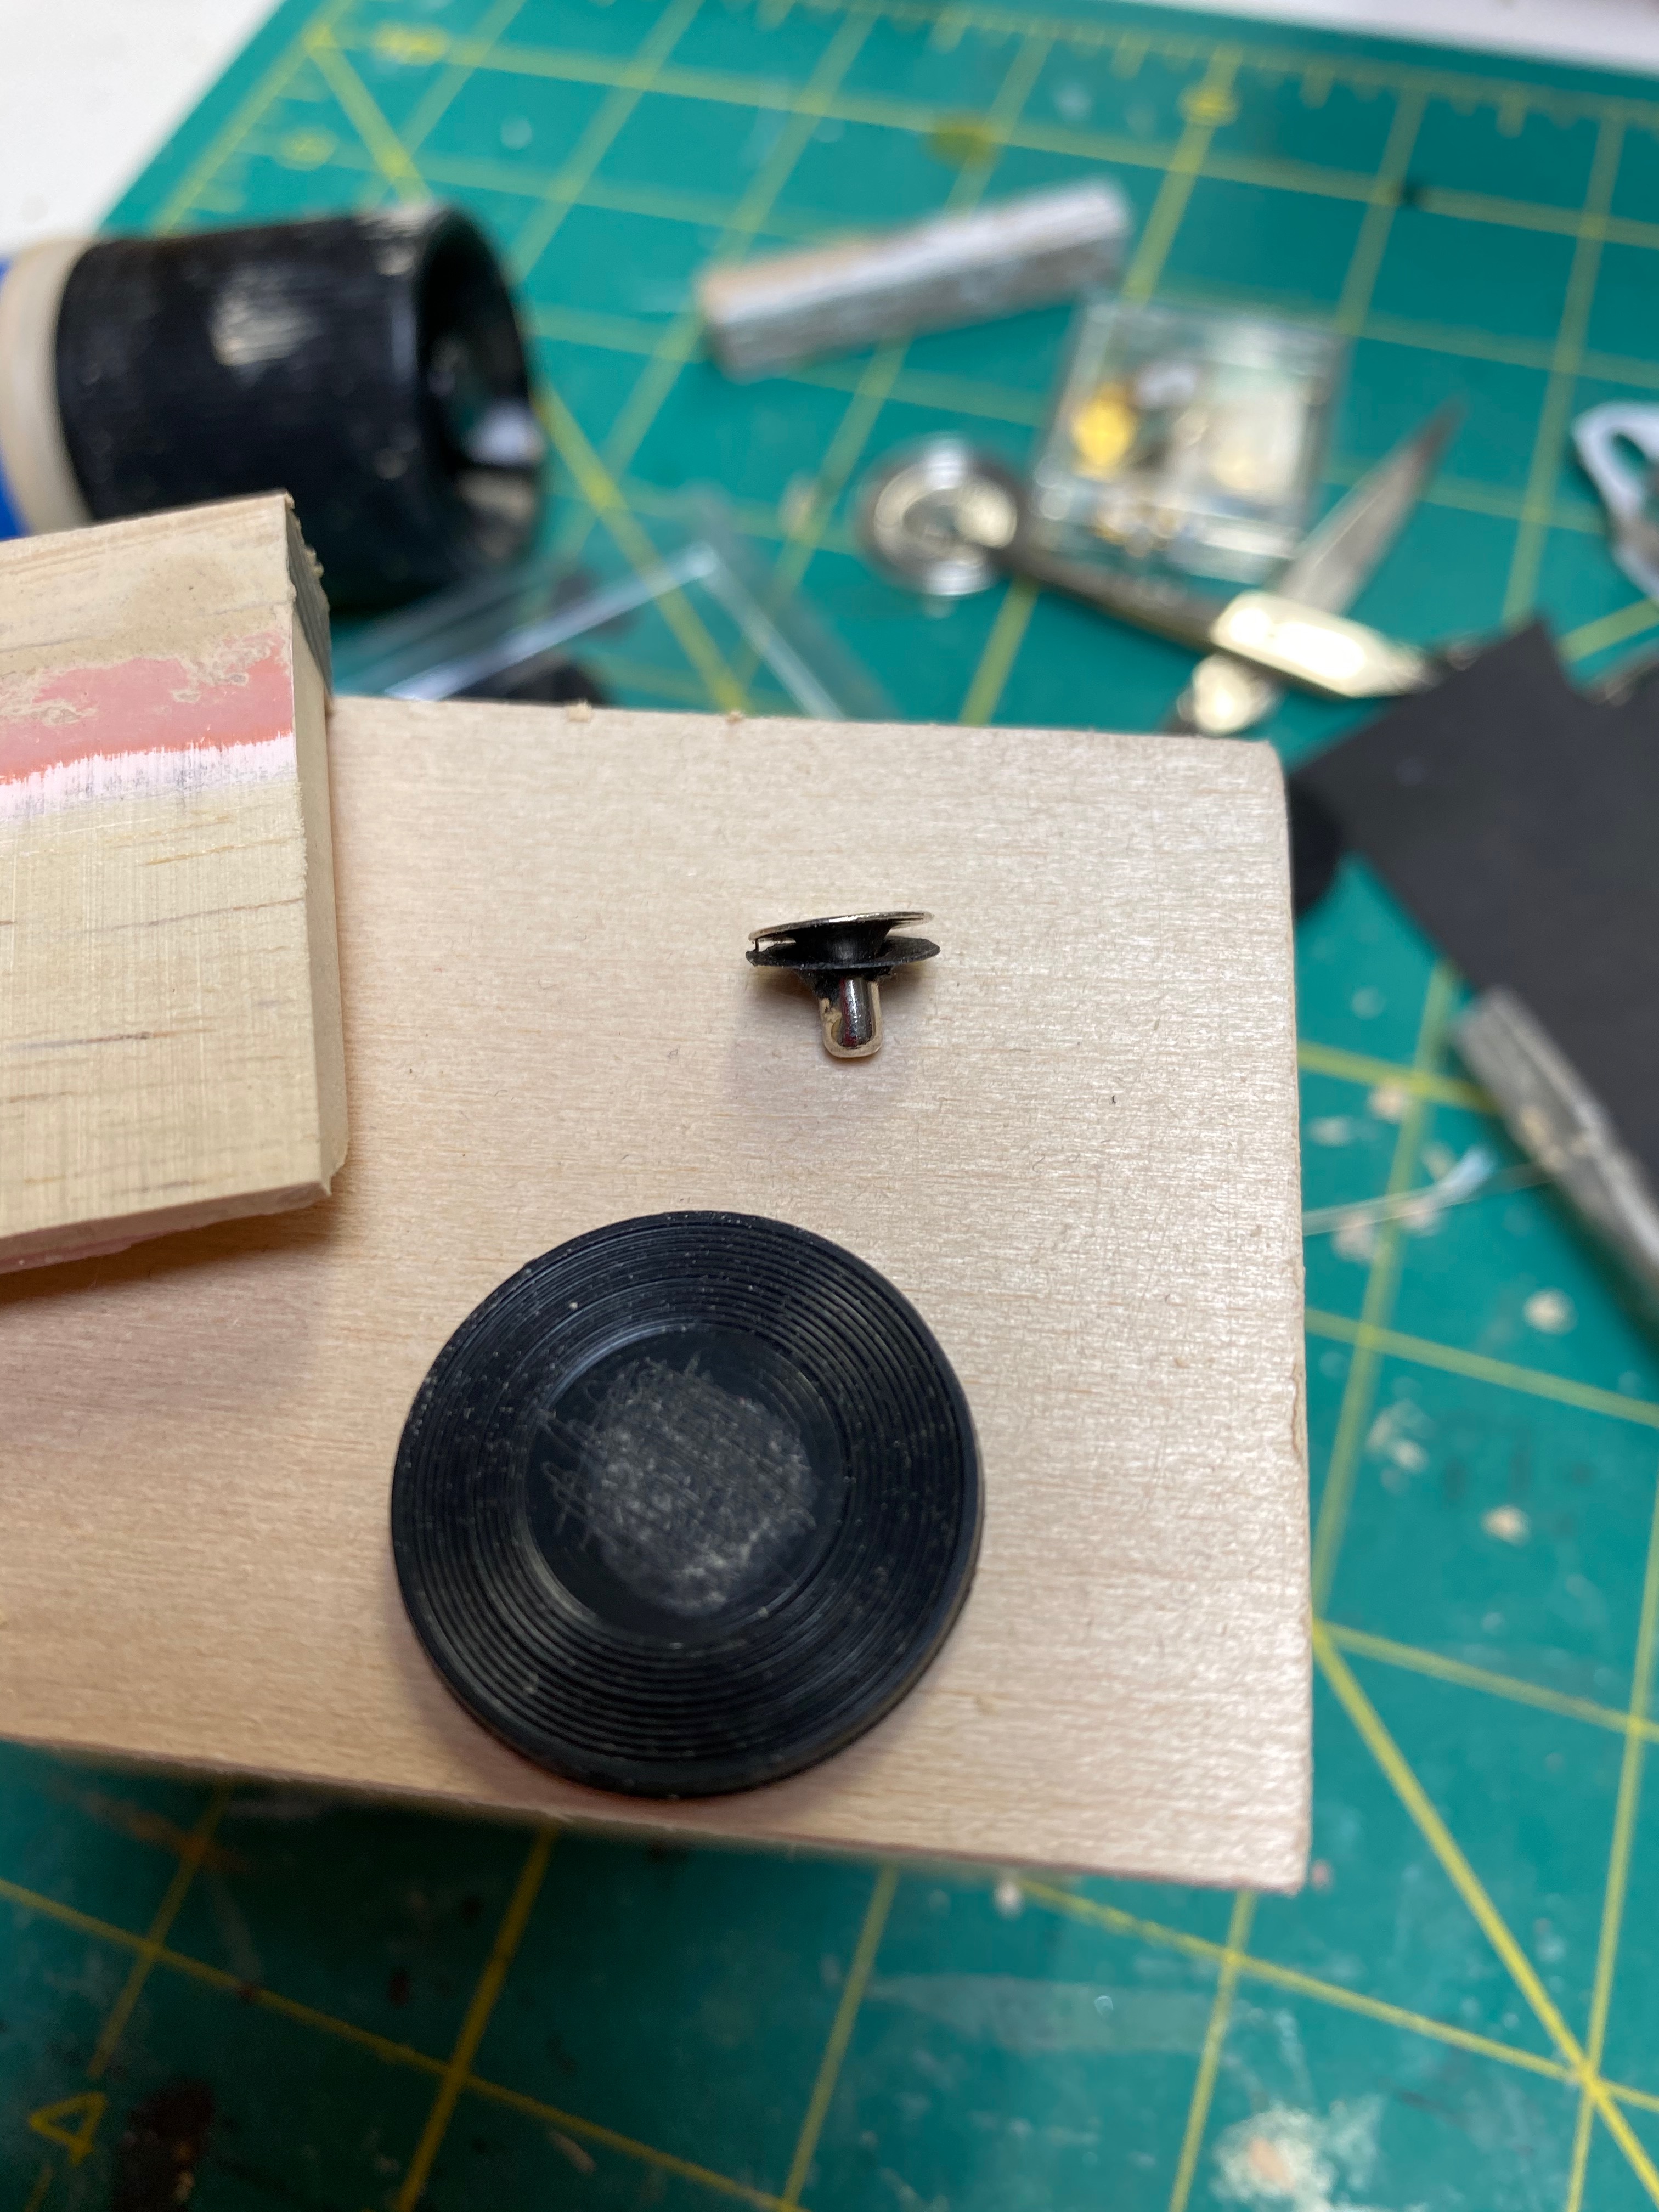
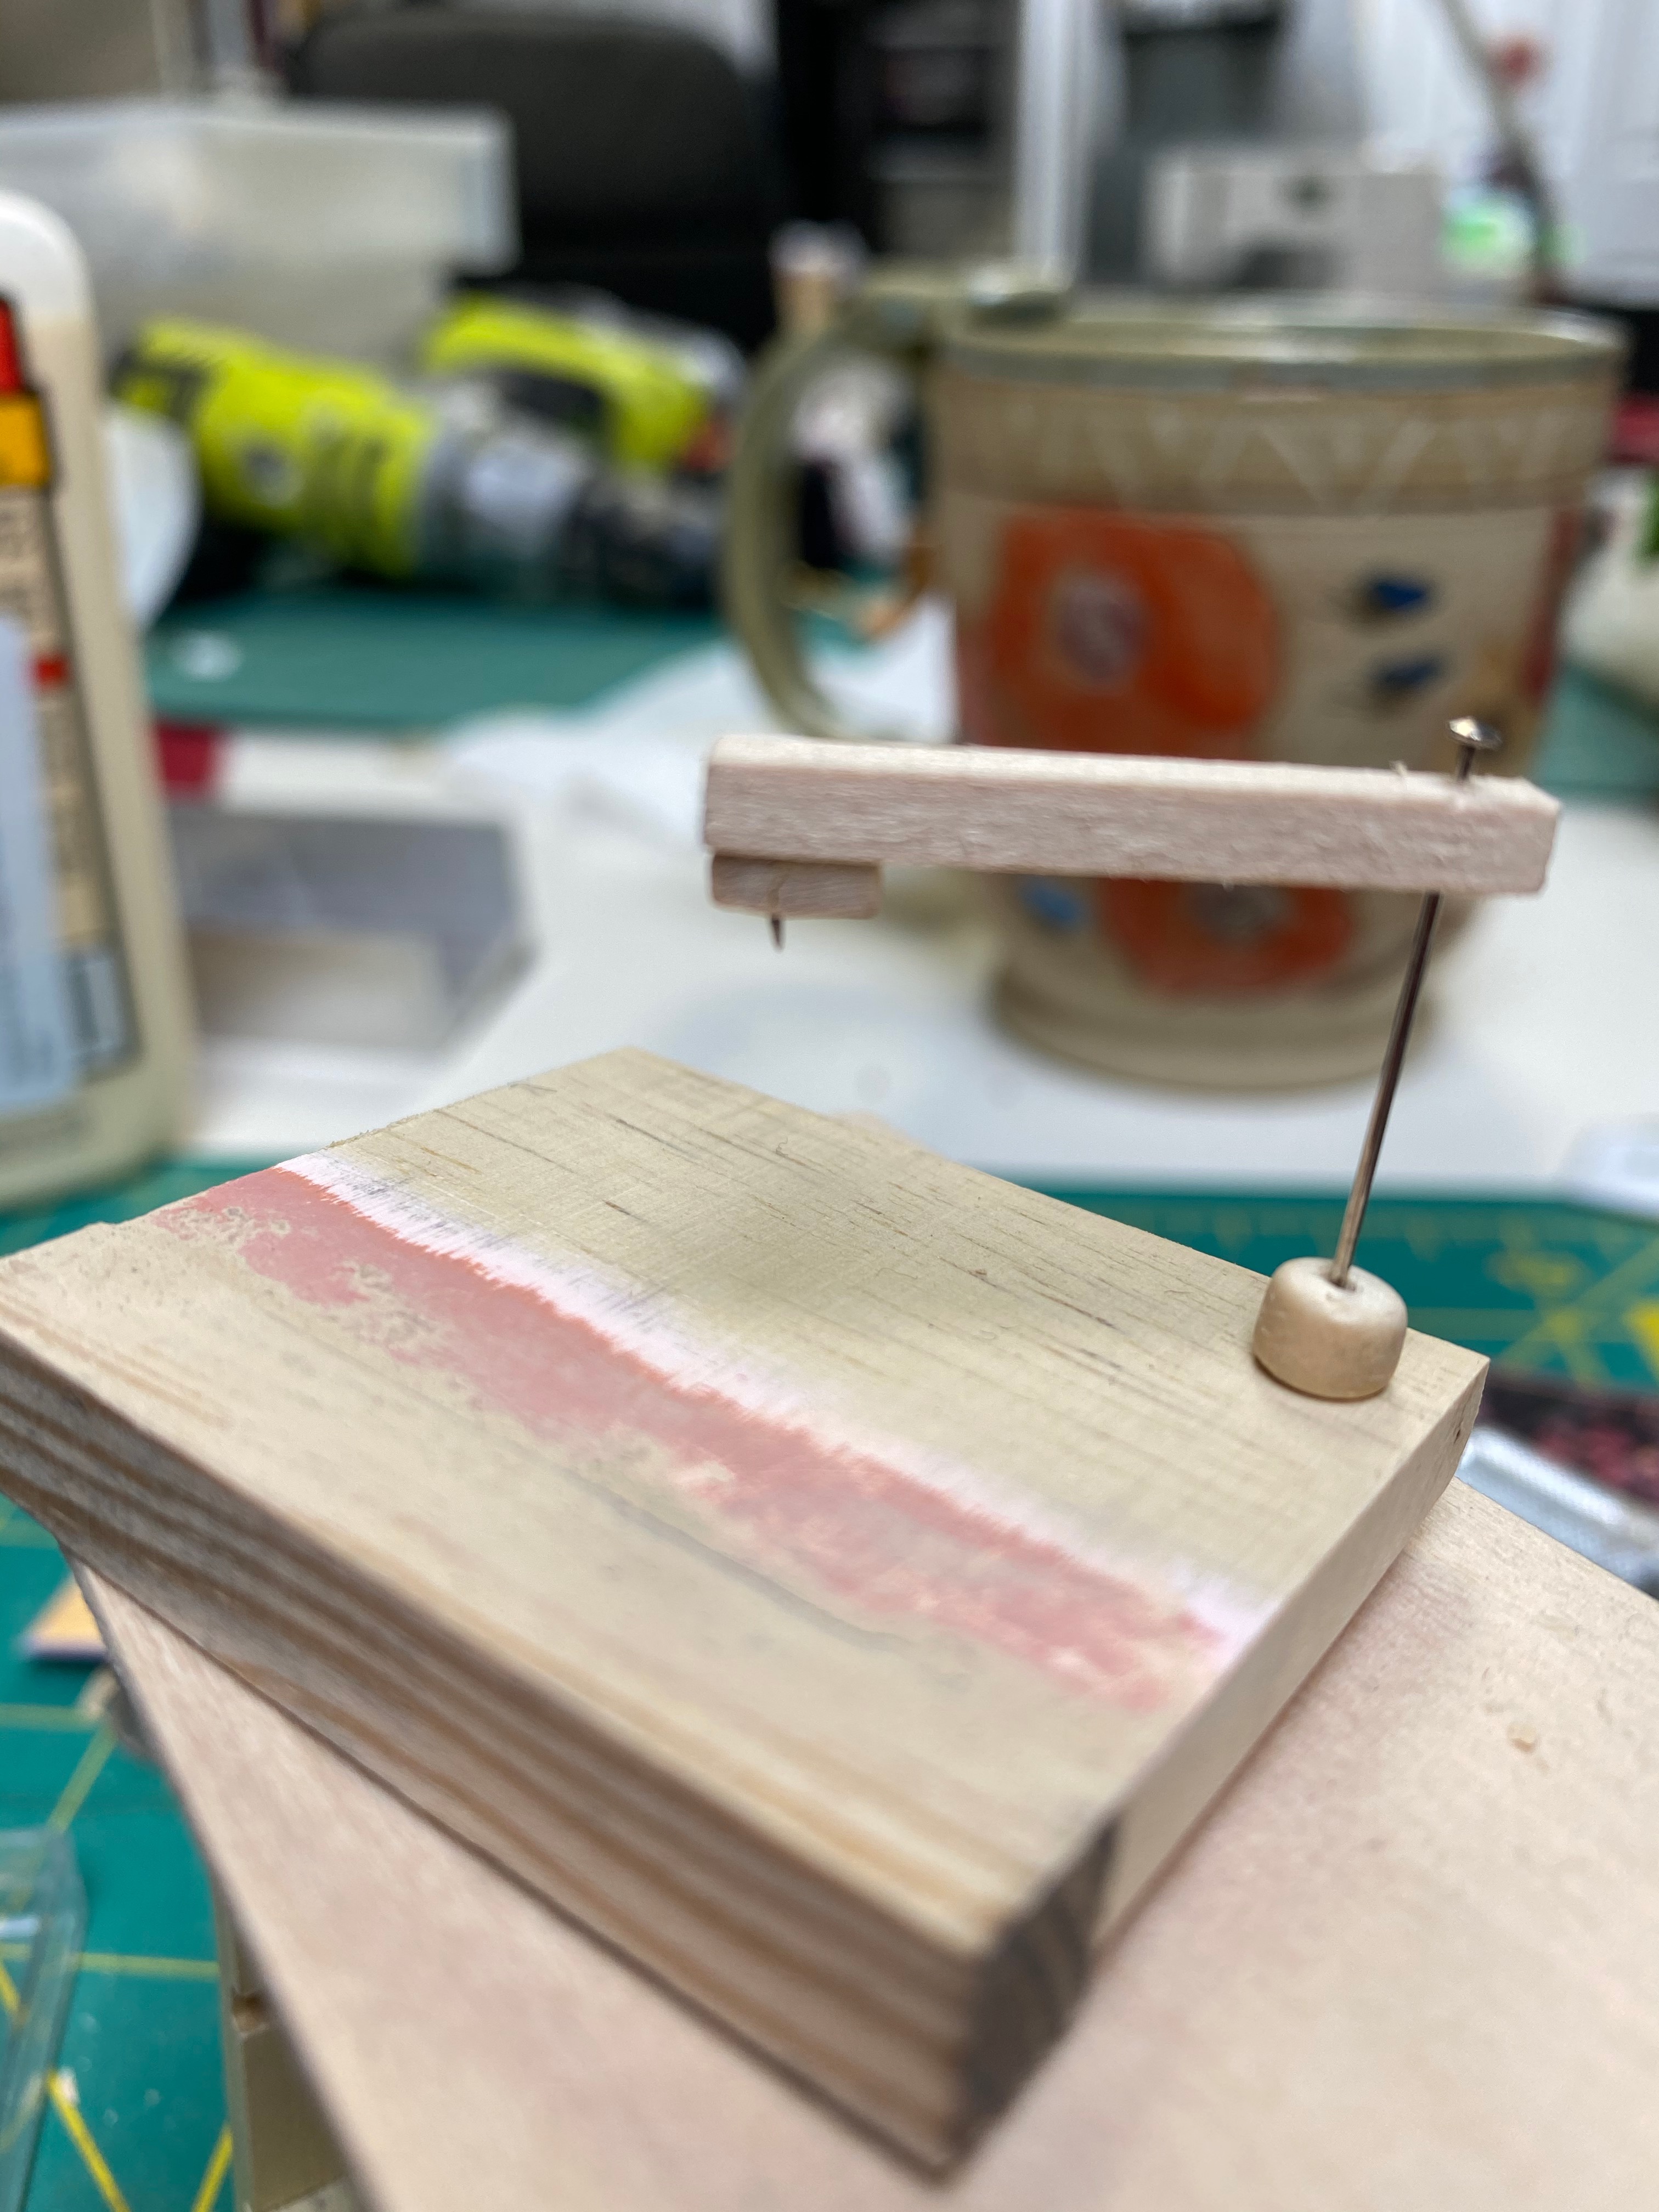
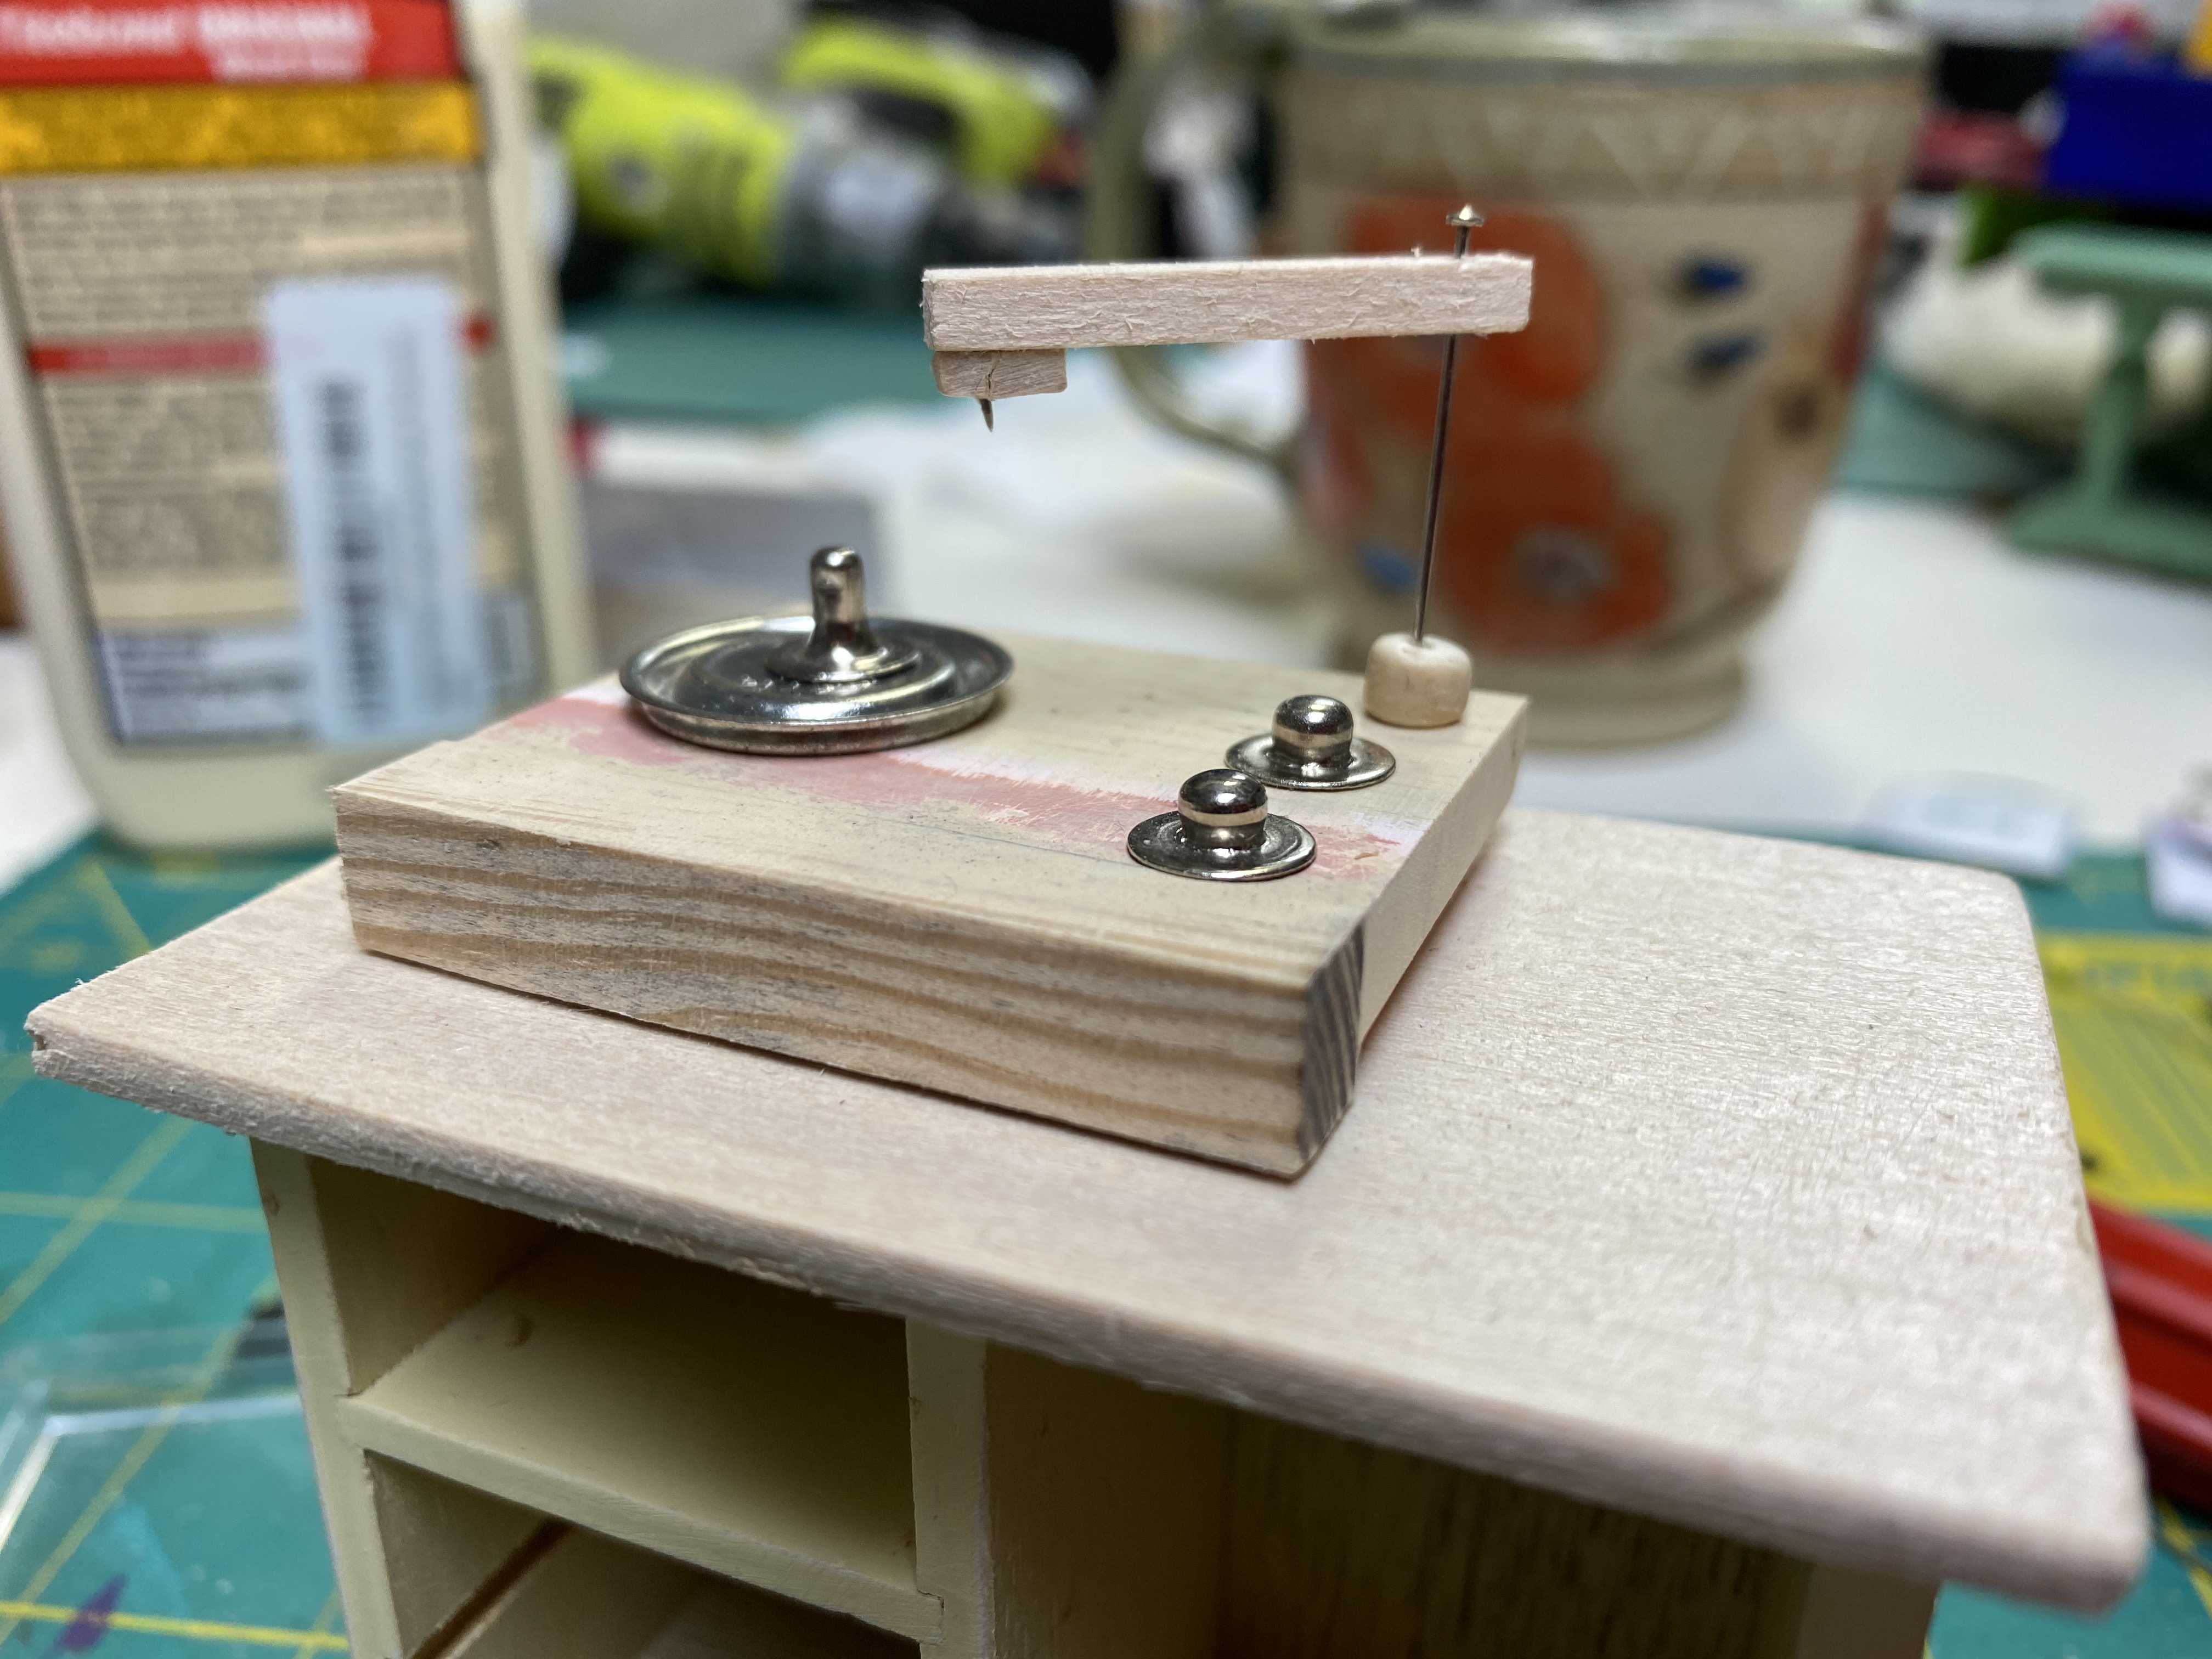
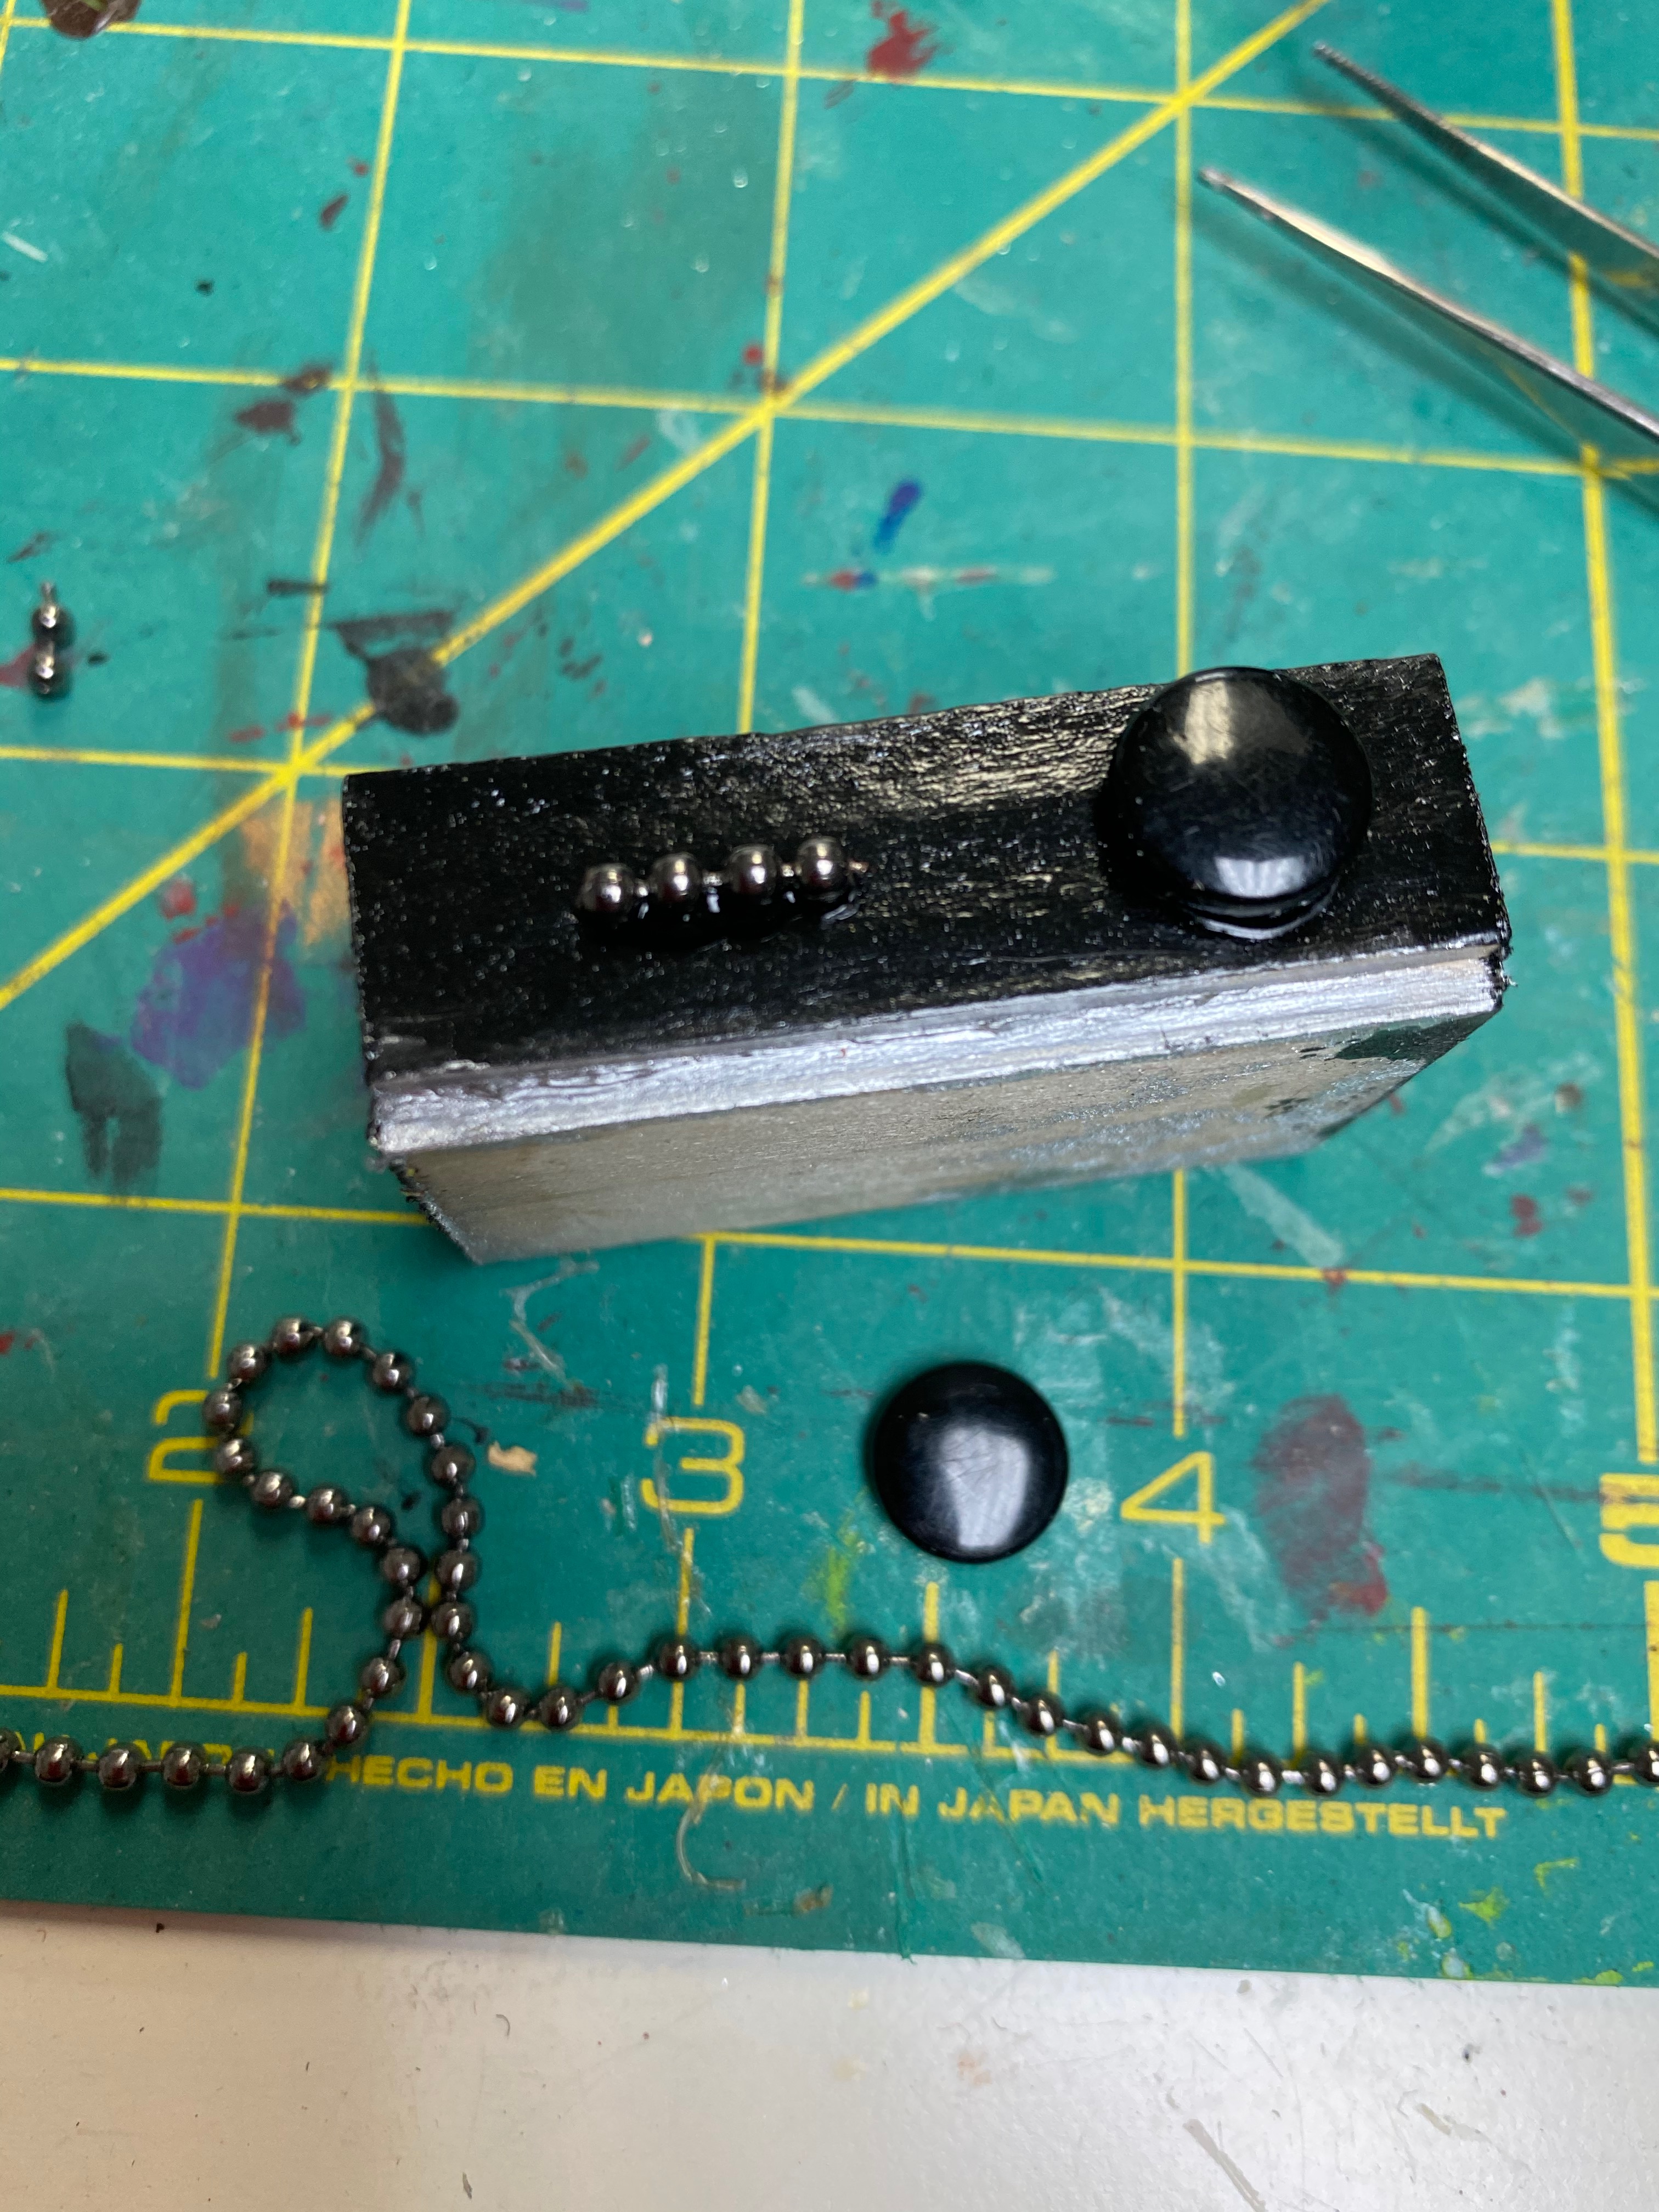
The turntable is essentially a block of wood with snaps for the knobs; a button and snap for the turntable; a small strip of wood for the arm; and a teeny tiny pin inserted into the wood to make the needle. I’m especially proud of the rotating arm!

The Mouse House turntable.
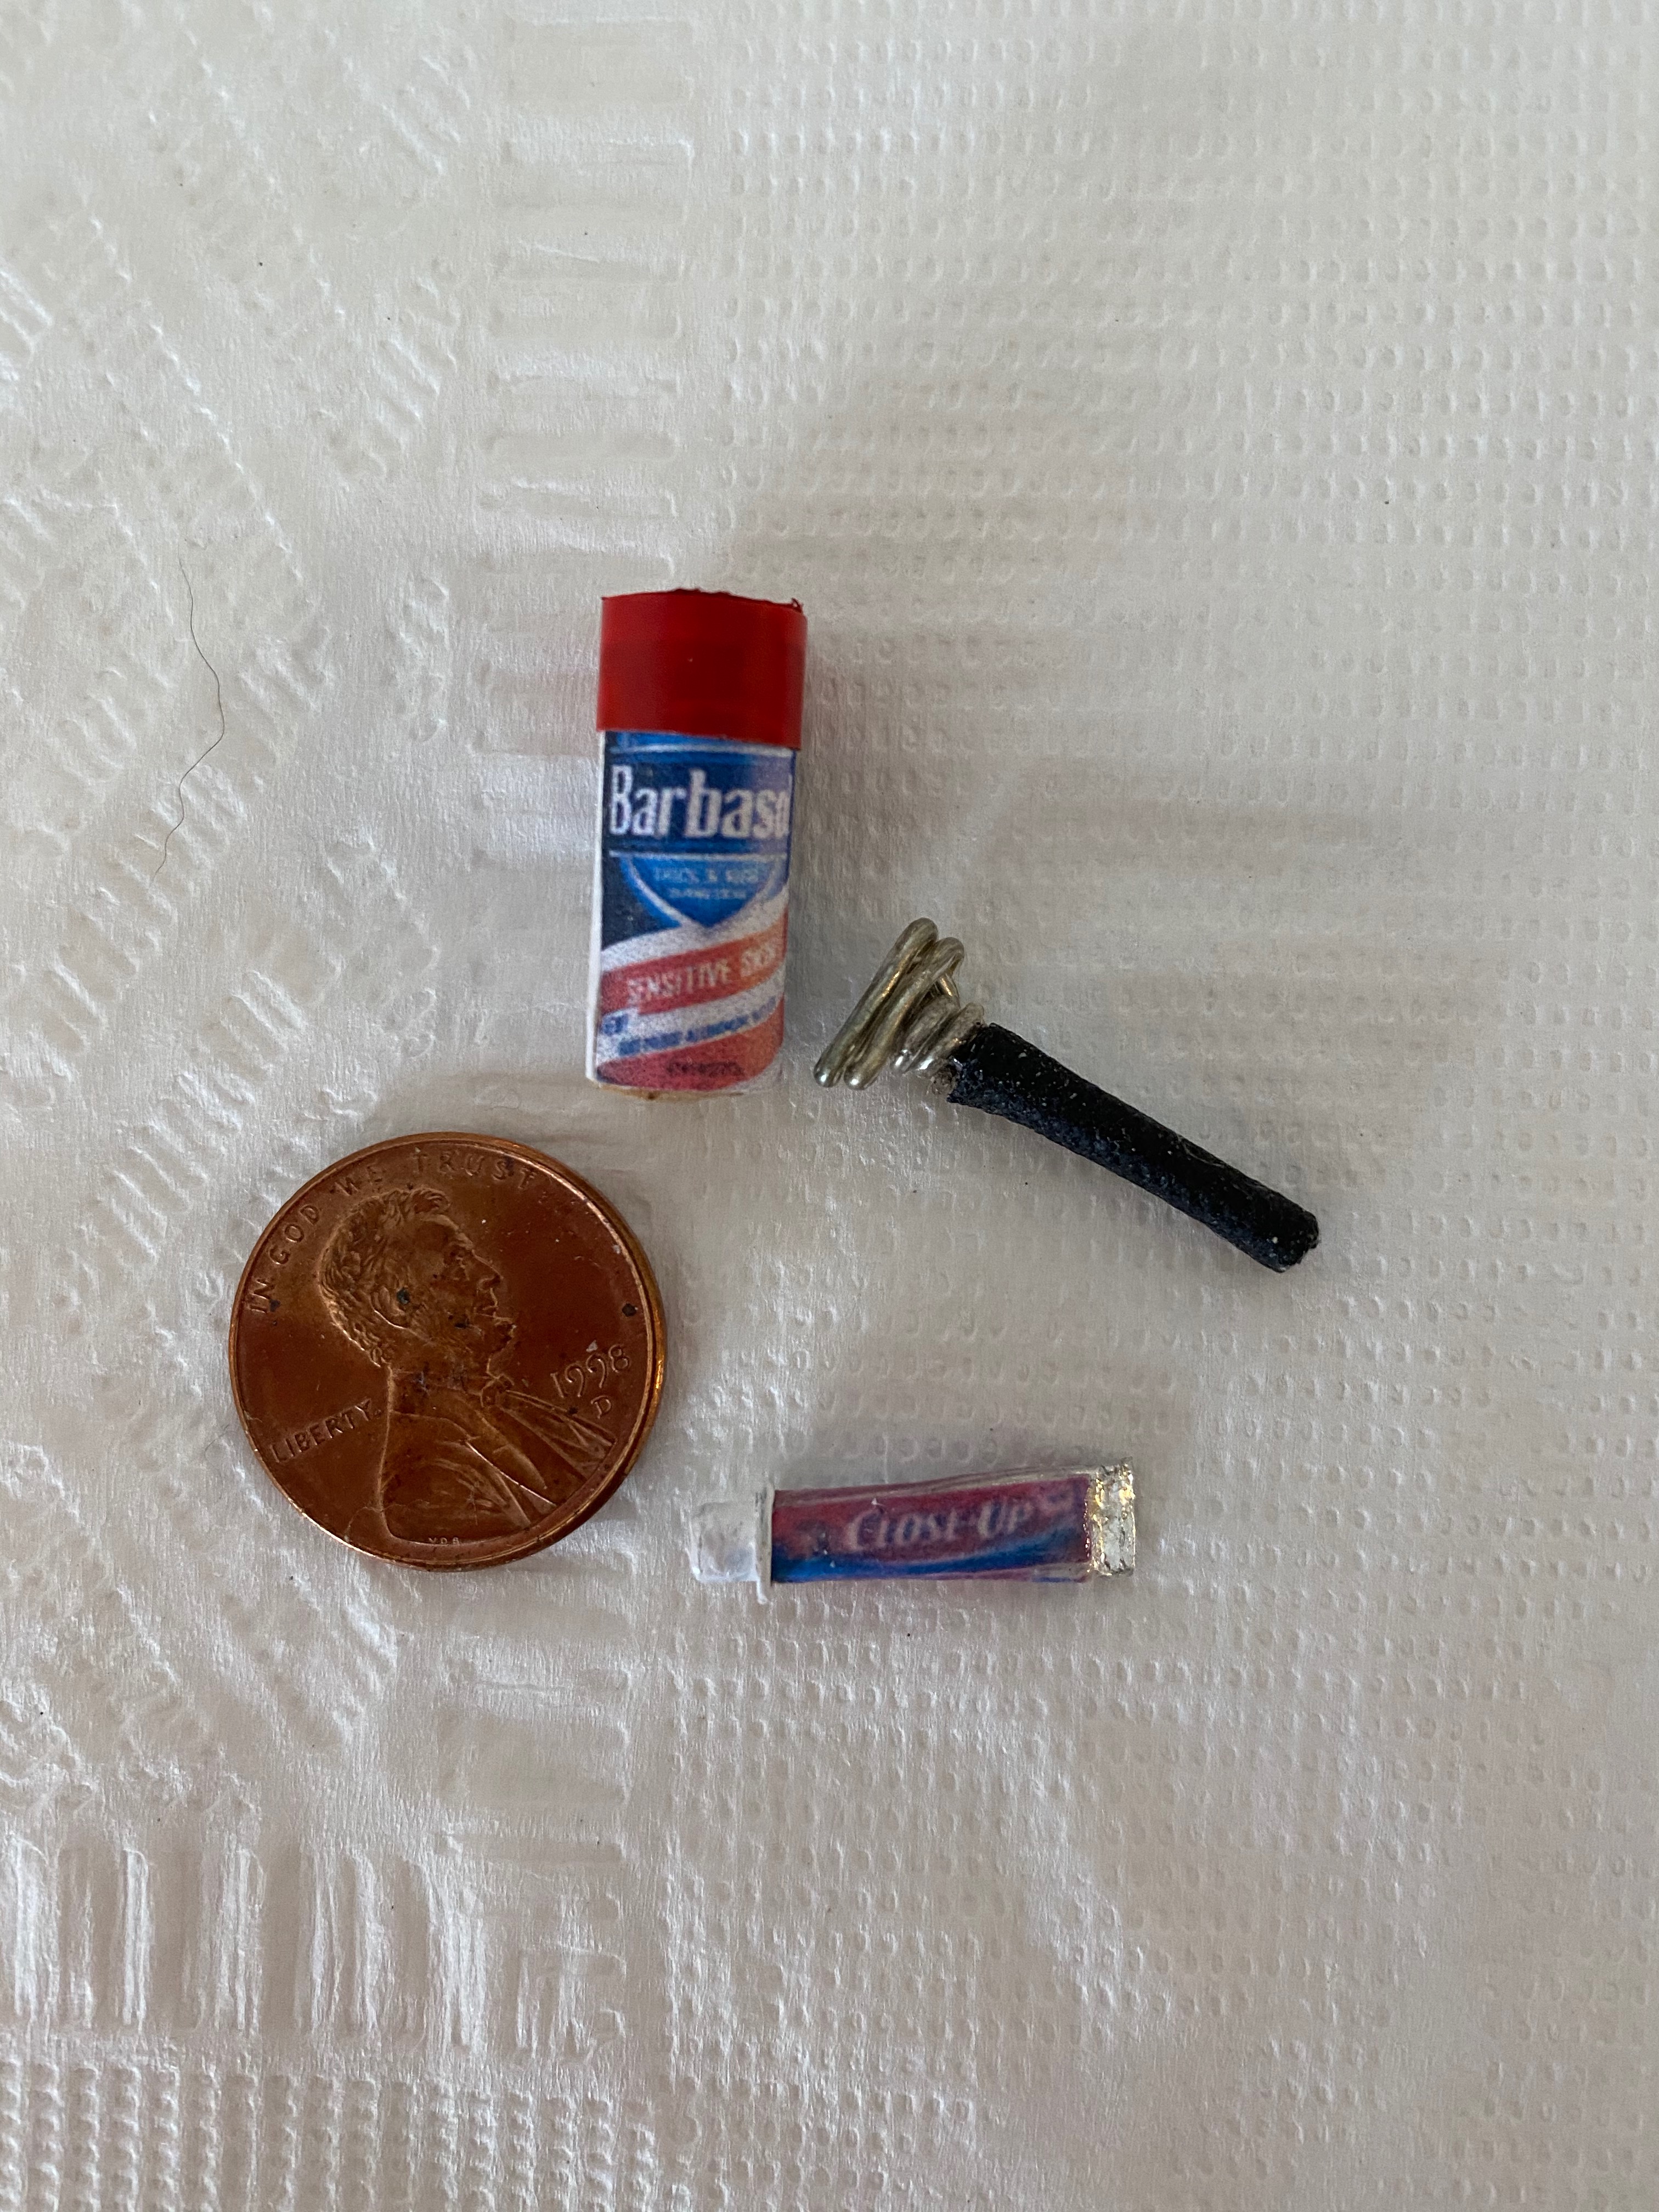
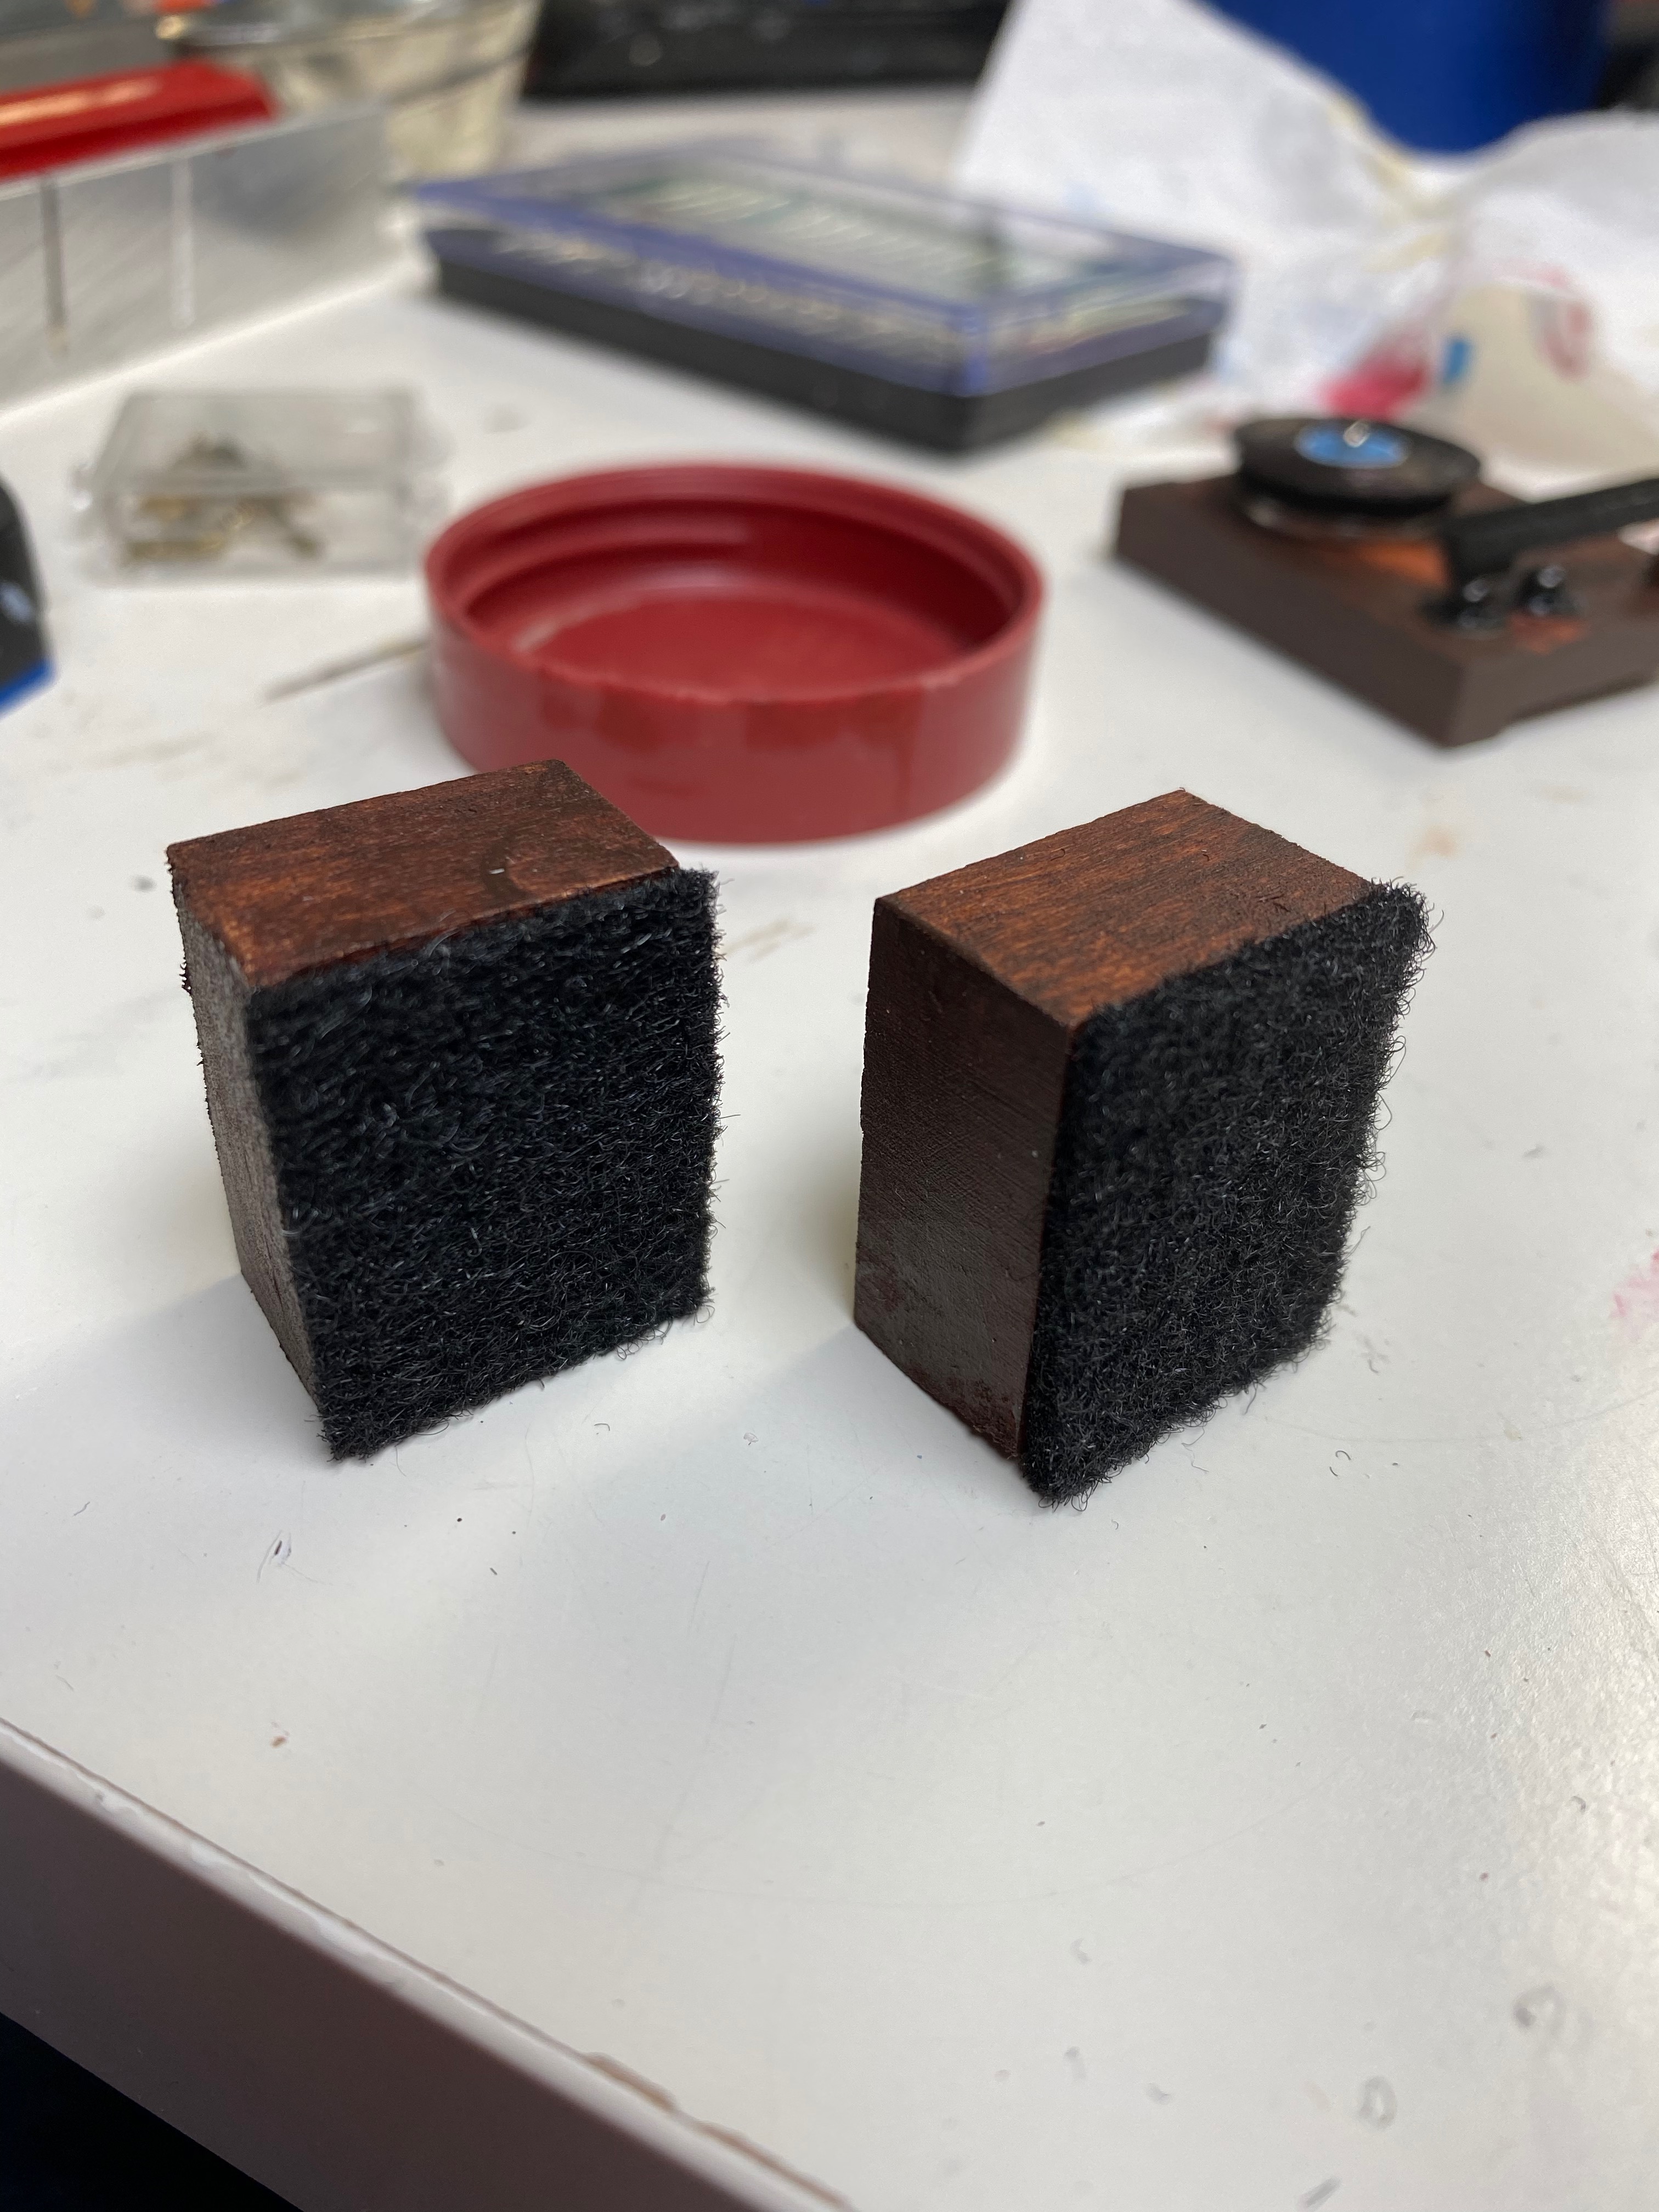
The receiver was made with another small block of wood, a snap and a small section of chain I cut and glued to the front as buttons. I made the speakers with wood and pieces of weird, hard felt stuff that Andy had laying around from his work.
Once I loaded the albums on the shelves of the dresser (painted red) and placed the turntable and receiver on the top, I thought it looked just fine as a small stereo cabinet.

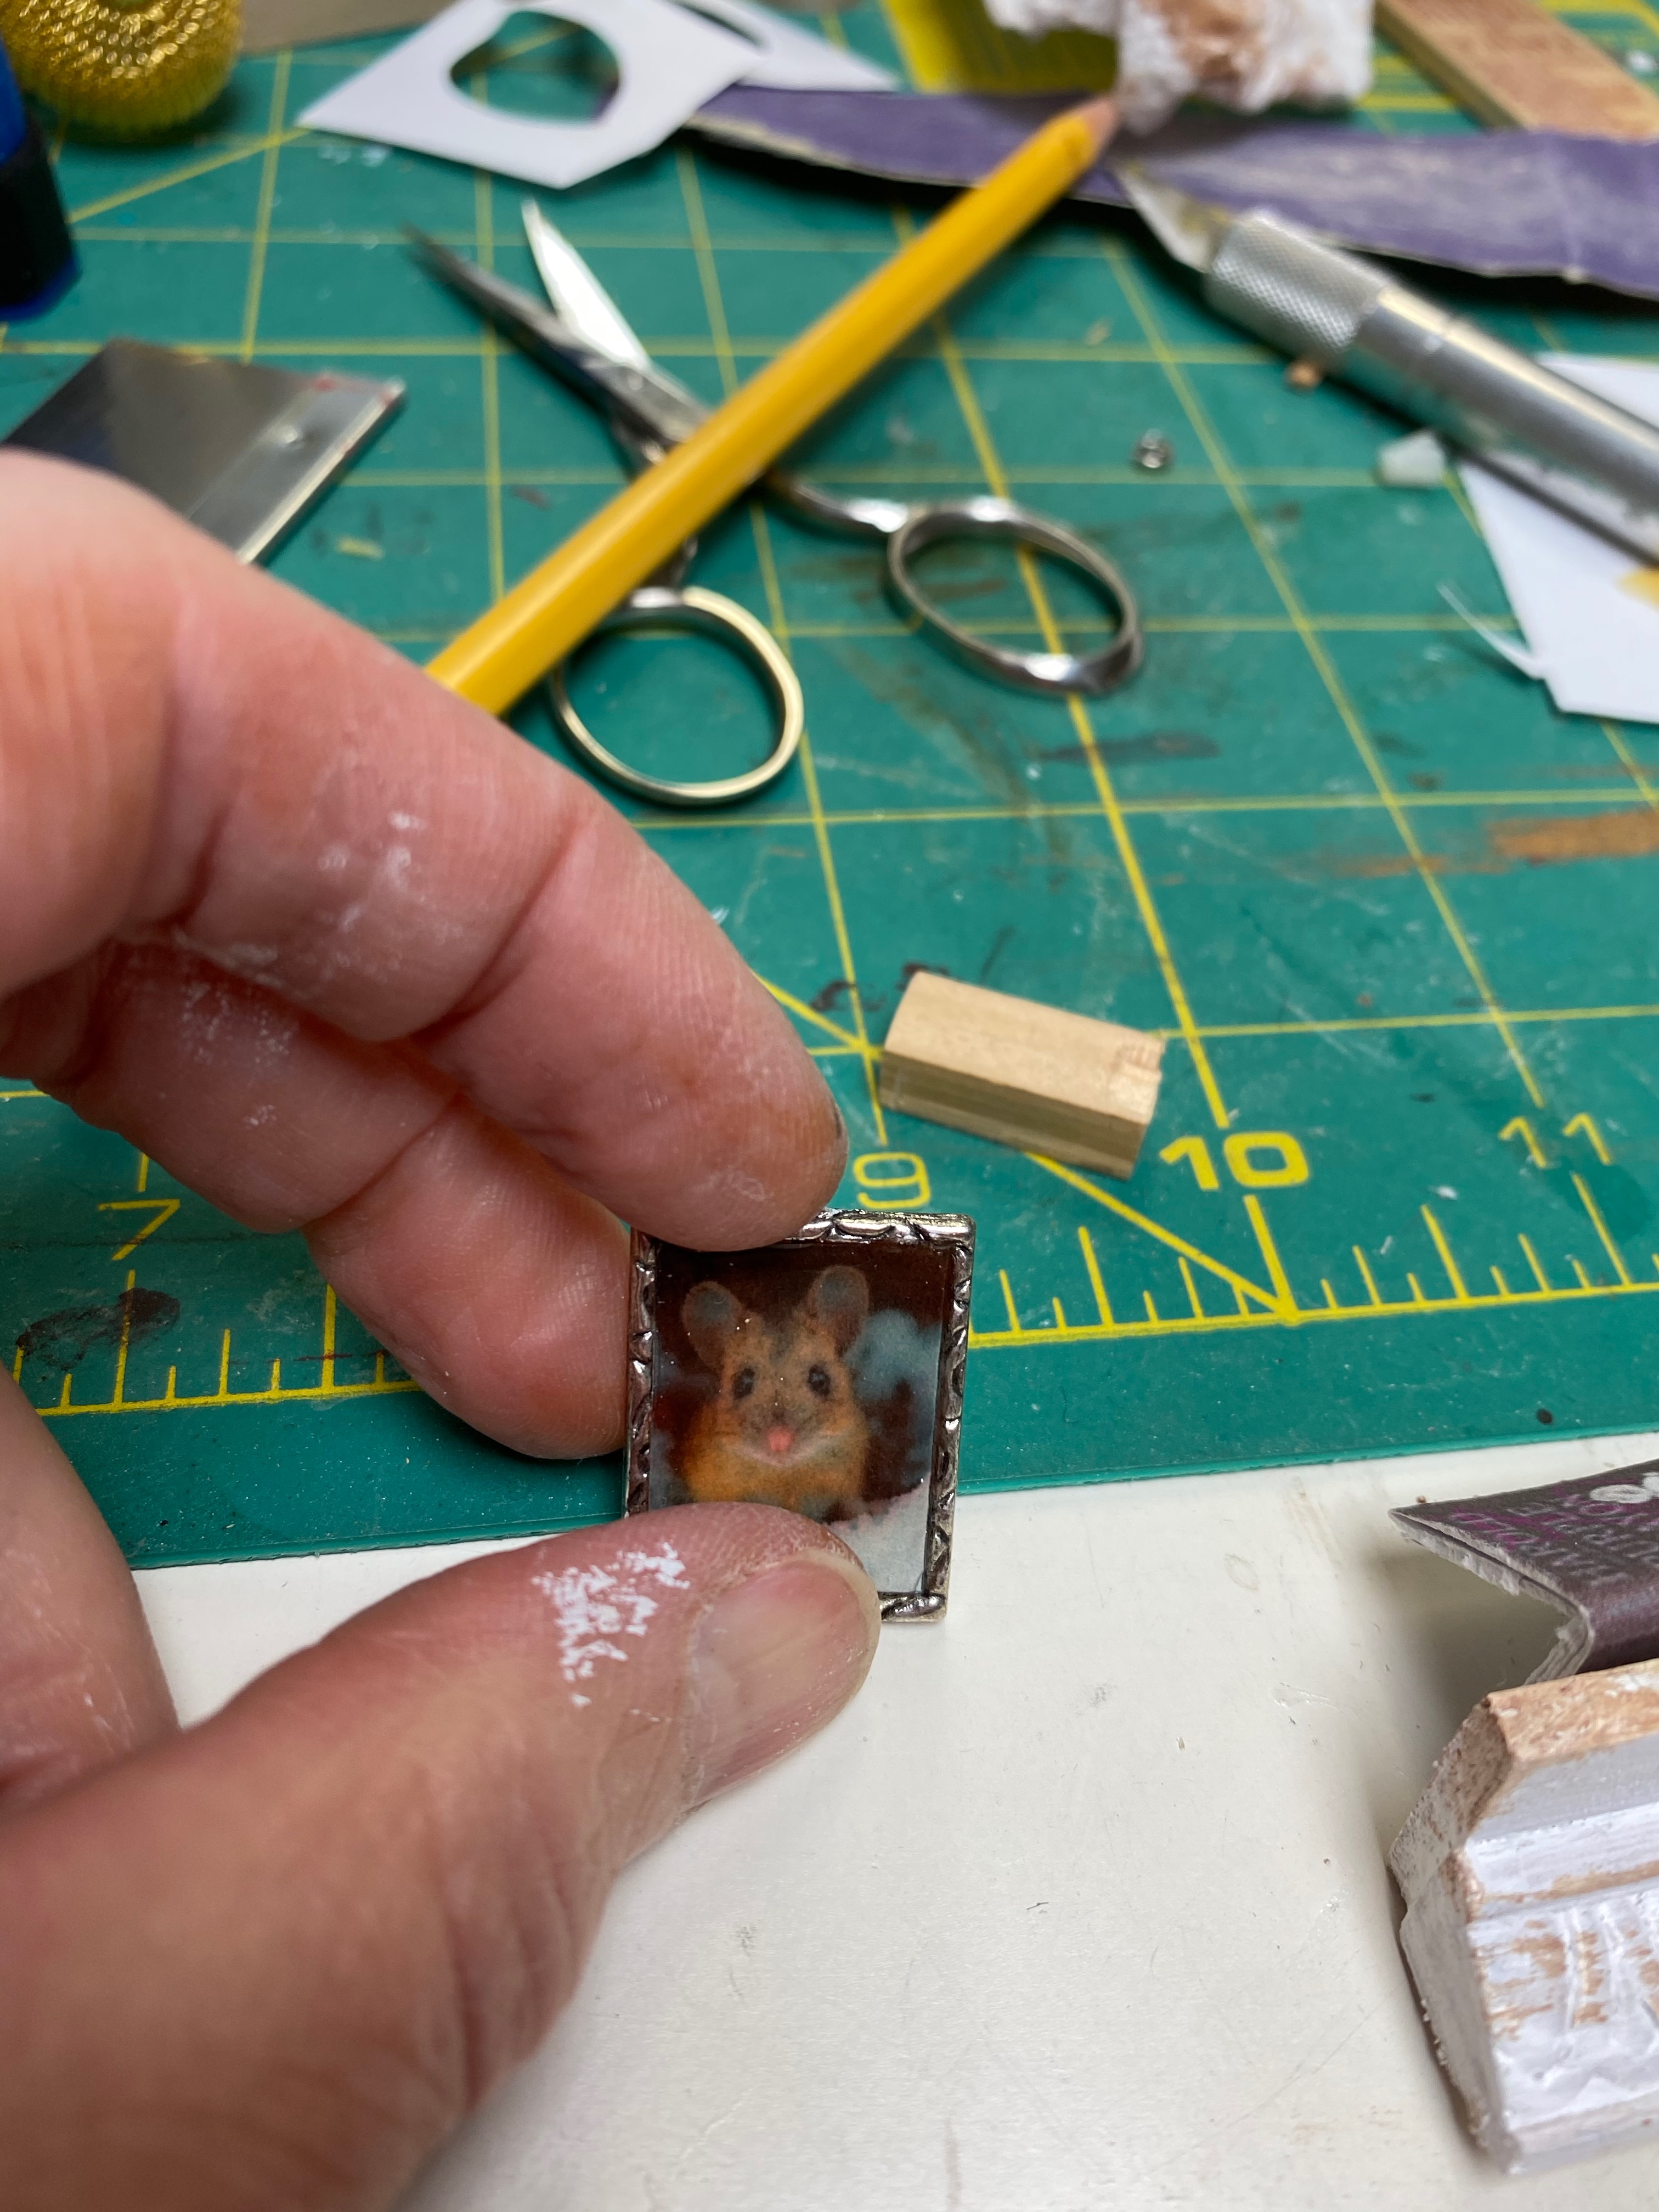
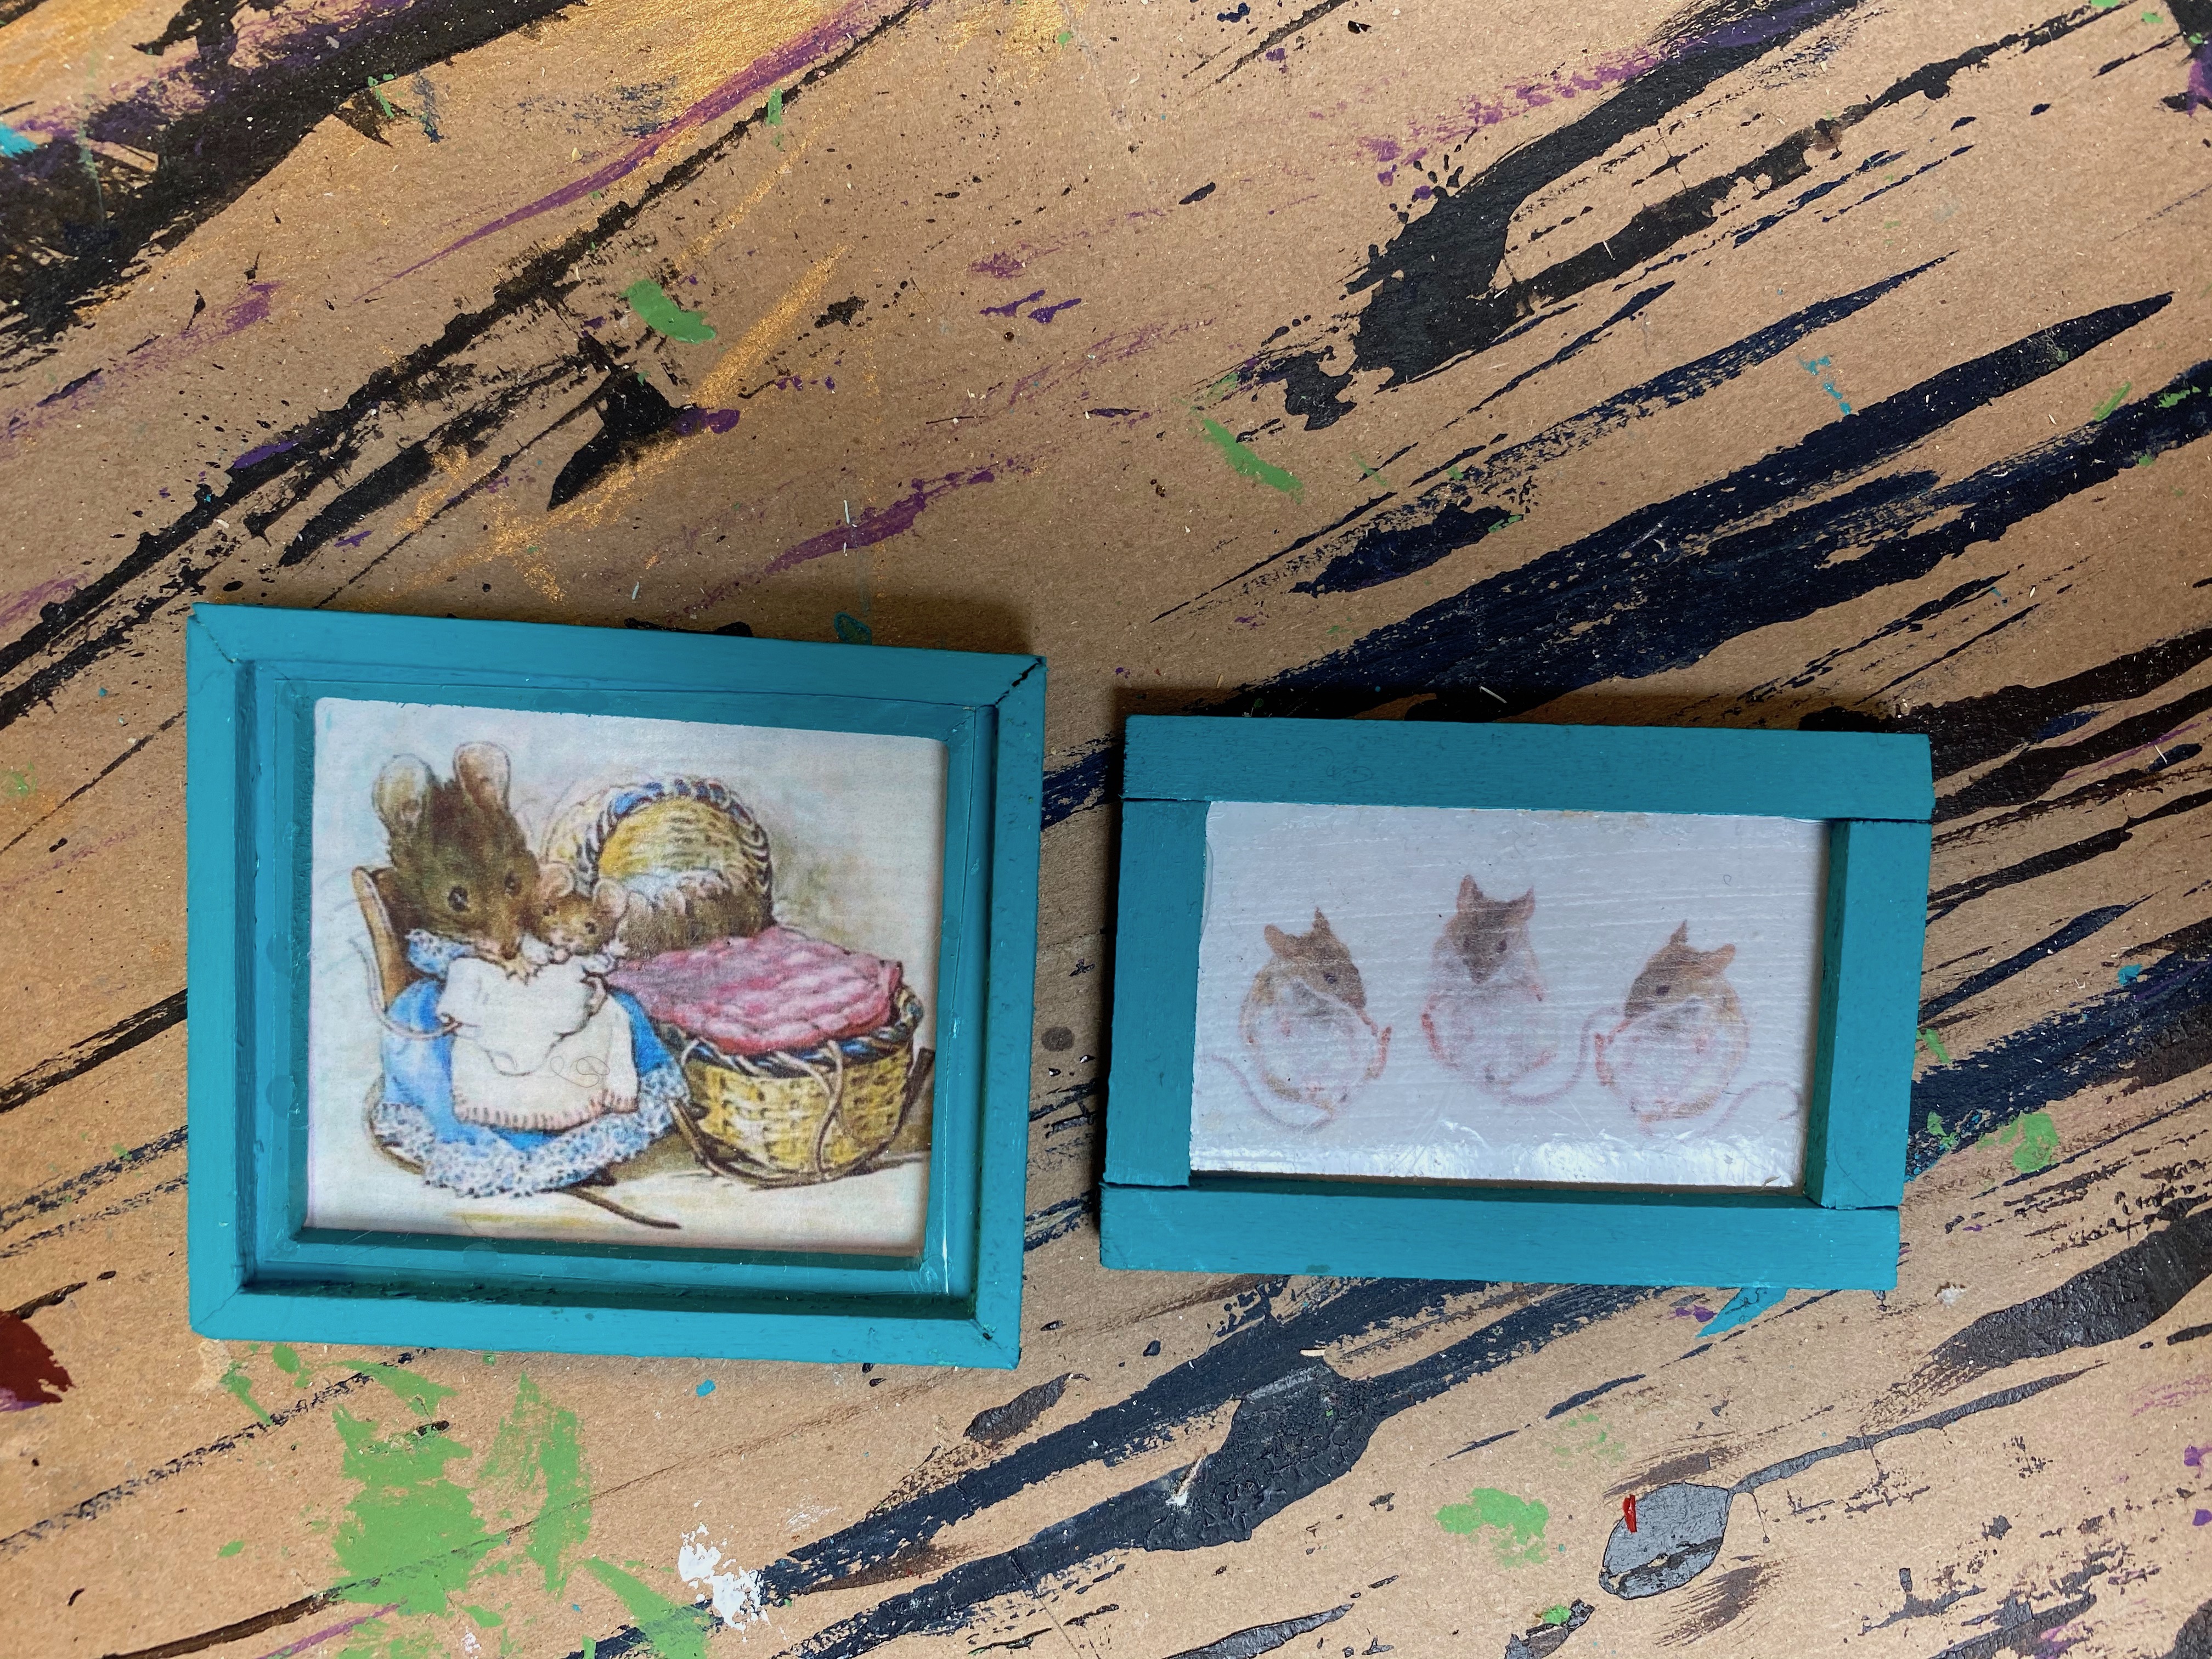
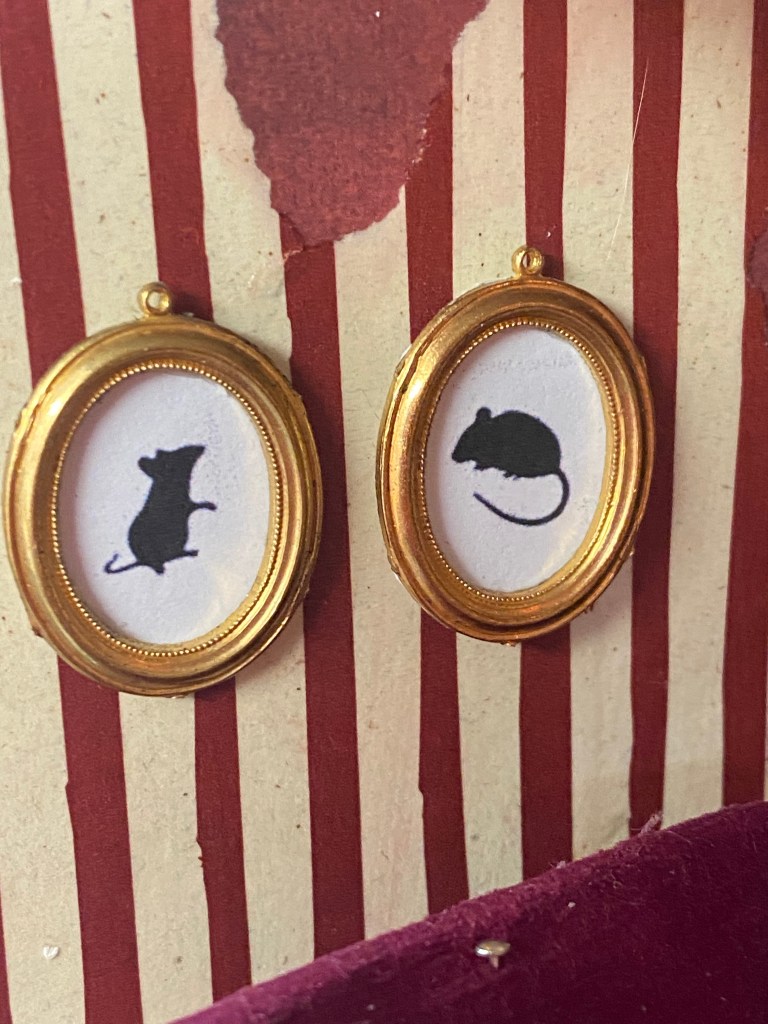
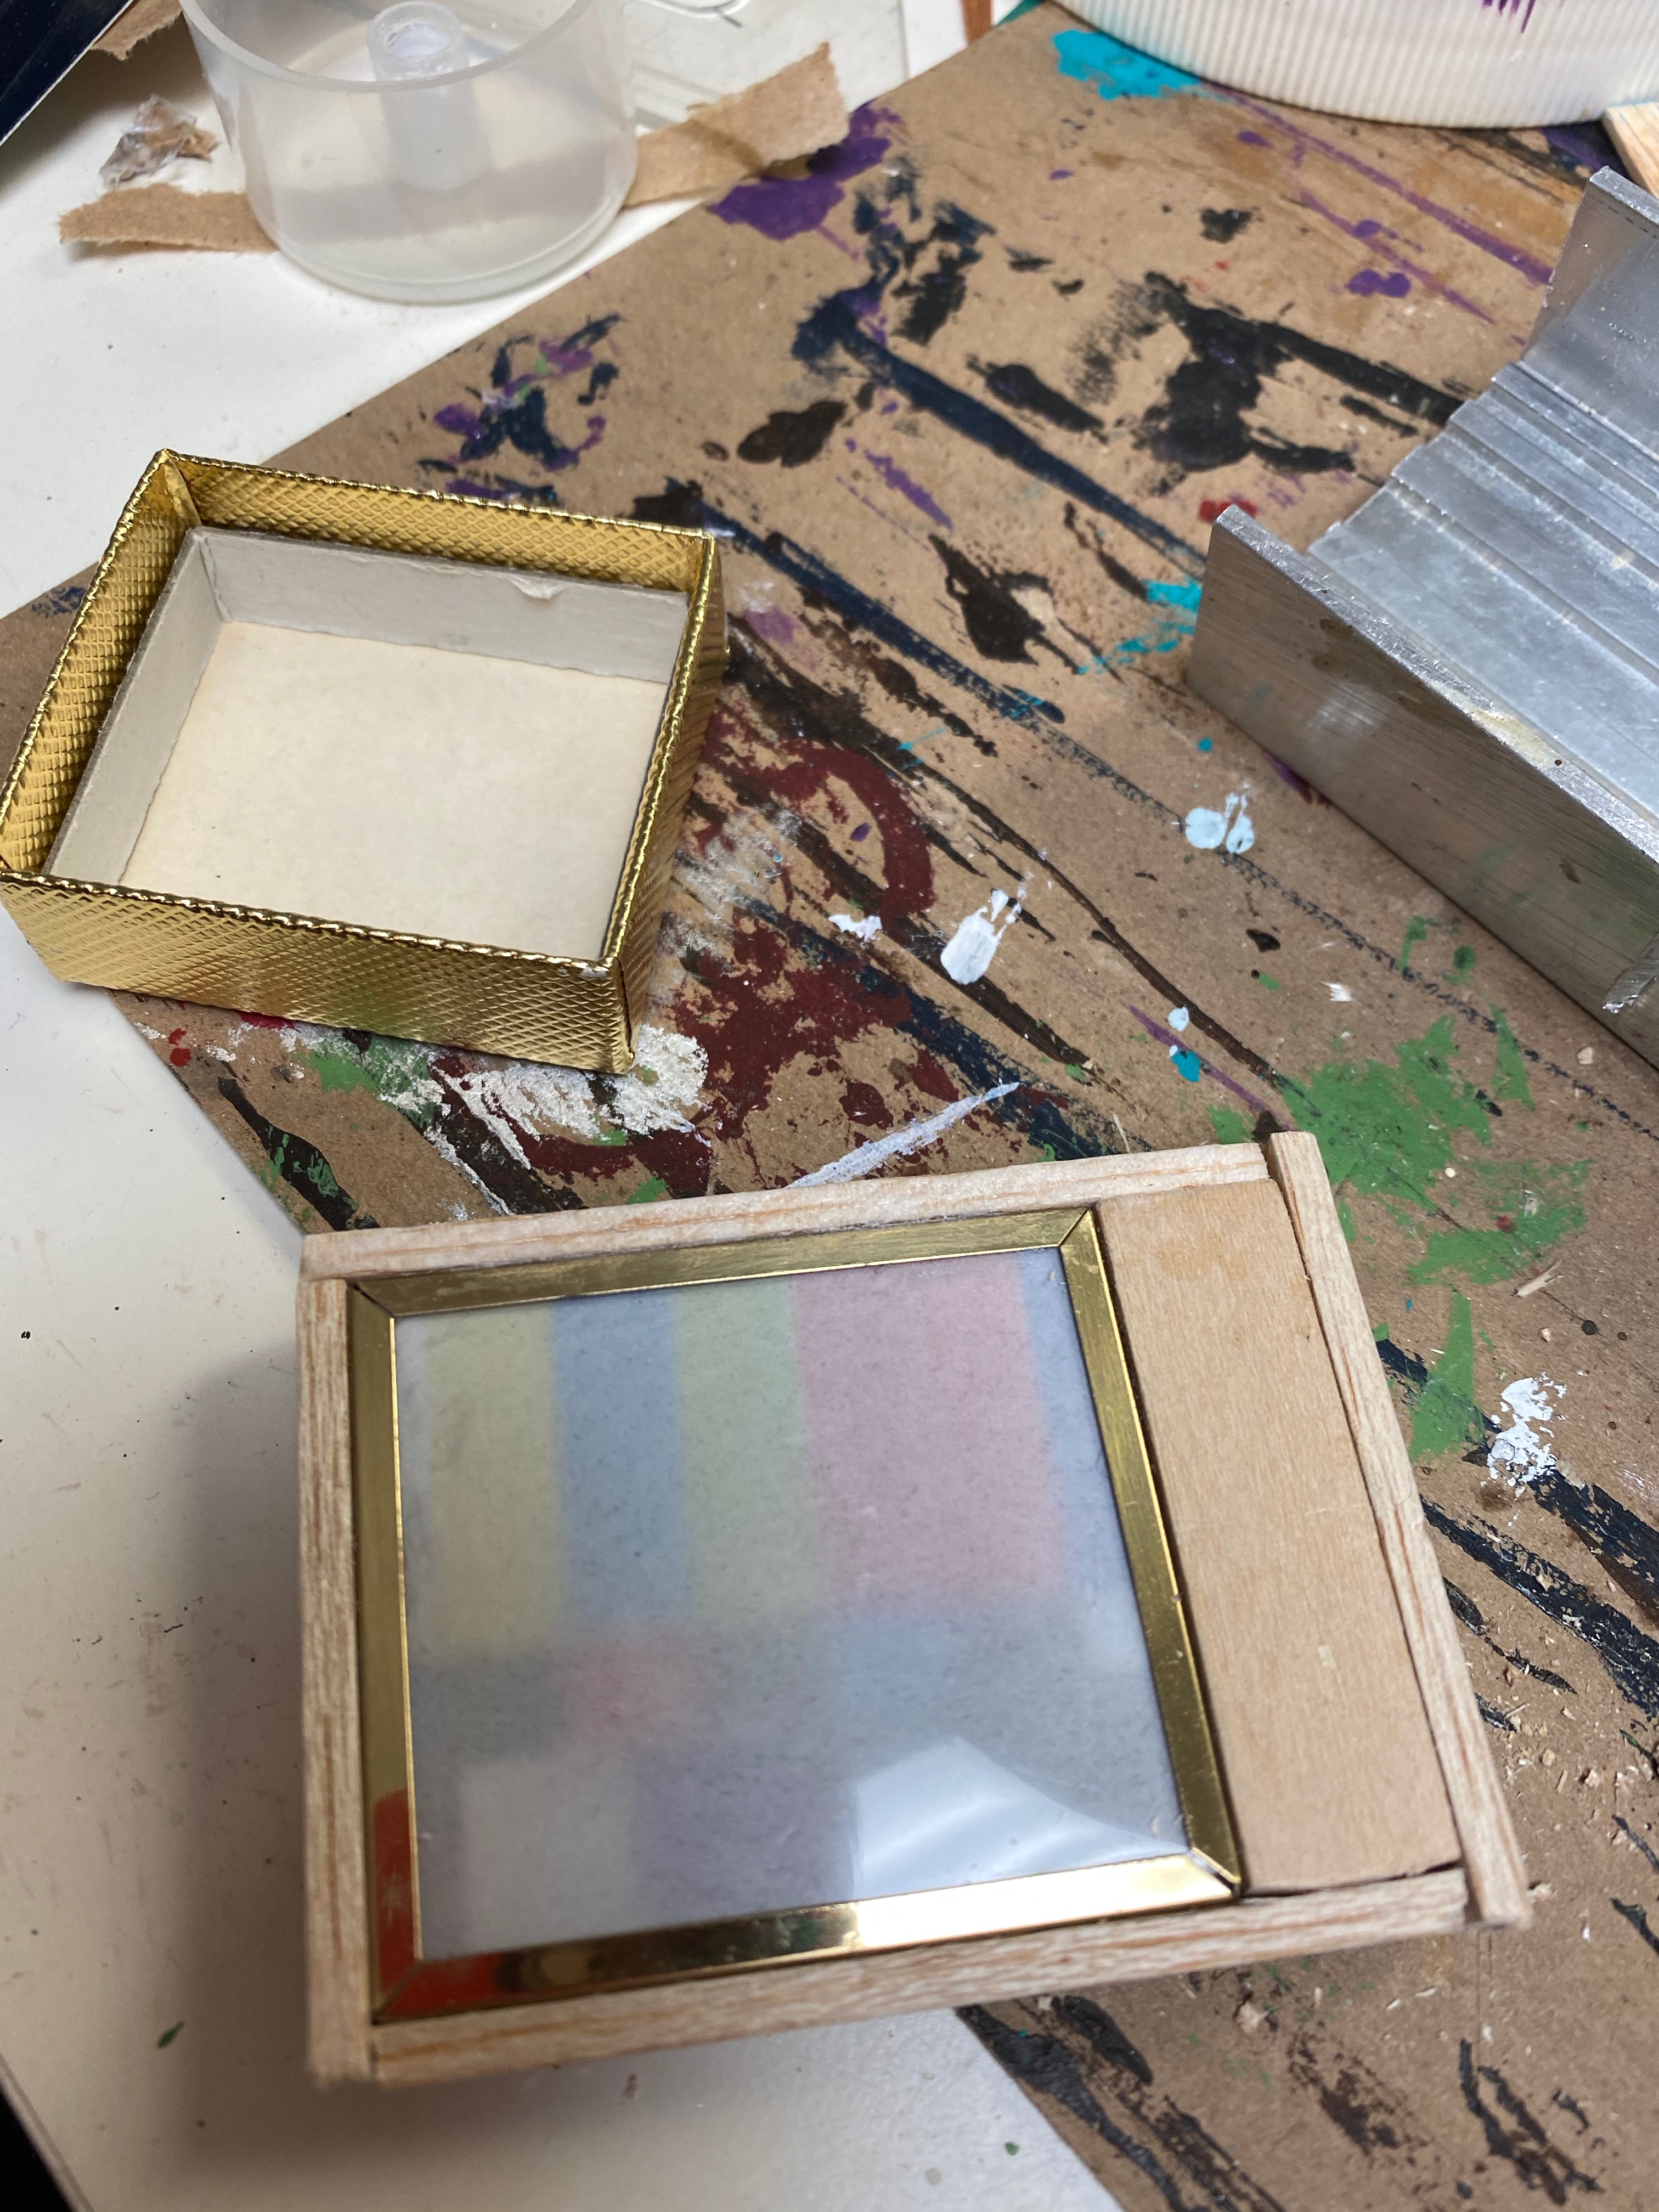
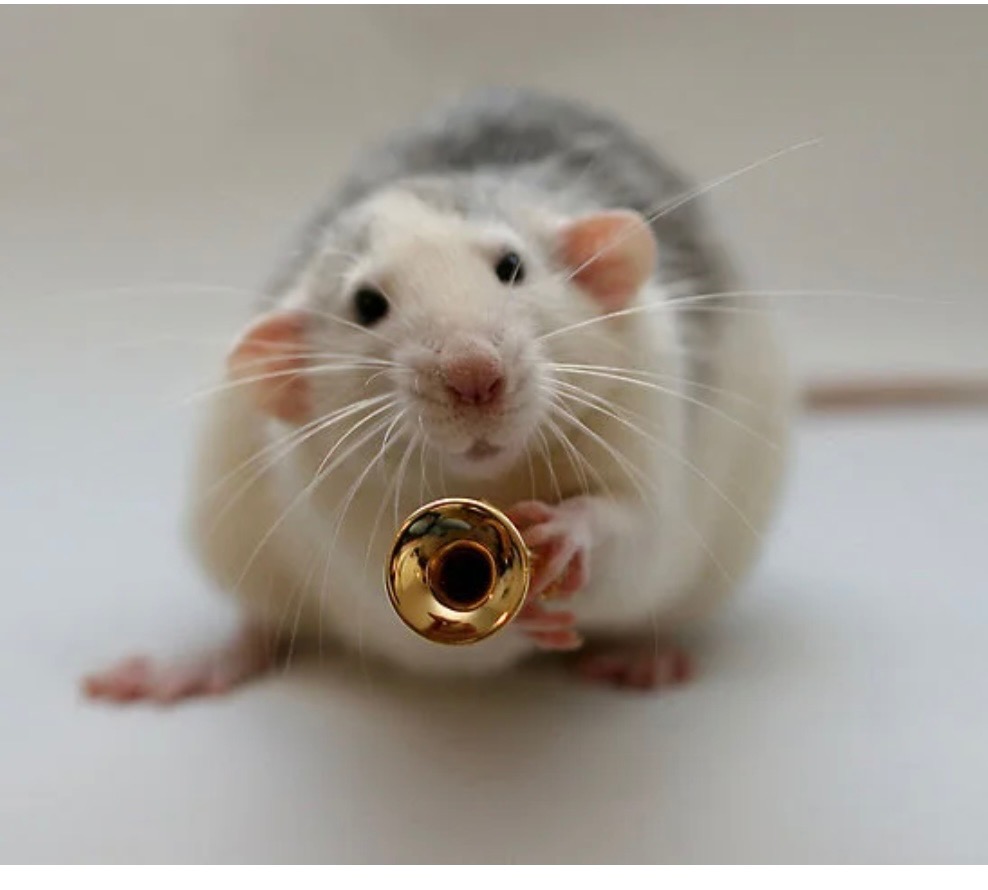
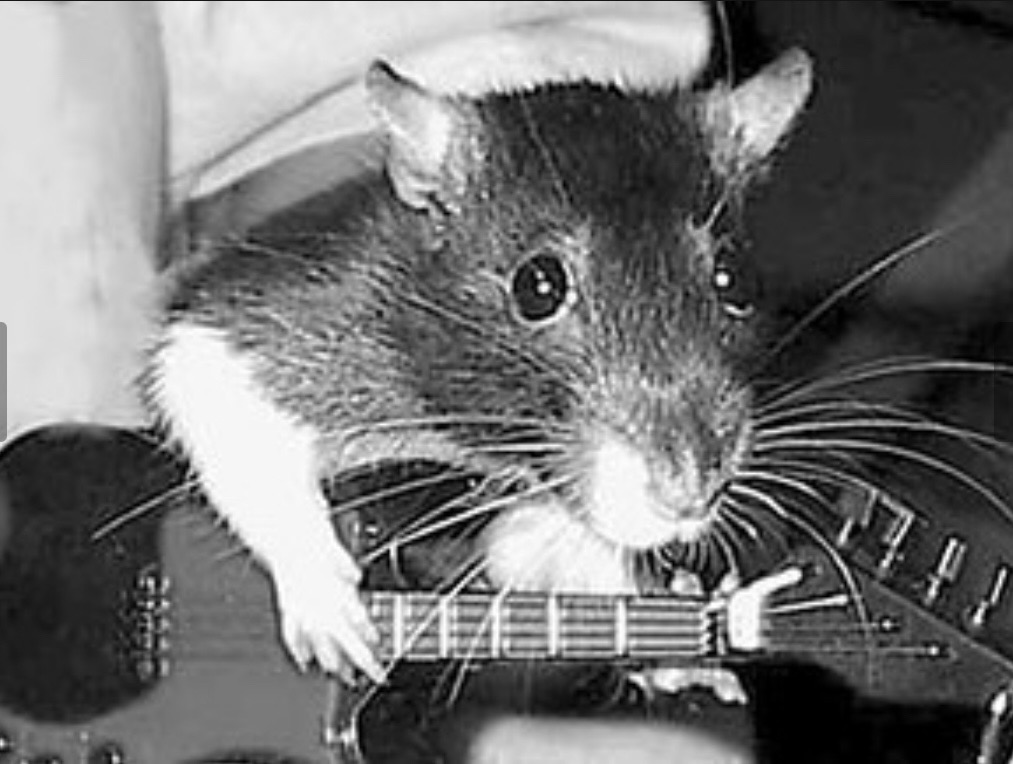
I also printed and framed several mouse-music related images for the walls, which were easier to find than I could ever imagine. (Actually, some of these pictures are rats, but shrunk to size I think they are close enough!)
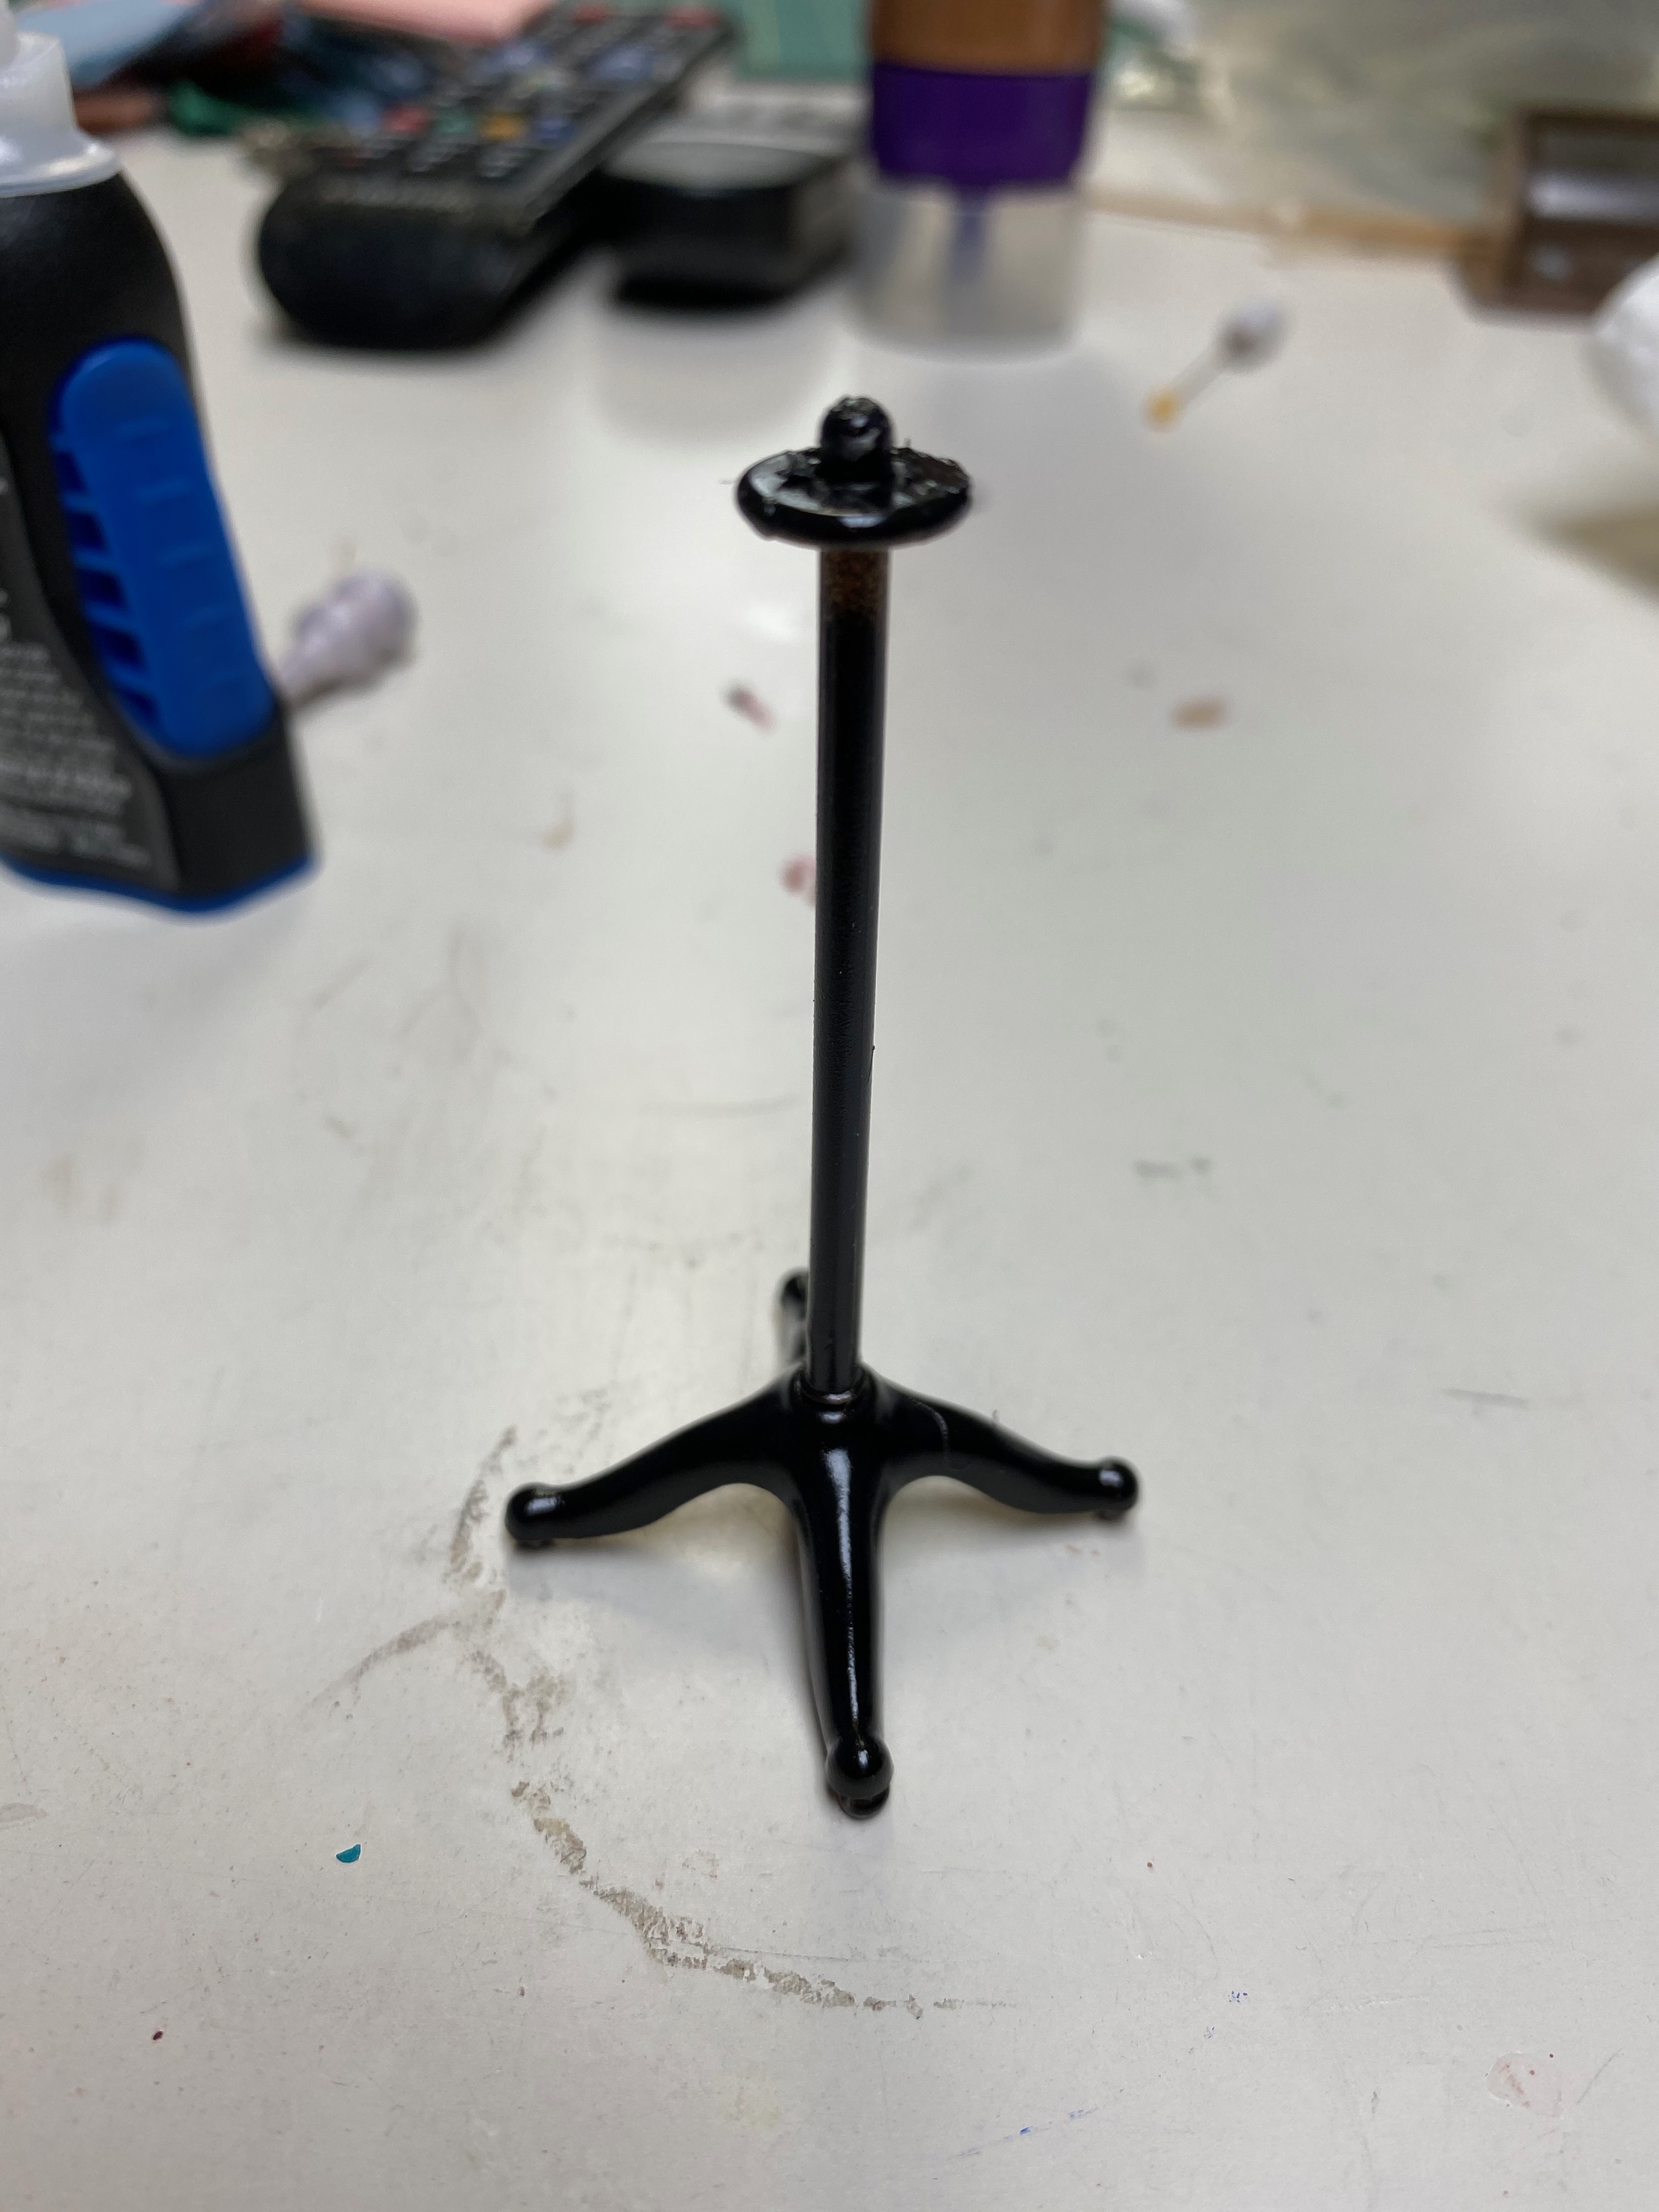
Finally, I made a music stand and trumpet mute. These had to be accurate since my oldest son is a professional trumpet player! I took a broken plant stand from my garage sale acquired dollhouse accessories and spray painted it black. I made the top part with half of a plastic lid with the top of a scrapbook tape dispenser glued to the back. Once spray painted and glued to the stand it looked just like the heavy stands Zack uses for practice/gigs.
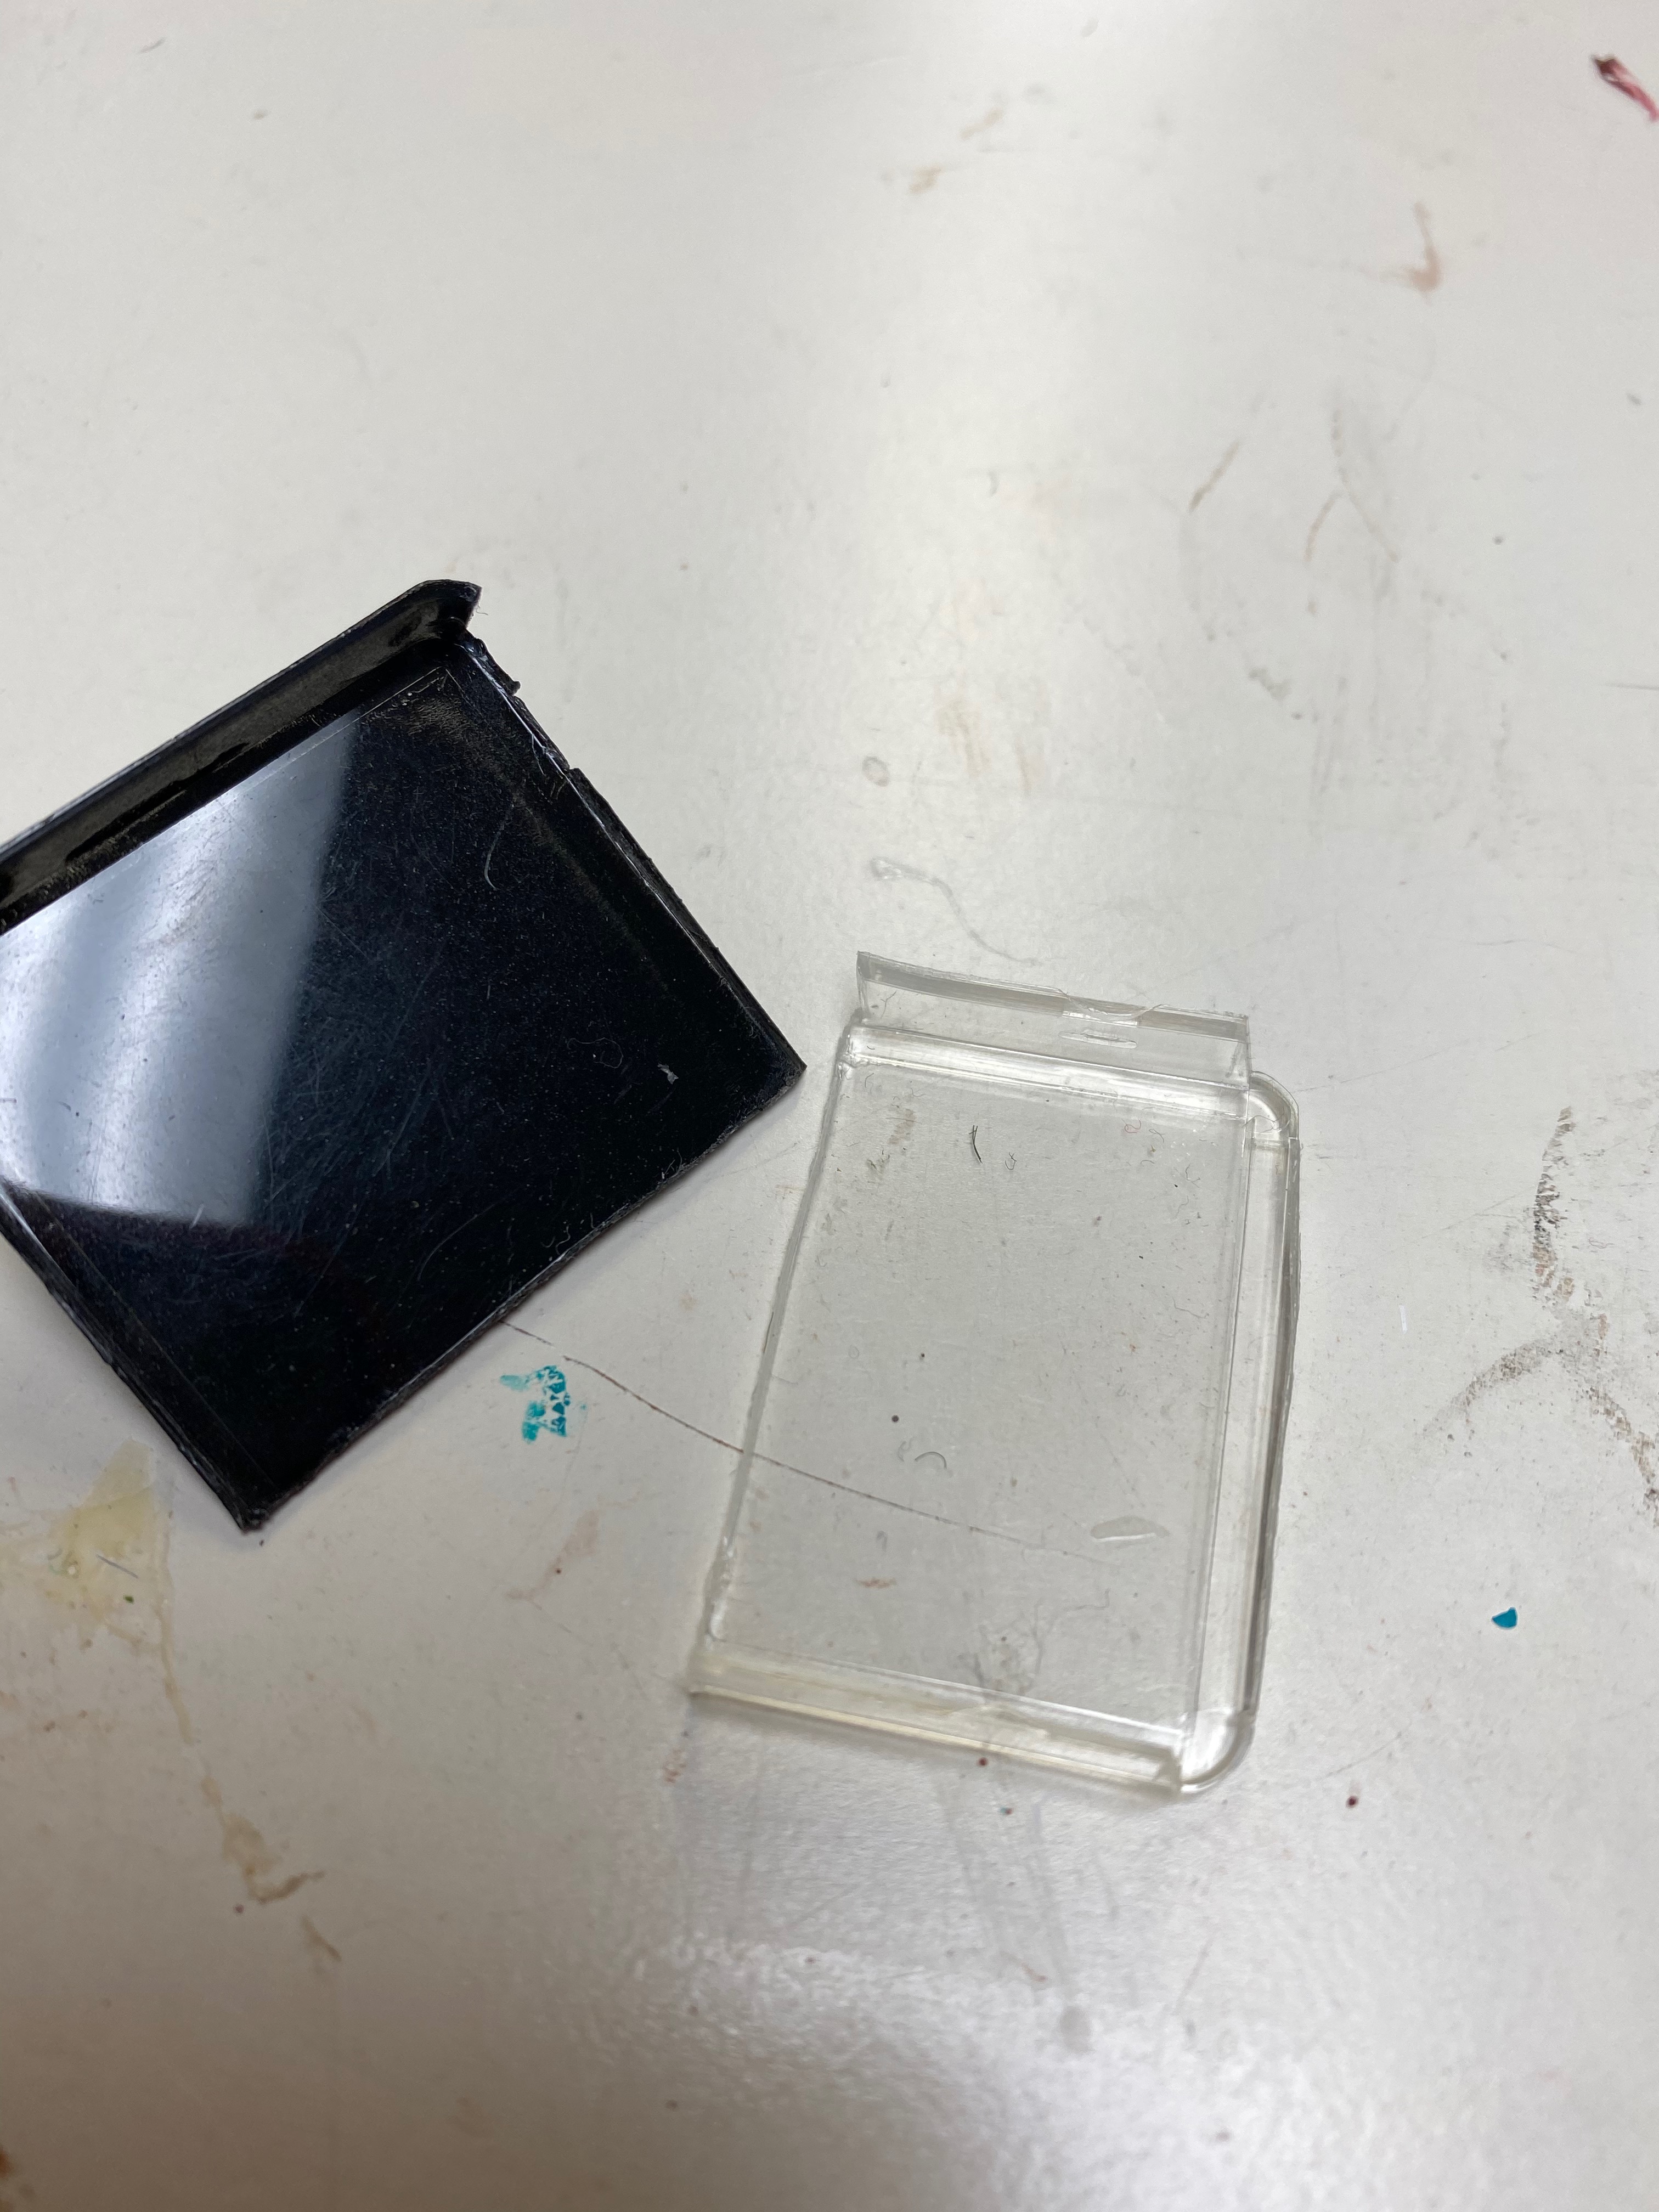
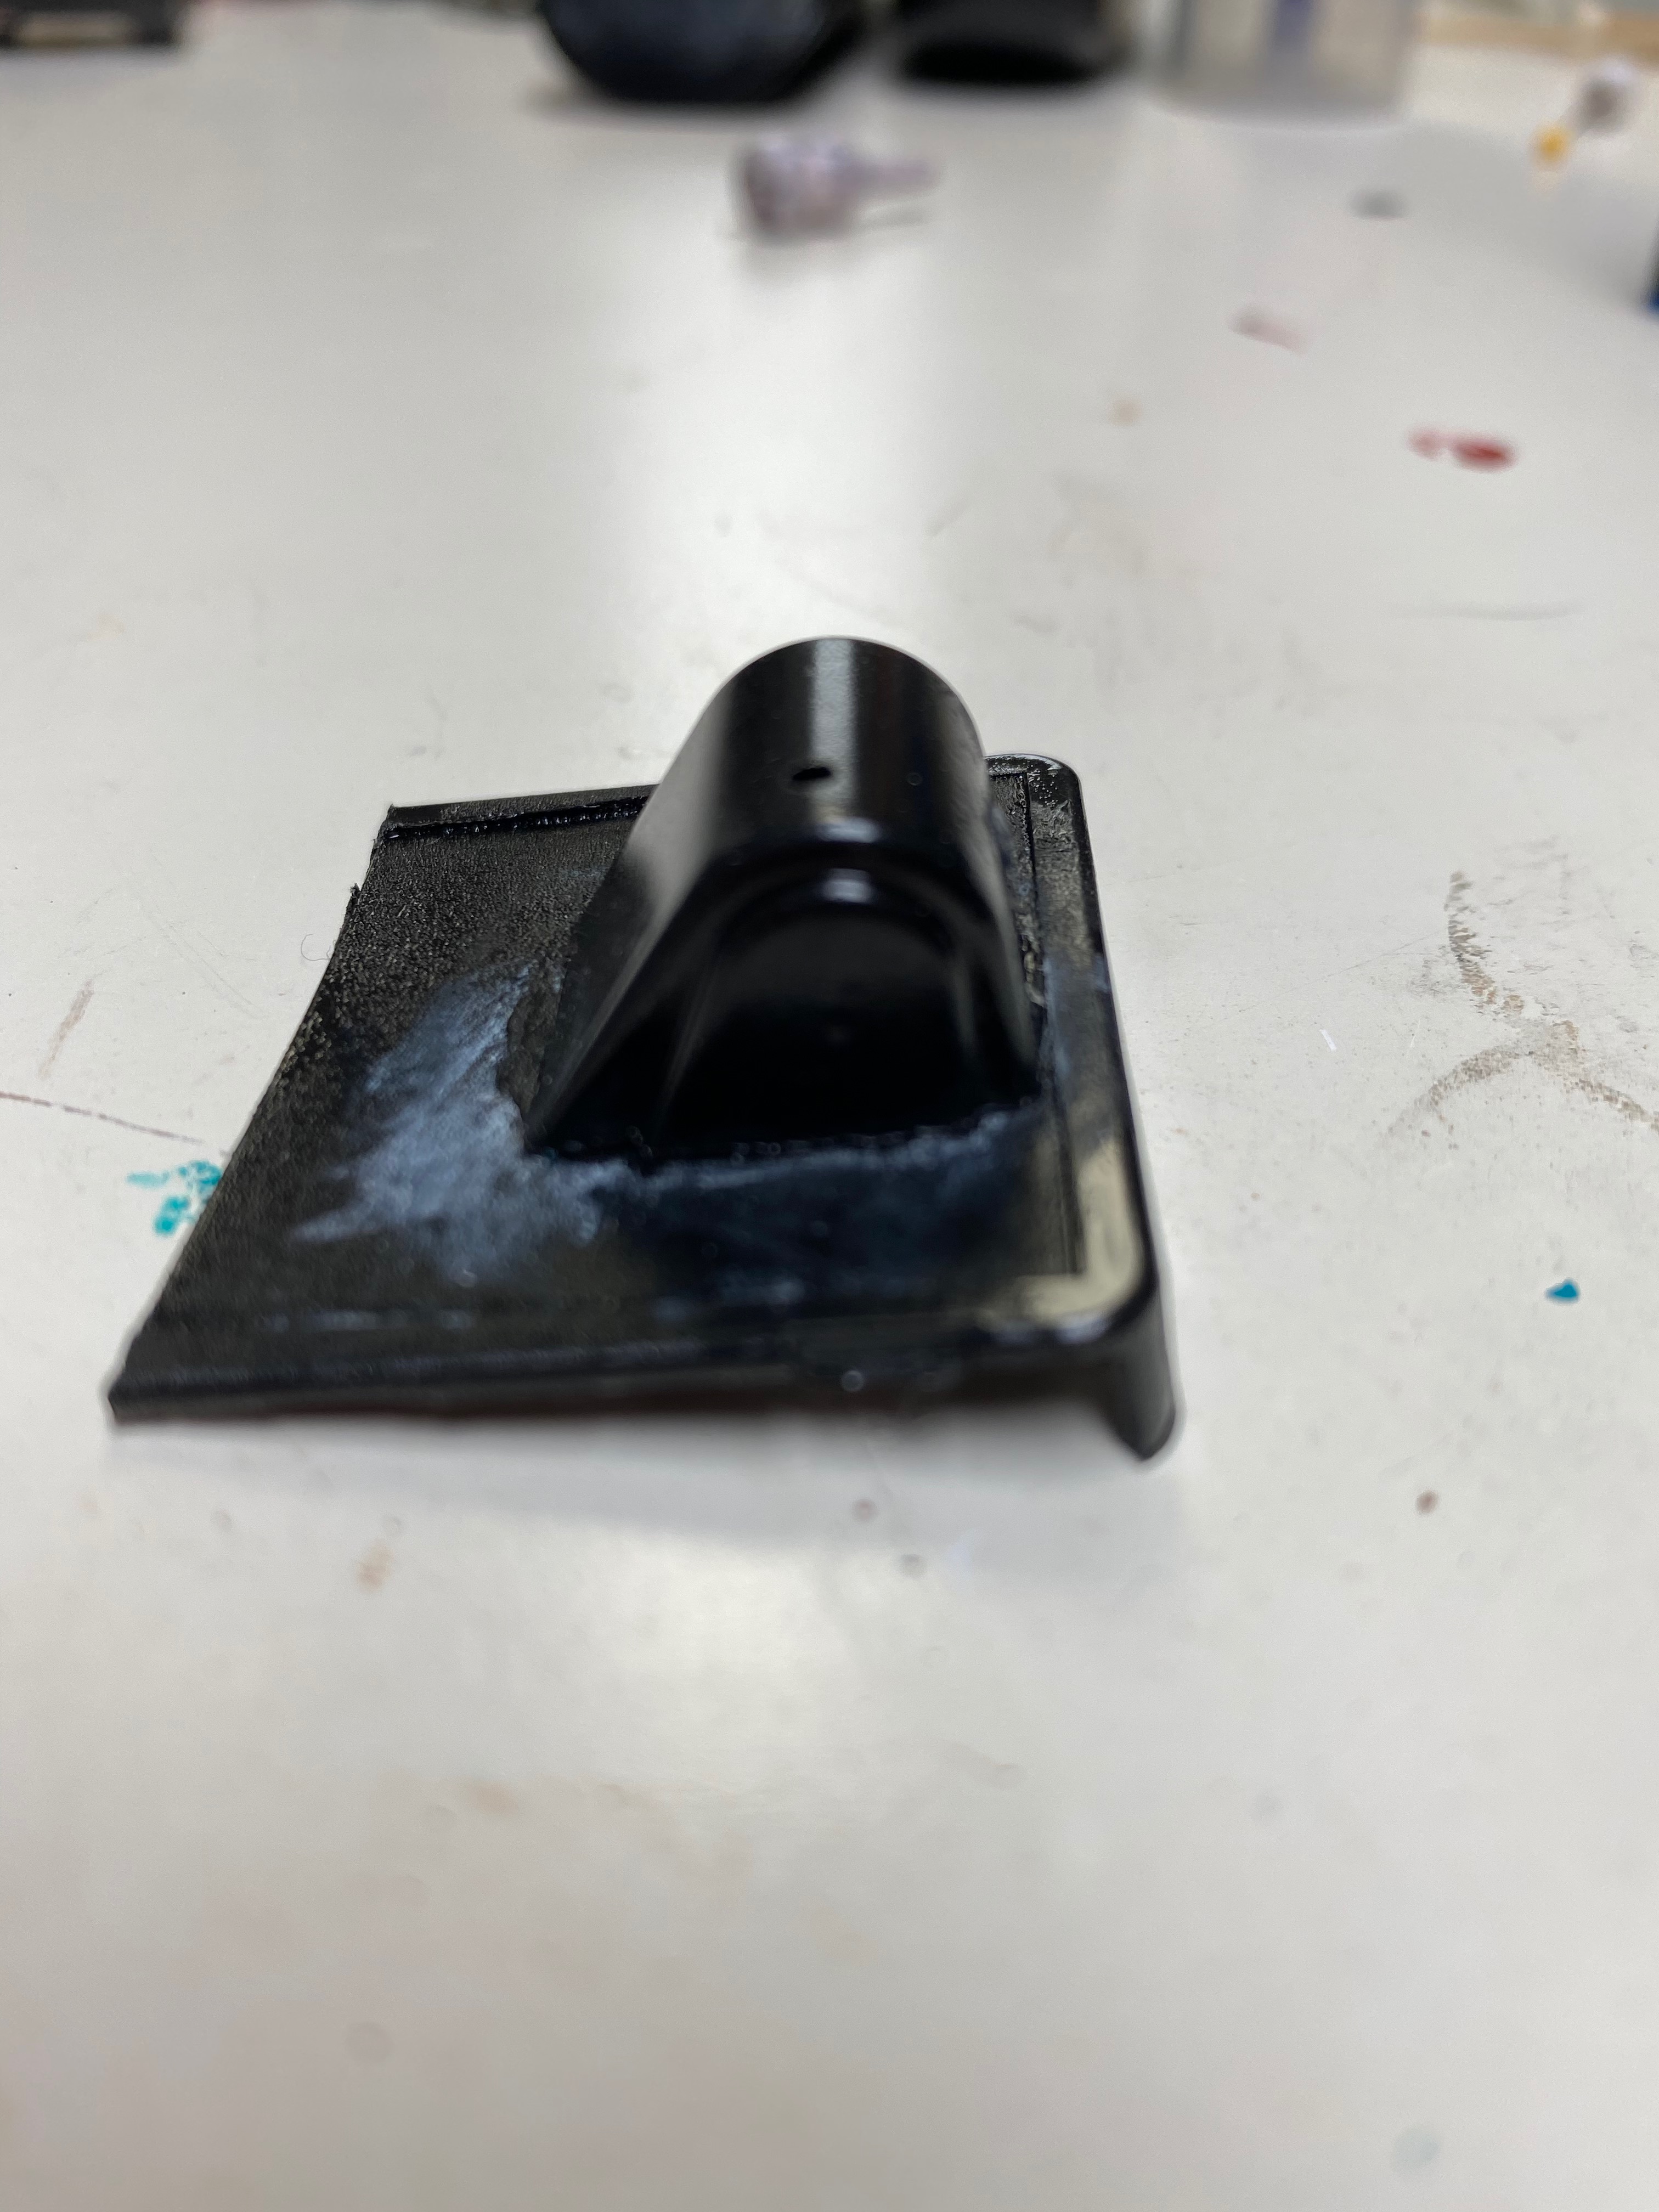

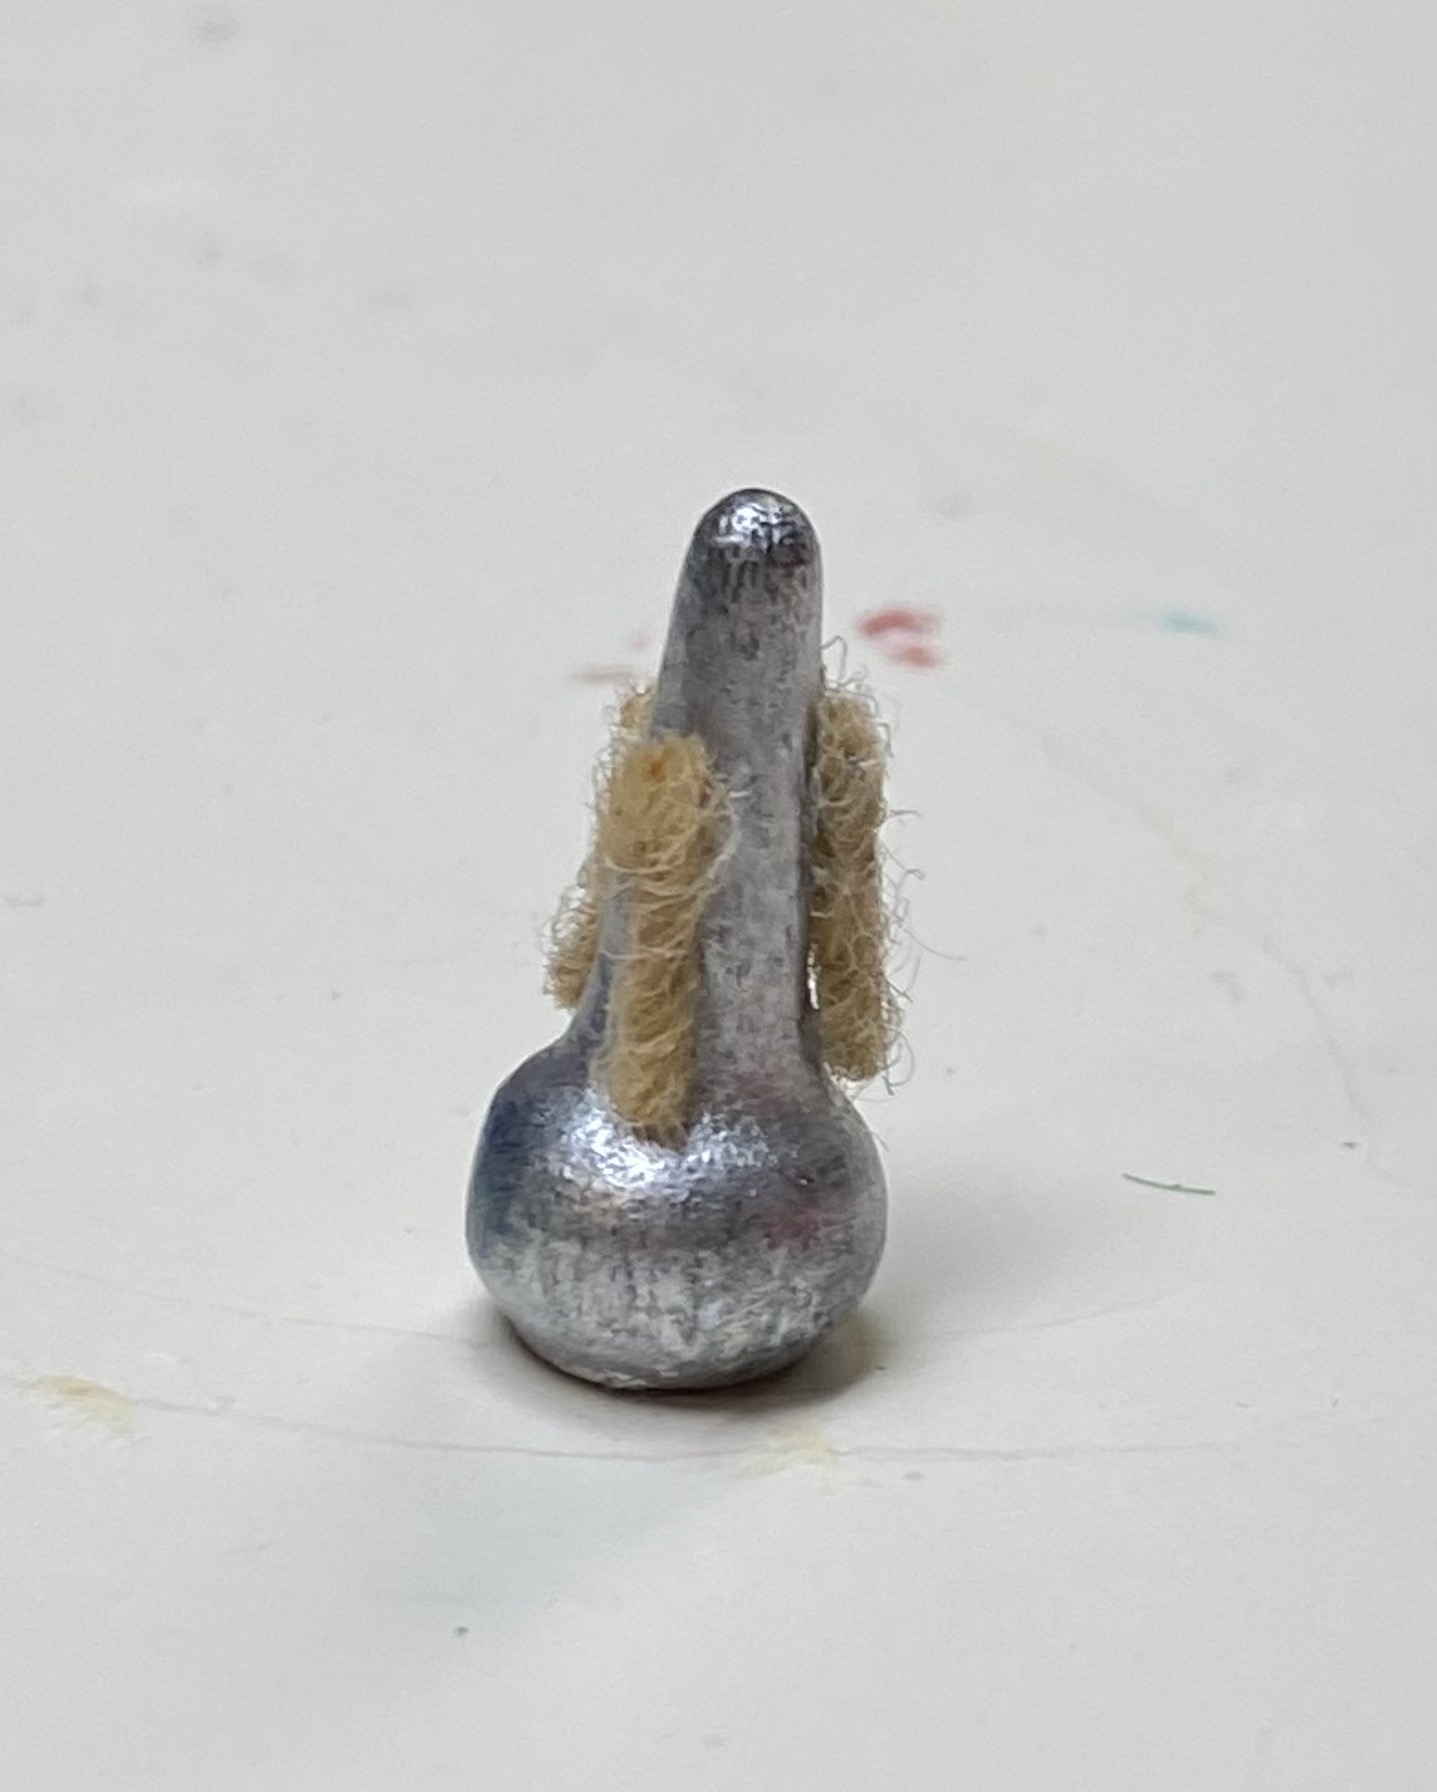
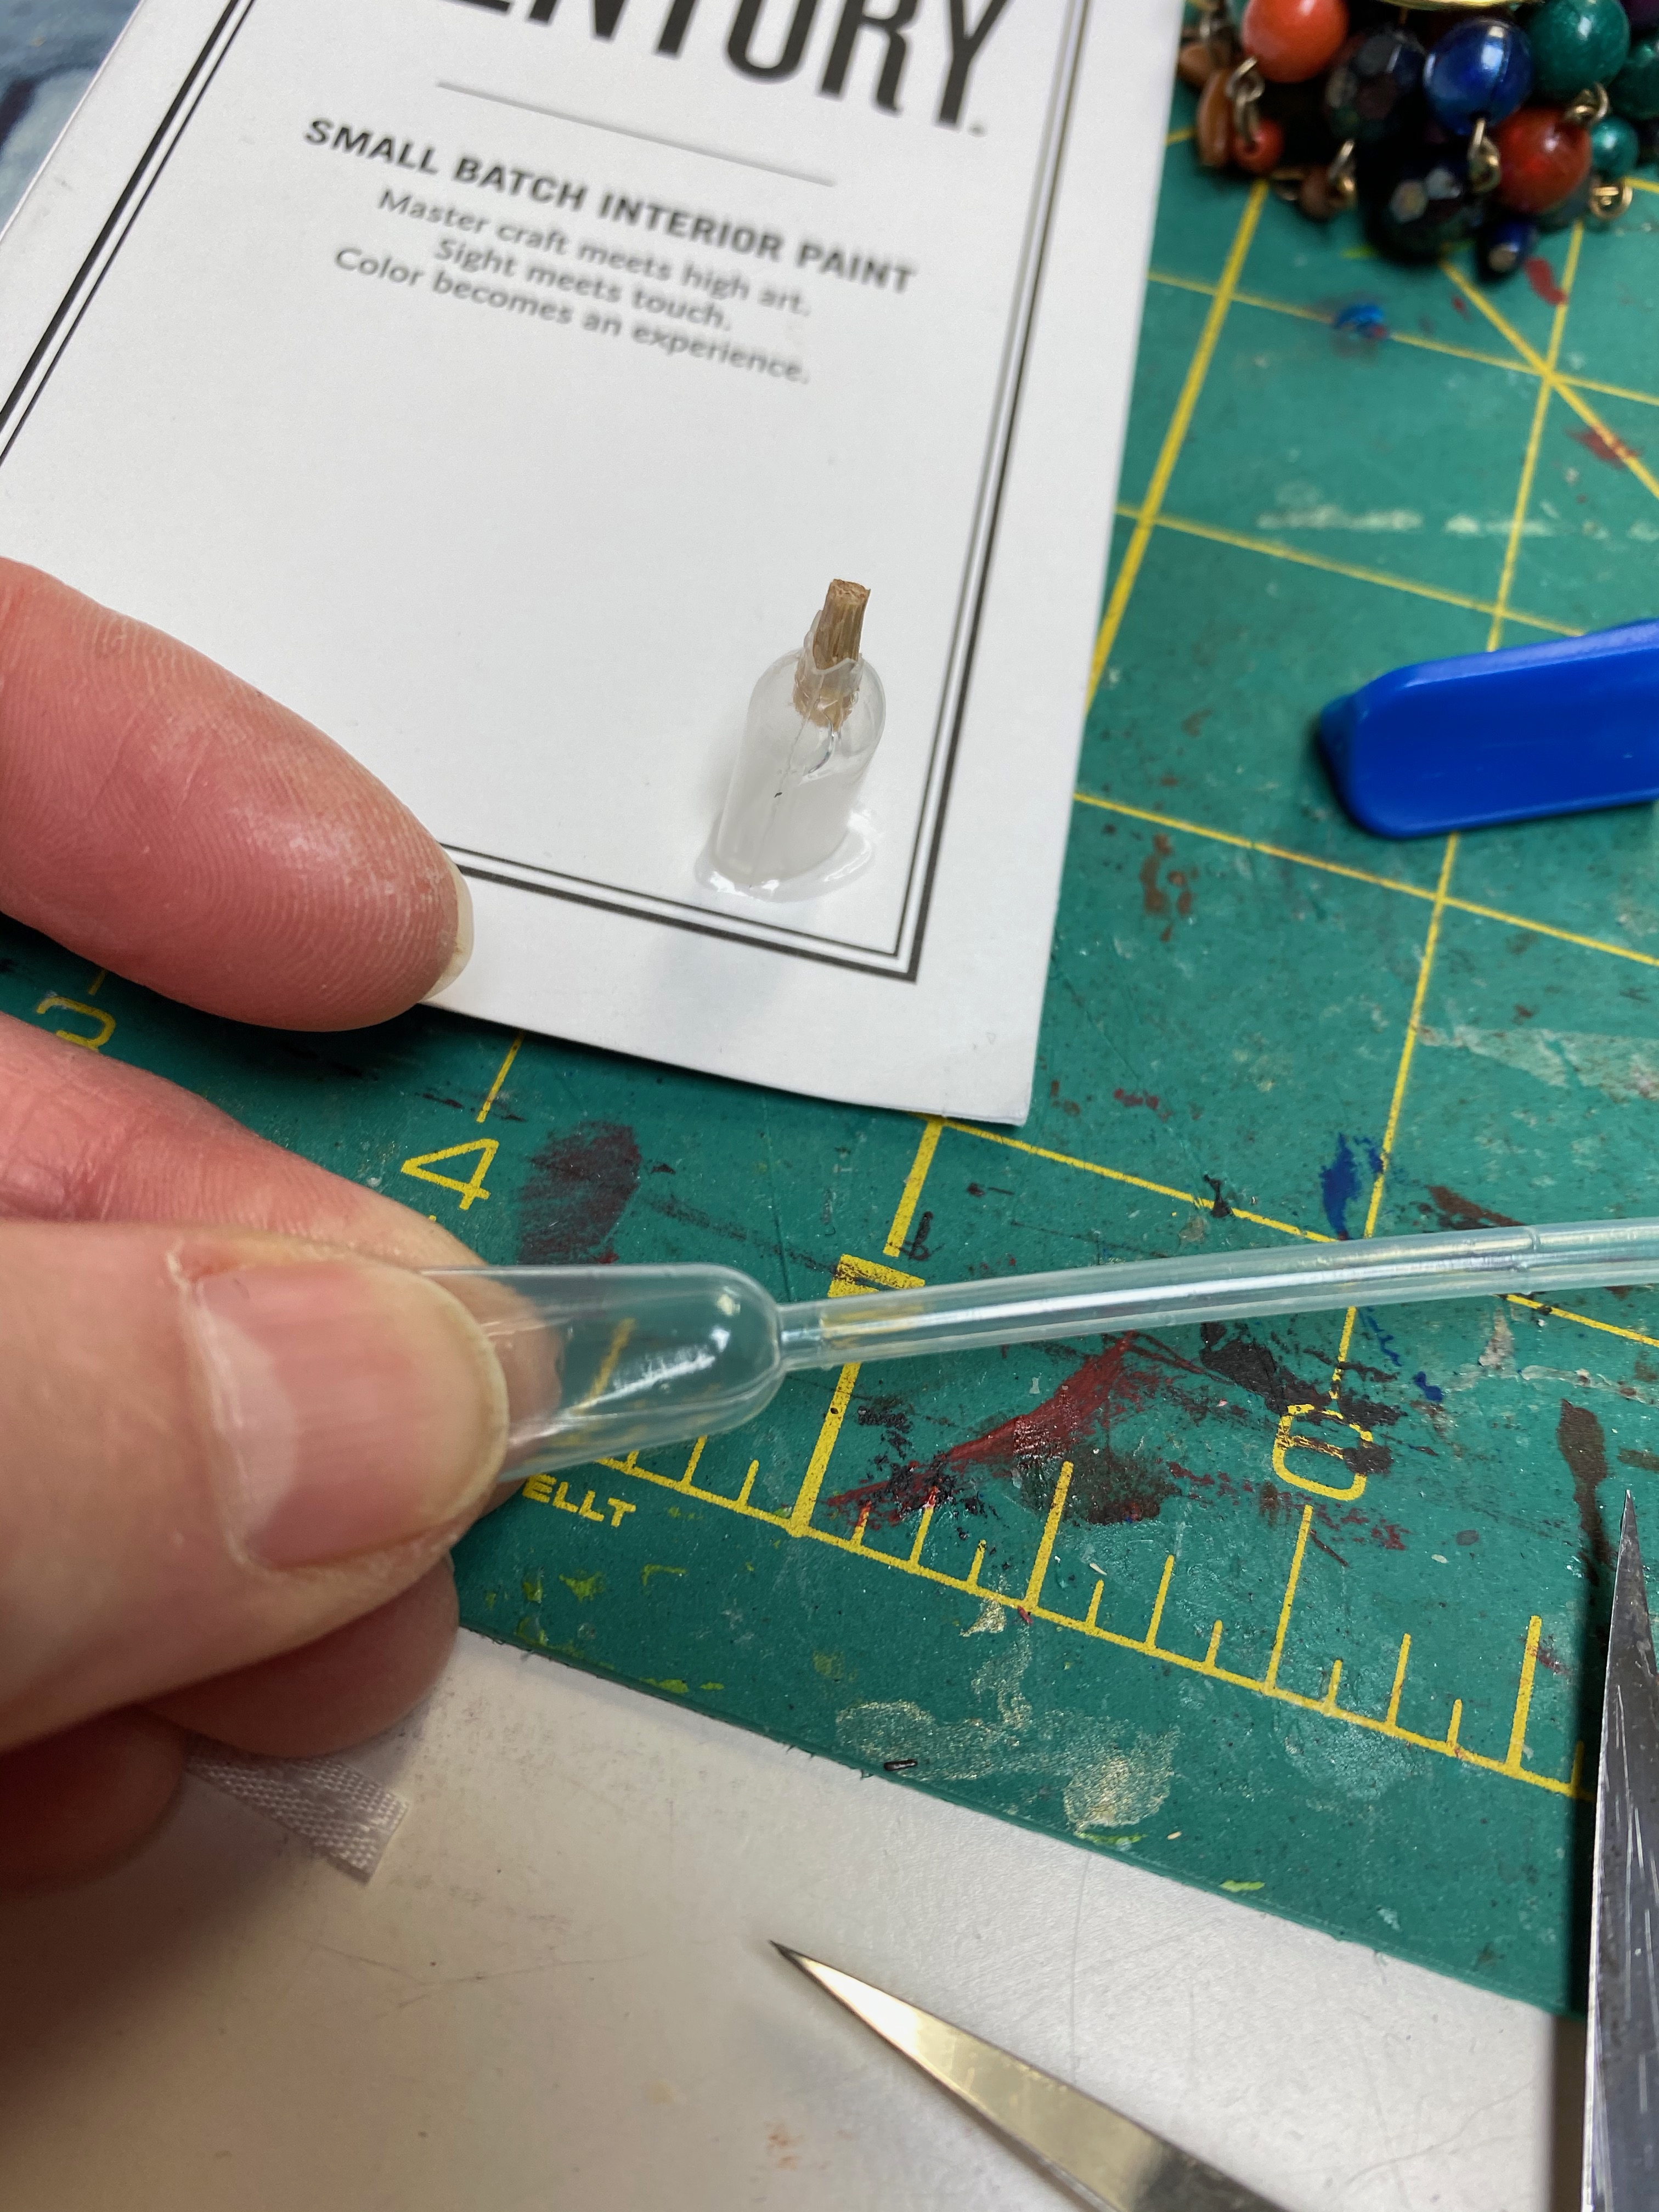
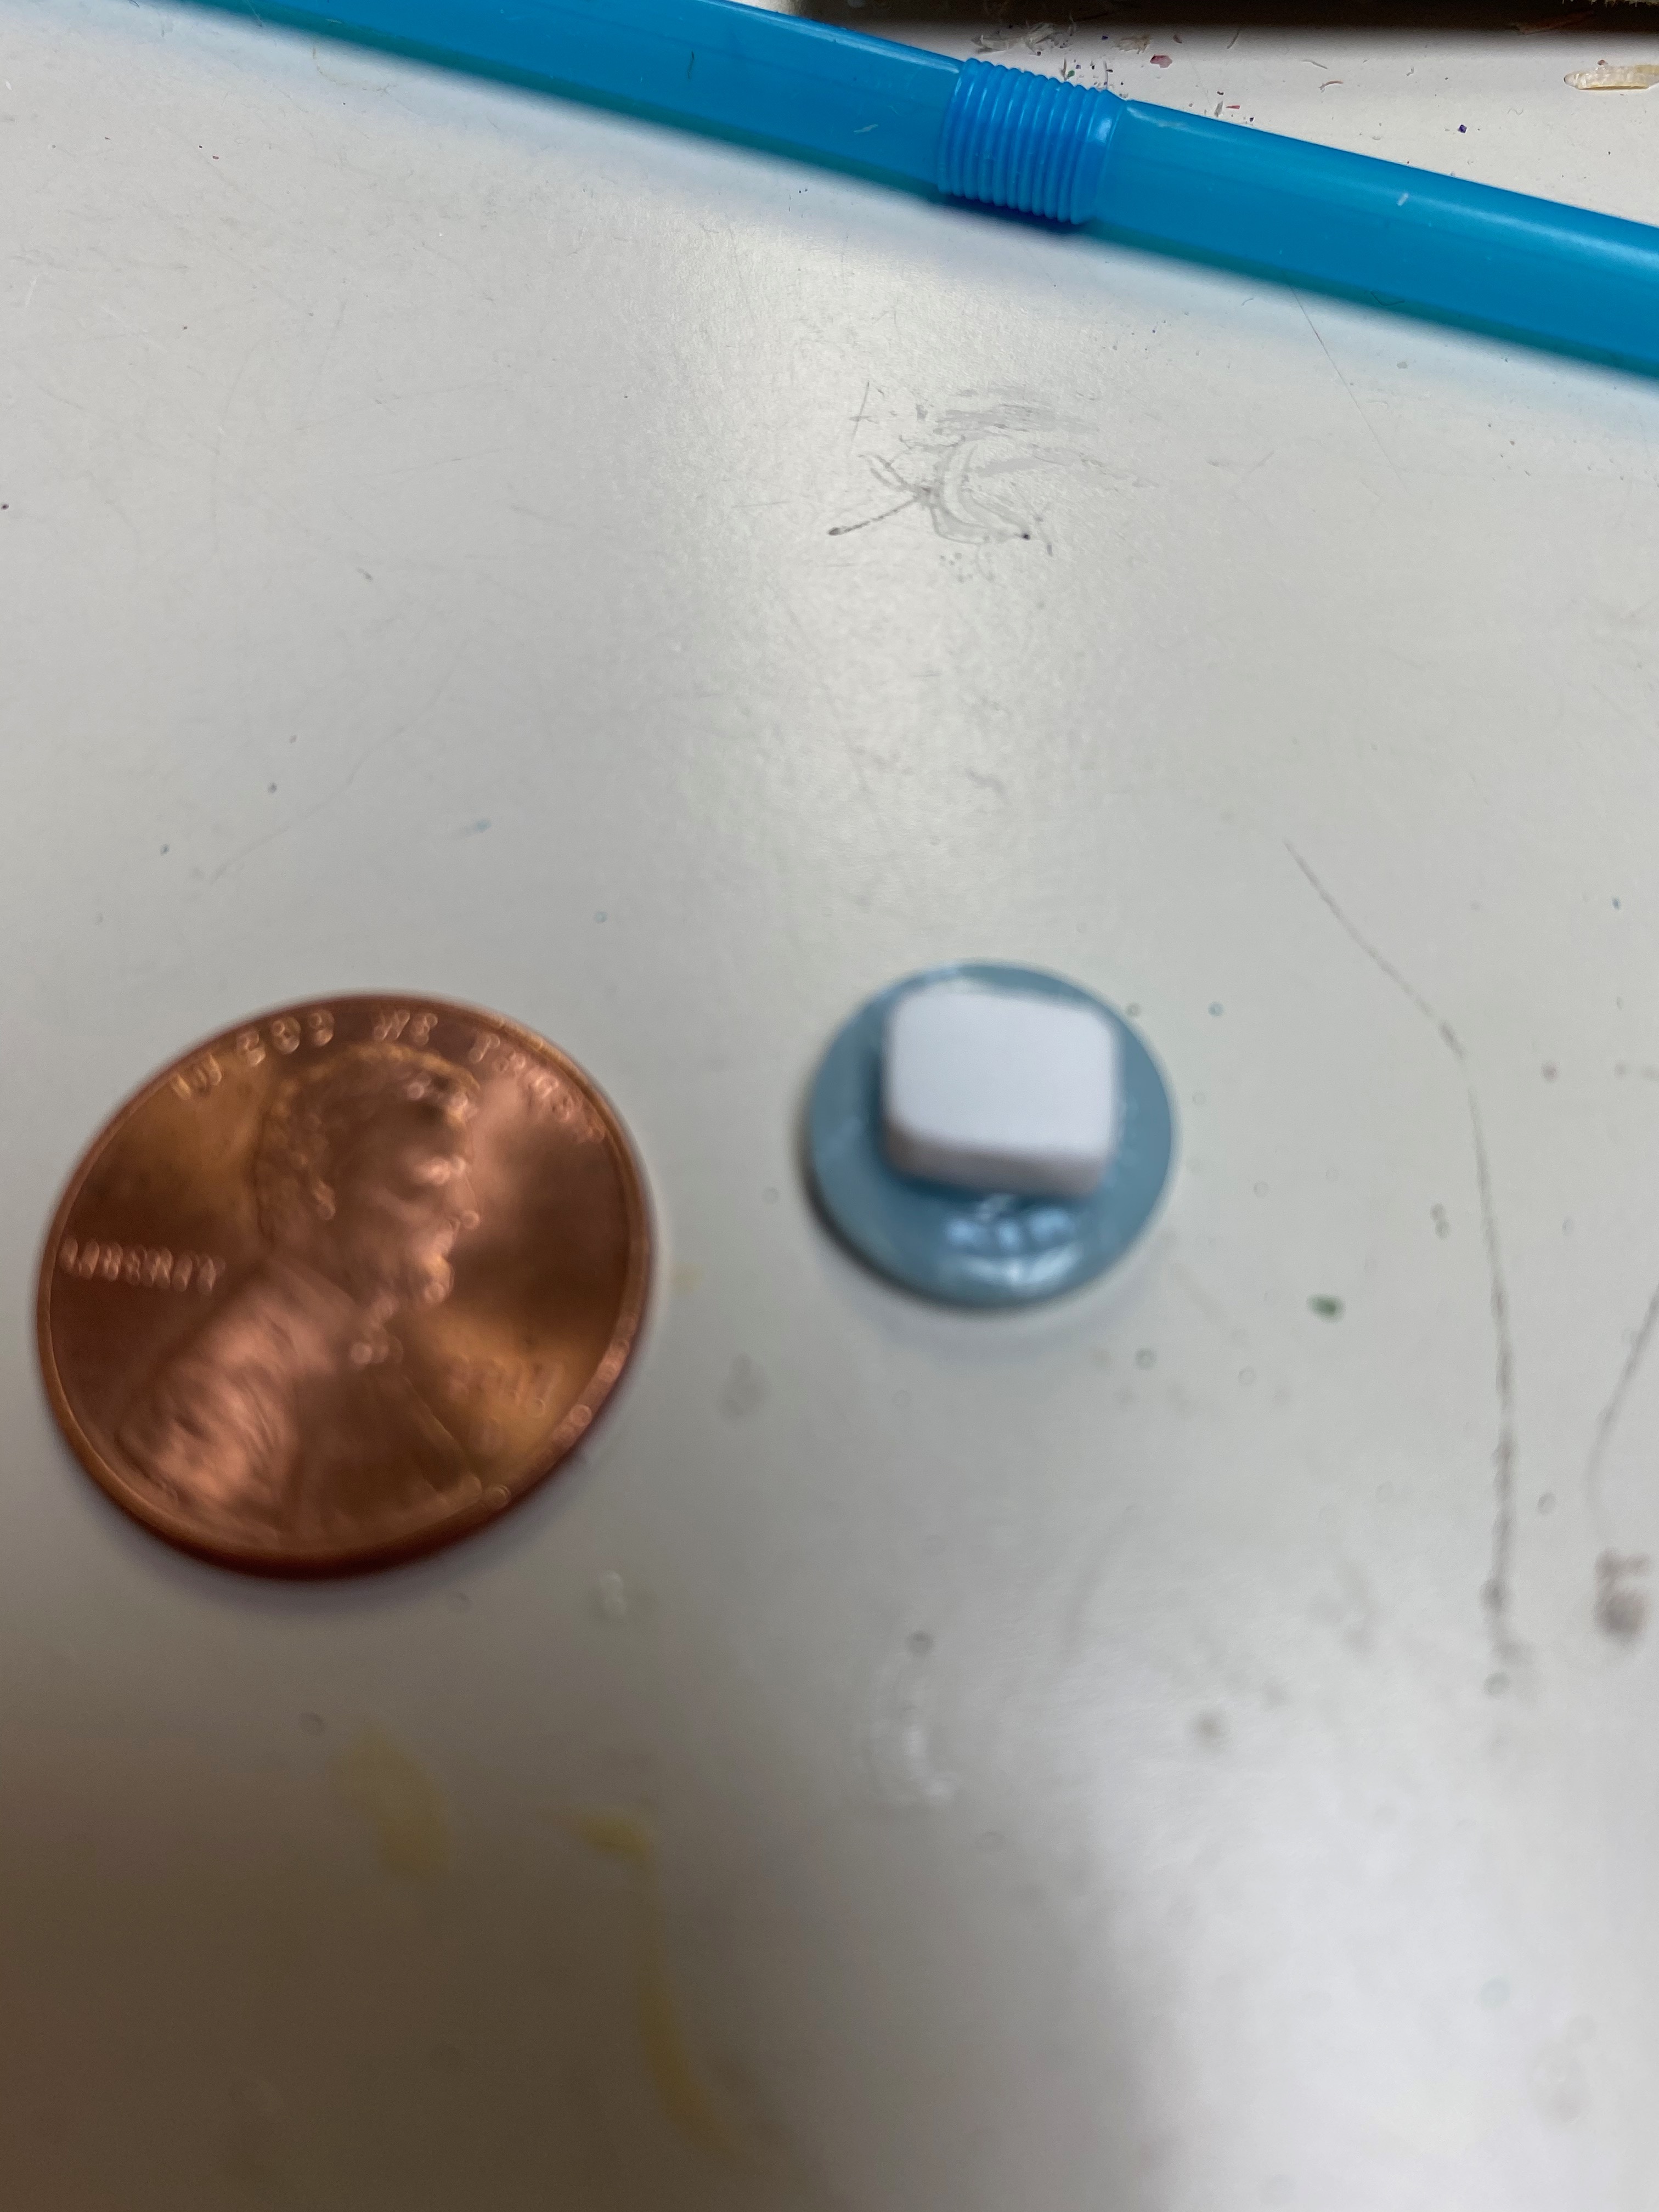
The mute was a wooden game piece painted silver with tiny strips of twine glued to the sides to simulate the protective cork.
The musical instruments, piano, French horn and trumpet were all items I’ve purchased at sales over the last few years. I also have a violin and bow that I may add at a later date. For now, I think the room is complete.