A New Year

2020: The Year That Kept on Giving!

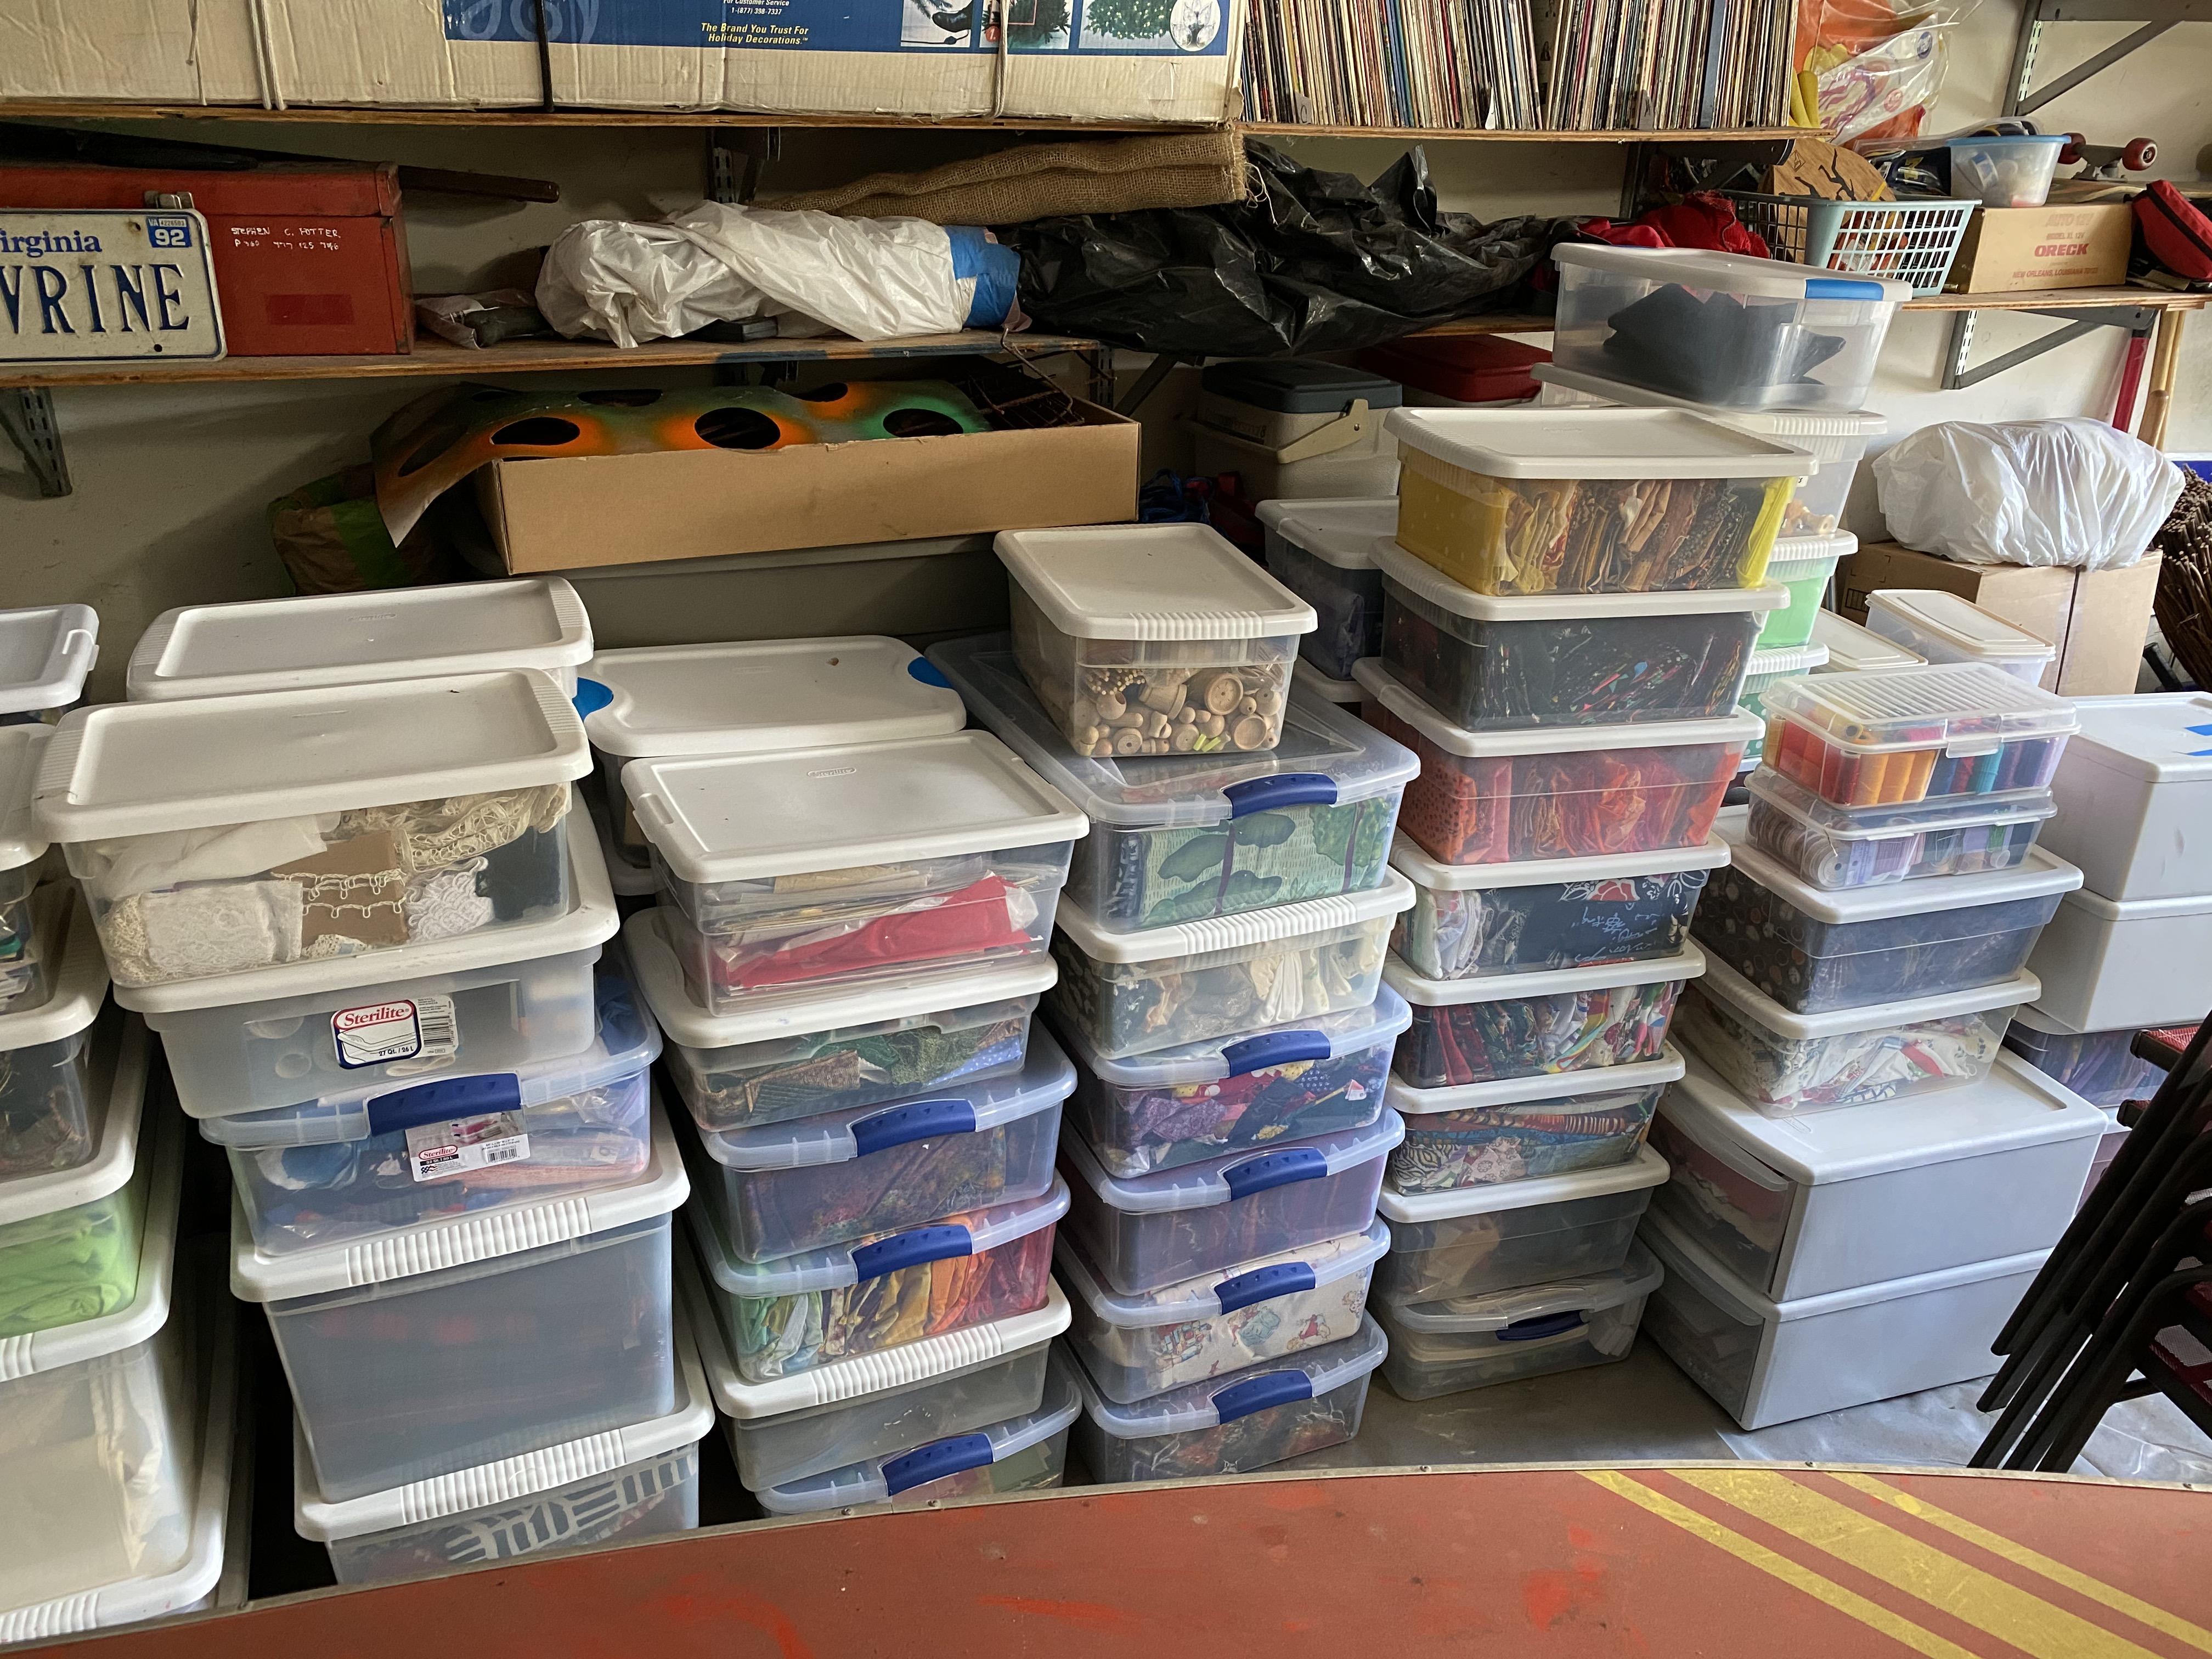
The year 2020 was a tough one for all. I had hoped to just hunker down in my studio and work on the Mouse House until the quarantine was over–you know, make lemonade from lemons. However, the cosmic forces had other plans and immediately after my last post, the pipe UNDER THE CEMENT FLOOR OF MY BASEMENT STUDIO burst, causing a flood which turned into a complete remodel of our basement. Everything (EVERYTHING!) had to be put into storage so the floor, wall, furniture, etc. could be replaced.

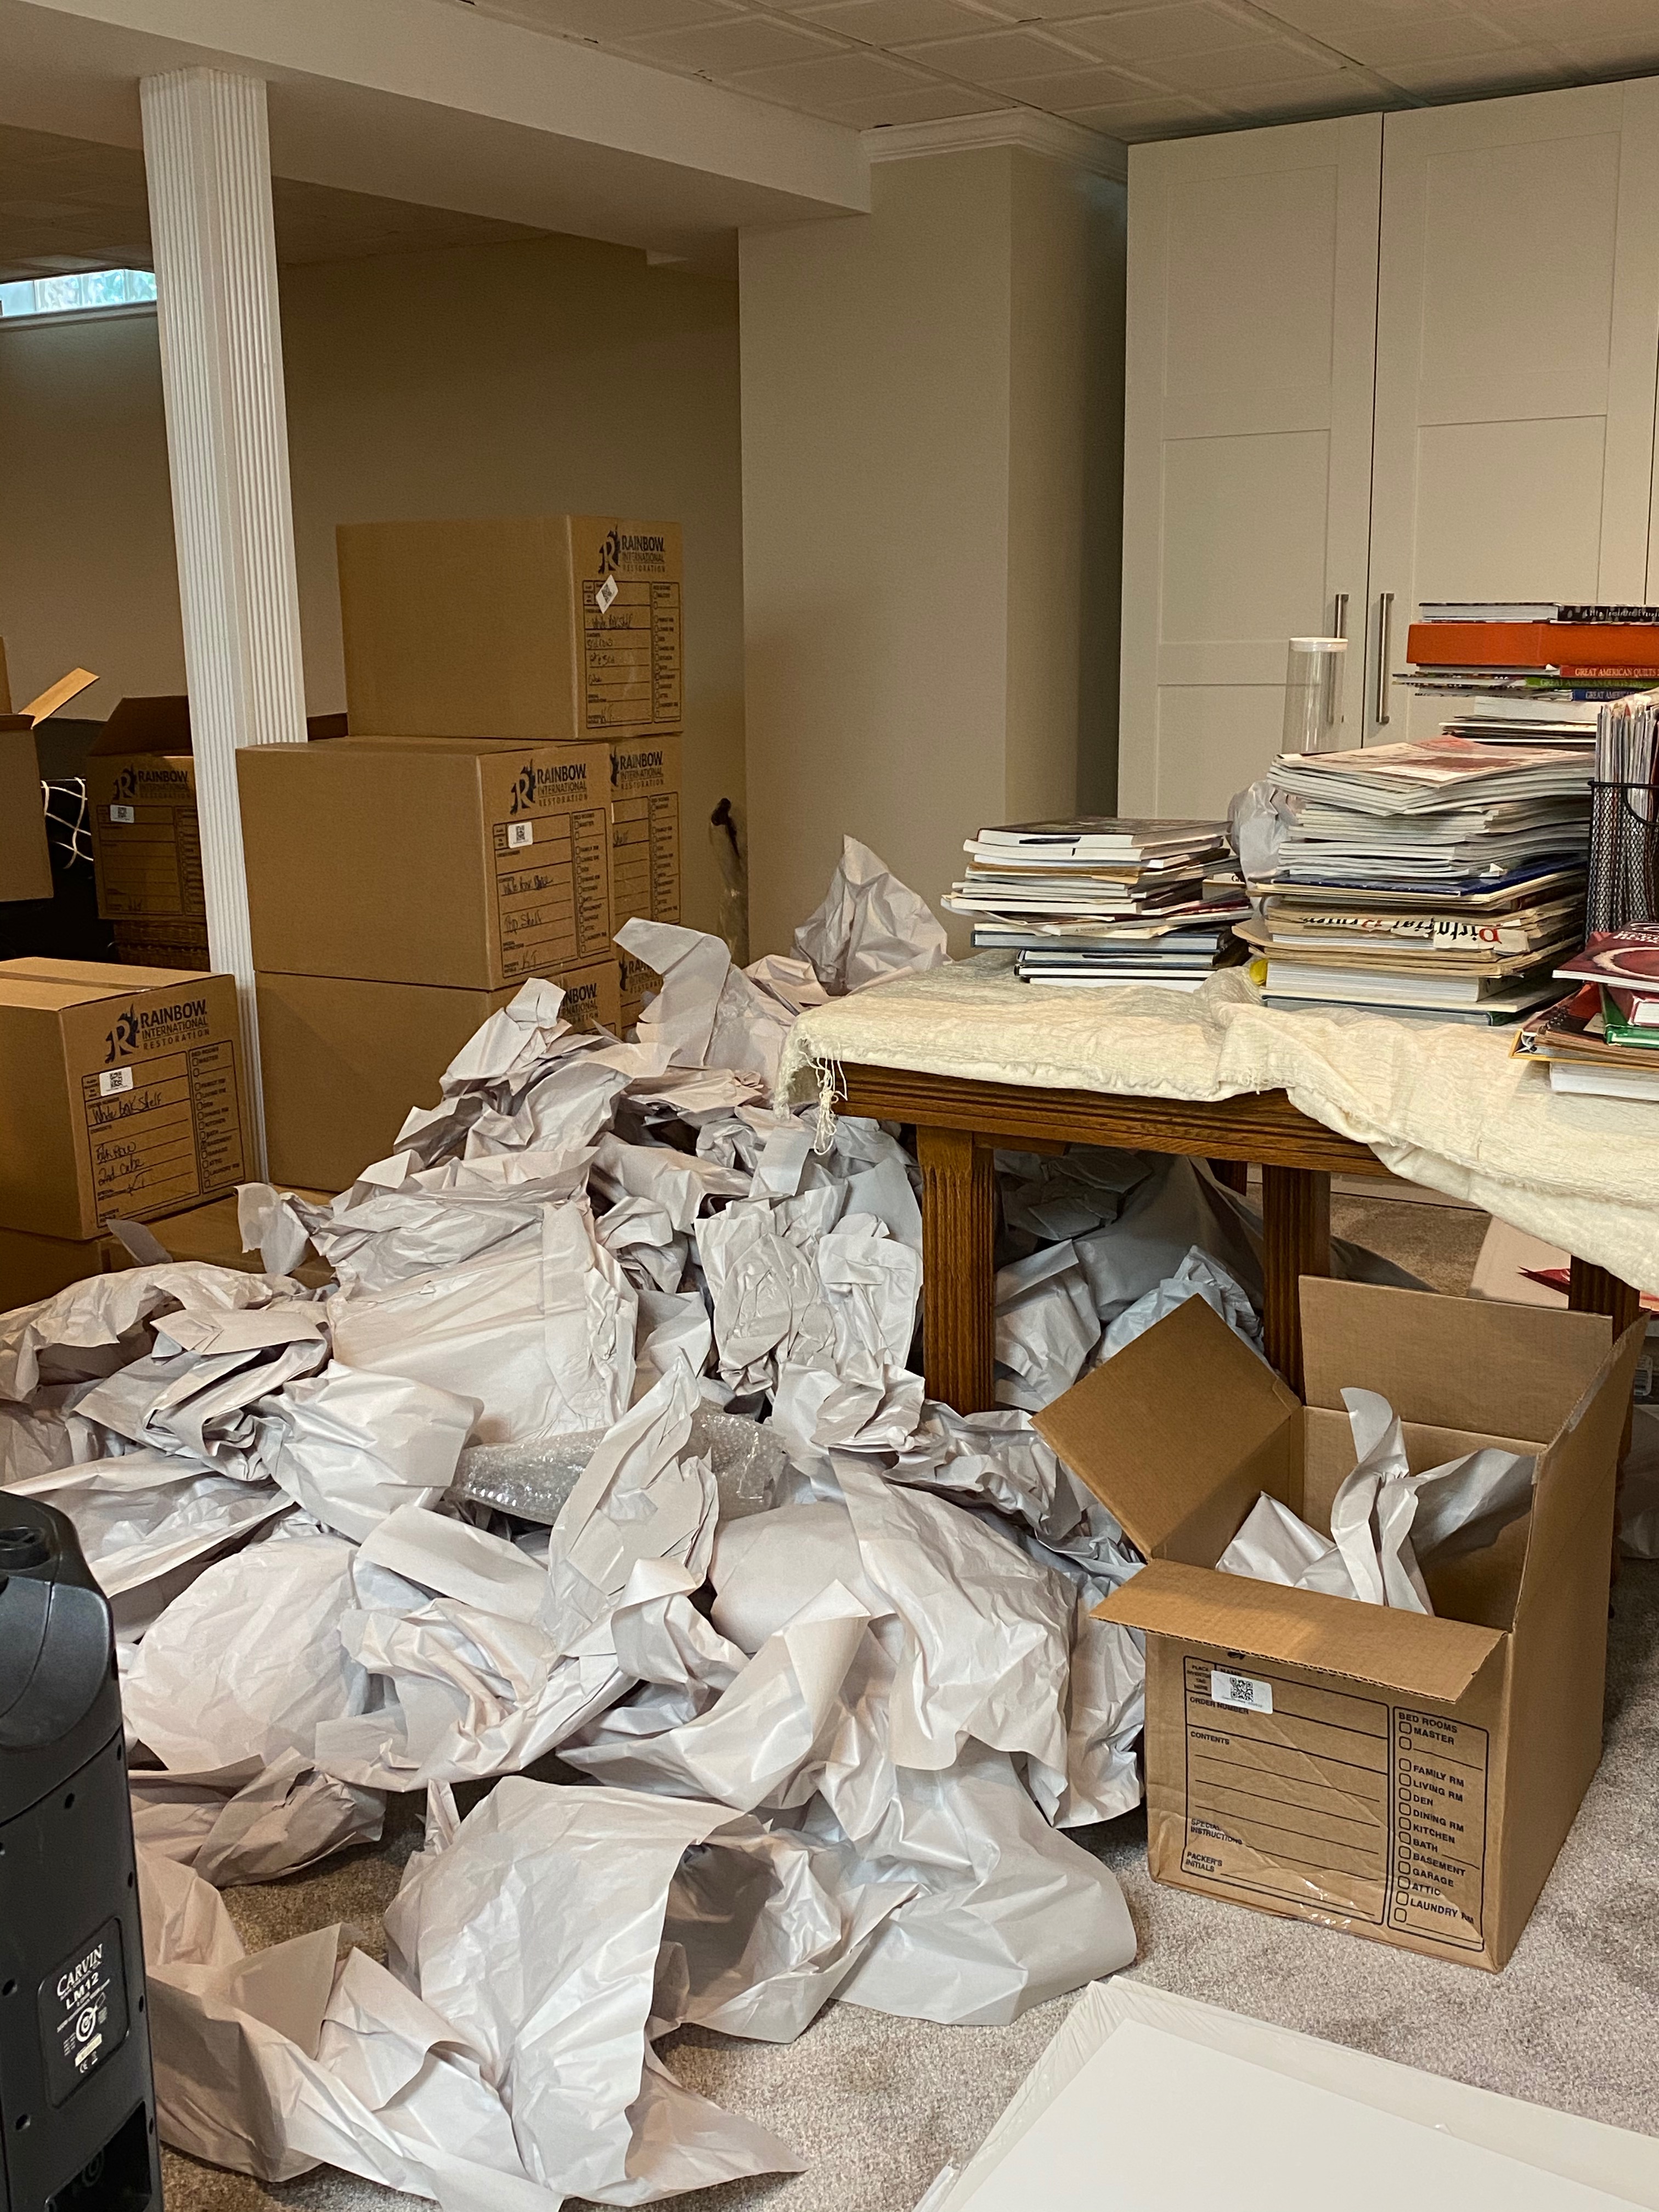
In September, when the basement clean-up was finished, my volleyball coaching job was in full swing and then that was quickly followed by the holidays. Now, I finally have time and space, so I am back in my happy place trying hard to keep squeezing the lemon into some sugar.

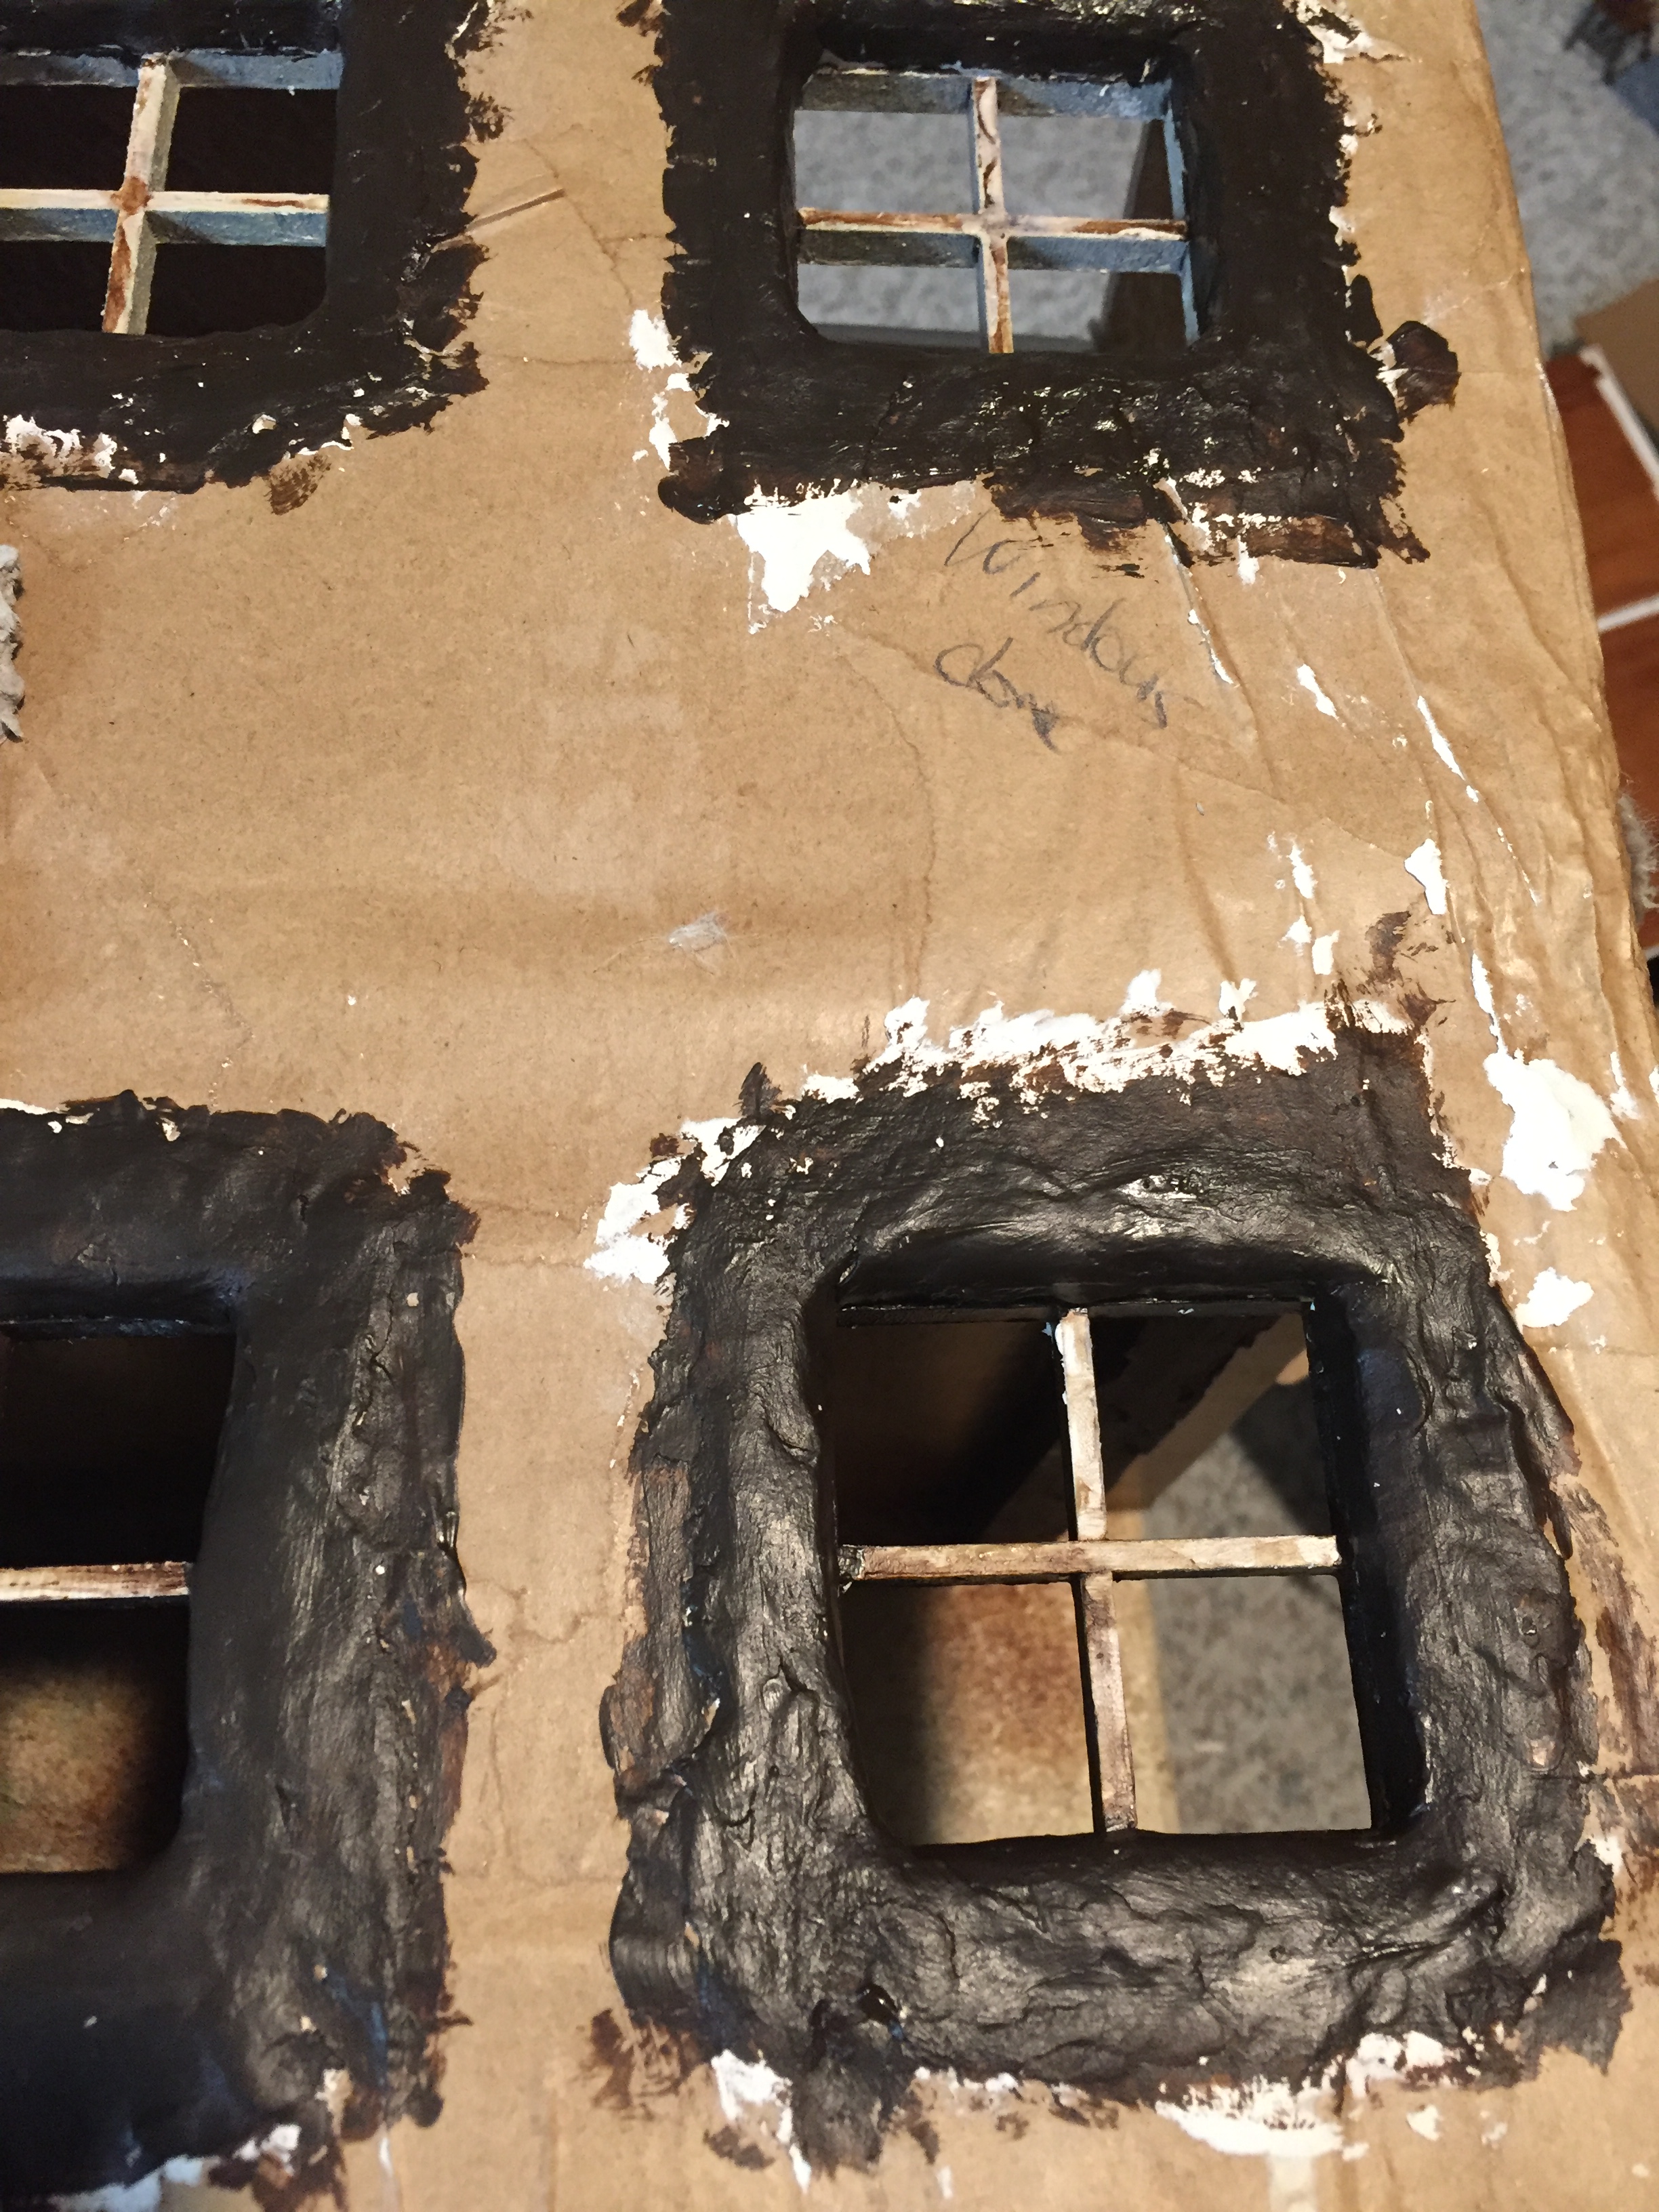
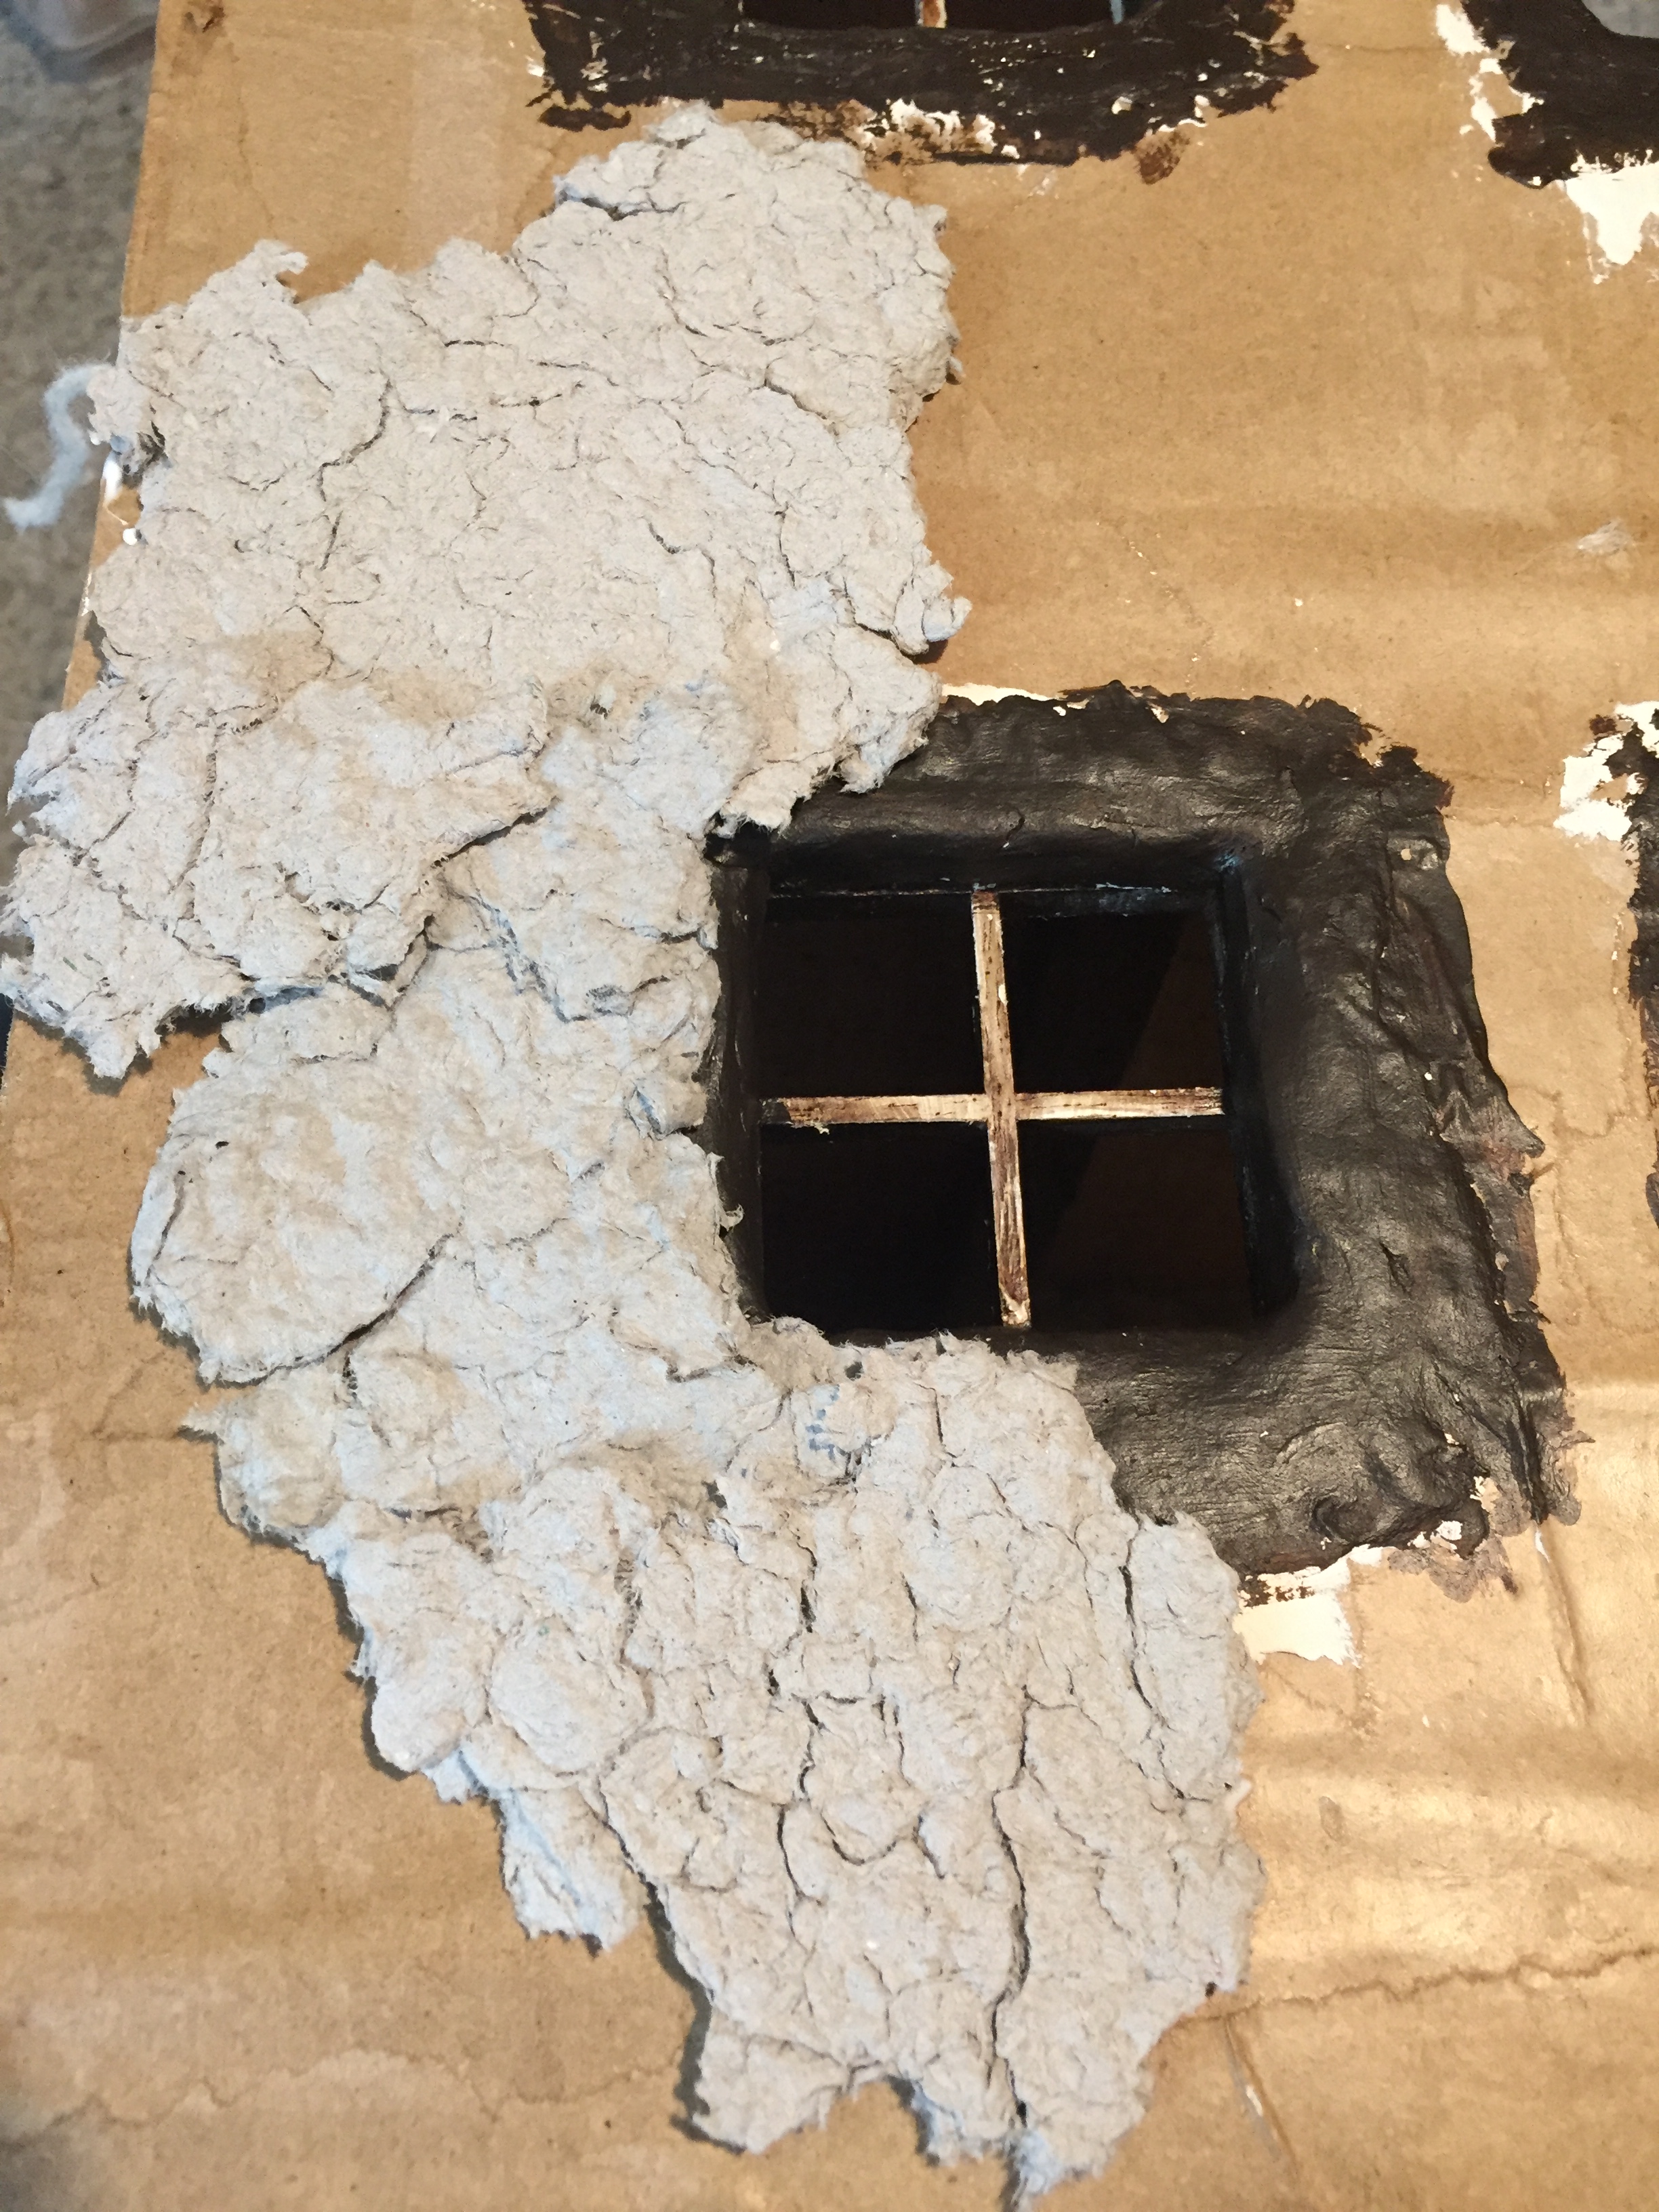
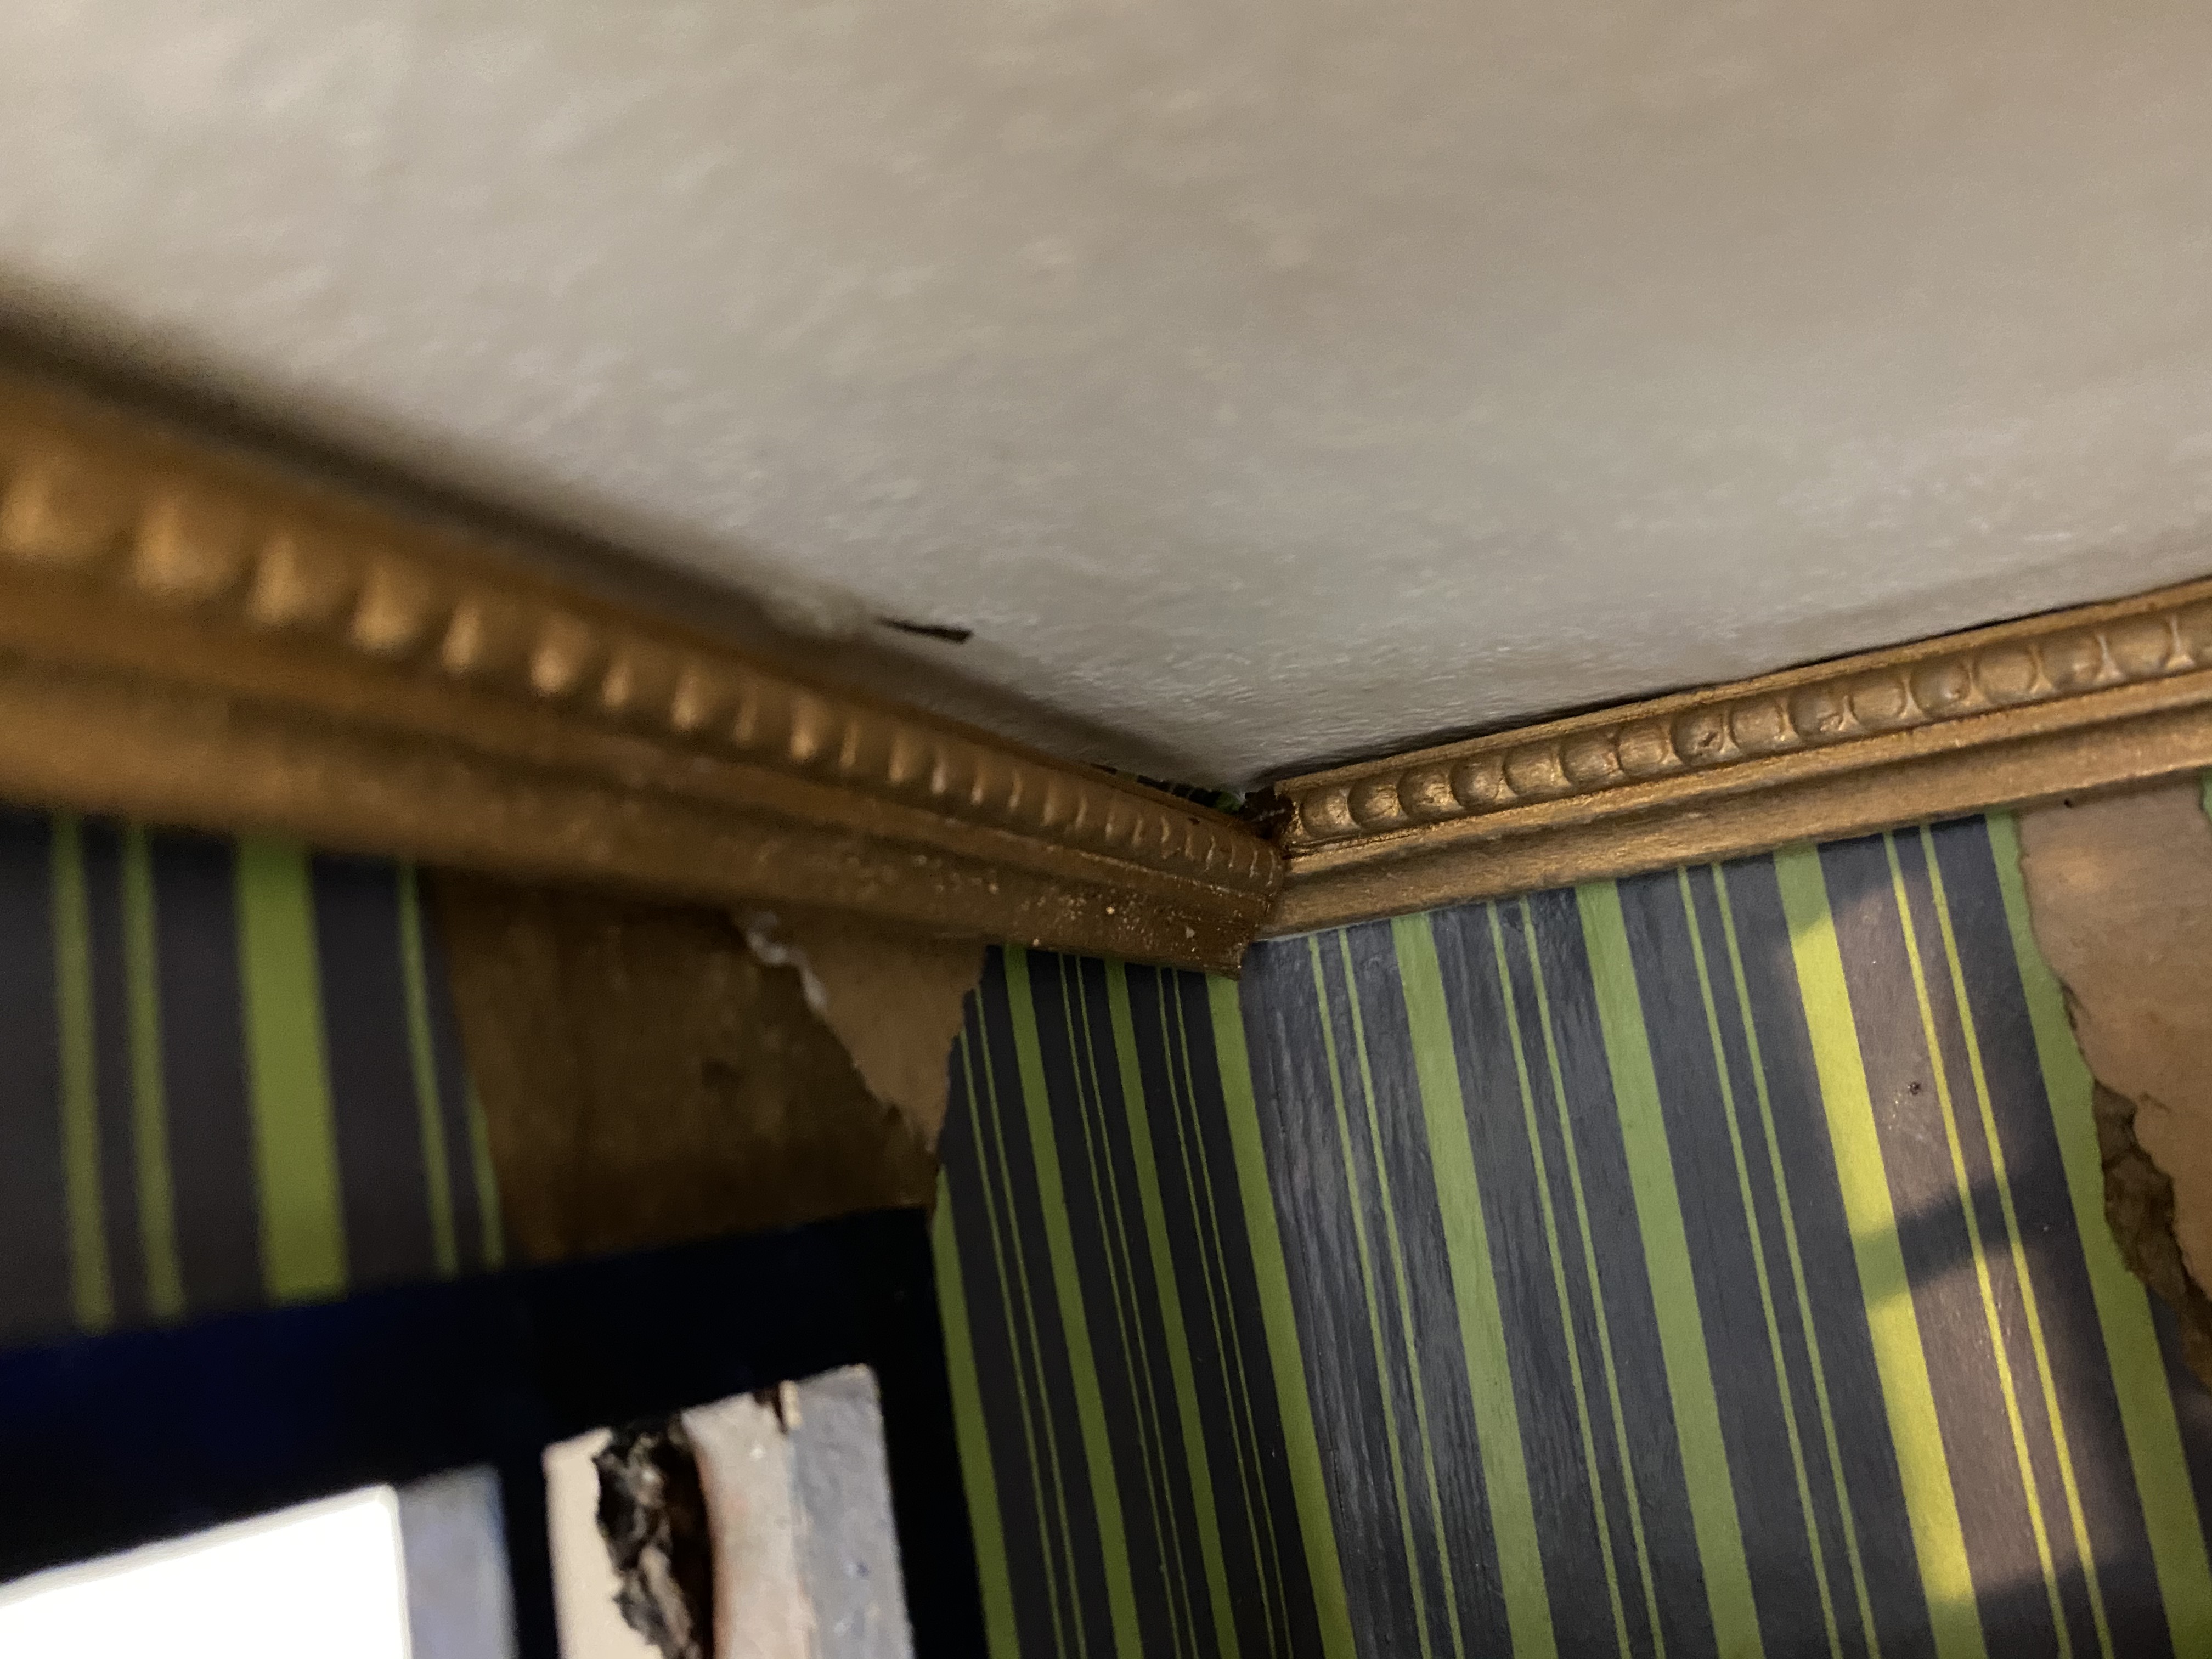
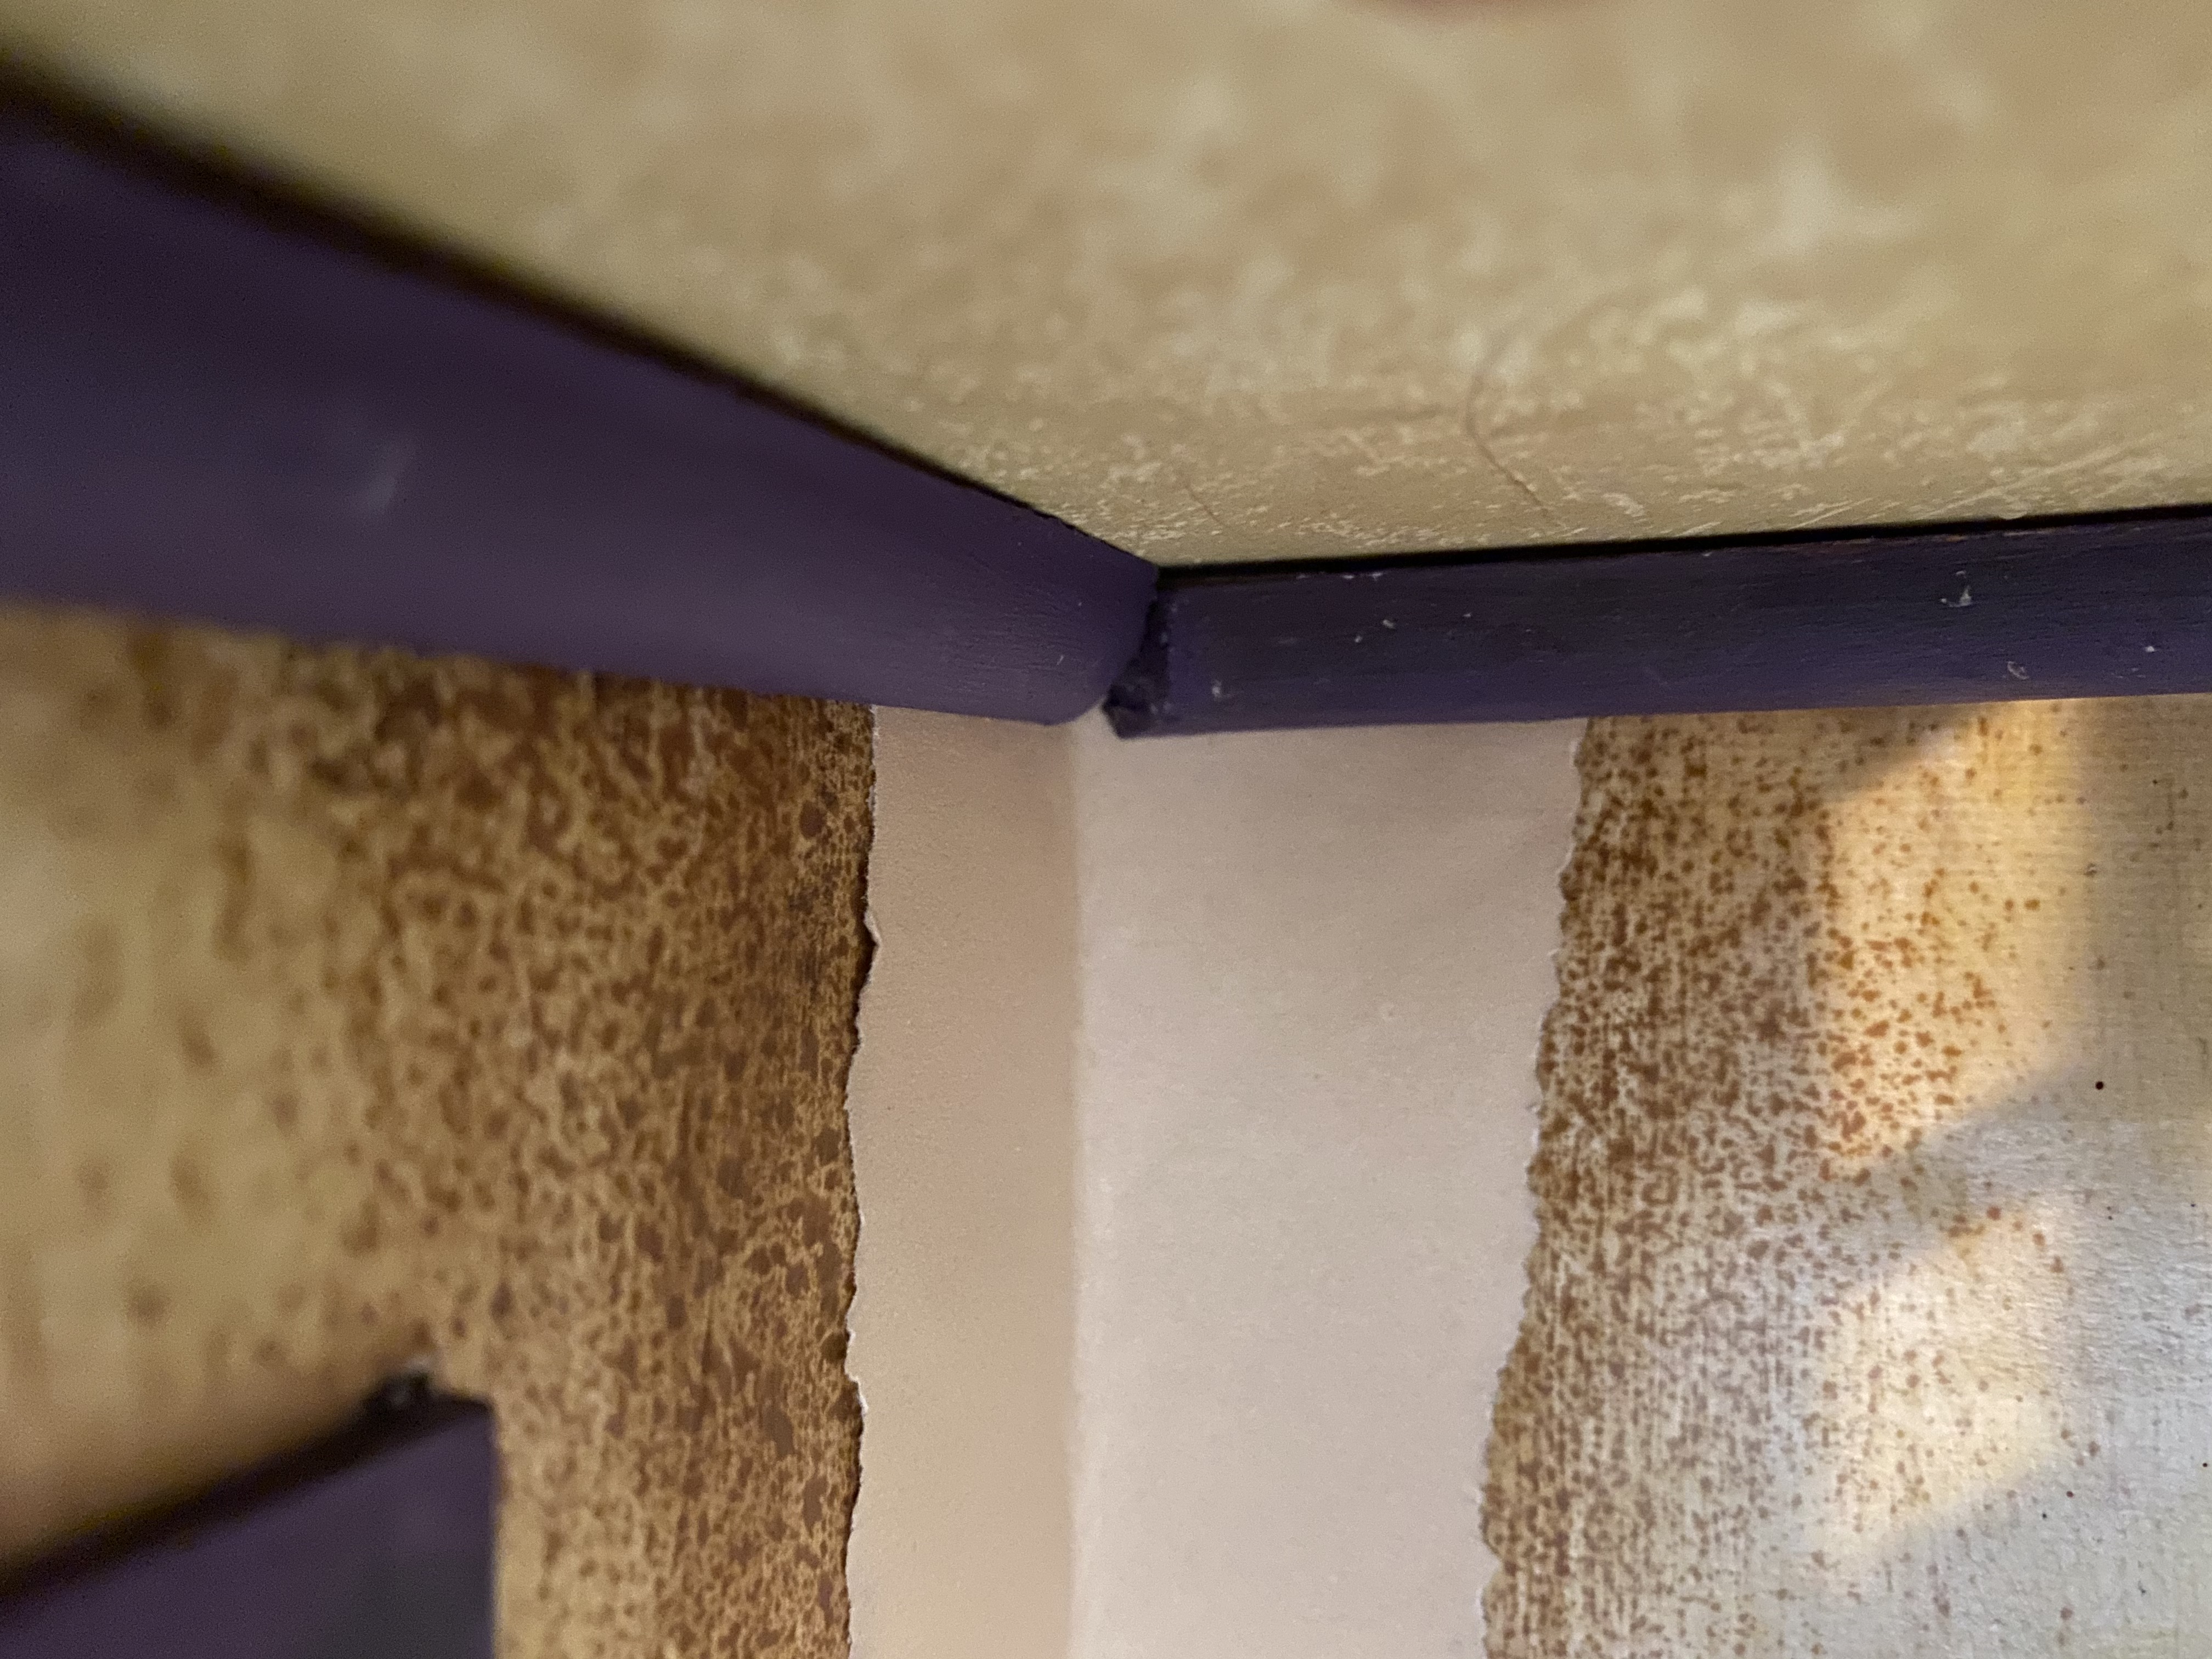
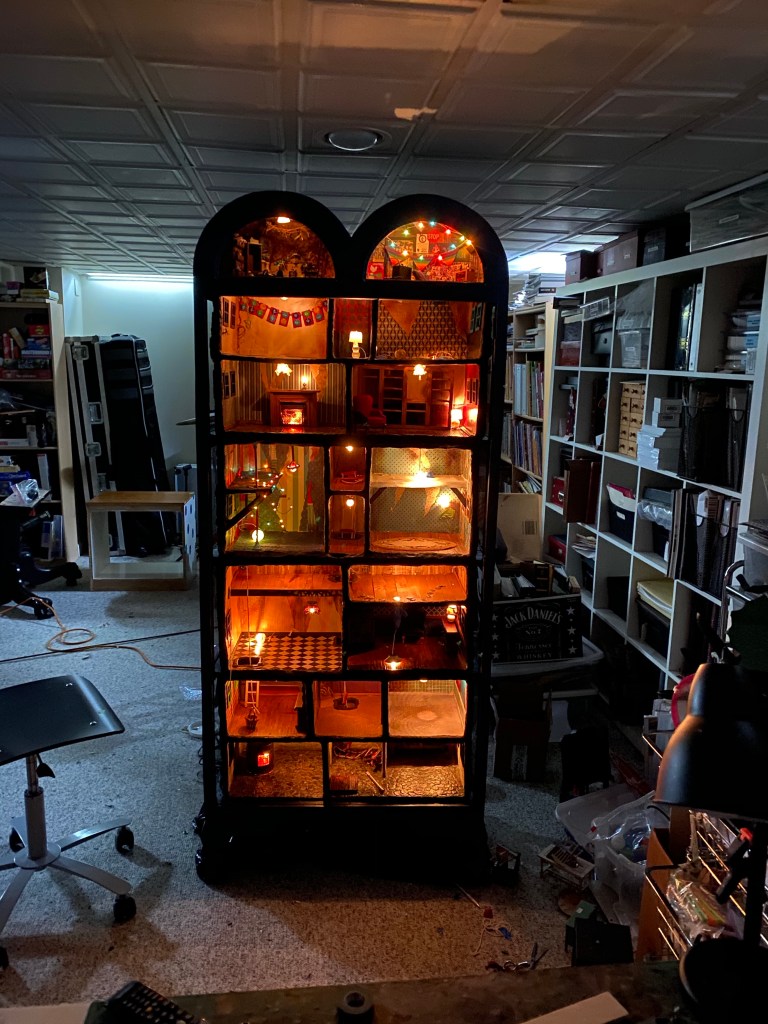
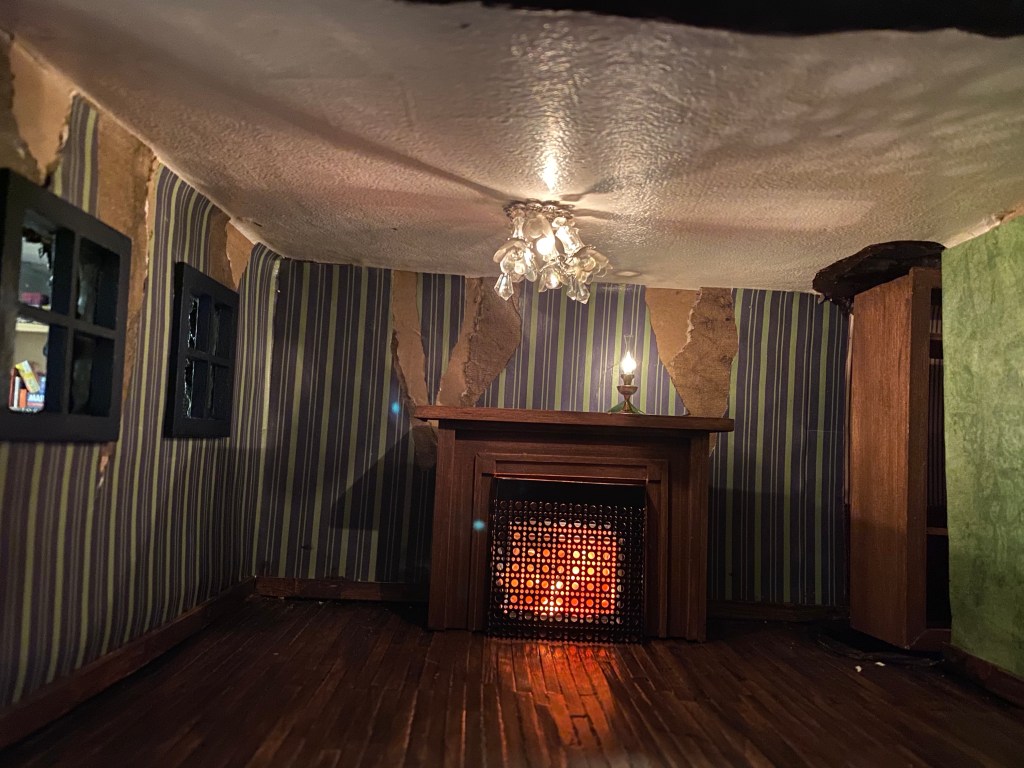
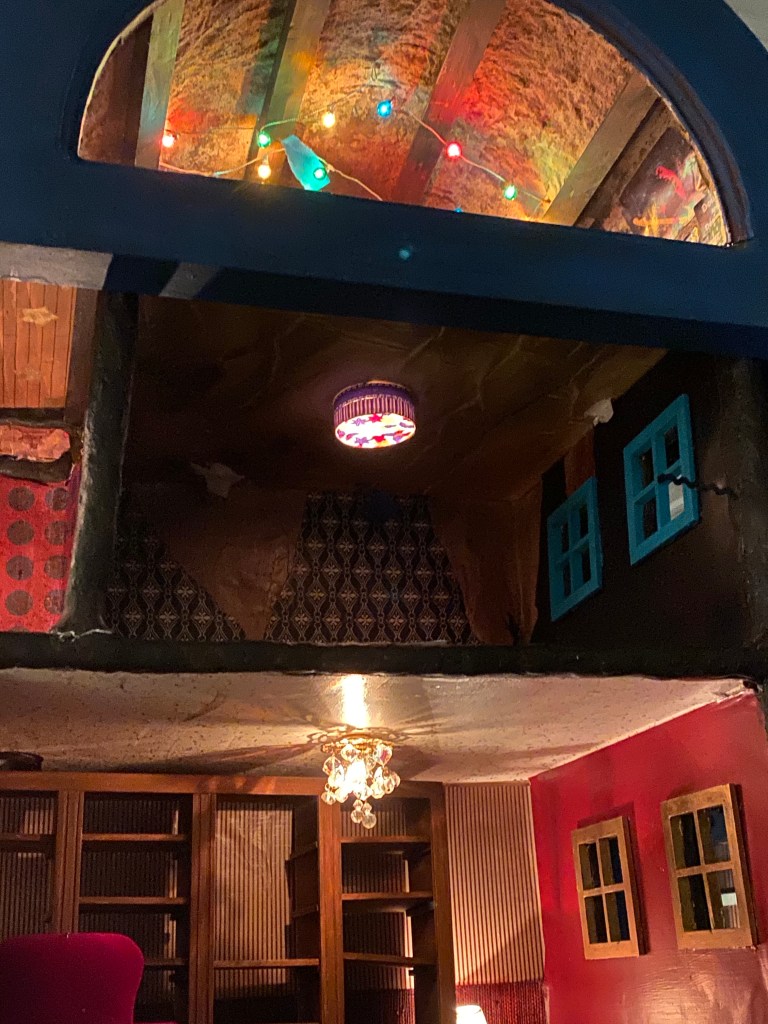
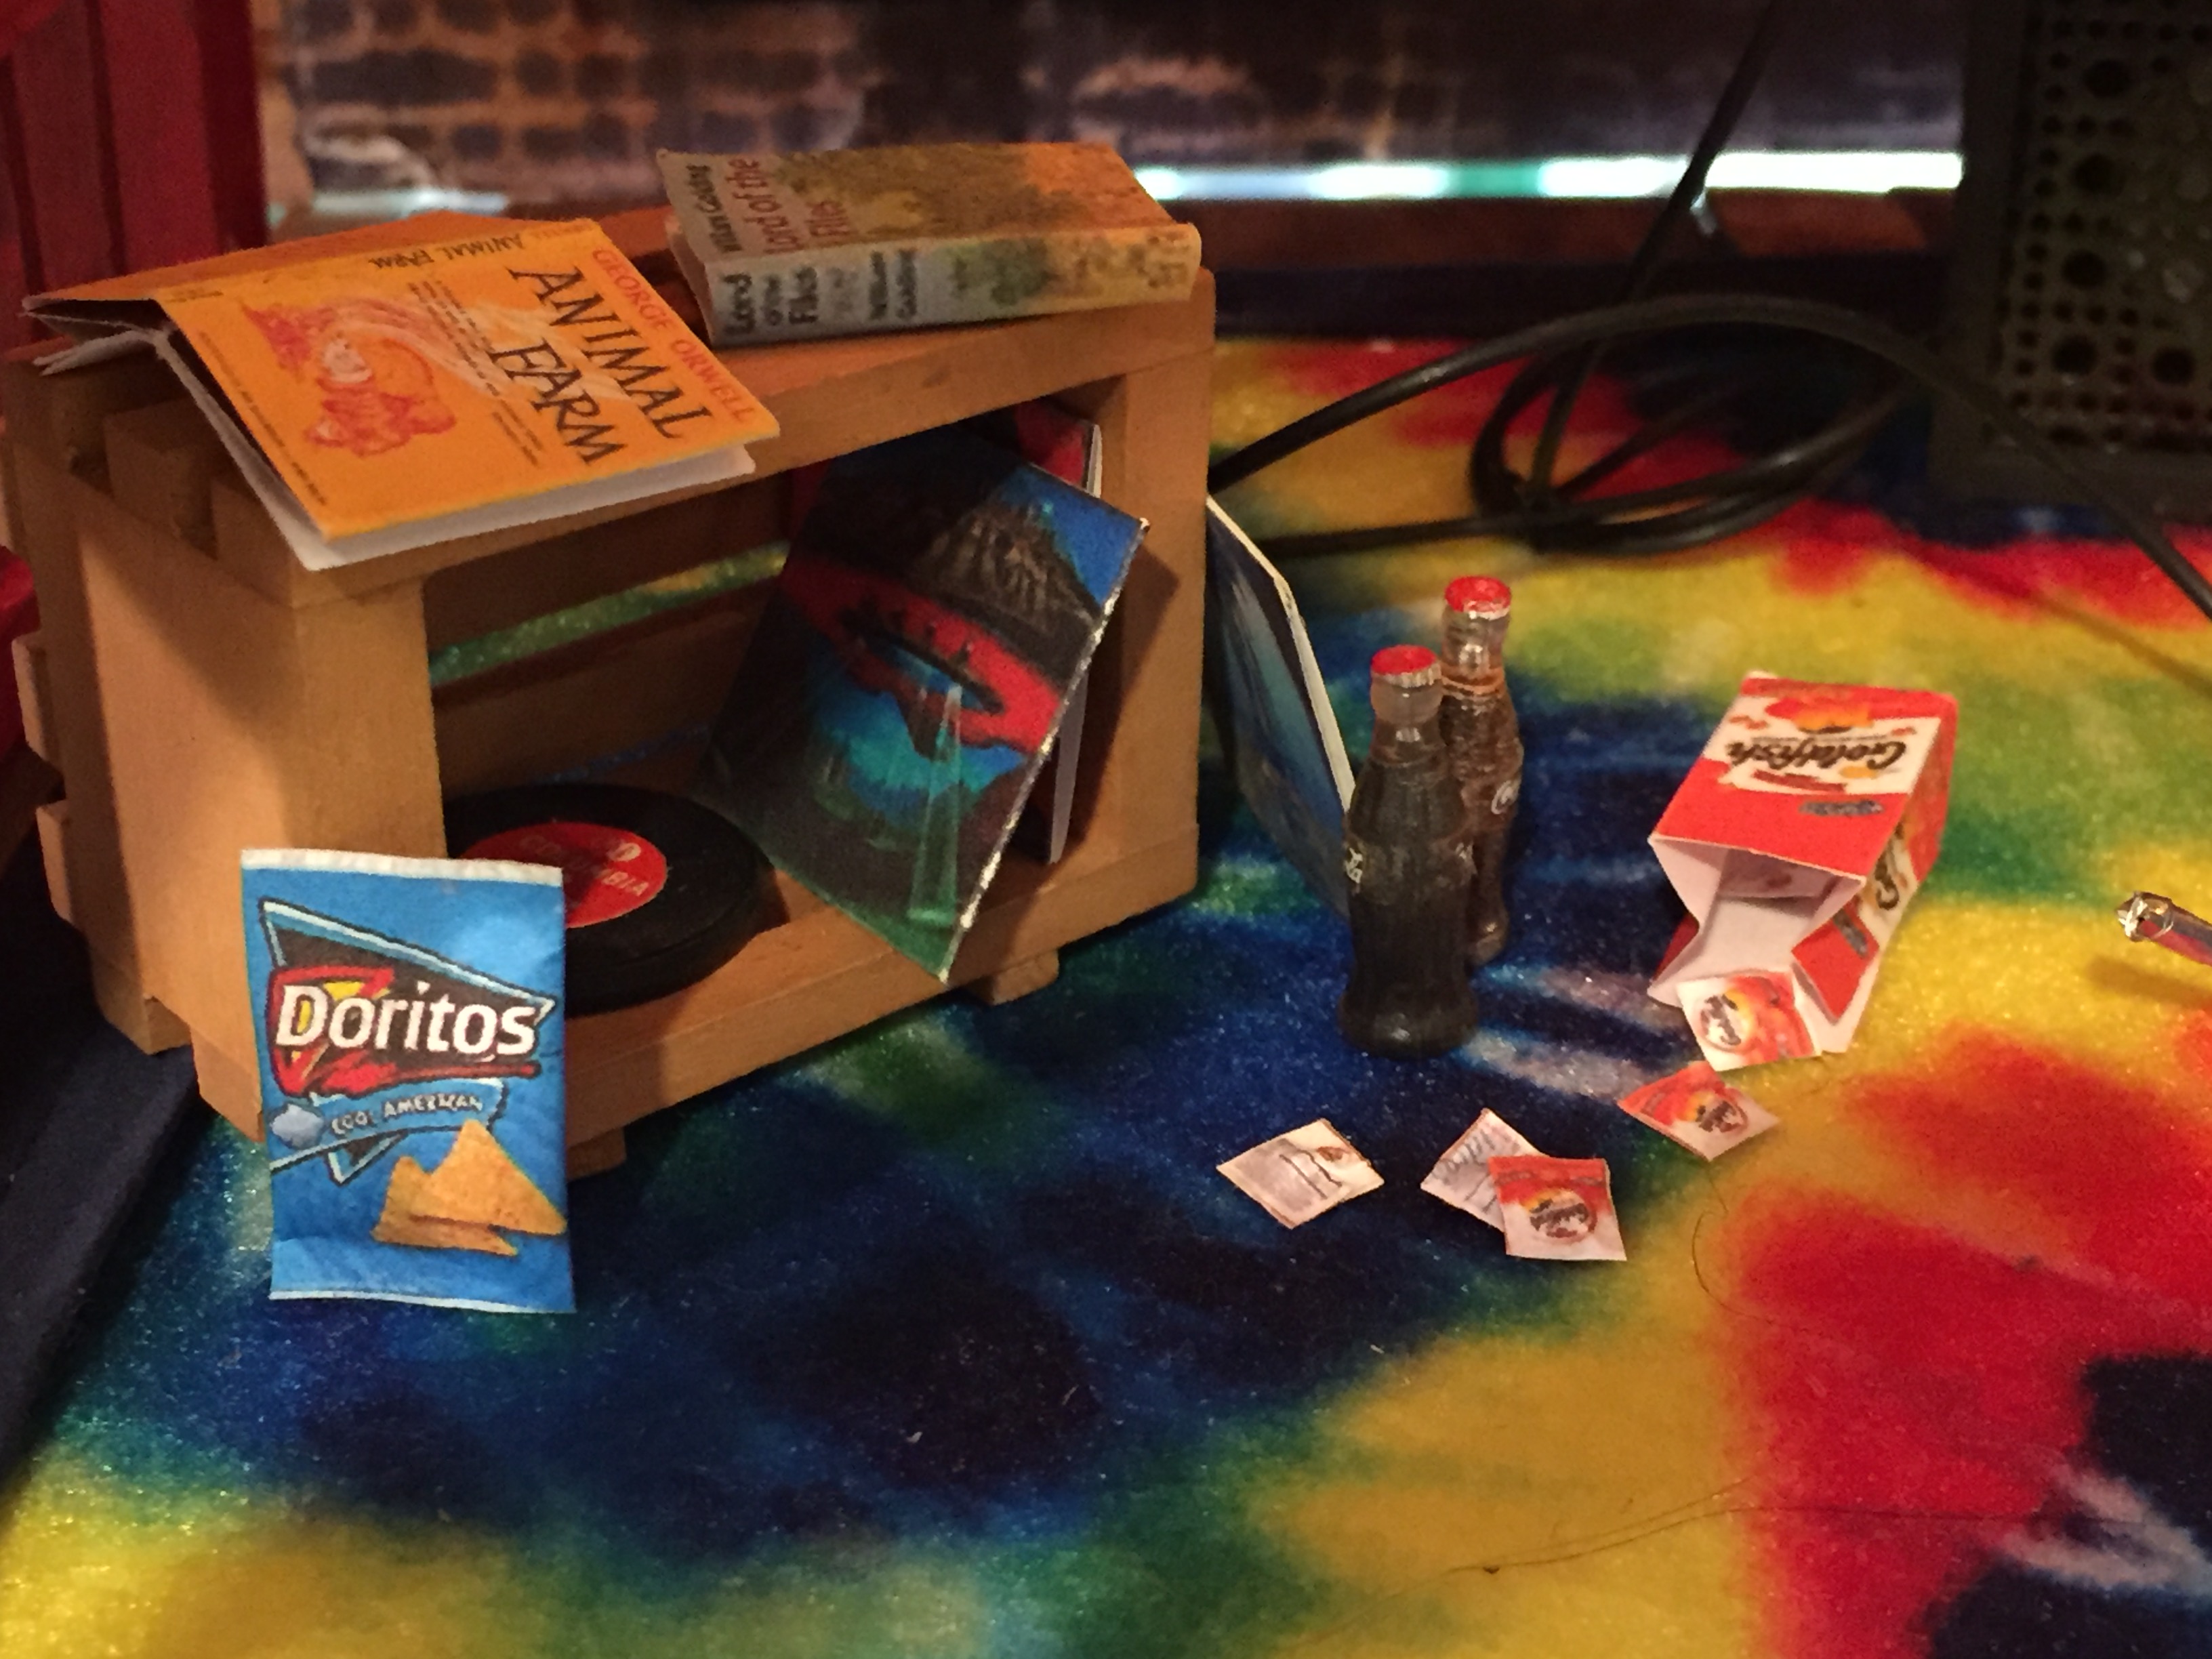
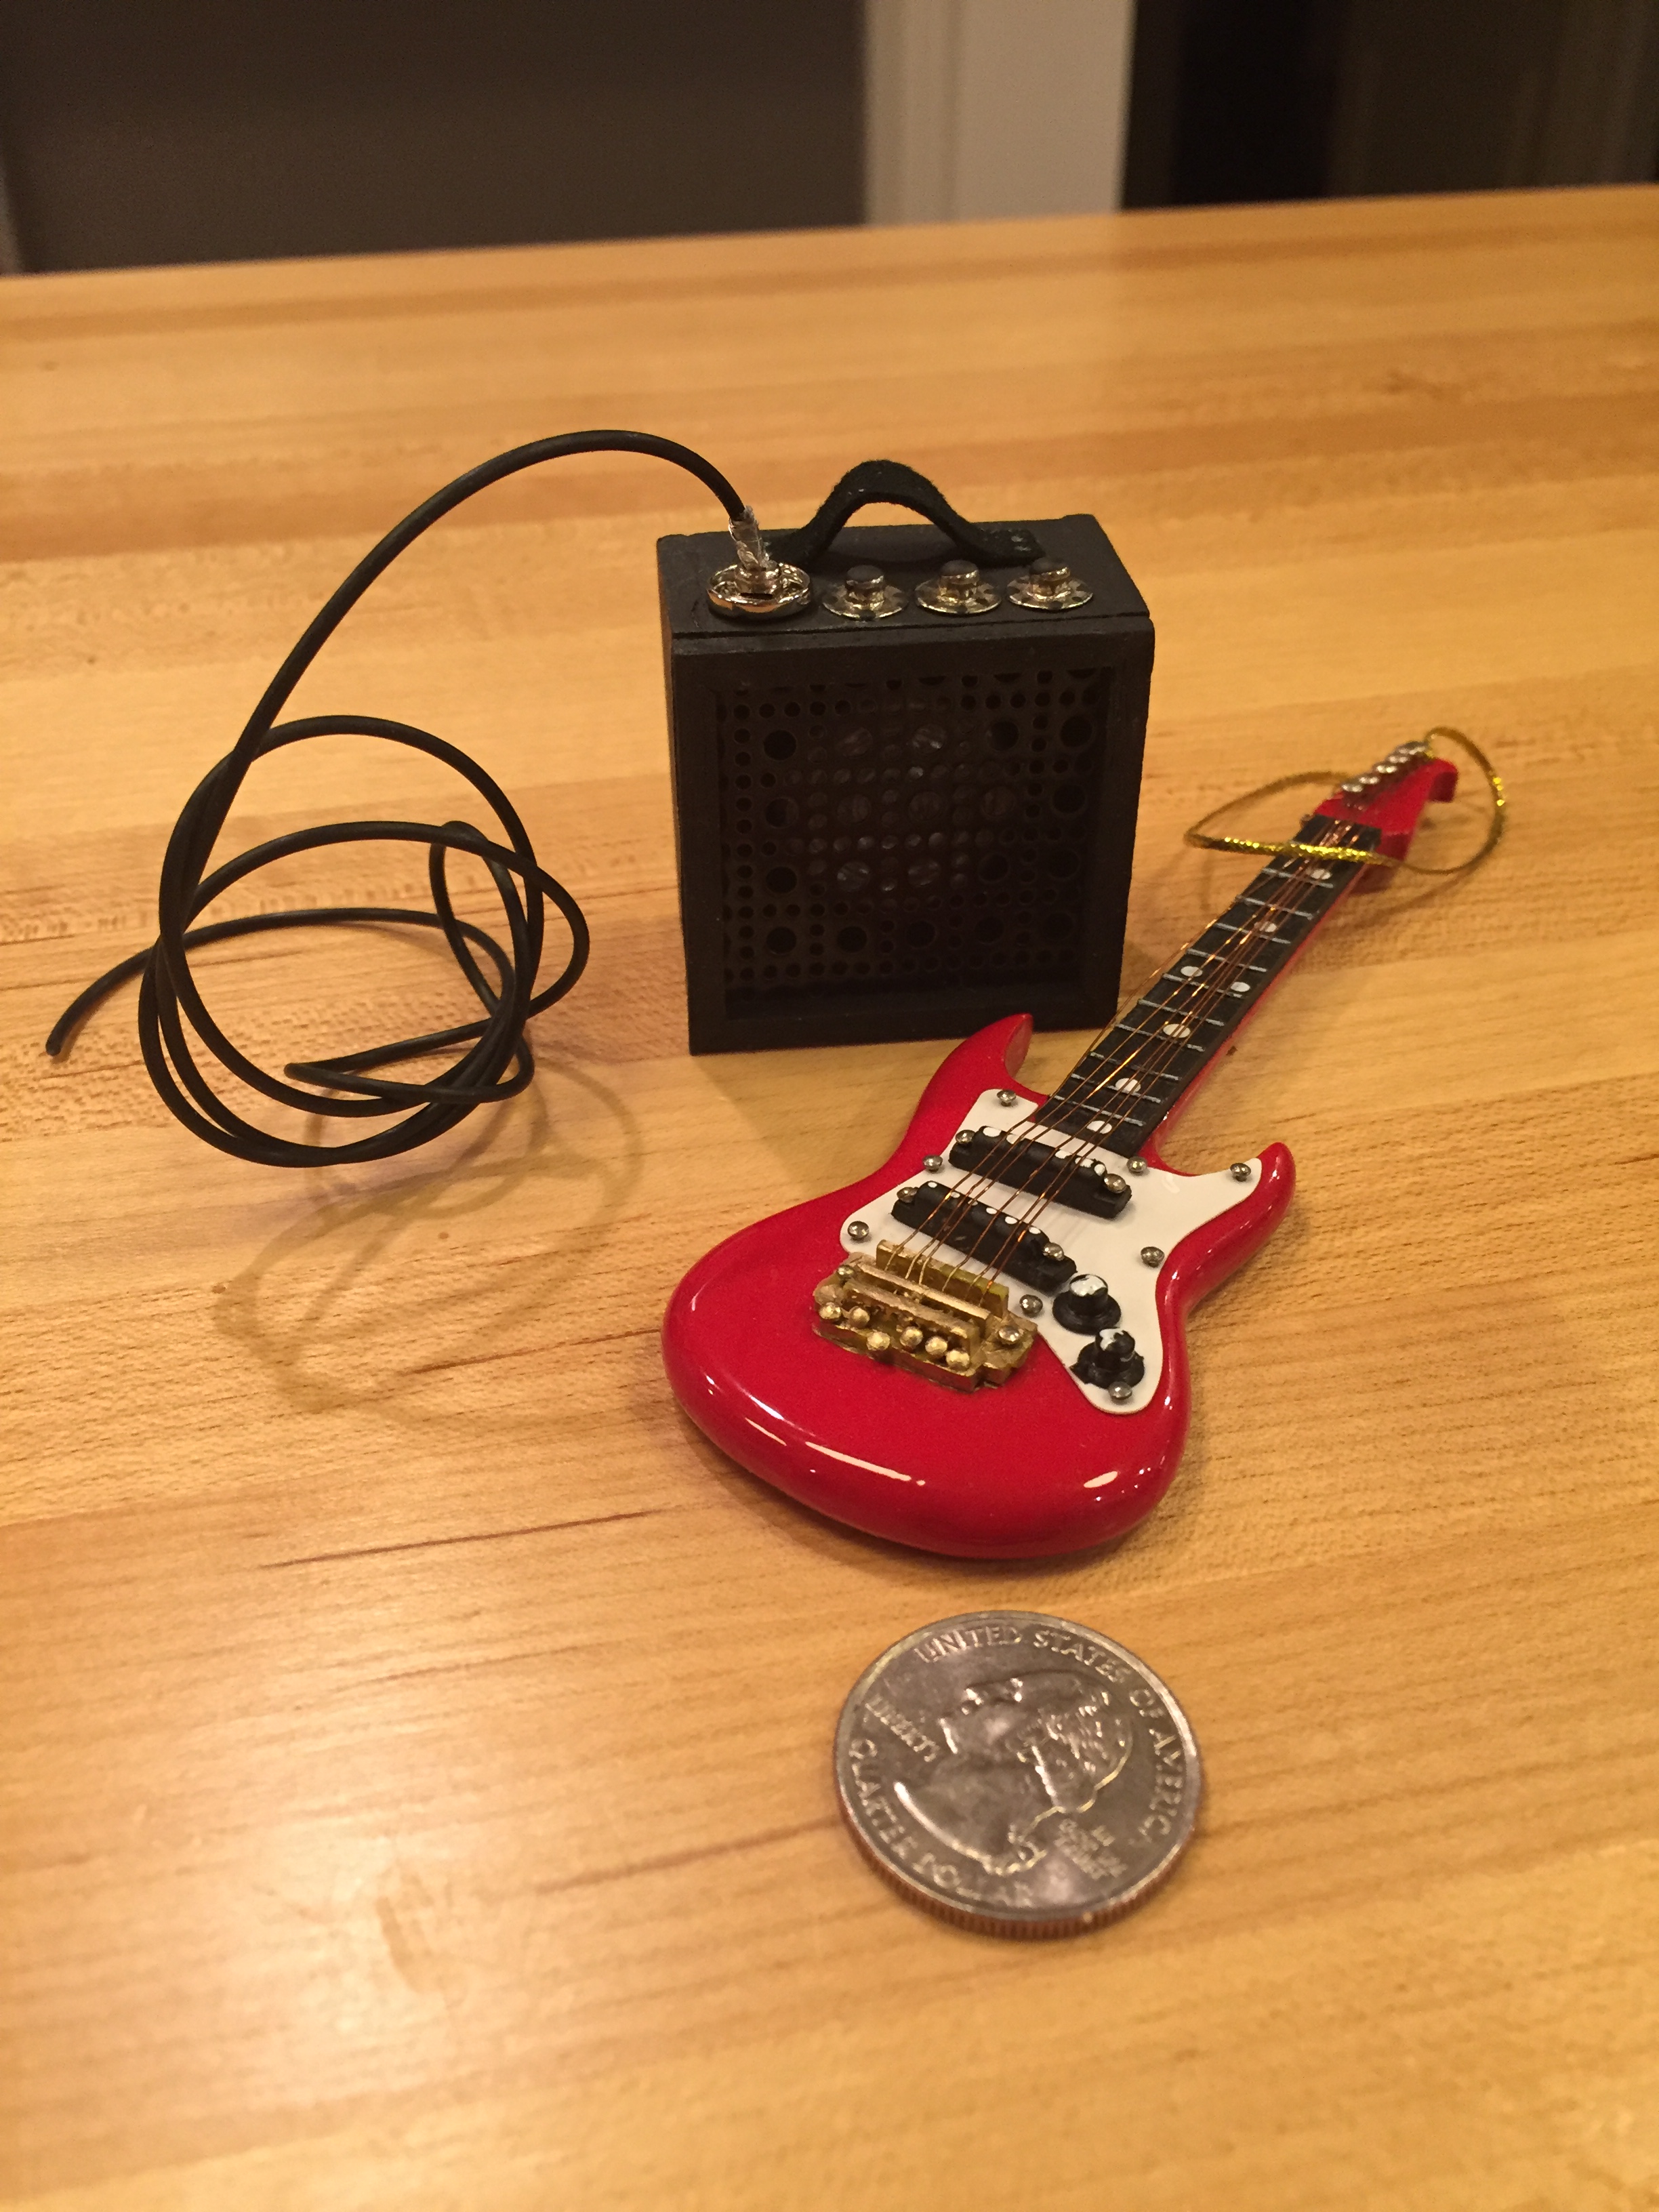
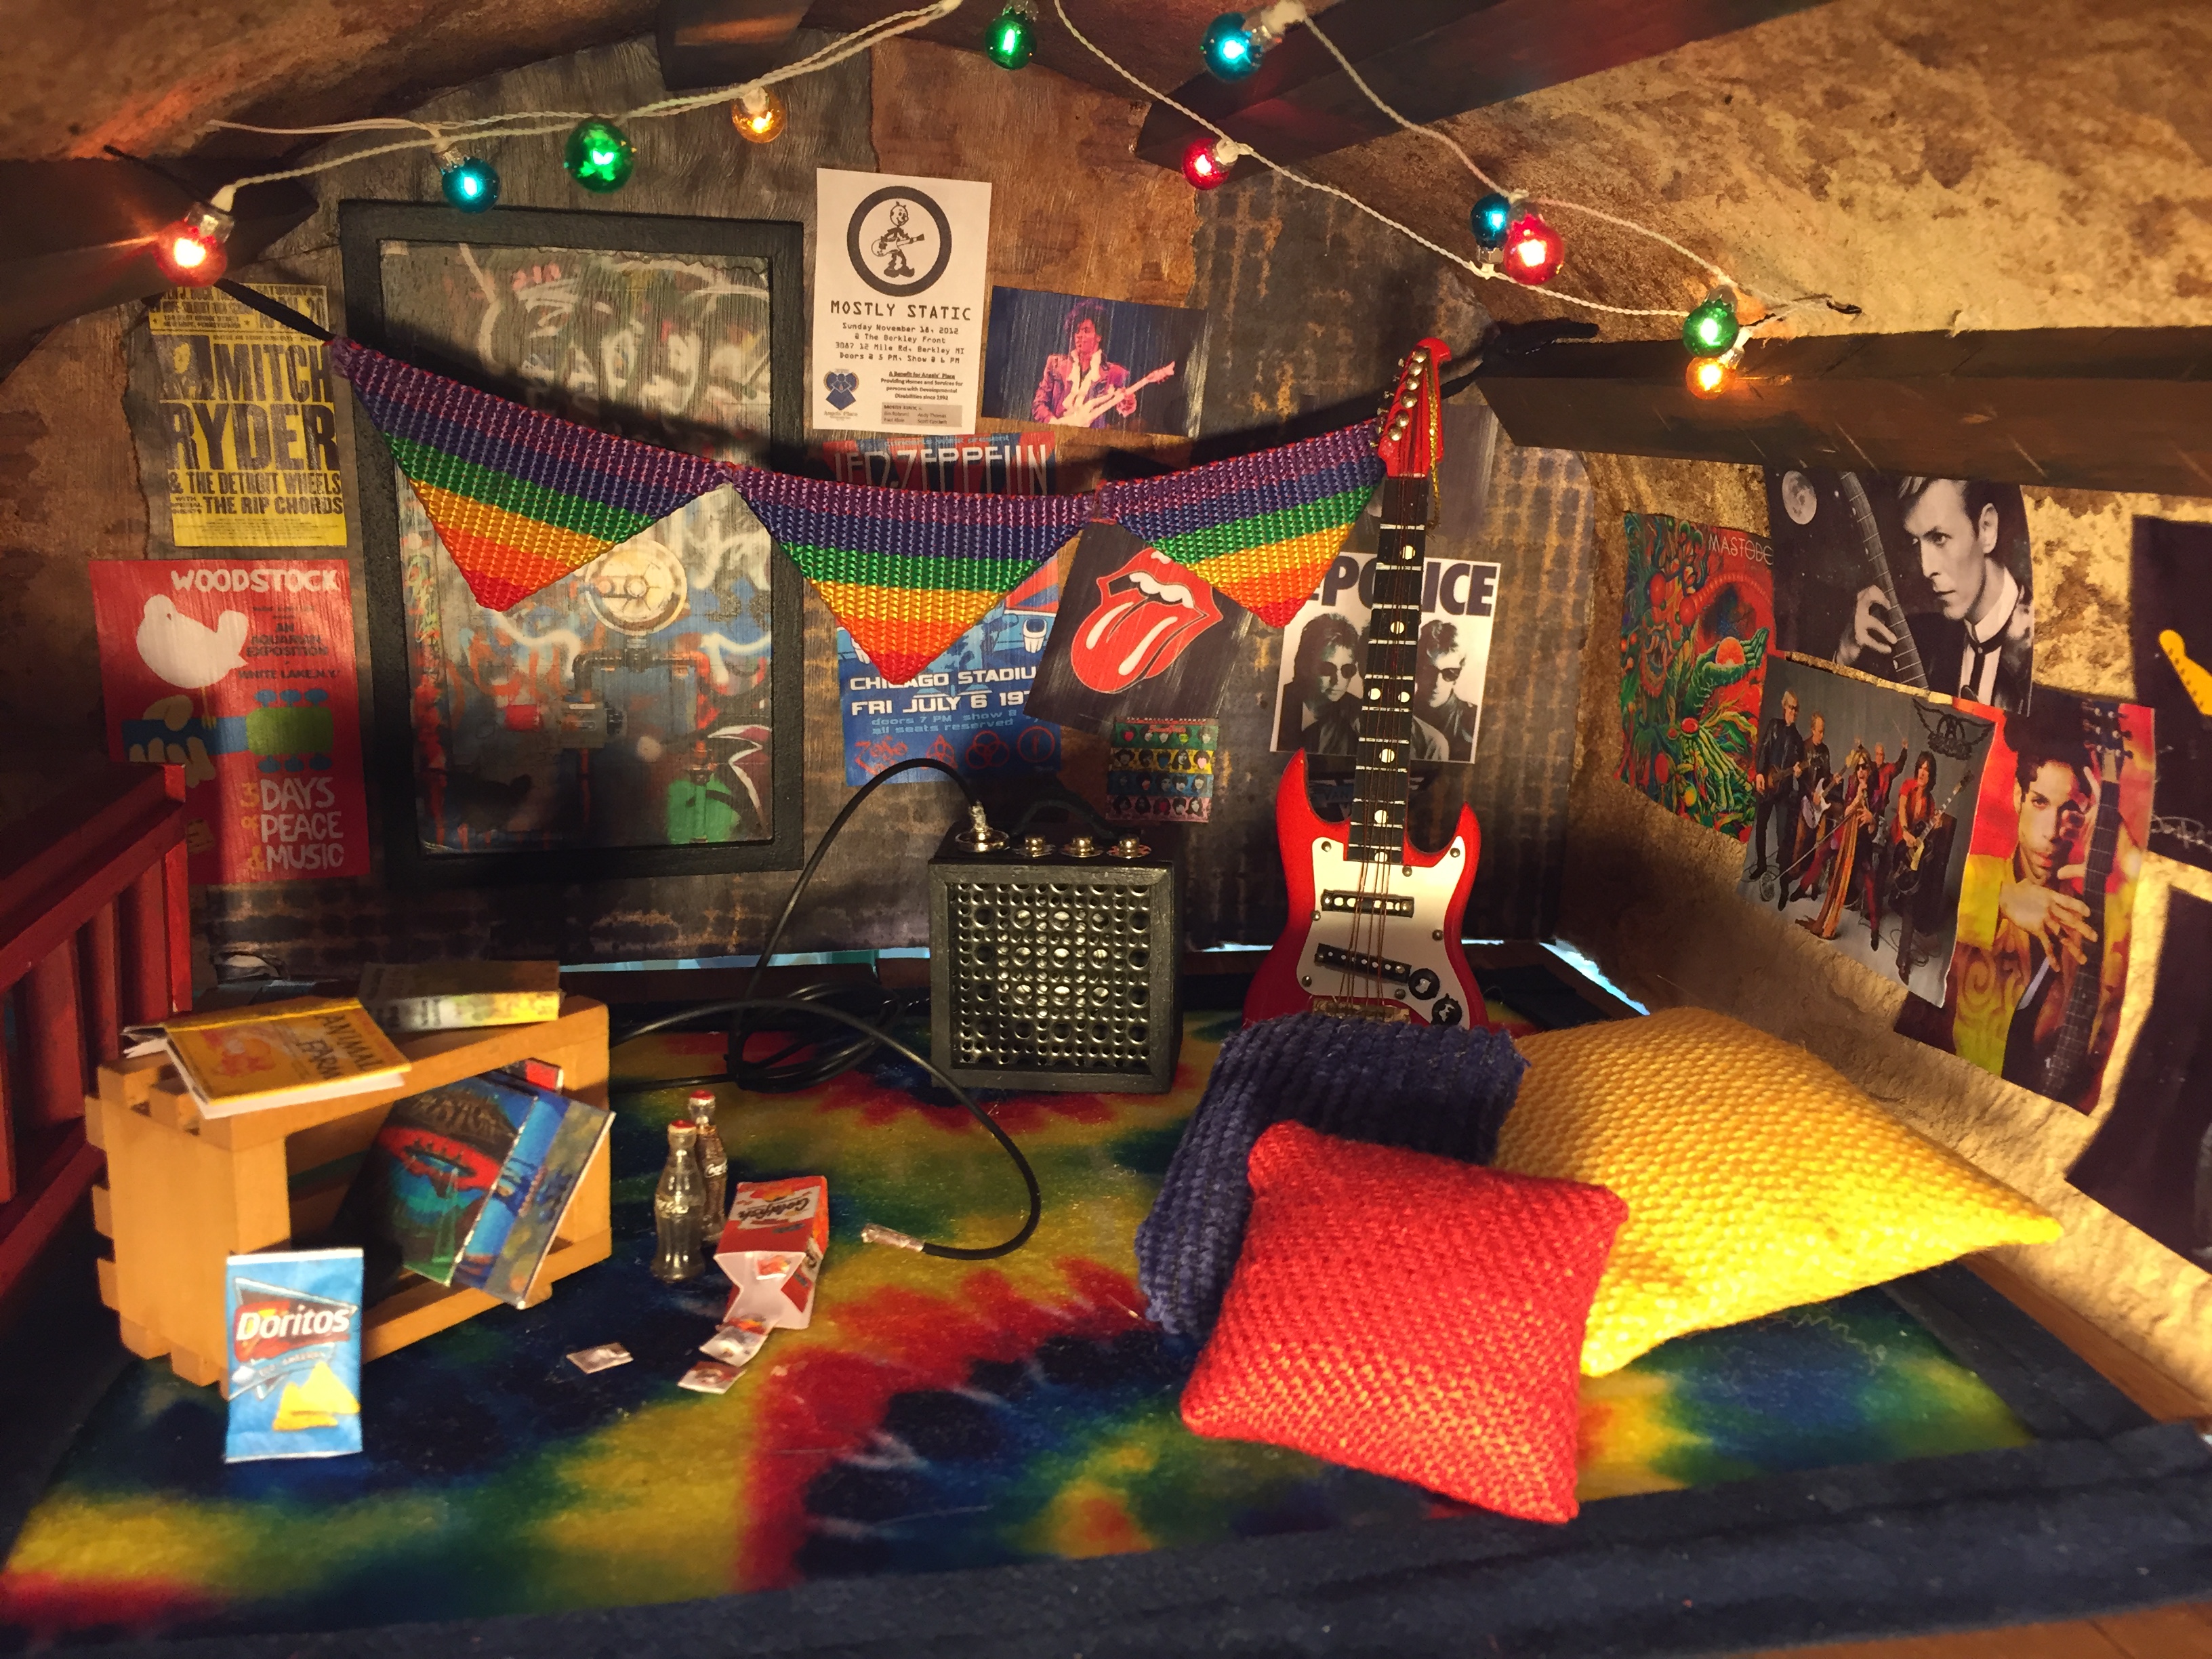
Last week I focused on finishing trim: the baseboards, chair rails and moulding against the ceiling. I used my little miter box and saw and did a pretty good job, but I forgot that carefully cut trim only fits in square corners–angles which are not “true” in the Mouse House. I reminded myself that precision isn’t necessarily my goal and did the best I could, deciding that the corner gaps add charm.

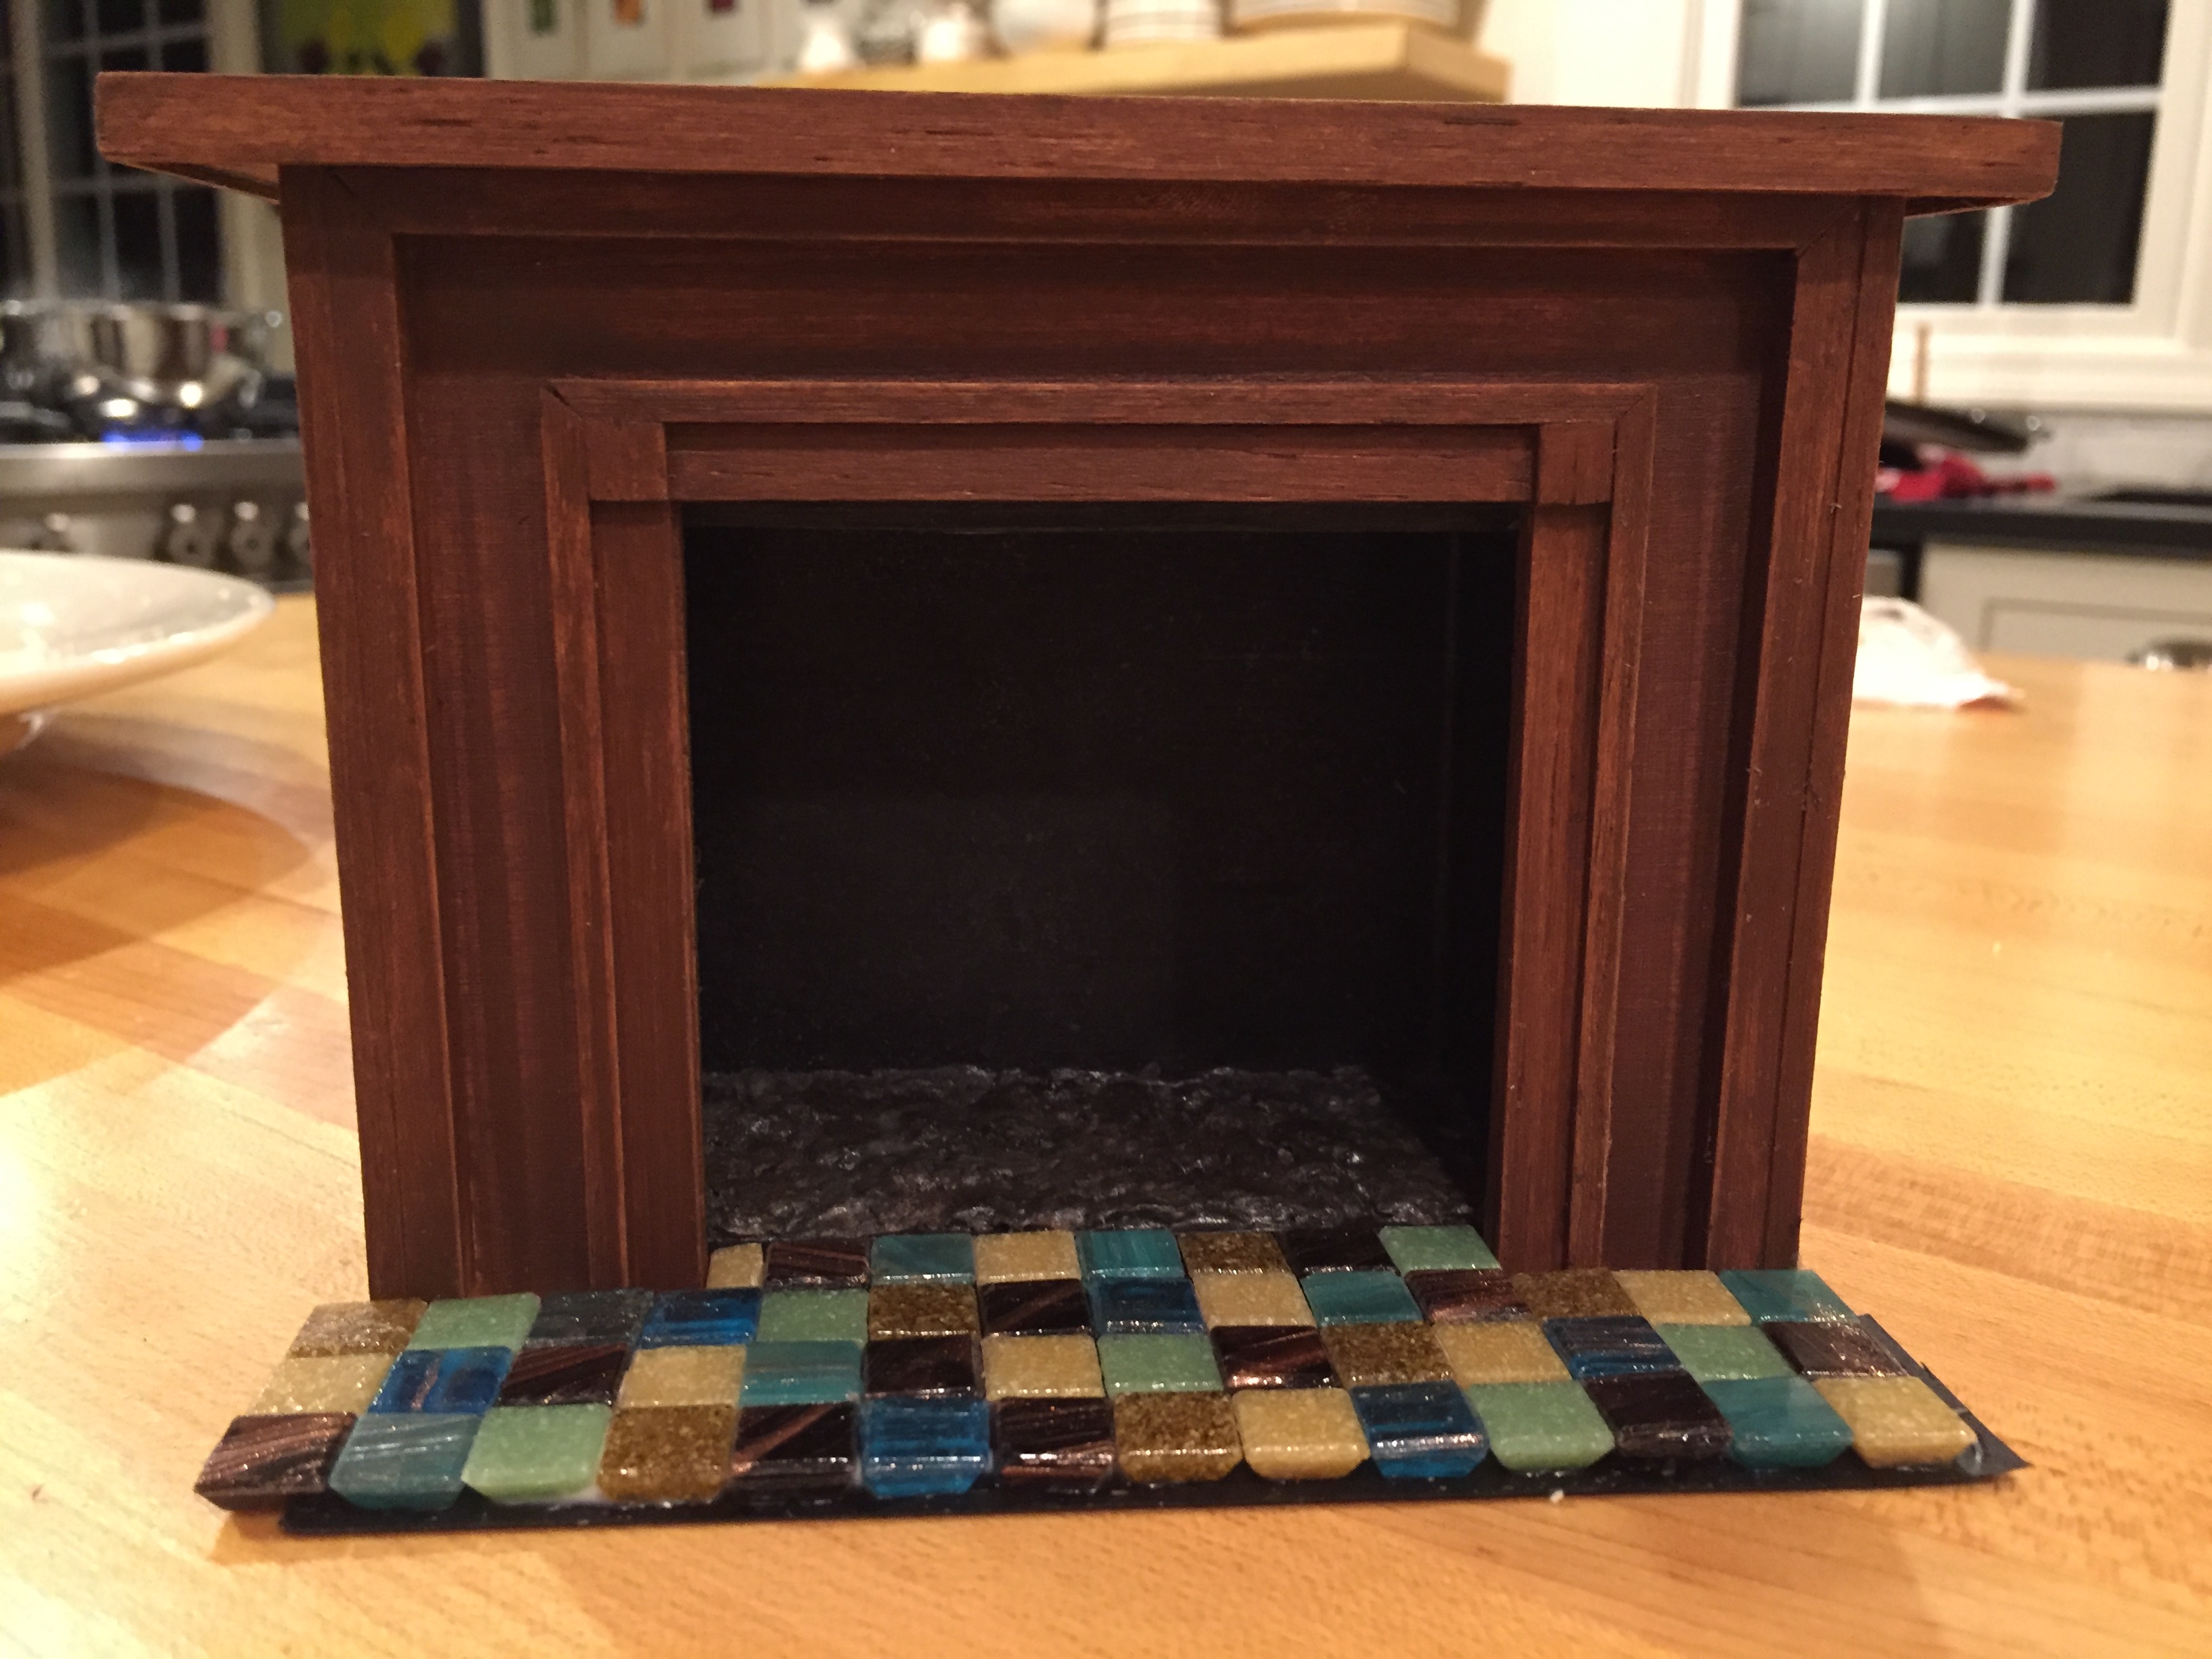
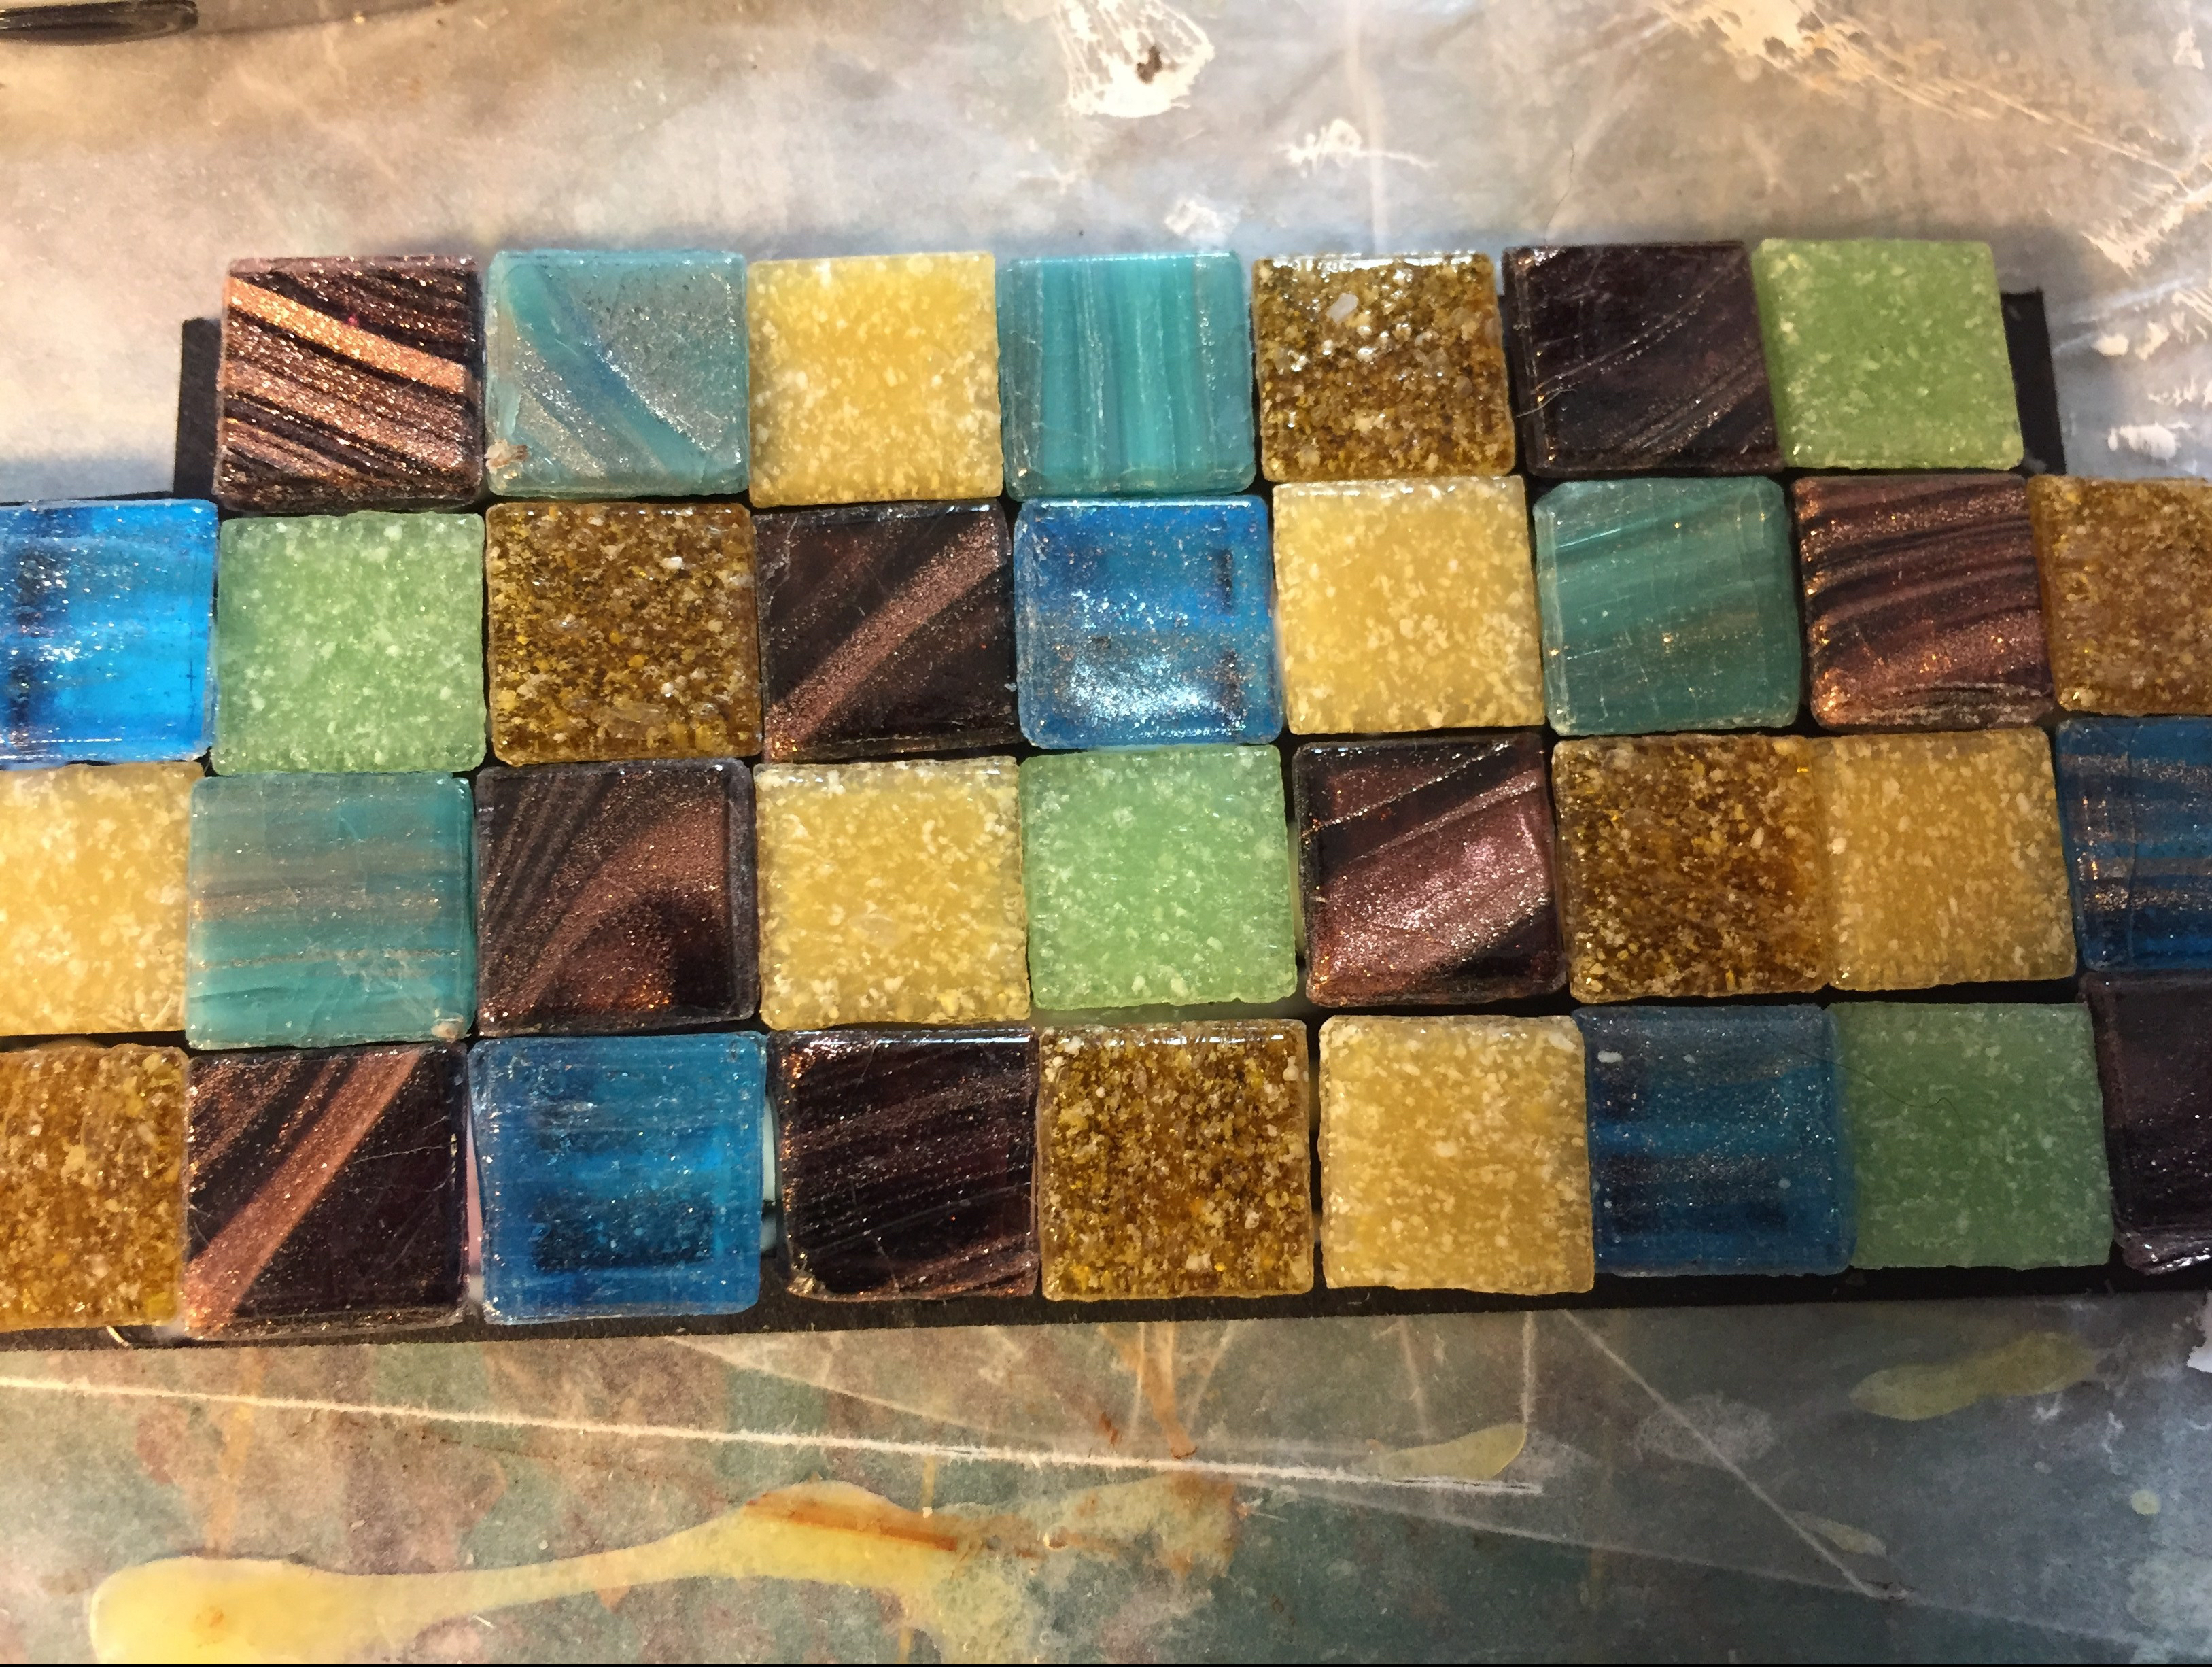
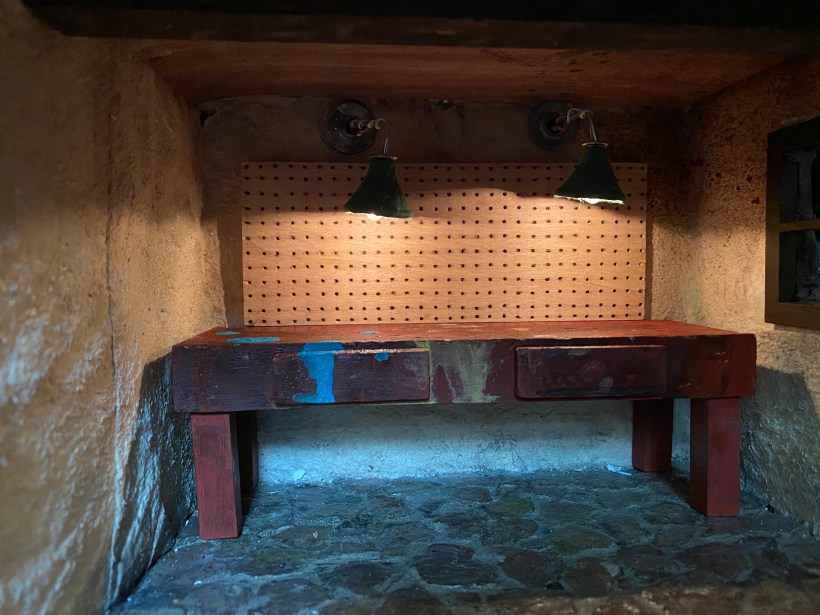
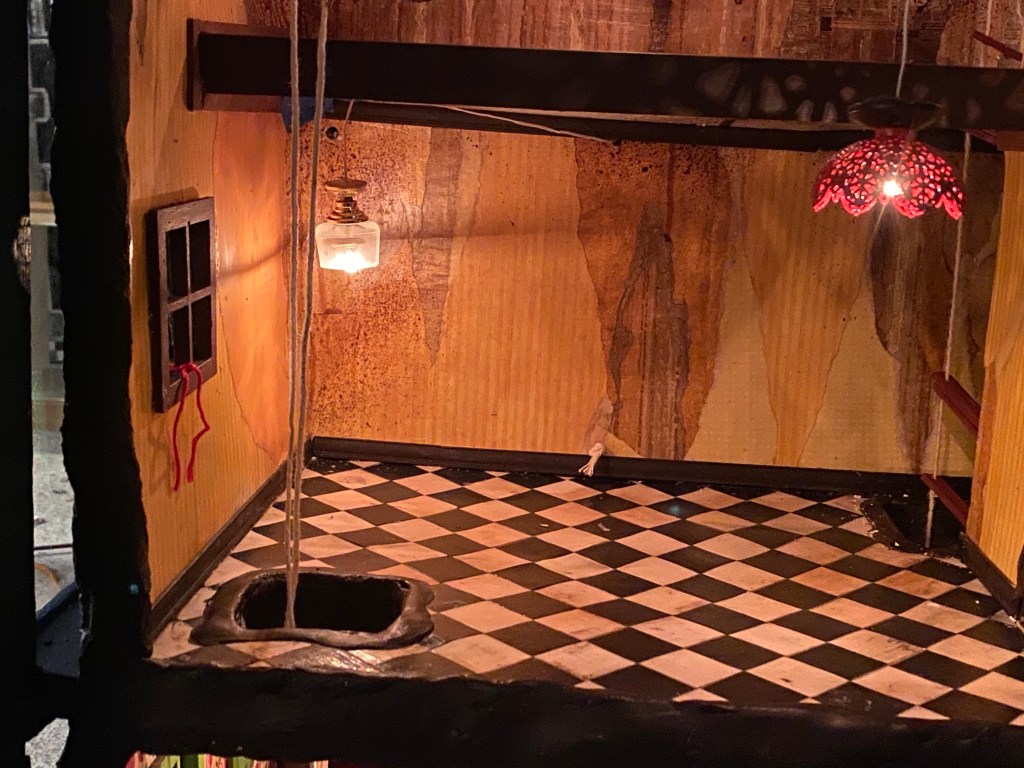
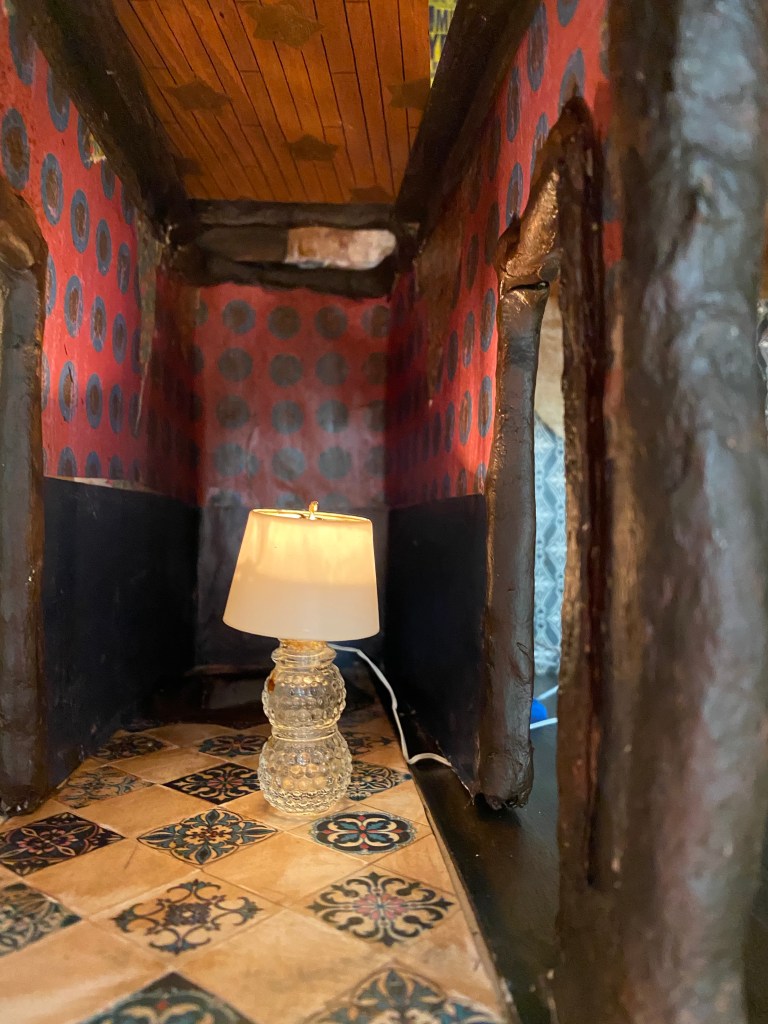
With that completed, I’m now ready to focus on the details of this thing and plan to show the things I’m making room by room in the next posts.

The Shop-Vac

I’m continuing to assemble the Mouse House basement with items typically found in furnace and work rooms. Yesterday I decided to build the classic red shop “wet-dry” vacuum that so many people have in their workshops and garages.

First, I examined our “real” shop-vac, noting it’s dimensions, colors, cord placement, etc.

Our shop-vac, obviously needing its own cleaning!

Then on to my favorite part of every “build”–scrounging up the bits and pieces that I think might work in the assembly of a particular item. This is where my tendency to save EVERYTHING comes in handy. It is also why I cherish my friends who give me small, seemingly meaningless things. They can always be turned into something else!

Possibilities….

The key when building these miniatures is scale. The Mouse House is based on a 1 foot to 1″ scale and I try to maintain this ratio so everything looks realistic. Our shop vac is roughly 24″ tall by about 18″ wide, so I needed a container that was 2″ x 1.5″. That eliminated most of the items pictured above, leaving me with the cardboard tube and whatever I could find that would work for a lid.

I forgot to photograph my vacuum hose making process, but it was very similar to how I made the exhaust pipe on the water heater. I made a spring out of curled wire then wrapped black duct tape around it. I’m not super happy with how it looks, but until I find some black foil-like material, this will do. I inserted this tube into the cardboard using a brad from my late mother-in-law’s sewing box.

I made the “hard” vacuum tube out of a dense wire and a plastic lid from something I used in my life.

Finally, I added details like the two knobs on top, the “rolling” base for the vacuum (actually beads that give the illusion of wheels), and an electrical cord.

Here are a couple of pictures with my hand and a can so you can see the scale.

This will work until I come up with a better way to make the hose. As time goes on, I’ll probably rebuild so many things as I get new ideas, but I’ve got to keep moving on…..!

Hot Water

Now that the Mouse House is electrified, I’m deciding which elements of each room should be permanently affixed and which items should be removable. Since I am building the house in my basement studio, it will have to come up at least one flight of stairs when it is finished. Determining what should be glued down and what should be completed once the cabinet is moved is tough. For example, do I really want to glue down all of the books in the bookshelves? What about food in the kitchen? Do I want to have the ability to rearrange furniture over time or should I just “nail it down” now?

With that in mind, I made a list of what parts will never be moved. I then decided to complete the permanent features in the Mouse House basement. The furnace is done, but I need to add shelves and a water heater and glue those down as well.

I went into our “real” furnace room and took a good look at our water heater to get ideas as to how to design that appliance in miniature.

In particular I needed to know how the various pipes were attached and how they extended into our plumbing.

From there, I found an old upholstery fabric tube, cut it to the desired length, and searched my studio for a circle that would cover the top of the tube. I was fortunate to find just the right size in an old dollhouse tabletop that had broken off from the base.

I glued this tabletop upside down onto the tube, then sprayed it all white in Andy’s workshop. As I waited for the paint to dry, I made the top vent out of an old spring and aluminum foil. I was pleased to see how well this worked out.

Then, using plastic tubing and copper pieces I found in my stash, I glued everything together with a strong adhesive, added a little faucet that came with a miniature garden hose I found at a garage sale, and stuck it in the back corner of the Mouse House furnace room. A bowl and pail stained with paint to simulate rusty water adds to the illusion. Although this water heater will be hard to see as it’s in the rear of the very bottom shelf, I am happy to know that it looks fairly realistic.

Electricity

What a learning curve! I spent countless hours learning how to solder, strip tiny wires, attach plugs, change fuses, build lamps and run current wires to blocks, strips and transformers. It has finally paid off and I’m pleased to share my newly electrified Mouse House!

I made almost all of the fixtures using odds and ends I found around the house.

Study. The ceiling light was made with old jewelry and beads but the mantle light was purchased from a garage sale. The fire was made with one lightbulb surrounded by the pieces of two small yellow and orange plastic Easter eggs.
Library. The ceiling light was made from crystal earrings and a broken necklace. The table lamp (now on the floor), was made with a broken necklace and washers from Andy’s workshop.
Bathroom: Both lamps were made from broken jewelry.
Furnace Room. The furnace fire was made with one bulb and broken plastic Easter eggs.
Workshop. The utility lights were made with old hair curlers and armature wire.
Kitchen. The red lamp was a decorative jewelry piece found in a junk drawer and spray painted. The corner lamp was made with a furniture foot protector and washers.
Kids’ Room. The ceiling lamp was made with part of a funky necklace and a piece of electrical tubing. On the floor is another ceiling lamp made with a dowel, a checker and half an
Easter egg.
Hallway. This lamp was made out of an old perfume bottle and a lampshade I bought at a garage sale.
The music room light (middle) was made with a plastic ring covered in decorative paper.

The construction of each lamp was the fun and therefore “easier” part. Running the wire through the walls, floors and ceilings was another story. I’m almost embarrassed to share the details…let’s just say I have a lot of tidying up to do on the back of the cabinet!

Love in the Time of “Cholera”

I’m back. Making lemons out of lemonade, I now have time to work on something I love due to the Coronavirus. Social isolation has Andy working from home at the dining room table and I have retreated to the basement to return to my miniature world.

It’s amazing how much I have to re-think and re-learn due to my hiatus. What was my plan? Why did I do “this” and not “that”? What was supposed to come next?

Finally, I just “bit the bullet” and painted the cabinet. It’s not well-built, so I chose to paint it in a distressed style with layers and chips of color. I used chalk paint and experimented with an overall blue but with yellow and red in the corners and the obvious stress points near the edges, handles and lock. I finished with a light wash of dark brown/black and a final coat of brown wax rubbed into the entire piece.

WZq6b3hvROS9GPKnEpHcOA

keSGg4uuSM2E6+uJ6PwqKw

s%MVFyYiQym7x+x1rycKCw

I think I’m happy with the way it turned out. I debated colors for two years (for weeks I thought it would be green with orange coming through the distressed areas) but blue won as frankly, I hate green.

I am now making the lights for every room. These lights must be wired and installed now so I can feed the wires through holes I’ve drilled in the back of the cabinet as I slide and glue the room boxes on the shelves. I want to make sure the electrical system works before I do anything else. I’ll post tomorrow with, hopefully, some bright, burning bulbs in the photographs!

Teenage Wasteland

The Mouse House attic rooms in the top of the cabinet (behind the rounded windows) must be inserted first as there’s no way to get them in if the rooms directly below are in place.IMG_4916

Since wiring for electricity is an important next step, I decided I’d better start with the attic first. The room on the left will be a “Grandma’s attic” where I can display fun stuff in storage, but I decided to make the right attic room in a teenagers’ hangout.

The curved ceilings for both rooms were not hard to make. I simply scored the foam board every inch so it could be curved. I finished this ceiling with the quilt batting technique I used in the basement, and added ceiling beams.


I covered the storage room walls with a couple of layers of old wallpaper but chose an urban-look grid for the teenage hangout. I then aged everything with antiquing ink. I also wired the hangout with WORKING Christmas lights. (I’m very excited about these! )


Since I have to do most of the decorating in these rooms now while it is easier to reach them, I have gone to town in the teen room. I’ve added rock posters (printed on my computer, protected with both an acrylic spray and Mod-Podge) and hanging pennants. I framed a graffiti print that was on a card friends gave me awhile ago and hung that up as well.


I’ve also added a crate, tie-dye rug and some junk food, as well as throw pillows, books and a couple of albums.

D359400D-AE6B-4002-962C-9B3331D65EBA

Another fun thing I made for the room was a small guitar amplifier. I built a box and glued a silver, painted checker on the false back to serve as a speaker.


I covered this with a framed screen then added snaps to the top for the dials and a leather piece for the handle. With a cord inserted into the top, I think it looks great next to the red electric guitar I “borrowed” from our son Ben’s box of Christmas ornaments.

IMG_4931

I know myself, so I know none of the rooms will ever be done, but I’m going to move on for now. Here’s what it looks like:

100FE6B9-BF1F-4C70-858D-E31D09820E20.jpeg

And here are a couple of pictures so you can see how small it all is. Note the penny on the pillow, the ruler, and my monster hand.


p.s. I already have an idea as to how I’ll make a lava lamp to put in the corner…and comic books…maybe a PlayStation…


Eat More Eggs….

IMG_4608…and send me the cartons!

I’ve been negligent in posting primarily because I’m not used to photographing my work in progress. However, I have been working diligently and loving every minute of it.

The egg cartons are needed for the outside of the room boxes. After debating how to “finish” these (bricks, stone, wood?) I have decided to “make” tree bark and attach that as it will give a quick suggestion that the mice live in a tree. This is what the boxes look like, unfinished, inside the cabinet:

IMG_1908

Before I made the first batch of bark, I first had to decide how to finish the outside of the windows.  Since I had previously inserted them from the inside, the exposed edges were rough and ugly. I turned to my beloved, air-drying Paperclay, a great sculpting material, and applied it around each window. When dry, I painted the clay dark brown.

IMG_4902

Then I made my bark. This took some trial and error, but after several sample pieces were made, I used about 10 egg cartons to make one batch. First, I tore up the cartons and soaked them in water. I then puréed them in our blender (don’t tell Andy!) and squeezed out some of the water so I had thick pulp. Then I rolled it out on a towel so it was about 1/4″ thick.


When this was dry (which took almost a week!) I tore it into large pieces and glued them in a staggered manner around each window until I’d covered the side of the box. IMG_4903

Finally, I painted it with various colors of brown, tan and black and dusted it with green and red pastel chalk.


I’m happy with the way it now looks. However, I have a lot more bark to make and I’m getting pretty sick of eggs–so feel free to drop off any cartons you have on my front porch!

Letting in the Light

There are 23 windows in my Mouse House. I initially envisioned large, multi-paned windows in the side rooms so the inside of the Mouse House could be viewed through them, but as soon as I got out the measuring tape I realized that would not work. Because I crammed so many small rooms into the space, large windows would be completely out of proportion on the seven inch room walls. So I decided to opt for two 2 1/2 inch square windows on each outside wall.

The windows were purchased over the last month from a local miniature store and from three different sellers on eBay. (I thought about making them for about 5 seconds–have I mentioned that precision work is not in my wheelhouse?!) I then spray-painted both sides of them white in Andy’s workshop where I swear clouds of the paint mist lingered in the air for days. Nasty.

IMG_4723
Spray painting in progress. There’s also a potential refrigerator in there somewhere. I’m having a hard time breathing just thinking about the fumes!

My next problem was deciding which way to install them. I think they are supposed to go into a dollhouse with the trim on the outside of the building, but that would require lots of precise trim moulding on the inside of each window–again, not my cup of tea. So instead, I decided to put them in backwards, which instantly made me regret all of the white spray paint I’d just used, as no self-respecting mouse would have plain white trim around the inside of their windows.

RE-painting all of the windows with a tiny brush was tedious, but ultimately the right thing to do. I chose different colors for each room, and after “aging” them with a rubbed on wash of black paint and my go-to antiquing spray, they were ready to be installed.

I cut most of the window openings as I built the initial structure out of foam board, but I had to go back and tweak every hole before the windows would fit as they somehow got smaller as the wallpaper was applied. Thank goodness for my stash of x-acto knife blades as I went through several.

I have yet to glue them in, but I think I’m happy with the way they look. The next challenge will be how to finish them on the outside, but once again, tomorrow is another day.

The Heat Is On!

41647C9A-4700-4EDE-8BC6-65446FFE0B26
The Mouse House fireplace.

I decided to take a break from the construction of the Mouse House structure and work on some of the “built-ins” instead. After debating about its placement, I’m now planning to install a fireplace with surrounding bookcases in the study.

I started by building the fire box that will sit behind the mantle. I painted the interior black then lined it with paper on which I drew a grid that simulated large tiles.  I then made a rock floor using the same technique as the basement floor. After sealing all with Mod Podge, I added chalk dust to simulate soot and sealed it again.

The mantle was designed as it was built. I used basswood for the construction and just added trim until I liked the way it looked. The wood was stained with acrylic nutmeg.

Serendipity styled the hearth as I happened to stumble on the small tiles yesterday at Michael’s—on sale, no less!

708E59CC-FDB7-4577-AE5B-17EB19C5E13C
The fireplace hearth. I’m pretty sure I glued the tiles on the template upside-down, but I liked the flat look of the bottoms better than the textured tops.

(I’ve learned to wander every aisle at the big box craft stores as I never know what I’m looking for until I see it. Actual tiles like these were not in the plan, but at $1.99 before coupons they fell into my cart!)

Tomorrow I hope to add trim to the hearth and start on the bookcases.

Floored

Because of the wonky construction and decor in the Mouse House, I’m installing a variety of floors. I’ve used coffee stirrers, craft sticks, balsa wood, shims and vinyl for the “wood” floors.

The process is straightforward. I cut the strips of the “wood” I’m using into a variety of lengths and glue them in random patterns directly on to the Mouse House room floor or on a thin cardboard template cut to fit the floor. I flatten this with heavy books until dry then stain or paint them as desired.

I wanted a whitewashed, distressed look for the art studio, so for this particular floor I diluted white paint with water and brushed it on. I then weighted the floor again and let it dry, then sealed that with Mod-Podge and let it dry. Finally, I distressed the floor with a knife and this cool tool I found in Andy’s workshop, then rubbed very diluted black paint into those grooves with a paper towel. With one more coat of Mod-Podge, the floor was done.

The “tiled” floors are done in a similar fashion. I glue paper squares on to the floor template, distress them with dabs of pastel chalk dust, then seal them with several coats of Mod-Podge.

I “got lucky” with two floors, the laundry room and bathroom. I found scrapbook paper in my stash that already looked like tile for the Mouse House laundry room, and sheets of foam squares (in yet another bin in my studio!) that once distressed, worked perfectly in the bathroom.

Joan