The Pantry and Kitchen

THE PANTRY
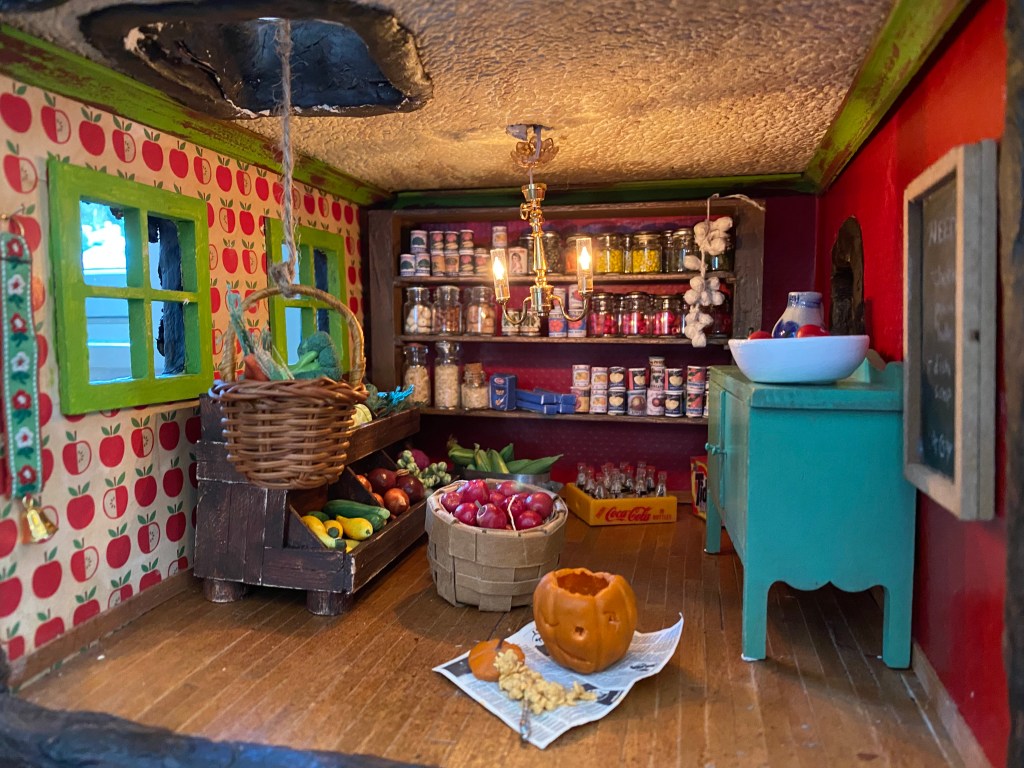
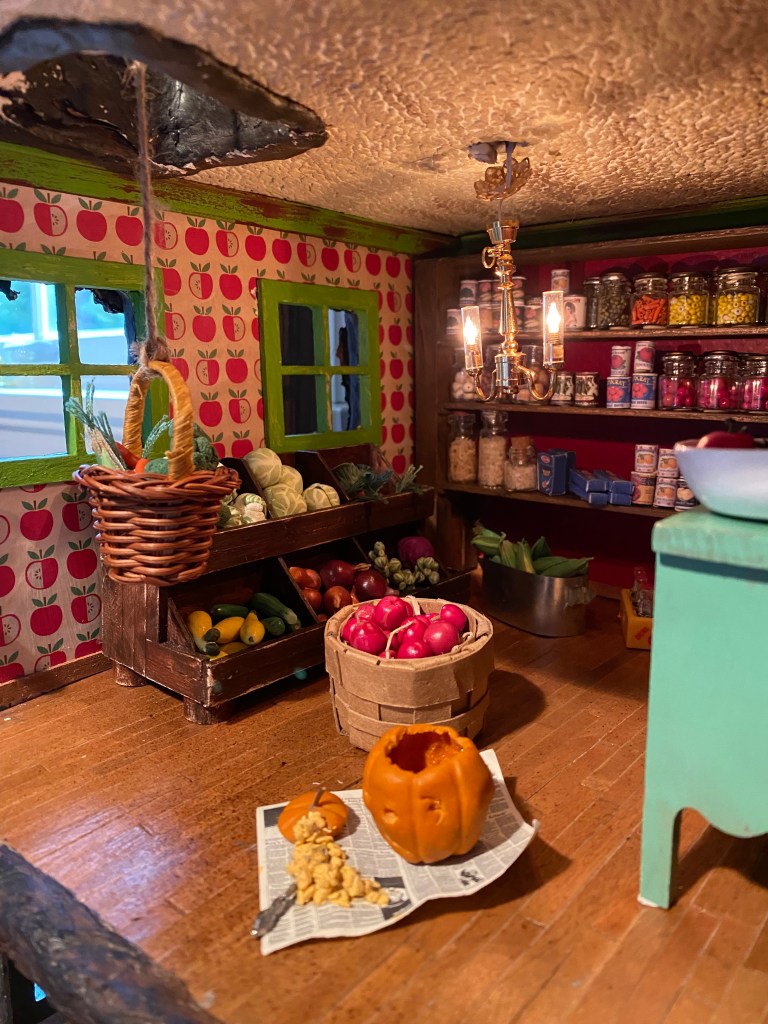
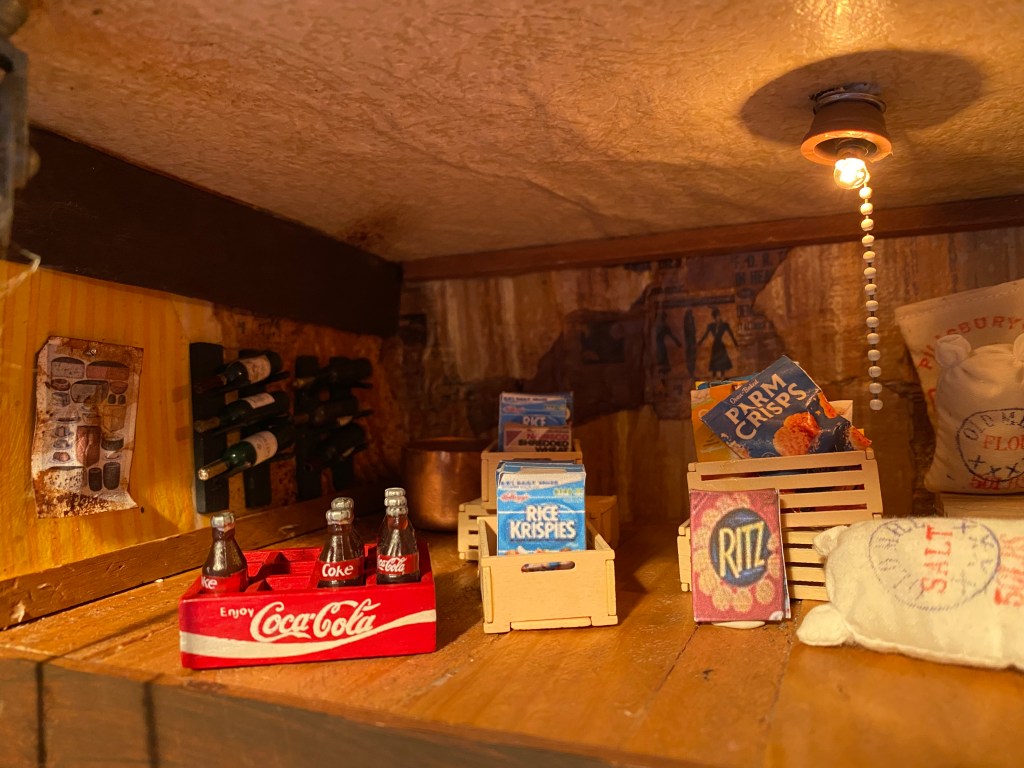
The food storage area in the Mouse House was a priority from the beginning of this project. I knew I wanted to highlight miniature fruits and vegetables and make “canned” and boxed items to showcase on shelves.

I built a simple shelving unit and made bottles of food using beads, pieces of dried clay, and various spices. I constructed boxes and cans from cardboard and covered them with packaging labels printed from the internet.

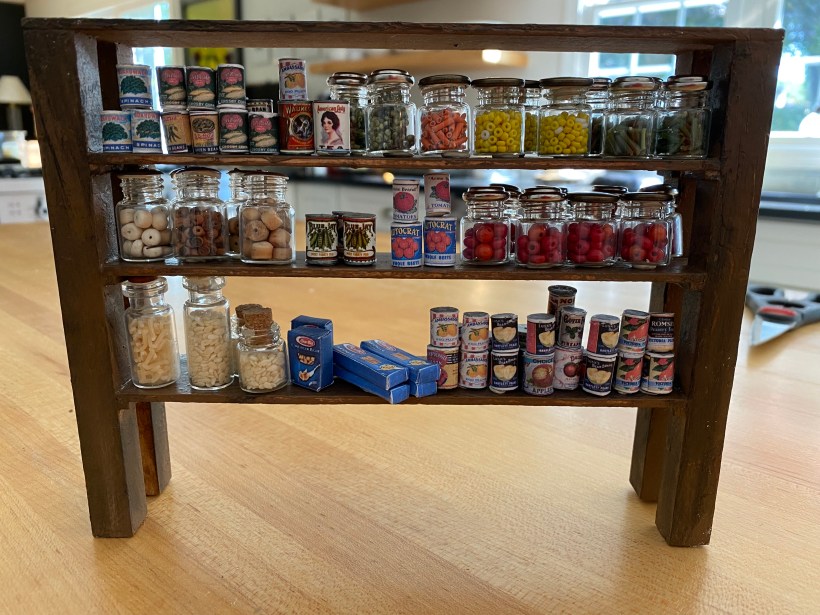
The wooden vegetable storage unit was built with basswood and then filled with many of the fruits and vegetables I sculpted out of polymer clay while in California.

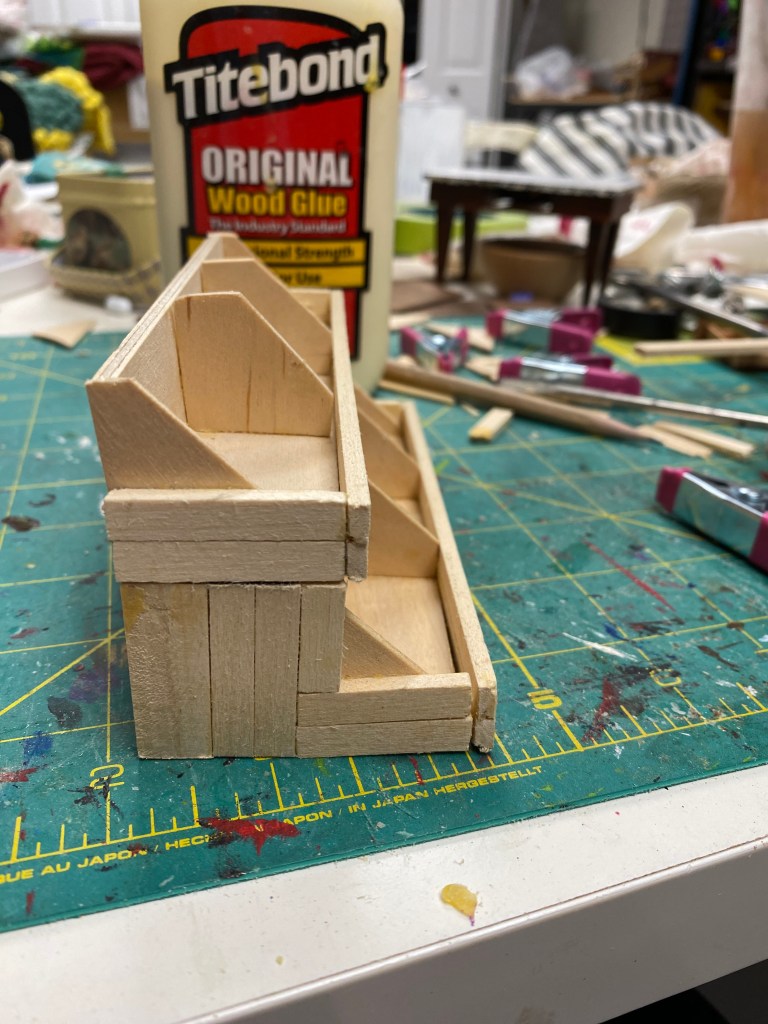
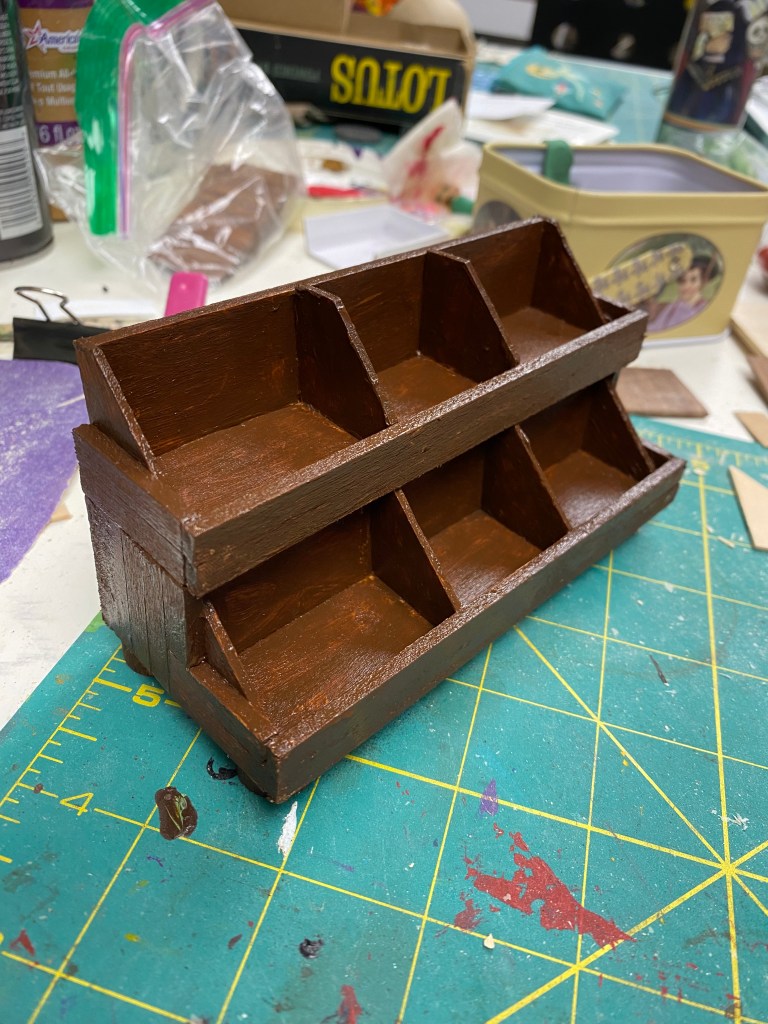
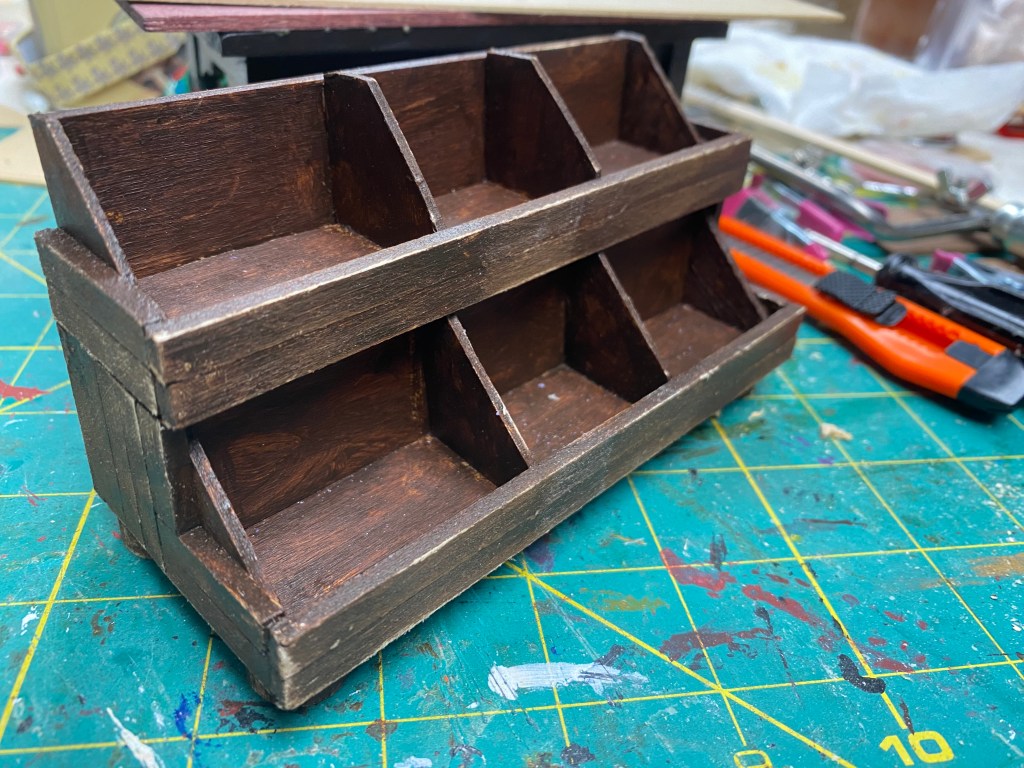
I placed the shelves in the back of the pantry, the vegetable bins under the window and a sideboard on the interior wall. The final piece of the pantry is the basket on a pulley system that can be raised through the pantry ceiling/kitchen floor so food can be brought directly to the cooking area.
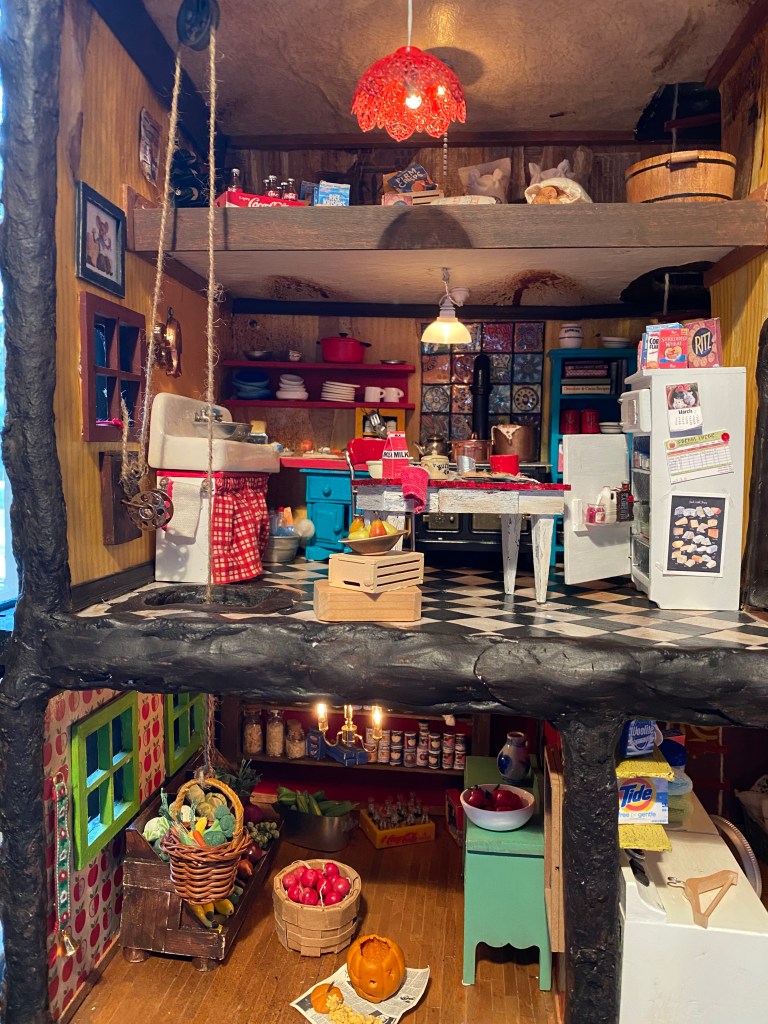
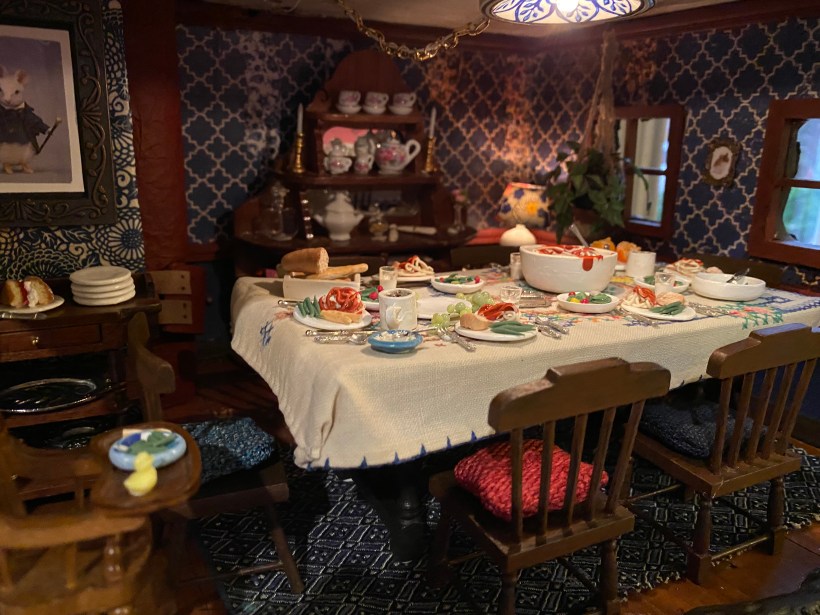
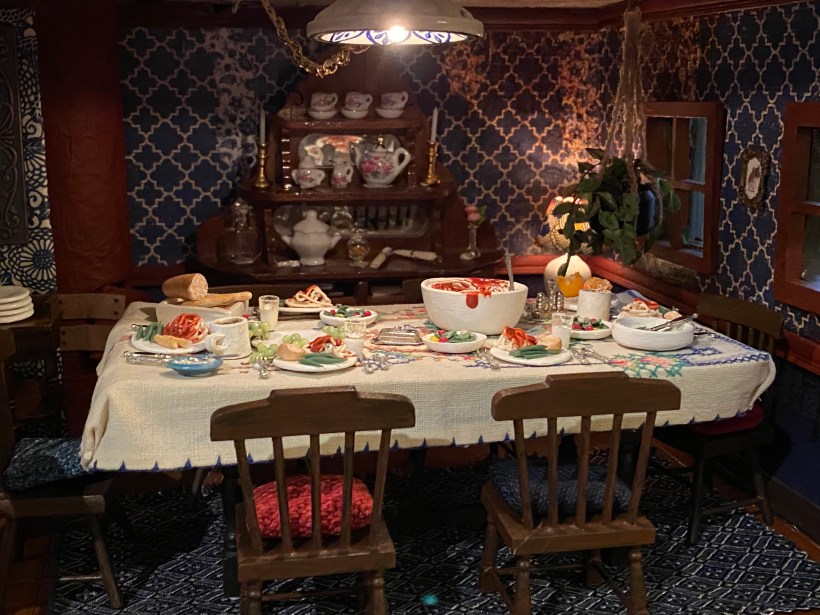
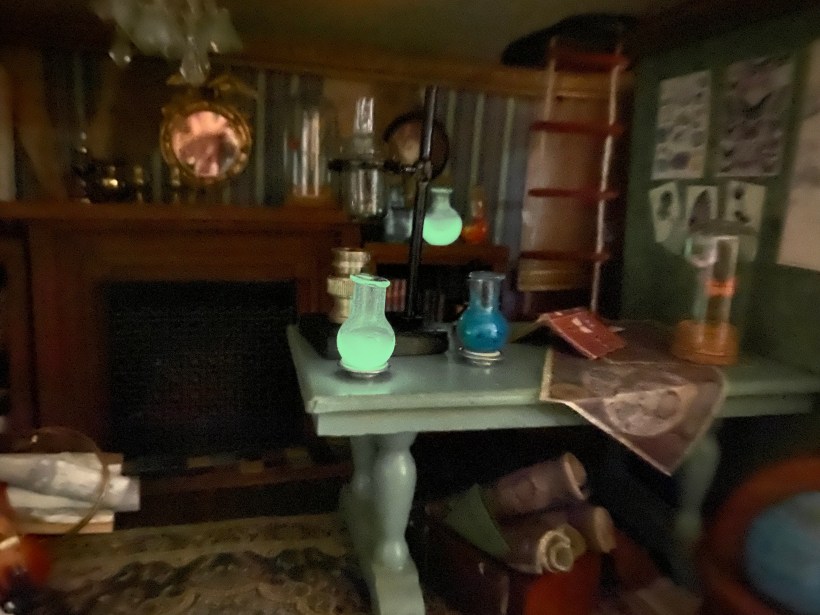
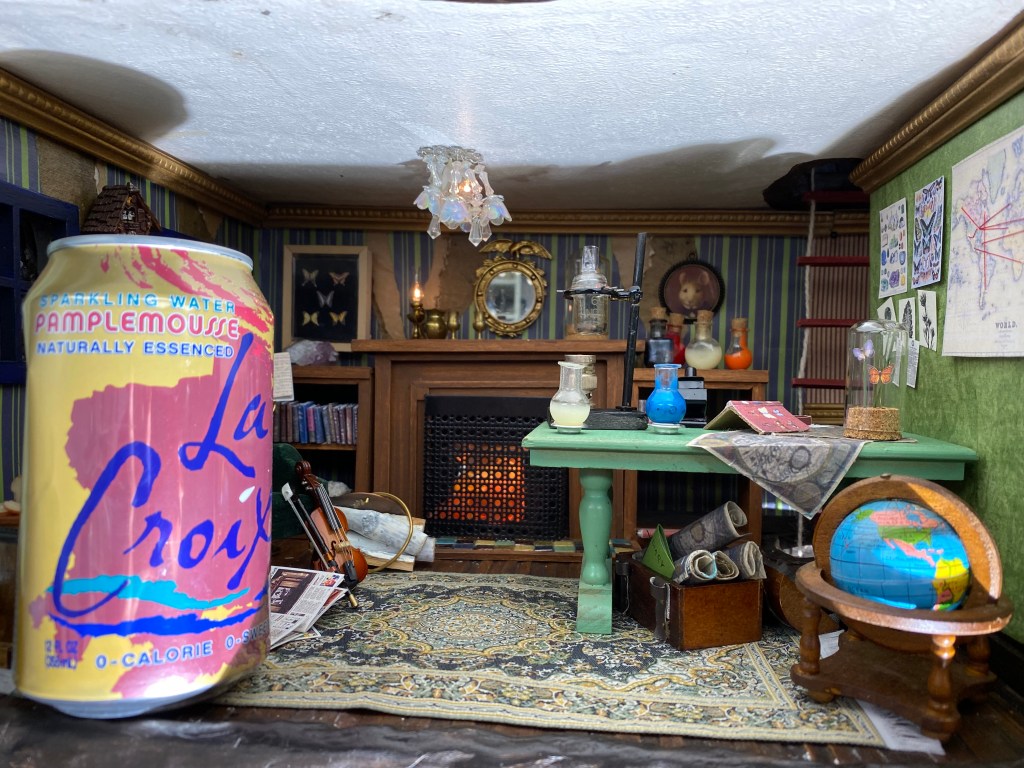
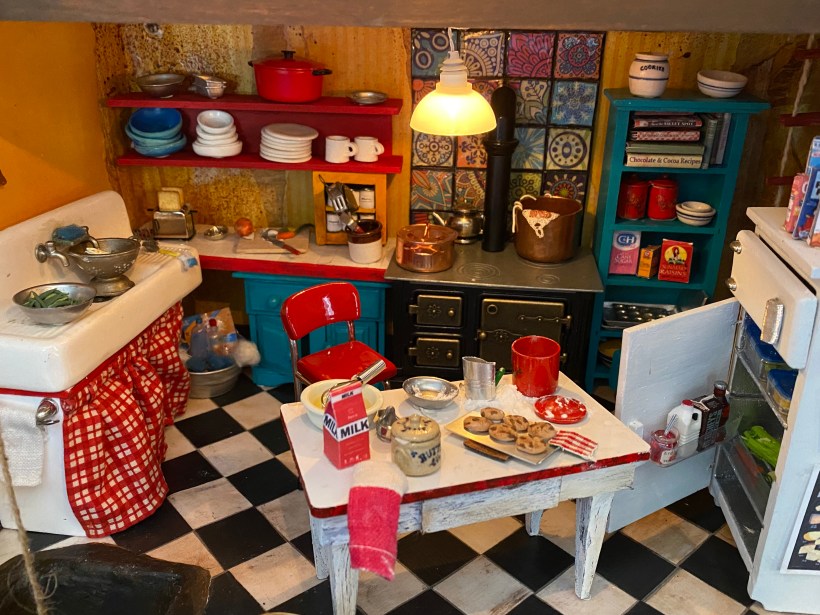
THE KITCHEN
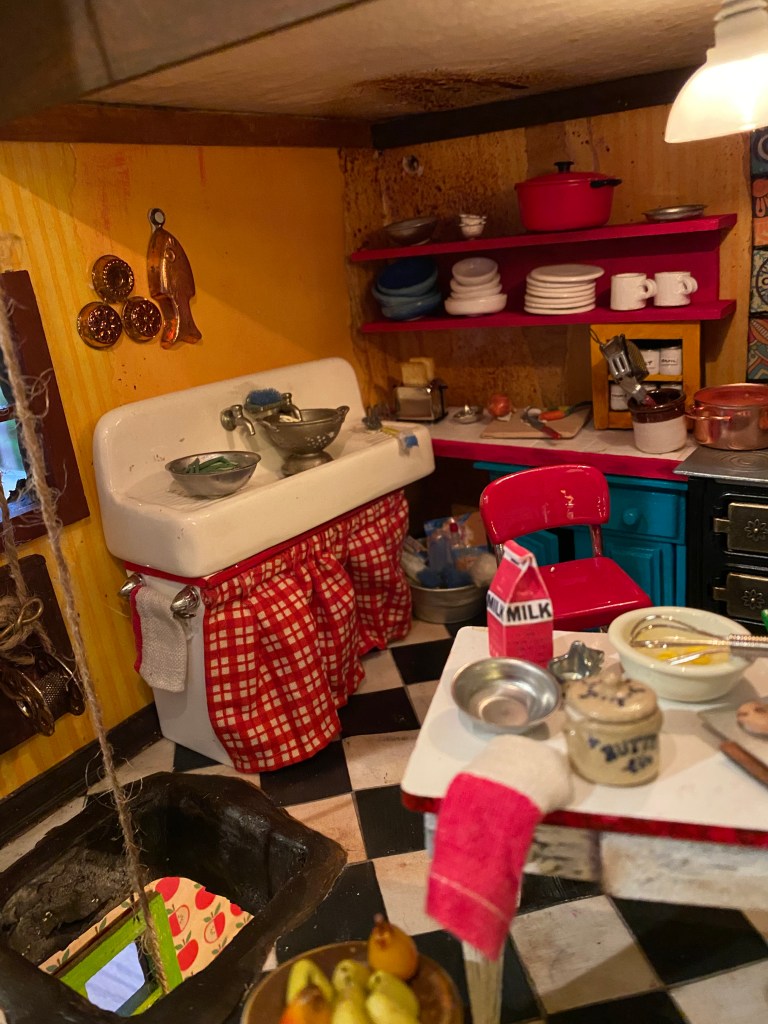
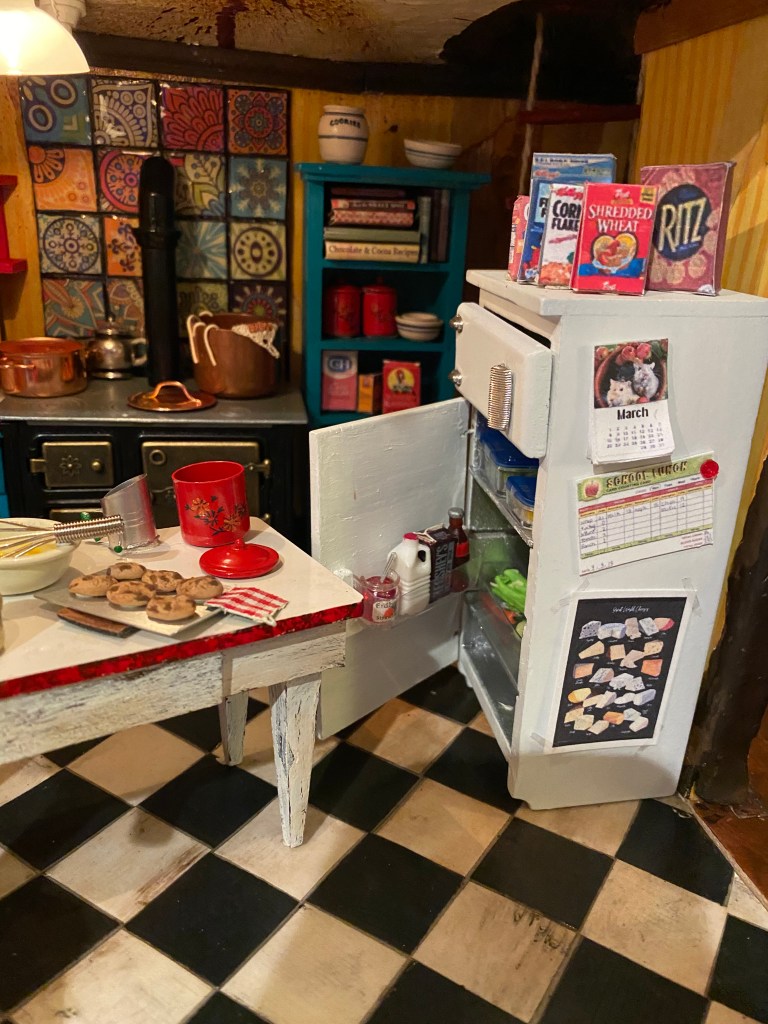
I worked the longest on the kitchen as I started designing and planning the layout from the very beginning of the seven year process. Details such as the tiled wall behind the stove (made with scrapbook paper covered in gloss), the kitchen sink set-up and the refrigerator I refurbished were made a long time ago.

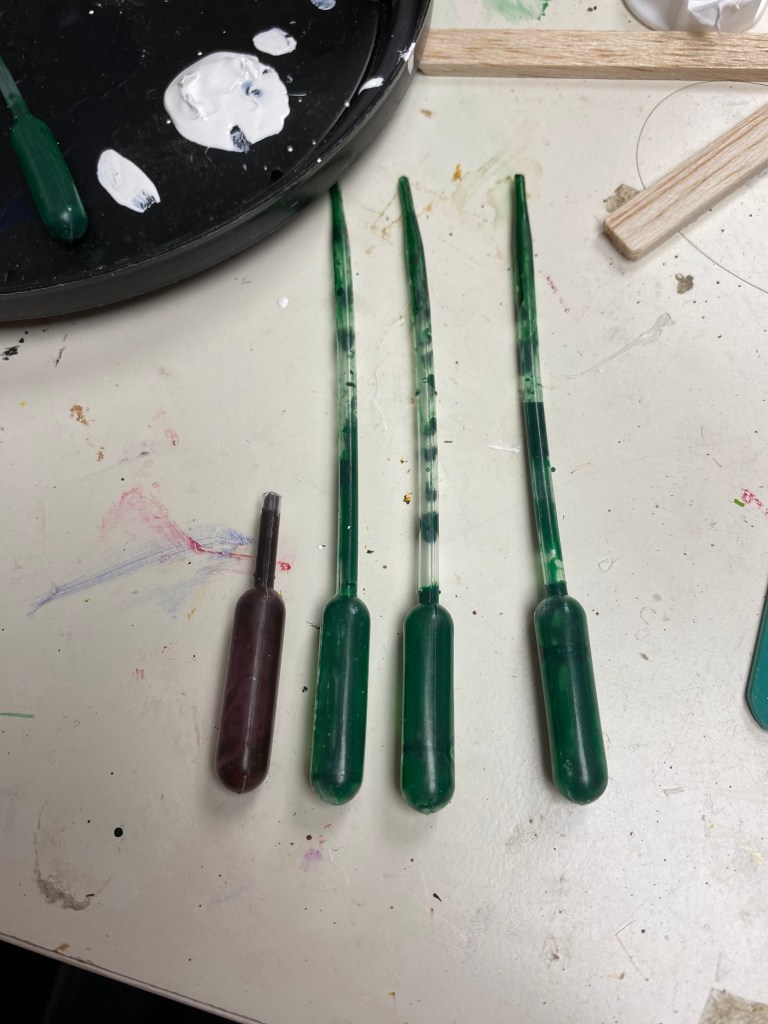
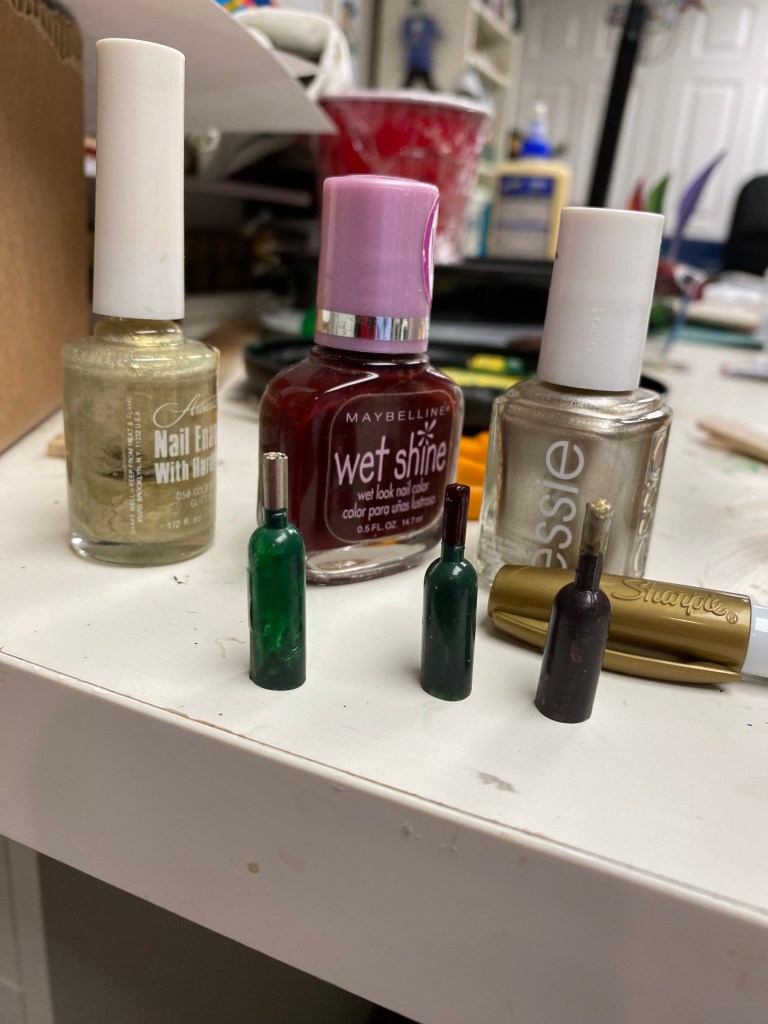
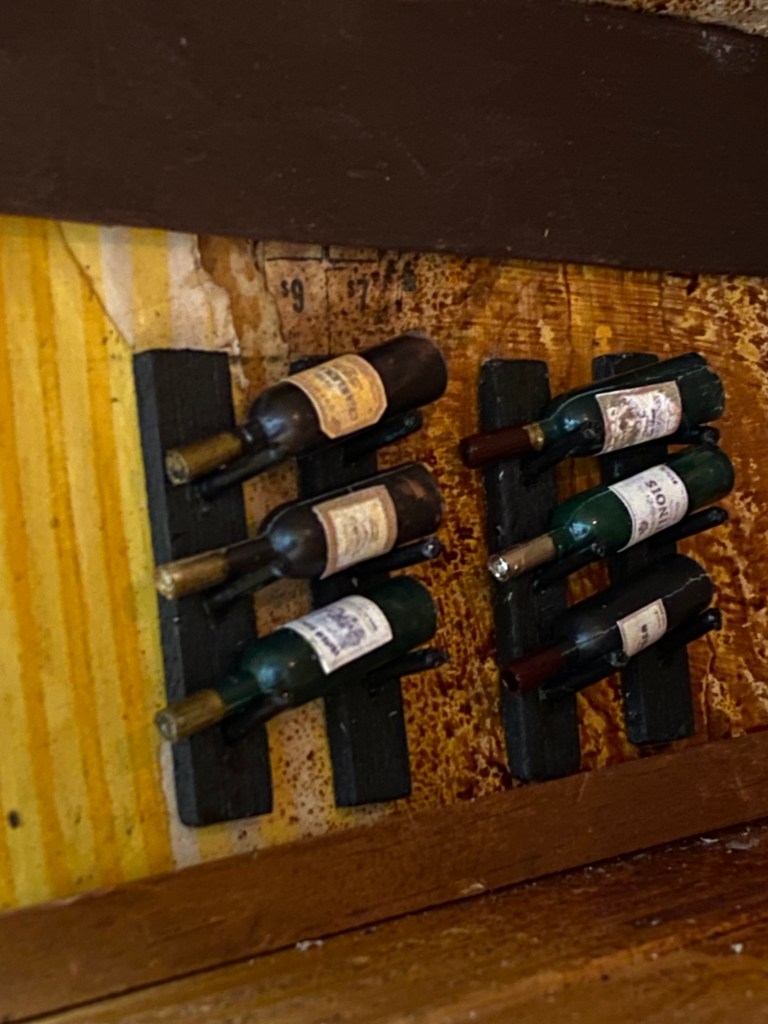
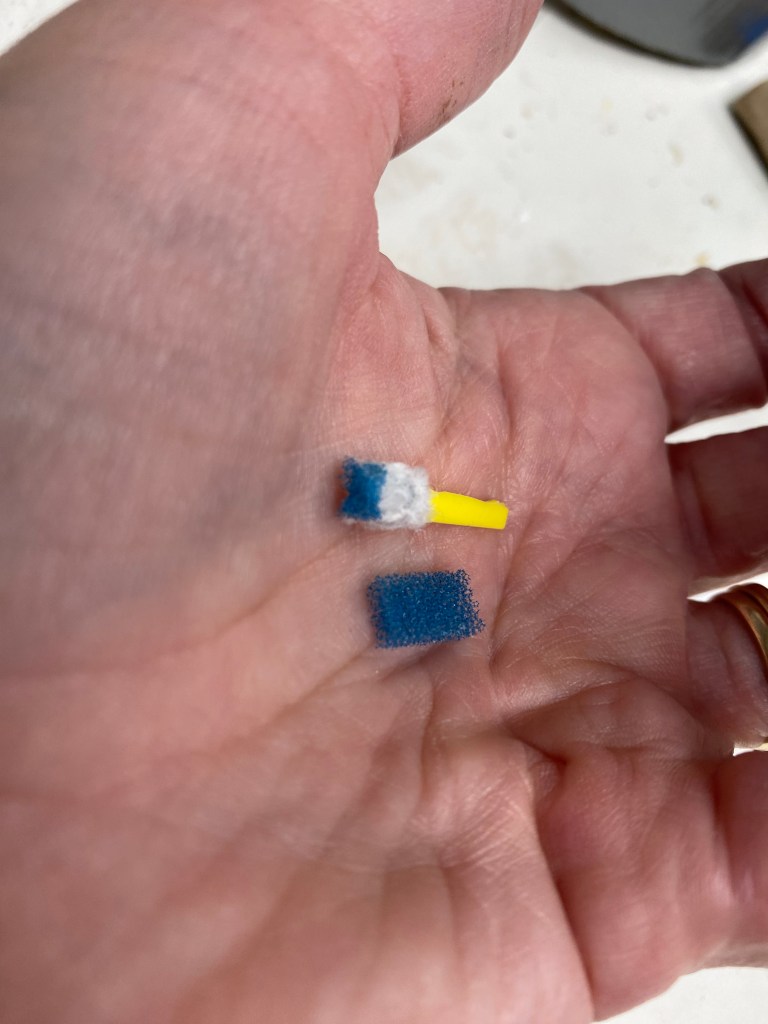
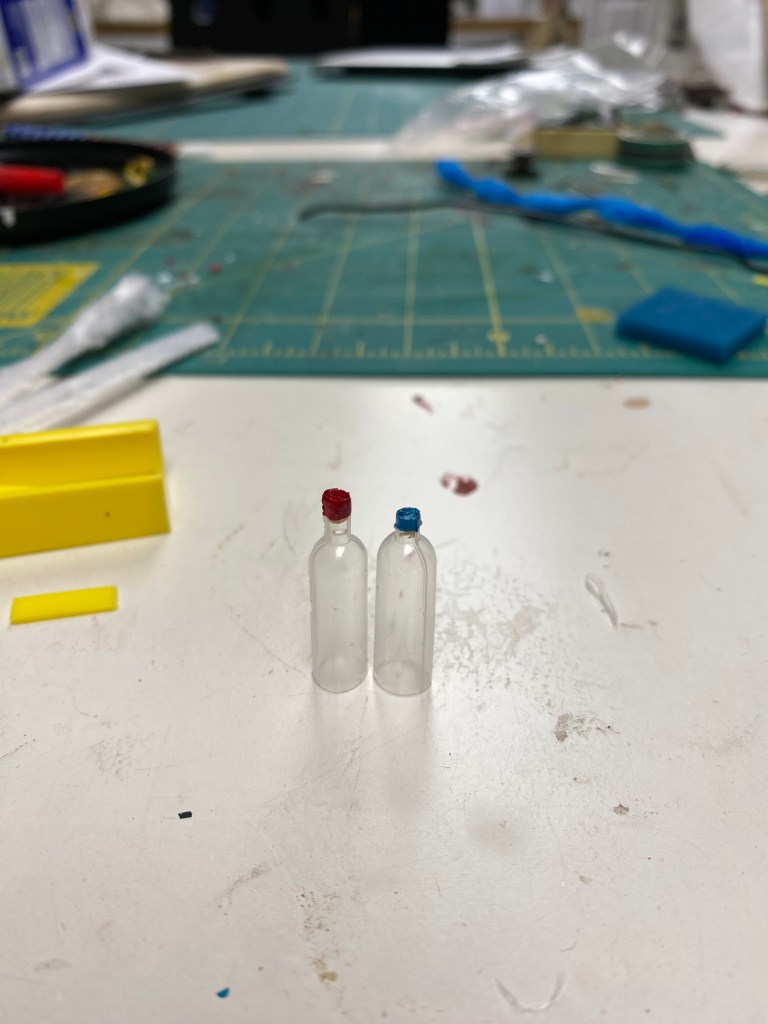
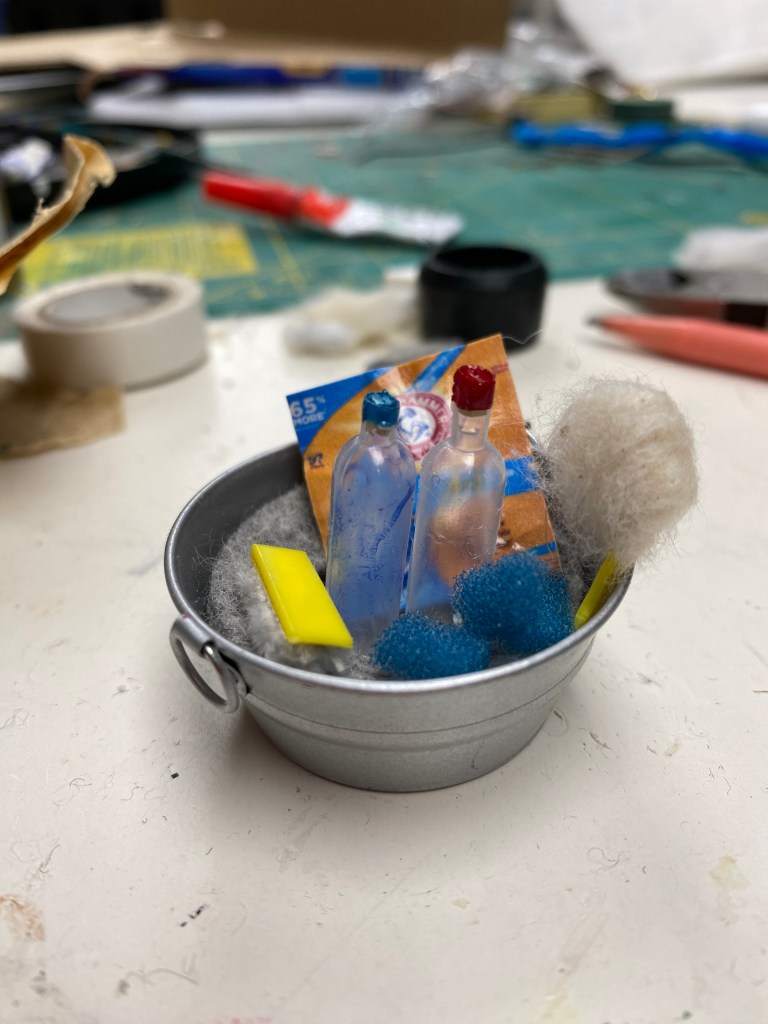
There are many components to this room, including: the loft storage, the pulley system, the shelves with the spice rack I made from beads and the dishes sculpted with clay; the food, such as the spaghetti in the strainer in the sink, the onion on the cutting board, the goods in the refrigerator and the cookies on the table; the hand towels and sink skirting; the wine rack and wine bottles (made with pipettes, paint and printed labels); the pictures on the wall and fridge; the cleaning supplies under the sink, etc.

Since I built everything over a long time period I don’t have many individual pictures of the construction processes so I’ll just have to remember via the photos!

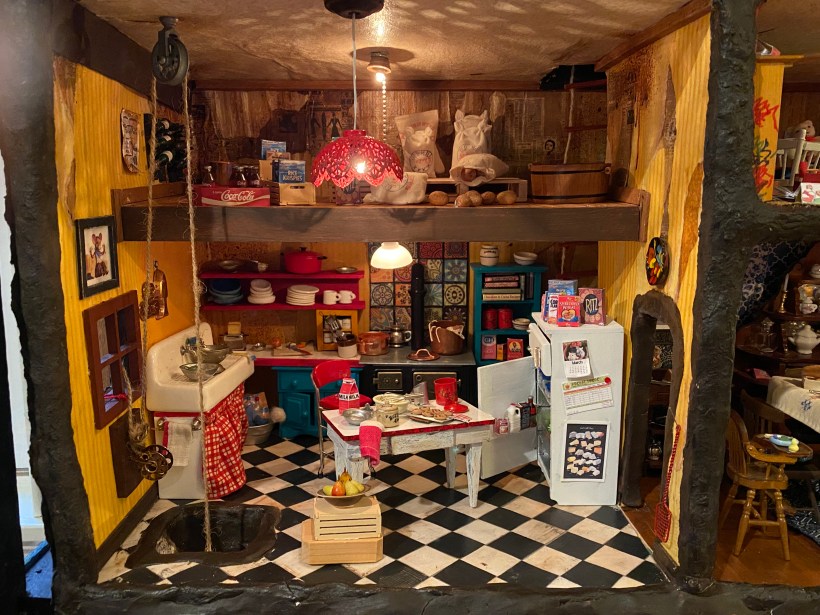
Below is a picture of the two rooms together. The photo shows the pulley and the reel I made from a sewing bobbin.

Giving Thanks

I am so excited to announce that the last three rooms of the Mouse House are complete! I am saving the overall big “reveal” post for a couple of days, but wanted to share photos of the final stretch now.

THE DINING ROOM
I built a table by taking a a broken one I found at a garage sale and adding a new top so I could have six place settings. The table was then covered with an old embroidered handkerchief I knew I had in my stash and once I tucked the corners in with a couple of sewing stitches, it made the perfect tablecloth. I set the table with the white dishes I made in California and then added a full meal from the pieces I had previously sculpted out of polymer clay. I plan to change these settings for various holidays but decided spaghetti was a year-round choice!

The back of the dining room holds a large buffet filled with various dishes and knick-knacks and a lamp I made with a handmade lampshade.

I also made a hanging plant for the window.

The corner of the dining room was the perfect place to put a table displaying the “Victoria Sponge” dessert I made with clay as well as the “family portraits” I printed and framed for the walls.

The hanging light was made out of a drawer handle and a piece of chain I wrapped around the electrical wire. I think it’s perfect above the table.

NEXT: The Pantry

The Mad Scientist

I recently completed a four month online course in illustration –Lilla Rogers and her “Make Art That Sells” Bootcamp. The class generated so many ideas, including a children’s book based on this Mouse House, but it took up most of my time and I was unable to work on this beloved project. The exciting news is that I shared this blog with Lilla and many of my classmates so they can follow my progress and share my enthusiasm.

I finally finished the Mouse House Study last week. It’s a spot for the scientist mouse who tracks and collects butterflies all over the world; plays the violin; dabbles in geology; experiments with chemistry; and enjoys reading newspapers in front of the fireplace.

The “Scientific Study” in the Mouse House.
The cozy corner in the Mouse House study.
Note the maps tracking butterfly excursions, the Bunsen burner, more books in the bookcase, etc.

I started with the fireplace which I designed and built myself. (See previous blog post here: The Heat Is On!)

I then focused on the table and all of the accessories I wanted to display. This included a microscope I made out of an IKEA shelf support and a tape dispenser lid. I also made a box of mini slides with dabs of paint on teeny pieces of plastic.

After that came the butterflies: I made a framed display and also made domed dioramas to put on the table and the mantle. I printed butterfly prints for the walls and added a map with string “markers” to document the butterfly excursions.The room was completed with books I made and other accessories I have built or collected.

The butterfly collection in the Mouse House.
A butterfly “diorama”!

I made the Bunsen burner and stand out of a few of the tiny electrical parts my dear friends Mark and Leann have given me over the years. The “flame” in the bottom of the burner is an orange bead.

The Bunsen burner made out of electrical components.

I filled the beakers on the table and on the bookshelf with nail polish also given to me by Leann. The “white” beakers are two of the things I like the best in the house so far–the nail polish glows in the dark! Here are a couple of photos with the lights off. Isn’t that cool?!!

The magic of glow in the dark nail polish!

The Mouse House Study with can for perspective.

Next up: the Art Studio. I’ll try to duplicate a bit of what I have going on in my own space. Wouldn’t it be fun to make a Mouse House in the Mouse House? Don’t hold your breath!!